

Easy DIY Craftsman Window Trim: A Step-by-Step Guide for Beginners
Transform your windows with this simple and stunning DIY Craftsman-style trim project. Forget complicated angled cuts! This tutorial is perfect for beginners and will make a significant impact on your home’s interior.
Don’t limit yourself to just window trim! Explore other DIY projects like crafting custom curtain rods, building charming window boxes for your exterior, and even constructing beautiful wood shutters.
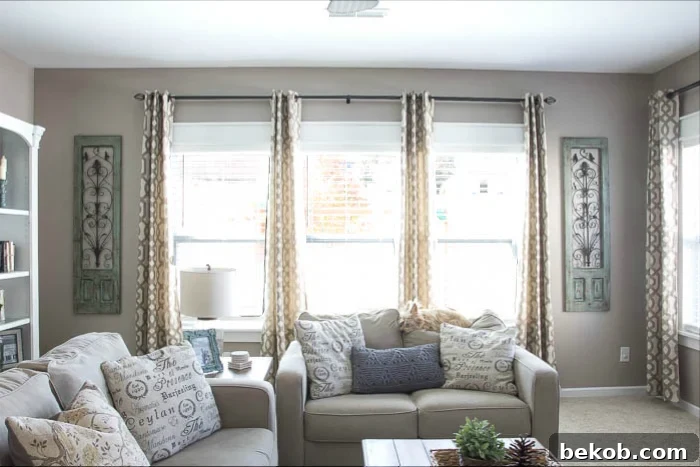
Hello DIY enthusiasts! I’m excited to share this fantastic DIY project that will add character and charm to your home.
If you’re looking to transform a basic builder-grade house, this project is for you. Adding architectural details can drastically improve the look of any space.
Two years ago, this is what our living room looked like:
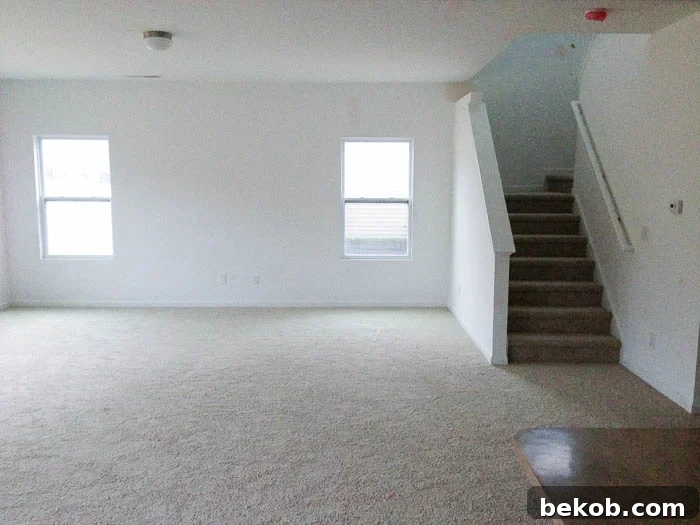
Over the years, we’ve discovered that paint, long curtains, and architectural details are the key ingredients for transforming a space.
We tackled the paint and curtains and added a DIY faux fireplace, and the room instantly felt bigger and more inviting! However, the trim-less windows were still lacking character. It was time for a change.
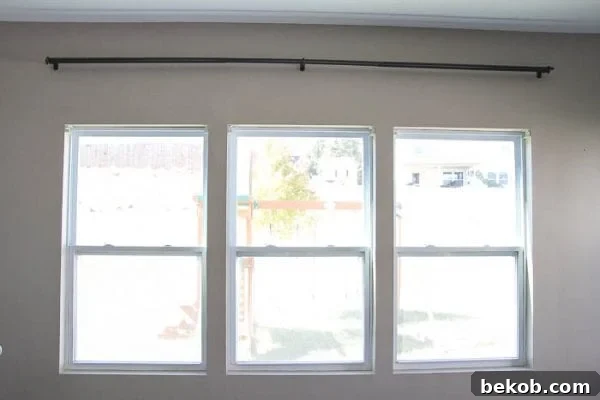
Craftsman-Style Window Trim Video Tutorial
Watch this video to see the project come to life! Then, come back for the step-by-step instructions. This trim style isn’t just for windows; it can also be used to enhance a front door.
(Video tutorial will be embedded here)
Materials and Supplies for Craftsman Window Trim
Here’s a list of the supplies you’ll need for one standard 35.5″ x 59.5″ window. Adjust quantities as needed for your project.
- 1″x2″x8′ board
- 2 – 1″x4″x8′ boards
- 1″x6″x8′ board
- 2-inch brad nails
- Trim Head Screws (for wood)
- Wood glue (optional)
- Combination square tool
- Pencil
- Hammer or nail gun
- Drill
- White trim caulk
- Wood filler
- Fine grit sandpaper
- Paint (e.g., Sherwin Williams Pure White)
- Jigsaw
- Circular saw or table saw
We had five windows to trim, so we needed more lumber. The best part is that this project requires only basic carpentry skills. It’s an excellent project for beginners because there are no complicated angled cuts!
Craftsman Window Trim Installation: Step-by-Step Instructions
Follow these tips, tricks, and instructions to achieve the Craftsman window trim look in your own home.
Head Casings:
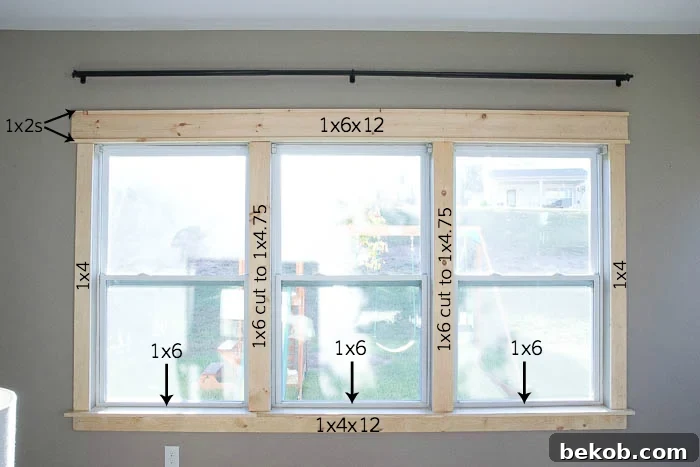
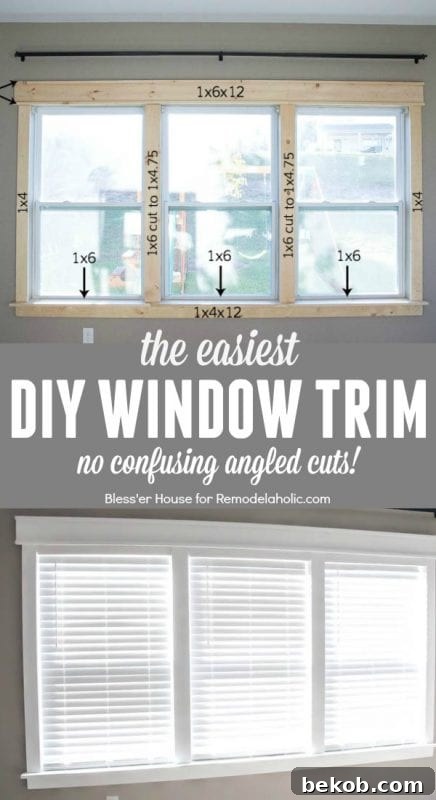
1 – Building the Header: Start by measuring the top width of your window opening or frame. Add 10 inches to this measurement to allow for a 5-inch overhang on each side of the window.
Mark this measurement on a 1″x6″ board using a square tool to create a straight line.
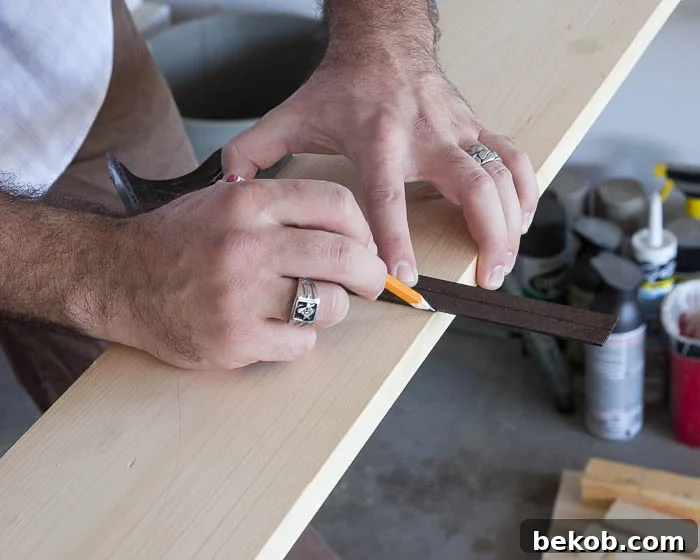
Cut the 1″x6″ board using a circular saw.
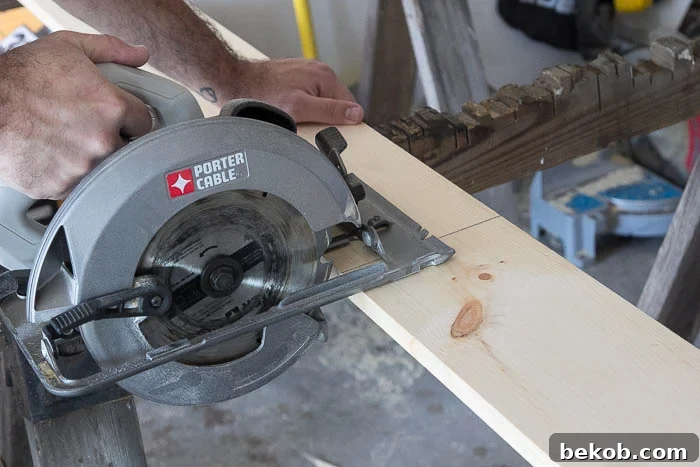
Use the same measurement to mark and cut two pieces of 1″x2″ boards. If you have multiple windows clustered together, work from a longer board.
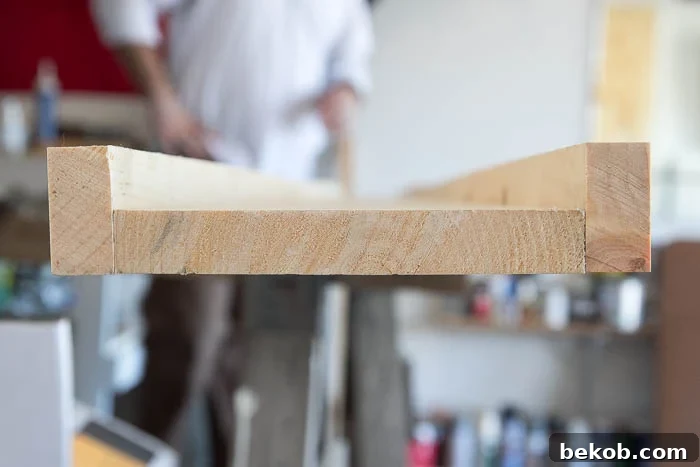
Attach the 1″x2″s to each side of the 1″x6″ board with wood screws. You can also add a bead of wood glue between the pieces. Remember to pre-drill the screw holes to prevent wood splitting.
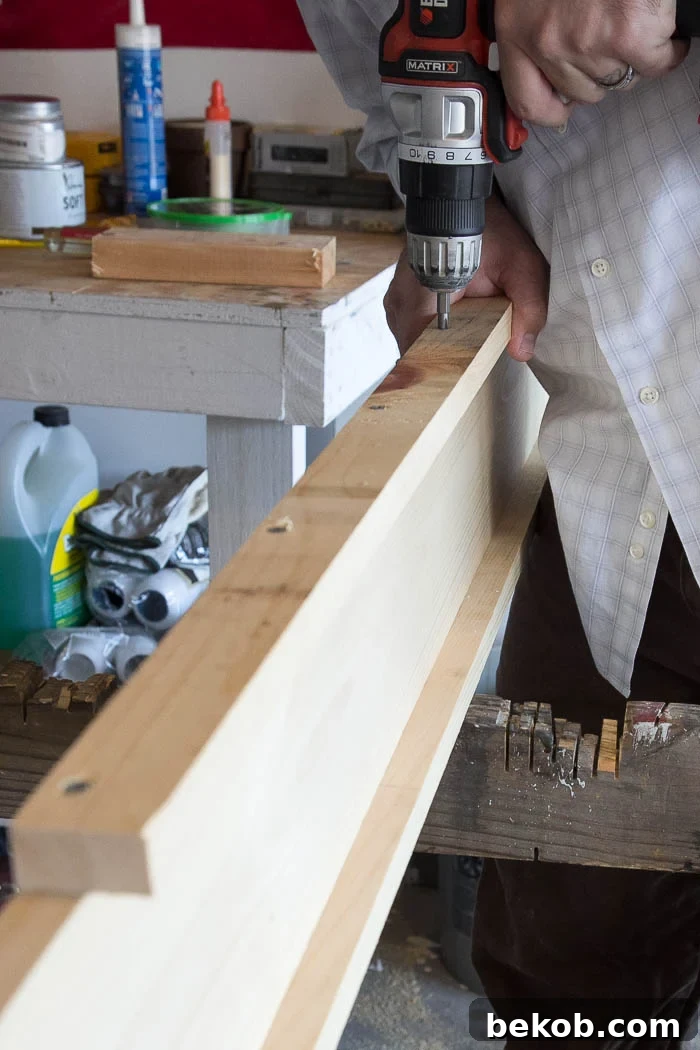
For a large window, you might need to cut and attach the 1″x2″s in multiple pieces to the longer 1″x6″ board.
If you have access to a table saw, you could rip down the 1″x2″ boards from a larger single board to avoid multiple joints.
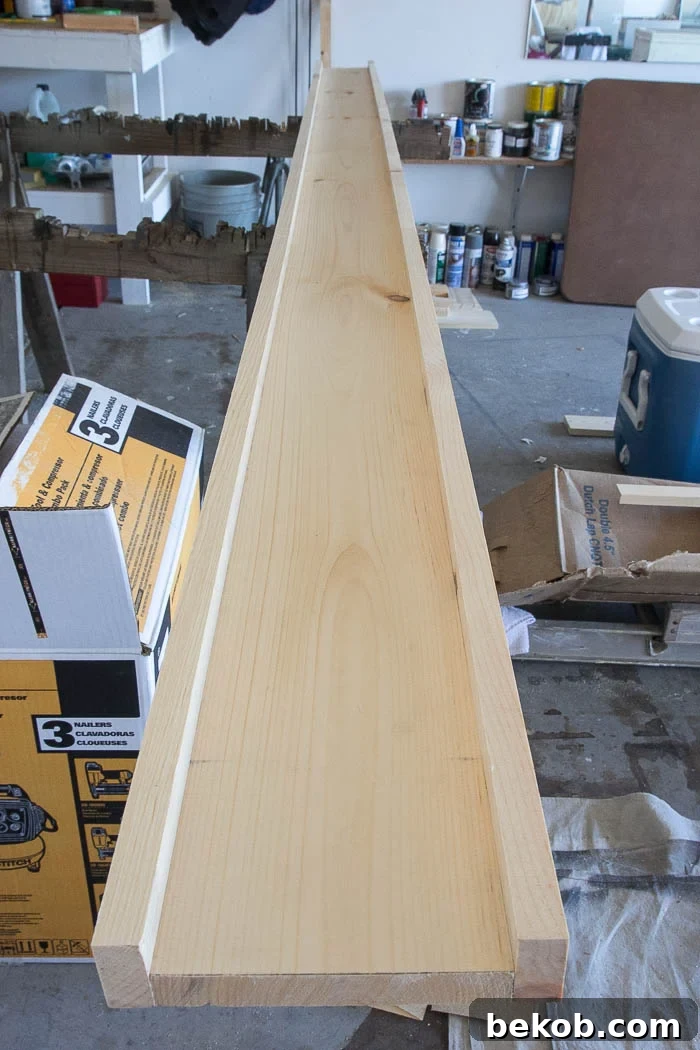
Now you have your header!
Center the header over the window and nail it into place through the drywall and into the studs. Use a hammer if the nail size is incompatible with your nail gun.
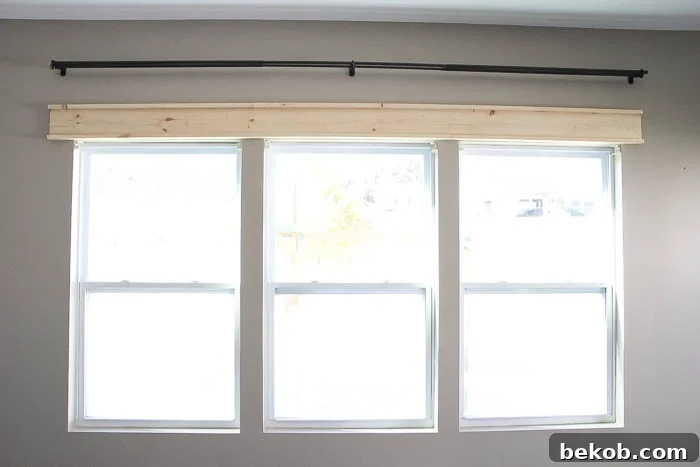
Window Sills
2 – Creating the Window Sill: The window sill should be the same length as the header.
Mark the required width for the sill on another 1″x6″ board and cut it using a circular saw.
Using the newly cut 1″x6″ board, mark on the wall where the sill should end (with the 5-inch overhang) and hold up the board to mark the window’s edge.
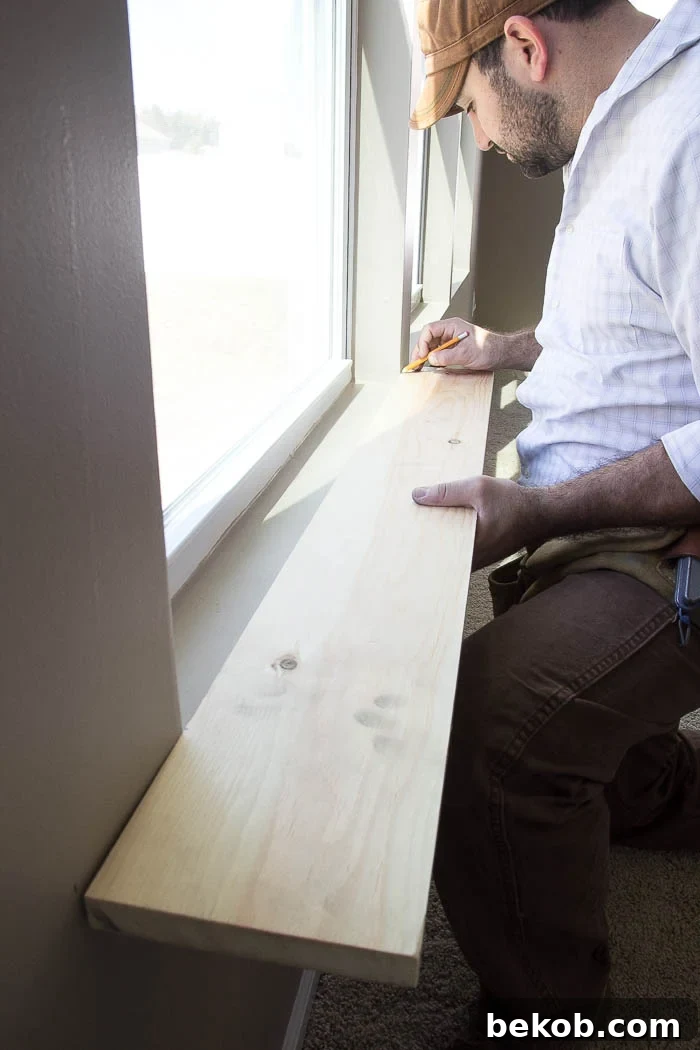
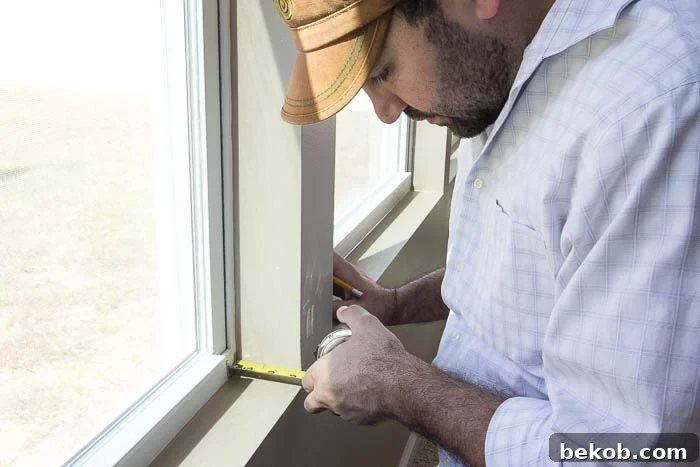
Measure the window’s depth.
Mark these two measurements (window width and depth) on the 1″x6″ board.
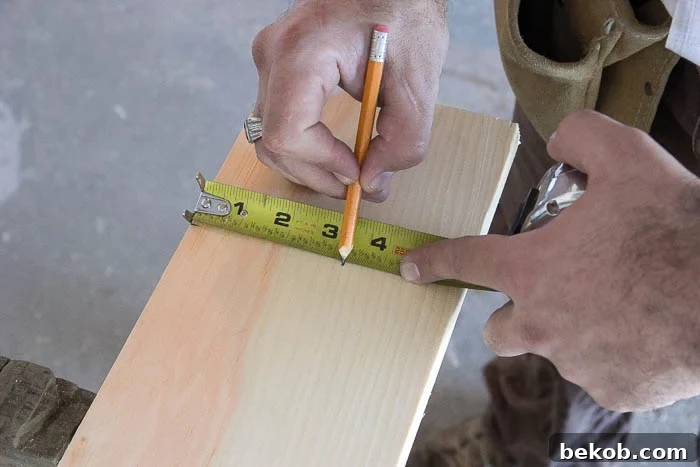
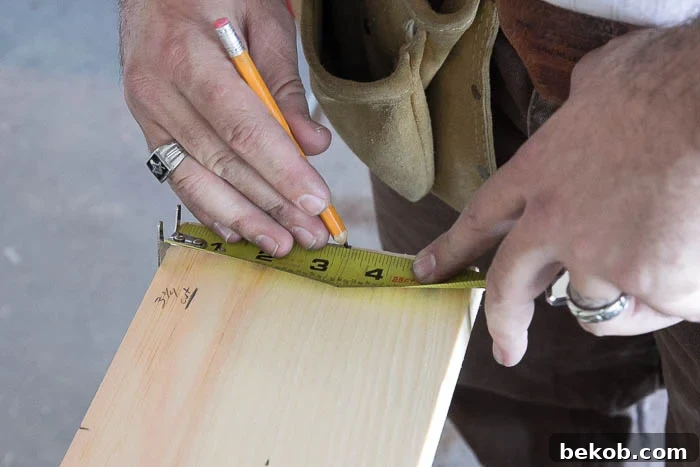
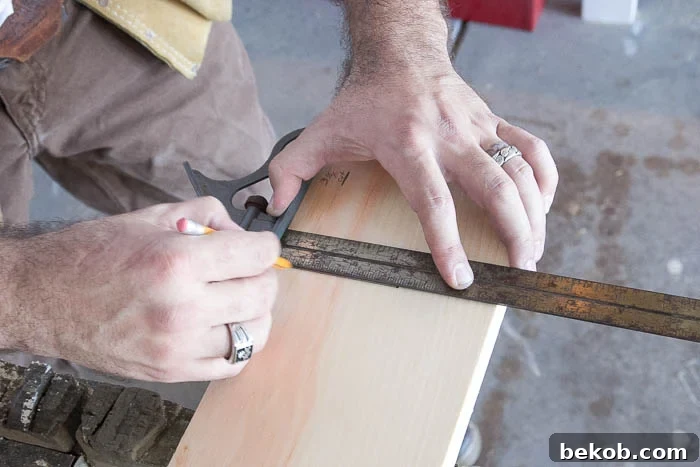
Use the square tool to draw straight lines between the measurements.
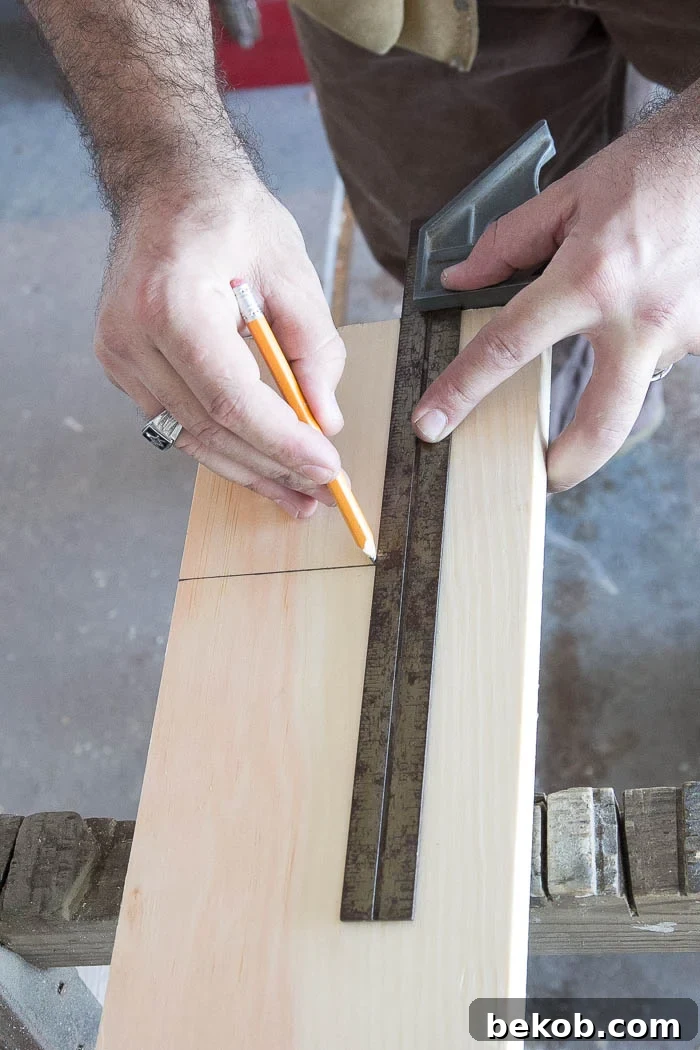
Cut out the marked area with a jigsaw.
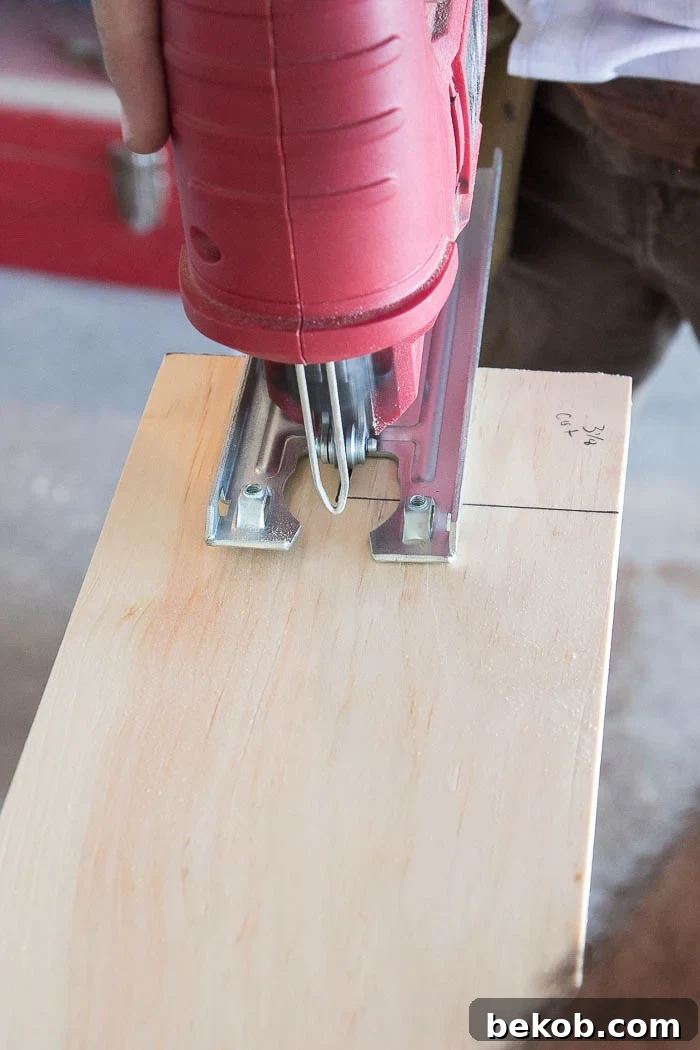
After cutting, the 1″x6″ board should look like this.
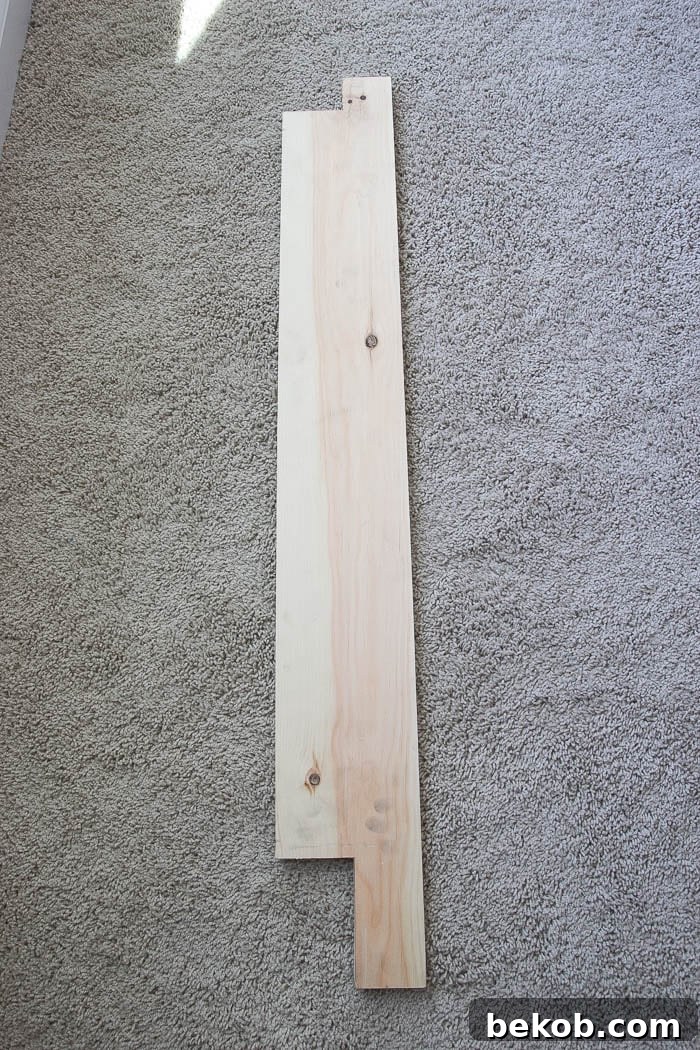
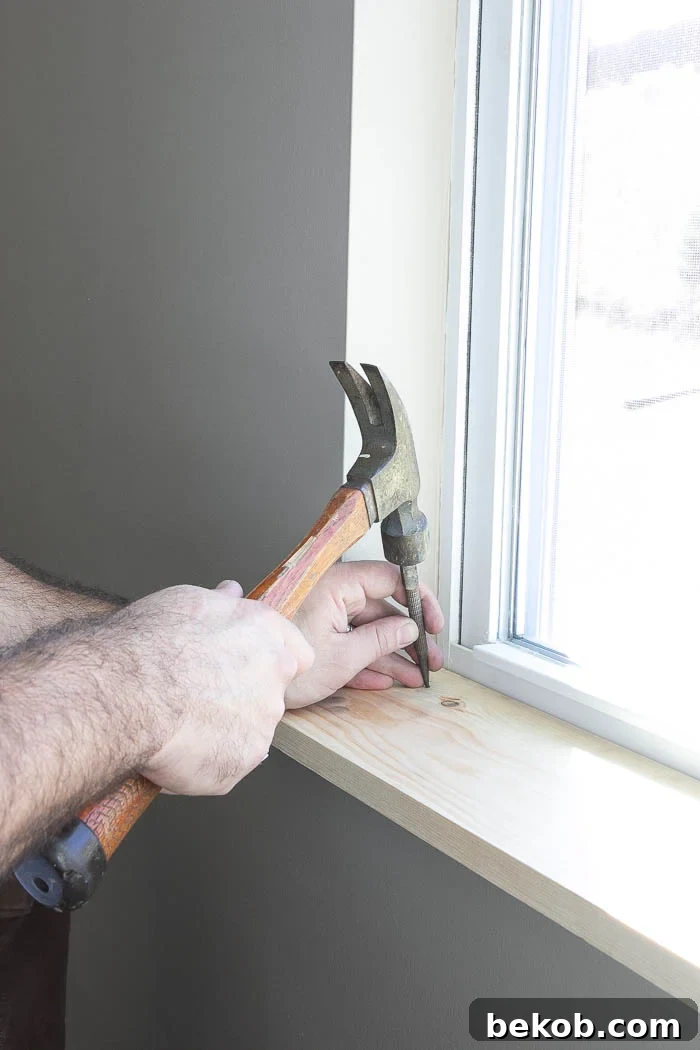
Fit the newly cut 1″x6″ board into place and nail it to form the window sill. Add construction adhesive for extra stability.
Side Casings:
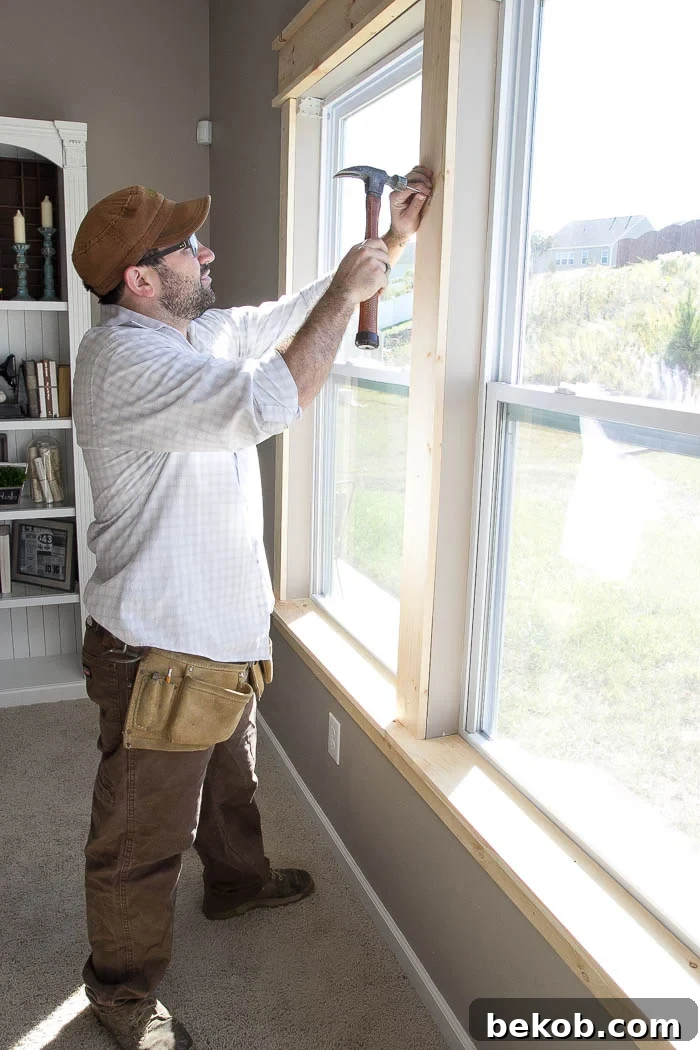
3 – Creating the Sides: Use 1″x4″ boards for the sides of the window.
Measure the height between the bottom of the header and the top of the sill to determine the length for cutting the 1″x4″ boards.
If you have sections wider than a 1″x4″ board, cut two 1″x6″ boards lengthwise to achieve the required width.
Line the sides up on the edge of the windows and nail them into place.
Apron:
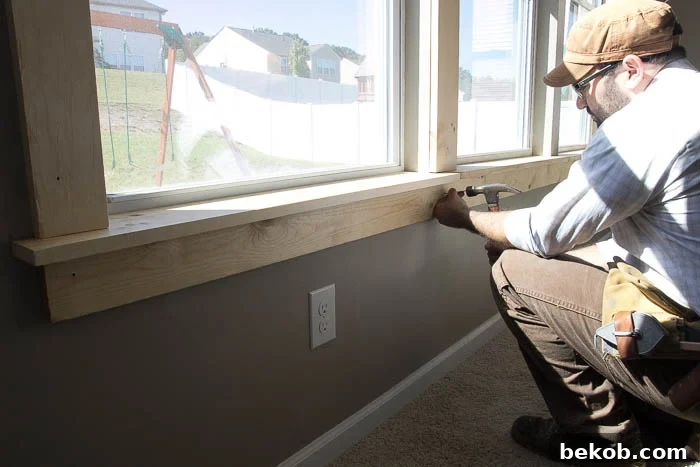
4 – Adding the Apron: The apron is the wood piece underneath the window sill.
Measure the width from the outside edge of one 1″x4″ side piece to the other to determine the length for cutting the 1″x4″ board for the apron.
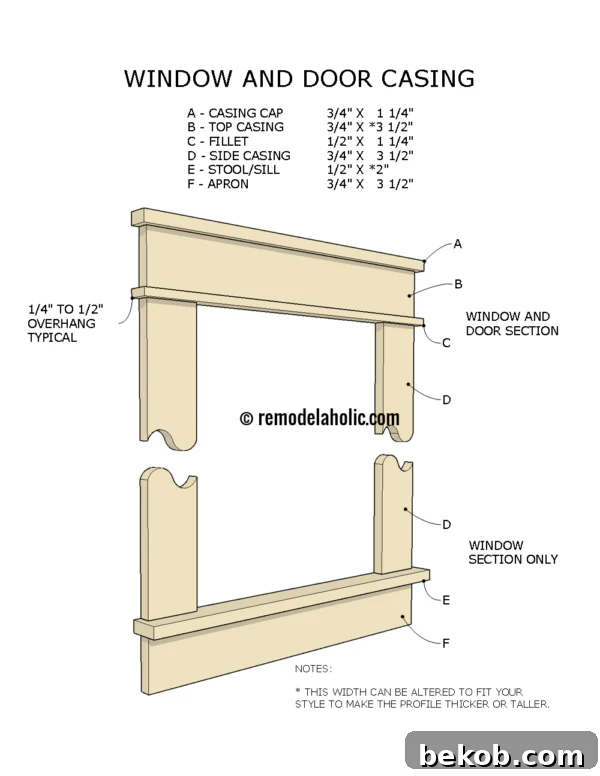
This visual aid shows how the trim style is built:
Caulk, Patch, and Sand
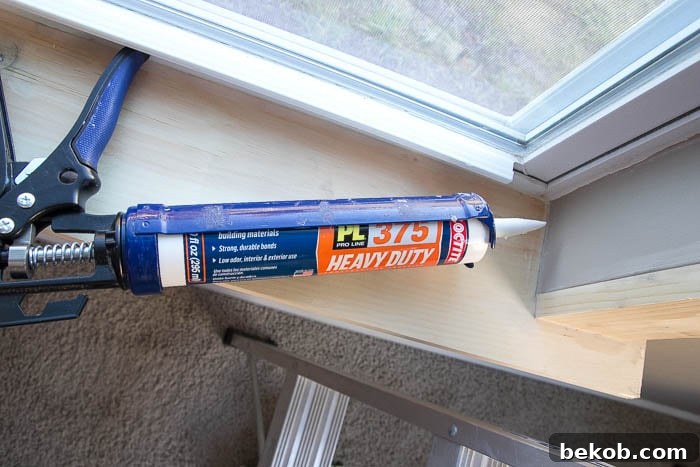
5 – Caulking: Caulk all the seams and fill the nail holes and knots with wood filler. Let it dry and sand it until smooth.
Check out additional resources for tips for caulking.
Paint or Stain
6 – Painting: Paint the trim. Apply two coats of a primer + paint combination.
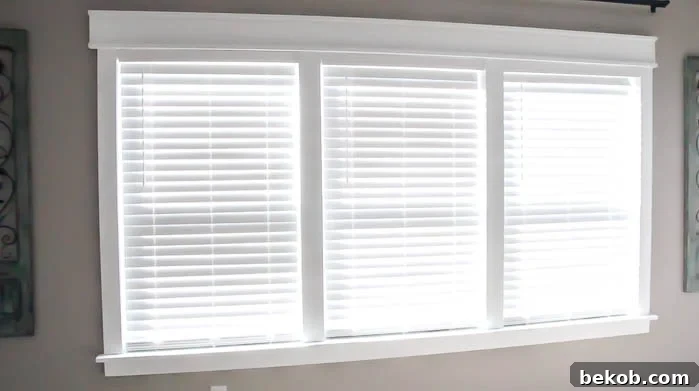
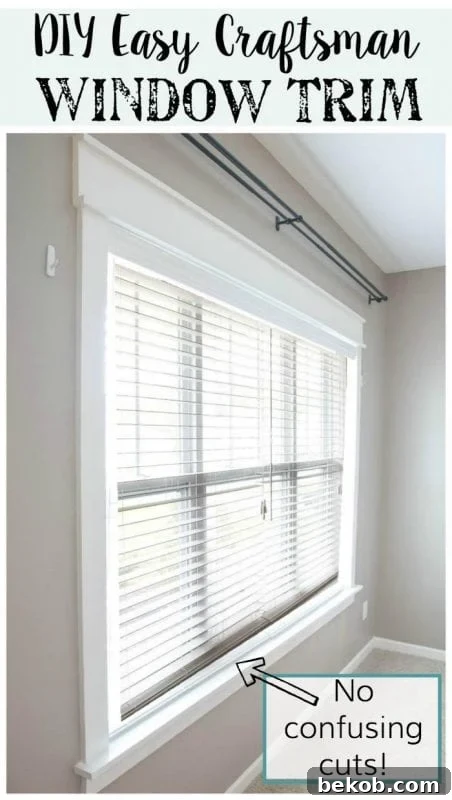
The difference is amazing! The windows are now complete.
The windows complement the fireplace perfectly. An area rug will complete the space, and ceiling beams might be added in the future.

More DIYs from this room can be found here.
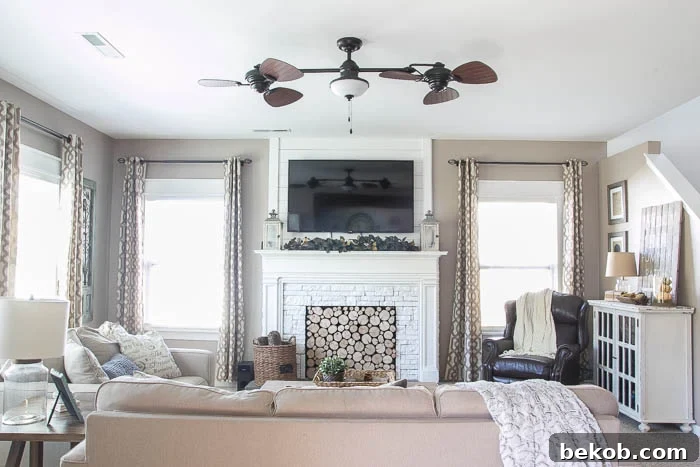
What do you think? Are you ready to try this project? Trimming out windows can significantly change the look of a room. We’re excited to tackle the rest of the windows!
Frequently Asked Questions about Craftsman Window Trim
What is Craftsman Style Window Trim?
Craftsman style window trim is a design that emerged from the Arts and Crafts movement in the early 1900s. It emphasizes comfort, simplicity, and natural materials, rejecting the mass-produced, machine-made items of the time.
What is Craftsman Molding?
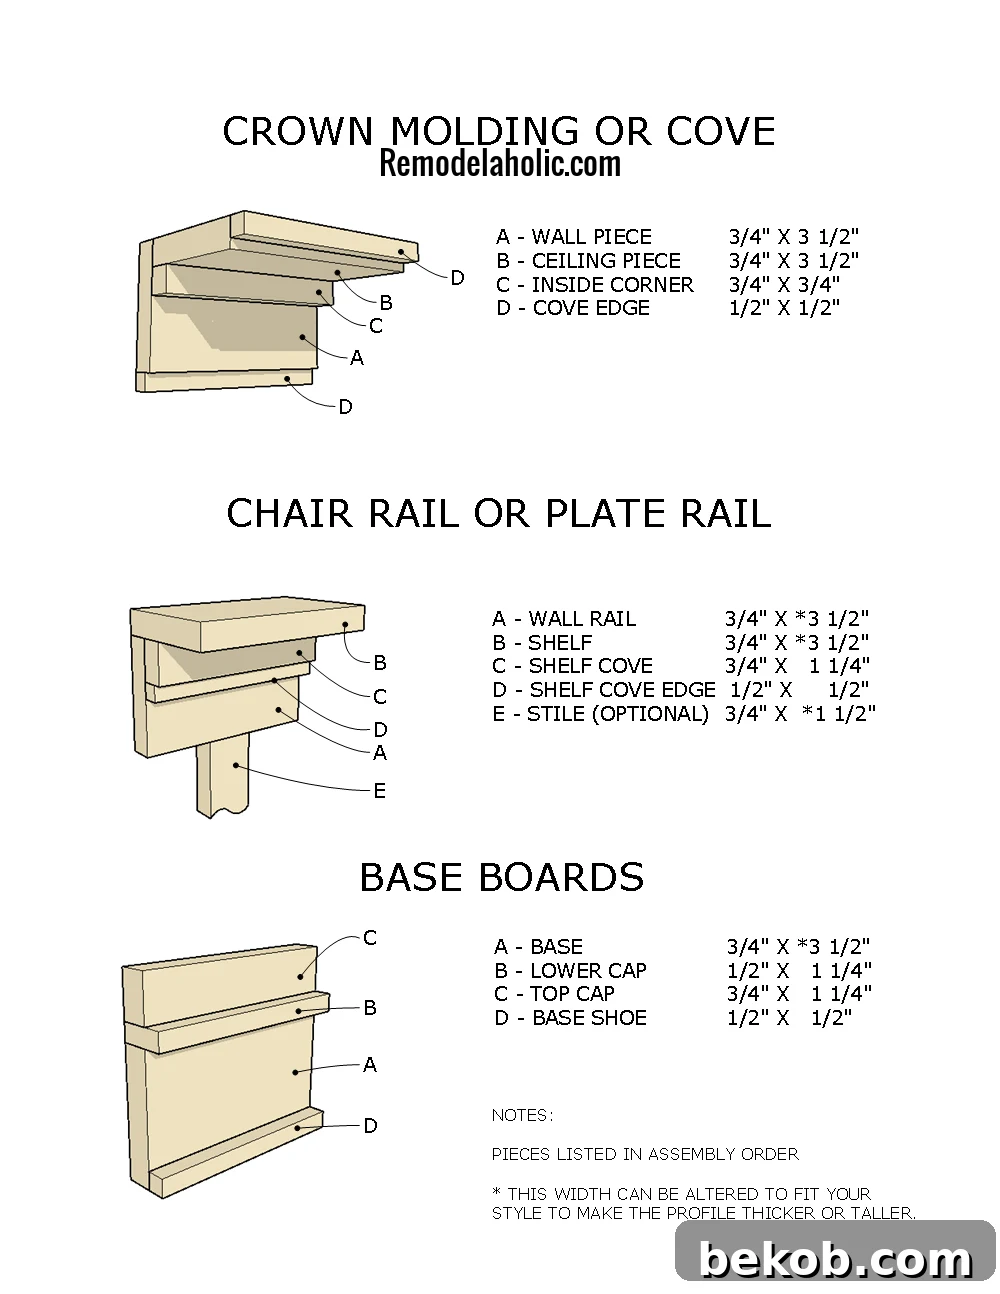
Craftsman molding features clean lines and a simple design. Key elements include a header, side casings, a sill, and an apron.
How Wide is Craftsman Trim?
The width of Craftsman trim is a matter of personal preference. You can have wider headers than side casings or aprons, or vice versa. The size often depends on the materials available in your local area.
What Material is Used for Window Casings?
The material depends on the desired look. Originally, Craftsman trim was made of oak in a style called Mission oak, highlighting simple vertical and horizontal lines.
Today, options include pine, poplar, maple, plastic moldings, and MDF. Consider your climate; avoid MDF in rainy areas due to its susceptibility to water damage. Painting trim allows for greater flexibility in material choice.
More DIY Window Trim Ideas:
- Caulking Tips and Tricks
- How to Trim Arched Windows
- Window Casing Frame Tips and Tutorials
- Tips and Tricks for Installing Trim and Molding
Updated 2023