
Create Your Own Festive Christmas Ornaments: A DIY Guide
Christmas is a time for joy, family, and of course, decorating! What better way to add a personal touch to your Christmas tree than by crafting your own ornaments? This guide presents two easy and delightful DIY Christmas ornament ideas: a charming flower ornament and a sleek modern ornament. These projects are perfect for crafters of all skill levels and require only a few simple materials. Get ready to unleash your creativity and create cherished holiday keepsakes!
Flower Ornament: A Touch of Whimsy for Your Tree
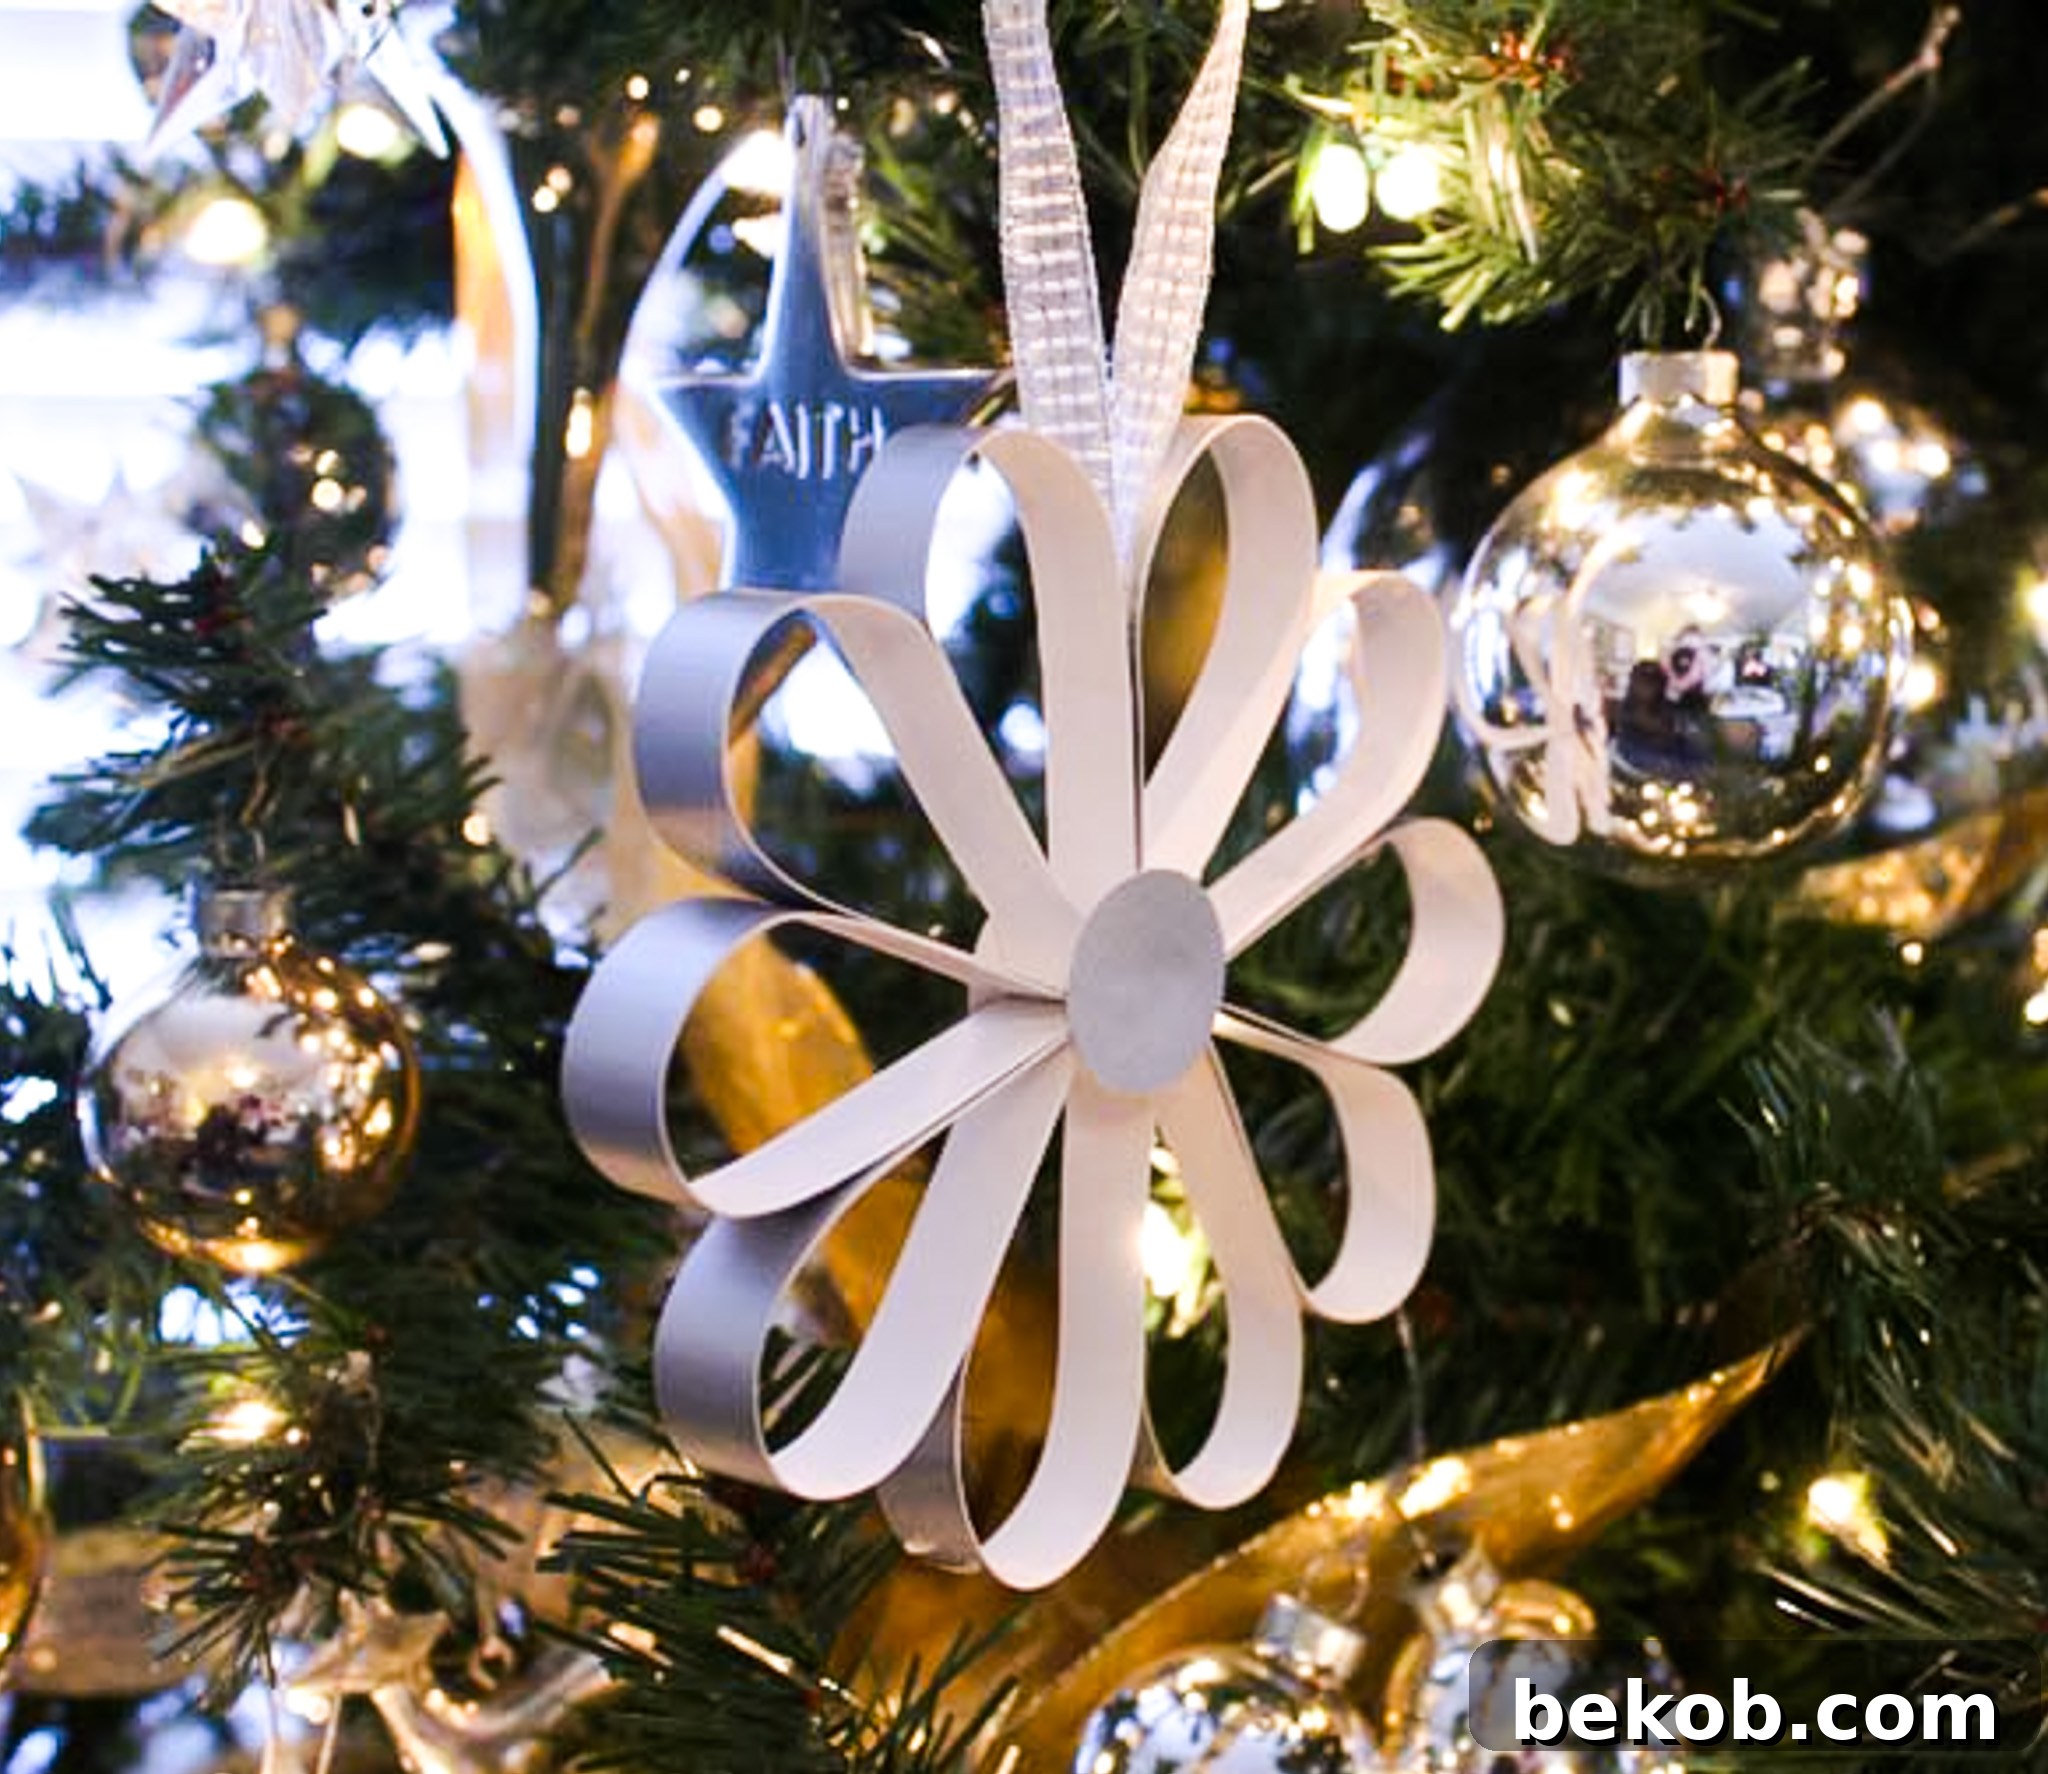
The flower ornament brings a touch of natural beauty and handmade charm to your Christmas tree. This project is incredibly versatile – you can customize it with different colors, patterns, and embellishments to perfectly match your holiday decor. Let’s get started!


These ornaments are so simple to make. They are also super fun. Gather your materials and start crafting!
Materials You’ll Need:
- Card stock paper (various colors and patterns)
- Scissors
- Stapler
- Glue
- Ribbon
- Quarter (for tracing circles)
- Optional: Glitter, rhinestones, artificial flowers, and other embellishments
Step-by-Step Instructions:
Step 1: Cut the Paper Strips
Begin by cutting eight strips of card stock paper. Each strip should be approximately 3/4 inch thick and between 4 to 6 inches long. Feel free to use a variety of colors and patterns to add visual interest to your flower ornament.
Step 2: Prepare the Center Circles
Using a quarter as a template, trace two circles onto card stock paper. You can use the same paper as the strips or choose a contrasting color for a pop of visual appeal. Cut out the circles and set them aside. This is where you can get creative and embellish the circles with glitter, rhinestones, or other craft supplies.
Step 3: Create the Teardrop Loops
Grab your stapler. Loop each paper strip to form a teardrop shape, overlapping the ends slightly. Staple the two ends together to secure the loop. Repeat this process with all eight paper strips. It’s important to create the loops uniform for best results.

Step 4: Add the Ribbon Loop
Cut a small piece of ribbon and create a loop for hanging your ornament. Glue one end of the ribbon loop to the side of one of your paper loops. Then, glue the other end of the ribbon to the same loop. This will create a secure loop for hanging.
Step 5: Assemble the Flower Petals
Take a second loop and glue it to the first loop, creating a heart-like shape. This will form the basis of your flower petal. Continue adding loops, gluing each one to the adjacent loop to form a circle. Use paper clips to hold the loops in place while the glue dries.

Step 6: Finish the Center
Once all the loops are glued together and the glue has set, remove the paper clips. Apply a generous amount of glue to the center of the flower. Carefully place one of your embellished circles over the center of the flower, pressing gently to secure it. This will cover the stapled ends and add a polished finish.

And there you have it! Your handmade flower ornament is complete and ready to adorn your Christmas tree. Feel free to experiment with different colors, sizes, and embellishments to create a collection of unique and personalized flower ornaments.
Modern Ornament: Sleek and Stylish Holiday Decor
For a more contemporary look, the modern ornament is a fantastic choice. This ornament is simple yet elegant, adding a touch of minimalist style to your Christmas tree. It’s a great project for using up scrap paper and can be customized to match any color scheme.


Materials You’ll Need:
- Card stock paper (various colors and patterns)
- Scissors
- Stapler
- Glue
- Ribbon
Step-by-Step Instructions:
Step 1: Cut the Paper Strips
This ornament requires paper strips of varying lengths to create its unique shape. Cut eight strips of paper: two strips at approximately 3-4 inches, two strips at 5 inches, two strips at 6 inches, and two strips at 7 inches. Adjust the lengths as needed to achieve your desired ornament size.

Step 2: Prepare the Ribbon Loop
Cut a small piece of ribbon and create a loop for hanging your ornament. Set it aside.

Step 3: Sandwich the Ribbon Loop
Take the two shortest strips of paper (3-4 inches). Apply glue to the inside of one strip and attach the ribbon loop. Then, glue the second strip over the first, sandwiching the ribbon loop securely in between. This creates the central hanging point for the ornament.

Step 4: Stack and Staple
Stack the paper strips in the following order: 7-inch strip, 6-inch strip, 5-inch strip, the sandwiched ribbon piece, 5-inch strip, 6-inch strip, and 7-inch strip. Take the end of the stacked pieces and staple them together.
Step 5: Form the Shape
Repeat the stapling process on the other end of the stacked pieces. As you hold all the ends together, the longer pieces will naturally push outward, creating the distinctive shape of the modern ornament. Adjust the strips slightly to achieve your desired form.

Congratulations! Your modern ornament is now complete and ready to add a touch of contemporary style to your Christmas tree. Experiment with different paper lengths and colors to create a diverse collection of modern ornaments.

Spread the Holiday Cheer with Handmade Ornaments
Crafting your own Christmas ornaments is a wonderful way to personalize your holiday decorations and create lasting memories. These flower and modern ornament tutorials offer simple and enjoyable projects that can be customized to reflect your unique style. Gather your materials, unleash your creativity, and enjoy the process of bringing a handmade touch to your Christmas celebrations.
These ideas were inspired by Flickr and Design Sponge. Click on the links if you want to check them out.