
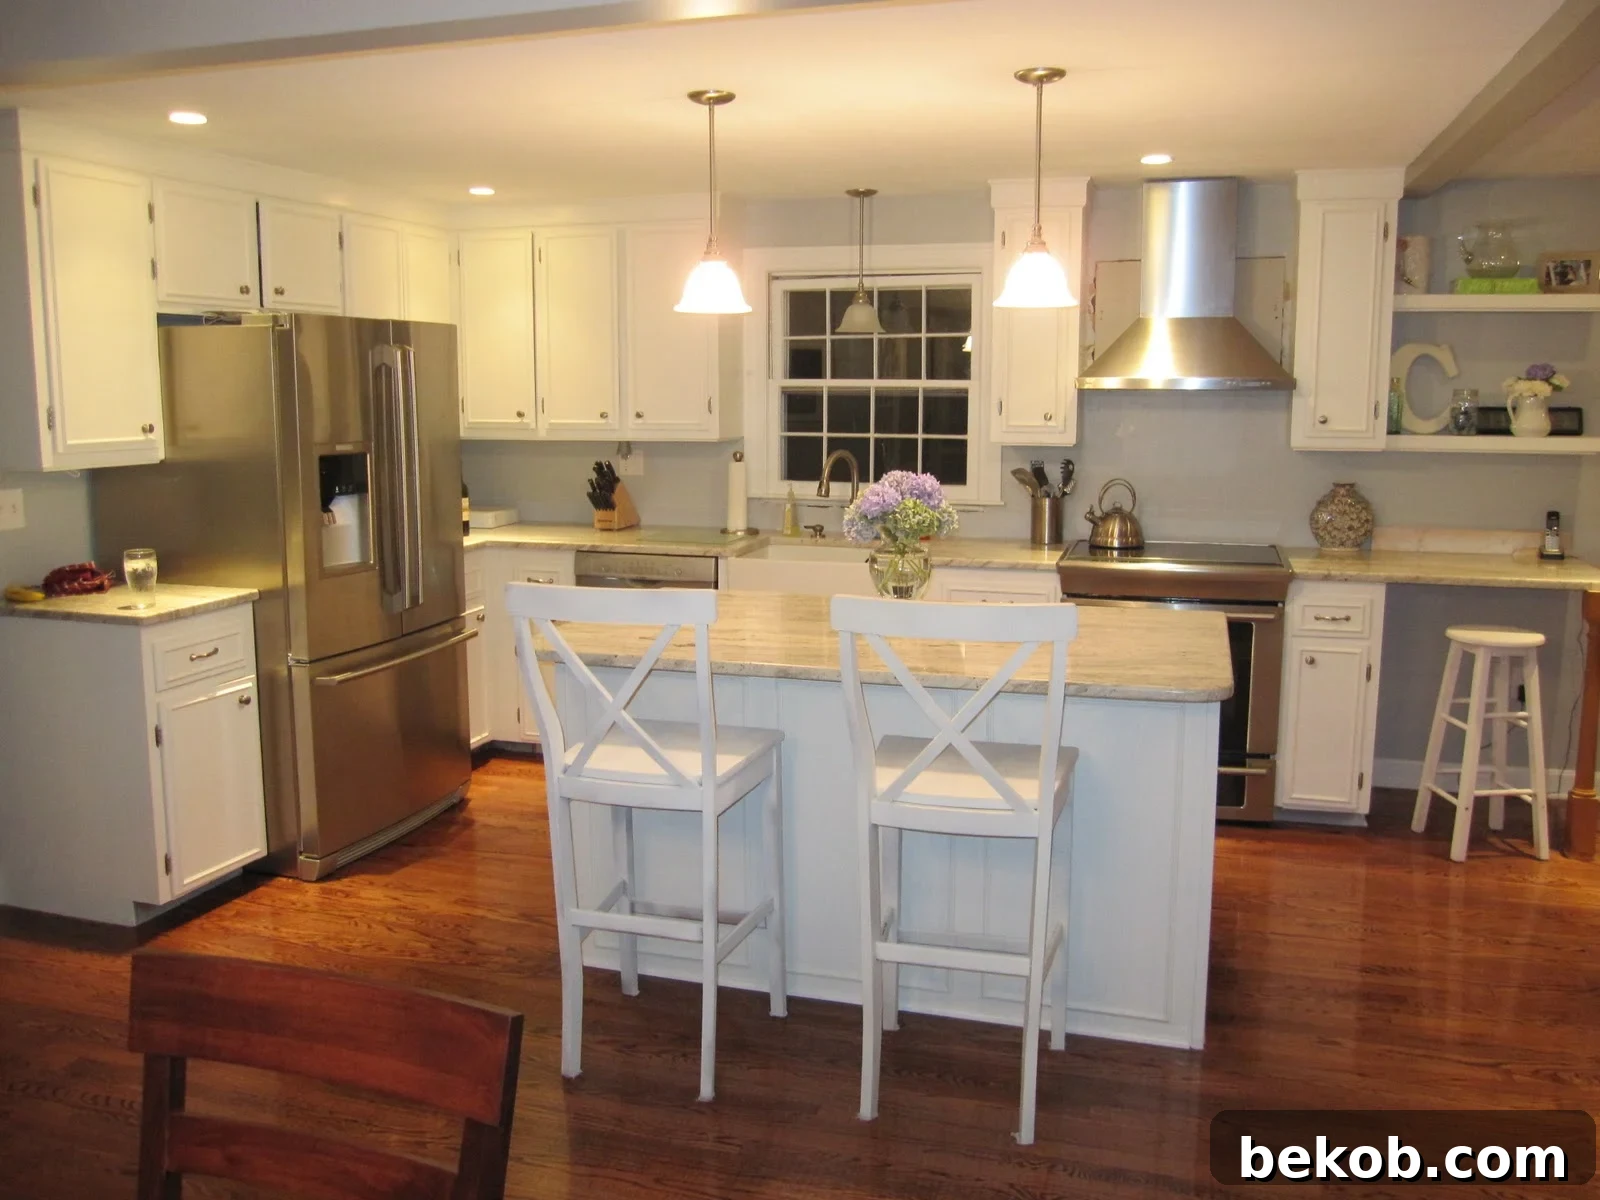
Kitchen Renovation: From Stained Wood to Beautiful White
A Kitchen Transformation Contributed by Simple.Beautiful.Home
Embarking on a kitchen renovation is a significant undertaking, filled with decisions, challenges, and ultimately, immense satisfaction. This is the story of one such transformation, a journey from a dated kitchen dominated by stained wood to a bright, inviting space bathed in white. Join us as we explore the different stages, the choices made, and the lessons learned along the way.
The “Before”: A Kitchen in Need of a Refresh
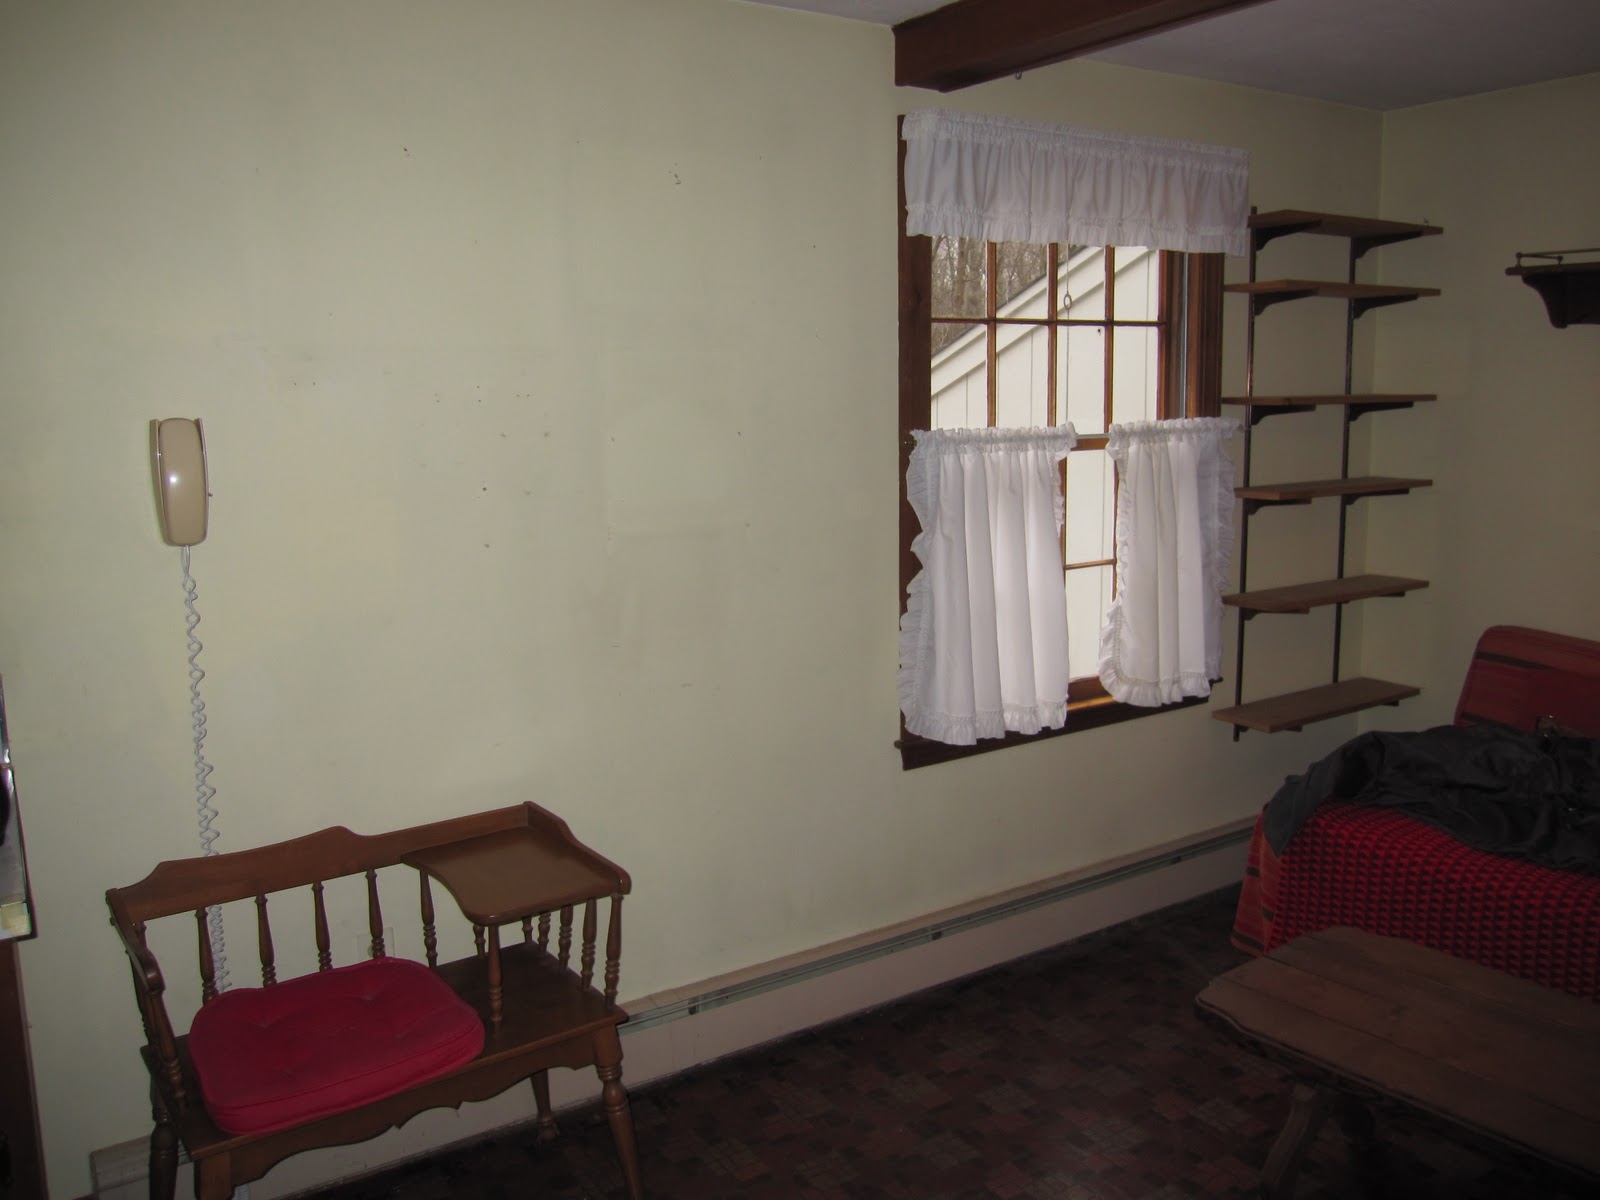
Let’s start where every renovation begins: the before photos. Imagine a kitchen with dark, stained wood cabinets, a somewhat cramped layout, and an overall feeling of being stuck in a past era. While structurally sound, it lacked the modern appeal and functionality the homeowners desired. It was a kitchen ripe for a makeover, a canvas waiting to be transformed.

The original kitchen featuring dated stained wood cabinets and finishes.
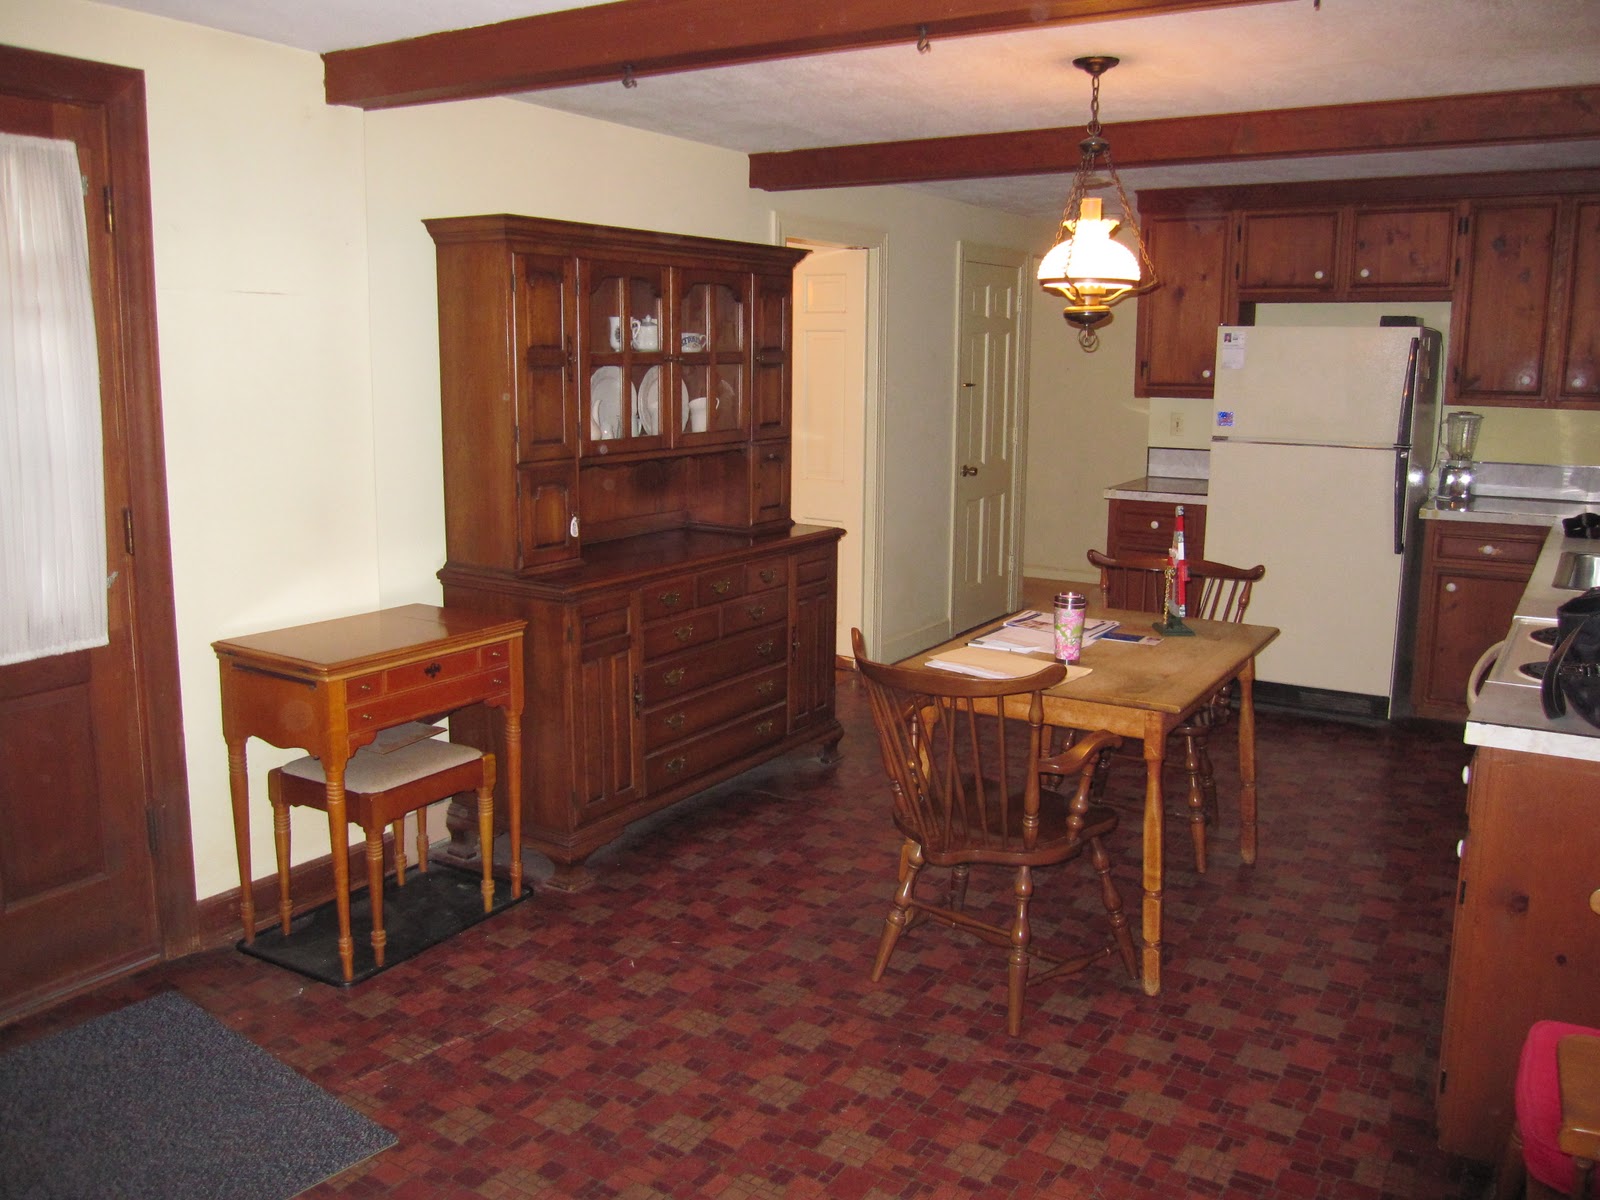
Another view showcasing the original layout and features.
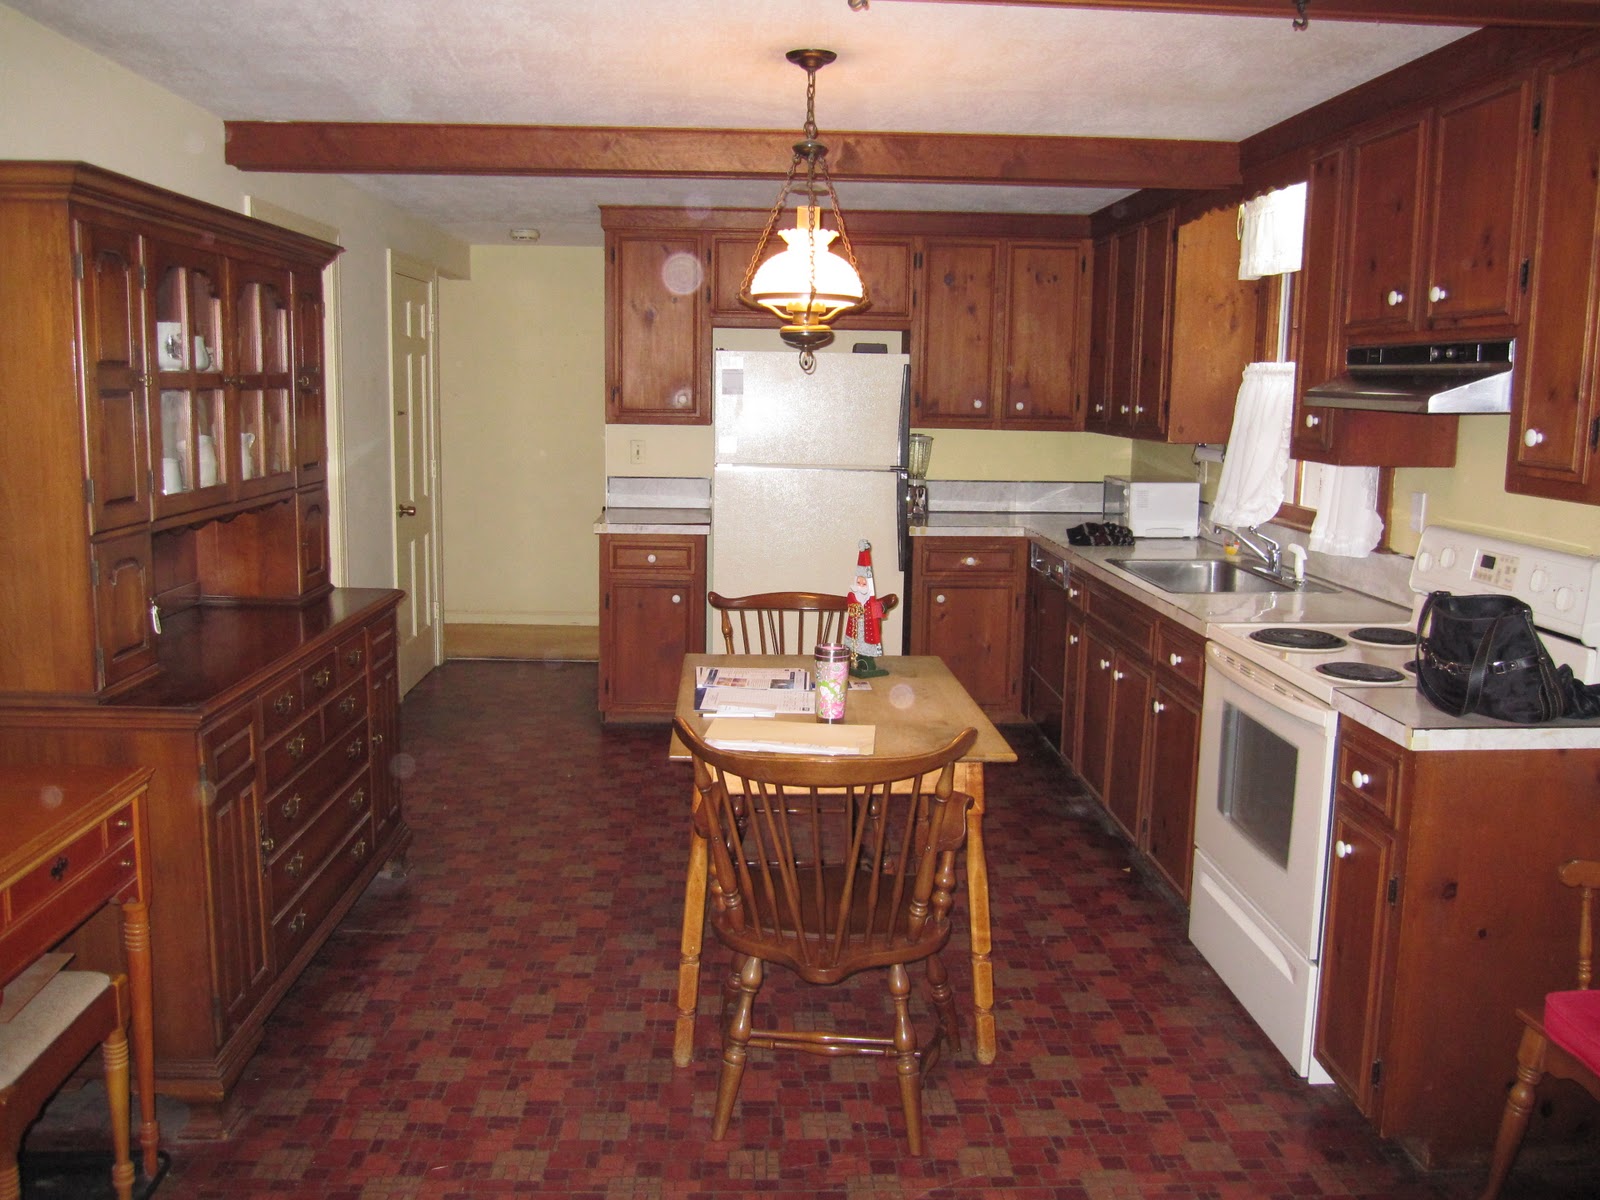
A final look at the “before” state, ready for demolition and a fresh start.
Demolition and Preparation: Laying the Groundwork
The initial phase of any renovation involves demolition. In this case, it meant removing the old flooring, taking down faux ceiling beams, and dismantling the countertops. Walls separating the kitchen from the dining room were also removed to create a more open and flowing space. This stage is messy, disruptive, but absolutely essential for building the kitchen of your dreams.
One of the major decisions was what to do with the existing cabinets. After researching the cost of new cabinets, the homeowners realized that their perfectly good all-wood cabinets could be salvaged with a fresh coat of paint. This decision saved them a significant amount of money, allowing them to allocate funds to other areas of the renovation.
To ensure a professional finish, they hired a painter to spray the cabinets with a durable white finish. This was a particularly important consideration given the original pine wood and the need for adequate coverage. While painting the cabinets themselves would have been a cost-saving option, the time saved and the quality of the professional finish were well worth the investment.
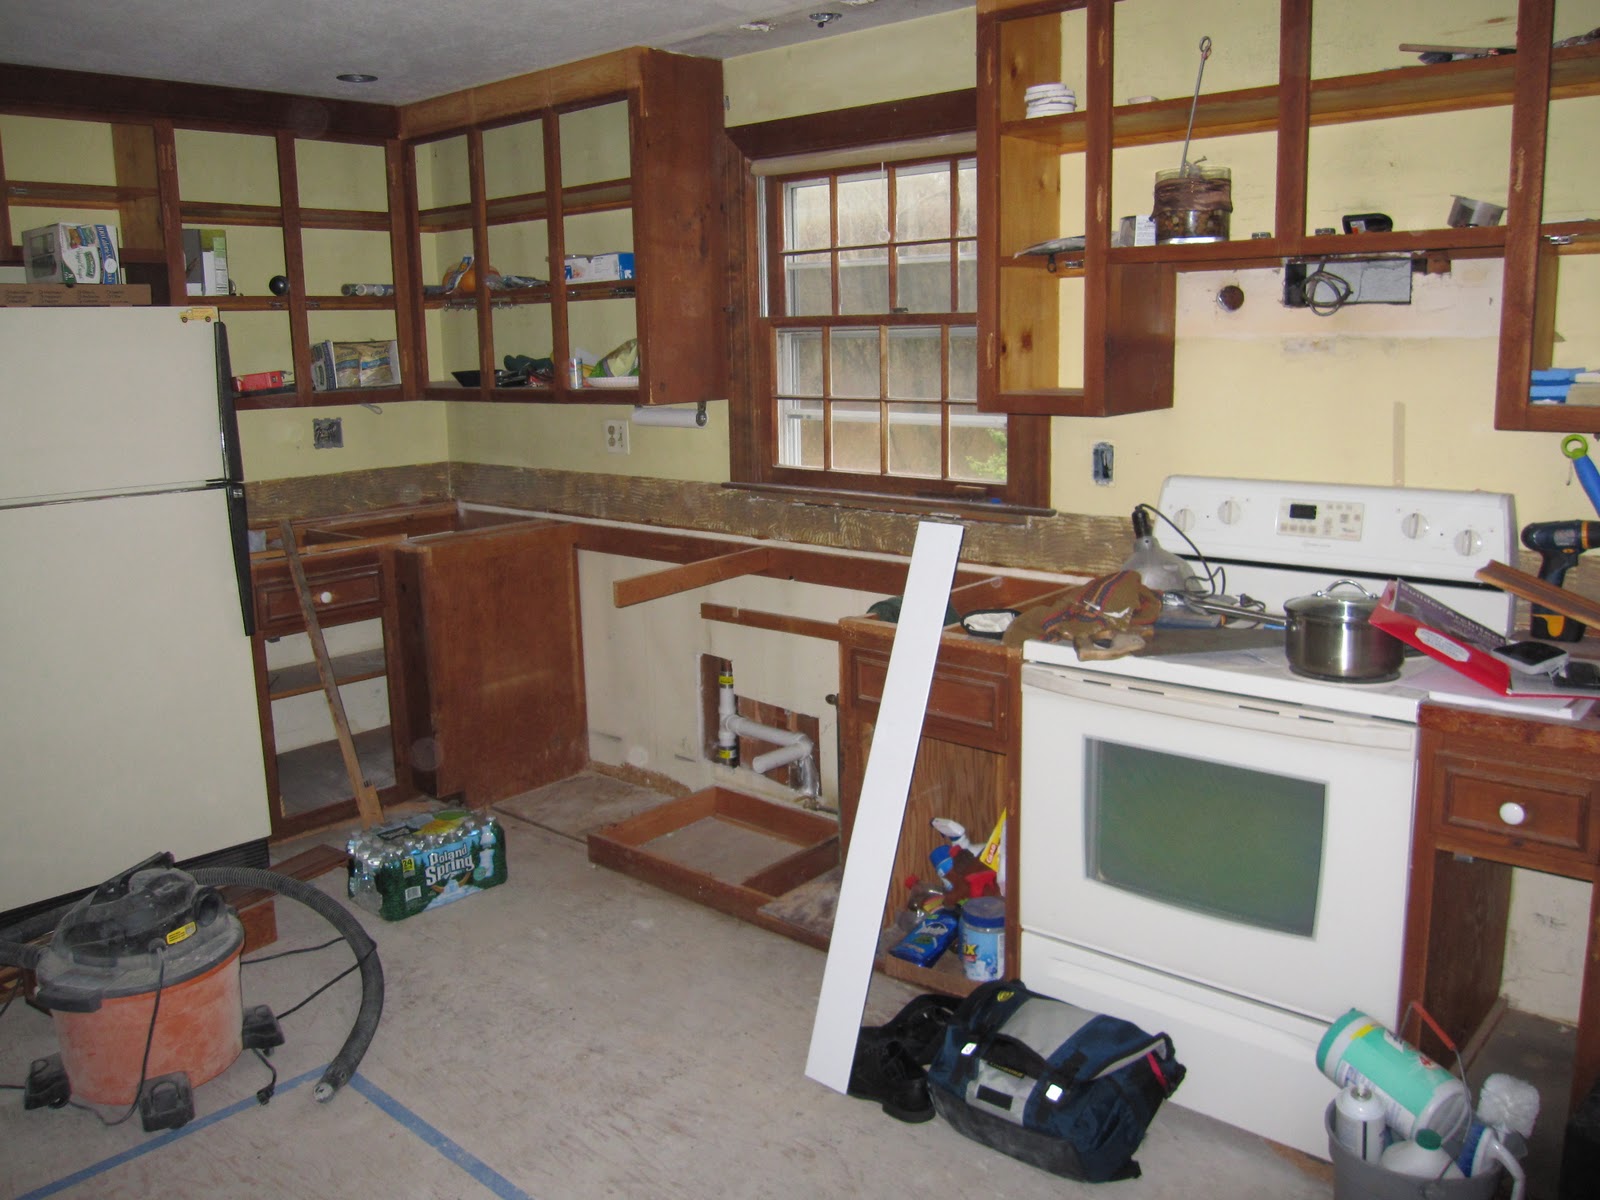
The kitchen during the demolition phase, with flooring and other elements being removed.
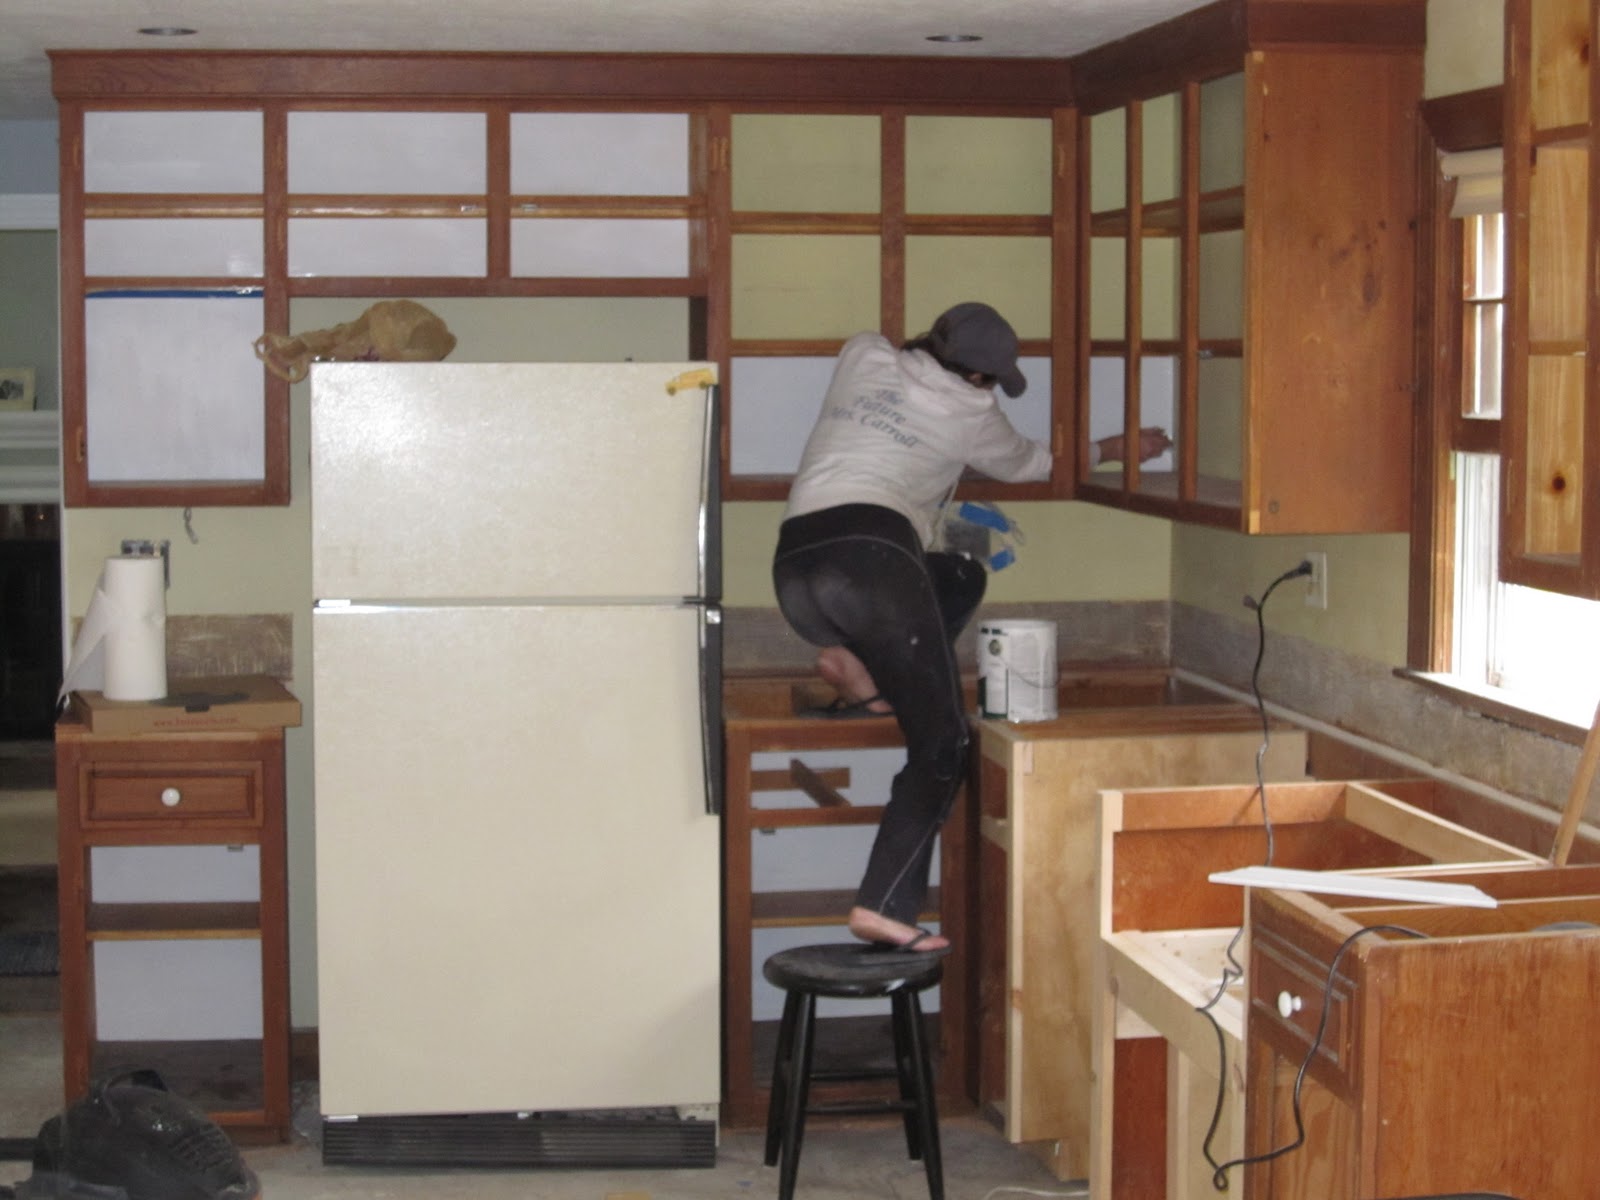
Cabinet doors removed in preparation for painting.
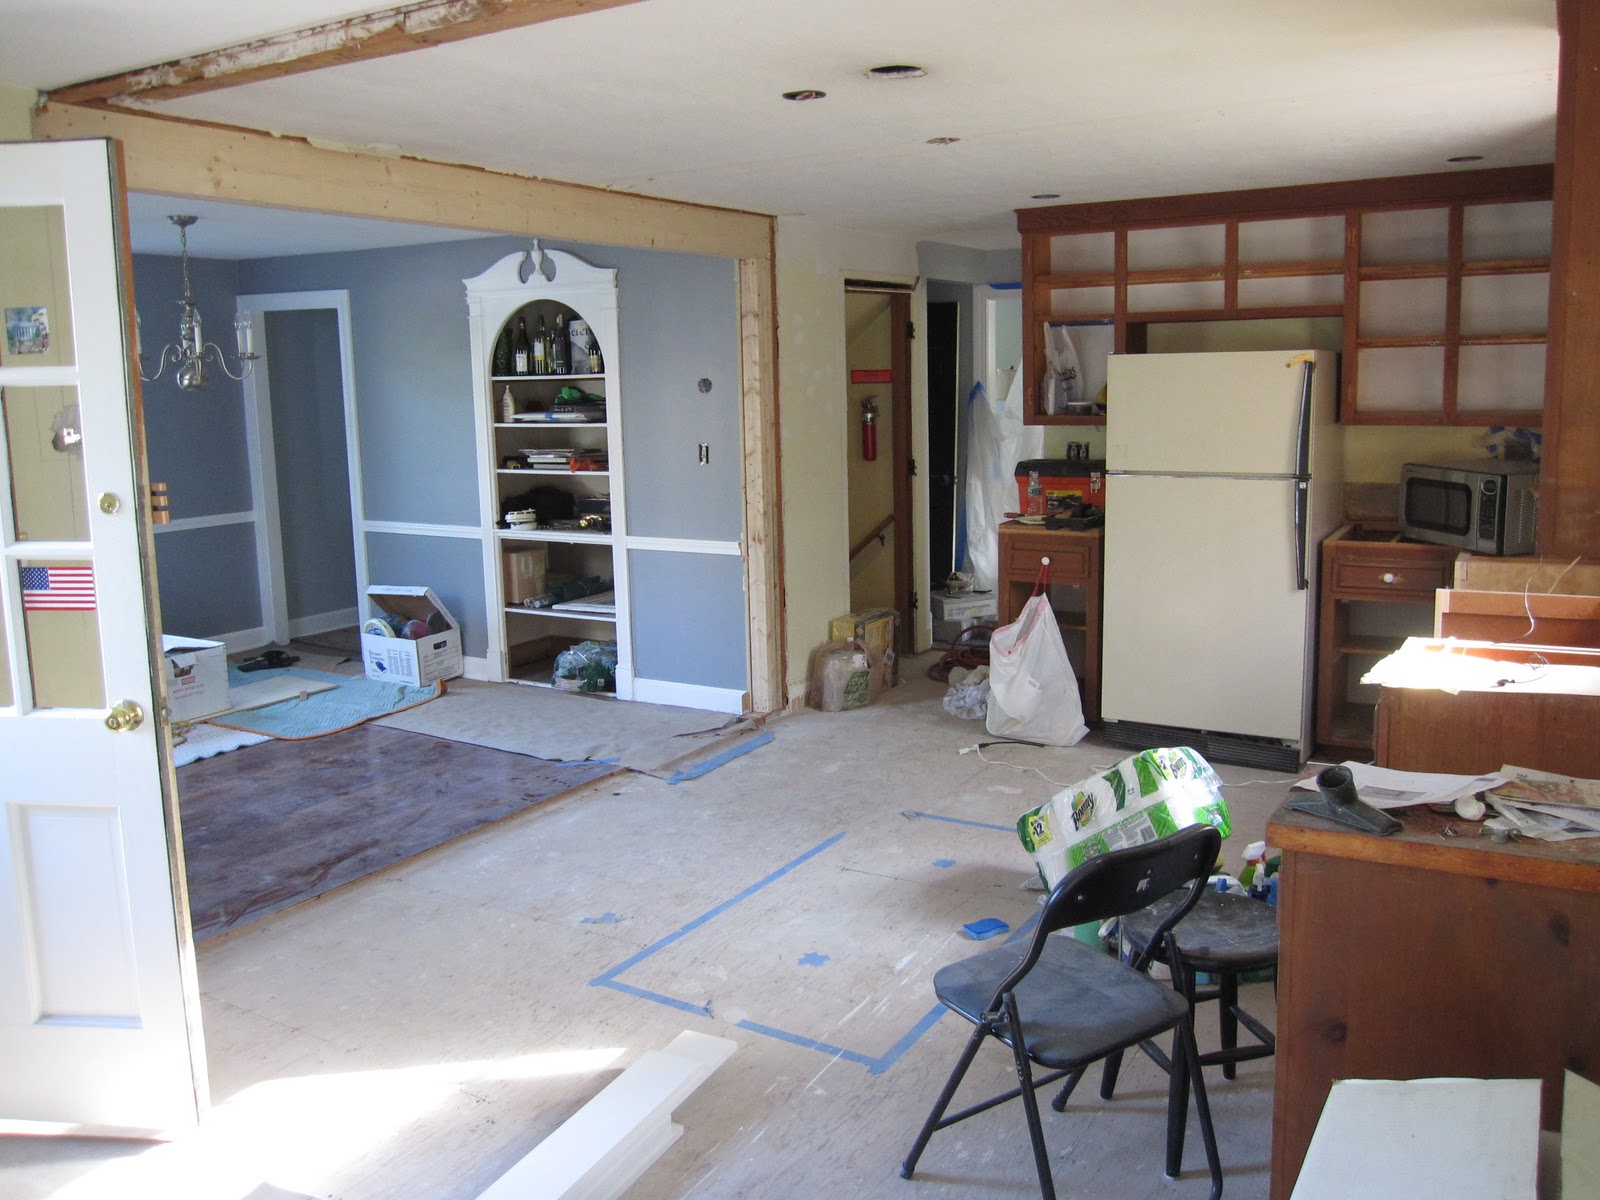
The kitchen ready for painting, showcasing the bare bones of the space.
Lighting and Island Construction: Adding Functionality and Style
With the demolition complete and the cabinets prepped, it was time to focus on adding functionality and style. Recessed lighting was installed to brighten up the space, replacing the inadequate and outdated fixtures. An electrician was brought in to handle the wiring, including adding pendant lighting over the future island and preparing for under-cabinet lighting (which was planned but not immediately implemented).
The construction of the island was a significant project. With the help of family members, the homeowners built a custom island that provided much-needed counter space and storage. Building the island themselves allowed them to customize it to their specific needs and preferences, ensuring it was a perfect fit for their new kitchen.
Additional cabinets were also installed along the entry wall to create a mudroom area and provide extra pantry storage. While the homeowners initially considered DIYing this project, they ultimately opted to hire a carpenter to ensure the cabinets were properly installed and could handle the weight of pantry items. This was a smart decision, as it ensured the longevity and functionality of the cabinets.
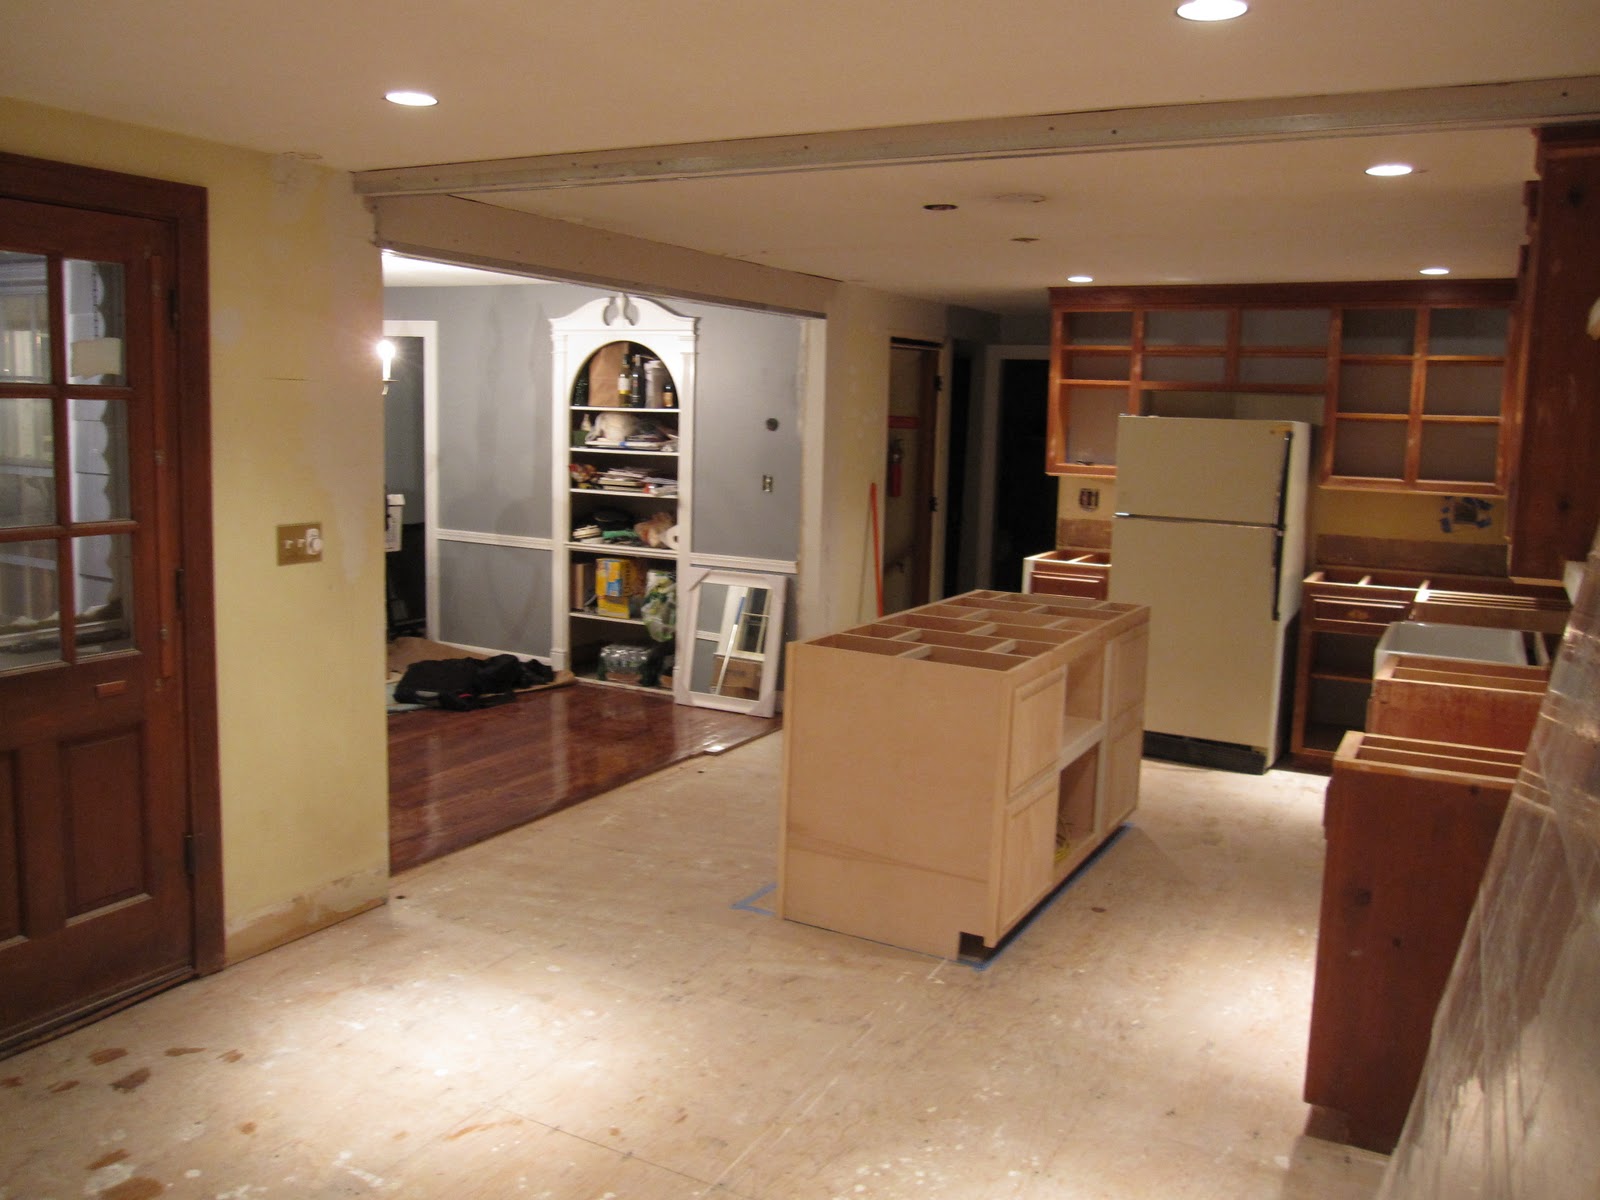
Installation of recessed lighting to brighten the kitchen.
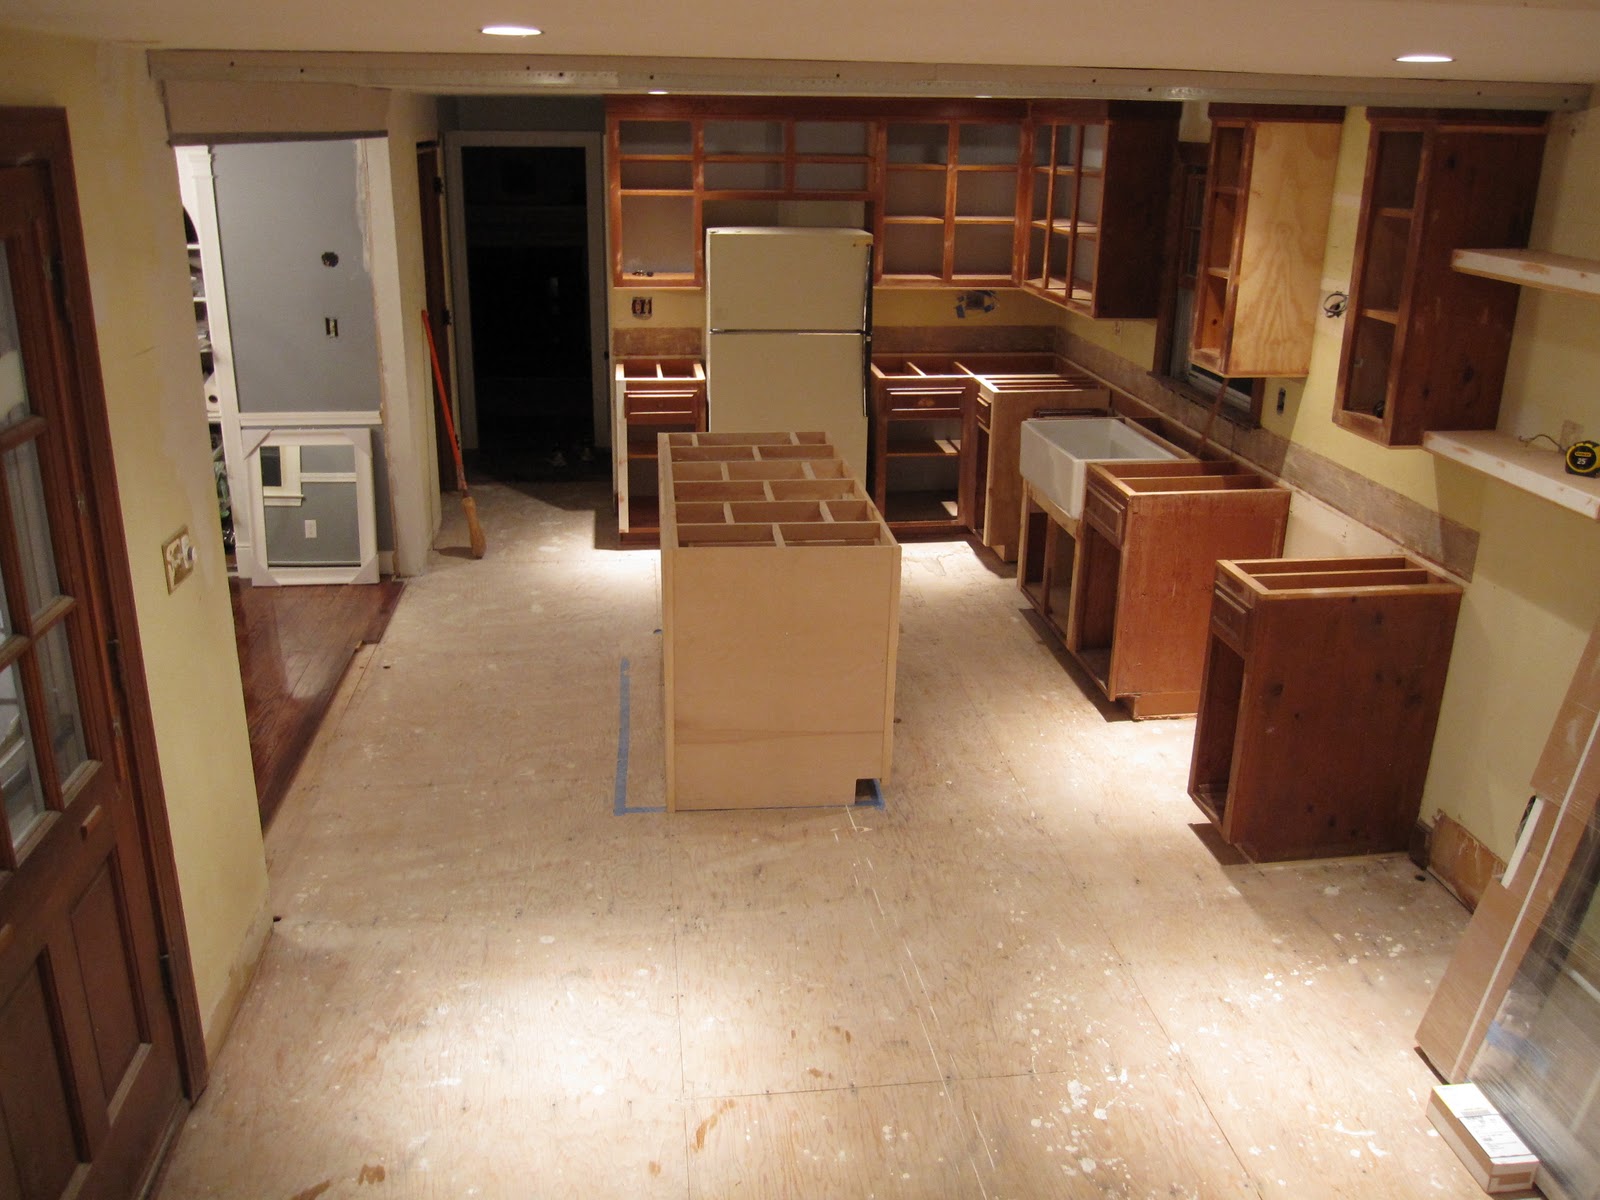
The early stages of island construction.
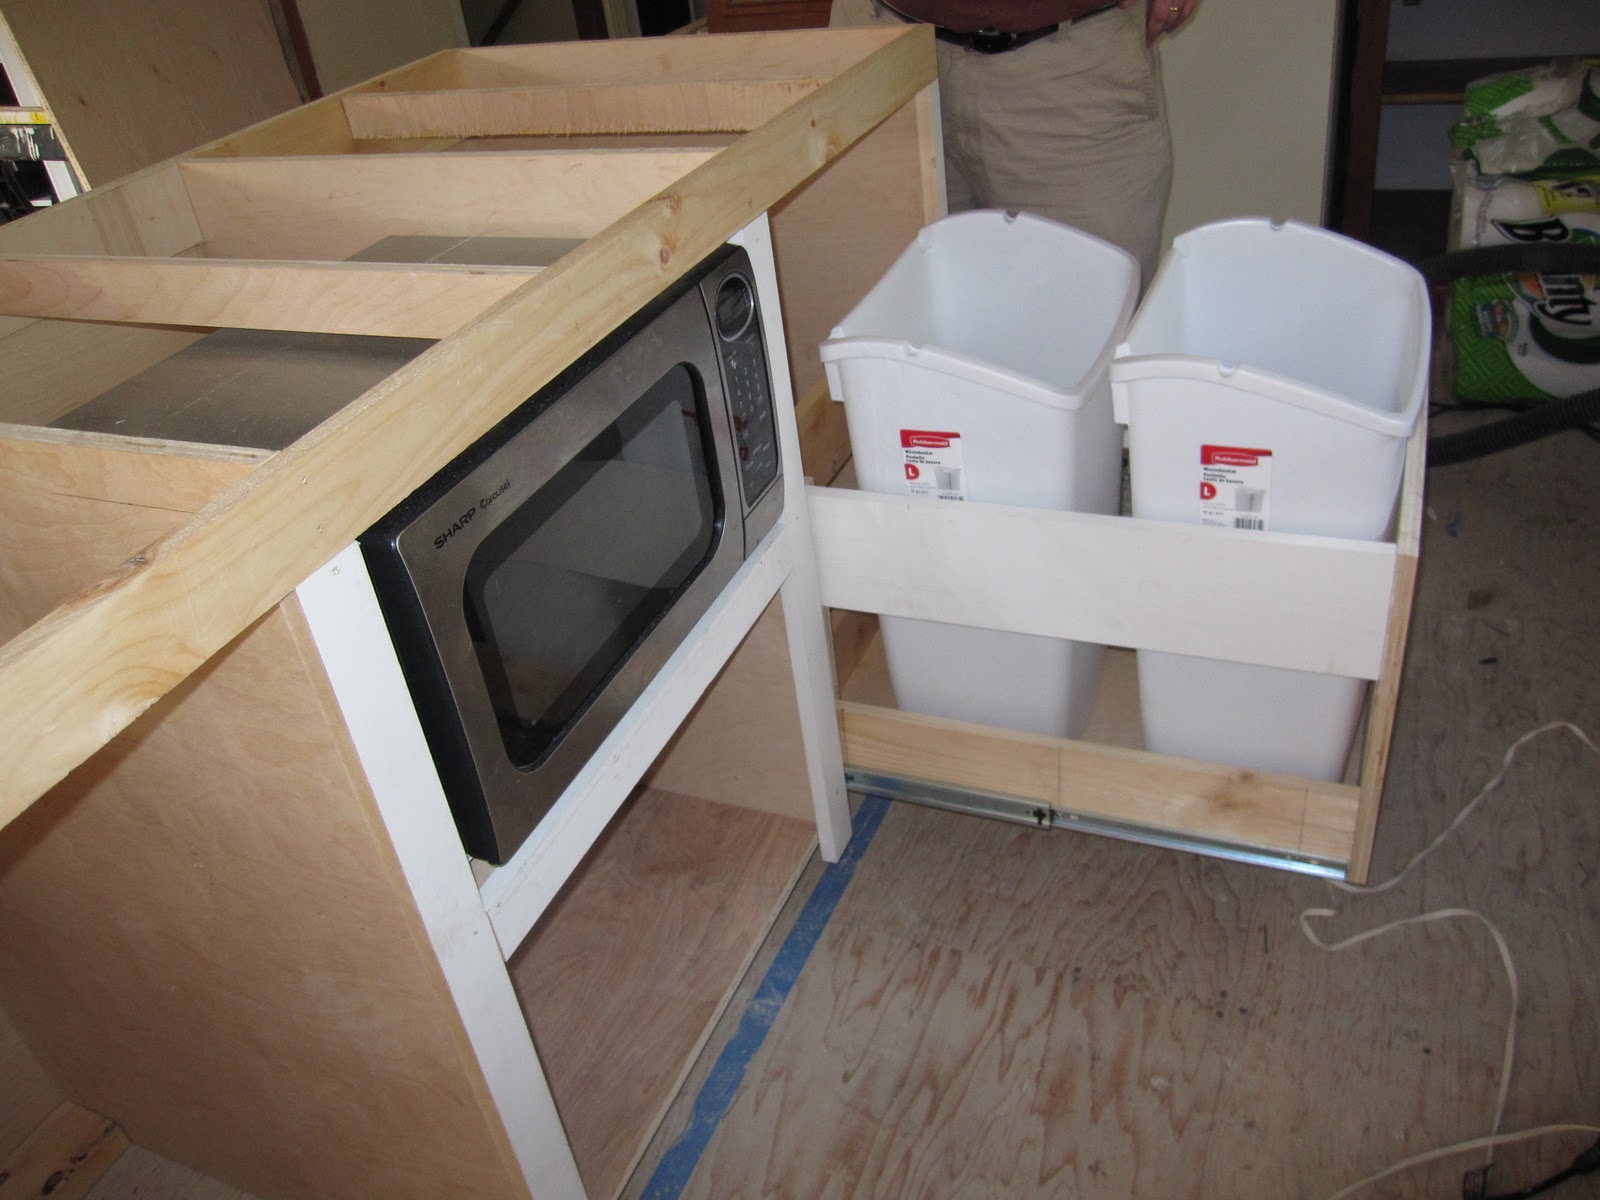
Framing of the kitchen island.
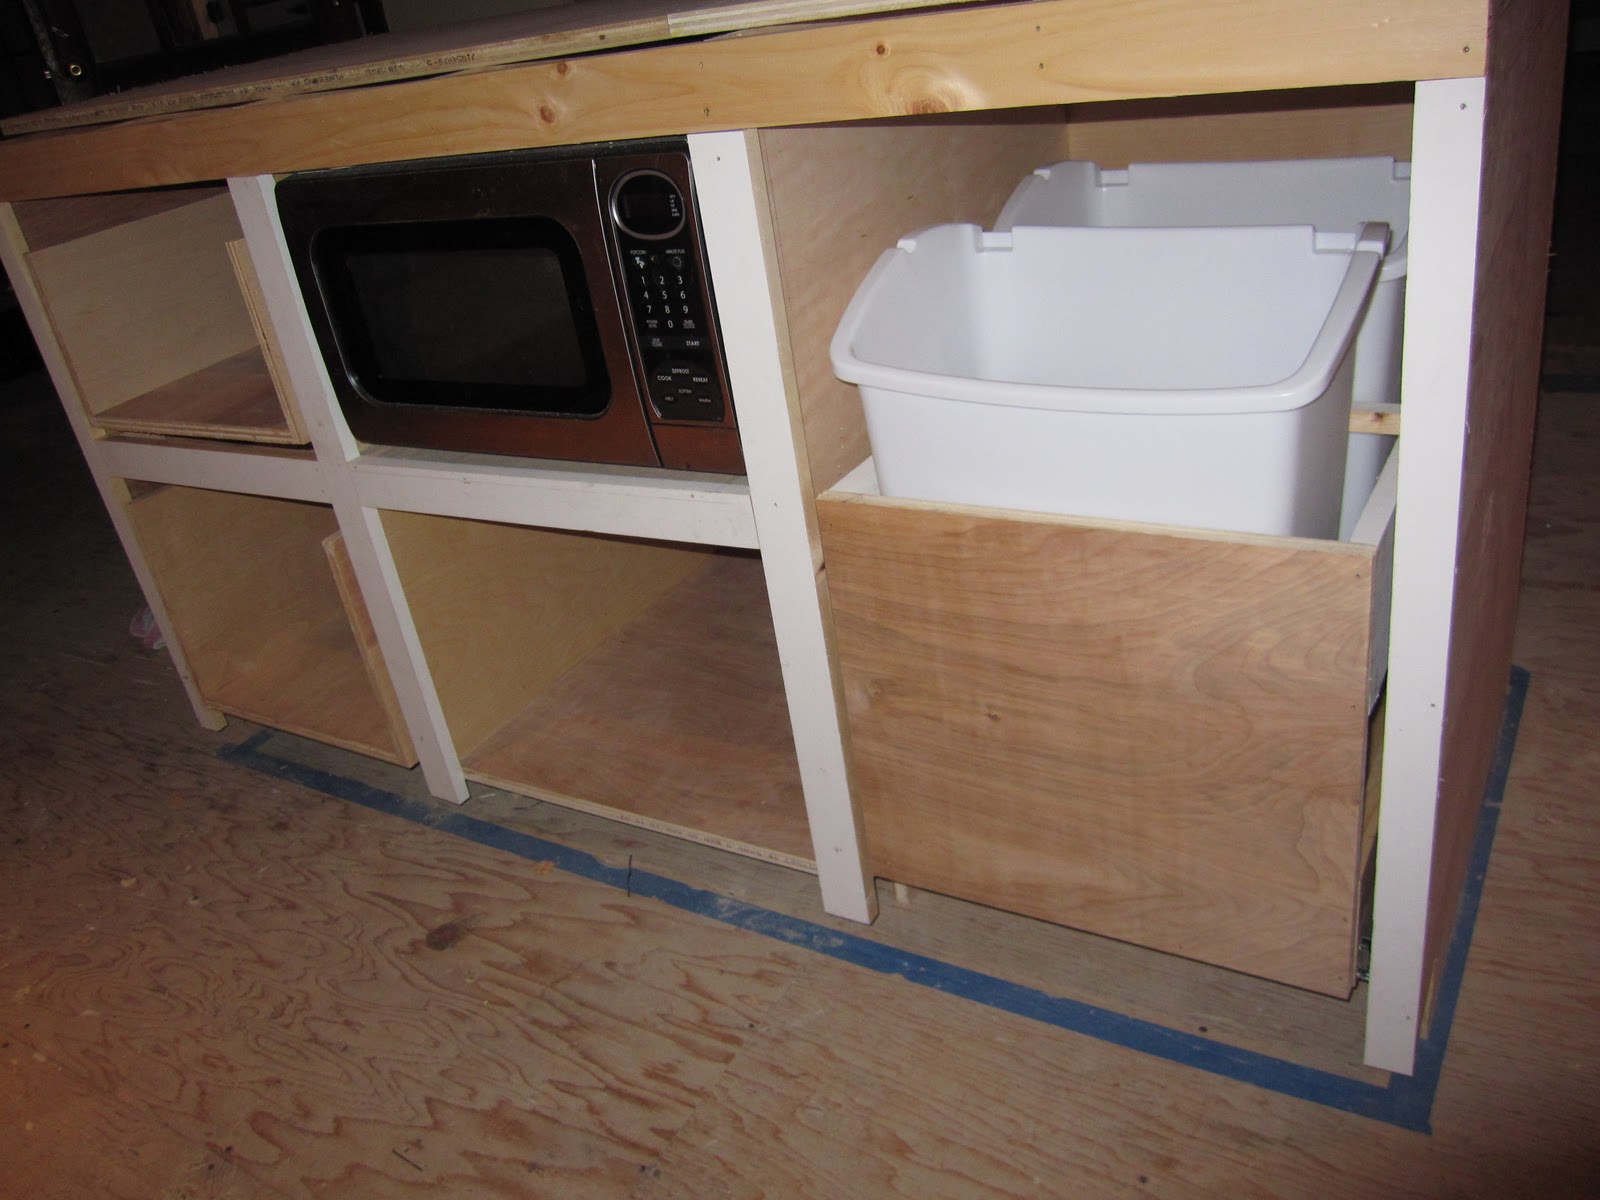
Continued construction of the island.

New cabinets being built.
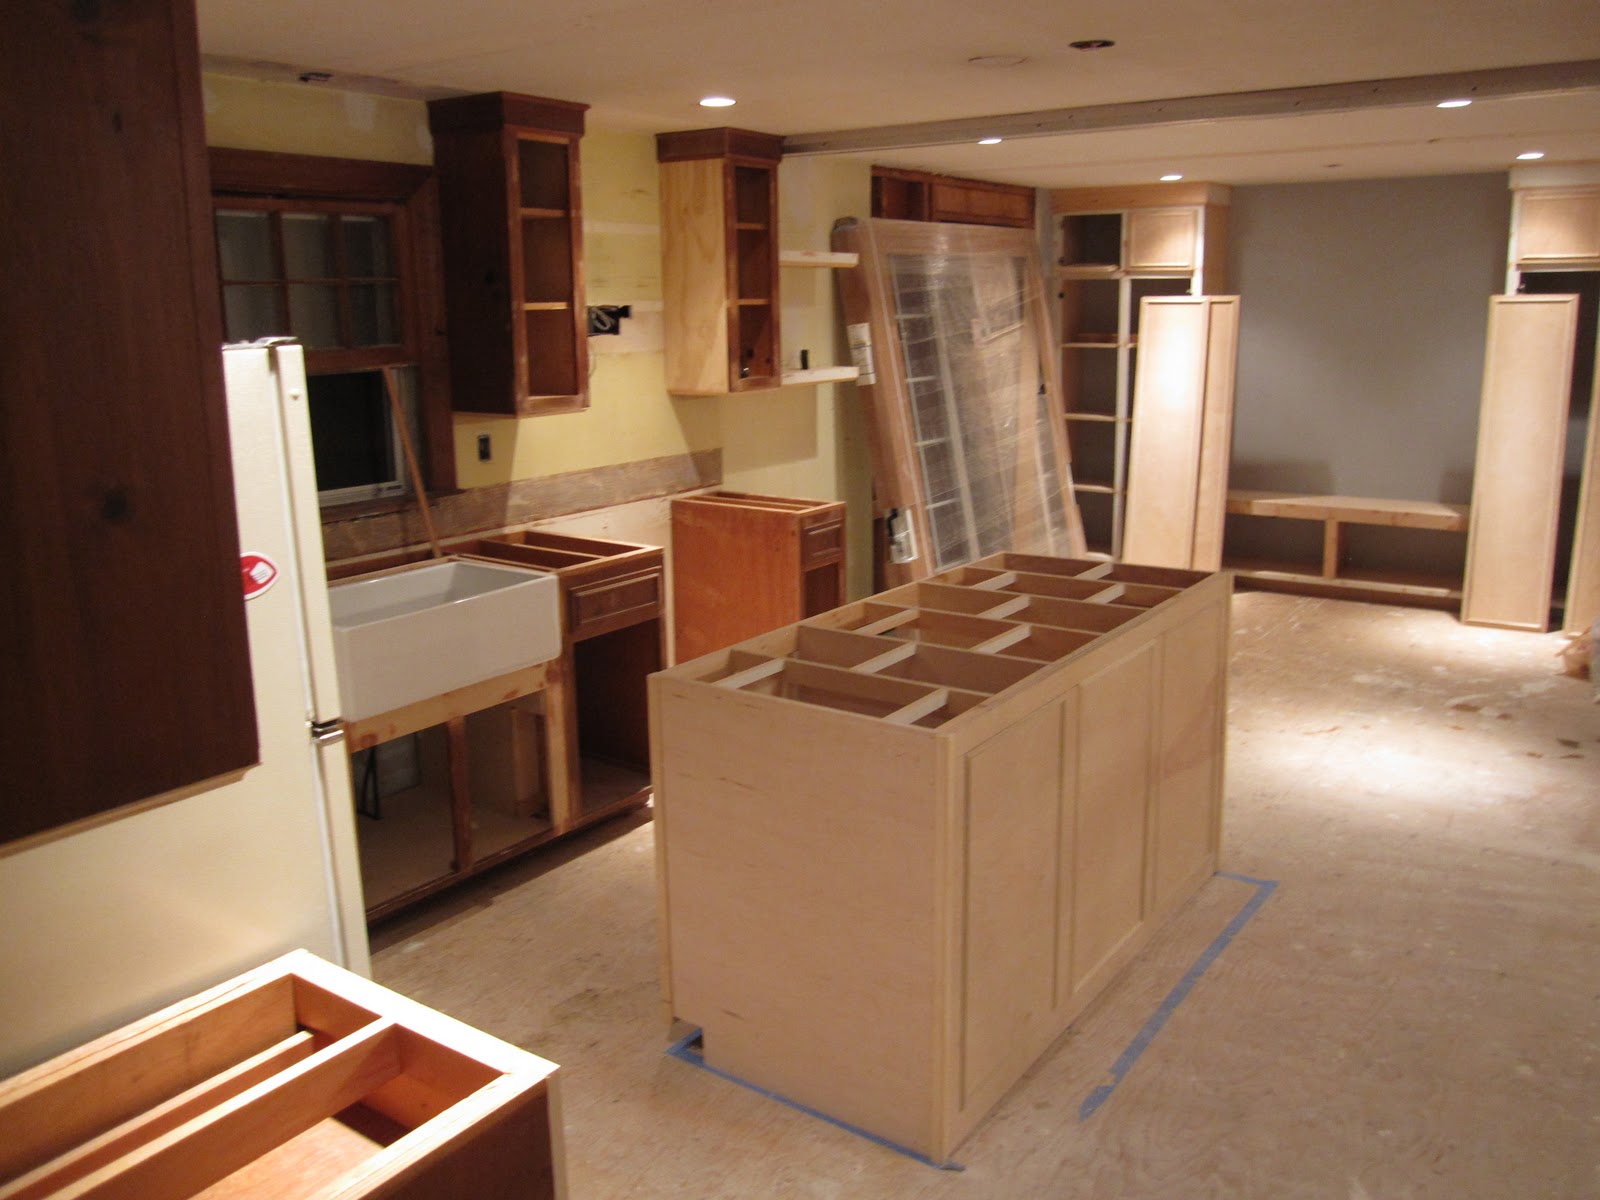
Cabinets built along the entryway.
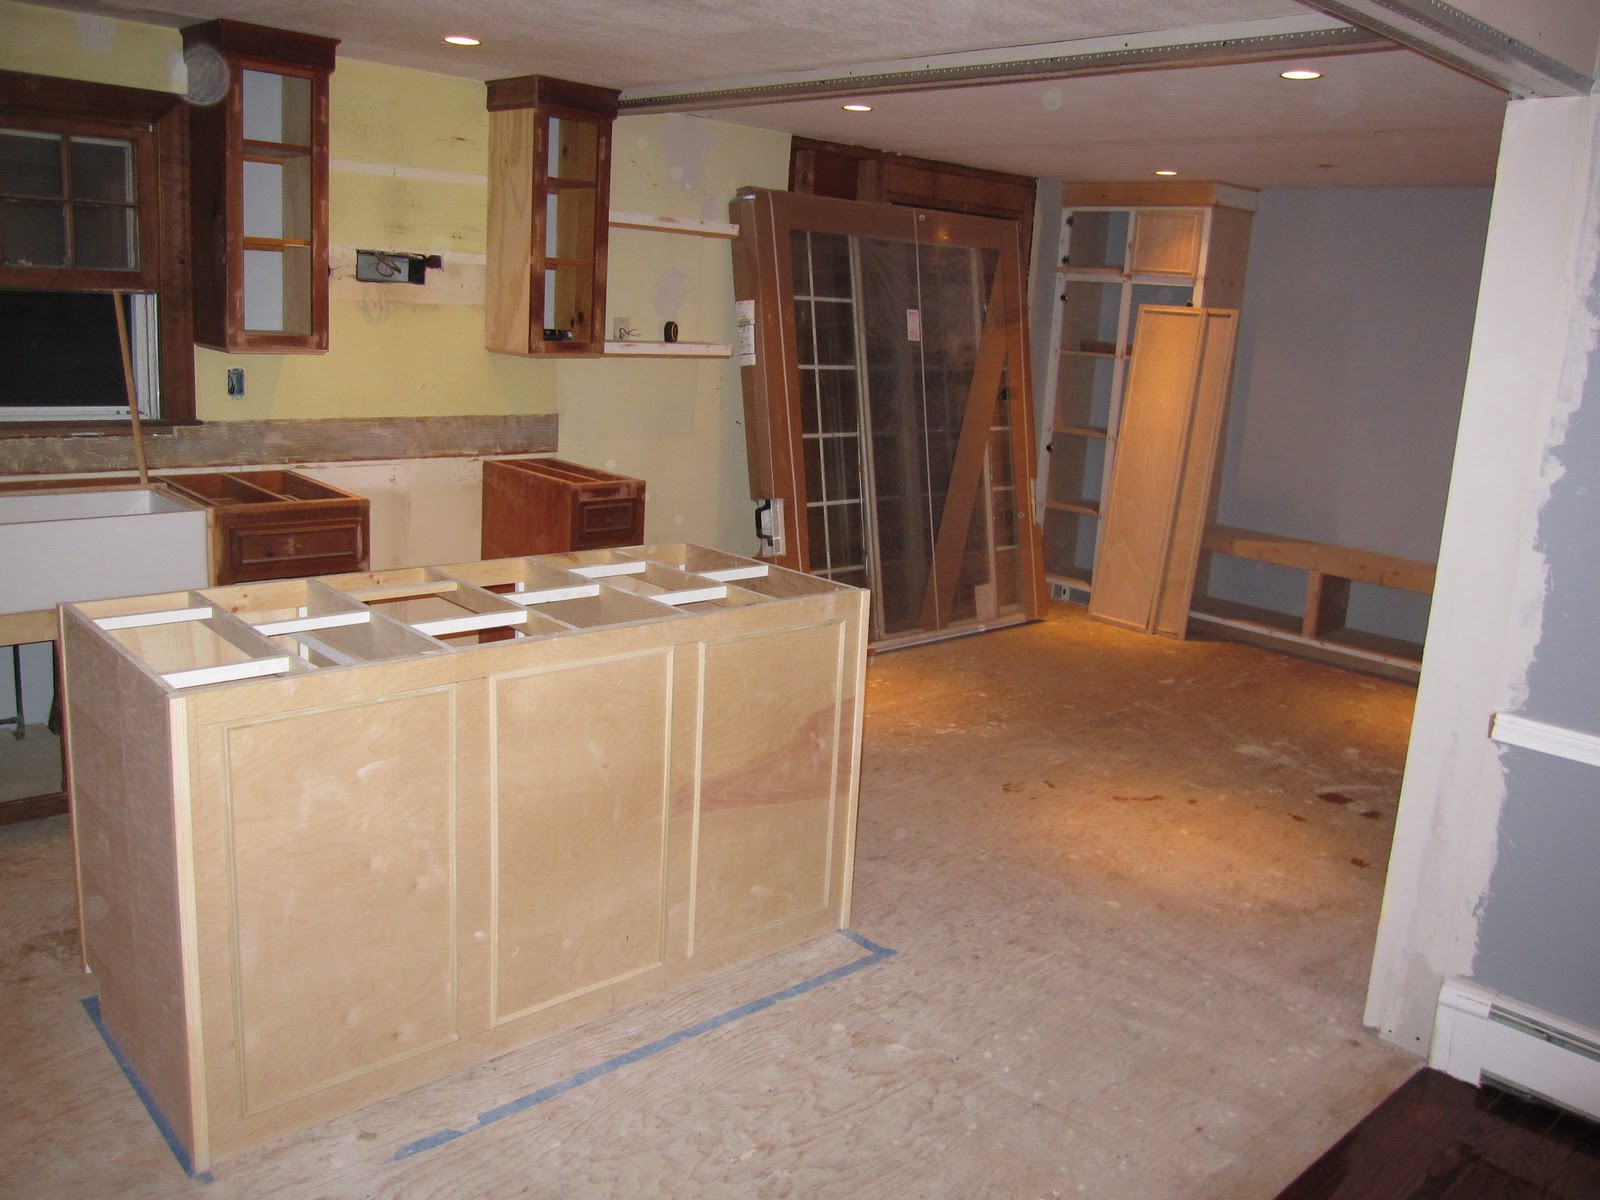
Pantry storage is a must have.
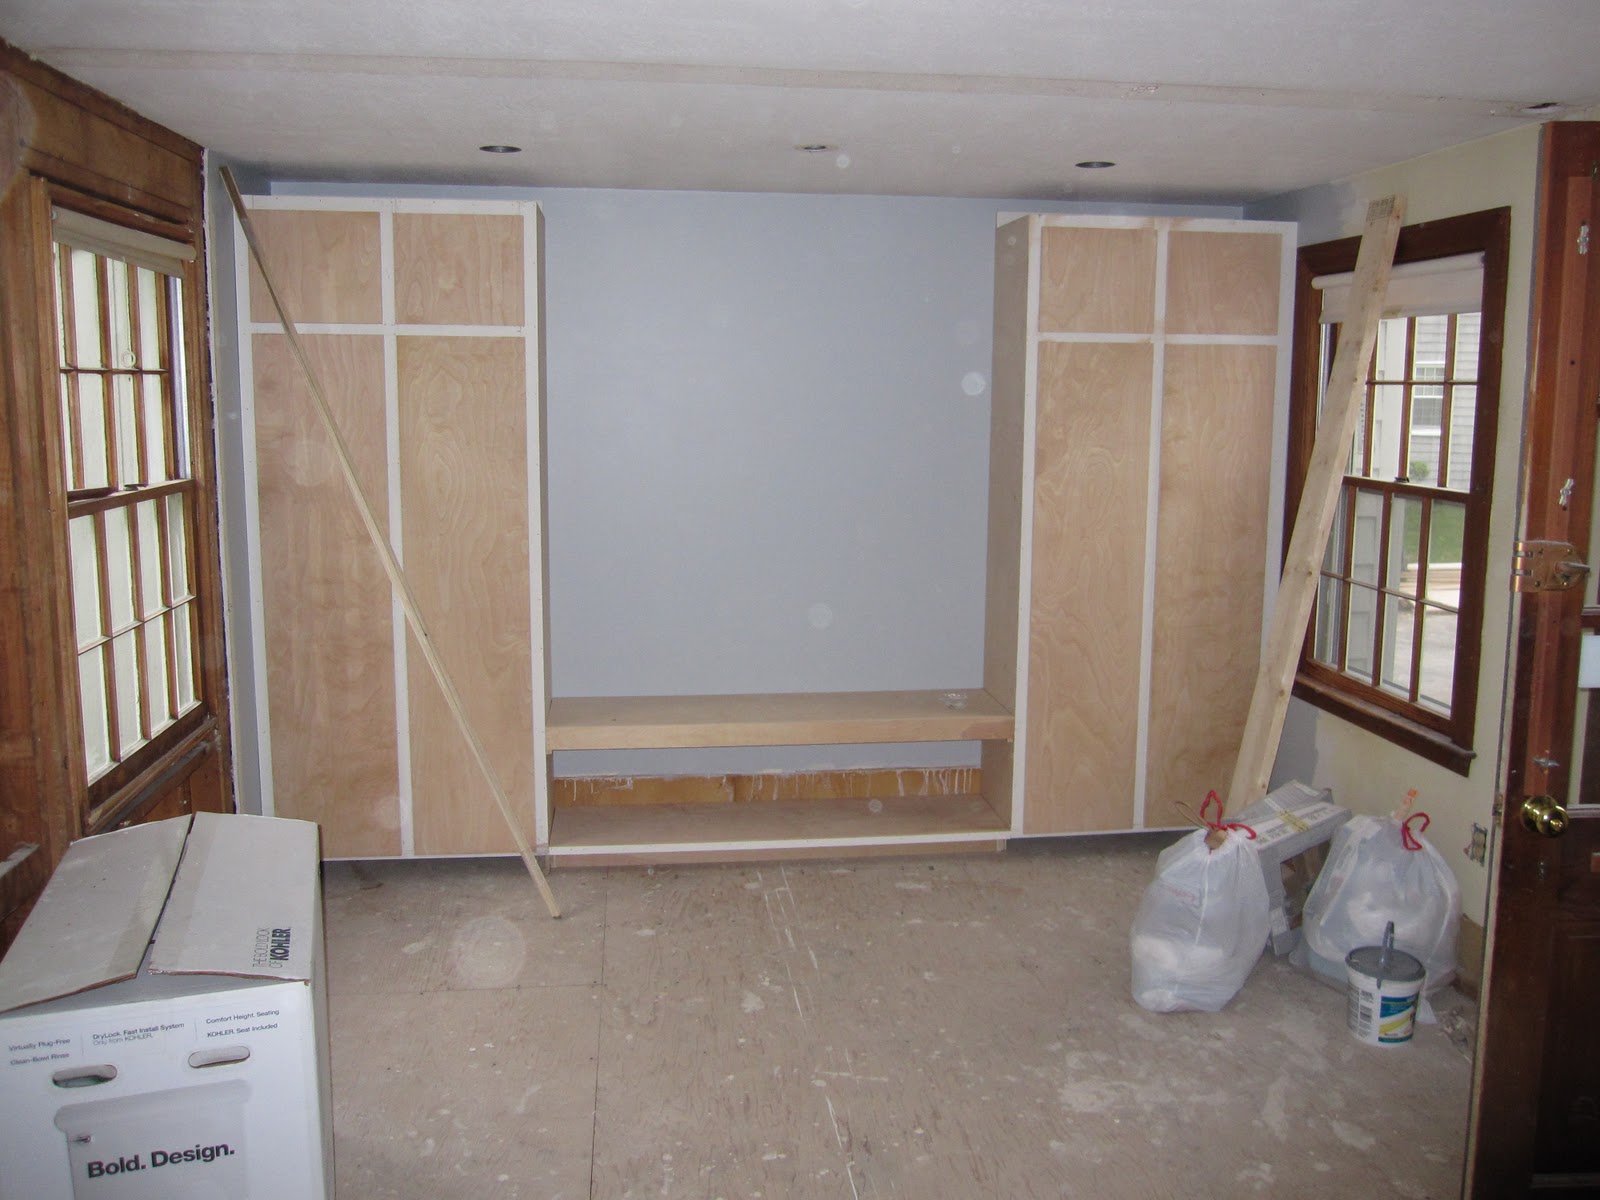
Making storage the upmost priority.
The Farm Sink and Slider Door: Key Design Elements
A standout feature of this kitchen renovation is the incorporation of a farmhouse sink. To accommodate the weight of the substantial farm sink, the existing sink base cabinet had to be completely rebuilt. The homeowners couldn’t find suitable tutorials online, they embarked on a custom build, reinforcing the cabinet to handle the weight. This involved disassembling the existing cabinet and rebuilding it from scratch, ensuring it was structurally sound and could support the sink.
Another significant change was the installation of a sliding glass door. A hole was cut in the side of the house to accommodate the new door, which provided access to the outdoors and brought more natural light into the kitchen. This was a major undertaking, but it significantly improved the functionality and aesthetics of the space.
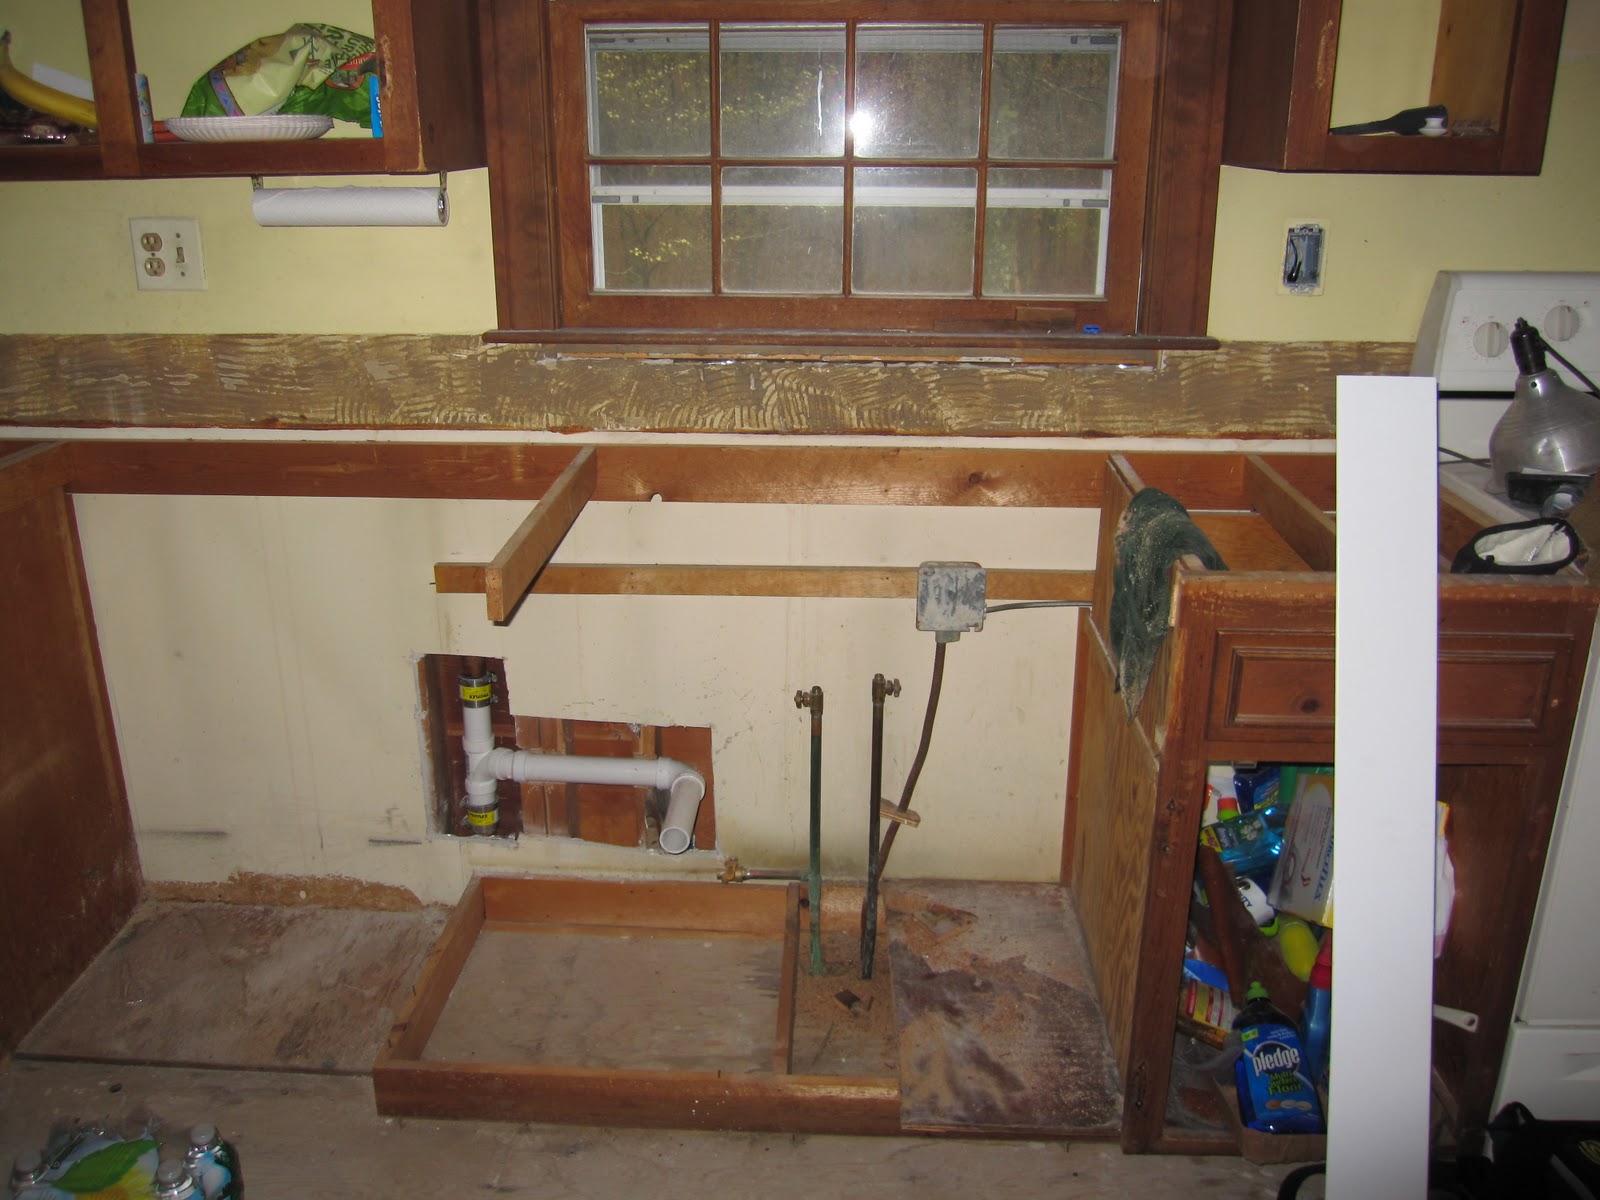
Sink base being constructed.
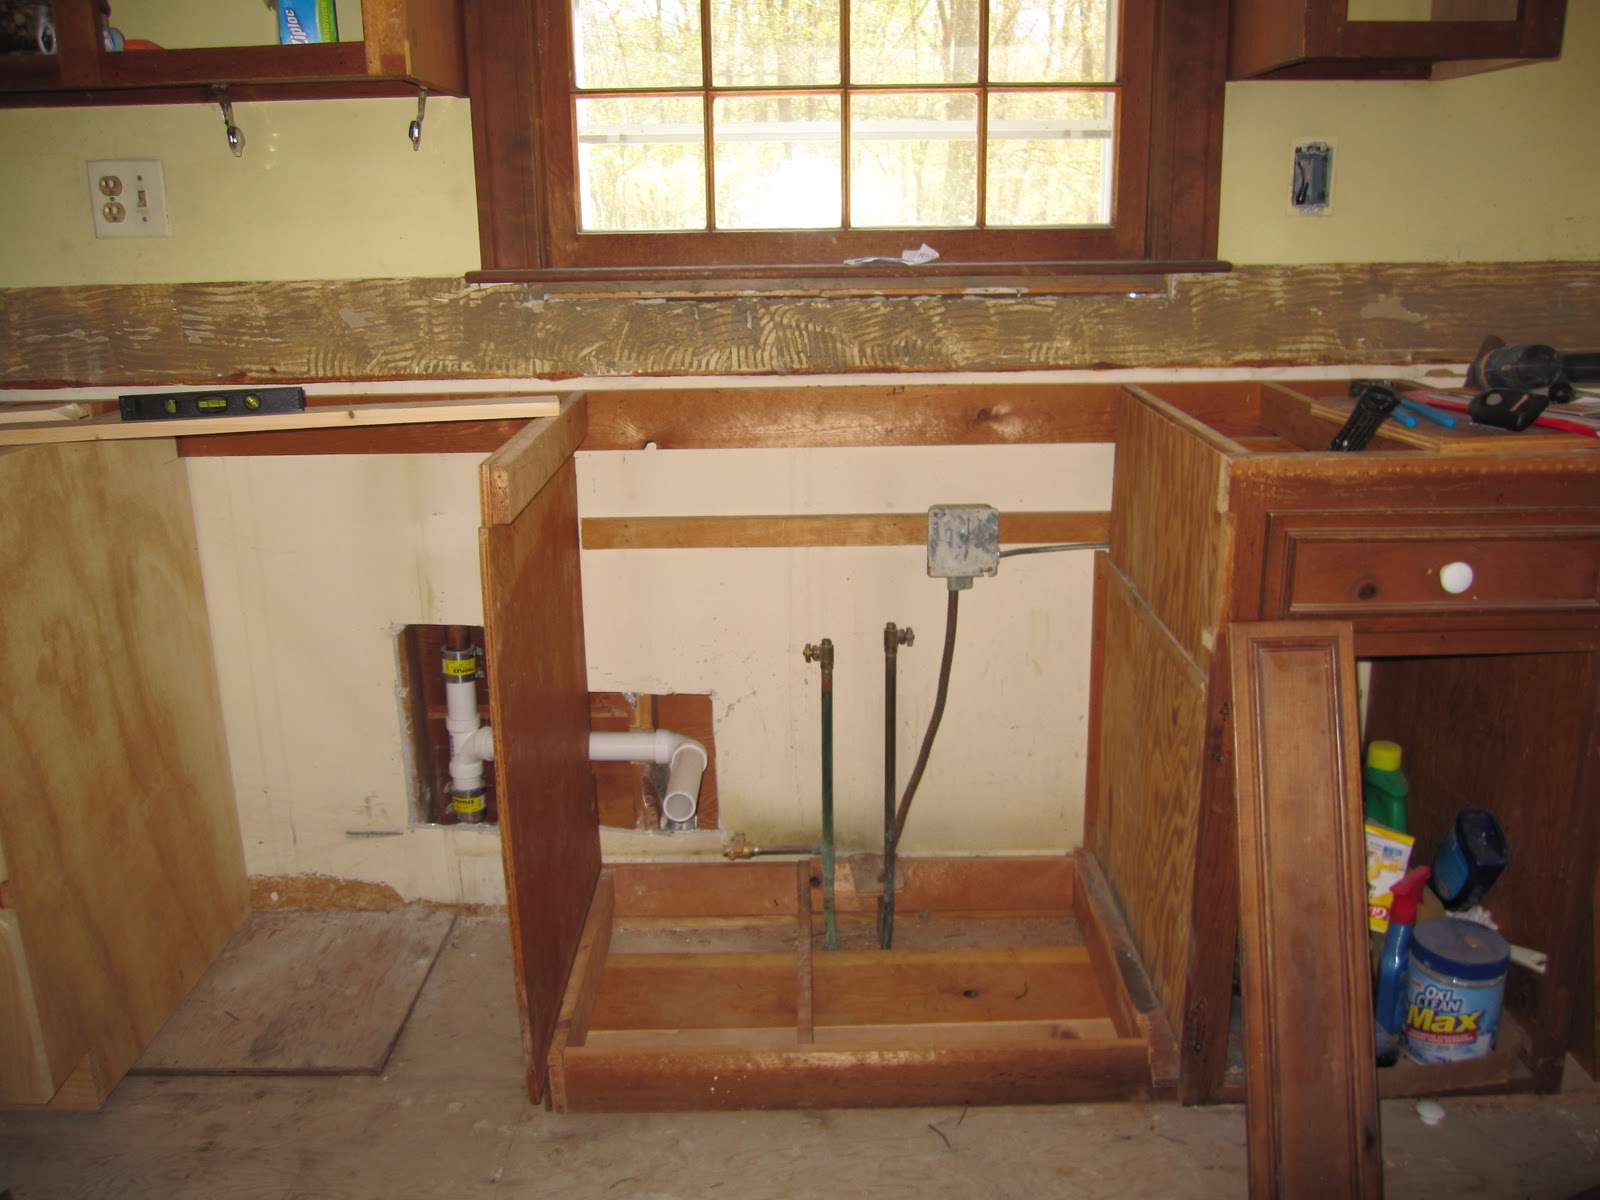
Reinforcing the cabinet to accommodate the farmhouse sink.
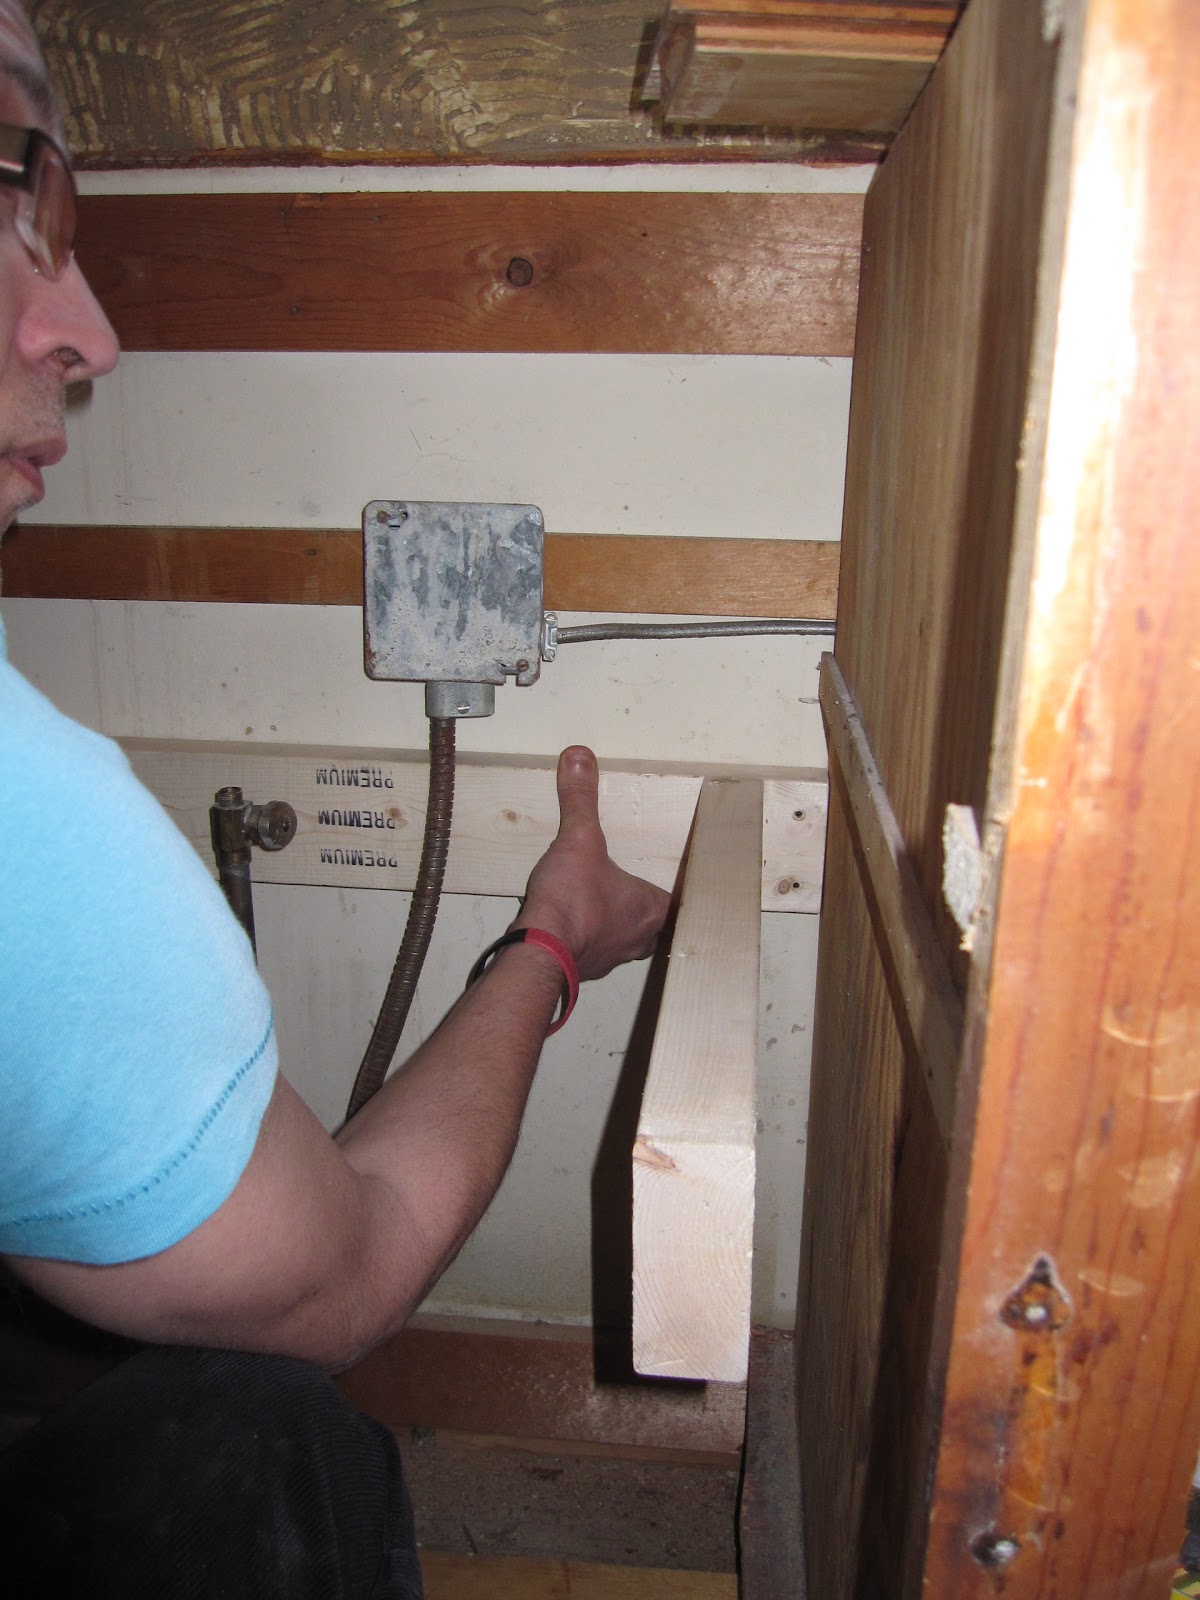
Building the base of the sink stand.
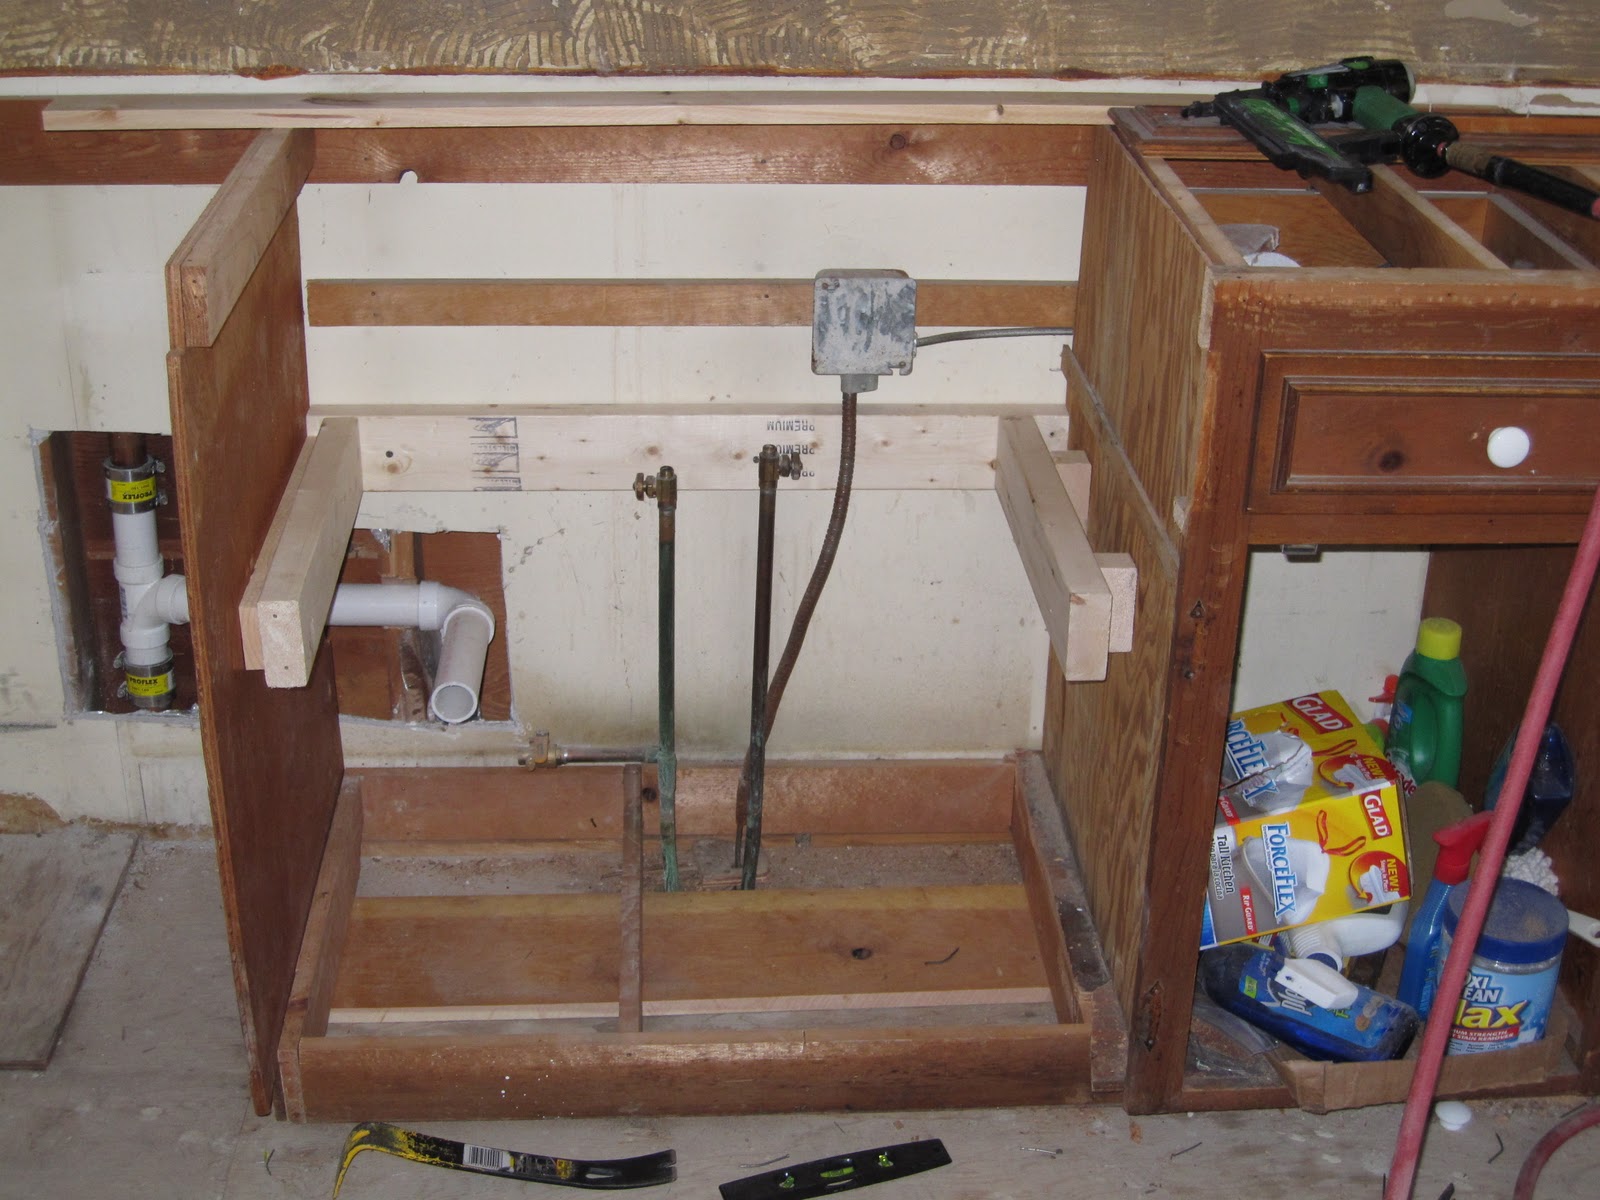
Supporting weight and adding protection.
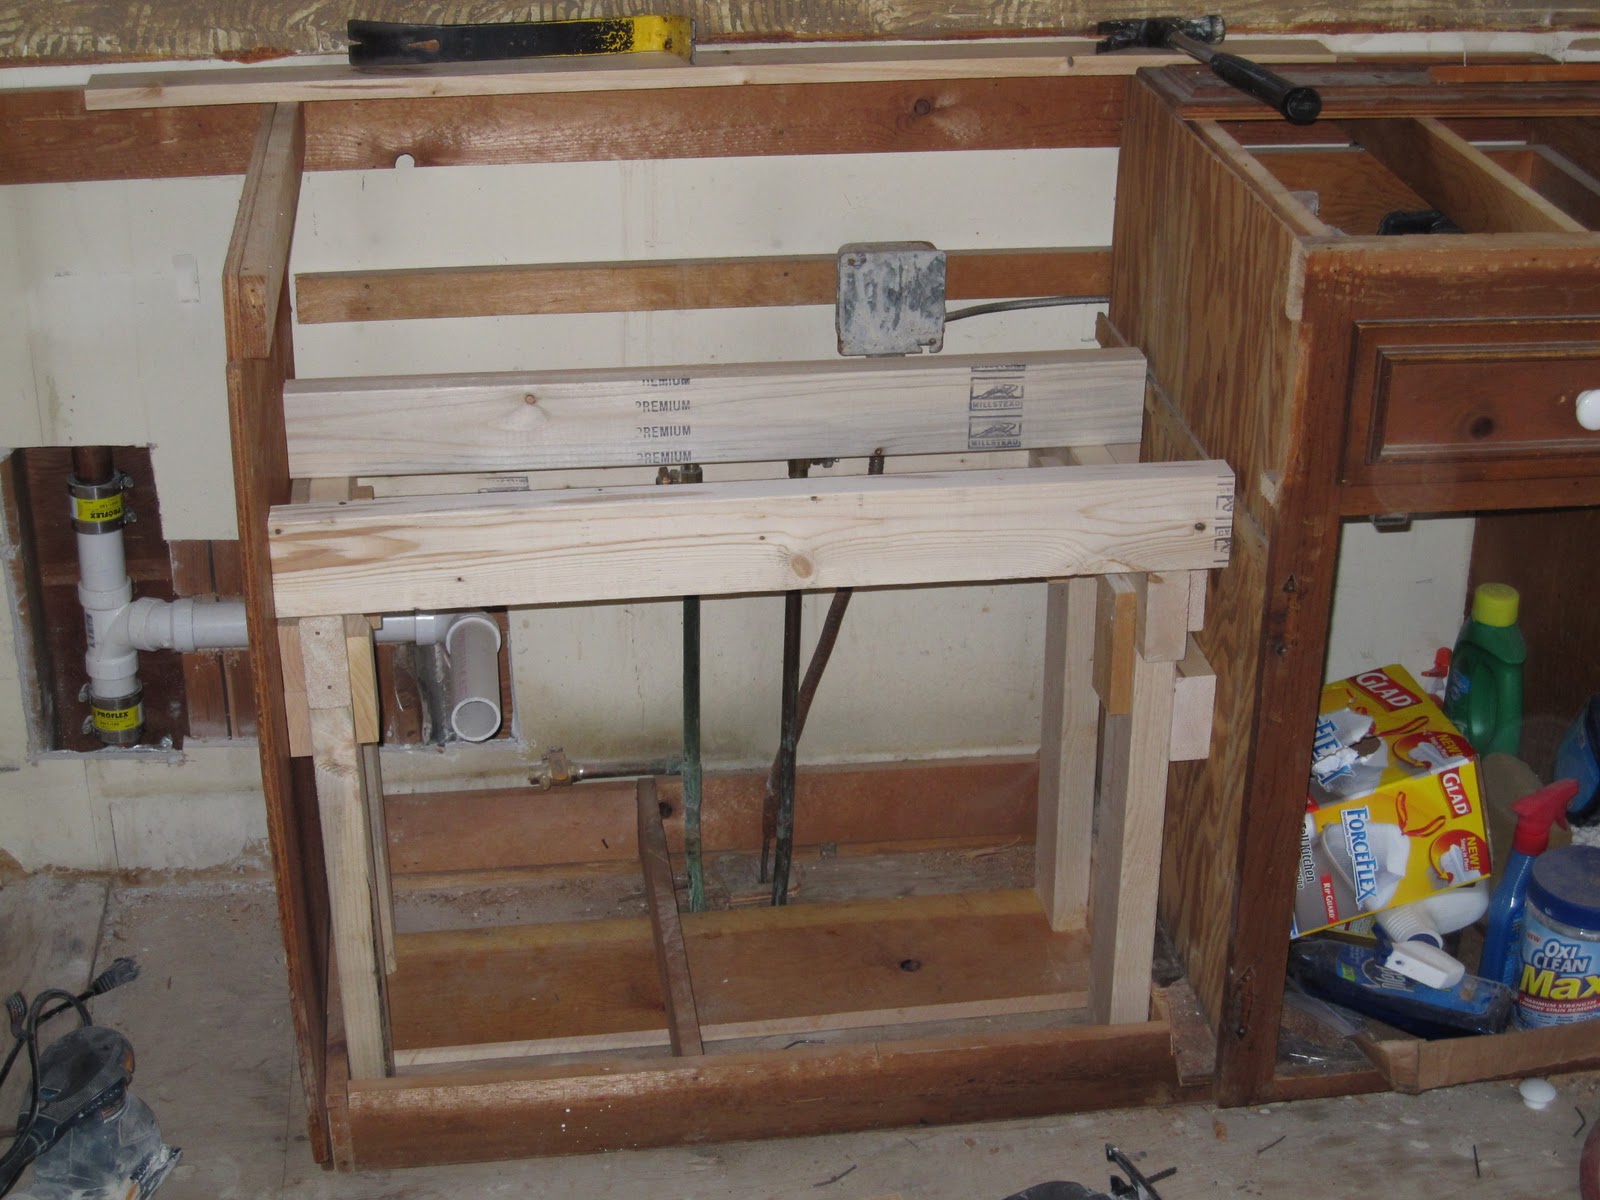
New sink fitting like a glove.
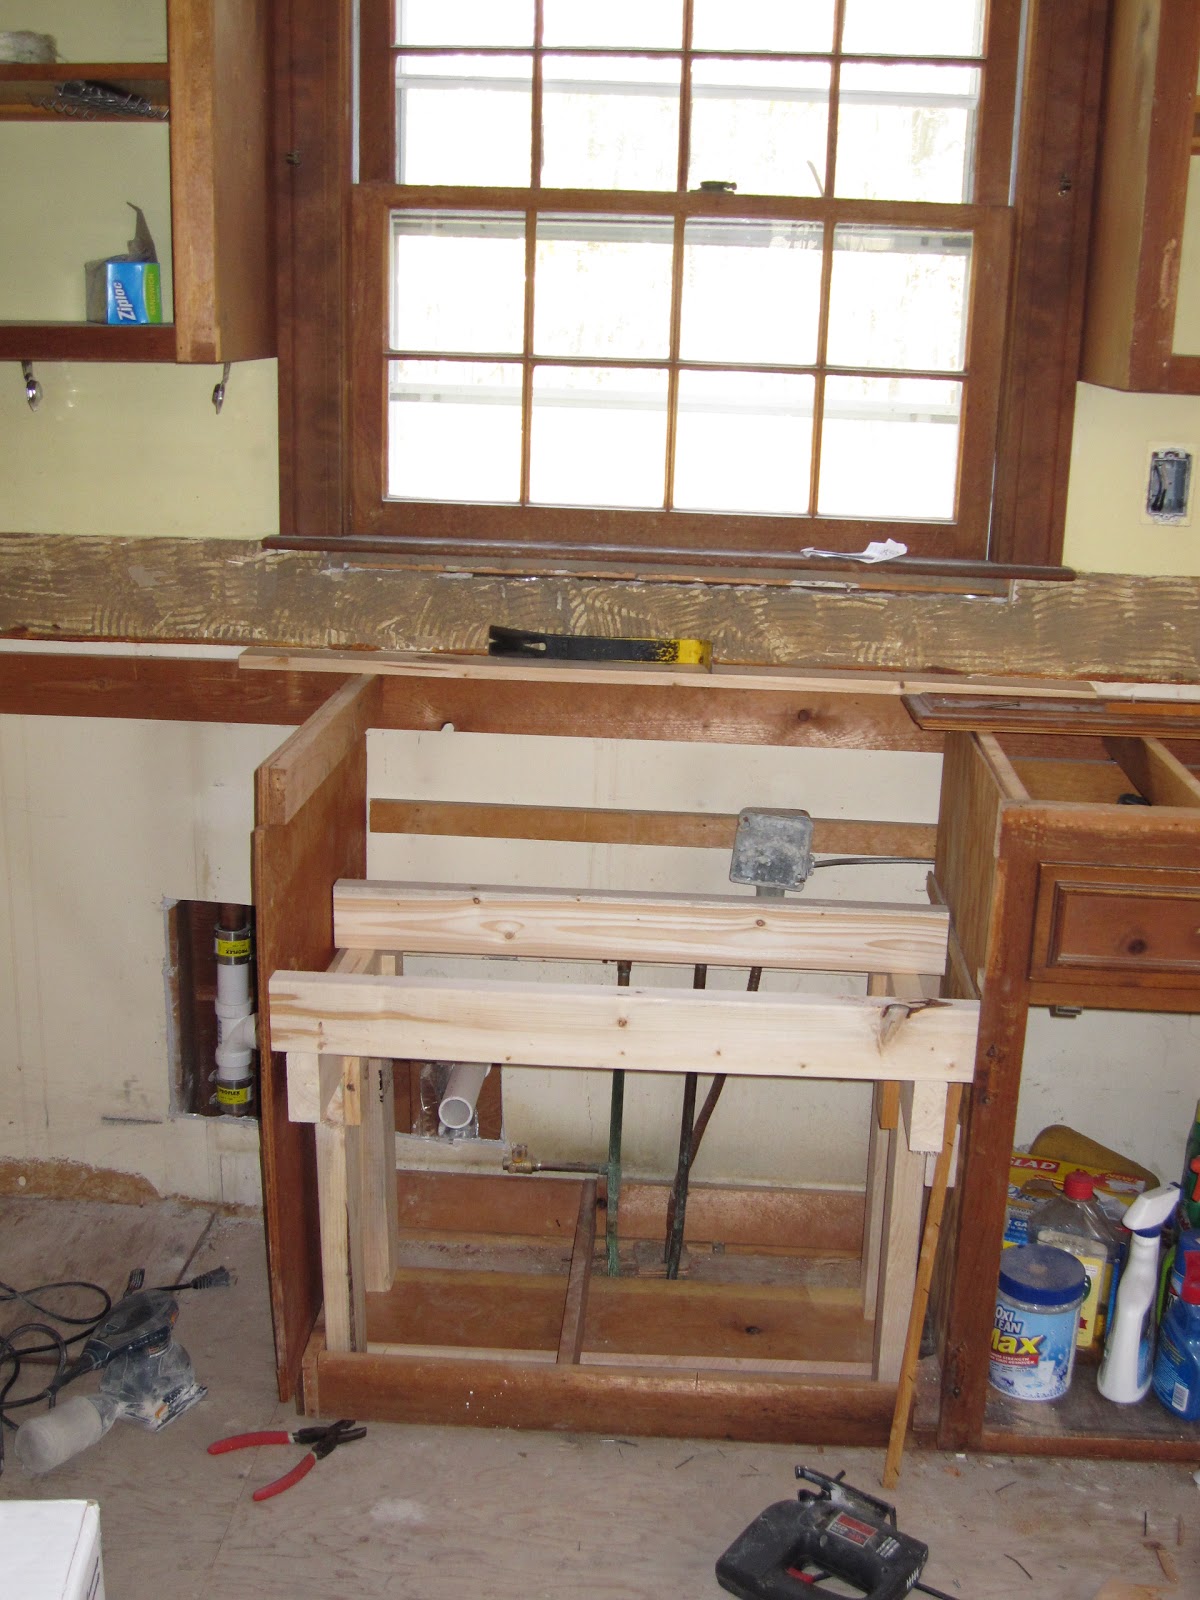
Adding support for the counter.
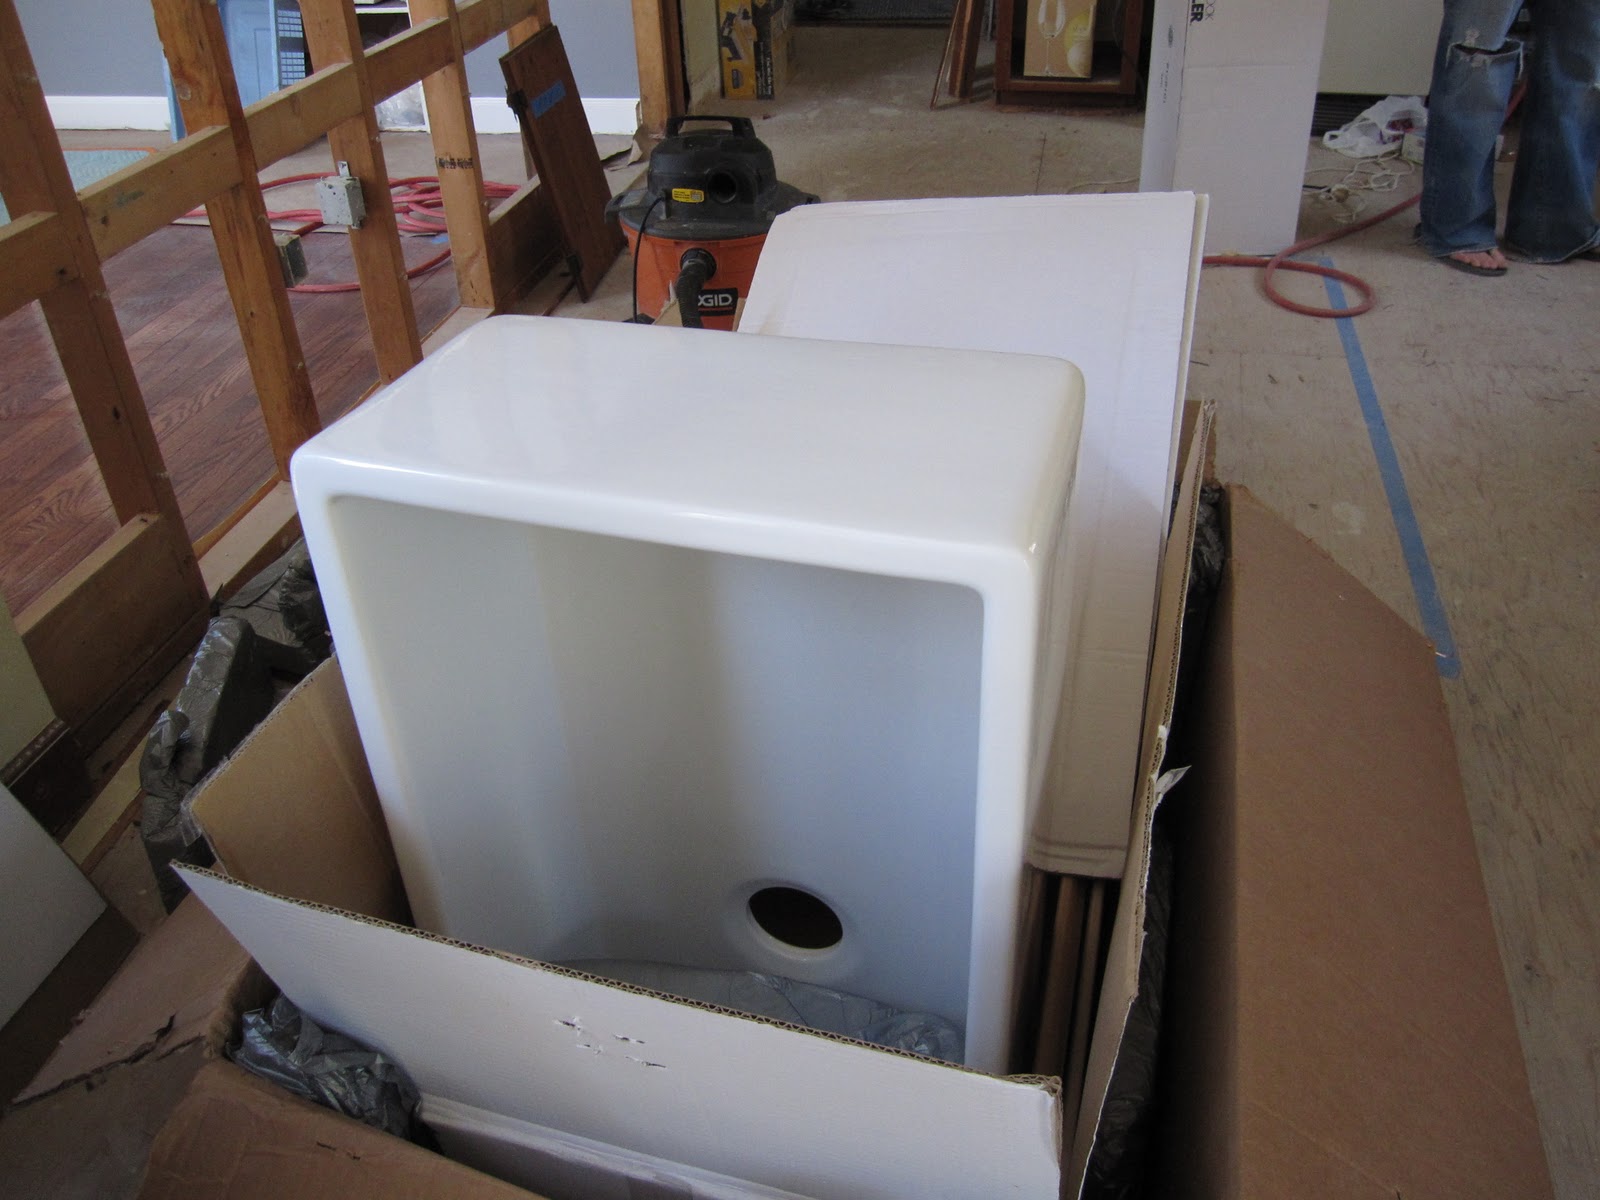
Sink and plumbing setup.
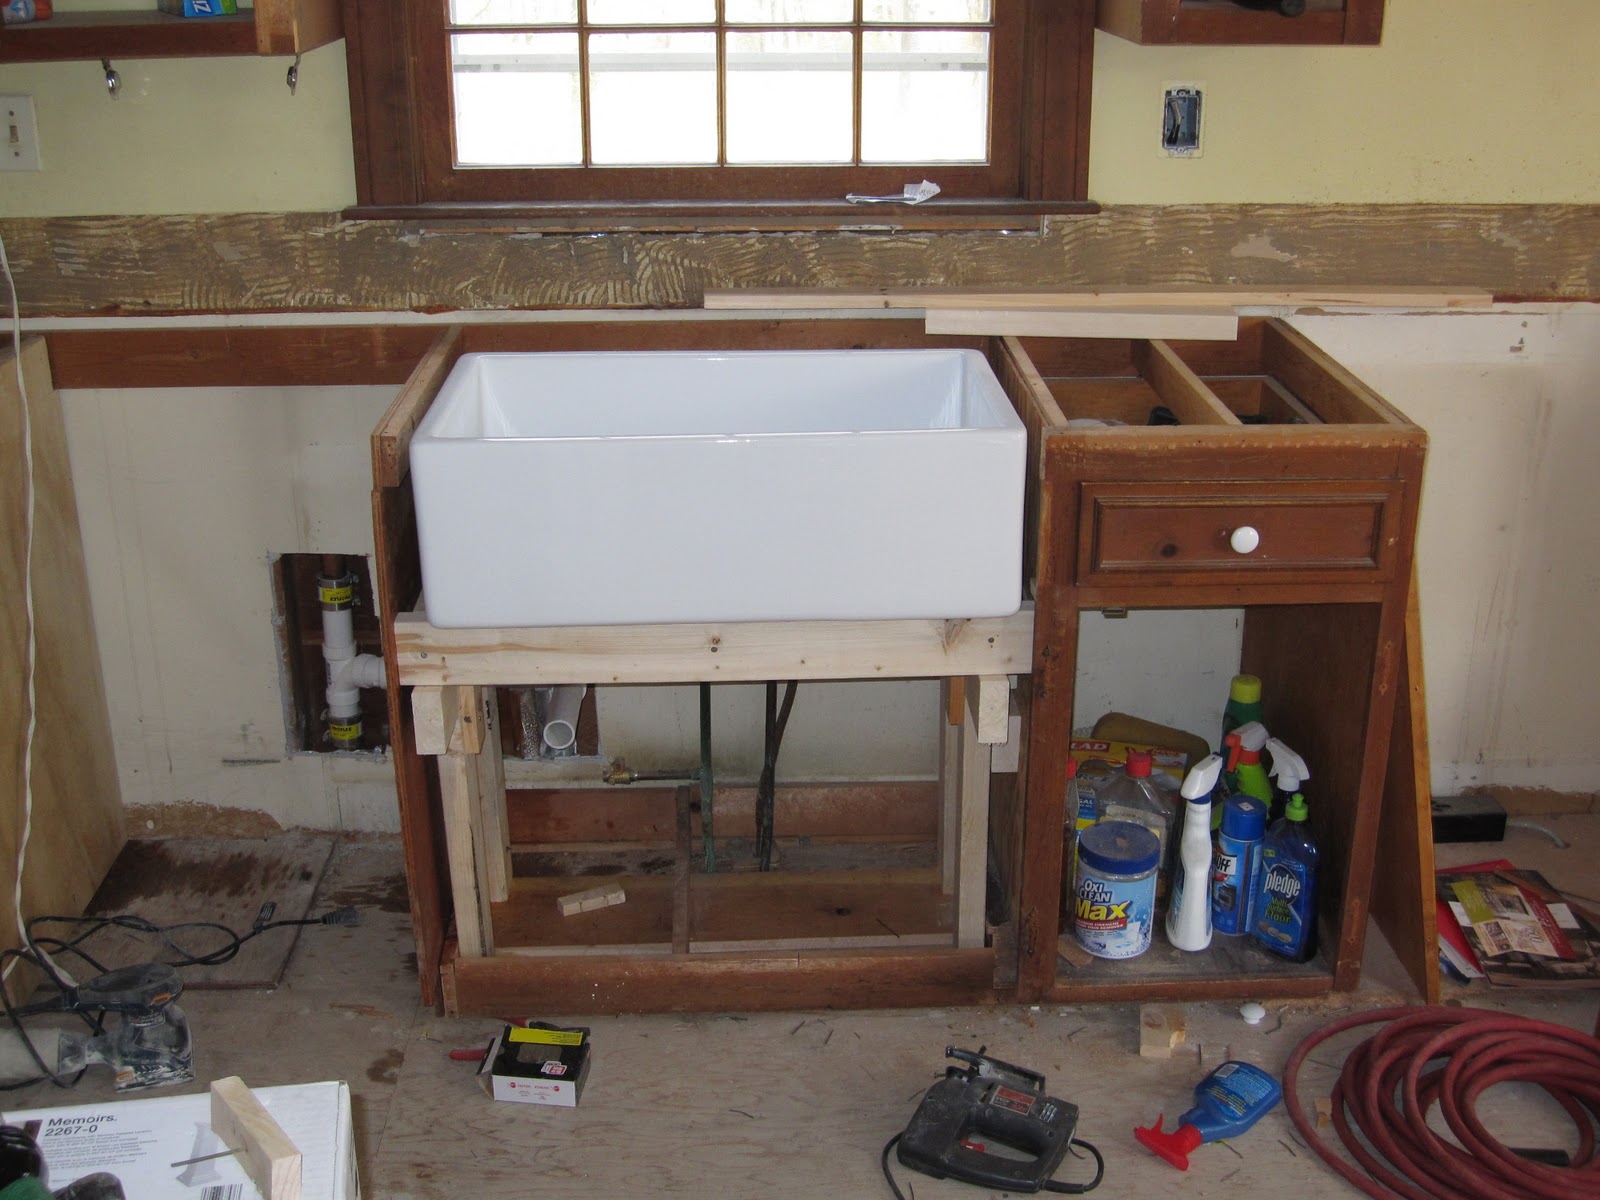
Adding the new counter top to the farmhouse sink.
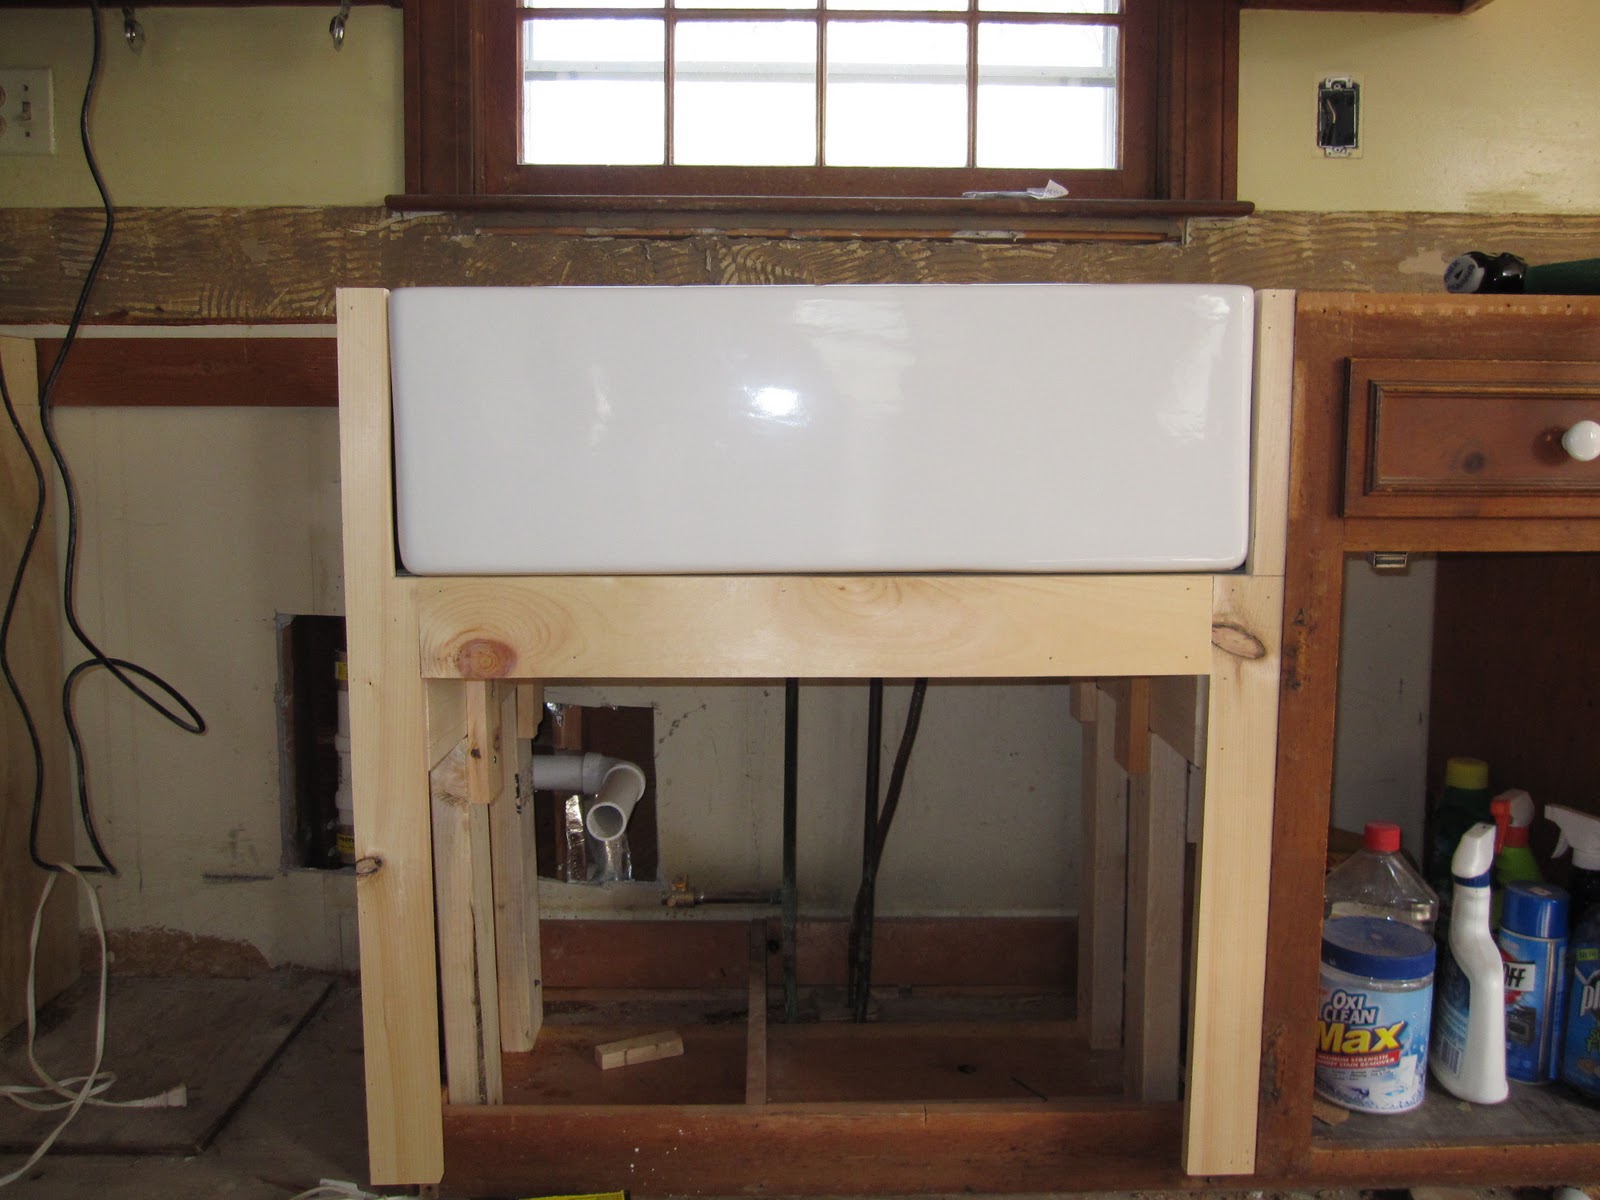
Adding new pipes.
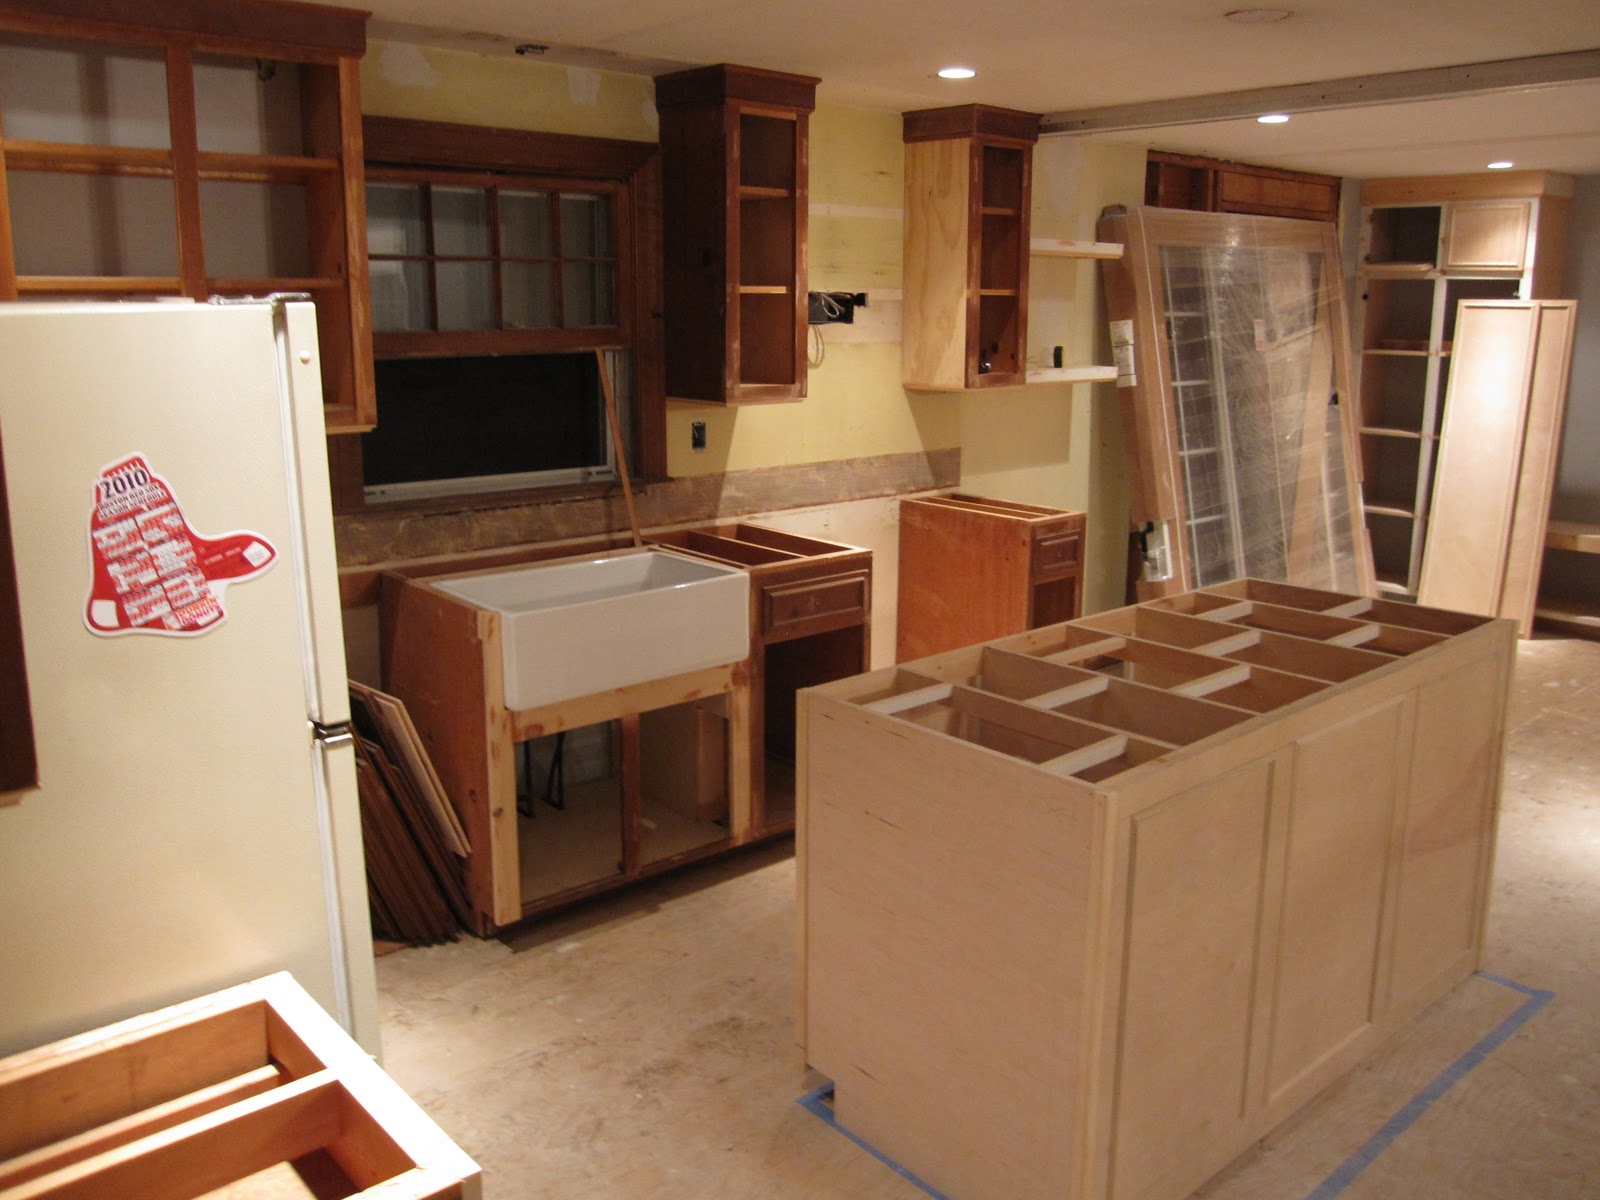
Putting in slider door.
Slider door construction.
Outside the house while constructing the slide door.
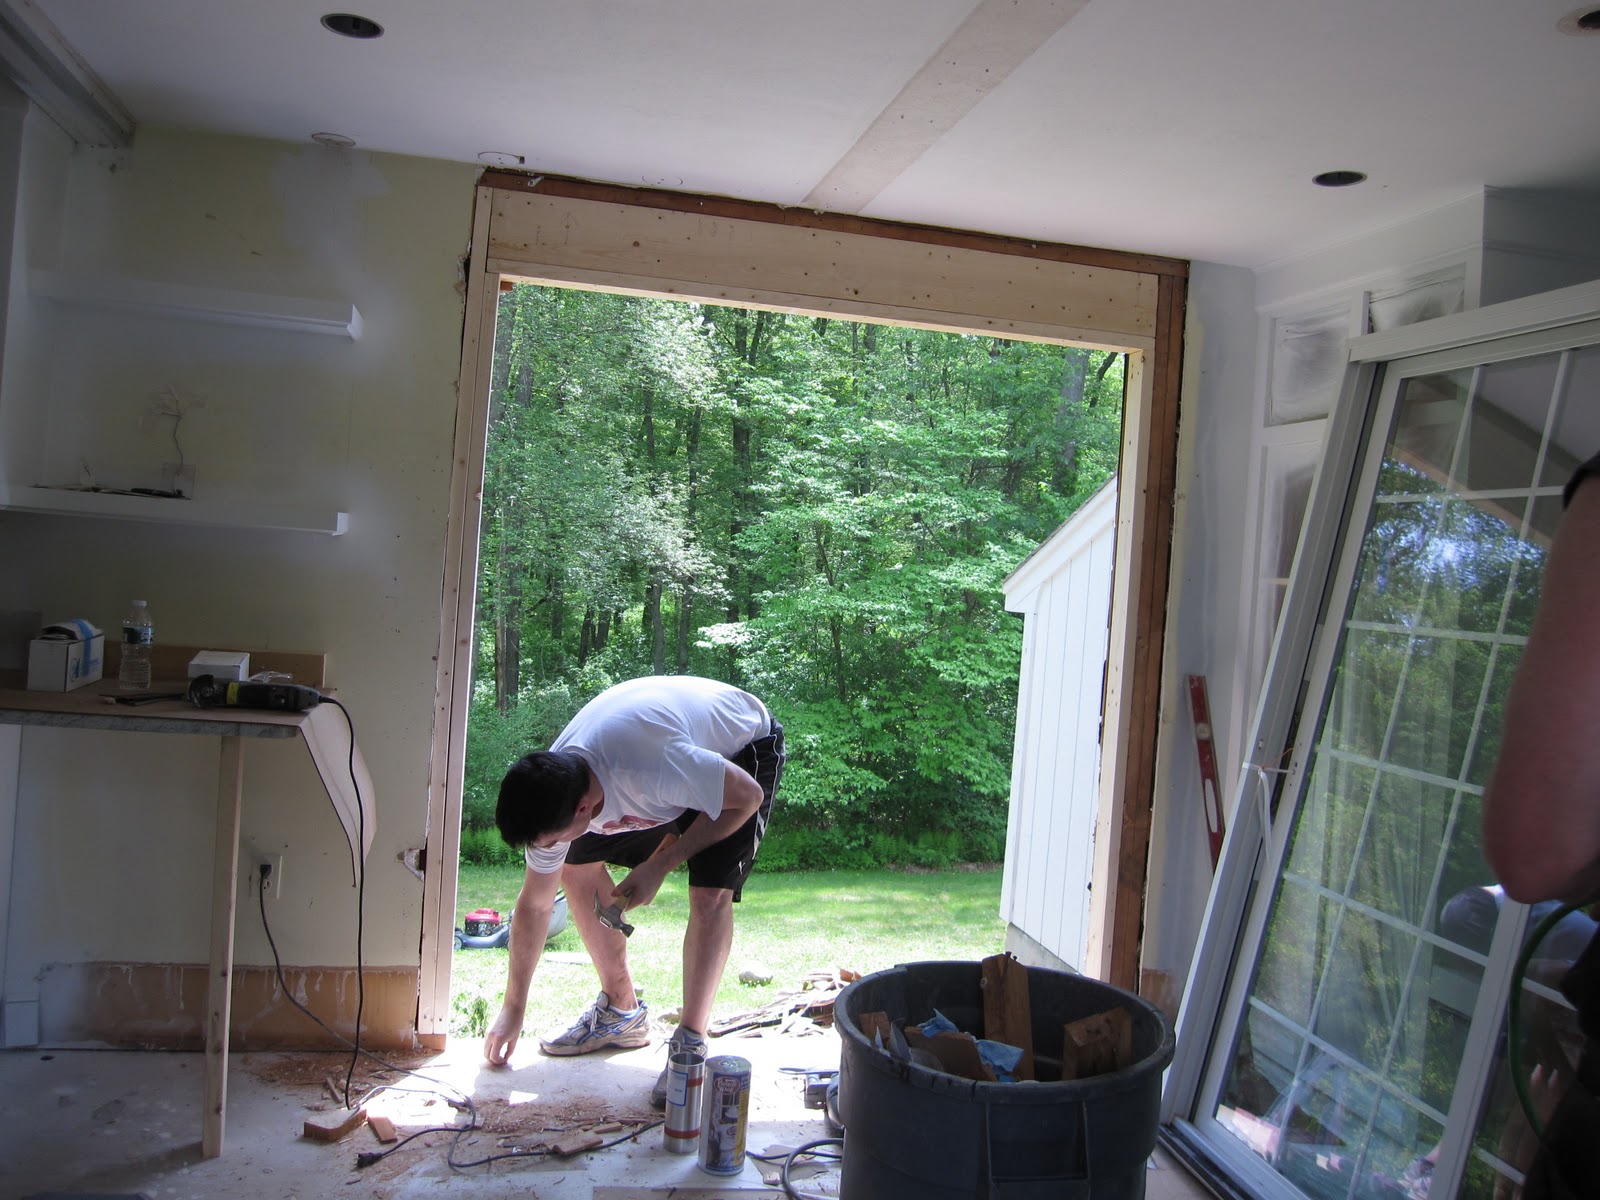
Getting furniture in the house through the new door.
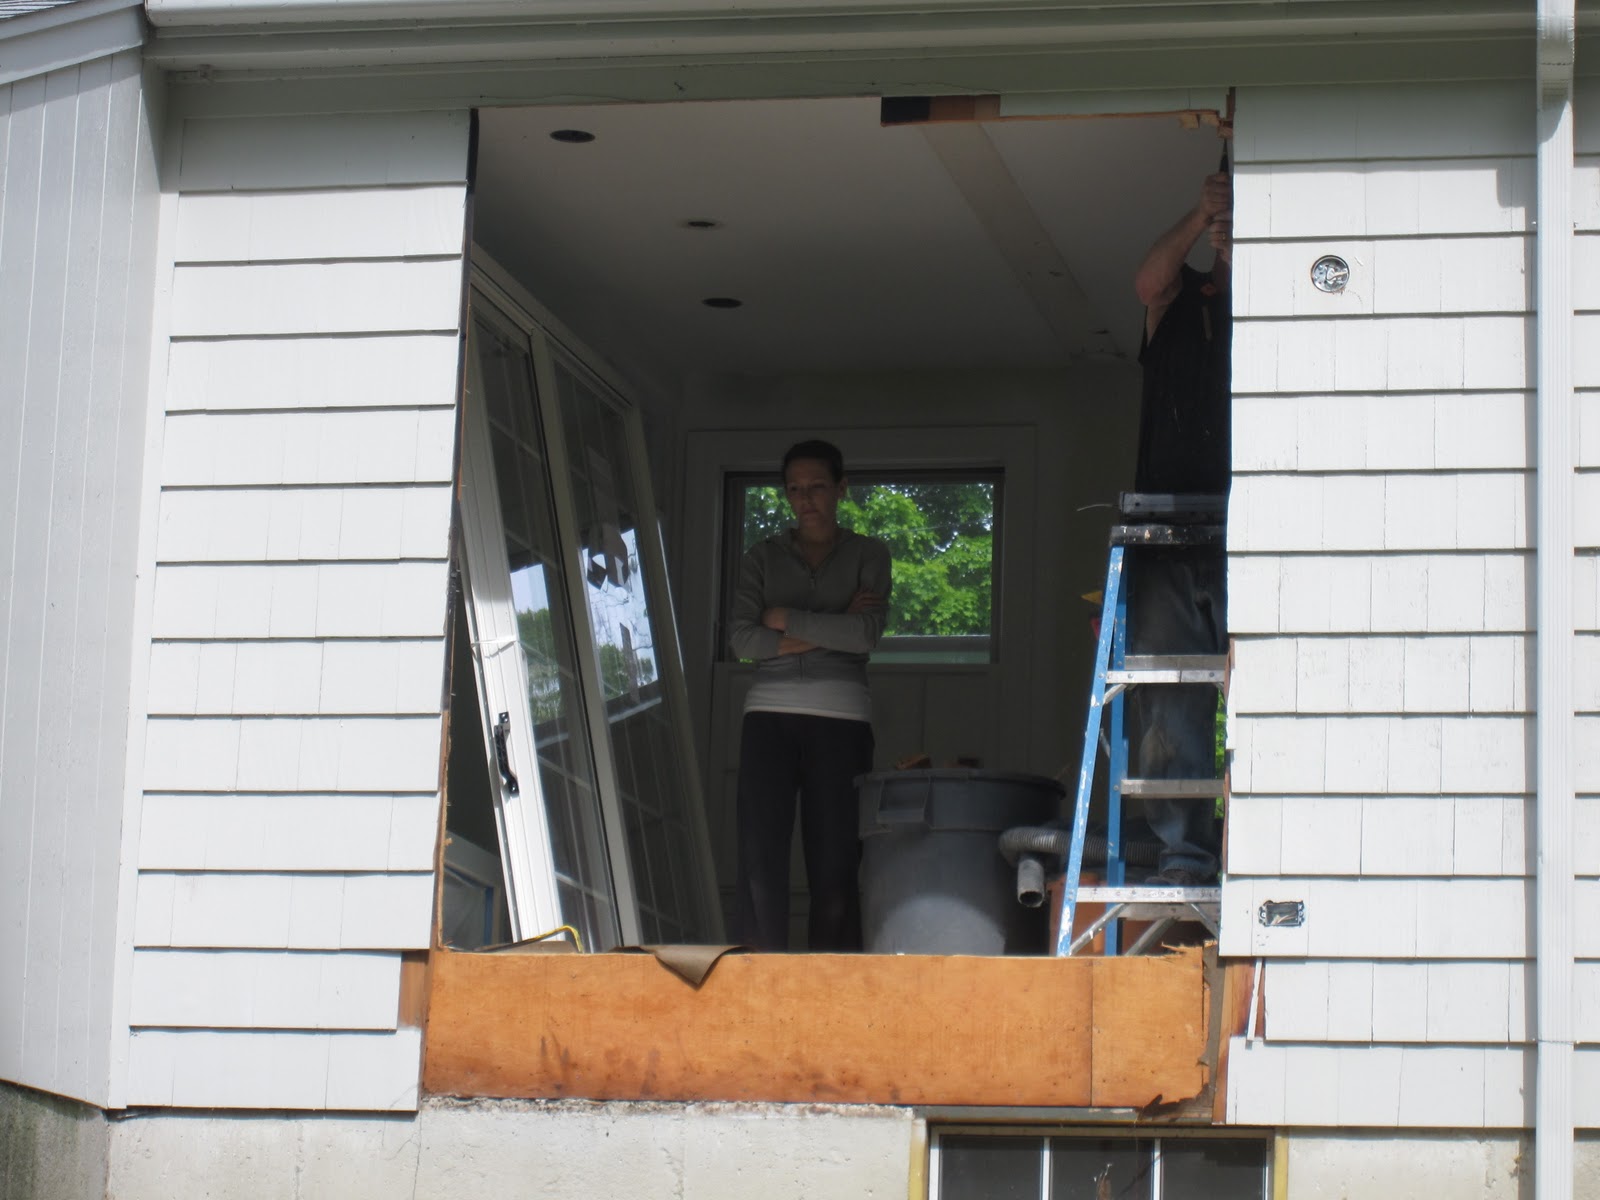
Slider door is complete outside.
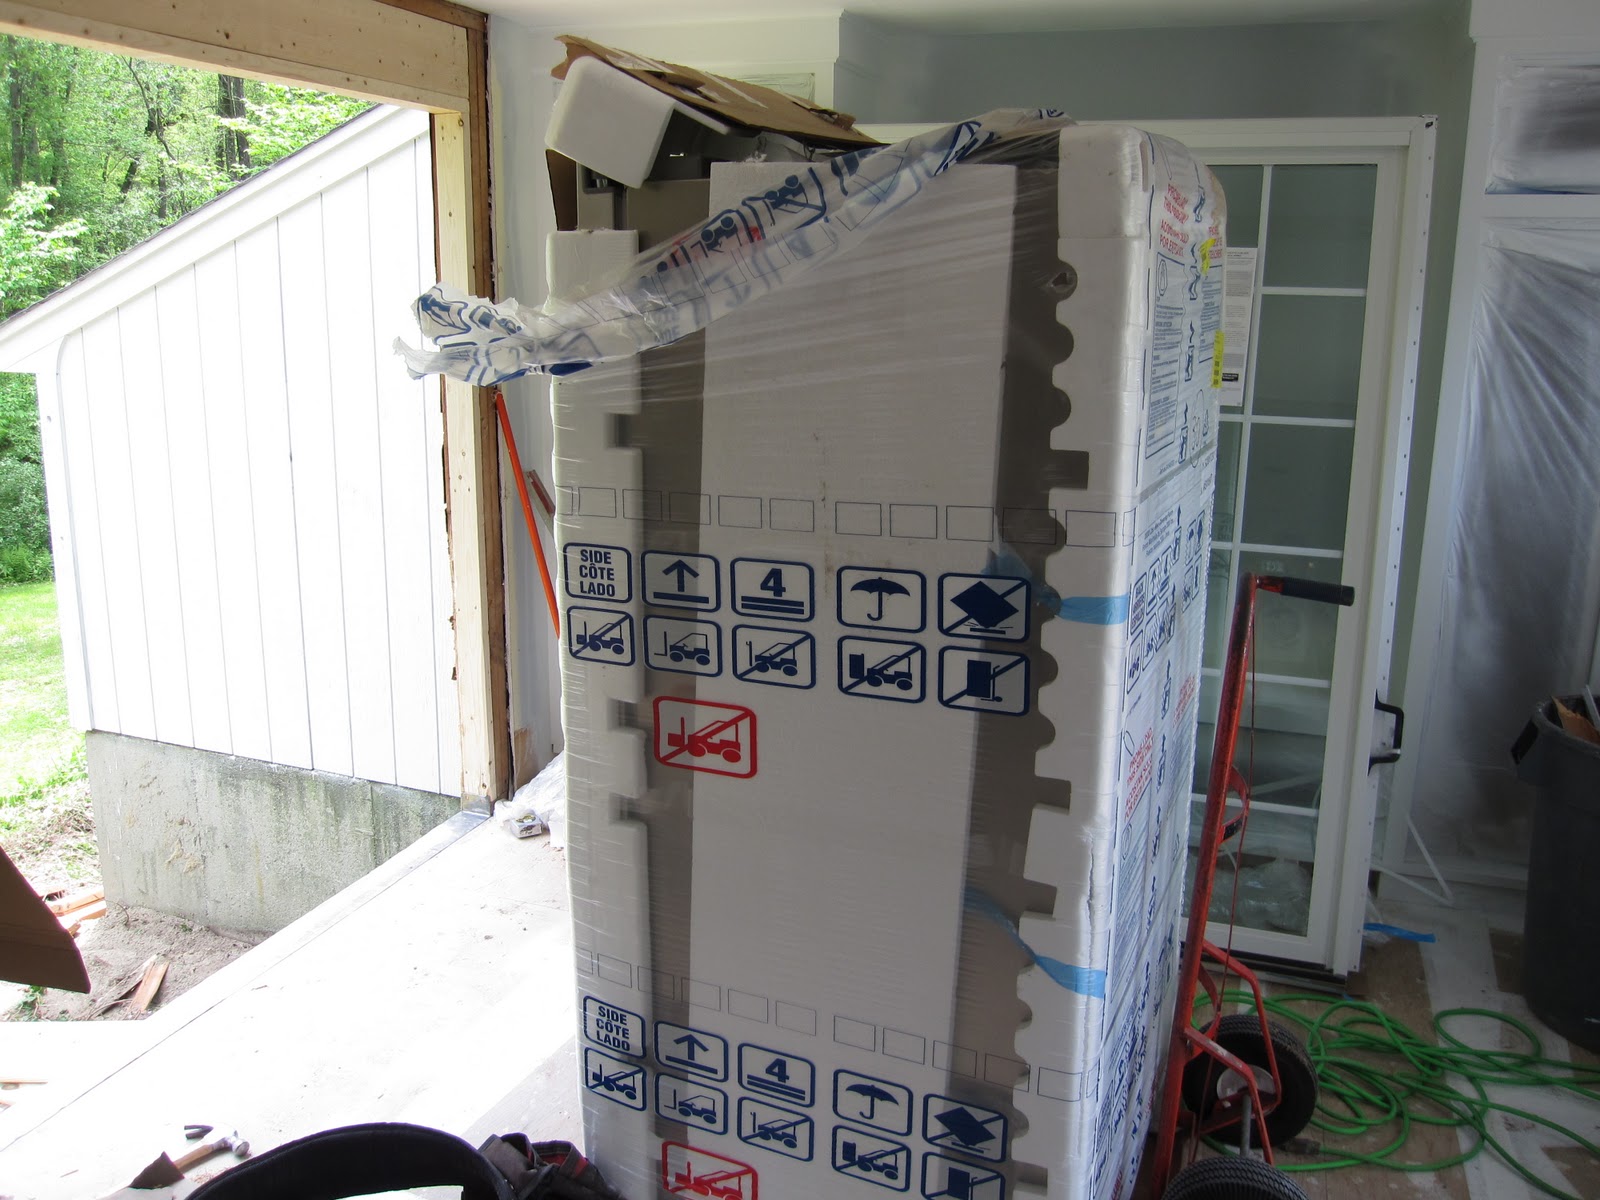
Getting the new sliding door is exciting.
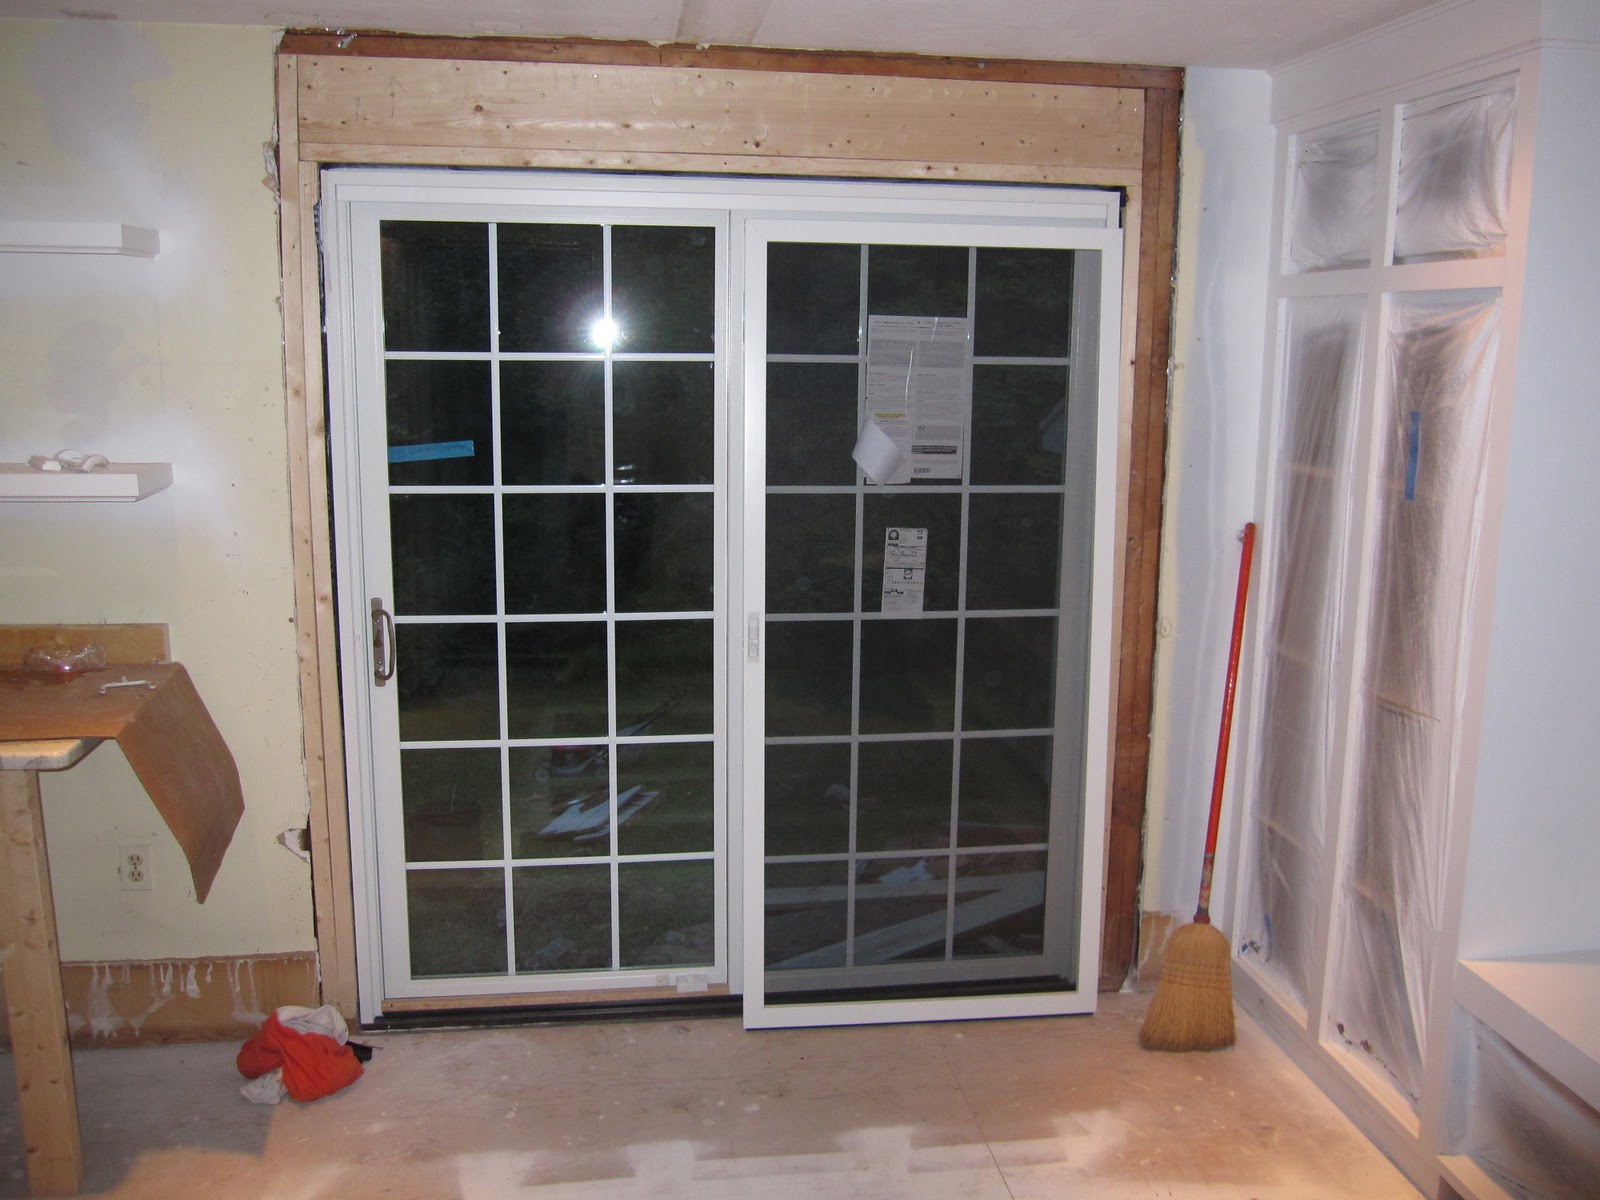
Making the home owners happy.
Granite Countertops, Flooring, and Appliances: The Finishing Touches
With the major structural elements in place, it was time to focus on the finishing touches. Granite countertops were installed, adding a touch of elegance and durability to the kitchen. New flooring was laid, creating a cohesive and updated look. And finally, the appliances were installed, transforming the space into a fully functioning kitchen.
The homeowners shared a funny anecdote about having to bring the refrigerator into the house through the rough opening for the sliding door, as it wouldn’t fit through any of the other doors. This highlights the challenges that can arise during a renovation and the need for flexibility and creativity.

Almost all done.
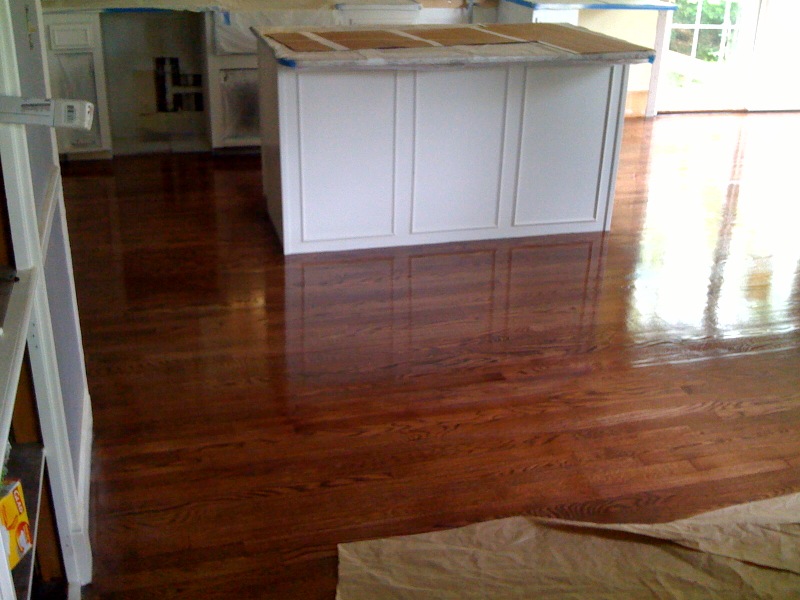
White cabinets and all new floors.
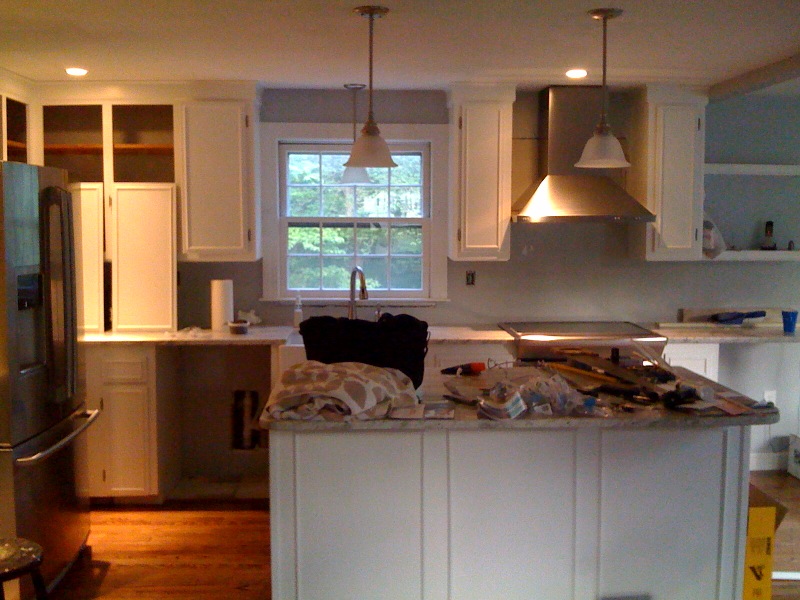
Just a few things left.
Hardware, Paint, and Backsplash: Details That Make a Difference
The final stages of the renovation involved adding the cabinet hardware, painting the walls, and installing the backsplash. These details may seem minor, but they play a crucial role in creating a cohesive and polished look. The cabinet knobs and handles added a touch of personality, while the wall paint brought warmth and color to the space. The backsplash served as a focal point, adding visual interest and protecting the walls from splashes and spills.
The homeowners admitted to procrastinating on the backsplash installation, as it seemed like a daunting task. However, they eventually tackled it and were thrilled with the results. The backsplash added the perfect finishing touch, tying the entire kitchen together.

Adding all the hardware.
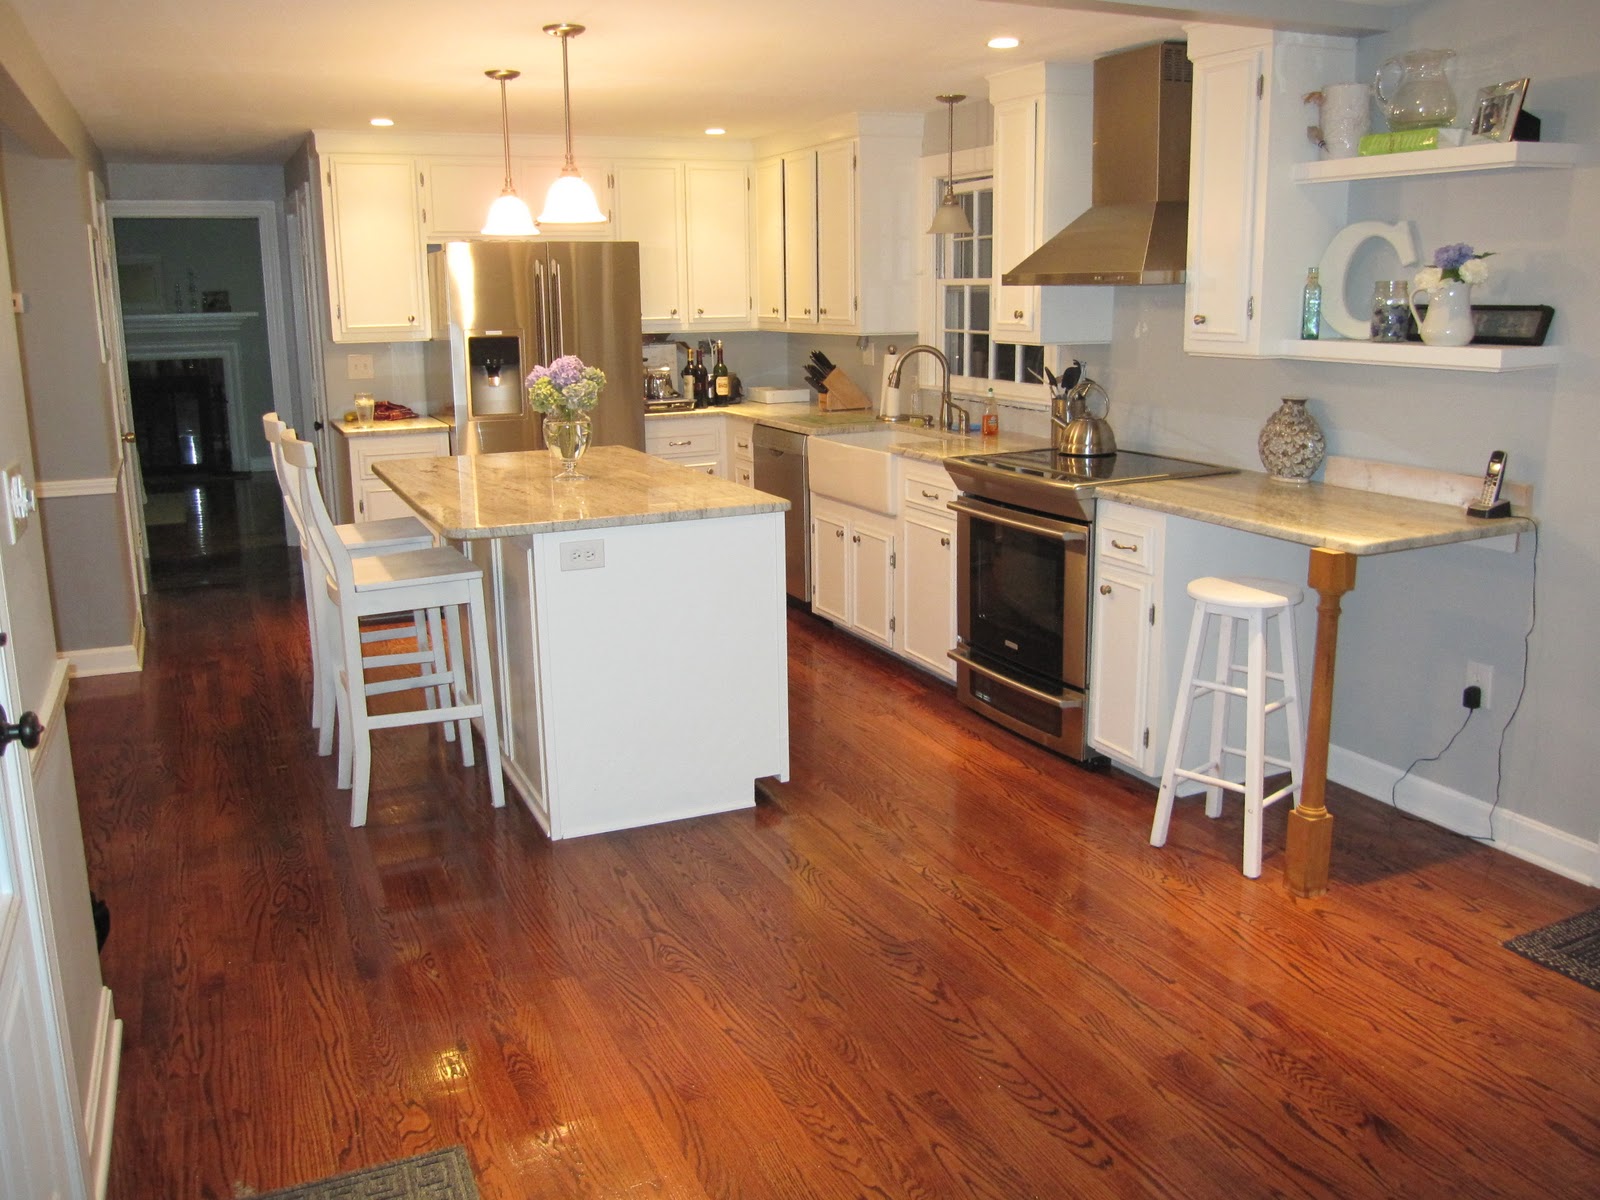
hardware in the making.
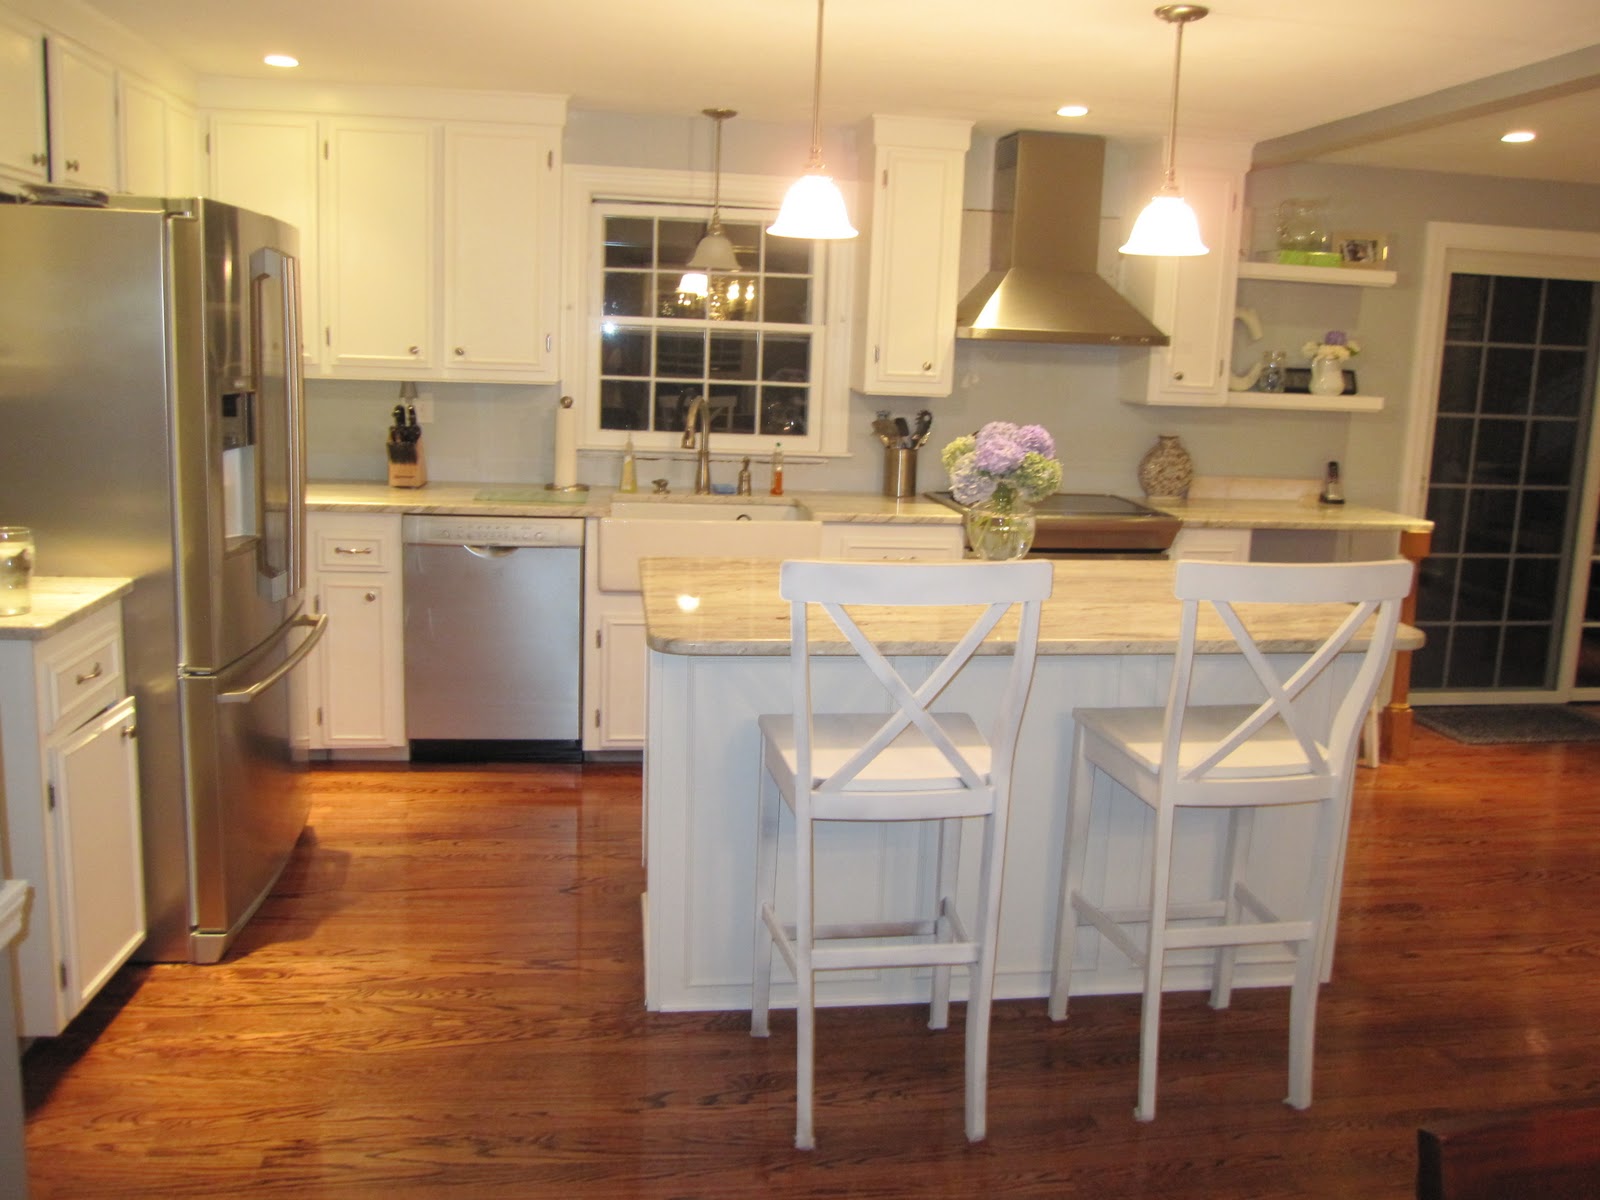
The backsplash is going up.
Backsplash in progress.
New backsplash almost done.
Backsplash Complete!
The Mudroom Transformation: A Bonus Project
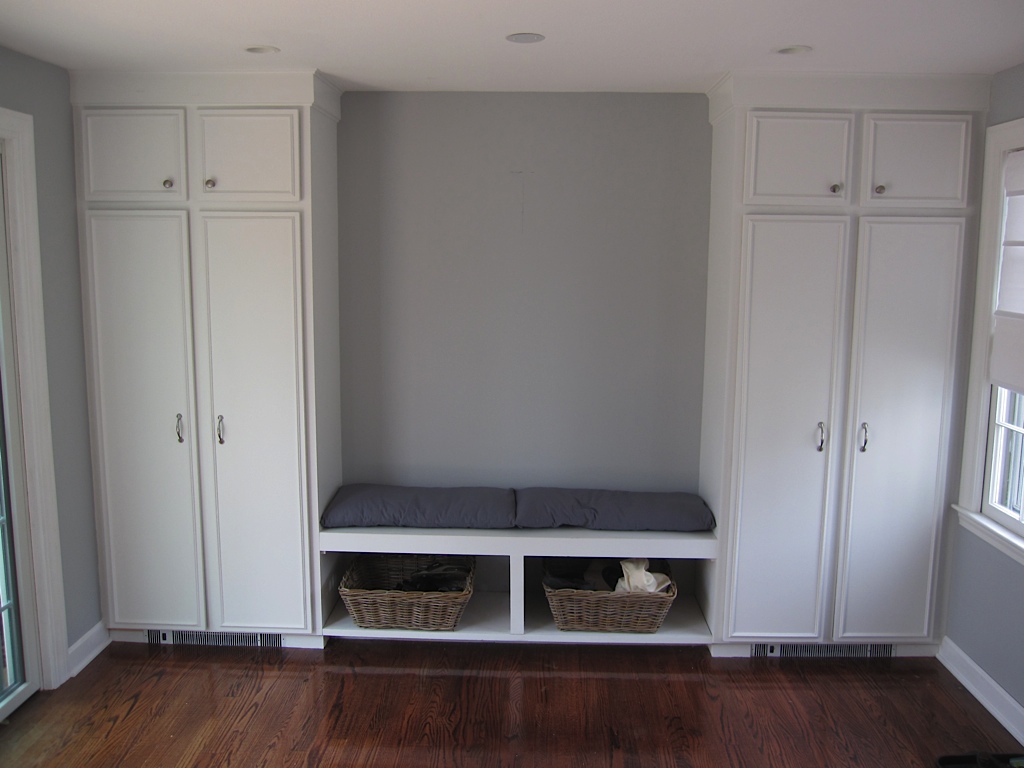
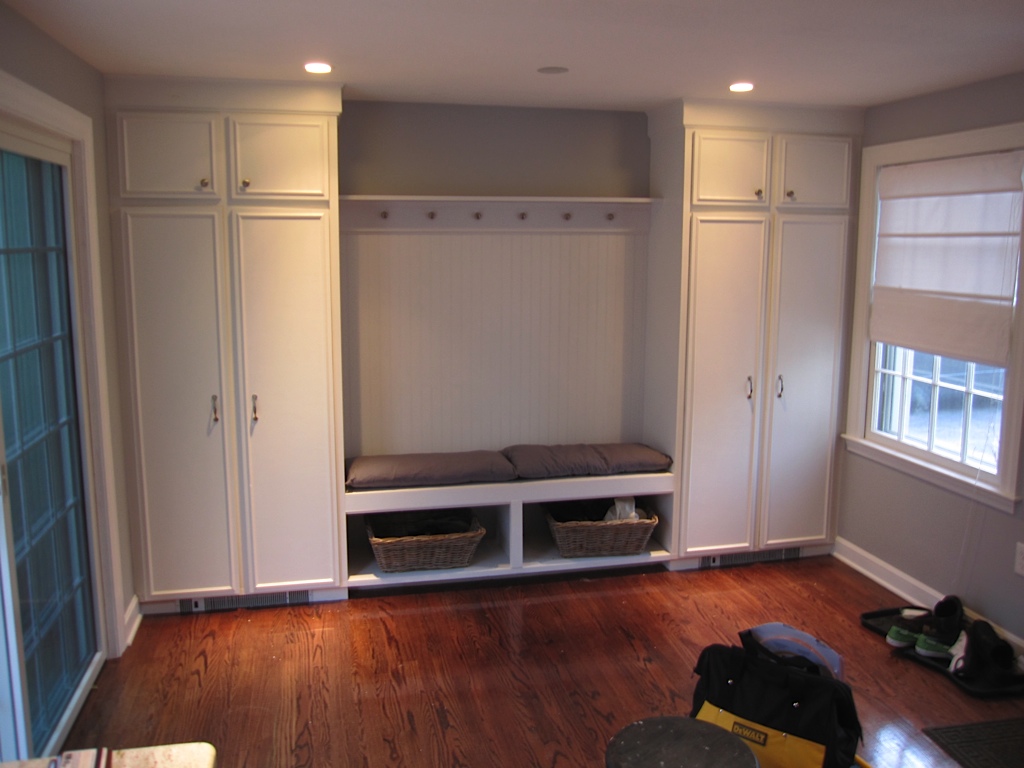
As a final touch, the homeowners completed the mudroom area, adding storage and functionality to the entryway. This was a relatively simple project, but it made a big difference in terms of organization and aesthetics. The mudroom provided a place to store coats, shoes, and other items, keeping the kitchen clutter-free.
The homeowners shared a story about how they ran out to do some errands and came back to find that their partner had already installed the mudroom components. This highlights the importance of teamwork and collaboration in a renovation project.
Mudroom in progress.
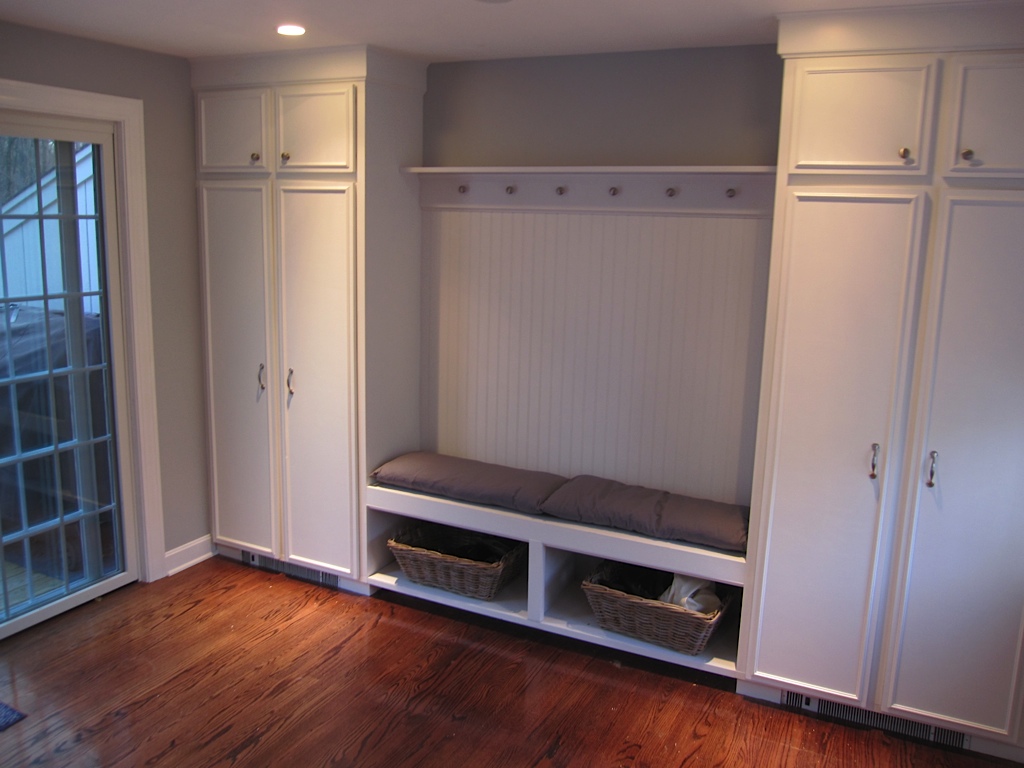
Mudroom is complete.
The “After”: A Bright and Modern Kitchen
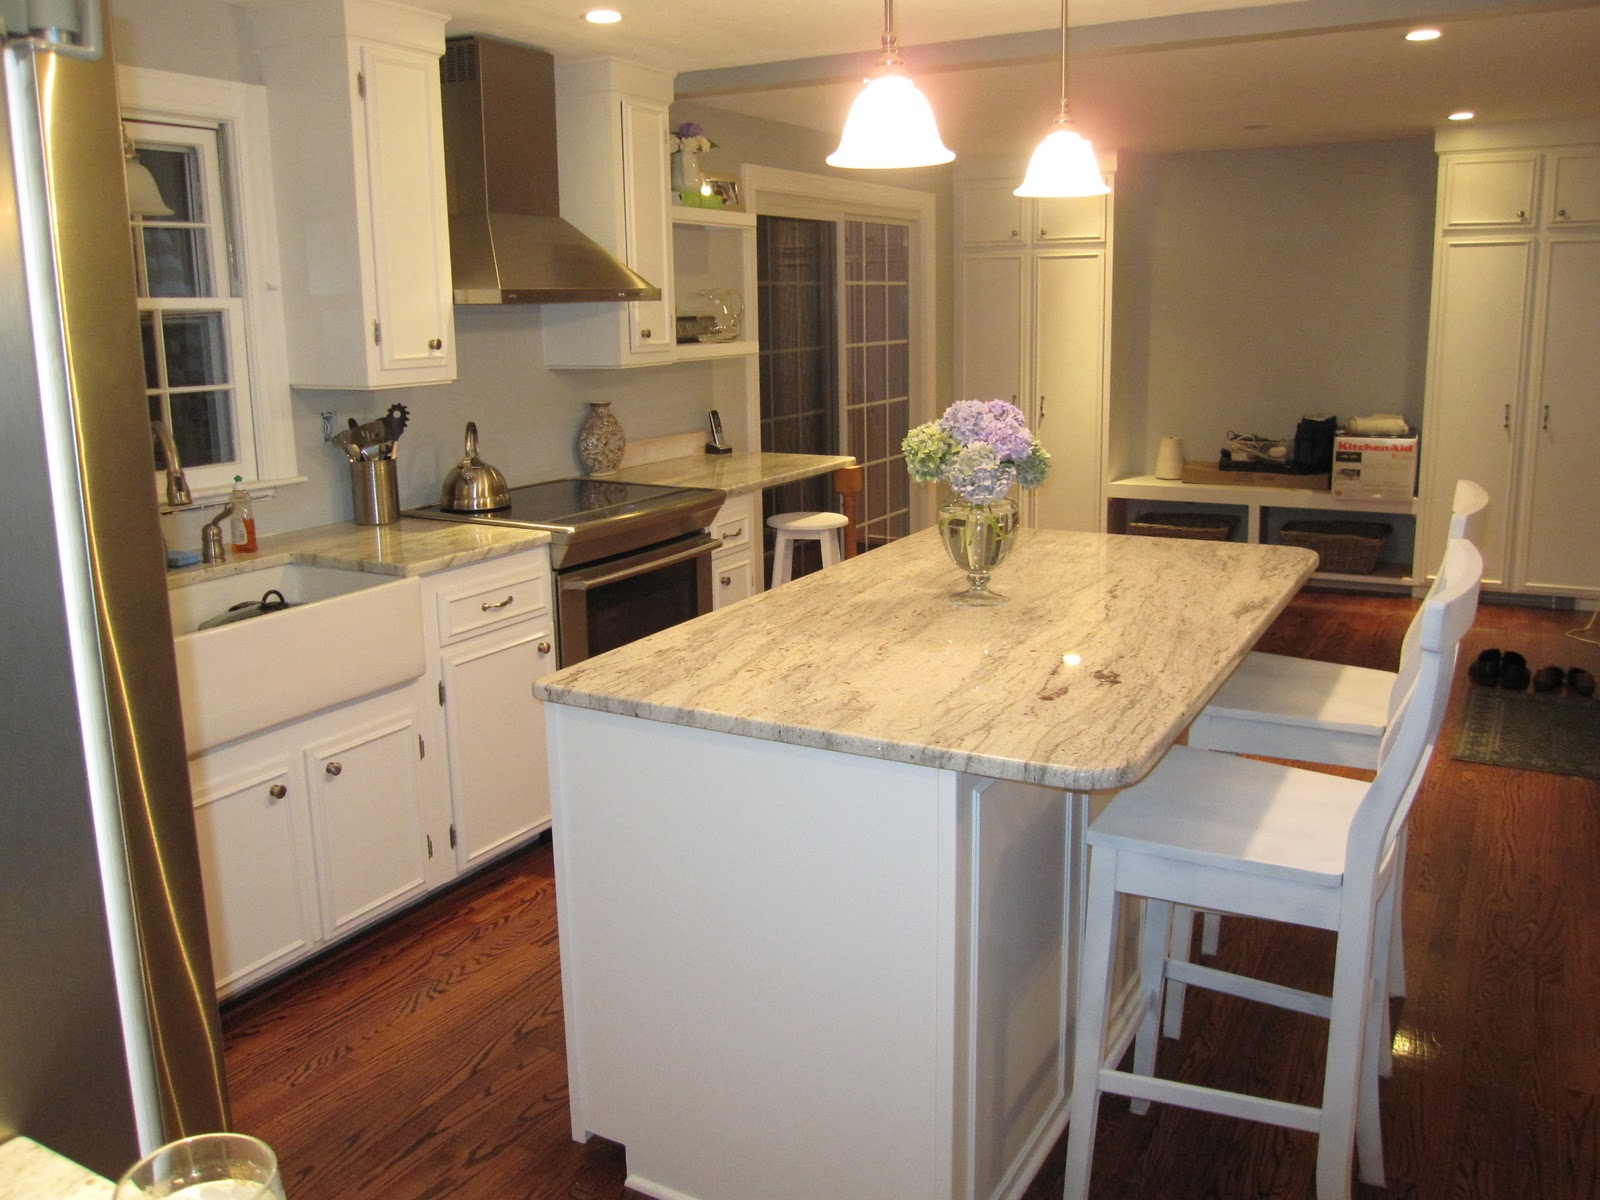
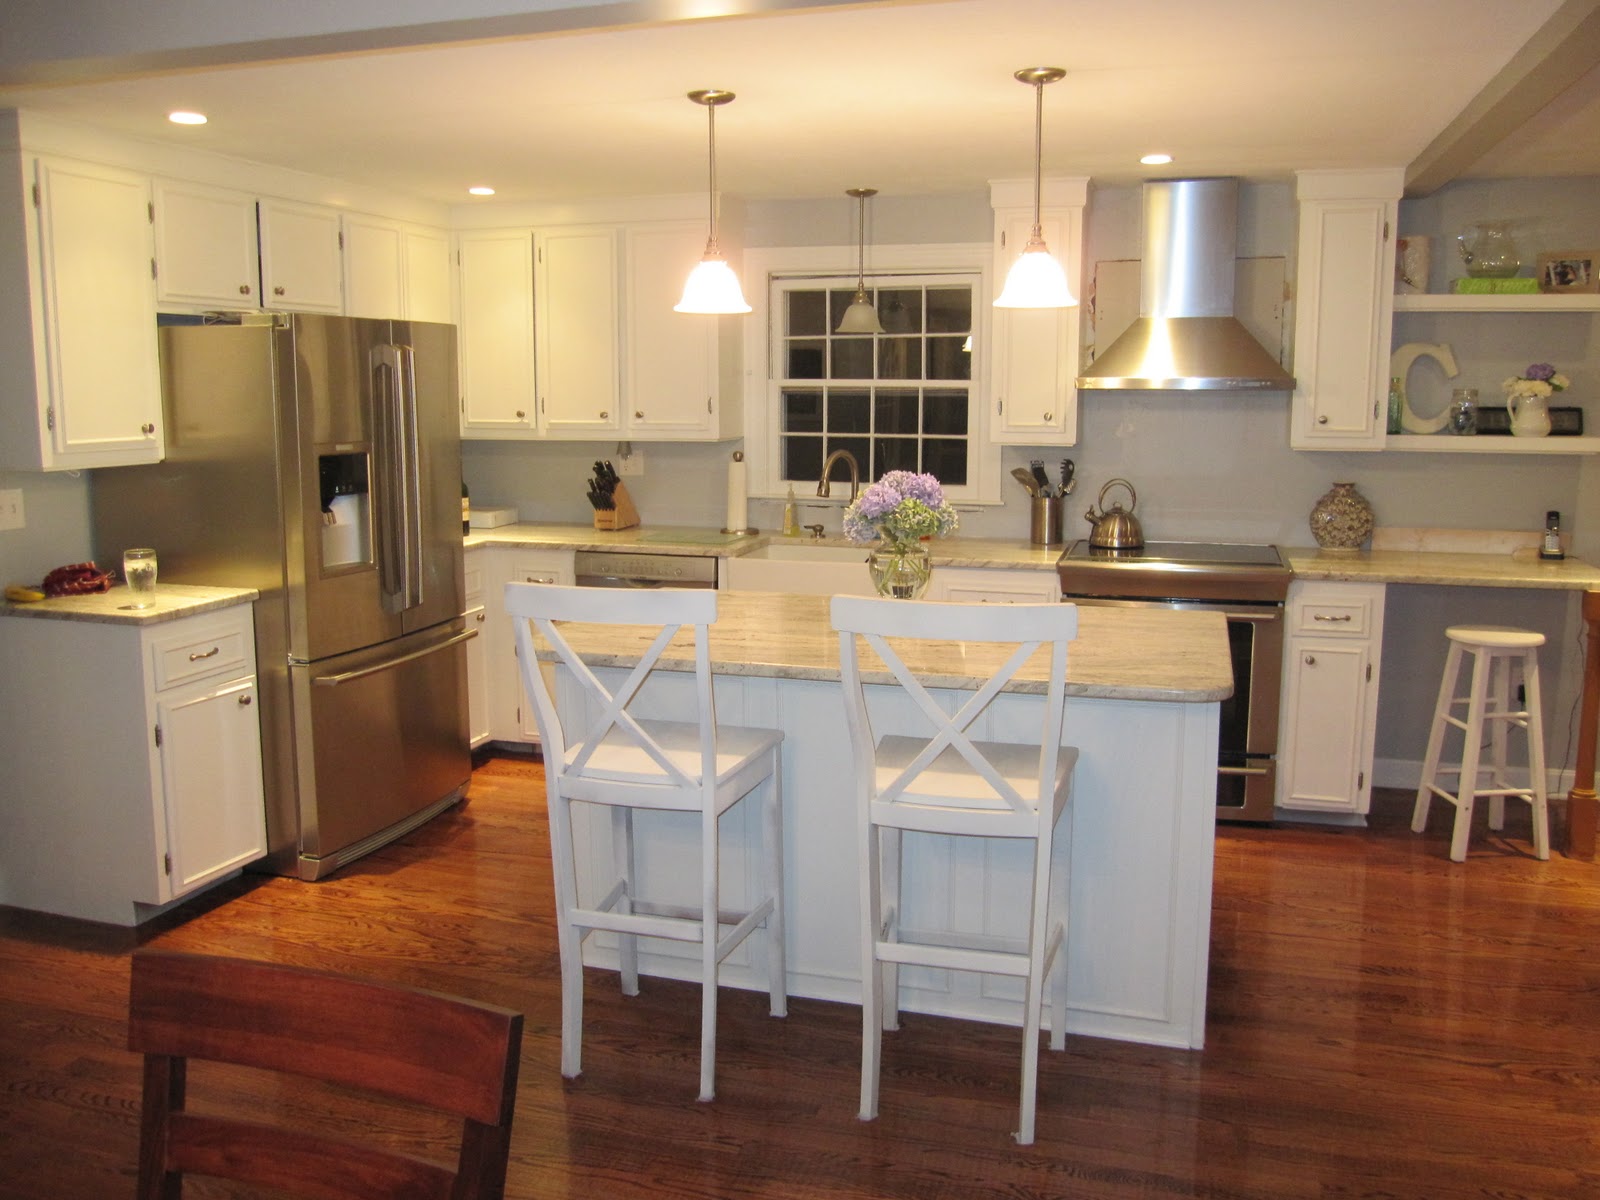
After eight months of hard work, the kitchen renovation was finally complete. The transformation was dramatic, with the dark, stained wood replaced by bright, white cabinets, updated countertops and flooring, and modern appliances. The new kitchen was not only more beautiful but also more functional, providing ample storage and workspace for cooking and entertaining.
The homeowners were thrilled with the results, stating that they wouldn’t change a thing if they had to do it over again. They joked about perhaps choosing salads over takeout pizza during the renovation process, but ultimately, they felt that the hard work was worth it.
Before and After Comparison: A Striking Contrast
To truly appreciate the magnitude of the renovation, let’s take a look at a side-by-side comparison of the before and after photos. The contrast is striking, showcasing the power of design and renovation to transform a space.
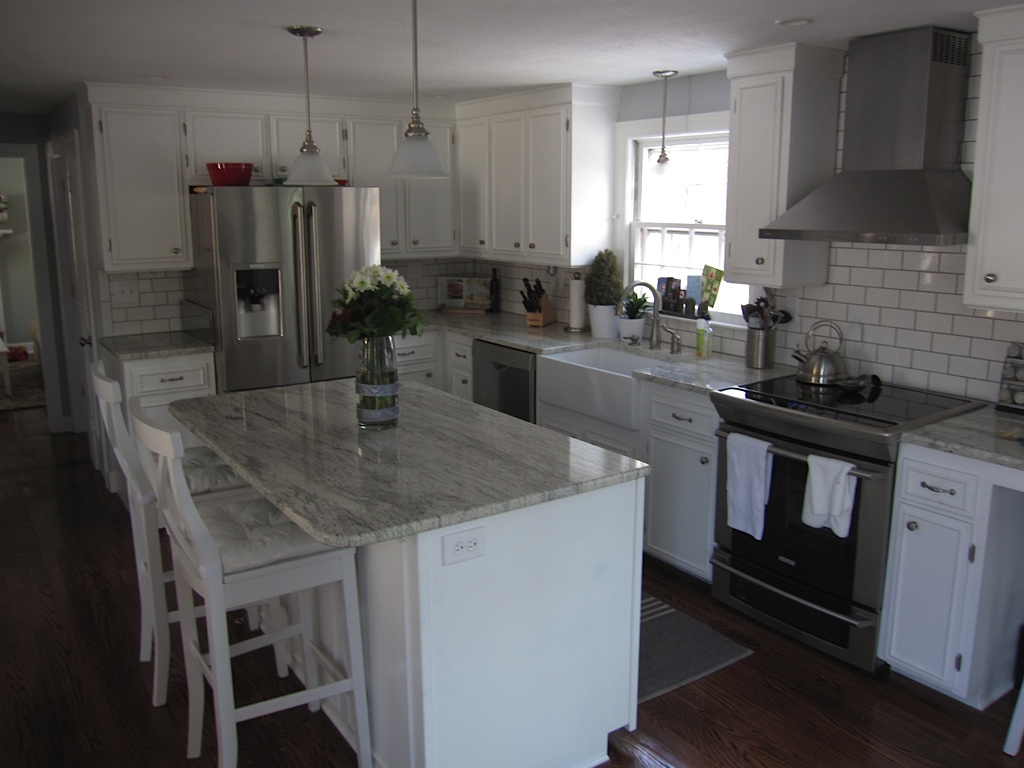
Finished Mudroom.
The complete remodel.
Lessons Learned and Advice for Future Renovators
Every renovation comes with its own set of challenges and learning experiences. The homeowners shared a few key takeaways from their kitchen renovation, including the importance of careful planning, budgeting, and communication. They also emphasized the value of hiring professionals for certain tasks, such as electrical work and cabinet painting.
For those considering a kitchen renovation, the homeowners offered the following advice:
- Plan thoroughly: Take the time to research different design options, materials, and contractors.
- Set a realistic budget: Be prepared for unexpected expenses and have a contingency fund in place.
- Communicate effectively: Maintain open communication with your contractors and family members.
- Don’t be afraid to DIY: If you’re handy, consider tackling some of the smaller projects yourself to save money.
- Enjoy the process: A kitchen renovation can be stressful, but it can also be a rewarding experience.
Have you ever undertaken a big kitchen renovation and lived to tell the tale? I would love to see or hear all about it. Any thoughts, advice or wisdom to those considering a kitchen renovation would also be wonderful!!