
Delicious Carnitas Recipe: A Flavorful and Easy Meal
This week has been a bit of a standstill on the weight loss front, and honestly, it’s been a tad frustrating. The scale hasn’t budged, and I’ve been hovering around the same weight for the past three weeks. While I’ll admit my choices haven’t been perfect, they certainly haven’t been terrible either. I’m hoping that breastfeeding isn’t hindering my weight loss journey. I recall holding onto a few extra pounds when I visited family shortly after my daughter Etta was born, around three months old. Time will tell!
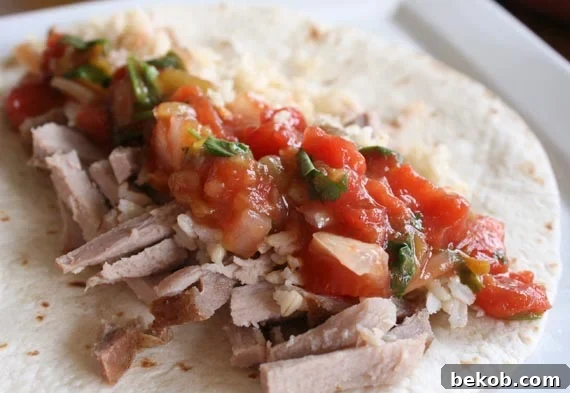
Despite the weight loss plateau, I did manage to do quite a bit of cooking this week. One of my favorite creations was Carnitas, which are essentially delicious pork tacos. They’re a family favorite, and I’m excited to share the recipe with you!
Carnitas Recipe: A Step-by-Step Guide
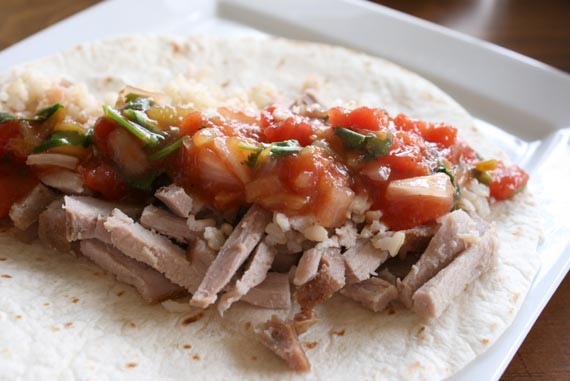
This Carnitas recipe is surprisingly simple and delivers incredible flavor. The key is slow-cooking the pork loin roast to perfection, resulting in tender, juicy meat that’s perfect for tacos. Paired with our homemade Salsa Cruda, it’s a meal that’s sure to impress.
Ingredients:
- Boneless Pork Loin Roast (the size depends on how many servings you need; I usually cook a 2lb roast)
- Bon Appetit Season Salt (or your favorite seasoning blend)
- Flour Tortillas (or Corn tortillas, if preferred)
- Brown Rice (cooked according to package directions)
Instructions:
- Prepare the Pork Roast: Preheat your oven to 375°F (190°C). Generously sprinkle the pork loin roast with Bon Appetit Seasoning (or your preferred seasoning blend). Make sure to coat all sides of the roast.
- Bake the Roast: Place the seasoned roast in a baking pan, fat side up. Bake for approximately 20 minutes per pound of meat, or until the internal temperature reaches 160°F (71°C). Use a meat thermometer to ensure accuracy.
- Rest and Shred: Once the roast is cooked, remove it from the oven and allow it to rest for about 10 minutes. This allows the juices to redistribute, resulting in a more tender and flavorful final product. After resting, slice or chop the roast into small, bite-sized pieces.
- Add Juices: Pour any accumulated juices from the baking pan back over the shredded or chopped meat. This adds extra flavor and moisture.
- Serve: Serve the Carnitas in warm flour or corn tortillas, along with cooked brown rice and our delicious Salsa Cruda (recipe below).
Tips for Perfect Carnitas:
- Don’t Overcook: Overcooked pork will be dry and tough. Use a meat thermometer to ensure the roast reaches the perfect internal temperature.
- Resting is Key: Allowing the roast to rest before slicing is crucial for retaining moisture and flavor.
- Experiment with Seasoning: Feel free to experiment with different seasoning blends to create your own unique flavor profile.
Salsa Cruda Recipe: A Fresh and Flavorful Addition
This Salsa Cruda is the perfect complement to the rich and savory Carnitas. It’s a simple salsa that’s packed with fresh flavors and is incredibly easy to make. I love this salsa because I usually have all the ingredients on hand, except for the fresh cilantro, which is absolutely essential! Don’t skip it.
Ingredients:
- 1 quart home-canned tomatoes, or 4 cups canned plain stewed tomatoes
- 1 onion, finely chopped
- 3/4 cup diced green chilies (canned)
- 1/2 to 3/4 cup chopped fresh cilantro
- 1 teaspoon sugar
- Fresh ground pepper to taste
- Salt and garlic powder to taste
Instructions:
- Prepare the Tomatoes: Pour the juice from the canned tomatoes into a bowl. Chop or crush the tomatoes to your desired size. We usually prefer a slightly chunky salsa.
- Combine Ingredients: Add the chopped tomatoes, onion, green chilies, cilantro, sugar, pepper, salt, and garlic powder to the bowl with the tomato juice.
- Mix Well: Mix all the ingredients together thoroughly.
- Serve: For the best flavor, serve the Salsa Cruda at room temperature. This salsa is also delicious with eggs or simply with tortilla chips!
Tips for Perfect Salsa Cruda:
- Fresh Cilantro is Key: Don’t skimp on the fresh cilantro! It adds a bright, fresh flavor that’s essential to the salsa.
- Adjust to Taste: Feel free to adjust the amount of green chilies, salt, and garlic powder to suit your taste preferences.
- Make it Ahead: The Salsa Cruda can be made ahead of time and stored in the refrigerator. The flavors will meld together even more as it sits.
Assembling Your Carnitas Tacos
Now that you have your delicious Carnitas and Salsa Cruda ready, it’s time to assemble your tacos! Simply warm your tortillas, add a generous portion of Carnitas, top with Salsa Cruda, and add a side of cooked brown rice if desired.
Feel free to get creative with your toppings! Other delicious options include:
- Shredded lettuce
- Diced tomatoes
- Sour cream or Greek yogurt
- Guacamole
- Shredded cheese
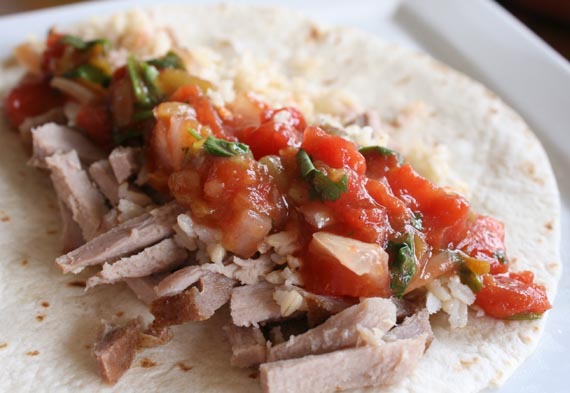
Carnitas tacos are perfect for a weeknight dinner, a weekend gathering, or any occasion where you want to enjoy a delicious and satisfying meal. They’re easy to make, customizable to your preferences, and always a crowd-pleaser.
Share Your Creations!
I hope you enjoy this Carnitas recipe as much as my family and I do! Now it’s your turn to get cooking and share your creations. Don’t forget to take a picture of your delicious Carnitas tacos and share it with me on social media! I can’t wait to see what you come up with.

Happy cooking!