
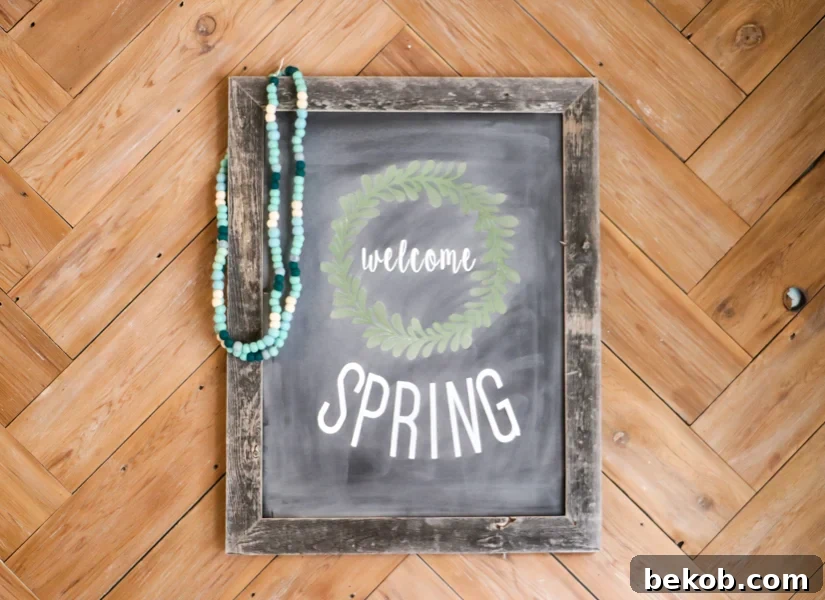
Create Stunning Reusable Faux Chalkboard Signs: A DIY Guide
Are you captivated by the charm of chalkboard signs but find yourself intimidated by hand-lettering? Do you dream of effortlessly creating beautiful, personalized signs for your home, parties, or special events? Look no further! This comprehensive DIY guide will walk you through the process of crafting reusable faux chalkboard signs that are both stunning and incredibly easy to make. Say goodbye to the frustration of imperfect lettering and hello to perfectly polished, professional-looking signs every time.
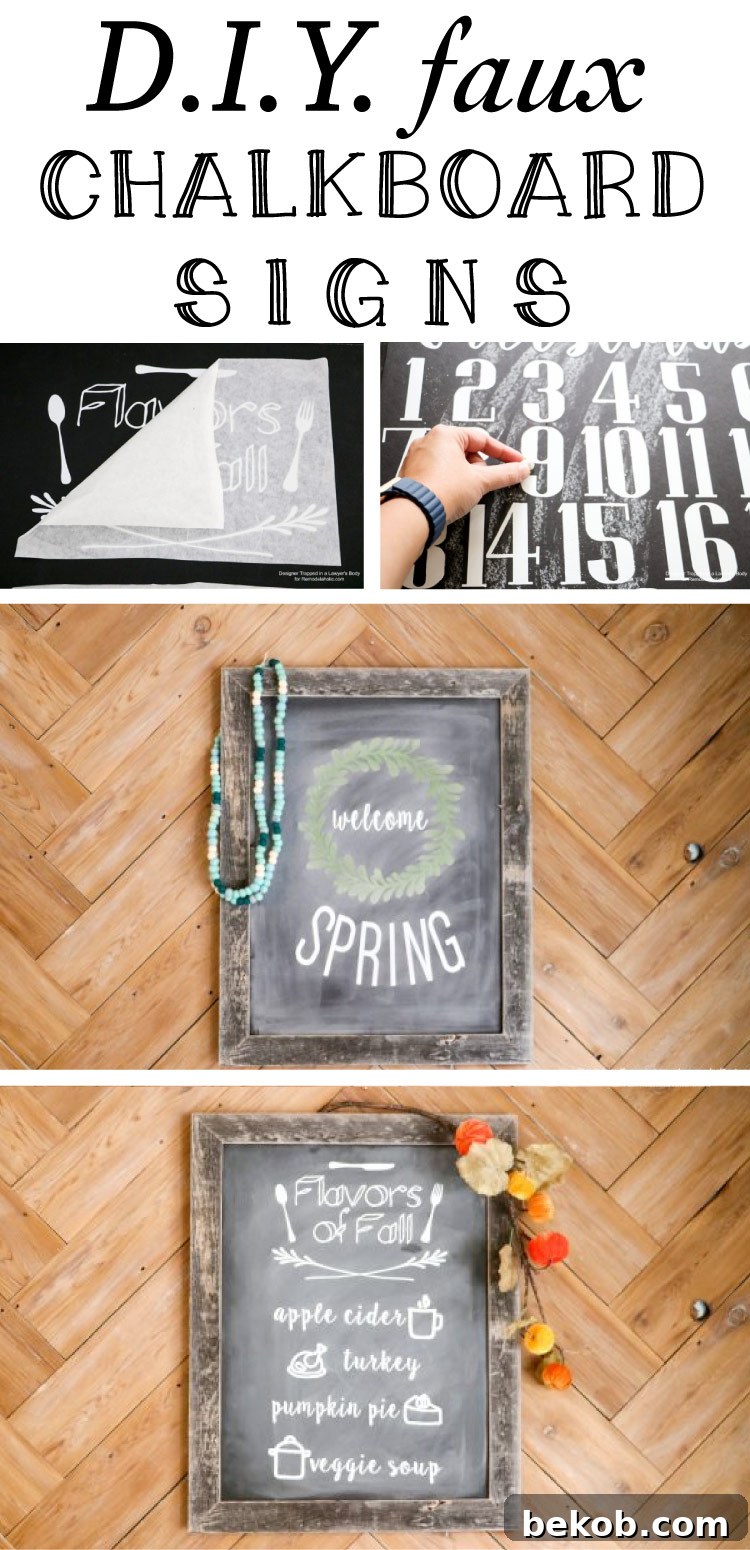
In this tutorial, we’ll explore a clever technique that utilizes vinyl and a few simple materials to achieve the authentic chalkboard aesthetic without the need for artistic talent. This project is perfect for anyone who loves the chalkboard look but struggles with freehand lettering. Plus, the best part is that these signs are reusable, making them a sustainable and budget-friendly option for all your decorating needs.
Why Choose Faux Chalkboard Signs?
Faux chalkboard signs offer numerous advantages over traditional chalkboard art. Here are just a few reasons why you might choose this method:
- No Hand-Lettering Skills Required: This is the biggest draw for many. You don’t need to be an artist to create beautiful signs. The vinyl technique allows you to use pre-designed fonts and graphics for a professional look.
- Reusable and Sustainable: Unlike traditional chalk art, these signs can be used again and again. Simply wipe off the chalk dust and you’re ready to create a new design.
- Easy to Store: When not in use, the foam core boards can be easily stored in a closet or drawer, taking up minimal space.
- Perfect for Beginners: This project is simple and straightforward, making it ideal for crafters of all skill levels.
- Customizable: You can create any design you want, from simple quotes to intricate illustrations. The possibilities are endless!
- Budget-Friendly: The materials required are relatively inexpensive, especially if you already have a cutting machine.
Materials You’ll Need
Before we get started, let’s gather the necessary materials. Here’s a comprehensive list of everything you’ll need to create your own reusable faux chalkboard signs:
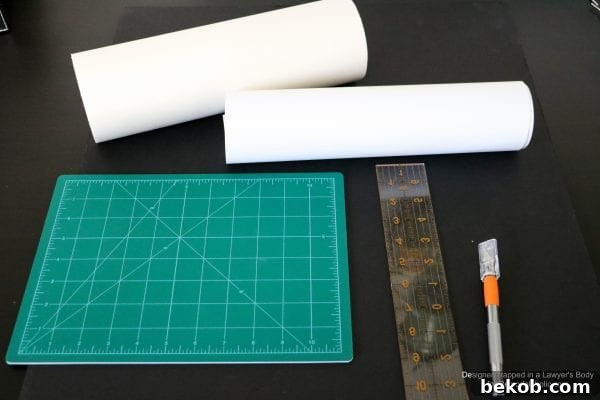
- Matte White Vinyl: Matte vinyl is crucial for achieving the authentic chalkboard look. I highly recommend using Silhouette brand vinyl, as it offers superior quality and adhesion compared to other brands.
- Vinyl Transfer Tape: Transfer tape is essential for transferring your vinyl design from the backing sheet to the foam core board.
- Level: A level will ensure that your design is straight and even on the foam core board.
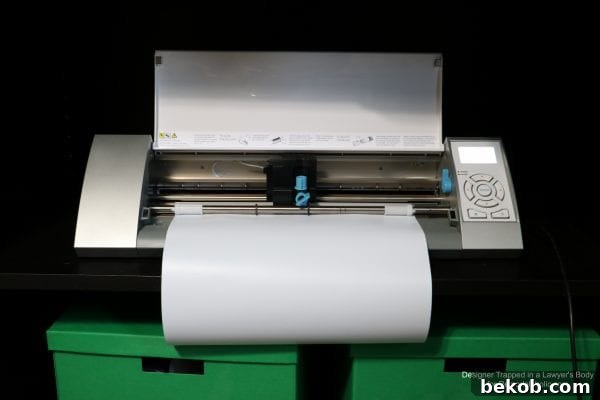
- Silhouette Cutting Machine (or Craft Knife and Letter Templates): A Silhouette Cameo or similar cutting machine will make the process much faster and easier. However, if you don’t have a cutting machine, you can still create beautiful signs using a craft knife and letter templates.
- Chalk: Regular chalk is used to create the chalkboard effect.
- Black Foam Core Board: The black foam core board serves as the base for your chalkboard sign. You can typically find these at The Dollar Store or any craft store.
- Craft Knife: A craft knife is needed to cut the foam core board to the desired size.
- Wood Frame (without glass): Choose a wood frame that complements your design. You can find wood frames without glass at most craft stores.
Step-by-Step Instructions: Creating Your Faux Chalkboard Sign
Now that you have all your materials, let’s dive into the step-by-step instructions for creating your own reusable faux chalkboard sign:
-
Design and Cut Your Vinyl:
Start by creating your design using Silhouette Studio software if you have a Silhouette machine, Cricut Design Space if you have a Cricut, or any other design program. You can find free fonts and graphics online, or purchase them from design marketplaces. I recommend keeping your design relatively simple, especially if you’re a beginner. If you don’t have a cutting machine, you can create a design on your computer, print it out, and use it as a template to cut your vinyl with scissors or a craft knife.

-
Prepare Your Foam Core Board:
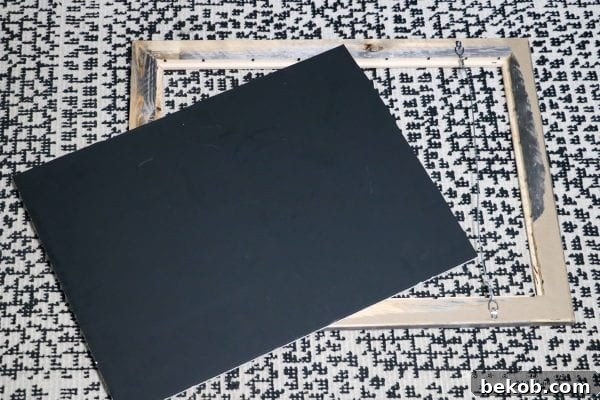
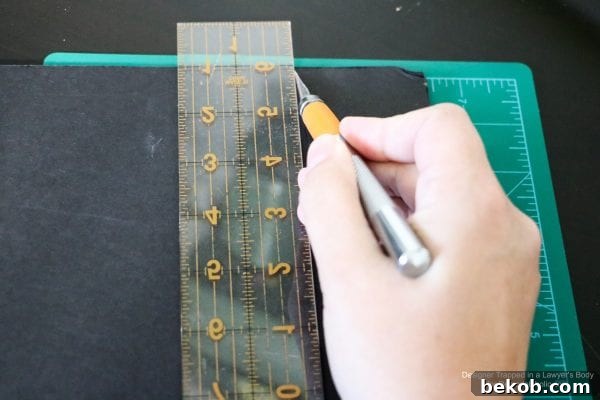
Measure the inside dimensions of your wood frame and cut your foam core board to fit snugly inside. Use a craft knife and a ruler for precise cuts.
-
Weed Your Vinyl Design:
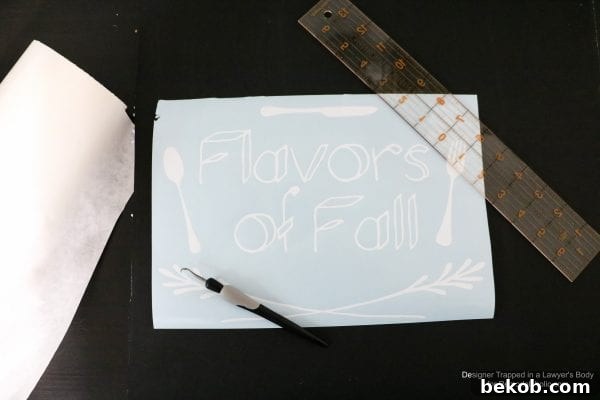
If you used a cutting machine, you’ll need to “weed” your vinyl design. This means removing all of the excess vinyl that isn’t part of your design. Use a weeding tool to carefully remove the unwanted vinyl, leaving only your design on the backing sheet.
-
Transfer Vinyl to Transfer Tape:
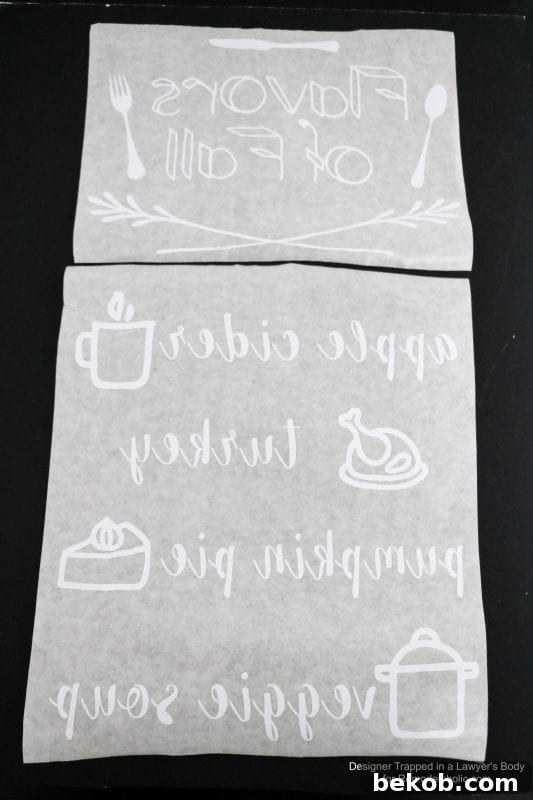
Cut a piece of transfer tape slightly larger than your vinyl design. Peel off the backing from the transfer tape and carefully apply it to the top of your vinyl design. Use a scraper tool or a credit card to smooth out any bubbles and ensure that the vinyl adheres firmly to the transfer tape.
-
Apply Vinyl to Foam Core Board:
Peel the backing off the vinyl, leaving your design on the transfer tape. Carefully position the transfer tape with the vinyl design onto the foam core board. Use a level to ensure that your design is straight. Once you’re happy with the placement, use a scraper tool or a credit card to smooth out the vinyl and ensure that it adheres firmly to the foam core board.
-
Remove Transfer Tape:
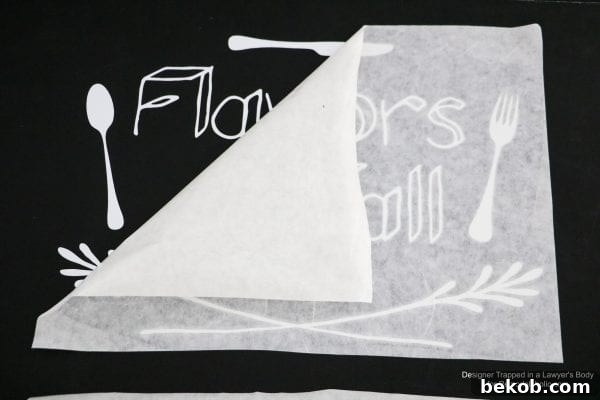
Slowly and carefully peel the transfer tape away from the vinyl, leaving the vinyl design adhered to the foam core board.
-
Create the Chalkboard Effect:
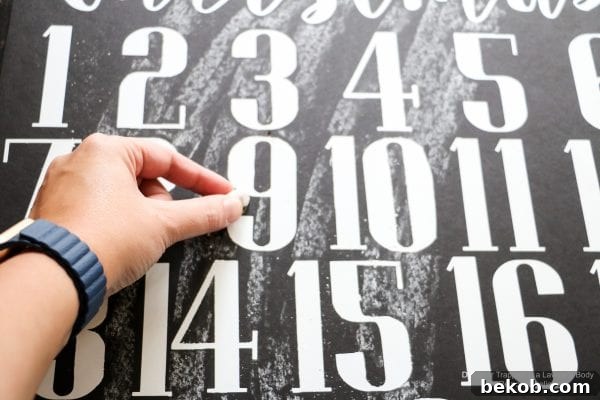
This is where the magic happens! Take a piece of chalk and rub it all over the foam core board, covering the entire surface, including the vinyl design. Then, use a paper towel or a chalkboard eraser to wipe away the excess chalk, leaving a subtle chalky residue. This residue is what gives the sign its authentic chalkboard look.
-
Frame and Display:
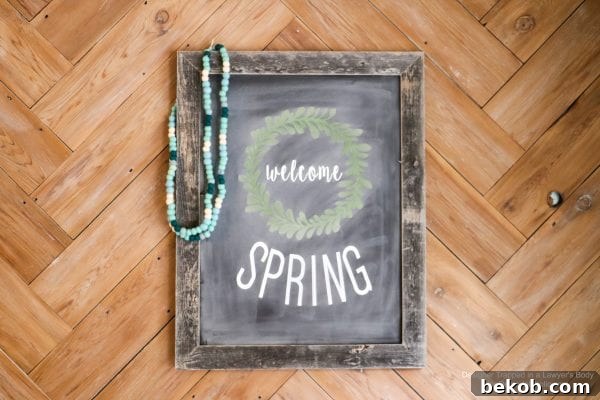
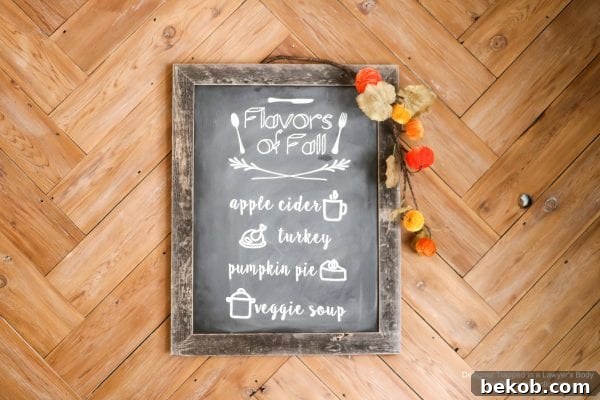
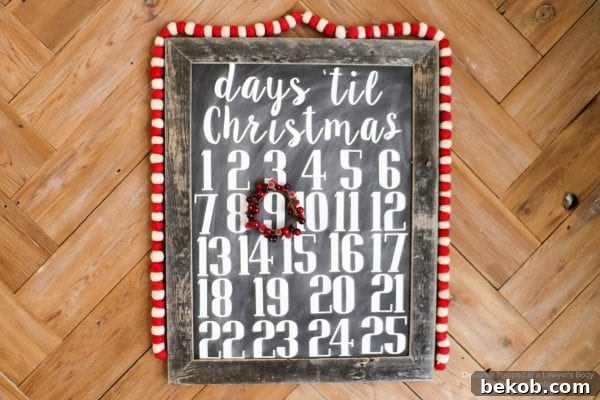
Carefully place the foam core board into your wood frame. Hang your finished faux chalkboard sign and admire your handiwork!
Tips and Tricks for Perfect Faux Chalkboard Signs
Here are a few extra tips and tricks to help you create the best possible faux chalkboard signs:
- Choose the Right Font: Opt for fonts that mimic the look of hand-lettering, such as script fonts or sans-serif fonts with a slightly rough texture.
- Experiment with Chalk Colors: While white chalk is the most traditional choice, you can also experiment with colored chalk for a more vibrant look.
- Use a Sealer: To prevent the chalk from smudging, you can lightly spray your finished sign with a matte sealer.
- Clean Carefully: When cleaning your sign, use a slightly damp cloth or a chalkboard eraser to avoid damaging the vinyl.
More Chalkboard Fun!
Looking for more ways to incorporate the chalkboard aesthetic into your home decor? Check out these free resources:
Download this free LOVE chalkboard art poster

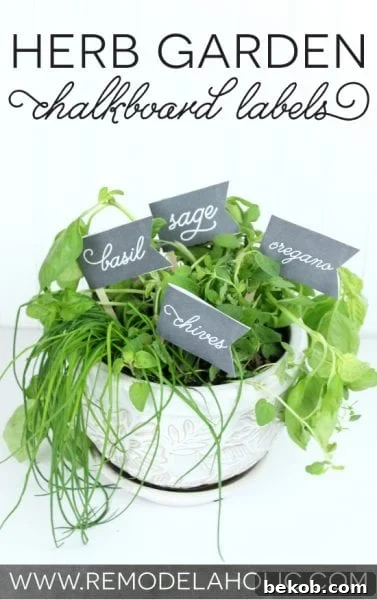
Download these free herb garden chalkboard labels
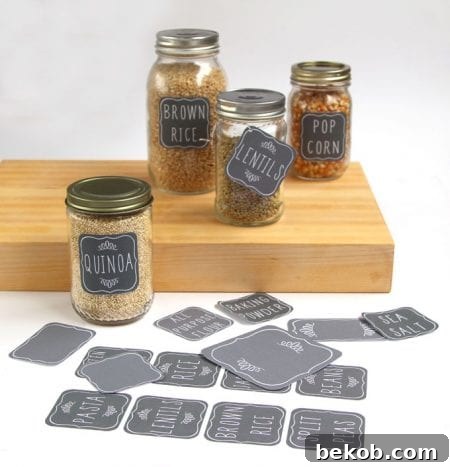
Organize your pantry with free printable chalkboard labels
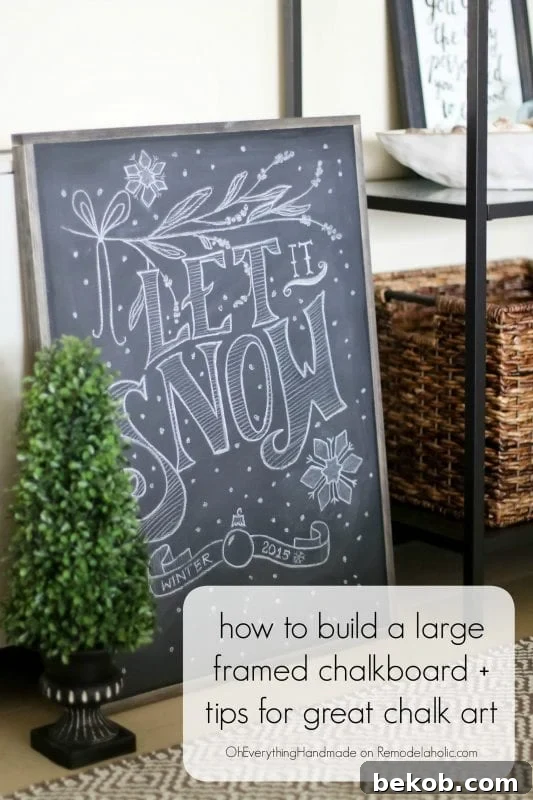
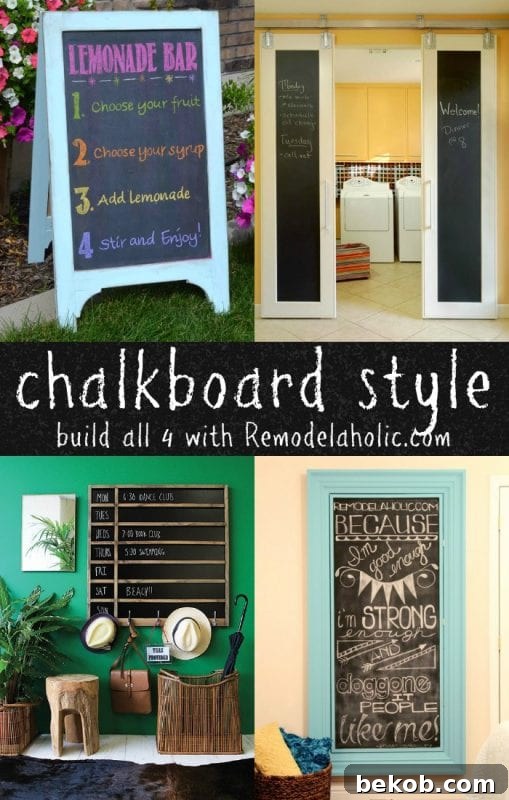
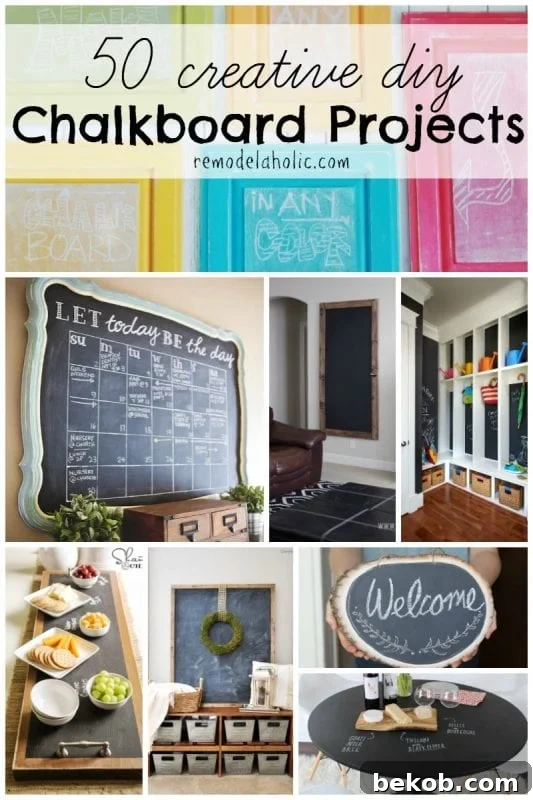
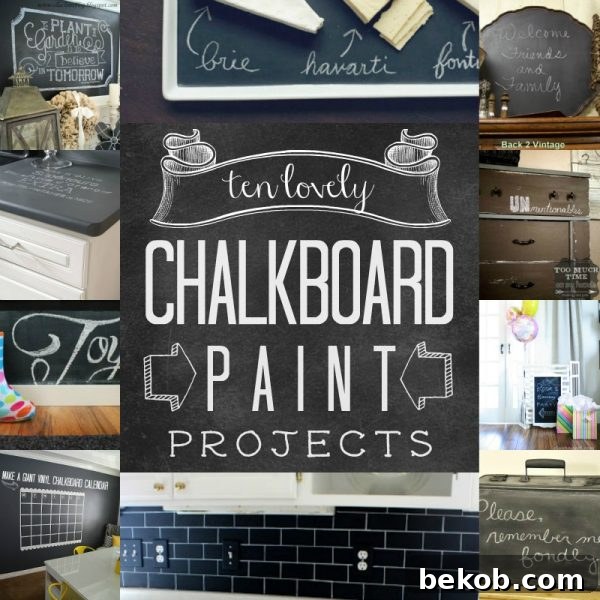
Ready for the real deal? Try these:
Conclusion
With this simple and effective technique, you can now create beautiful and reusable faux chalkboard signs that will add a touch of charm to any space. Whether you’re decorating for a party, a holiday, or just want to add a personal touch to your home, these signs are the perfect solution. So, gather your materials, unleash your creativity, and get ready to create some stunning faux chalkboard art!