
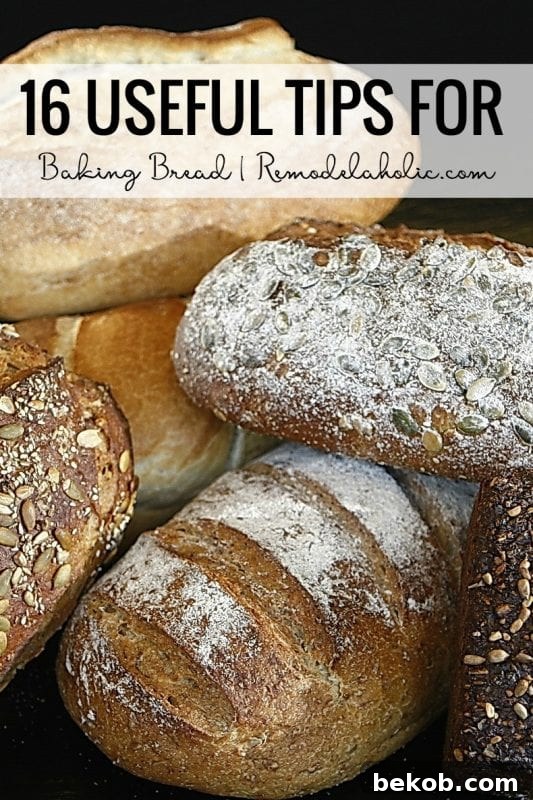
Unlock the Secrets to Perfect Bread: 16 Expert Baking Tips
While cooking often feels like an art, baking, especially bread baking, is more of a science. Achieving that perfect loaf requires precision, patience, and a good understanding of the processes involved. If you’re new to the world of bread baking, particularly working with yeast, this guide is your starting point. We’ve compiled 16 invaluable tips that will boost your confidence and help you consistently create delicious, bakery-quality bread in your own kitchen. From understanding the nuances of different flours to mastering the art of kneading and proofing, each tip is designed to demystify the baking process and set you on the path to becoming a proficient bread baker.
16 Essential Tips for Baking Bread at Home
-
Start with Less Flour Than the Recipe Suggests
One of the most common mistakes new bakers make is adding all the flour at once. Dough hydration is crucial, and environmental factors can influence how much flour your dough actually needs. Begin by adding slightly less flour than the recipe calls for. Observe the dough’s consistency as you mix. It should be slightly sticky but still manageable. You can always add more flour gradually if needed, but it’s nearly impossible to remove excess flour once it’s incorporated.
-
Never Rush the Rising Time (Proofing)
Rising time, also known as proofing, is a non-negotiable step in bread baking. This is the period when the yeast ferments, producing carbon dioxide that gives the bread its airy texture. Rushing the rising time can result in dense, under-developed bread. Allow the dough to rise in a warm, draft-free environment until it has doubled in size. The exact time will vary depending on the yeast, the temperature, and the humidity, so trust your dough rather than the clock.
-
Resist the Urge to Over-Flour During Kneading
Kneading develops the gluten in the flour, which gives bread its structure and elasticity. It’s tempting to add more flour when the dough feels sticky, but resist the urge! A slightly sticky dough is actually ideal. As you knead, the gluten will strengthen, and the dough will become smoother and less sticky. Adding too much flour at this stage can result in a dry, tough loaf.
-
Always Aerate the Flour Before Measuring
Flour compacts over time, so scooping directly from the bag can result in using more flour than intended. This can lead to a drier, denser bread. To ensure accurate measurements, always fluff the flour with a spoon or fork before spooning it into your measuring cup. Level off the excess with a straight edge, like a knife, for consistent results every time.
-
Knead Thoroughly: The Key to Gluten Development
Kneading is arguably the most important step in bread baking. It develops the gluten, which is the protein that gives bread its structure and chewiness. The more you knead (within reason), the more gluten is developed, leading to a lighter, fluffier bread. While it’s difficult to over-knead by hand, under-kneading is a common mistake that can result in problems with rising and baking. Aim for a smooth, elastic dough that springs back when pressed.
-
Know When Your Dough is Perfectly Kneaded
Whether you’re kneading by hand or using a mixer, knowing when your dough is ready is crucial. Generally, hand-kneading takes about 10-12 minutes, while a mixer will do the job in 8-10 minutes. Look for these signs: The dough should be smooth and elastic, it should pass the “windowpane test” (you can stretch a small piece of dough thin enough to see light through it without tearing), and it should spring back when gently poked. These indicators ensure that the gluten has developed sufficiently for a well-risen, textured loaf.
-
Use a Thermometer to Protect Your Yeast
Yeast is a living organism, and it’s sensitive to temperature extremes. Too-hot water or milk can kill the yeast, preventing the dough from rising. Use a cooking thermometer to ensure that your liquids are at the ideal temperature, typically between 105°F and 115°F (40°C and 46°C). This will create the perfect environment for the yeast to thrive and properly leaven your bread.
-
Understand the Different Types of Flour
While all-purpose flour can be used for many bread recipes, different types of flour offer unique characteristics that can enhance your baking. Bread flour has a higher protein content, which results in a stronger gluten network and a chewier texture. Cake flour is low in protein, producing a tender, delicate crumb. Pastry flour falls in between, offering a balance of structure and tenderness. Experimenting with different flours can significantly impact the outcome of your bread.
-
Choose the Right Kneading Method for You
There are several ways to knead bread: by hand, with a stand mixer, in a food processor, or even in a bread machine. Each method has its advantages and disadvantages. Hand-kneading allows for more control and a better feel for the dough, but it can be time-consuming. A stand mixer makes the process easier and more consistent, while a food processor is faster but requires careful monitoring to avoid over-kneading. A bread machine automates the entire process, from kneading to baking.
-
Prepare Bread Kits for Regular Baking
If you bake bread frequently, consider assembling bread kits to streamline the process. Measure out and combine the dry ingredients (flour, salt, yeast) in a jar or container. When you’re ready to bake, simply add the wet ingredients and follow the recipe. This saves time and ensures that you have all the necessary ingredients on hand.
-
Properly Store and Handle Yeast
Yeast is a delicate ingredient, and proper storage is essential for maintaining its potency. Store yeast in an airtight container in the freezer to prolong its shelf life. Before using, bring it to room temperature. Some bakers have success using yeast straight from the freezer, so experiment to see what works best for you.
-
Make Dough Ahead of Time for Convenience
Bread baking doesn’t always have to be a same-day affair. You can prepare the dough in advance and bake it later. To do this, double the yeast in the recipe, wrap the dough tightly in plastic wrap, and freeze it. The night before you want to bake, transfer the dough to the refrigerator to thaw slowly overnight. The next day, let it rise and bake as usual.
-
Understand the Difference Between Active Dry and Instant Yeast
Active dry yeast and instant yeast are not interchangeable. Active dry yeast needs to be proofed in warm water or milk before being added to the dry ingredients. Instant yeast, also known as bread machine yeast, can be added directly to the dry ingredients without proofing. Using the wrong type of yeast can affect the rise and texture of your bread.
-
Rely on Dough Size, Not Time, for Rising
Recipes often provide recommended rising times, but these are just guidelines. The actual rising time will depend on the temperature and humidity in your kitchen. Instead of strictly following the time, let your dough rise until it has doubled in size. This is a more reliable indicator that the yeast has done its job.
-
Create the Ideal Environment for Rising Dough
The ideal temperature for rising dough is around 70-75°F (21-24°C). If your kitchen is cooler than that, the dough will rise more slowly. You can create a warmer environment by placing the dough in a slightly warmed oven (turned off!) or on top of the refrigerator. Avoid placing the dough in direct sunlight or near a draft, as this can dry out the surface and inhibit rising.
-
Watch Visual Guides for Kneading and Shaping Techniques
Sometimes, a visual aid is the best way to learn new techniques. There are countless videos online that demonstrate how to knead, rise, and shape dough. Watching these videos can help you understand the proper techniques and avoid common mistakes.
What are your favorite bread baking tips? Share them in the comments below!
More Bread Baking Resources:
- Bread Baking 101: Baking with Yeast
- Tutorial: Working With Yeast
Delicious Bread Recipes to Try: