
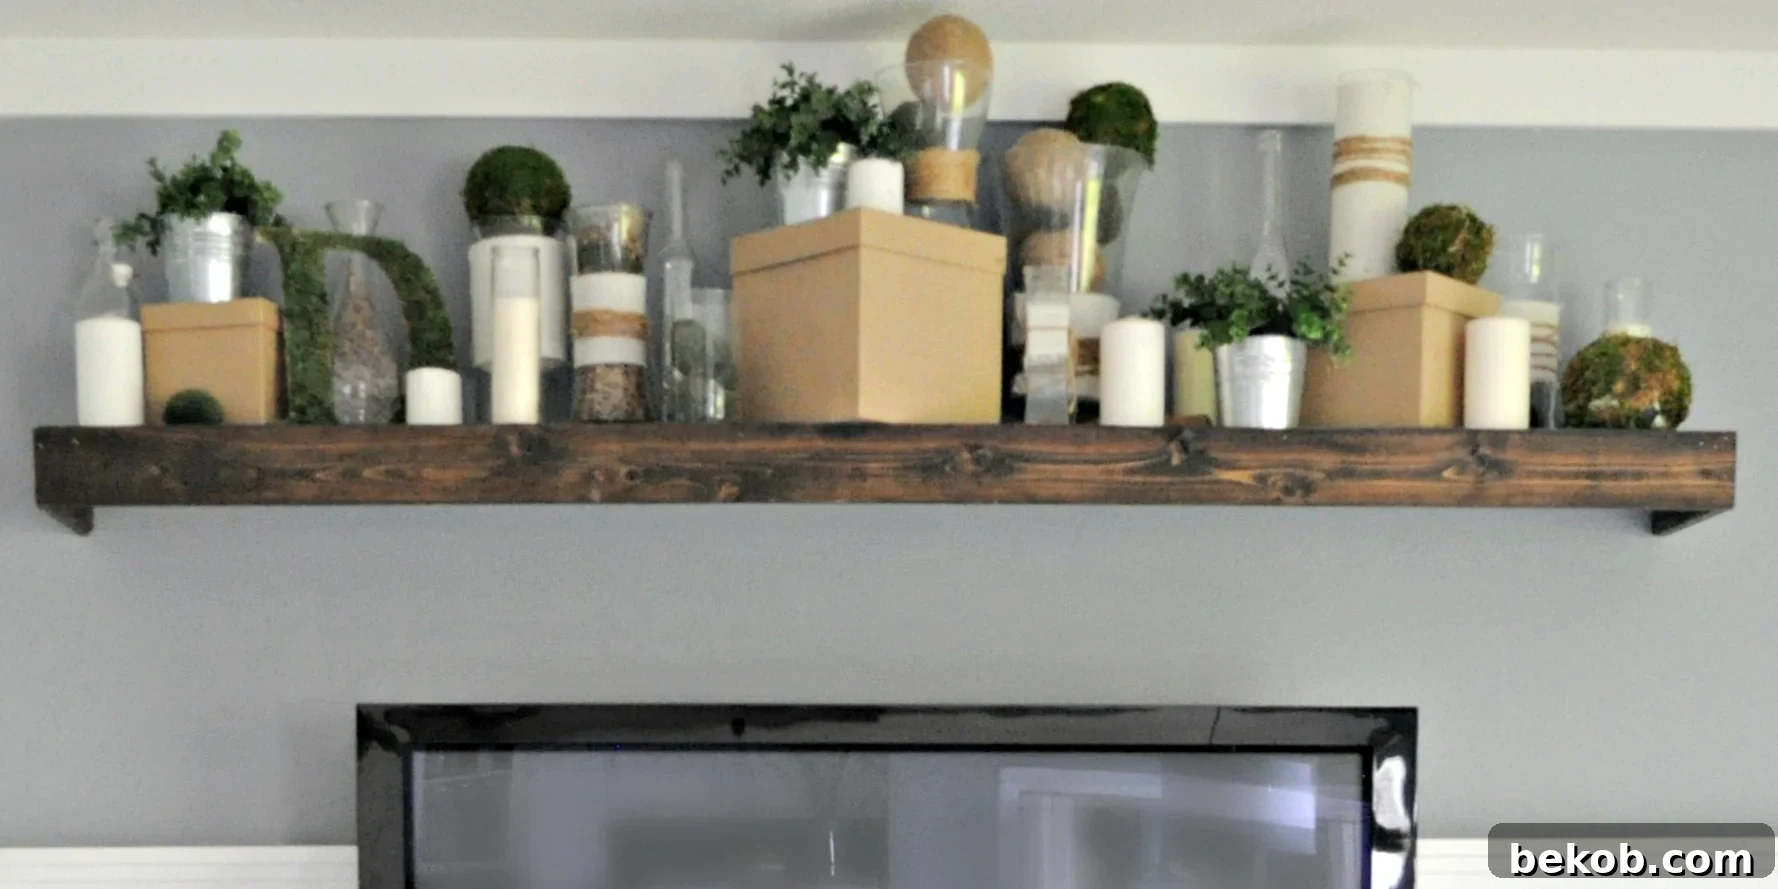
Are you captivated by the elegant simplicity of floating shelves but seeking a more budget-friendly and accessible solution than high-end options? Look no further! This comprehensive IKEA Lack Hack guide will show you how to transform a basic IKEA floating shelf into a stunning, Pottery Barn-inspired wooden ledge shelf that perfectly blends style and practicality. Get ready to elevate your home decor without breaking the bank!
Unlock Your Creativity: Customizing a Floating Shelf for High-End Style
Hello, DIY enthusiasts! Corey here, thrilled to bring you another exciting and achievable home decor project. You might recall our previous endeavor where we tackled this impressive media center transformation. Today, we’re building on that success by focusing on a beautiful companion piece: an adorable, custom-built floating shelf designed to complement your console perfectly or stand alone as a sophisticated statement. This isn’t just any shelf; it’s a clever IKEA hack that delivers high-end aesthetics at an incredibly affordable price.
The beauty of this project lies in its simplicity and cost-effectiveness. The IKEA Lack shelf is a ubiquitous and incredibly versatile item, known for its minimalist design and attractive price point. It comes complete with all the necessary hardware for installation, making it an ideal starting point for both seasoned DIYers and those just beginning their crafting journey. If you’re looking for an impactful home improvement project that requires minimal effort but yields maximum style, you’ve found it!
Ready to turn that plain floating shelf into a custom masterpiece? Let’s dive in!
The Ultimate IKEA Hack: Transforming a Lack Floating Wall Shelf into a Pottery Barn-Inspired Picture Ledge
This post contains affiliate links for your convenience. You can see our full disclosure here.
Essential Supplies: What You’ll Need for This DIY Shelf Makeover
Embarking on any DIY project begins with gathering the right materials and tools. For this IKEA Lack shelf transformation, we’re keeping things straightforward and accessible. The goal is to elevate the shelf’s appearance by concealing its standard laminate finish and giving it the rich, solid wood look of a high-end picture ledge. Here’s a detailed list of everything you’ll need to achieve that coveted Pottery Barn aesthetic.
Materials Required:
- 1×4″ Boards: The star of our show! These common lumber pieces will form the wooden frame around your Lack shelf. You’ll need enough to cover the front and sides of your specific shelf length. Pine or poplar are excellent, affordable choices, but you can opt for harder woods if you prefer a different grain or durability.
- Wood Stain: This is where the magic happens! A quality wood stain will give your plain 1x4s the desired color and depth, mimicking expensive hardwoods. We used Minwax Jacobean Stain for a rich, dark finish, but you can choose any color to match your existing decor.
- Sandpaper: Essential for preparing your wood for staining and achieving a smooth, professional finish. Keep various grits on hand, from medium (100-150) for initial smoothing to fine (180-220) for final preparation.
- Nails: For securing the wooden strips to the Lack shelf, adding durability and structural integrity. Depending on your tool choice, these could be brad nails for a nail gun or finish nails for a hammer.
- Wood Glue: A crucial adhesive that provides a strong, lasting bond between the wooden strips and the laminate surface of the IKEA shelf. Don’t skip this step for maximum hold.
- Ikea Lack Shelf: The foundation of our hack! Choose the size that best fits your space and design needs. Ensure it’s clean and free of debris before starting.
Tools Suggested:
- Sander (Optional but Recommended): While hand sanding is possible, an orbital sander will save you significant time and effort, ensuring a perfectly smooth surface for staining.
- Nail Gun (or Hammer): A nail gun (like a brad nailer) makes assembly quick, precise, and leaves minimal evidence of fasteners. If you don’t have one, a traditional hammer and finish nails will work just as well, though it may take a little more care to prevent wood splitting.
- Miter Saw: Absolutely essential for making accurate, clean cuts, especially the 45-degree angles needed for seamless mitered corners. If you don’t own one, many hardware stores offer cutting services, or you might borrow one from a friend.
We’re about to embark on a transformation that will completely hide the original laminate finish of the IKEA Lack shelf, much like we did with the Media Center. This approach ensures a cohesive and high-end look throughout your project.
Selecting and Cutting Your Wood for a Custom Floating Shelf
The secret to achieving that solid, custom look lies in carefully measured and cut wood strips. Using your 1×4″ boards, you’ll need to precisely measure the length of the front and the sides of your IKEA Lack shelf. Accuracy here is key for a professional finish. Cut these pieces to size, ensuring that the corners are cut at a precise 45-degree angle. This mitered cut is crucial for creating a clean, seamless joint that looks like a single piece of wood, rather than separate strips.
These carefully cut 45-degree angles will come together to form a beautiful, finished mitered corner, mirroring the craftsmanship of high-end furniture. This detail is what truly transforms the shelf from a simple IKEA piece into a custom, bespoke item.
Preparing and Staining Your Wooden Ledge Shelf Components
Once all your 1×4″ pieces are precisely cut, the next crucial step is sanding. Sanding ensures a perfectly smooth surface, which is vital for proper stain absorption and a professional finish. Start with a medium-grit sandpaper (around 100-120 grit) to remove any saw marks or imperfections, then move to a finer grit (180-220 grit) for a silky-smooth feel. If you have an orbital sander, this process will be much faster and more efficient, but hand sanding works just as well with a little patience.
With your wooden surfaces perfectly smooth and free of dust, it’s time to apply the stain. I used Minwax Jacobean Stain, which offers a rich, deep color that beautifully mimics darker hardwoods. Apply the stain evenly to both sides of your boards using a rag or brush, following the wood grain. Allow the stain to penetrate for the recommended time, then wipe off any excess. Depending on the desired depth of color, you might apply a second coat after the first has dried. Always work in a well-ventilated area and wear appropriate protective gear.
Assembling Your Custom Wooden Ledge Shelf: Glue and Nails for Durability
Once your stain has thoroughly dried and cured, it’s time for assembly. This step is crucial for transforming the plain Lack shelf into a robust, wooden ledge. Begin by applying a small, consistent bead of wood glue to the surface of the laminate Lack shelf where the 1×4″ boards will be attached. Wood glue provides an incredibly strong bond, ensuring the new wood strips adhere securely to the existing shelf. This combination of glue and mechanical fasteners is key for long-lasting durability.
For added strength and permanence, I highly recommend tacking your boards into place with a nail gun. Carefully align each 1×4″ strip so that the top edge of the board is flush with the top surface of the laminate shelf. You’ll notice an intentional overhang of an inch or two on the bottom of the shelf. This deliberate design choice “beefs up” the appearance of the existing shelf, giving it a much thicker, more substantial profile that truly mimics high-end solid wood shelving. Use a nail gun to secure the boards firmly, ensuring they are tightly flush against the original shelf. If you don’t have a nail gun, finish nails and a hammer will work, just be mindful of splitting the wood and counter-sink the nail heads for a smooth finish.
Seamless Installation: How to Mount Your Transformed Floating Shelf
One of the many benefits of using an IKEA Lack shelf as your base is its incredibly simple and robust installation system. To mount your newly customized wooden ledge shelf, simply follow the instructions provided with your original IKEA Lack shelf. These instructions are typically very clear and easy to understand. The process usually involves mounting a metal bracket securely to your wall, and then the shelf effortlessly slides onto this bracket, creating a clean, floating appearance. Make sure to use a level to ensure your shelf is perfectly straight!
And just like that, with minimal effort and a dash of creativity, you’ve created a gorgeous, custom wooden ledge shelf! The transformation is truly remarkable, elevating a basic item into a designer piece.
Take a moment to admire those perfectly mitered corners – they are the hallmark of a quality, custom-built piece. This project is undoubtedly a vast success, proving that you can achieve the sophisticated look of Pottery Barn floating shelves for the much more agreeable cost of an IKEA hack. It’s truly a win-win for style and budget!
Understanding Floating Shelf Weight Capacity: What Can Your New Ledge Hold?
A common question with floating shelves is regarding their weight capacity. While there isn’t a single “exact” number that applies universally, the key factor determining how much weight your shelf can safely hold is how it’s anchored to the wall. If you’ve managed to install the IKEA bracket directly into wall studs, your shelf’s capacity will be significantly higher. Studs provide the strongest possible anchor point. For items that won’t align with studs, using heavy-duty drywall anchors specifically designed for the weight you intend to place on the shelf is crucial. Generally, a properly installed floating shelf can hold a surprising amount of weight, making it perfect for displaying books, photo frames, small plants, and other decorative items.
Now that your beautiful wooden ledge shelf is securely installed, the most enjoyable part begins: staging and decorating! This shelf is designed to be both functional and a focal point in your room. If you’re looking for inspiration on how to style your new shelf, you can find a dedicated tutorial on it here. Unleash your inner interior designer and bring your shelf to life!
This basic principle of using wood strips to transform a laminate surface is incredibly versatile. There’s no reason this same technique cannot be applied to numerous other pieces of IKEA furniture or existing laminate surfaces in your home. Take a look around your house; do you have any other items adorning your walls or rooms that could benefit from a similar budget-friendly, high-impact makeover?
Happy crafting,
Corey
Don’t forget to Pin this brilliant idea for future reference and share it with your fellow DIY enthusiasts!
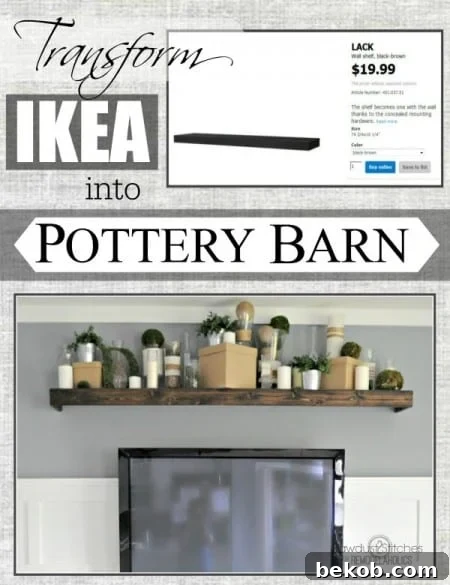
Love IKEA Hacks and DIY Home Decor? Explore More Inspiring Projects!
If you enjoyed transforming this IKEA Lack shelf, you’re in for a treat! The world of IKEA hacks is vast and full of creative possibilities. Dive into these other fantastic projects to continue customizing your home on a budget. Check out this IKEA Hack Rustic Bookshelf for more storage with character, discover smart solutions with this IKEA Hack Closet Organization guide, and make a stylish first impression with this IKEA Hack Entry Console with Organizing Tips! These projects offer unique ways to personalize your space, combining affordability with exceptional design.
Looking for even more shelving ideas? Don’t miss these 25 great DIY shelf projects to inspire your next home organization or decor endeavor!