Read the sequence from the top before cutting, painting, or moving pieces.
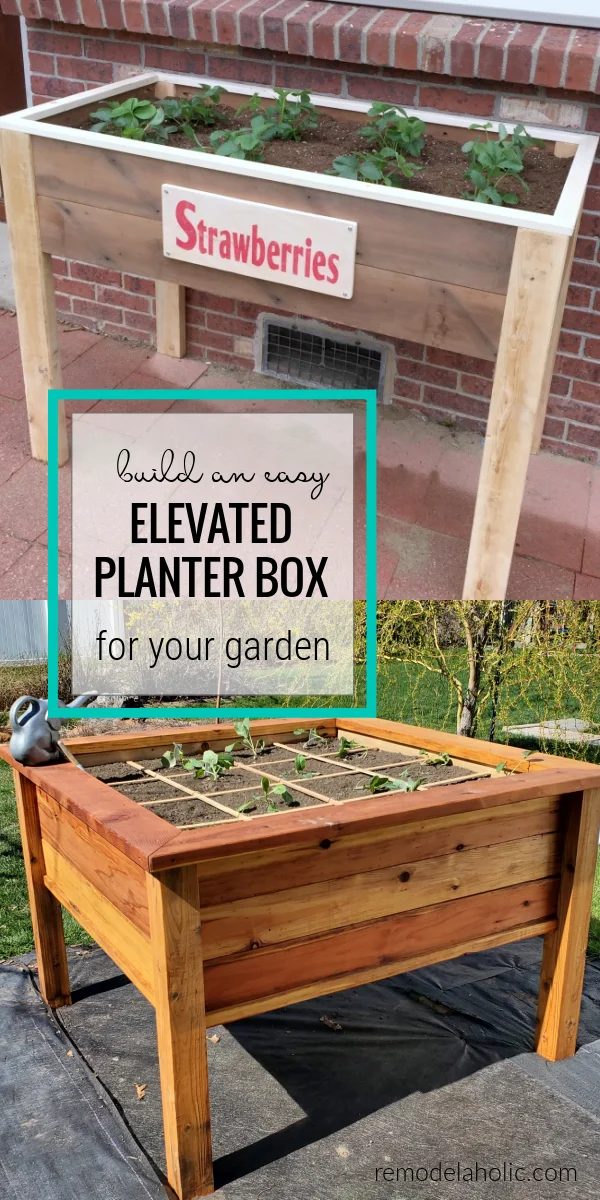
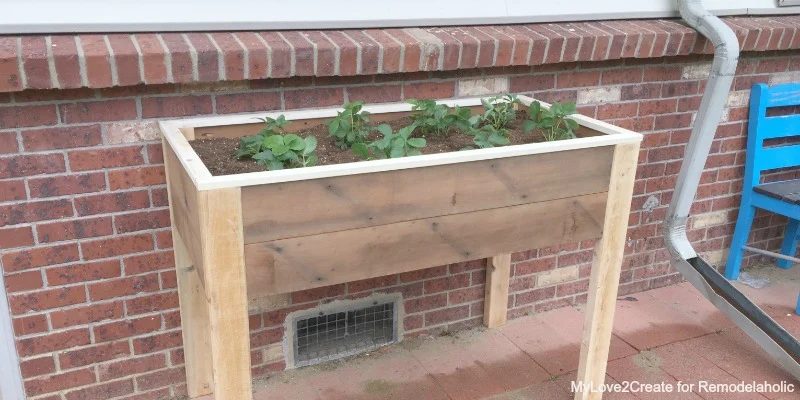
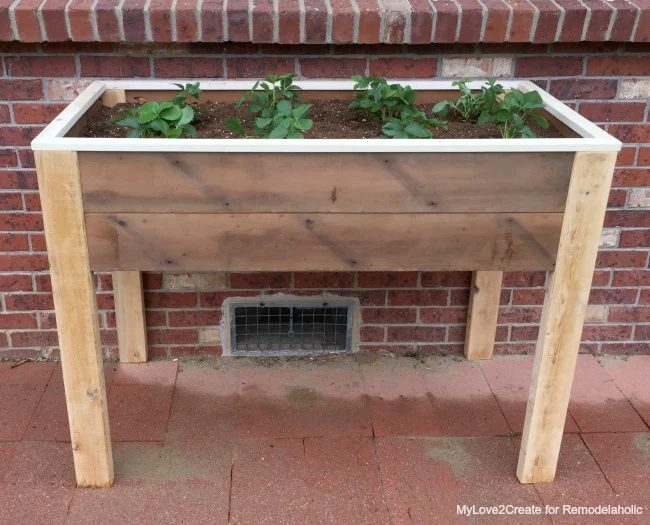
Save your back! Build this sturdy, direct elevated planter box and you’ll no longer be bending over to care for your plants.
More on gardening: 10 Handmade Vegetable Garden options for Raised Garden Beds and Trellises – Handmade Wood Slat Garden Wall with Planters – 25 options for Gardening With Kids
Building walkthrough for Elevated Planter Box
by Mindi of MyLove2Create
This post may contain some affiliate links. Please see our full privacy policy and disclosure here.
Square version of an Elevated Planter Box
Here is our square version of an elevated garden box for square foot gardening. Take a look if you are looking for something bigger and taller/deeper.
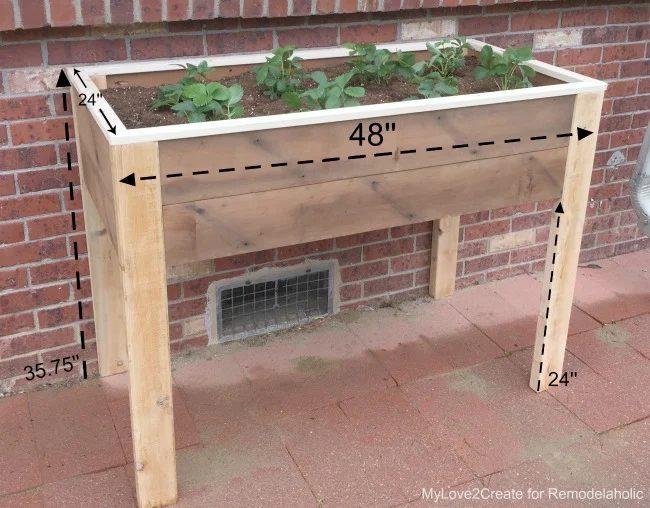
Dimensions of this Elevated Planter Box:
With this walkthrough, your elevated planter box will measure 48 inches by 24 inches. It’s finished height is 35.75 inches. The box for soil is 11 inches deep.
Supplies for building an Elevated Planter Box:
- 2- 2x4x8 boards
- 4- 1x2x8 boards
- 5- 1x6x8 boards
- Hardware cloth
- Pocket Hole Jig/and screws
- Circular Saw
- Drill/Driver
- Sander
- Nail Gun
- Staple Gun
- Wire cutters
As you’ll see in the pictures, I was able to used scrap wood to build my elevated planter box. The 2×4’s came from a wall that I tore out when I redid my son’s bedroom. (You can read all about it in my Teen Boys Bedroom Reveal.) The 1×6 boards were previously a deck.
Cut list to build an Elevated Planter Box:
- 4- 2×4’s @ 35” (legs)
- 4- 1×6’s @ 41” (front and back boards)
- 4- 1×6’s @ 21” (side boards)
- 2- 1×2’s @ 41” (slat support boards)
- 2- 1×2’s @ 21” (slat support boards)
- 6- 1×6’s @ 22” (inside slats)
- 2- 1×2’s @ 21” (side slats)
- 2- 1×2’s @ 48” long point to long point, ends cut at 45 degrees, ends not parallel (top boards)
- 2- 1×2’s @ 24” long point to long point, ends cut at 45 degrees, ends not parallel (top boards ends)
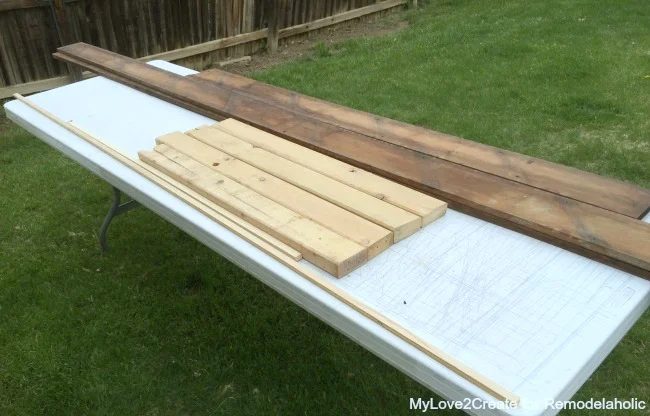
Video of building the elevated planter box
How to build an Elevated Planter Box
Step 1: Cut legs, Side boards, and Front and Back Boards
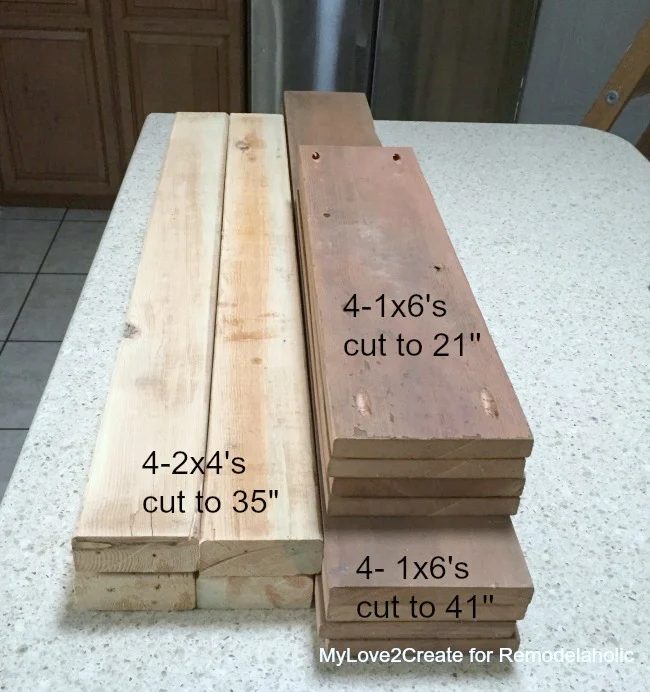
Start by cutting your 2×4 legs to 35”, then cut the sides and the front and back boards out of your 1×6’s: sides to 21” and the front and back boards to 41”.
Step 2: Pocket Holes
Next, you will need to drill 3/4” pocket holes into each end of all 8 of the 1×6 boards. In the photo above, you can see the 1×6 boards are flipped over, revealing the pocket holes.
Step 3: Sand
Sand the wood as needed. Wipe clean.
Step 4: Attach sides to legs
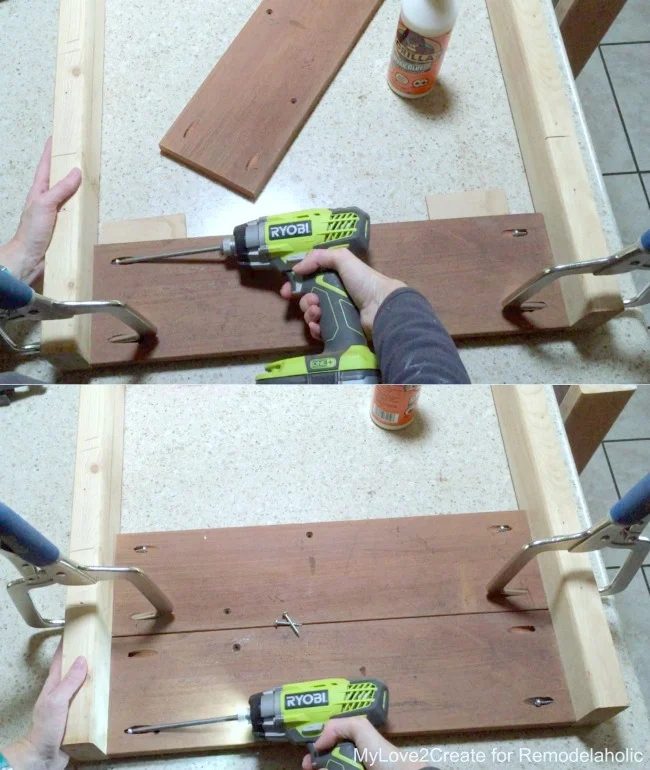
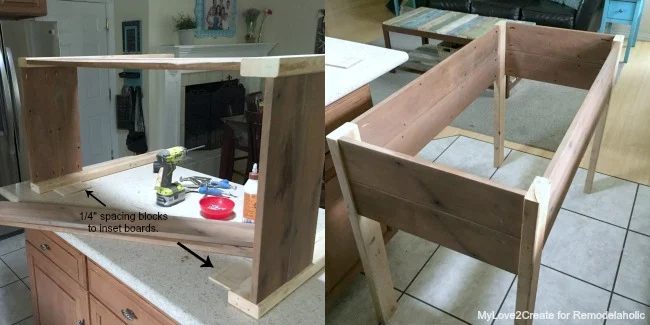
Attach the sides to the legs as shown below, using wood glue and 1 1/4” pocket hole screws. Make sure your top board is flush with the top of the legs. I used my Kreg Right angle Clamps to help secure my boards while I drilled in the screws.
Please note, in the top photo below, you can see a 1×6 board resting on top of 2 pieces of 1/4 inch scrap wood to acting spacing blocks. This sets my 1×6 boards in just slightly to allow the legs to stand out a bit, a look I prefer. The scrap wood allows me to do it without measuring. This is optional, just be sure you do it with each board you attach to the legs. If you prefer your legs to be flush with the sides of your elevated planter box, just let them rest on the table as you drill in the screws.
Complete both sides of the planter box.
Step 4: Attach front and back boards
Next up, attach the front and back boards the same way as the sides: with wood glue, 1 1/4” pocket hole screws, and the 1/4 inch scraps as spacing blocks to inset the boards (if using).
Finish one side completely, then flip it over and attach the remaining boards to the legs. It is coming together!
Step 5: Inside Support Boards
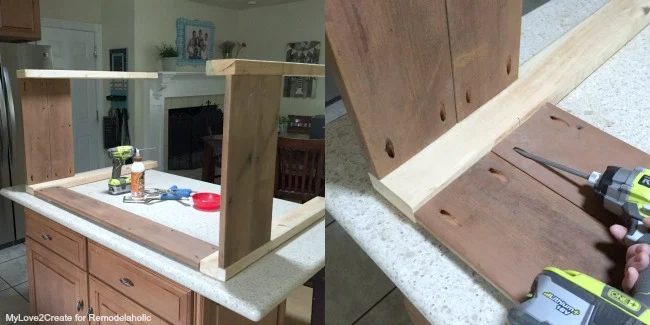
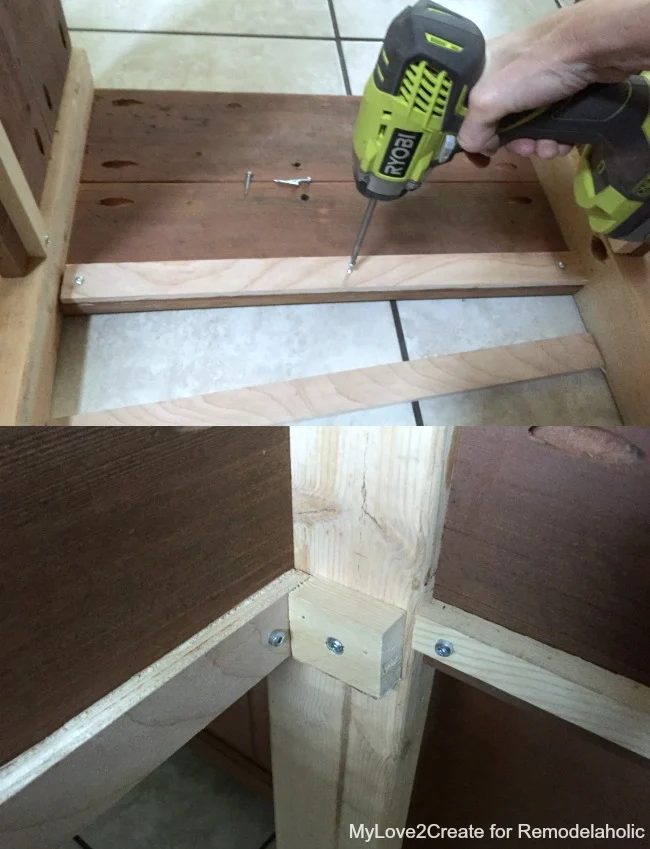
Now attach the inside support boards that will hold the slats that are the bottom of your soil box.
I used scrap wood, but in the cut list I listed 1×2’s — either will work, just make sure the tops edges are all level if you use different sizes.
If you use 1×2’s, place them flush with the very bottom 1×6 boards. Then screw them in place. Also add a small scrap of 1×2 to each leg.
Step 6: Slats
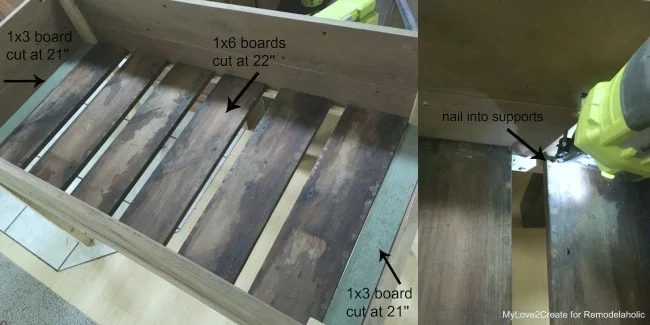
Next add the slats. You can see on the ends I used some scrap 1×3 boards, in the cut list I say to use 1×2’s, either is fine. Evenly place the slats, leaving a bit of space between them for water to drain out, then nail them into the support boards.
Step 7: Hardware Cloth
To keep the soil from slipping through the gaps, add hardware cloth to the top of the slats. Using some tough metal scissors or wire cutters, cut it to size then staple it onto the slats.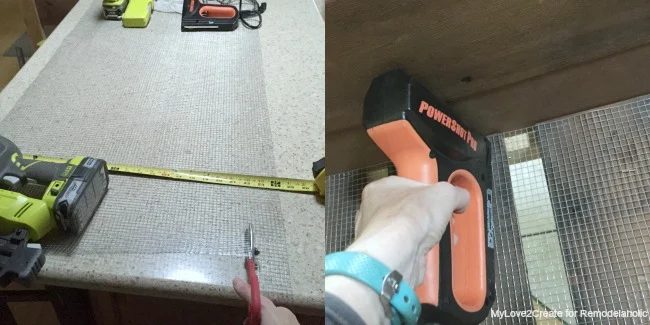
Step 8: Top Edges
At the last minute I decided it really needed a top, I don’t need anything topless in my yard! hee hee. I would have preferred to use 1×3’s like I did on the top of my X Planters, but I didn’t have long enough scraps. Since I had 1×2’s I used those instead. They are flush to the edges of the legs, but that is ok, if you used 1×3’s you could have a nice little over hang.
Cut the ends at 45 degrees and make them the length of the planter. My 1×2 cut boards measure 48” long point to long point for the front and back, and 24” for the sides. Next, glue and nail them down.
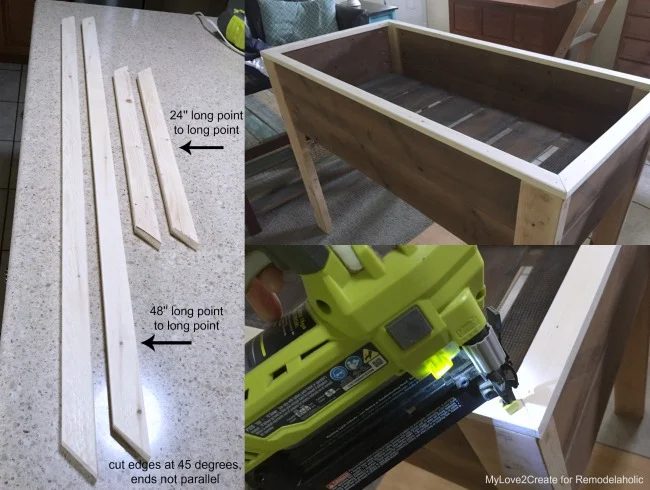
- I liked the contrasting colors of my wood pieces, so I left my planter as is. Stain or paint yours any color you choose.
- Filling your box with soil should take just under 8 cubic feet of soil. This is helpful to know if you’re planning to buy bagged garden soil.
- If you are concerned about drainage (some plants need better drained soil than others) consider putting a layer of rocks beneath the soil. Doing some research here will pay off!
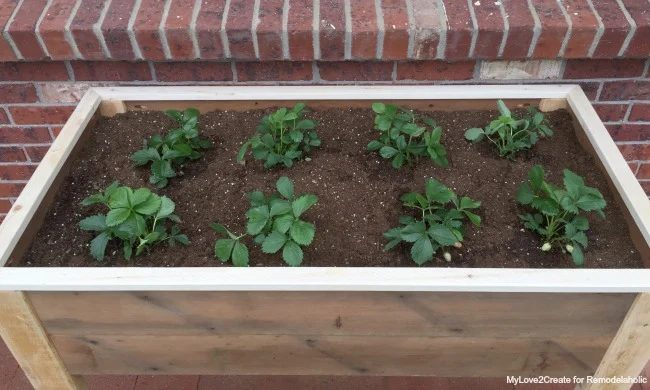
I added soil and planted my strawberries, and that was it!!
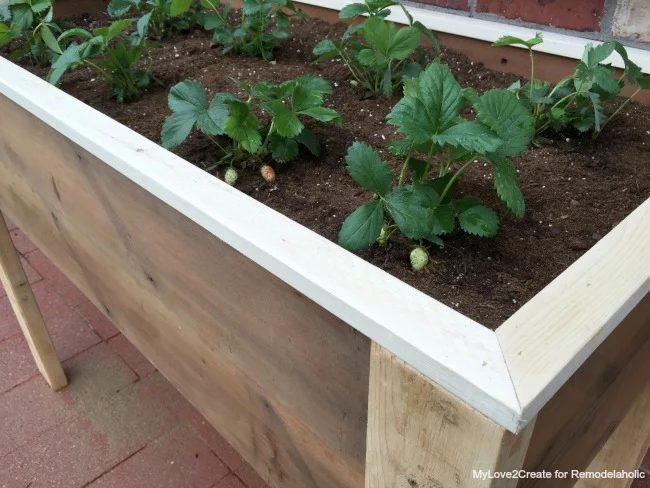
You could plant so many things in this planter! I am tempted to build a few more and put some herbs in one and some veggies in another!
I thought a fun sign would be well fitted for the front and I whipped this one up really quick. I think it might need the word “fresh” in cursive on top…or maybe I will just leave it as is…who knows.
Regardless, I am loving it!!
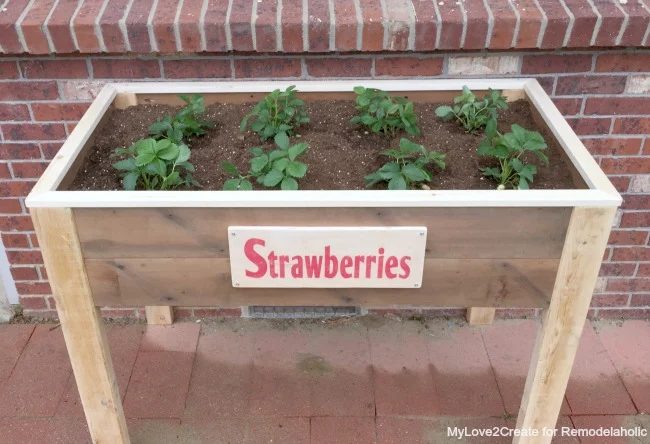
Now get going and make yourself an solid elevated planter box, save your back and knees this season! Thanks for reading!
Hugs!
Mindi
More Handmade planters:
- Here is a bigger elevated garden bed for more space.
- Handmade custom raised garden boxes
- build a tall wooden planter
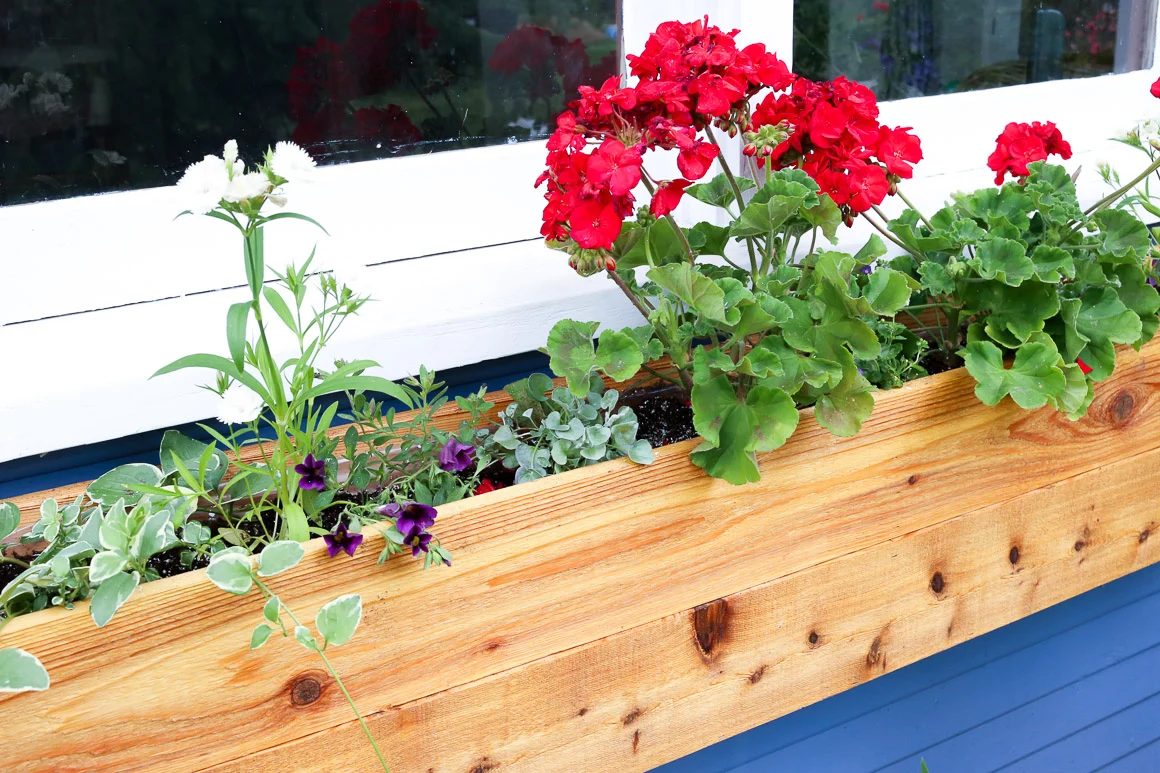
- indoor and outdoor planters
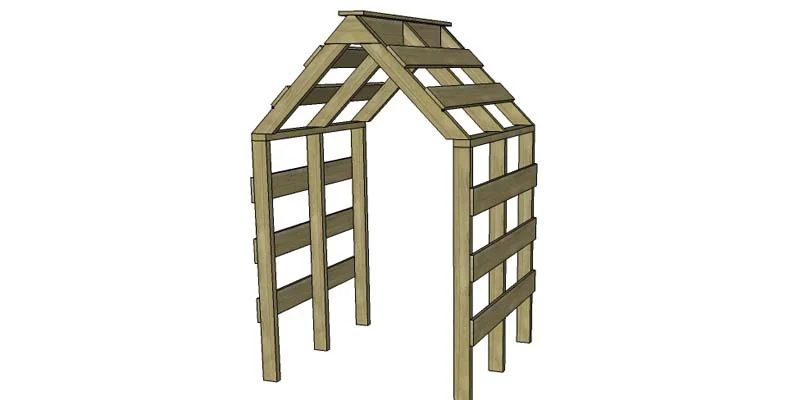
- plus, doesn’t your garden just need a lovely arbor?