This project plans walkthrough stays in the order the work happens.
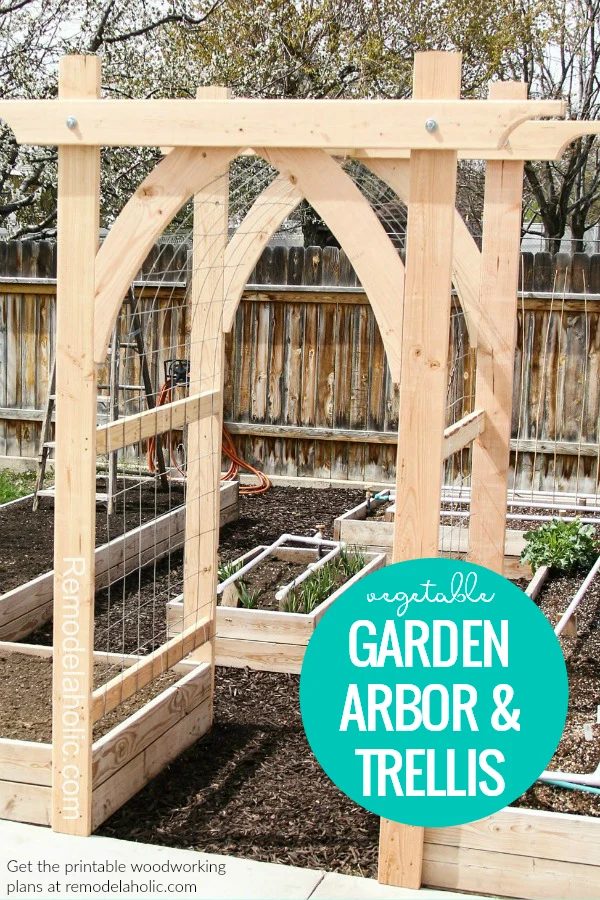
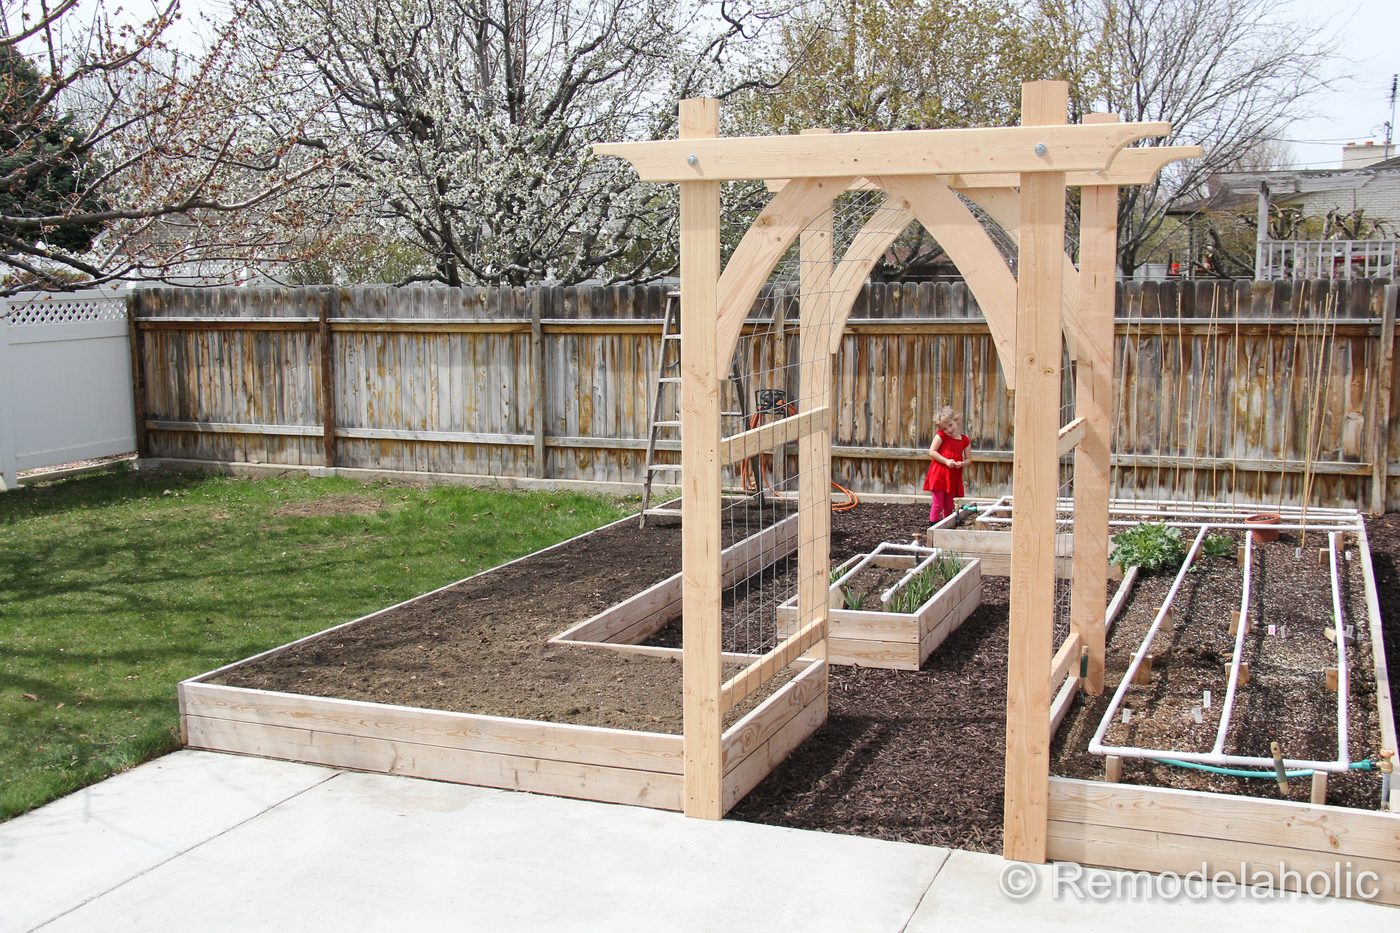
Need to add an ARCH in your garden this year to grow your plants on? How about building your own with a wire plant trellis following these Handmade garden arbor woodworking plans.
Arched Handmade Garden Arbor + Plant Trellis
This post contains affiliate links. Learn more and read our full disclosure policy here.
We love a good vegetable garden! We spent a lot of time getting the raised beds and concrete patio in place last year in our back yard!! You can see all our current backyard projects we’ve worked on here if you are interested. Now that all the main layout and structural elements of the yard are in place, we can start working on some of the fun *extra* stuff.
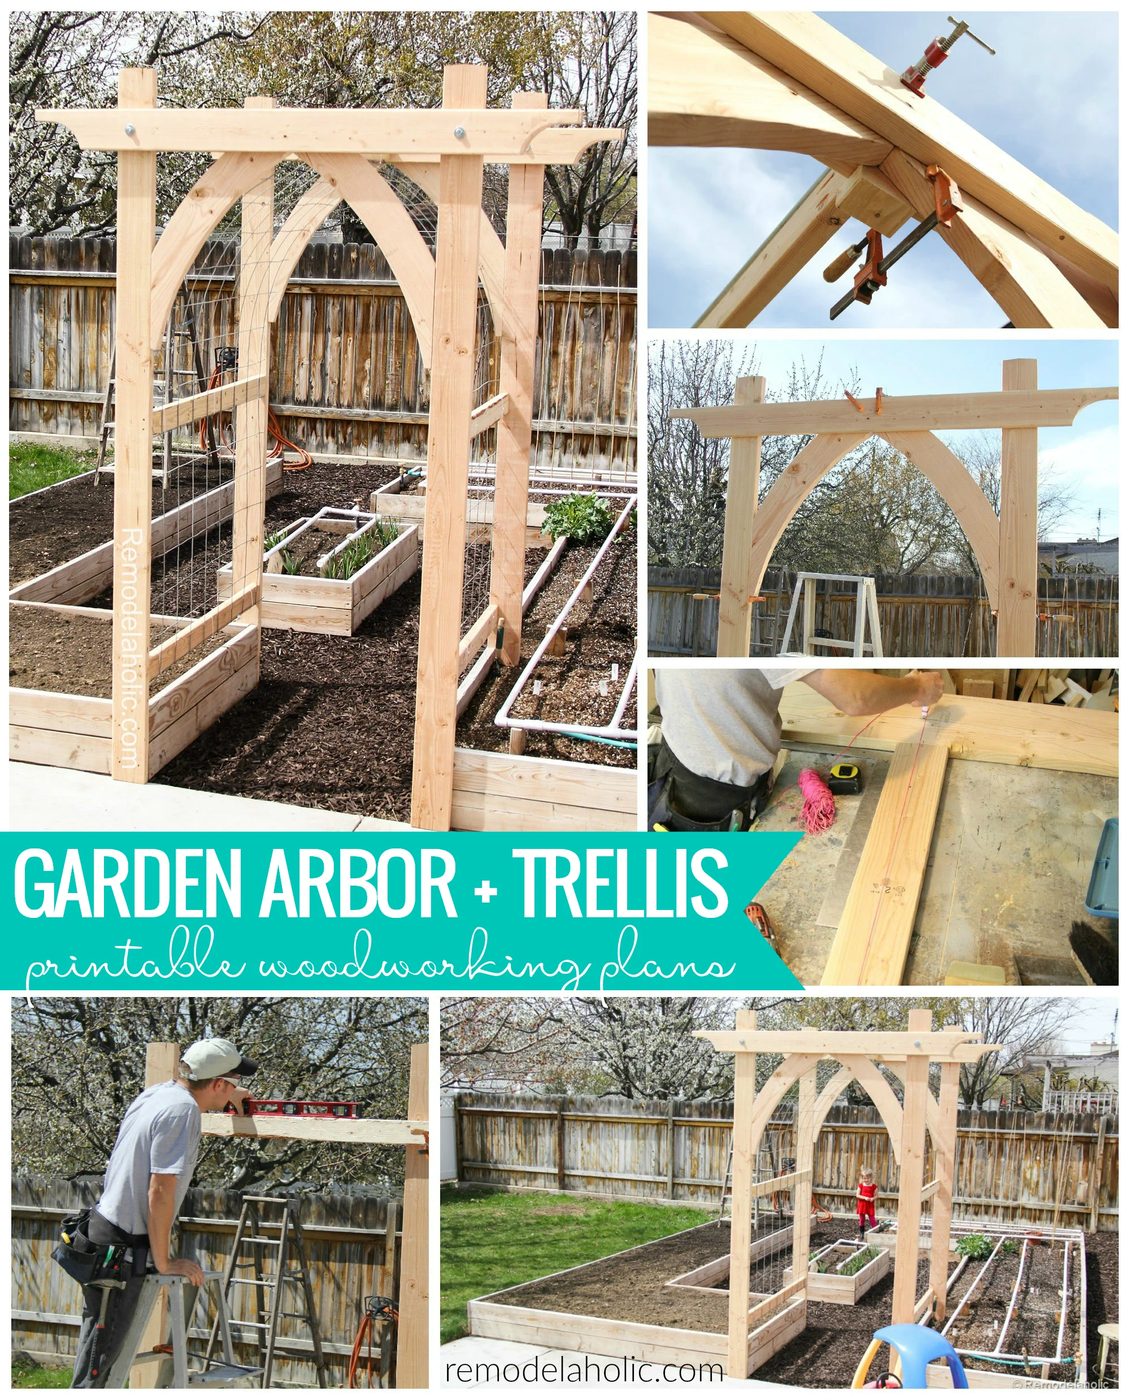
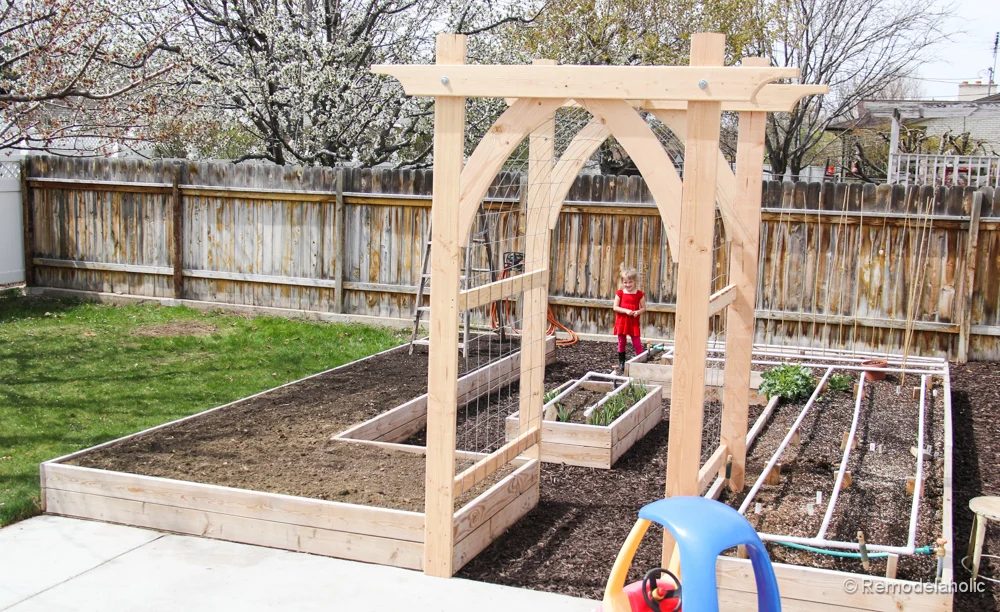
One thing we wanted last year is a bit more height in our garden. So, we decided to build a Handmade garden arbor first thing this year. We are so excited to let the cucumbers, grape tomatoes and another few great vine plants grow up the arbor! It will be solid to walk under it and pick dinner! I tell you – it’ll be magical!!
Total Cost
The best news is that, it was pretty direct to make and it only took a day to build it.
The total cost was just over $100.
That sounds good to me considering similar arbors cost anywhere from $250 bucks and they are not customized to my space…
Other Uses for the Arch?
Also, it may just be me, but I think this might be a fun arbor to build for a wedding or a reception, like we did for our portable wood wedding arch! The Gothic arch on the arbor is so pretty and with a climbing flowering vine on it… again magical! Don’t ya think?
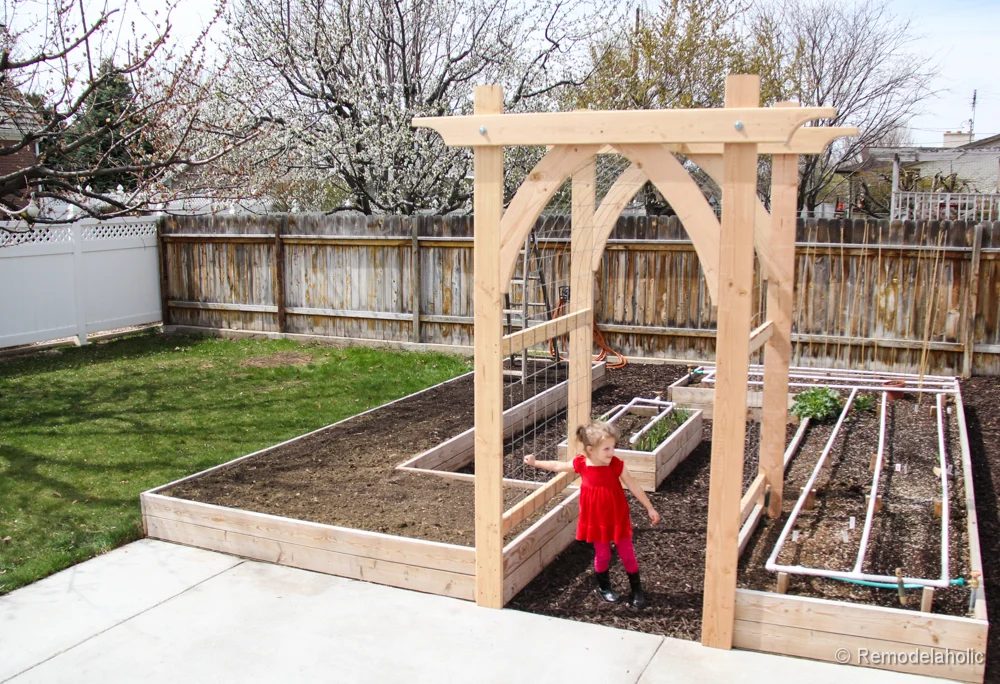
Fabulous!
Handmade Garden Arbor Plans
The printable woodworking plan contains the full material and cut list, templates for the horizontal support details and arch pieces, and assembly and installation instructions. The plan also includes tips for adjusting the size of the arbor.
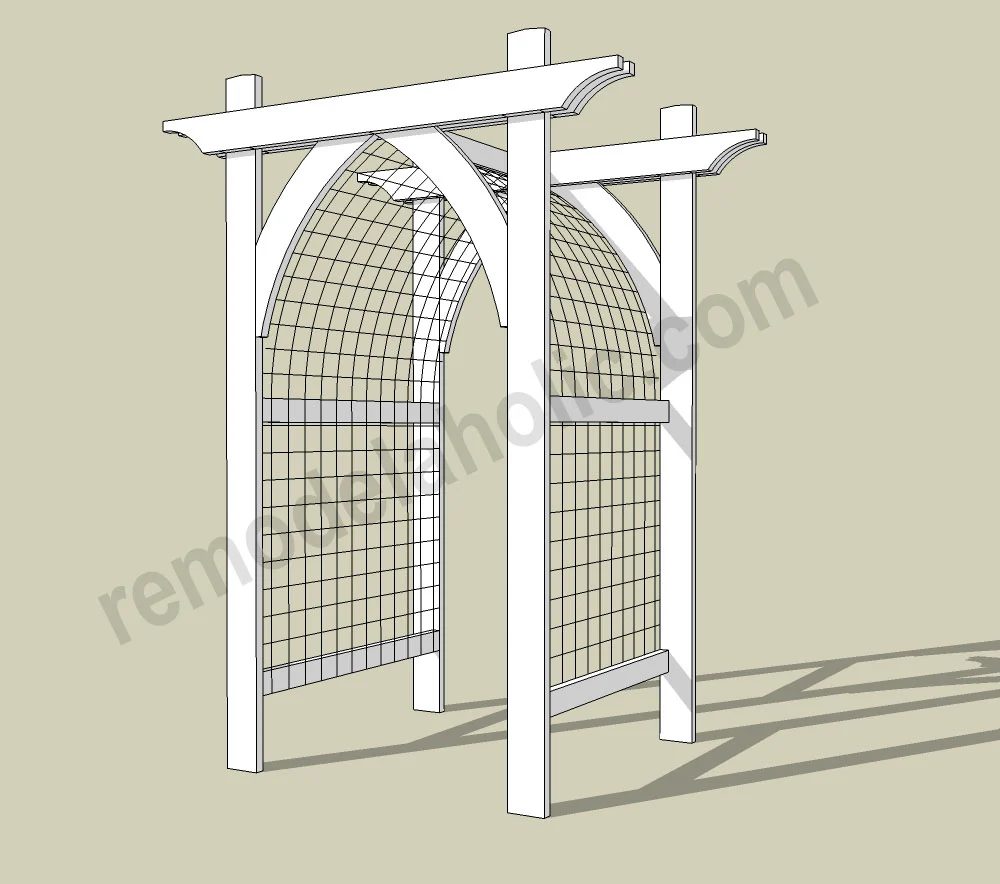
Final Dimensions
The finished garden arch measures
8’ 5 1/2″ (101.5”) total height, with 3’ 6” (42”) width between the posts.
You might also like: Portable Wood Arbor Wedding Arch Woodworking PlansTools List
- Miter Saw
- Circular Saw
- Jig Saw
- Drill
- Orbital Sander
- 1/2″ Drill Bit
- Measuring Tape
- Pocket Hole Jig (We love the Kreg Jig!)
- Pencil
- Bar Clamps
- L Square
- Printable Woodworking Plan
Supplies List
(rough lumber and hardware)
Redwood or cedar are the best wood choices for outdoors.
- (4) 2×6 – 10′
- (4) 2×6 – 8′
- (2) 2×12 – 8′
- (2) 2×4 – 4′
- (1) 2×4 – 4′
- (2) 4’x8′ sheets of 4″ o.c. concrete reinforcement mesh
- (4) 1/2″ – 6″ galvanized bolts
- (8) 1/2″ galvanized washers
- (4) 1/2″ galvanized nuts
- (1) box 2 1/2″ deck screws
- (4) 1 1/2″ pocket screws (for connecting the top brace)
- (15) 12″ plastic zip ties (or staples)
5 Construction Tips
As with all of our woodworking plans, read over the entire plan before making the first cut! This can save a lot of time (and a trip back to the lumber store).
1. Make The Wood Arch Fit Your Existing Yard
When adding to an already designed back yard, mimicking some of the design elements already in place, either on your home or other structures, can help to pull things together to look very professional and cohesive.
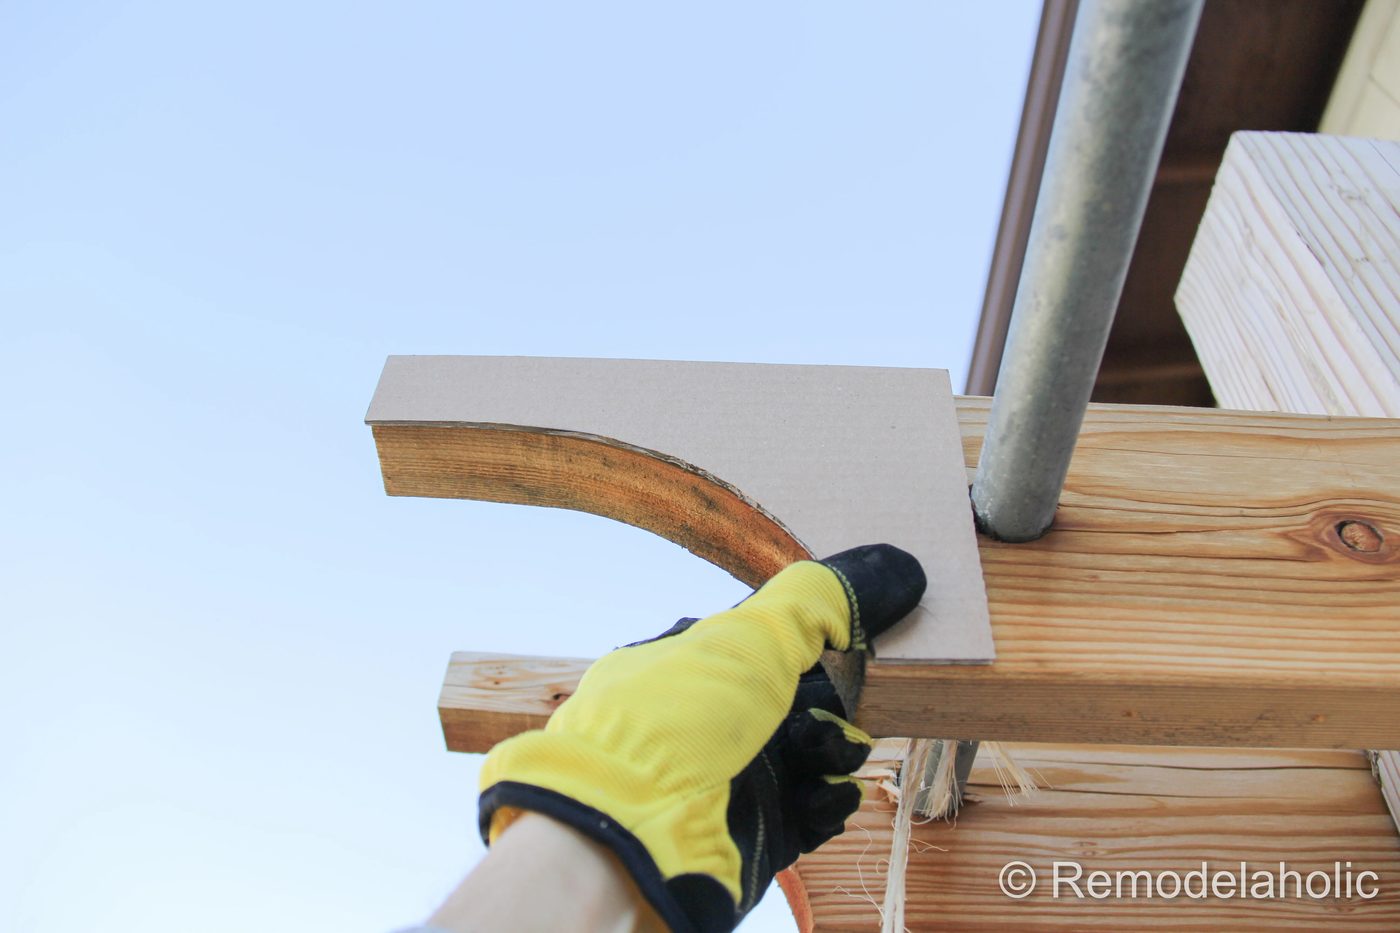
For the ends of the garden arbor horizontal supports, I matched a design feature already existing in our backyard on the stairs that we fixed last year. With a piece of cardboard, I made a template to trace on the ends of the new horizontal supports.
This template is included in the printable woodworking plan (you’re welcome!) — but keep in mind that this particular design element can easily be changed to something that fits your yard better if desired.
 |
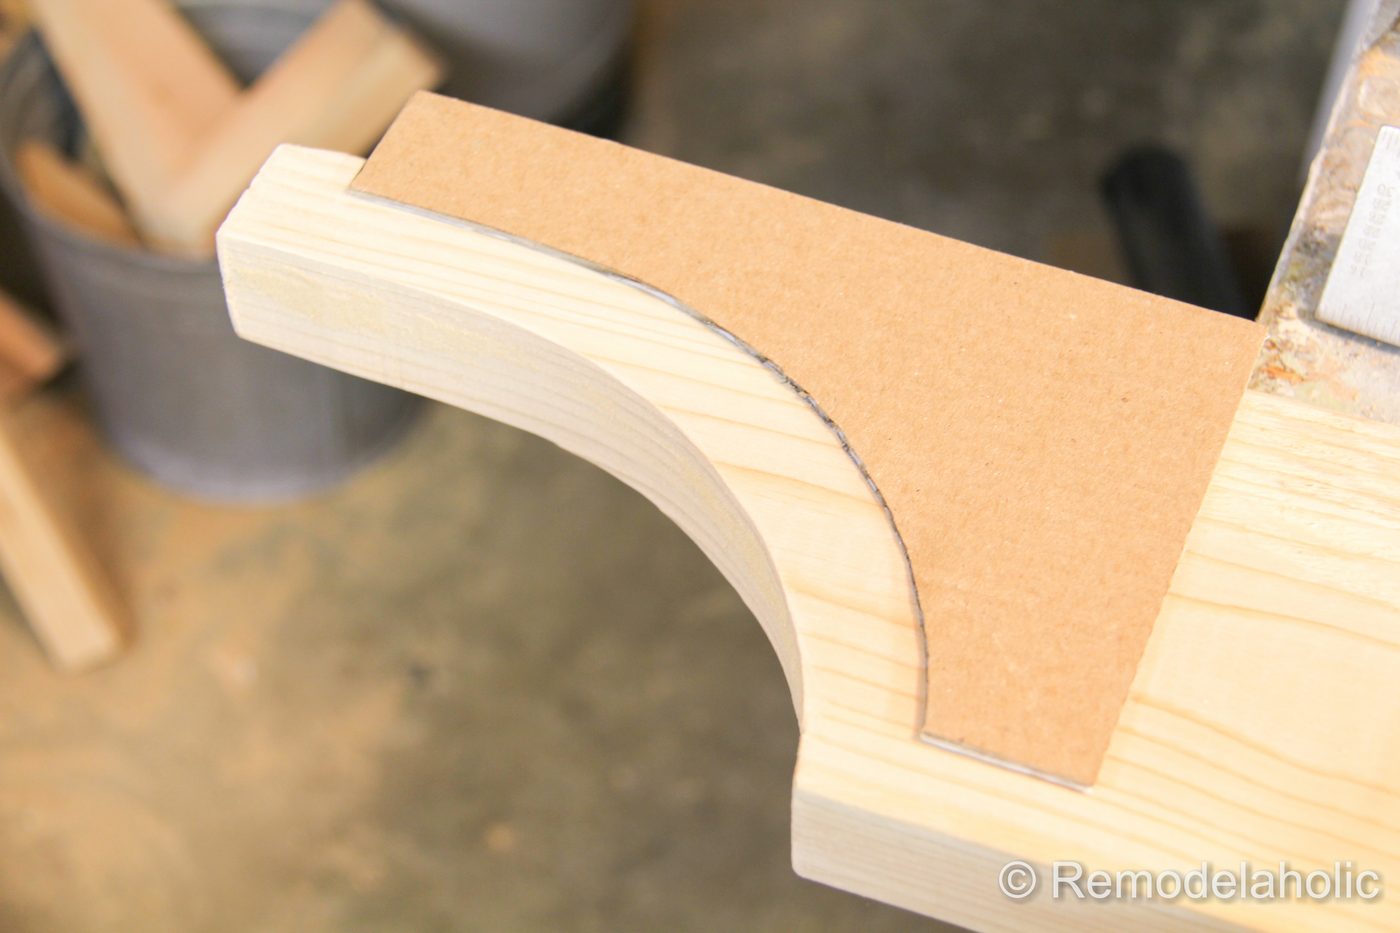 |
| matching existing curve detail | cutting out curve detail on horizontal supports |
2. How to Make Your Wood Garden Arch Last Longer
A common problem with outdoor woodworking is dealing with wood rot. You can help minimize this by using redwood (like we used for the wedding arbor) which is naturally more rot-resistant. The stain/finish you use can also help reduce warping, aging, and rotting — be sure to select a stain and finish meant for outdoor use.
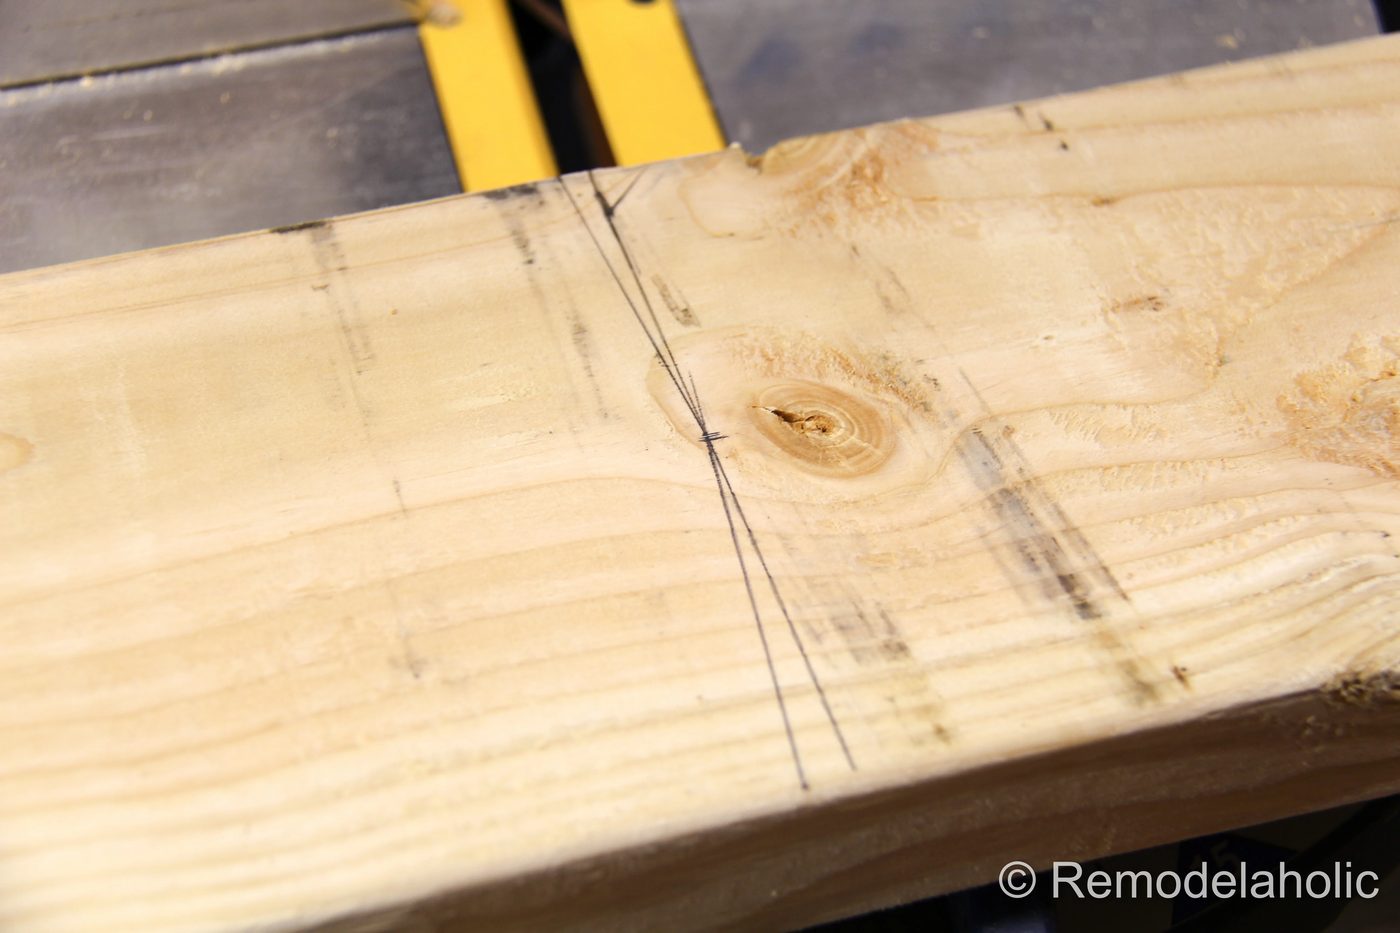
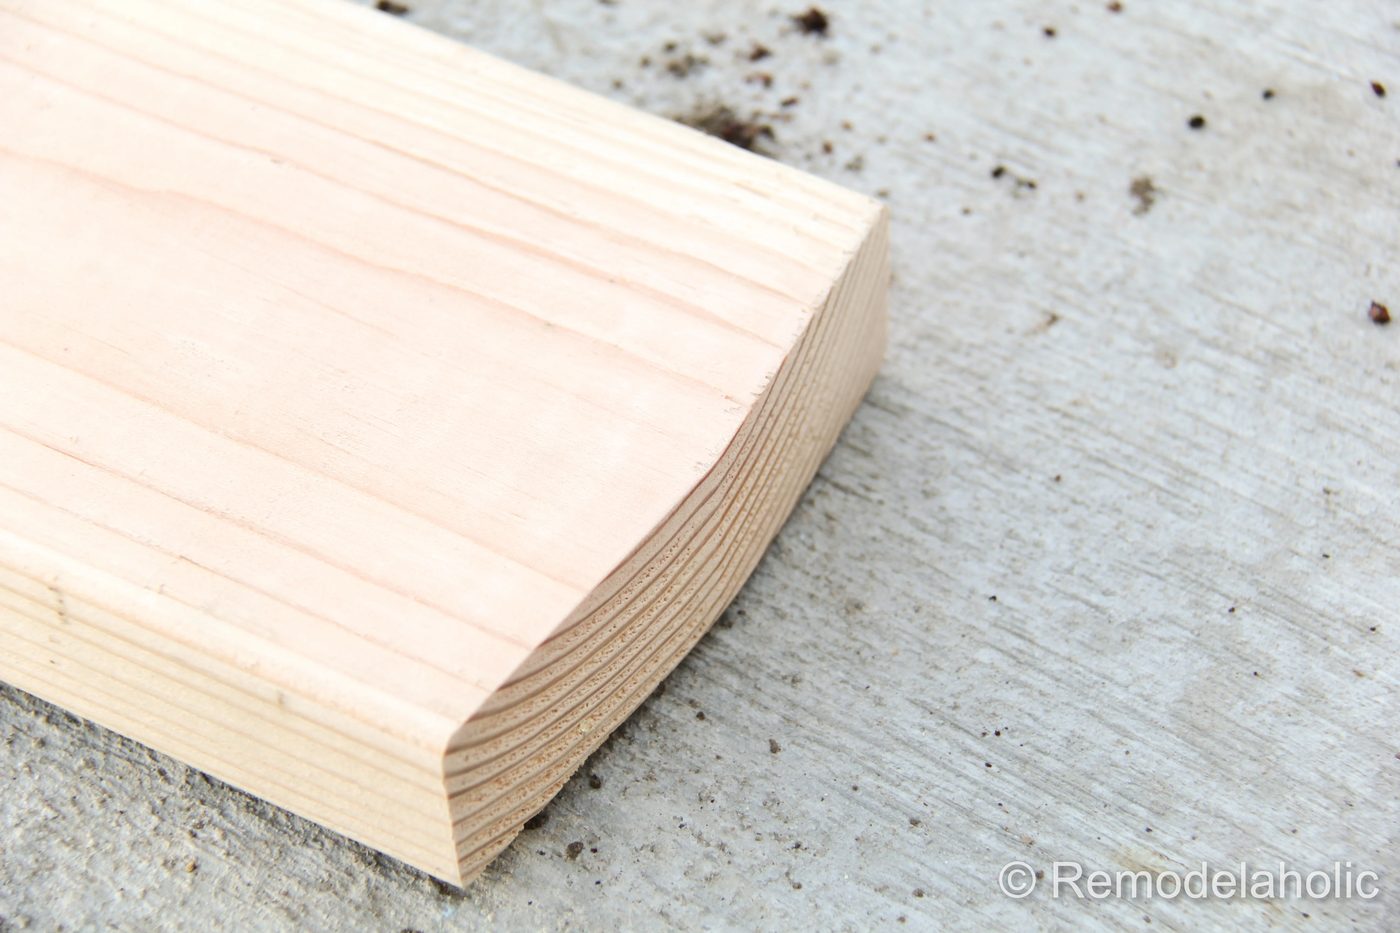
Here is our go-to tip for extending the life of a wood garden arbor. Angle the tops of the posts to help reduce standing water on top. Whether the water is from good old rainwater or a sprinkling system, standing water on a post significantly contributes to wood rotting. For this gothic arch arbor, we used a small 5 degree angle to keep the angle less noticeable.
 |
 |
3. How to Level and Anchor
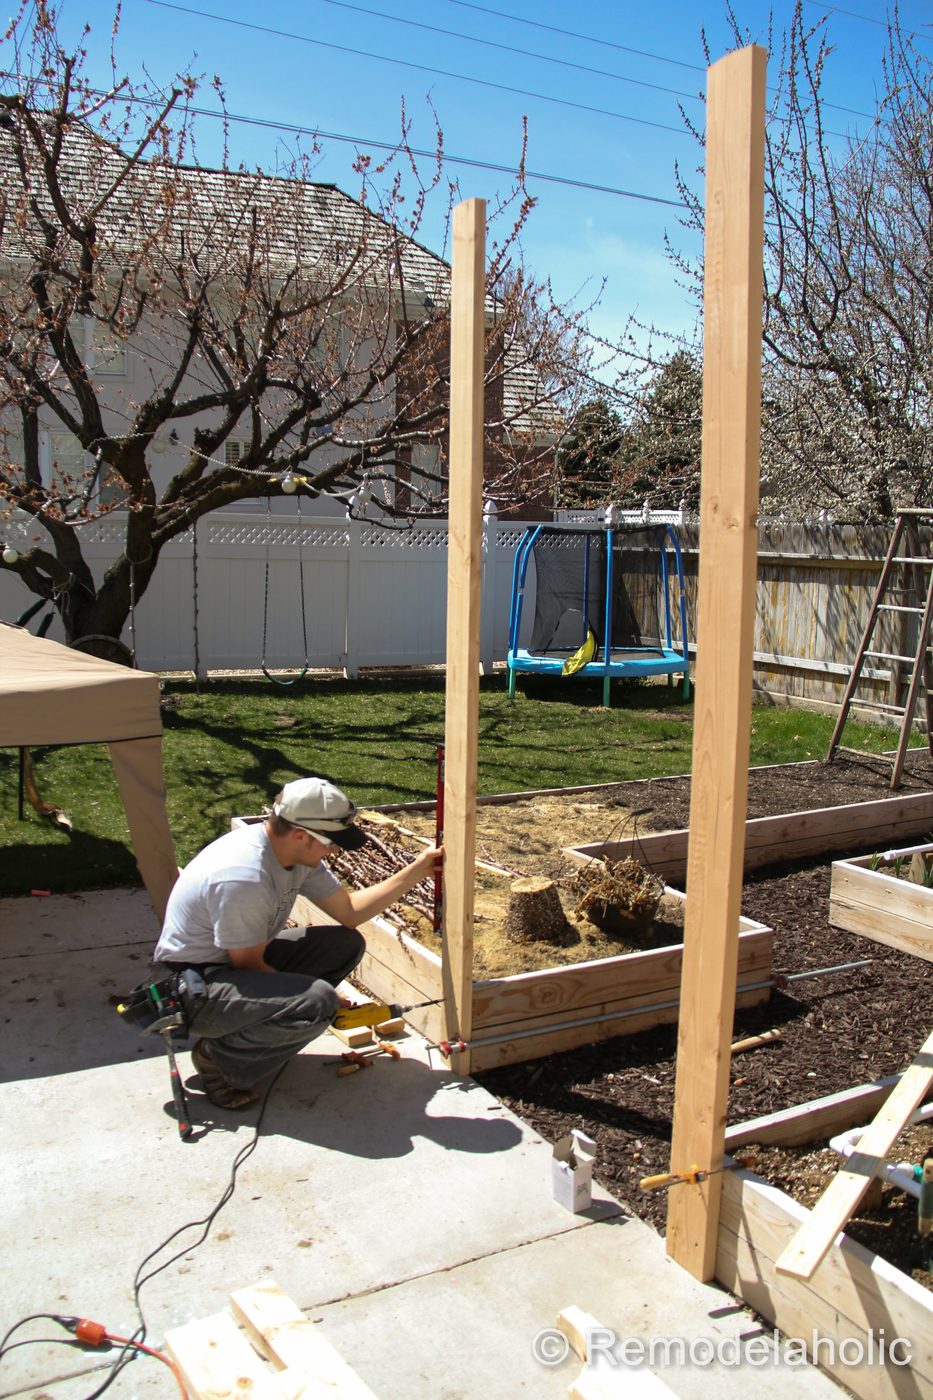
We decided to install the garden arbor over the path that entered into our box garden area, right off the patio. This allowed us to anchor the arbor to the raised garden beds. That way we didn’t need footings.
It all depends on where you what to install yours on how it needs to be anchored. You could anchor it to a patio, concrete footings in the ground, a fence, or garden boxes like ours. Whatever you choose to do, you must anchor your arbor, so you are safe from it blowing over in the wind or getting knocked over by climbing kiddos and hurting someone.
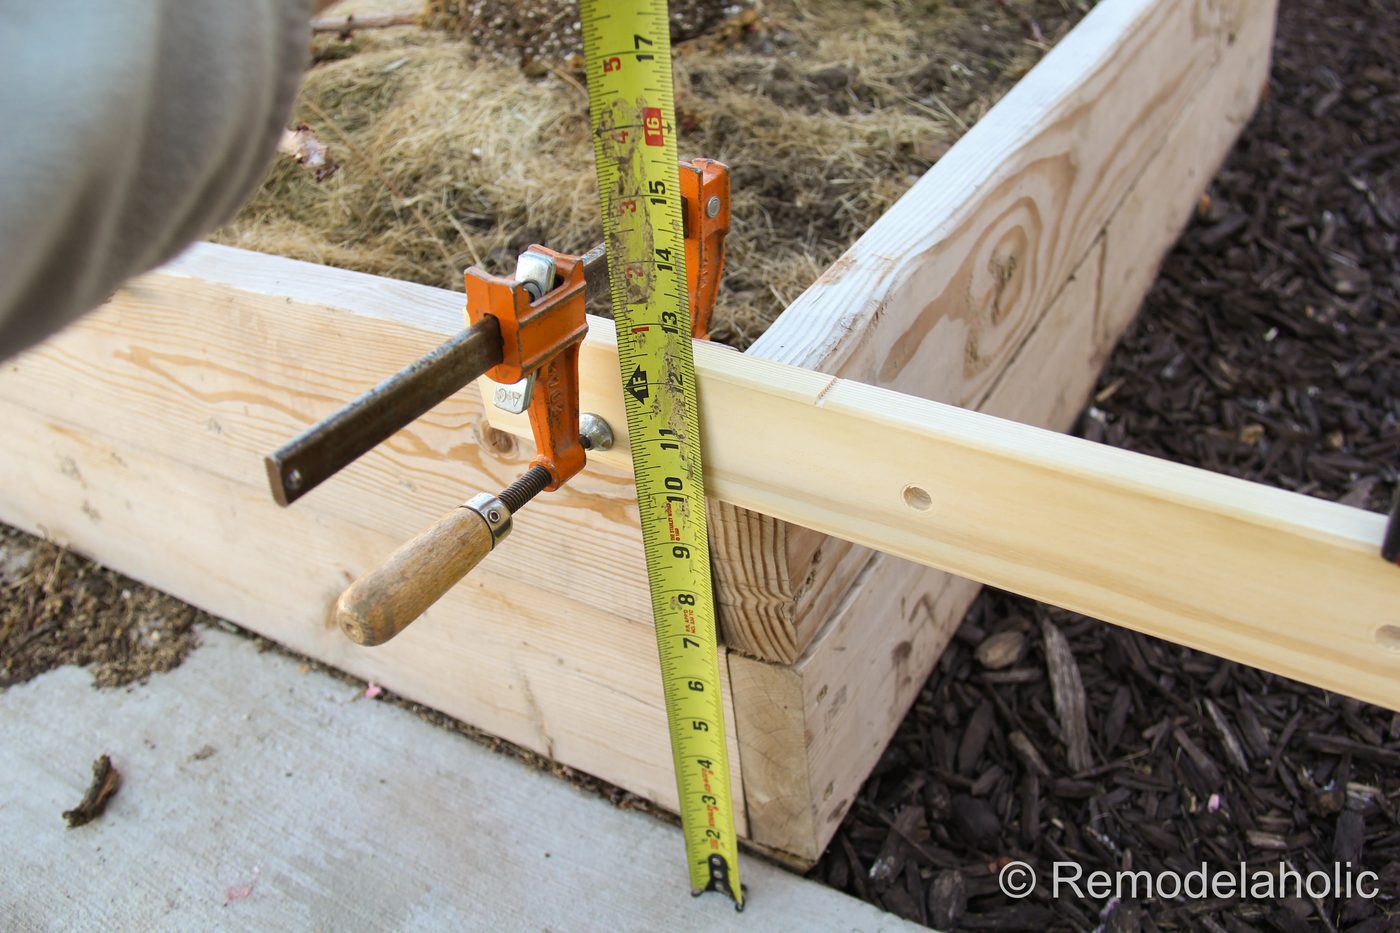
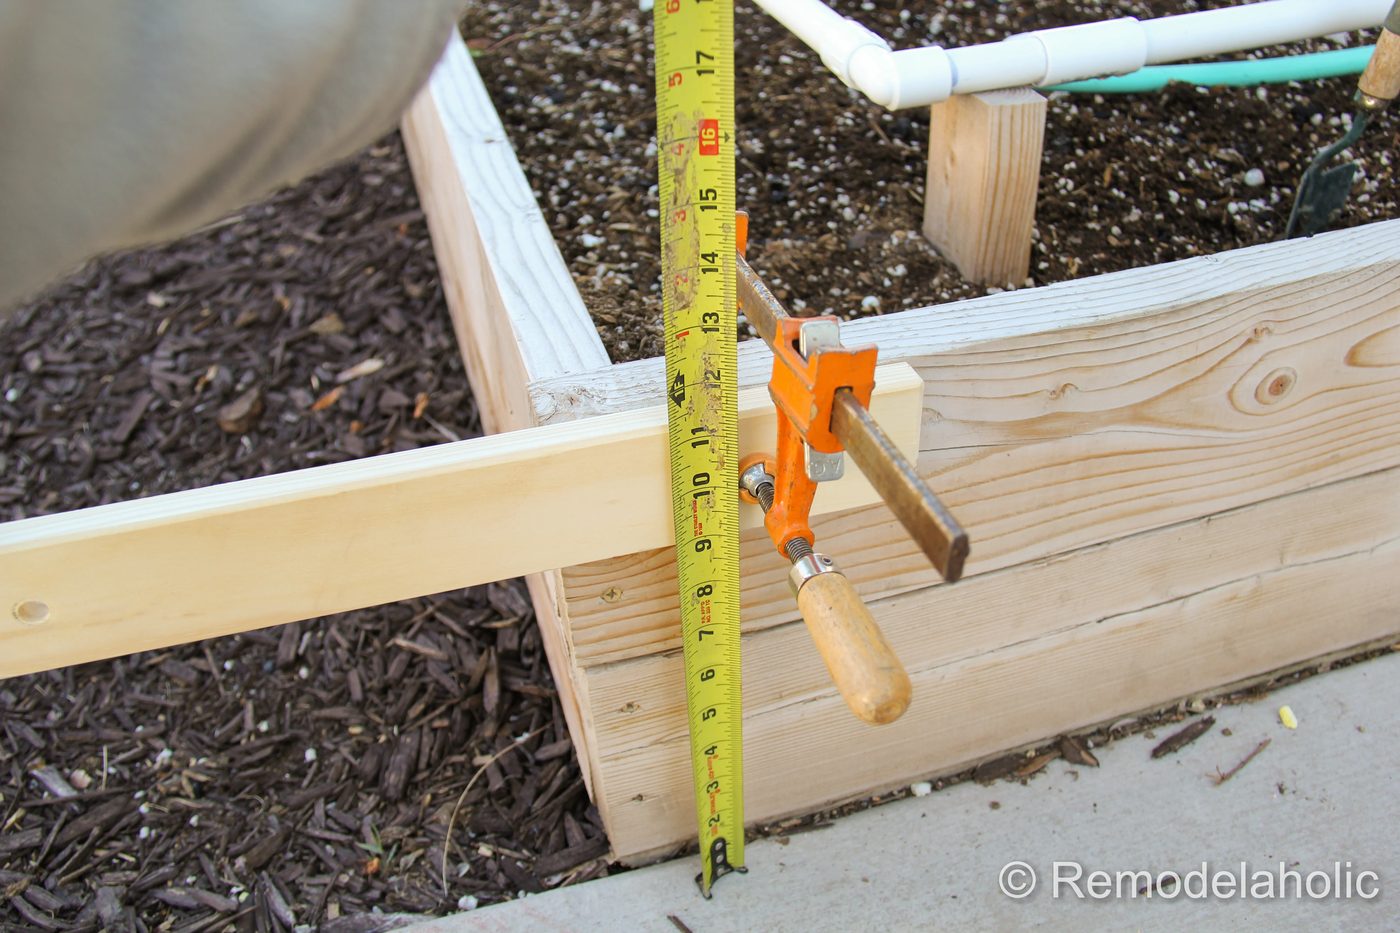
Before cutting the wood corner posts to the final length, check for level. Our patio slants at a 2% grade, which made one side of the arbor 1″ taller, in order to make it level across the top. Pictured below, is an straightforward way to check. By spanning a board across with a level on top, I was able to measure the difference from the top of the leveled board to the ground. And add the difference to the longer side. Once the corner posts were cut to length and angled on top, screw to the side of the boxes (or secure to the other anchor options).
 |
 |
4. How to Cut Out Wood Arches
We designed this gothic arch to be cut in two pieces, which come together at the top. To draw the arches, you’ll set up a good old-fashioned compass using a screw in a piece of scrap wood, string, and a pencil. Then you’ll use a direct L square to add the end lines where the arches will meet in the middle and attach to the side posts.
The full details, as well as a full-size template, are included in the printable woodworking plan. We’ve also included tips for adjusting the size of the arch if your walkway is narrower or wider than ours.
5. Tips for Assembling
After sanding (and staining, if you’d like) all the arch pieces, assembly is pretty direct. Assemble the front, then the back, and then use the supports to attach the front and back together — then attach the wire plant trellis piece. Full instructions are included in the printable woodworking plan. Here are some of our best tips.
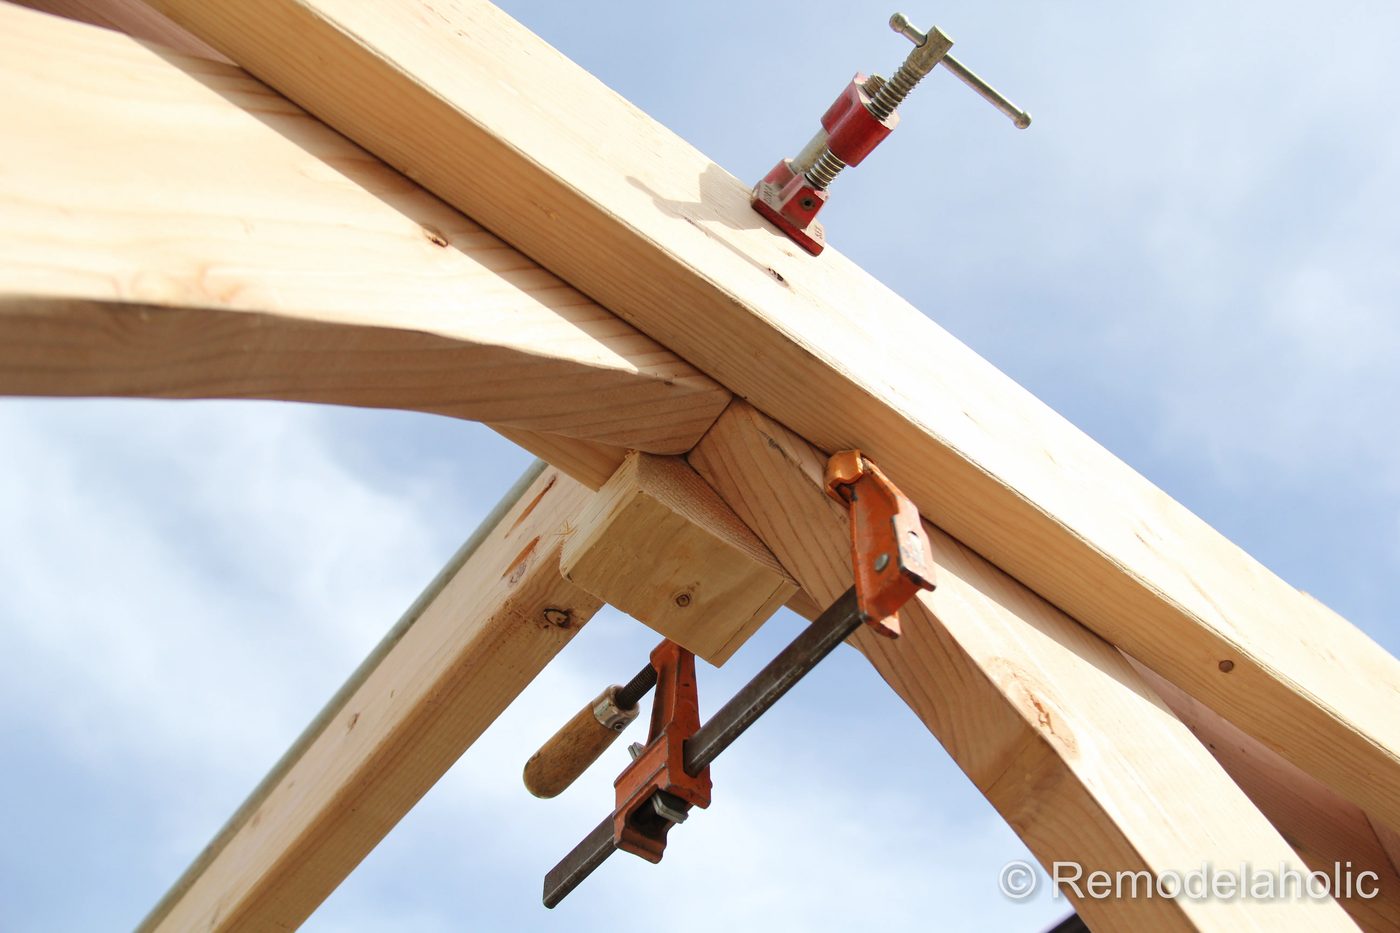
Clamps will be your best friend! A few high-quality bar clamps make assembly on this wooden arch (and so many other projects) so much easier — especially on a piece like this arbor where we are hiding as many of the screws as possible as we sandwich the boards together.
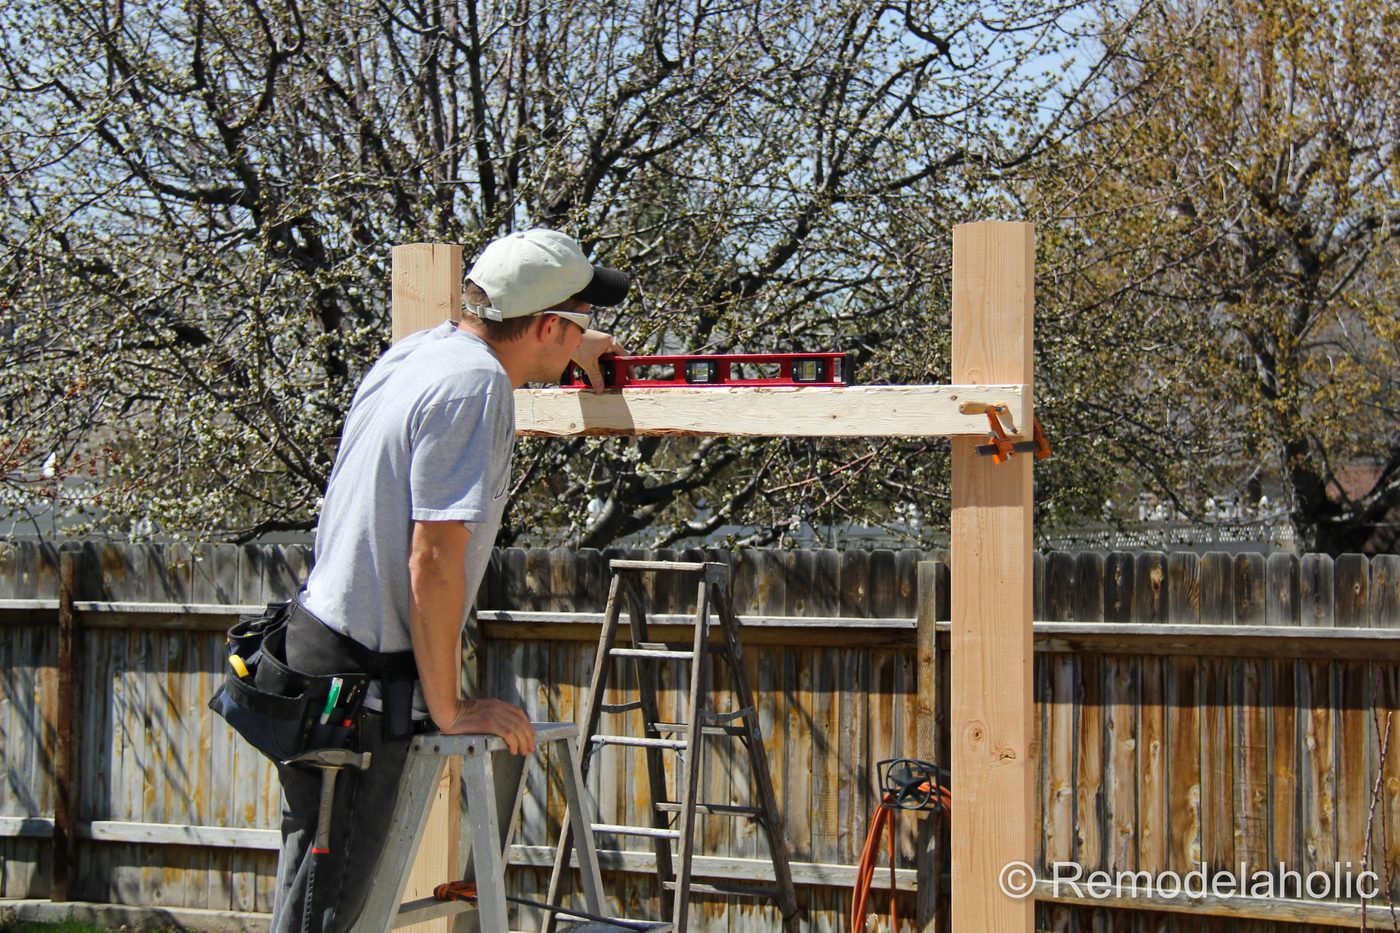
To straightforward install an arch horizontal support: Measure the location, then clamp and level a spare 2×4 in position to hold the horizontal support in place.
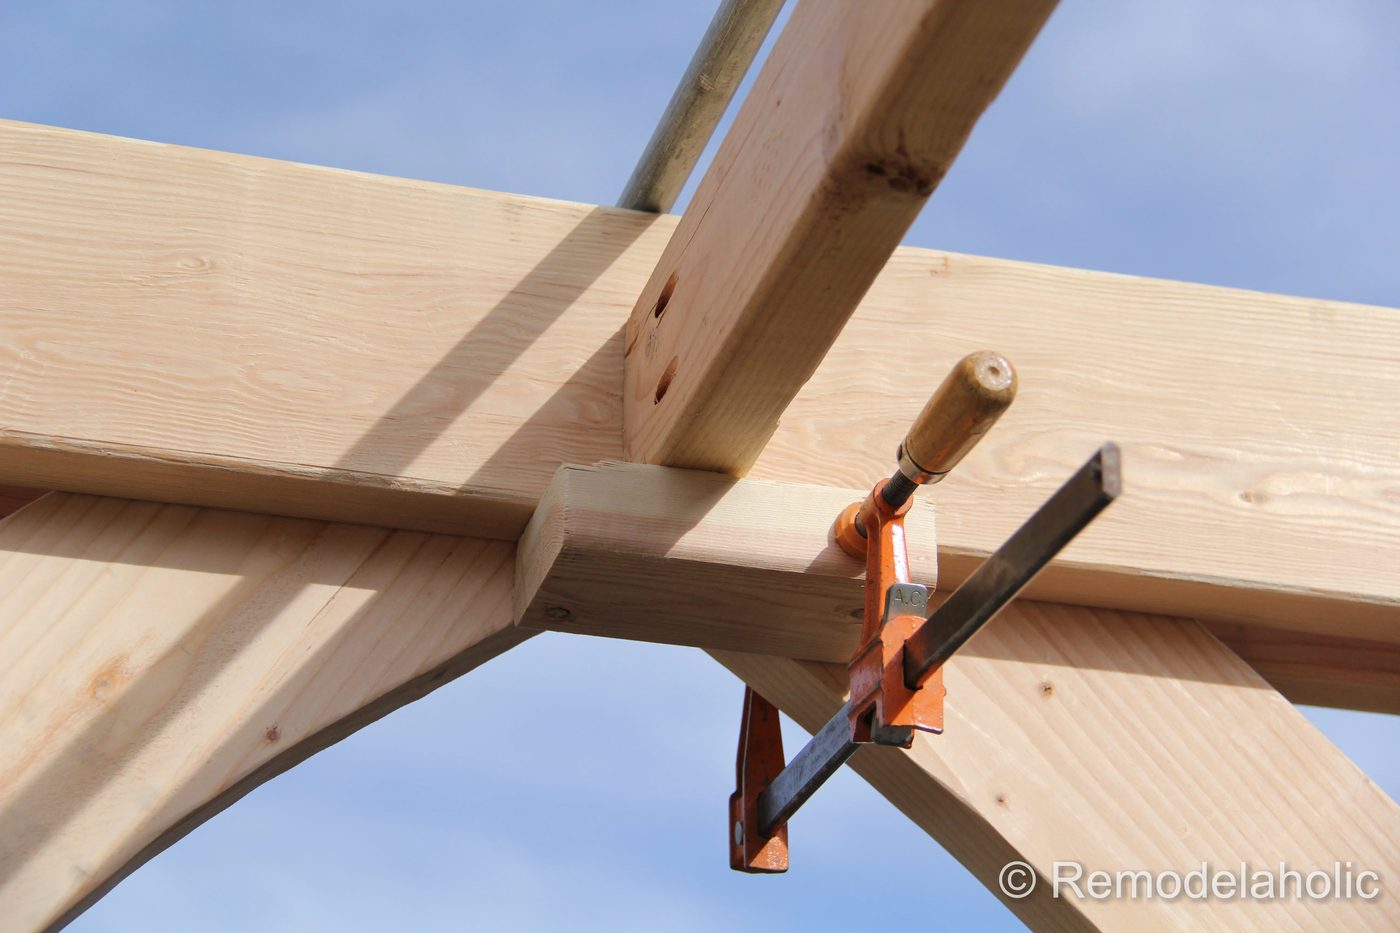
To easily install a top cross brace: clamp a block of wood below it while it is screwed in place.
 |
 |
What are the final dimensions?
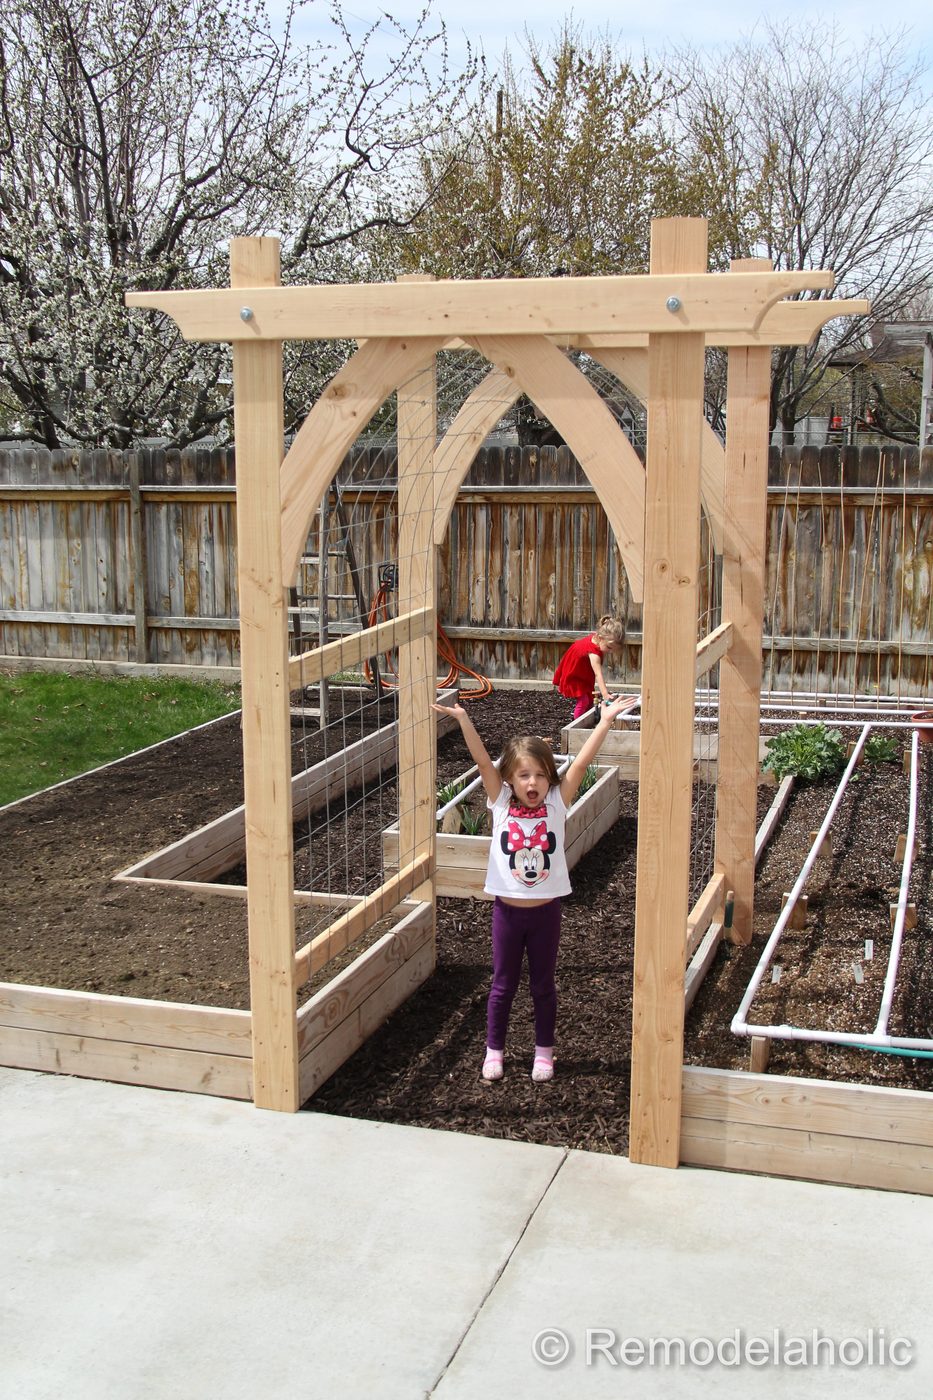
Following our woodworking plans, the finished garden arbor measures 8’ 5 1/2″ (101.5”) total height, with 3’ 6” (42”) width between the posts.
How to adjust the width of the garden arbor?
To adjust the width of the garden arch to a space wider or narrower than ours, adjust the width of each arch piece to be half the width of your desired opening. For your convenience, a full-sized printable arch template is included in the printable woodworking plan, with tips for adding or removing width from the arch using the template.
The depth of the garden trellis can also be adjusted if desired.
What do you think? We would love any pins or shares!
And when you build one, please send us some pictures!
Reader Built Arched Garden Arbors
Please do not re post any images from this post on any other sites. Thanks.
Erin’s Raised Garden Box Enclosure Trellis & Gate
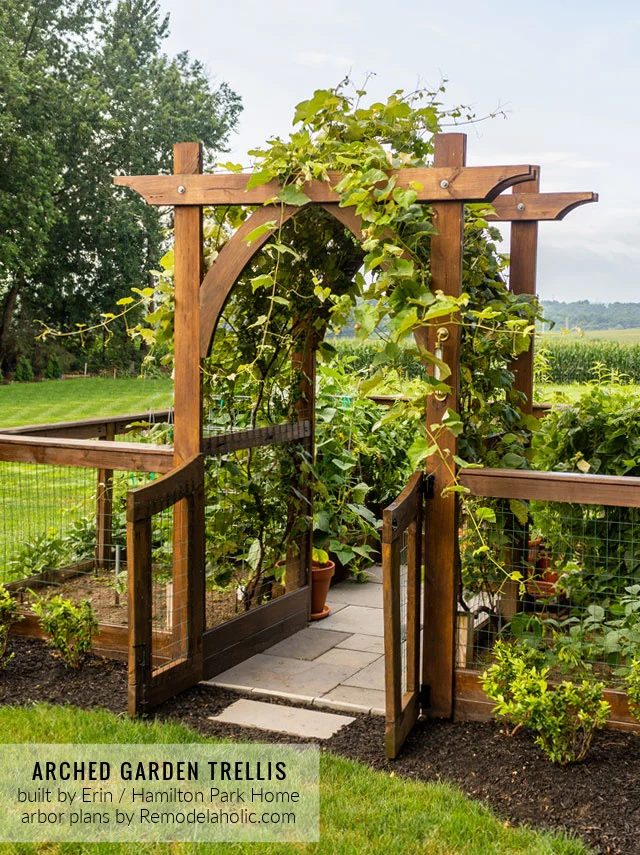
Erin at Hamilton Park Home built this vivid enclosure fence and gate for her raised garden beds, using our arched trellis with an added gate for the entrance. She says “The arched arbor is functional as it is striking— It’s well fitted for growing grapes!”. Get more details about her memorable garden here.
Rae’s Gothic Arch Gate: Rae send us some pictures of her new gate that she and her hubby built, inspired by our Gothic arch here. They adapted it for their space (and for metric measurements!) and it looks great! See more over at Rae’s Nomady.
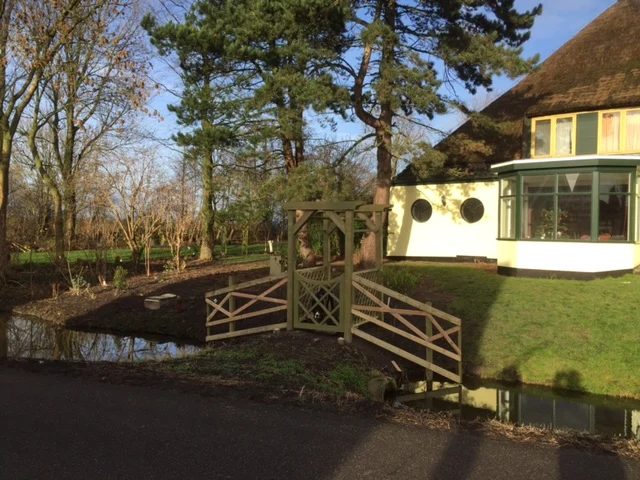
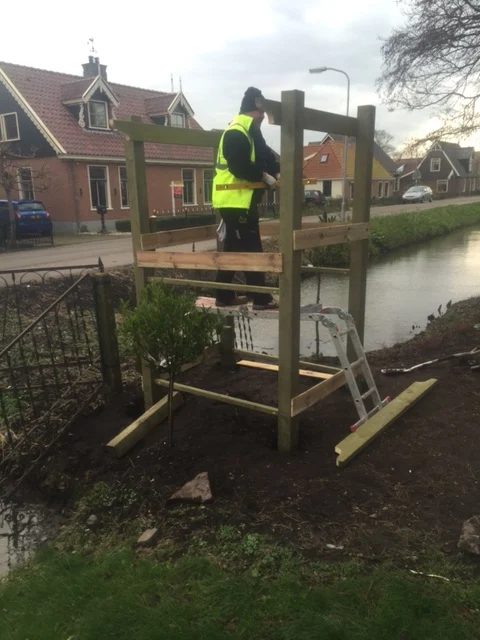
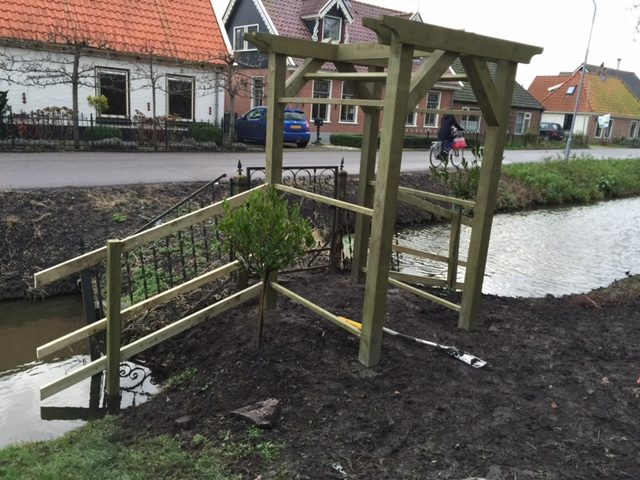
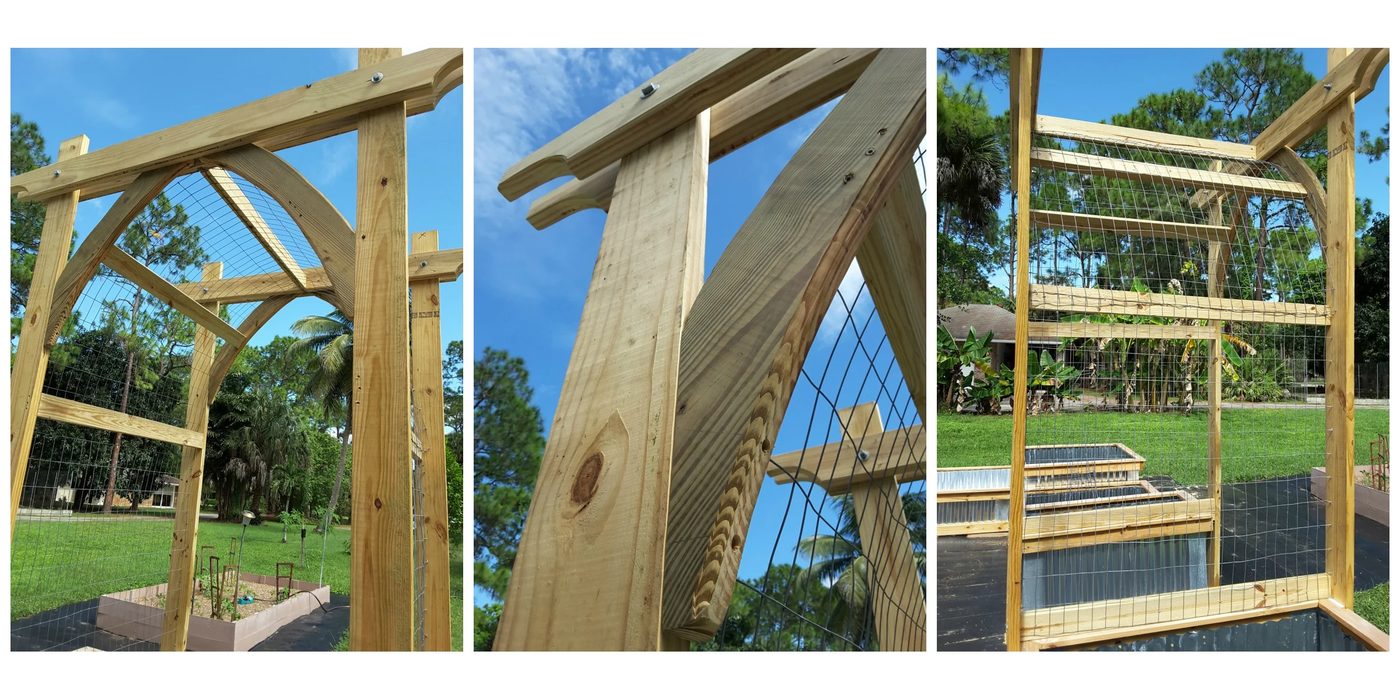
Shelly’s Garden Arbor with Metal and Wood Raised Garden Beds: Here are some pictures of the arbor that our reader, Shelly, built. What a striking garden, Shelly! Thanks for sharing
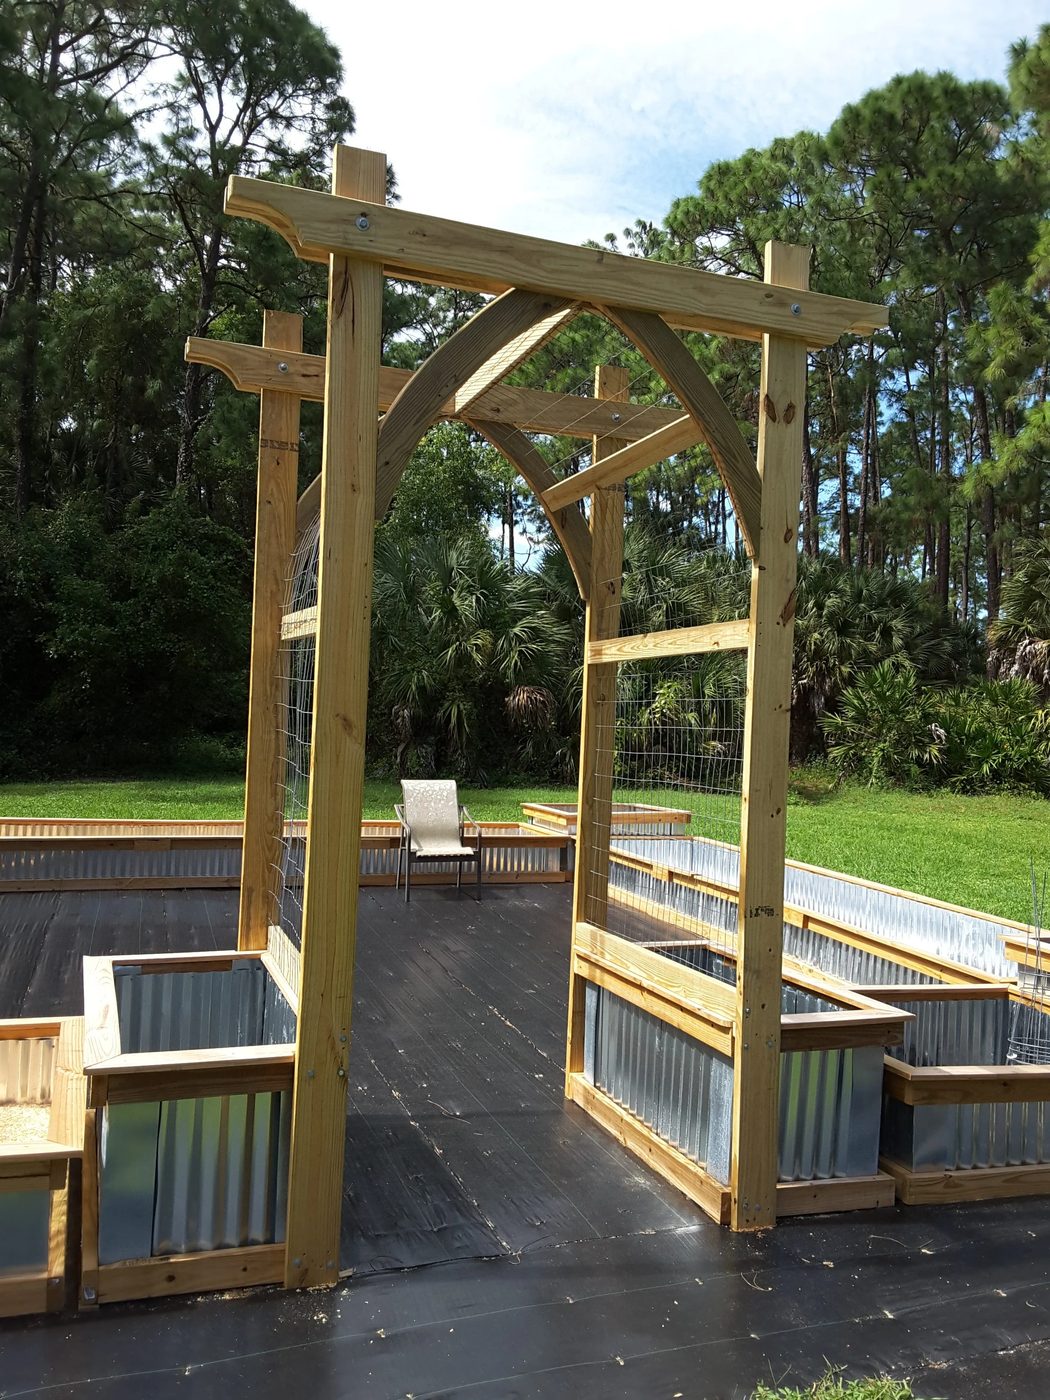
Shelly said:
The arbor we made ended up being a whopping 10′ tall! Because I want to grow passion fruit on this arbor, I wanted it really tall. Also, I routed the edges of the arch and the uppermost horizontal supports. The arch is so tall that you can hardly see this detail but I know it’s there and it really put a nice finished detail on the arbor.
This arbor is the crowning feature of my new 26′ x 26′ raised bed garden, which is still in production at the moment, but soil will soon be delivered and seeds will be planted (we are subtropical zone 10a).
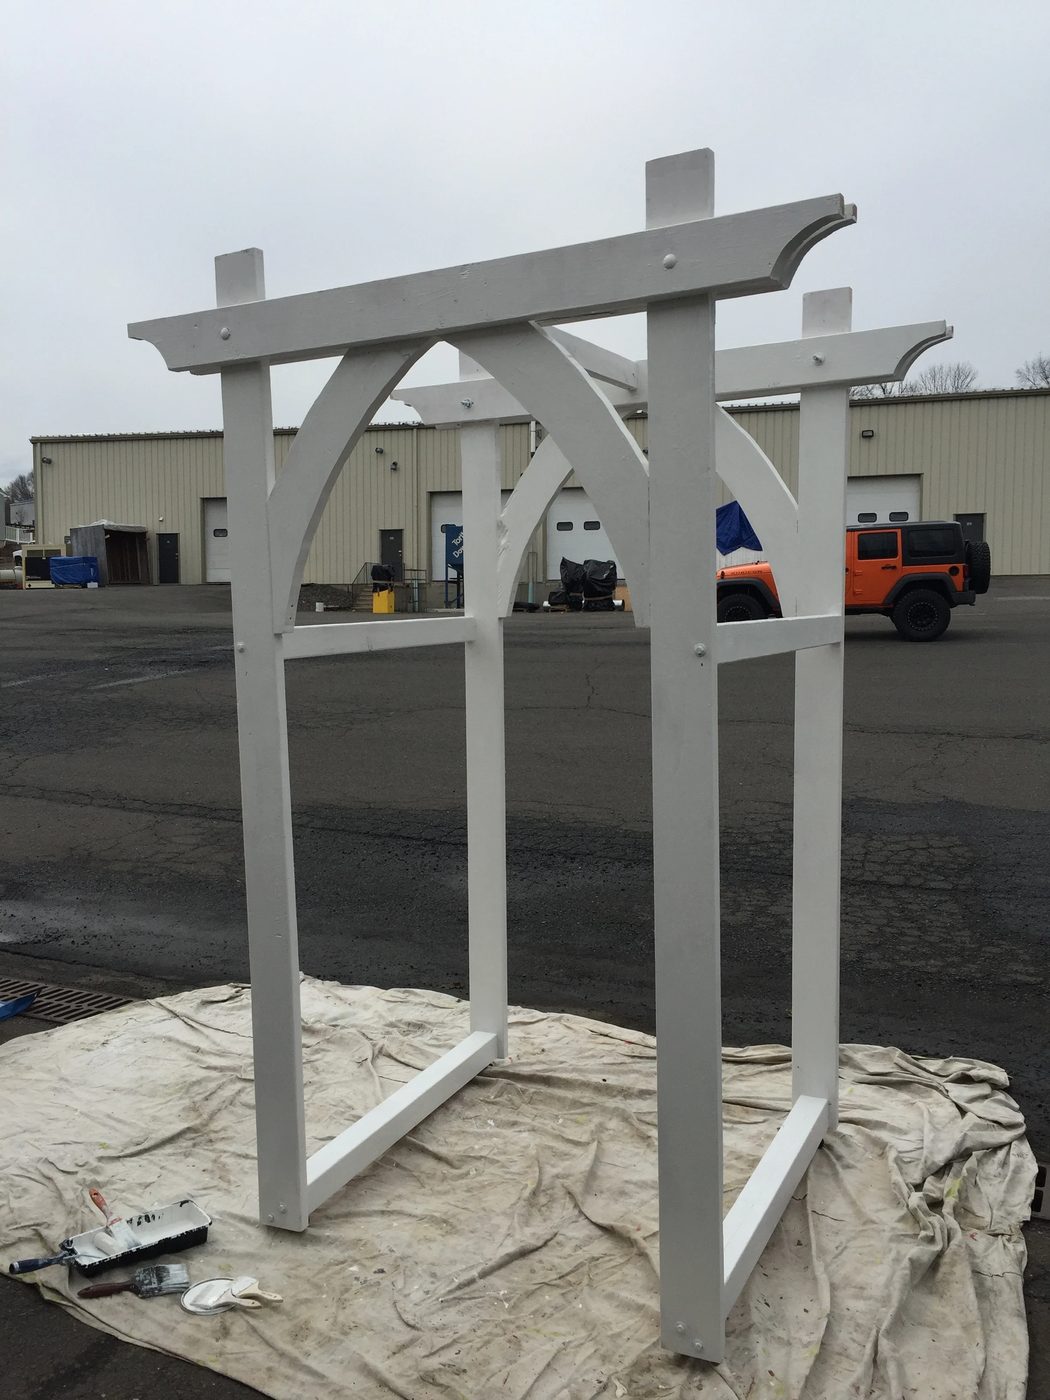
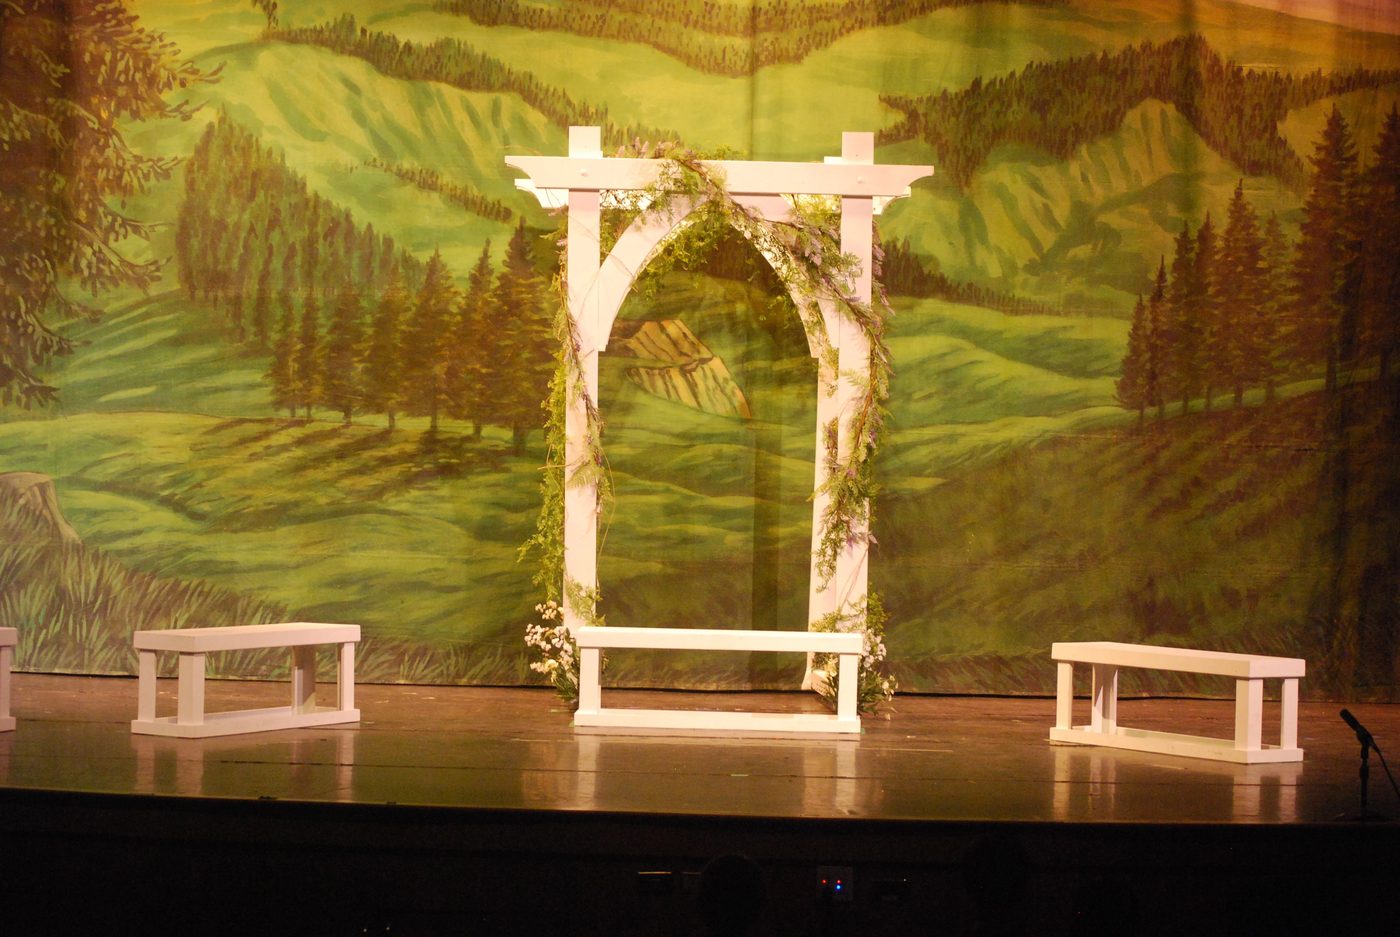
Chris’s Stage Arch: Chris used our walkthrough to build a set piece for a school play. Note the added 4x4s across the bottom and wheels for portability–great adaptation, Chris! Thank you for sharing!
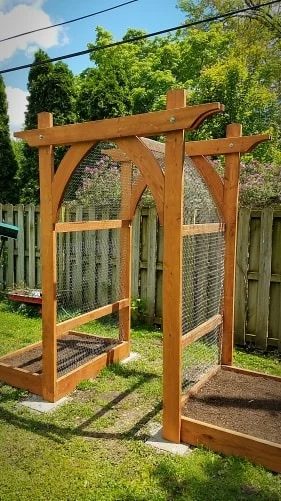
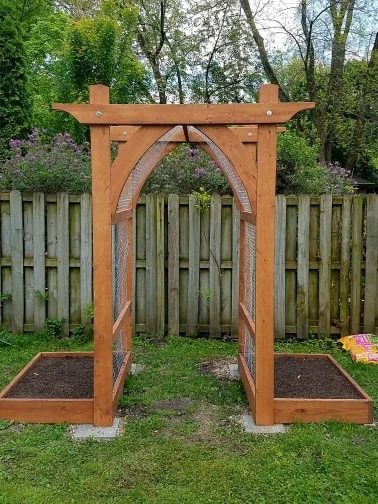
Mark’s Garden Arbor & Trellis: Mark recreated this striking garden arbor and attached it to 2 small raised beds, with cement paver “footings”. We love how it turned out. He is “very happy with the results.”
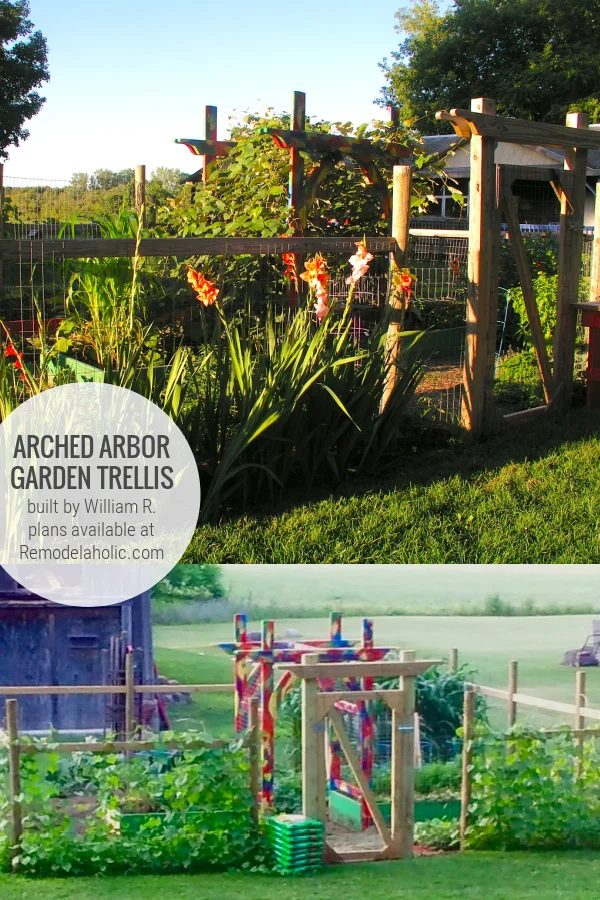
William’s Garden Entry Tunnel Trellis: William sent us these photos of his garden area, complete with a gothic arch trellis for his grape vines! “Get more compliments about this arbor. Concord grape vines make it a tunnel entry to the garden. Just love it.”
Click HERE to purchase this woodworking plan to build your own!
OR Bundle and Save 15% with the 2x Garden Arbor Woodworking Plan Bundle