The steps below follow the order of the work for this furniture project.
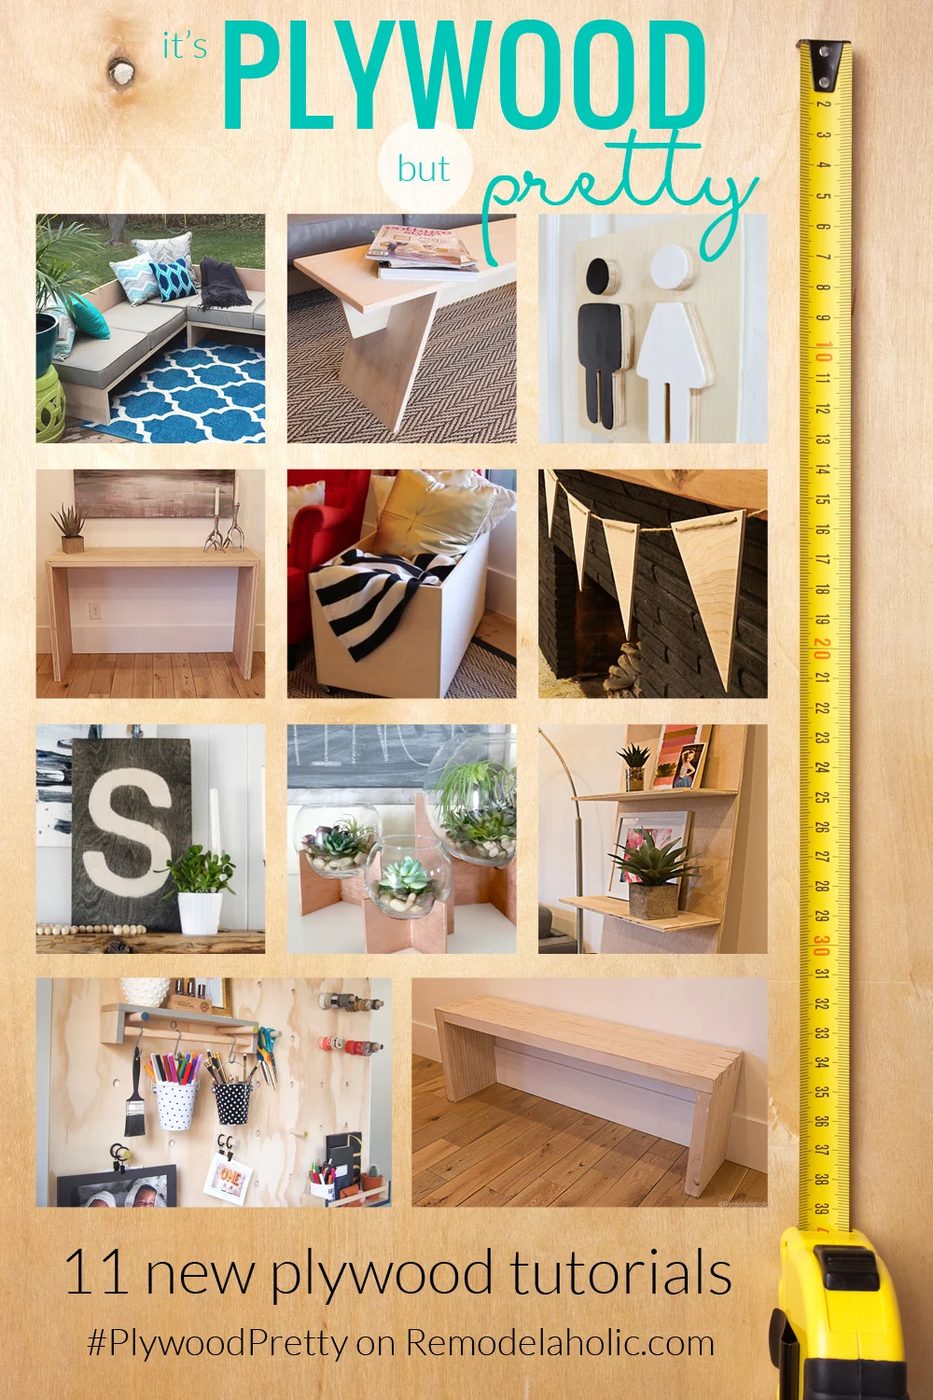
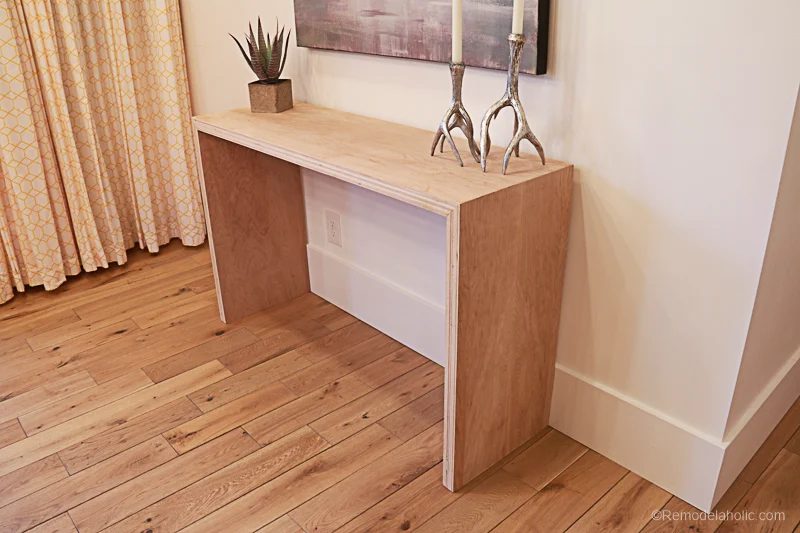
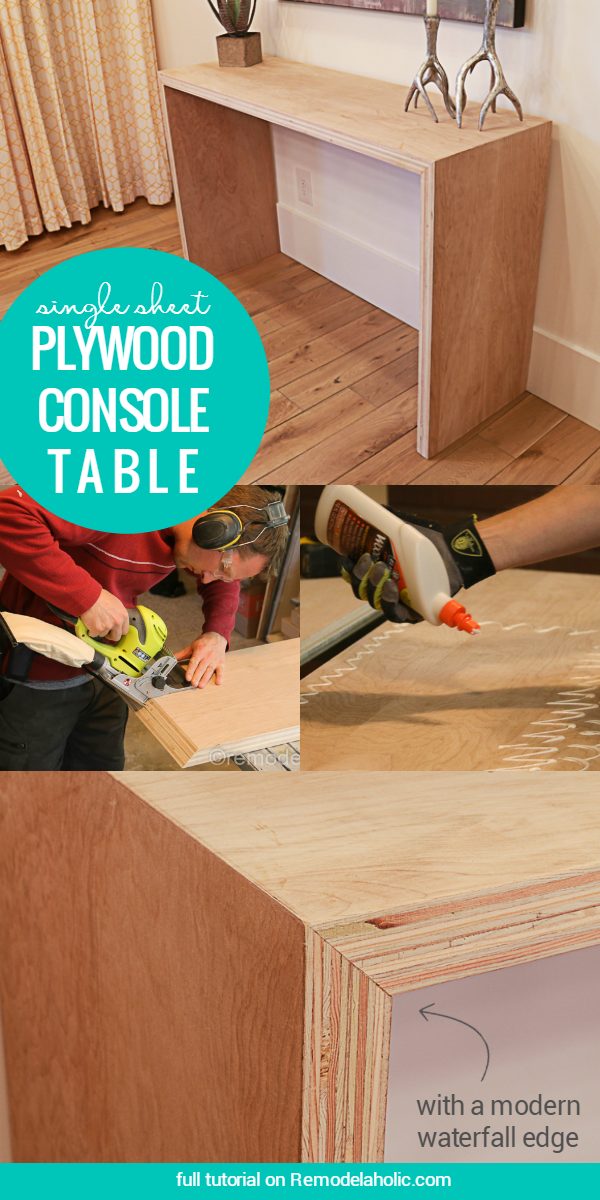
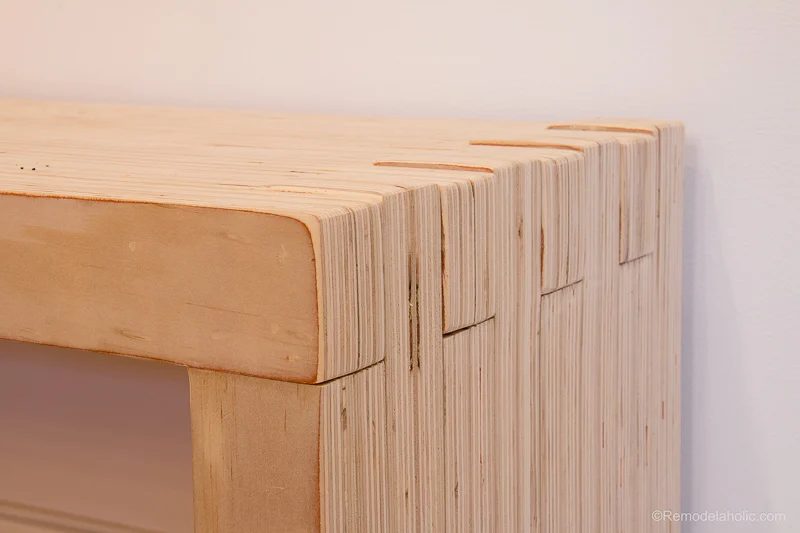
Our next project in our Plywood Pretty series uses just one sheet of plywood and shows off the unique character of plywood, both the grain of the plywood and the banded plywood edges. This striking waterfall console table is sleek and modern, with its exposed plywood edges! Because it uses two cuts of plywood stacked together, the thickness of the wood really adds character and uniqueness to the plywood console table.
See all of our other plywood projects here and be sure to subscribe by email or RSS and follow along over on Facebook and Instagram with #PlywoodPretty so you won’t miss any projects!
We also have a great partner for today’s project: Elmer’s ProBond Wood Filler.
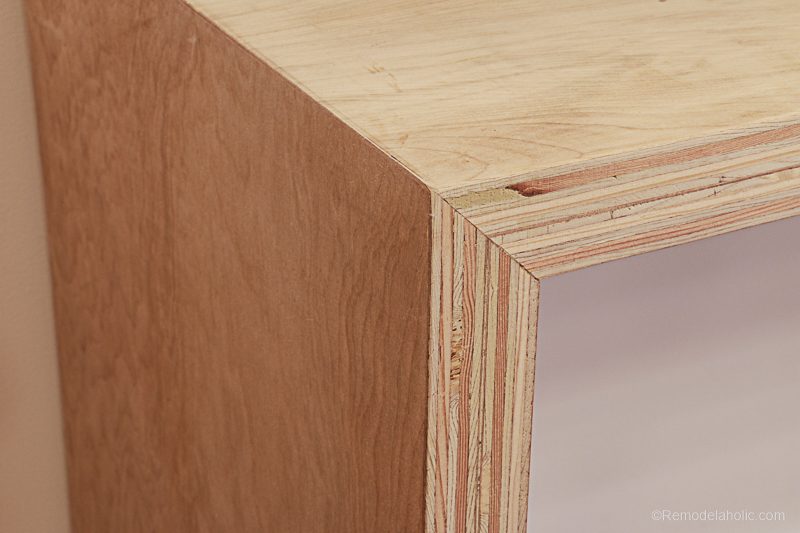
The banded plywood edges combine with the mitered waterfall edge to make this modern console table sleek and interesting, but plywood often has voids that need filled, so the Elmer’s ProBond Wood Filler we used completed the smooth and modern look perfectly.
Watch the video walkthrough here and pretty please give it a thumbs up and subscribe to our channel!
Handmade Waterfall Plywood Console Table
This post contains affiliate links. Learn more and read our full disclosure policy here.
Materials
- (1) 4 ‘x 8’ x 3/4″ Sheet of Birch Plywood
- (8) #10 25/32″ x 2-3/64″ Biscuits
- (1) Elmer’s Carpenter’s Wood Glue Max
- (1) Elmer’s ProBond Wood Filler (we used Natural)
- (6) 1 ½” screws for scrap wood while drying
Tools Used
- Table Saw
- Miter Saw
- Circular Saw
- Biscuit Joiner
- Drill
- Spring Clamps (lots of them)
- Tape Measure
- Pencil
- 80/120/220 Sandpaper and Sanding Block
- (2) Saw Horses
Plans with Dimensions
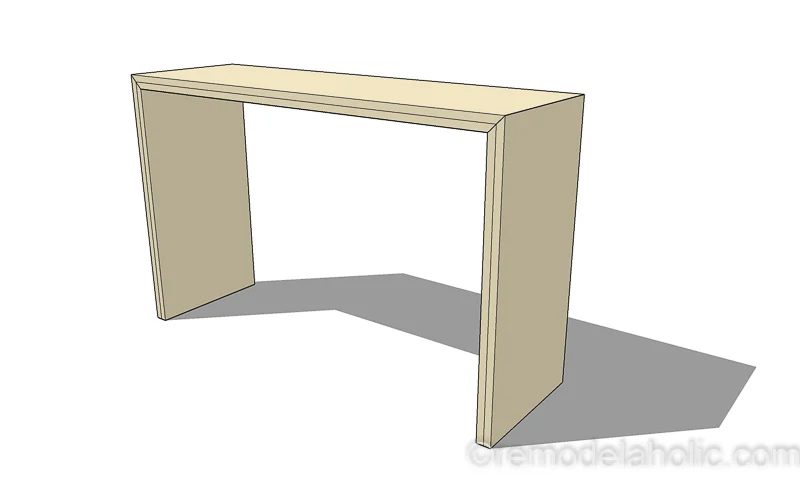
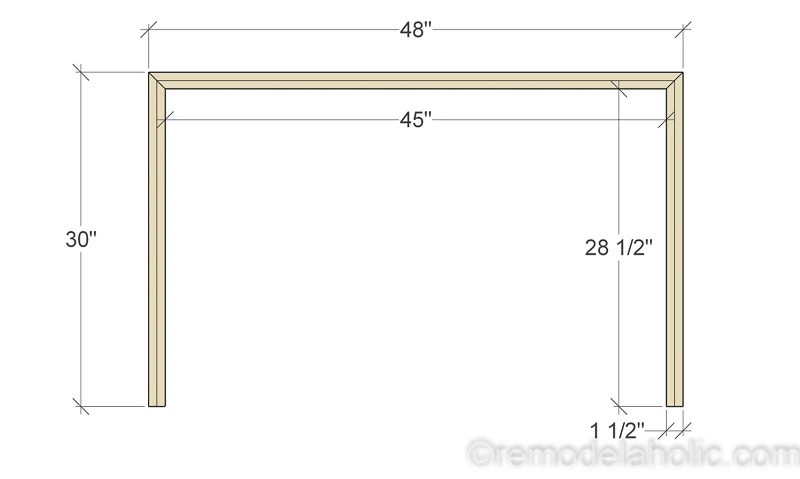
Front View
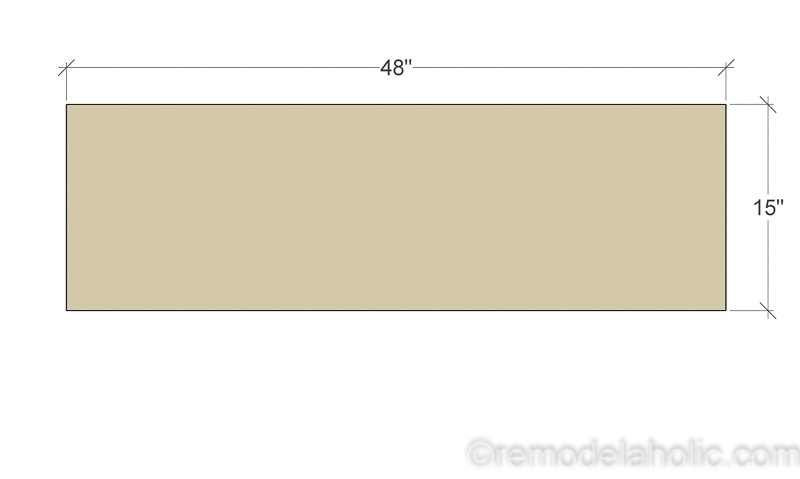
Top View
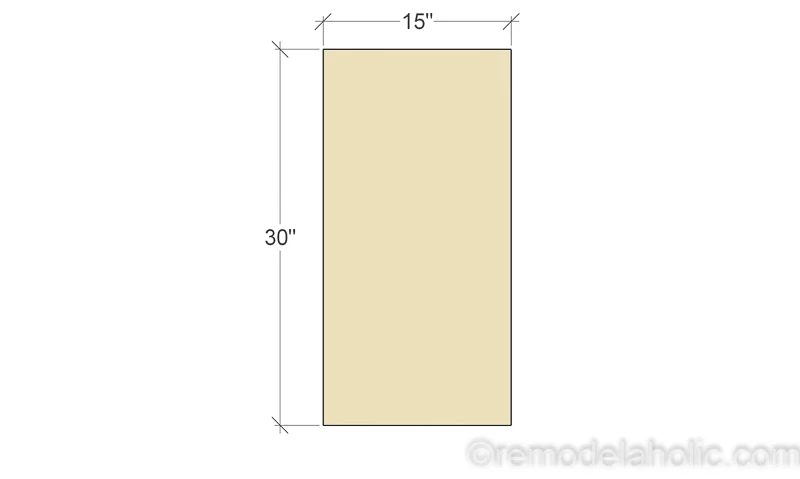
Side View
Cut List (Length x Width x Thickness)
Rough Cuts
- (2) Top – 50” x 15 ¾” x ¾”
- (4) Legs – 32” x 15 ¾” x ¾”
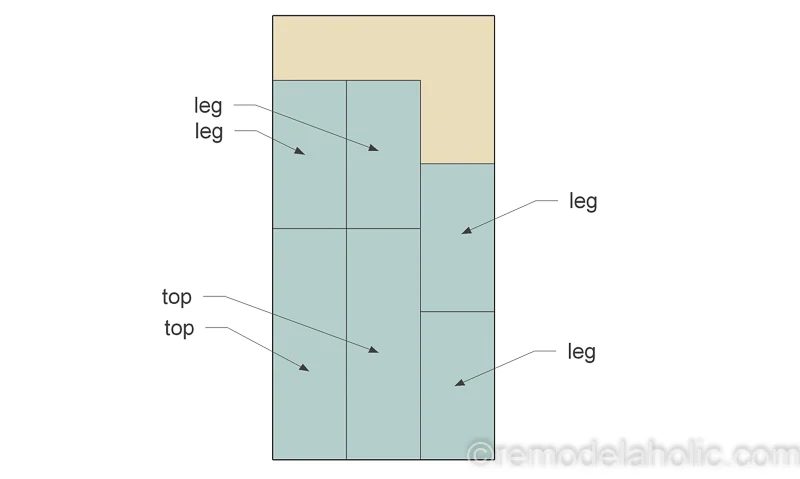
Final Cuts (after pieces are glued together)
- (1) Top – 48” x 15” x 1 ½”
- (2) Legs – 30” x 15” x 1 ½”
Construction Steps
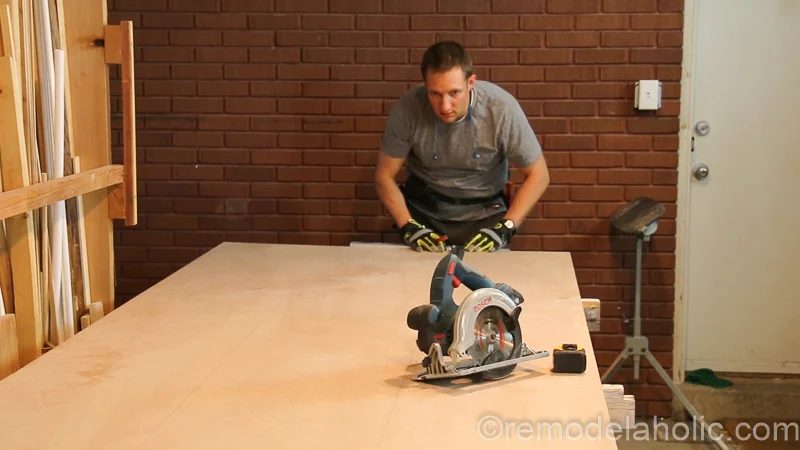
- Rough cut out (4) boards for the legs and (2) boards for the table top
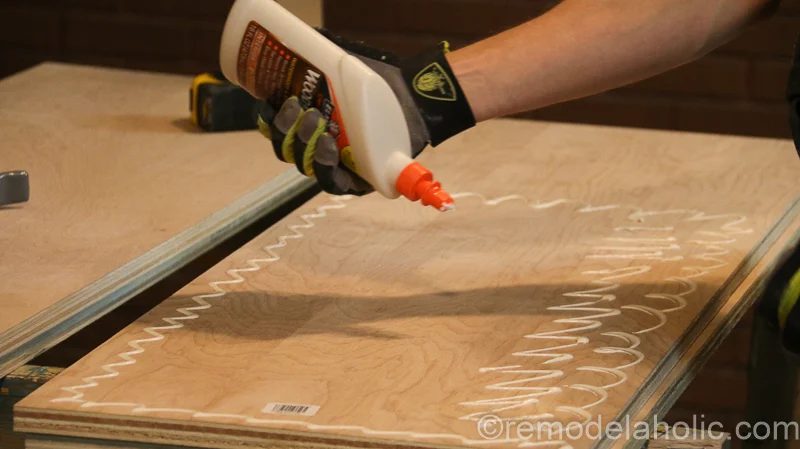
 2.Glue two of the legs boards together
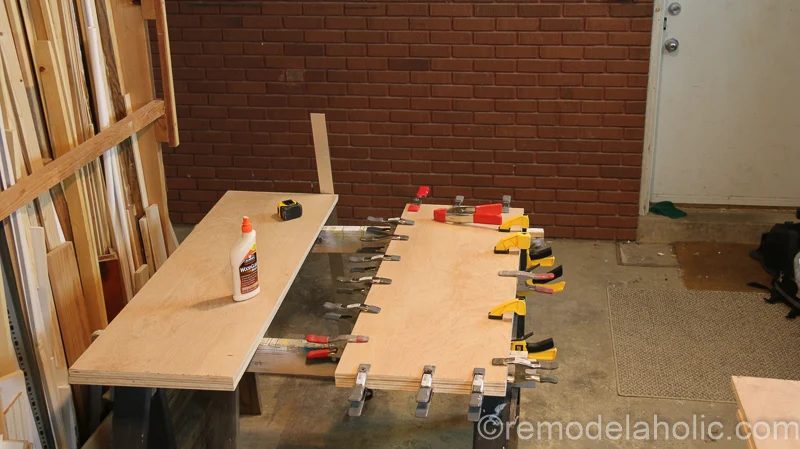
and clamp down all the edges really well
3. Cut all the legs and top to width on the table saw. Cut both sides nice and straight.
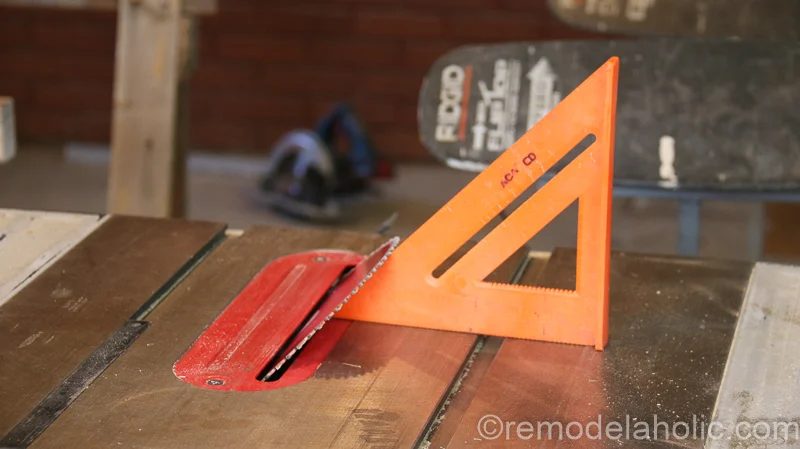
4.Cut the mitered edge first on the table saw then cut the boards to the final length.
5.Use the biscuit joiner to cut out the biscuit holes on the mitered edges of the legs and top
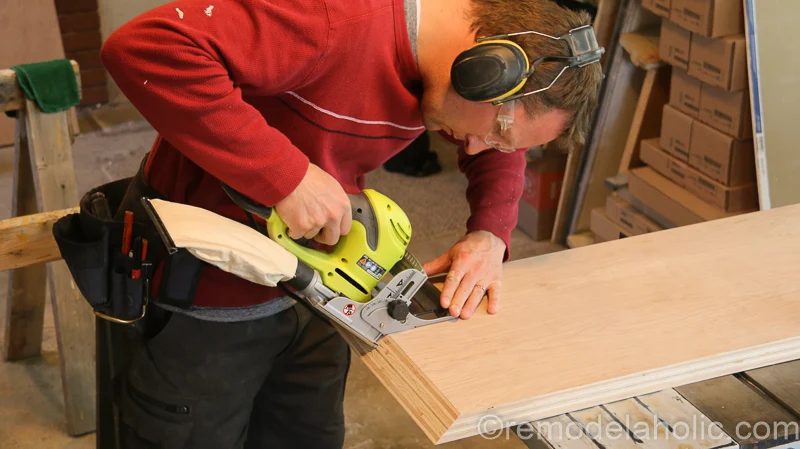
6. Cut out some scrap pieces of wood at 48” long and get them ready for supporting the legs when gluing
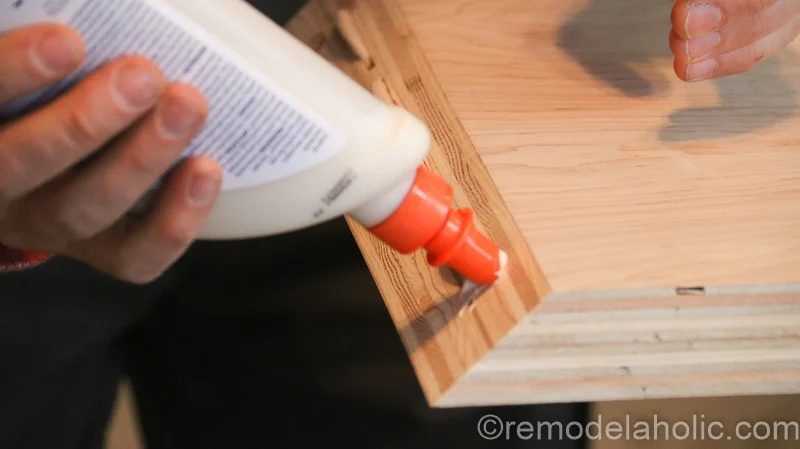
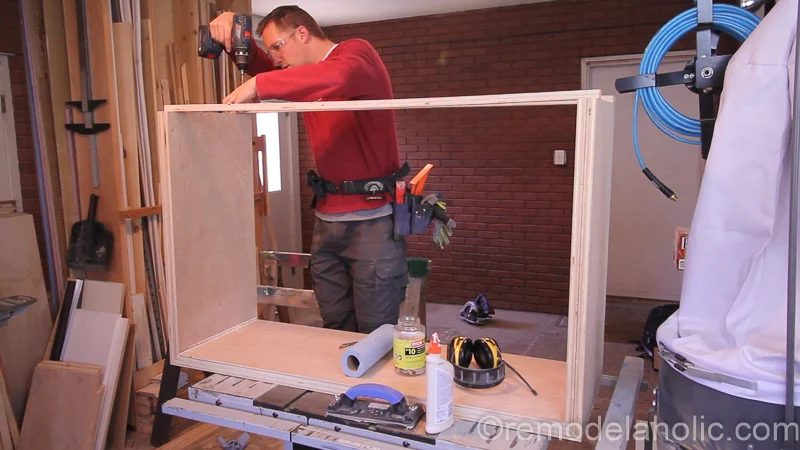
7. With the tabletop upside down, Cover the mitered area and the biscuit holes with wood glue. Insert the biscuits and cover them with wood glue. Then install the legs over the glue.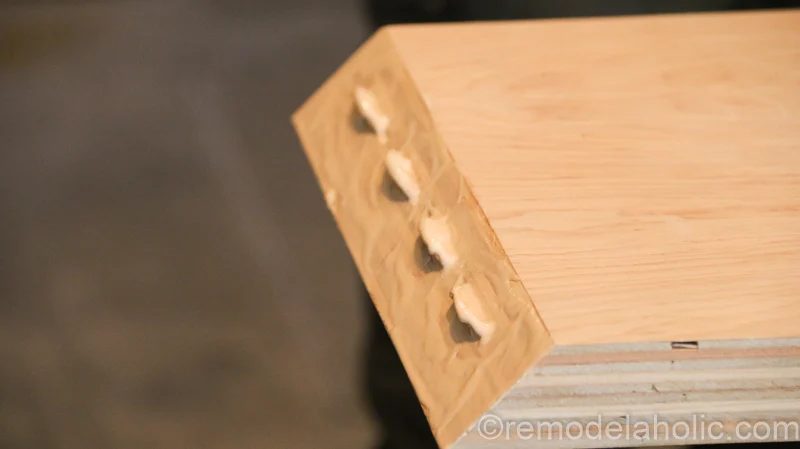 8. Screw with wood scrap pieces to the bottom of the table to keep the legs 48” apart. Then screw on a piece on a diagonal when to table is square. Let dry overnight.
Measure the diagonal distance, from corner to corner. When these two measurements are the exact same the piece is square.
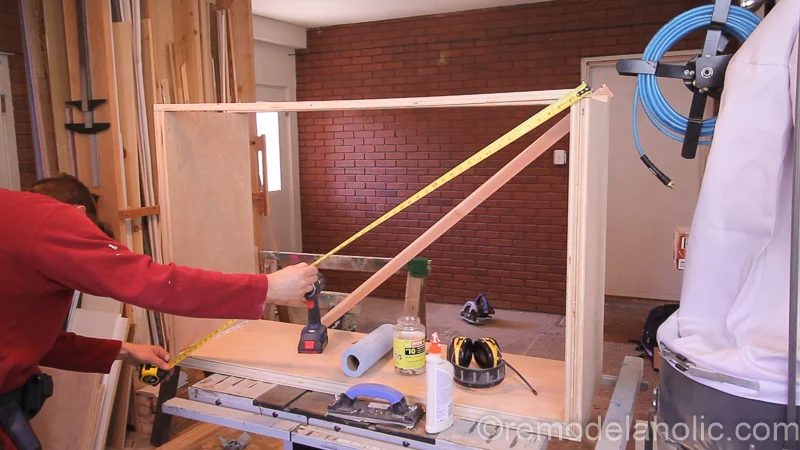
Secure the legs with a cross support so that they can dry square.
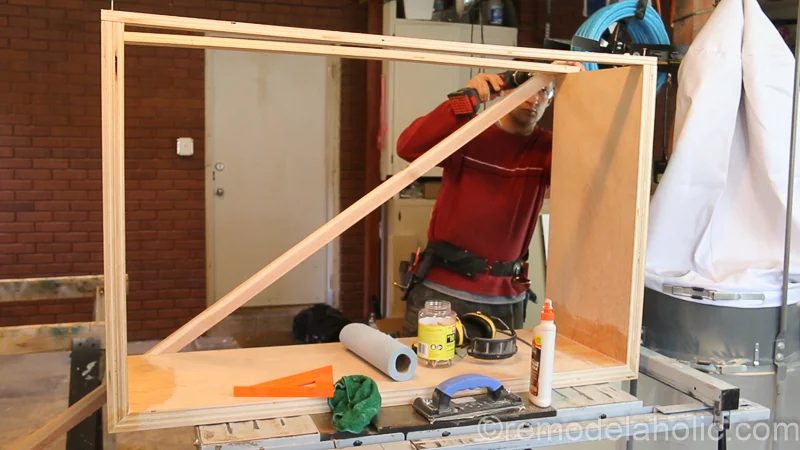
9. Once the glue is dry remove the scrap pieces and stand upright. Now it is time to clean up the table. One of the flaws of plywood, when you cut through it is that you might find void spaces where the ply is missing.
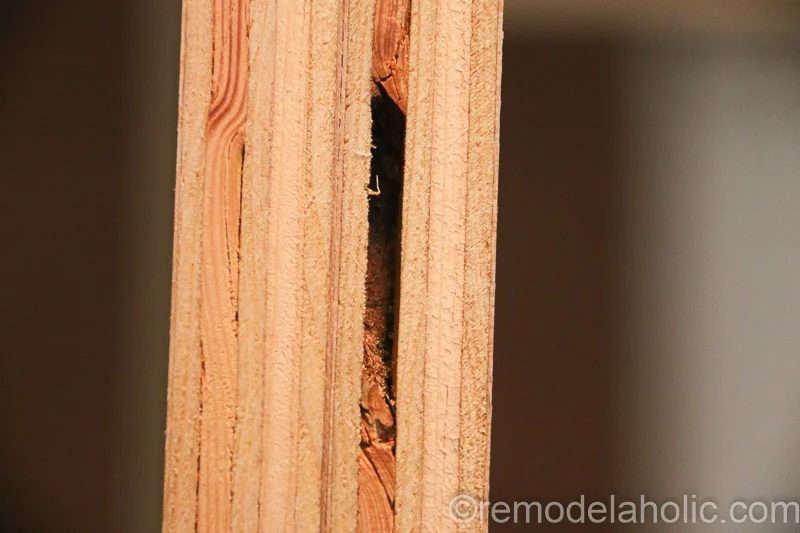
To fill these we used Elmer’s ProBond wood filler in Natural, but if you plan to stain your wood they do have a stainable wood filler too.
- Sand all edges
- Leave natural or apply a finish
This is a sponsored conversation written by me on behalf of Elmers. The opinions and text are all mine.
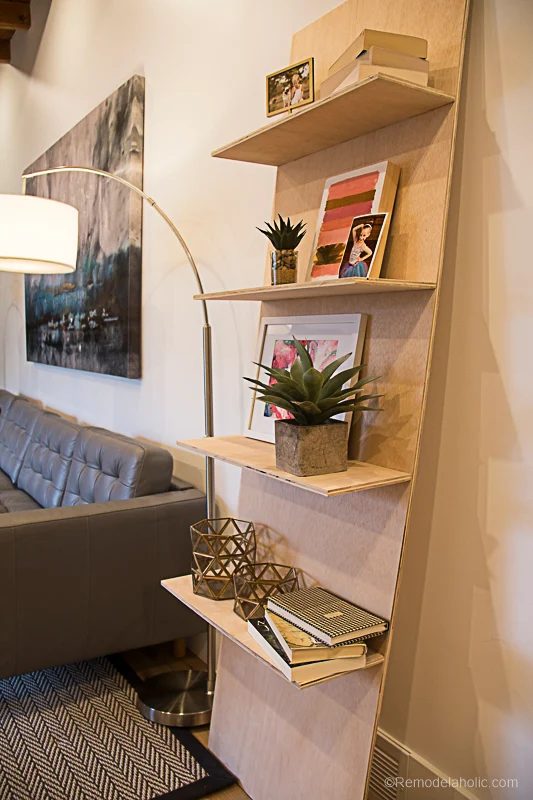
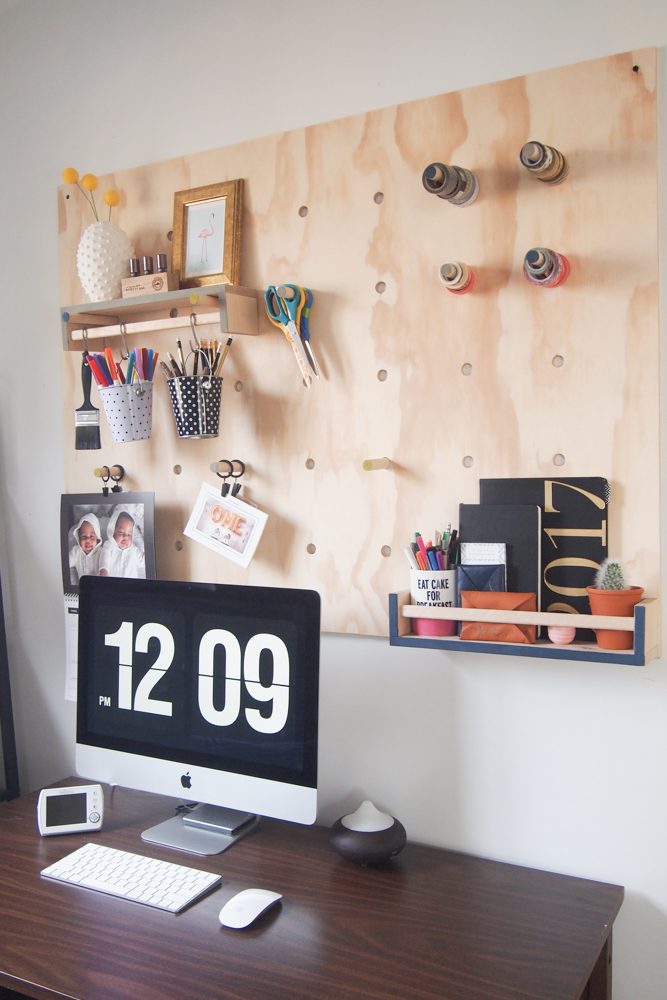
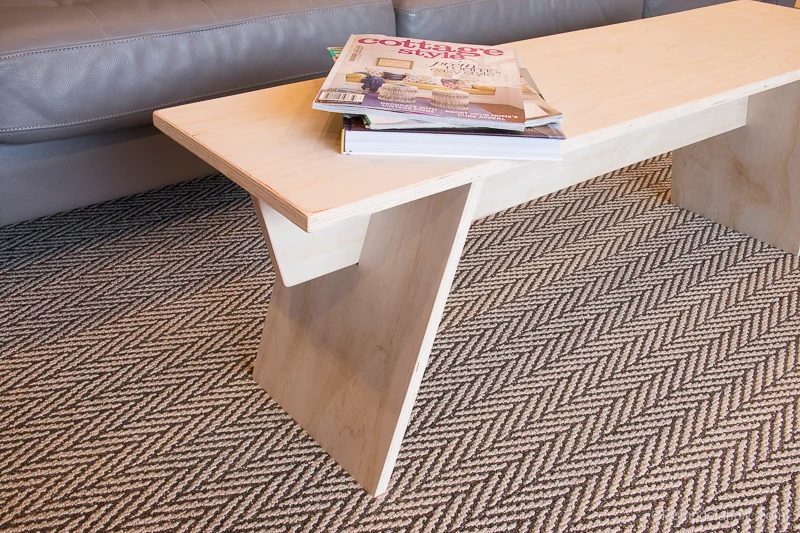
look at these other plywood projects that show off the pretty potential of just one sheet of plywood:
stacked plywood bench using half-lap construction
straightforward jumbo plywood pegboard
and a sneak peek of this beauty coming up on the blog tomorrow!
See all of our other plywood projects here and be sure to subscribe by email or RSS and follow along over on Facebook and Instagram with #PlywoodPretty so you won’t miss any projects!