Materials and the sequence of the job sit together on this page.
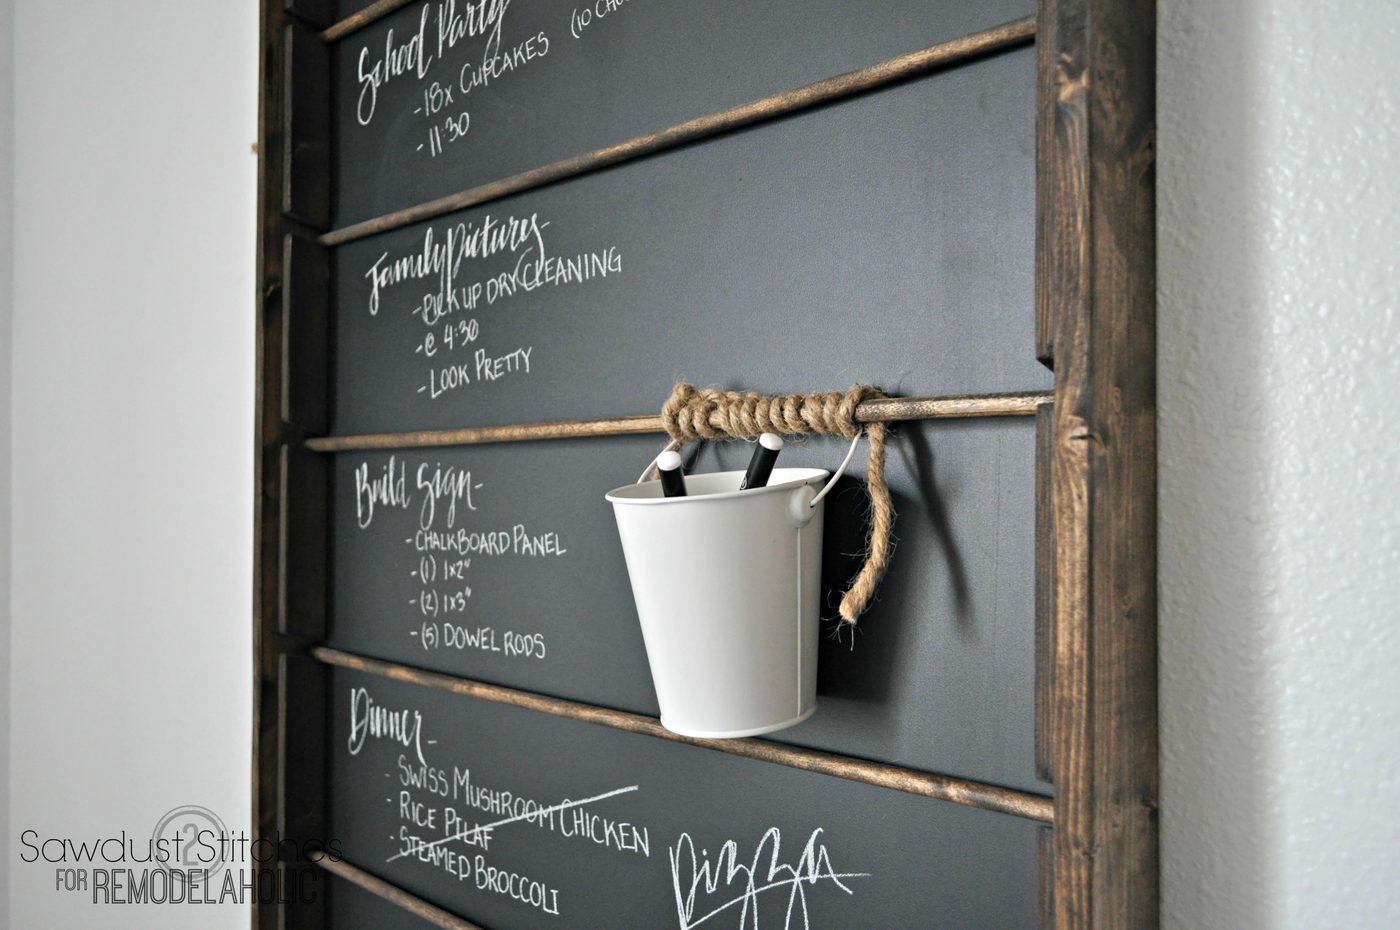
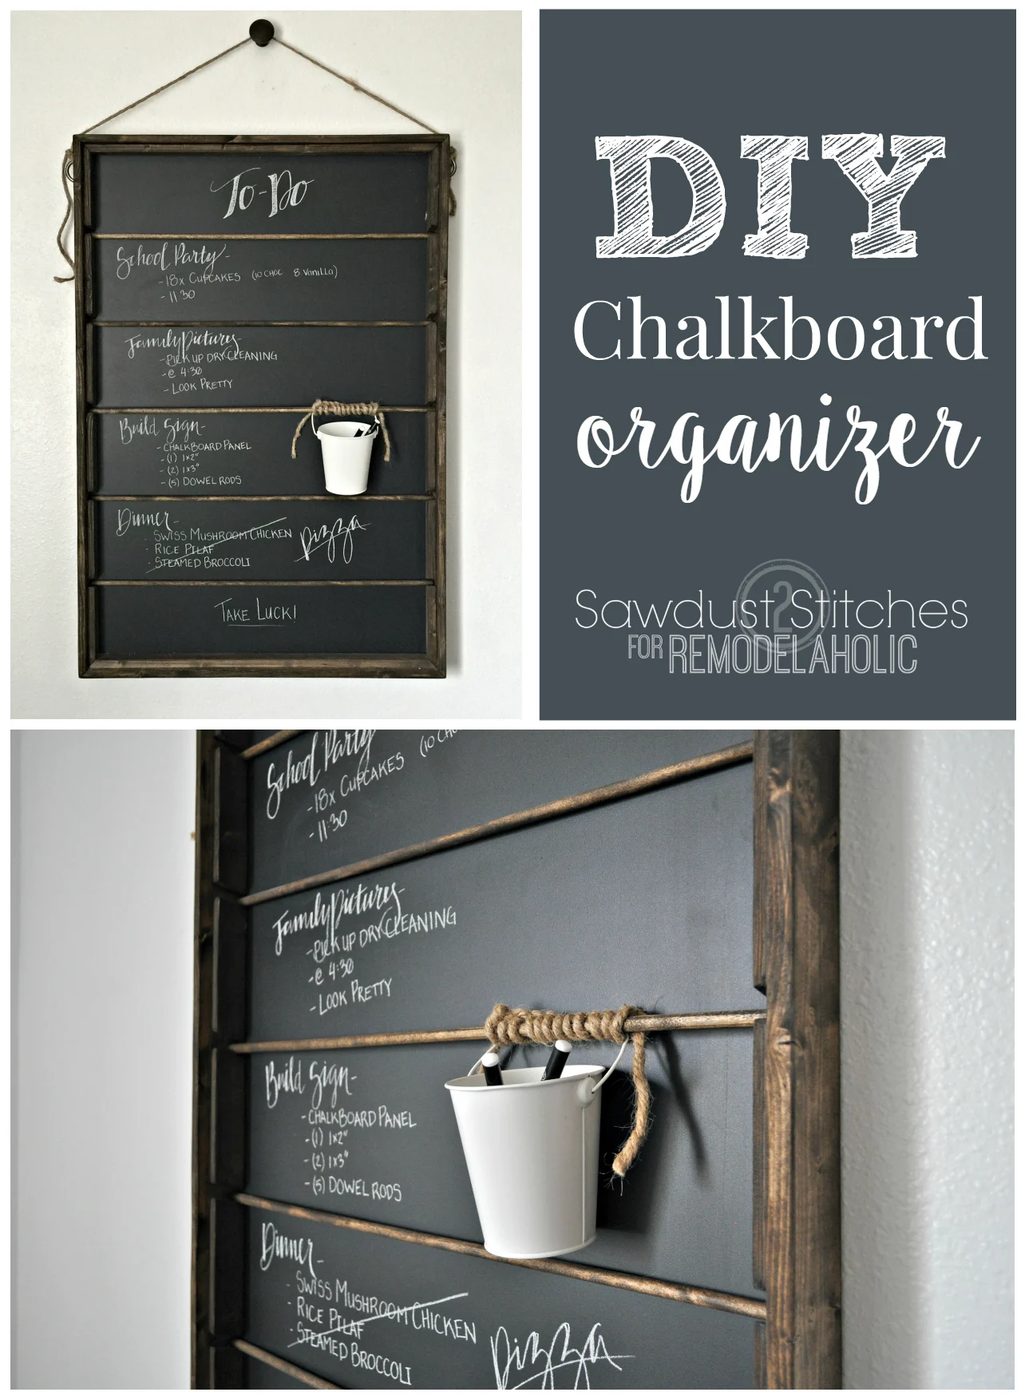
How to Build A Wall-Mount Chalkboard Organizer
open this to Get a Free Printable Version of This Building Plan
*All Bekob building plans and tutorials are for personal, non-commercial use only. Use this printable plan as you build, but don’t sell the PDF plan or otherwise distribute the file. (Items built following this walkthrough may be sold, but the instructions and PDF file may not.) Thanks!
Tools Suggested:
- Table Saw
- Miter Saw
- Nail Gun
- Drill
Materials Used:
- (x2) 1×3″ Pine Board
- (x1) 1×2″ Pine Board
- 2×4′ Chalkboard Handy Panel (or use chalkboard paint on a scrap piece)
- (x5)- 1/2″ Dowel Rods (24″)
- Stain
- 1″ and 2″ 16 gauge finish nails
Lets’s dive right, shall we ?
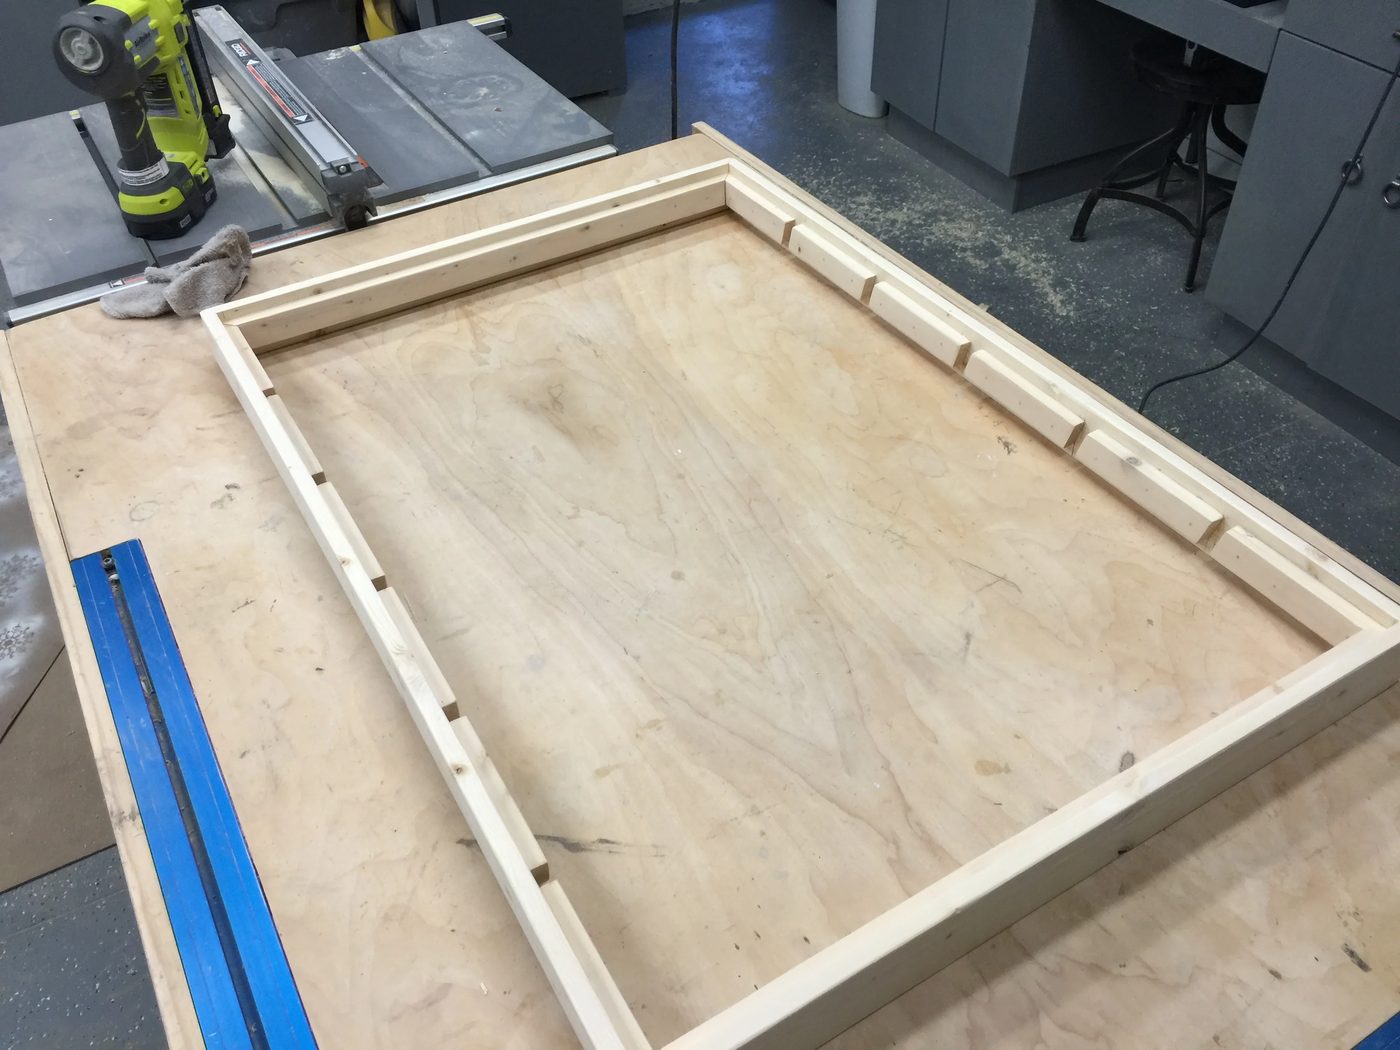
We will begin by assembling the outer frame using the 1×3″ pine boards. I attached mine in the corners using wood glue and 2″ 16 gauge finish nails.
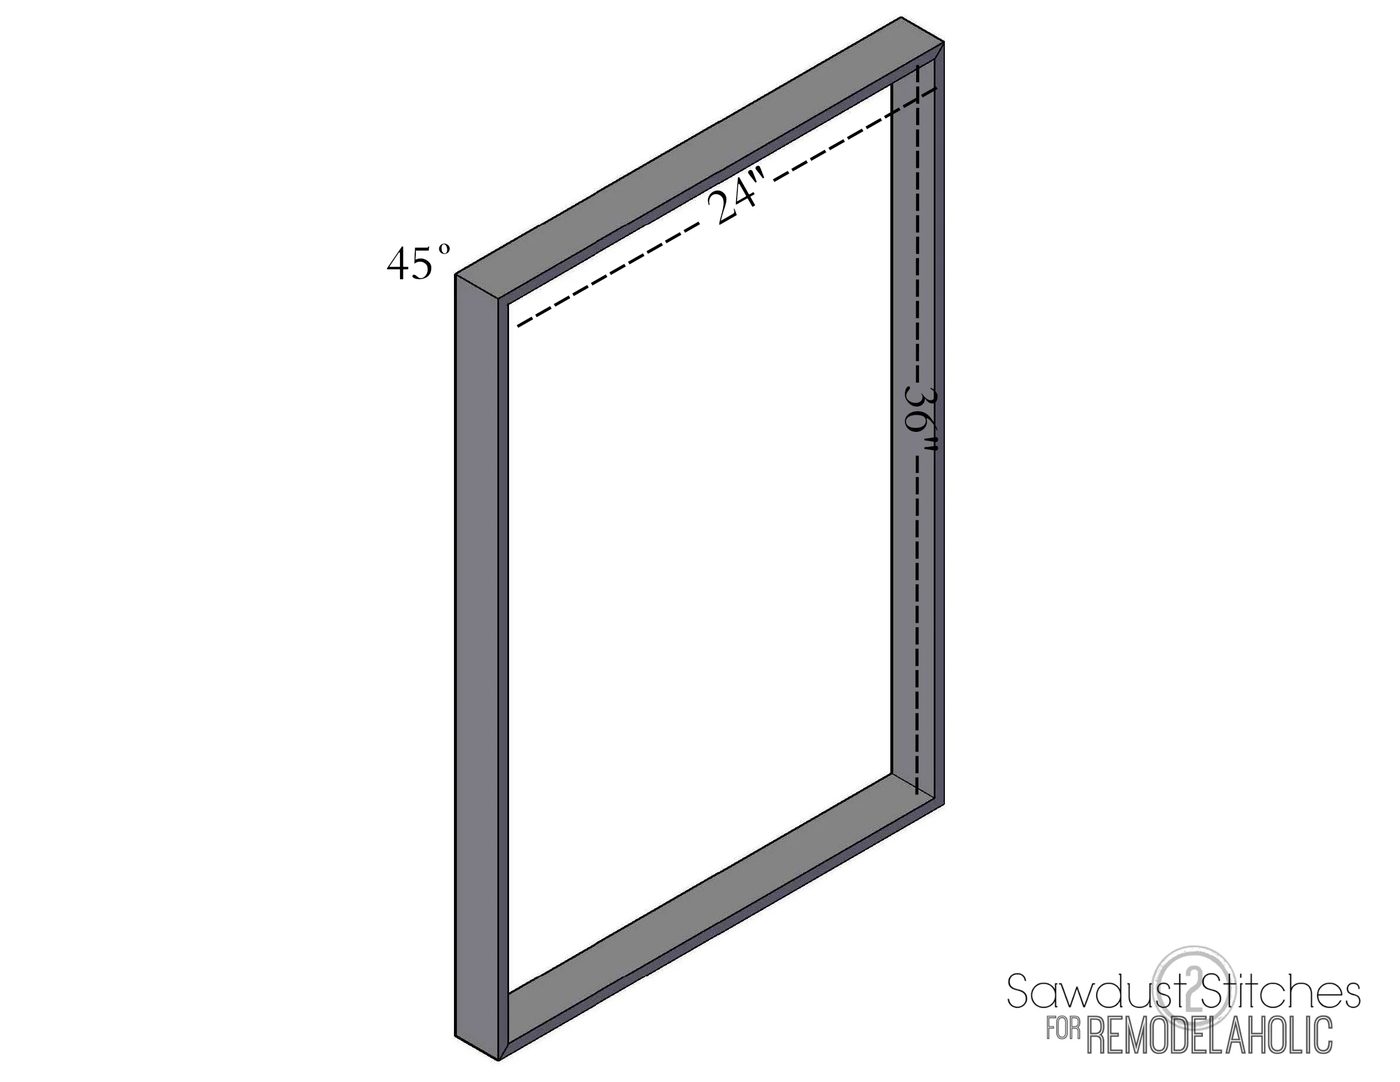
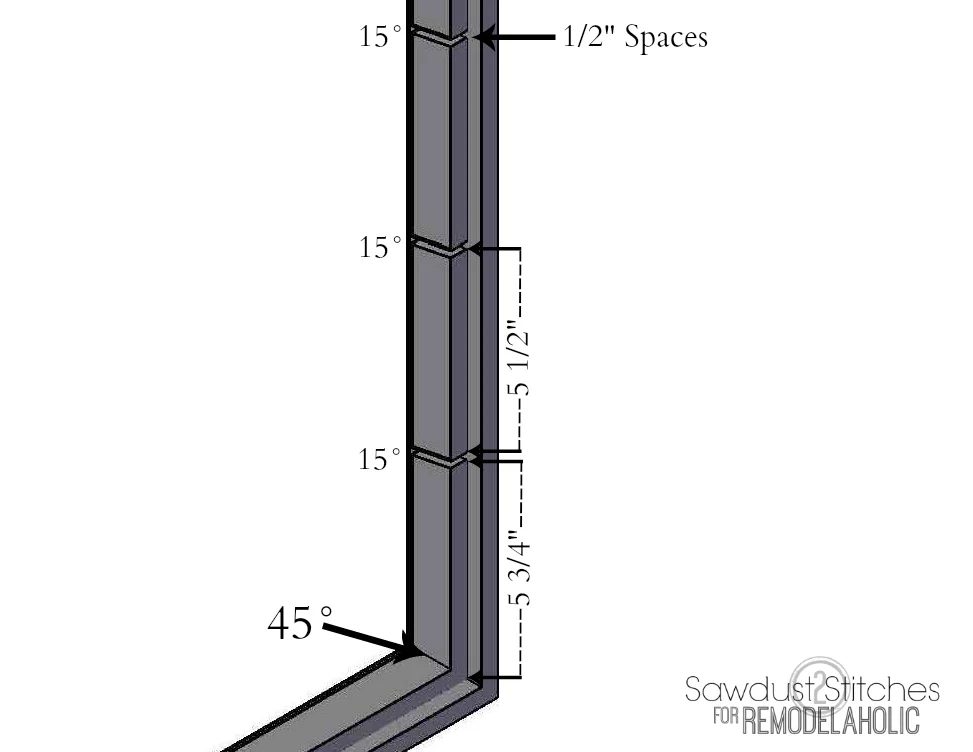
Next we will be be cutting and installing the brackets. These will all be made from the 1×2″ boards. These are a little tricky, so PLEASE reference the diagrams below. Notice they are not 45 degree angles, they are 15 degree cuts, (with 1/2″ spaces in between boards, this is where the dowel rods will rest) and the boards that meet in the corners are 45 degree miter cuts.
*When installing, center the 1×2″ boards on the 1×3″ board. ( This should create a 1/2″ gap on either side of the 1×2, so you can install your chalkboard backing.)
I installed my 1×2″ boards using wood glue and 1″ 16 gauge finish nails.
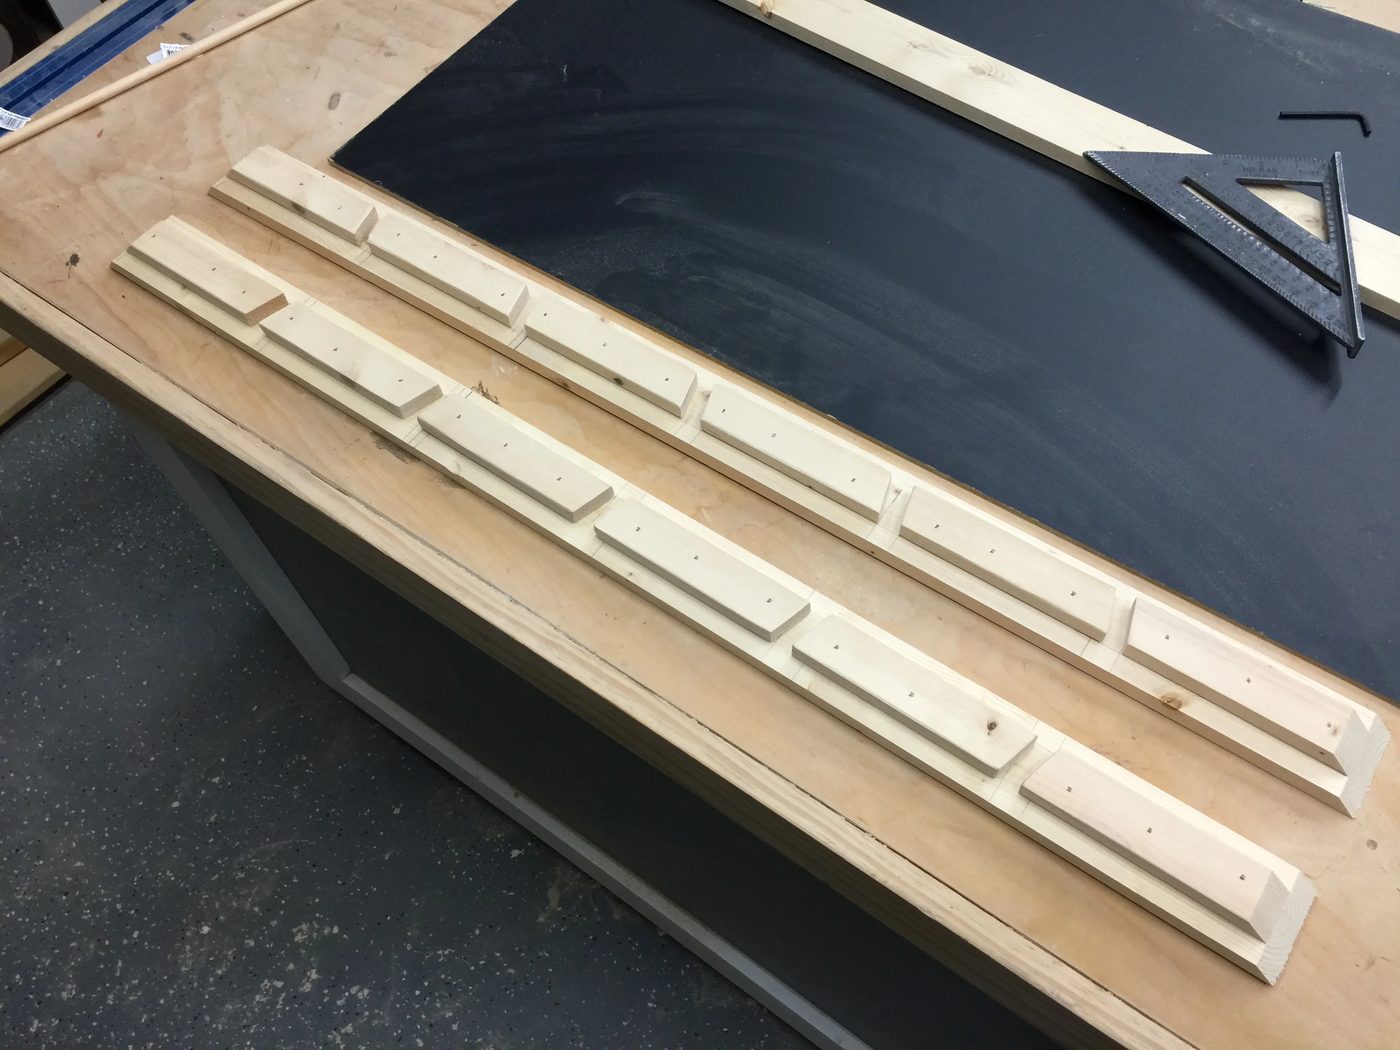
After all the side pieces are cut and installed, you will cut and install the bottom support. The board should be cut 24″ with 45 degree miter cuts. (Long point to long point)
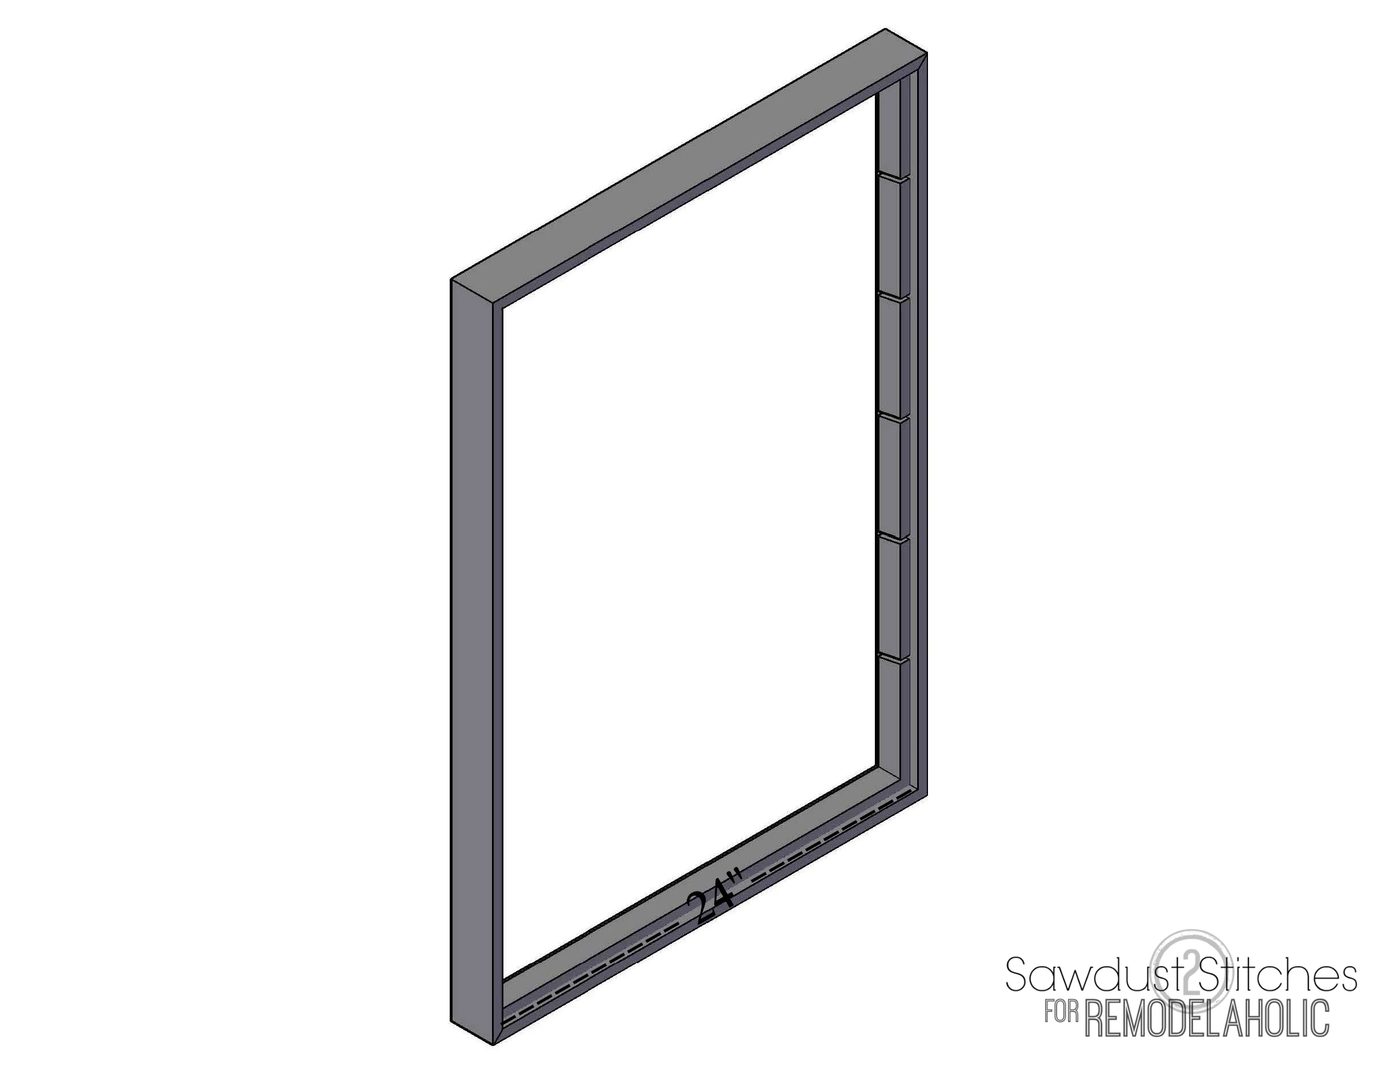
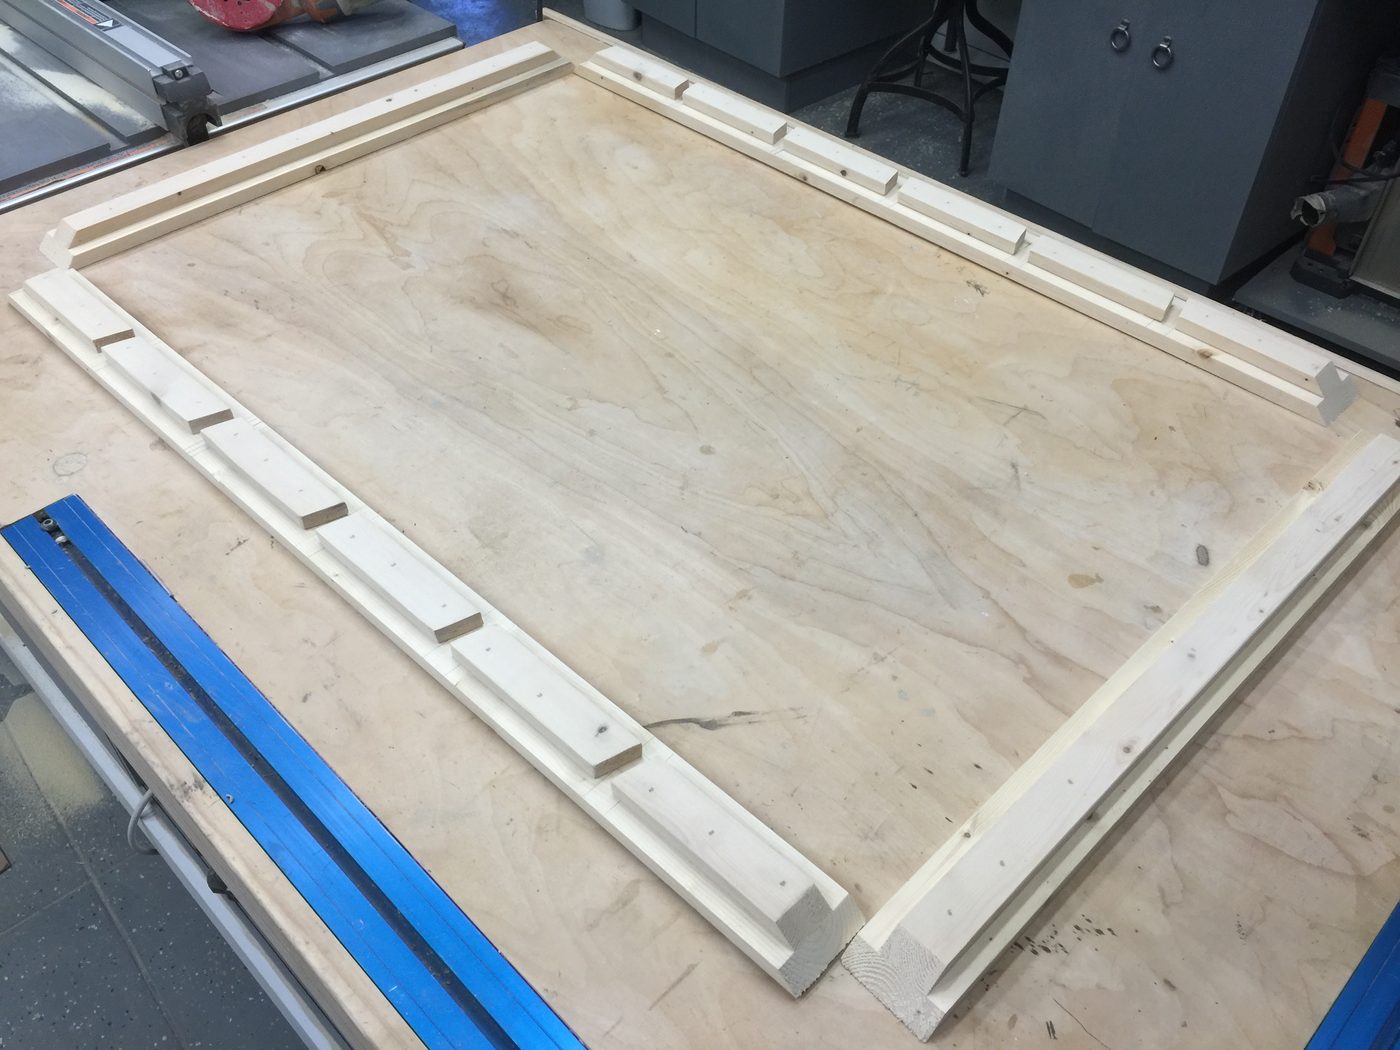
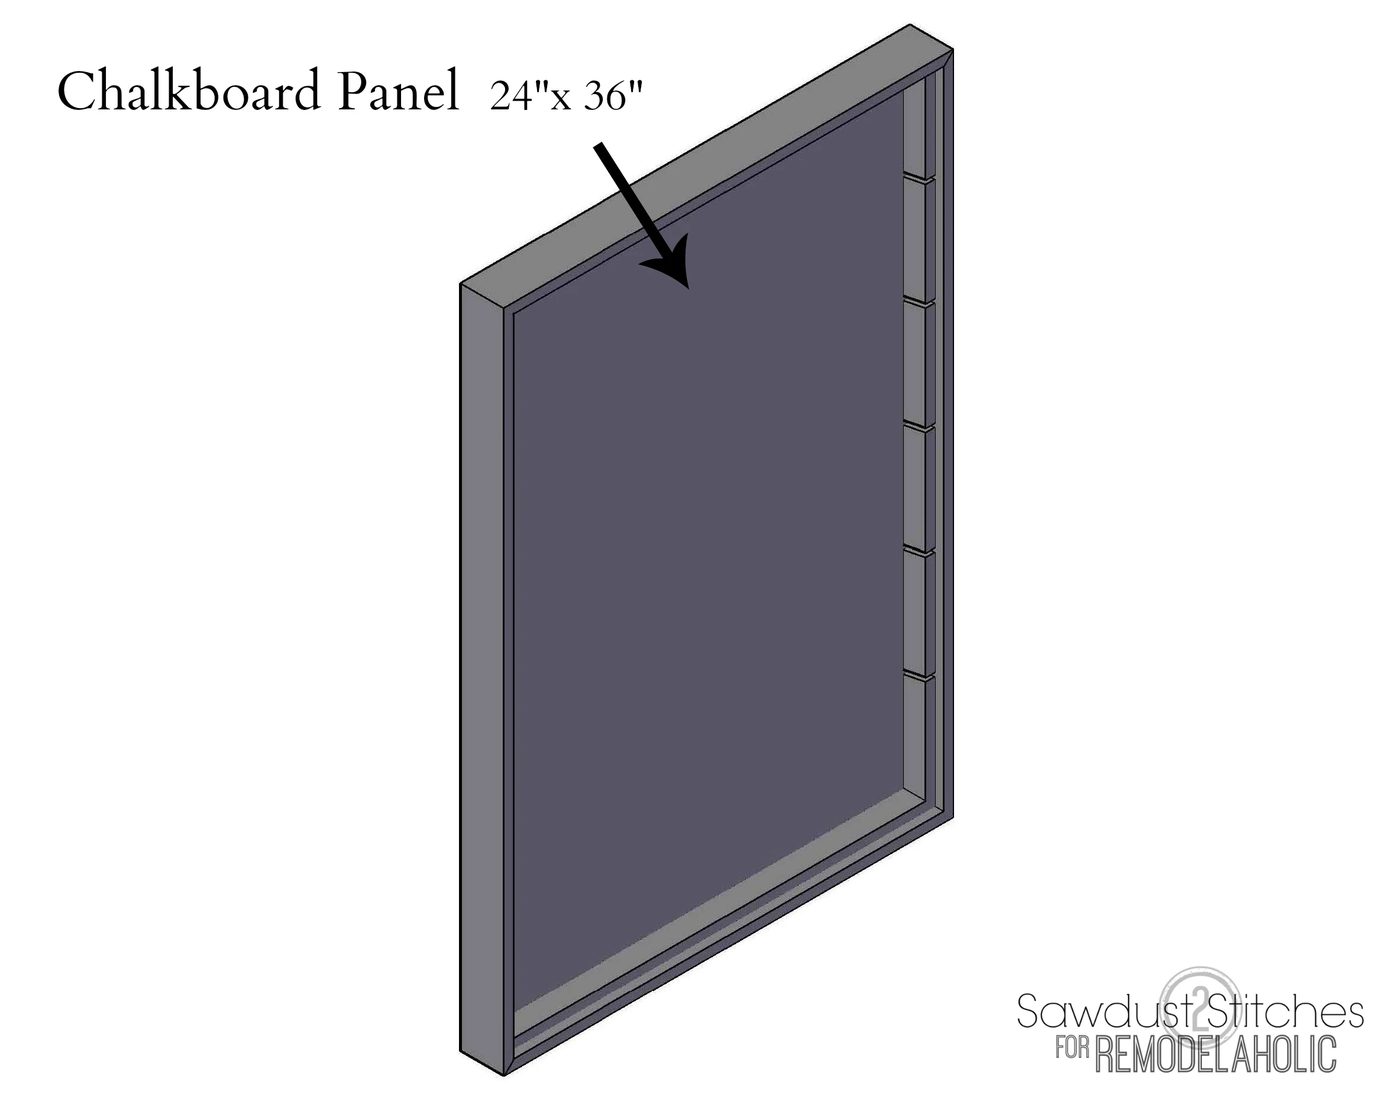
The 1×2″ boards will be the support that will hold the chalkboard in place. Hold the chalkboard panel in place with wood glue (or a pin nailer, if you have access).
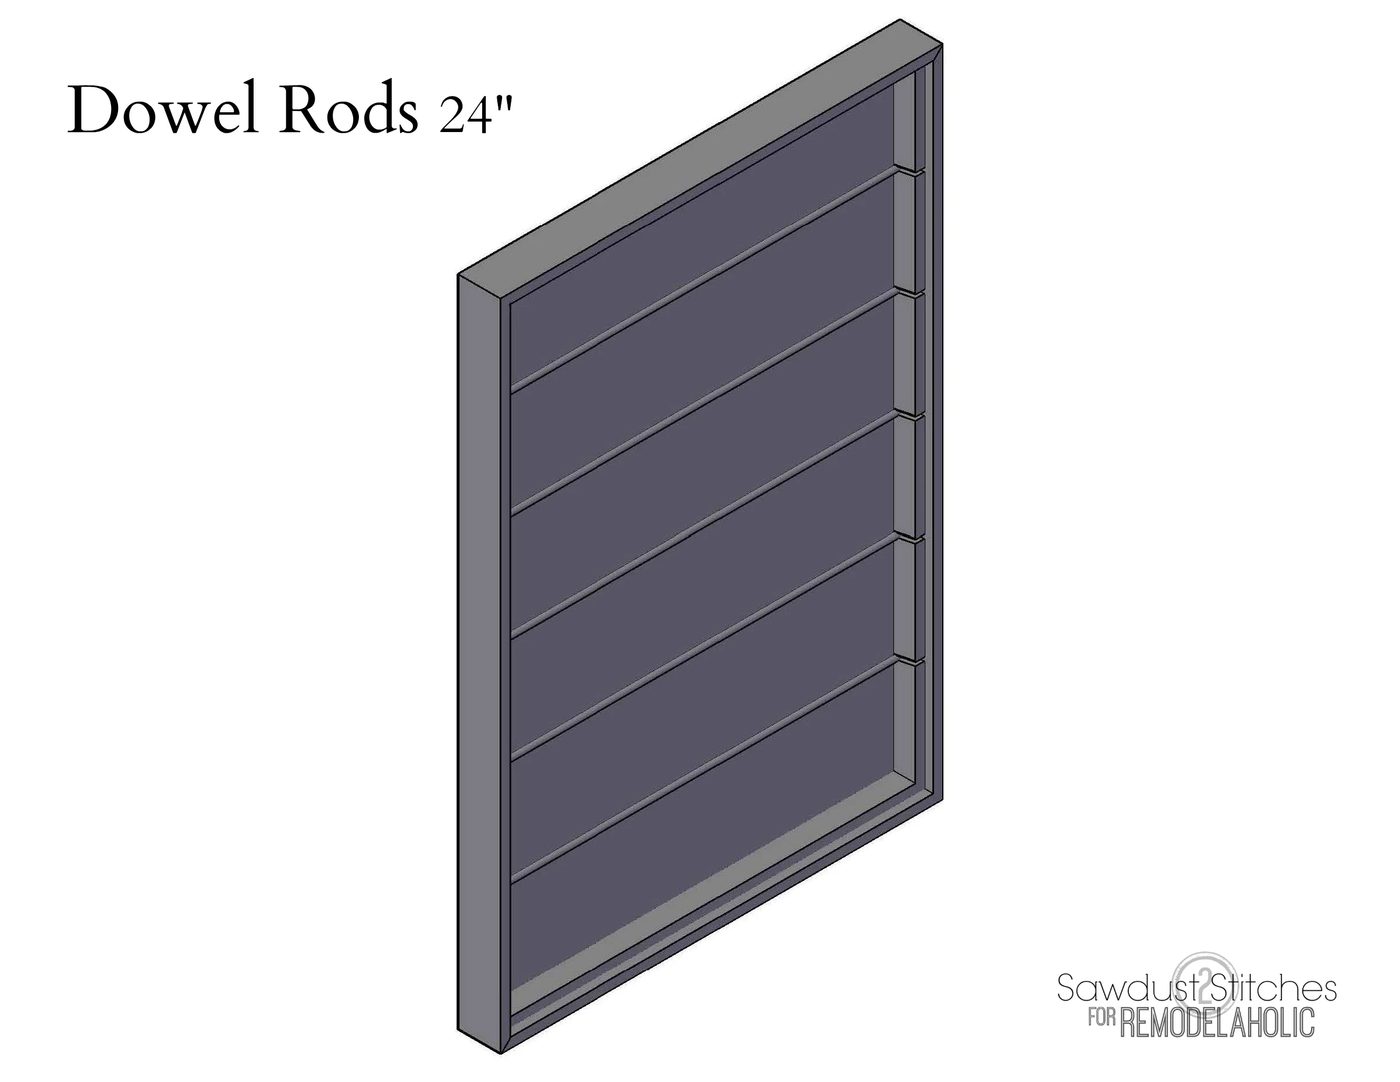
The last thing you will need to cut is the dowel rods. These will need to be cut down to 24″ long.
Last step, is making it your own! Fill the nail holes with filler and then sand until smooth. Then finish of with your go-to finish. ( I used Jacobean by Minwax on mine.)
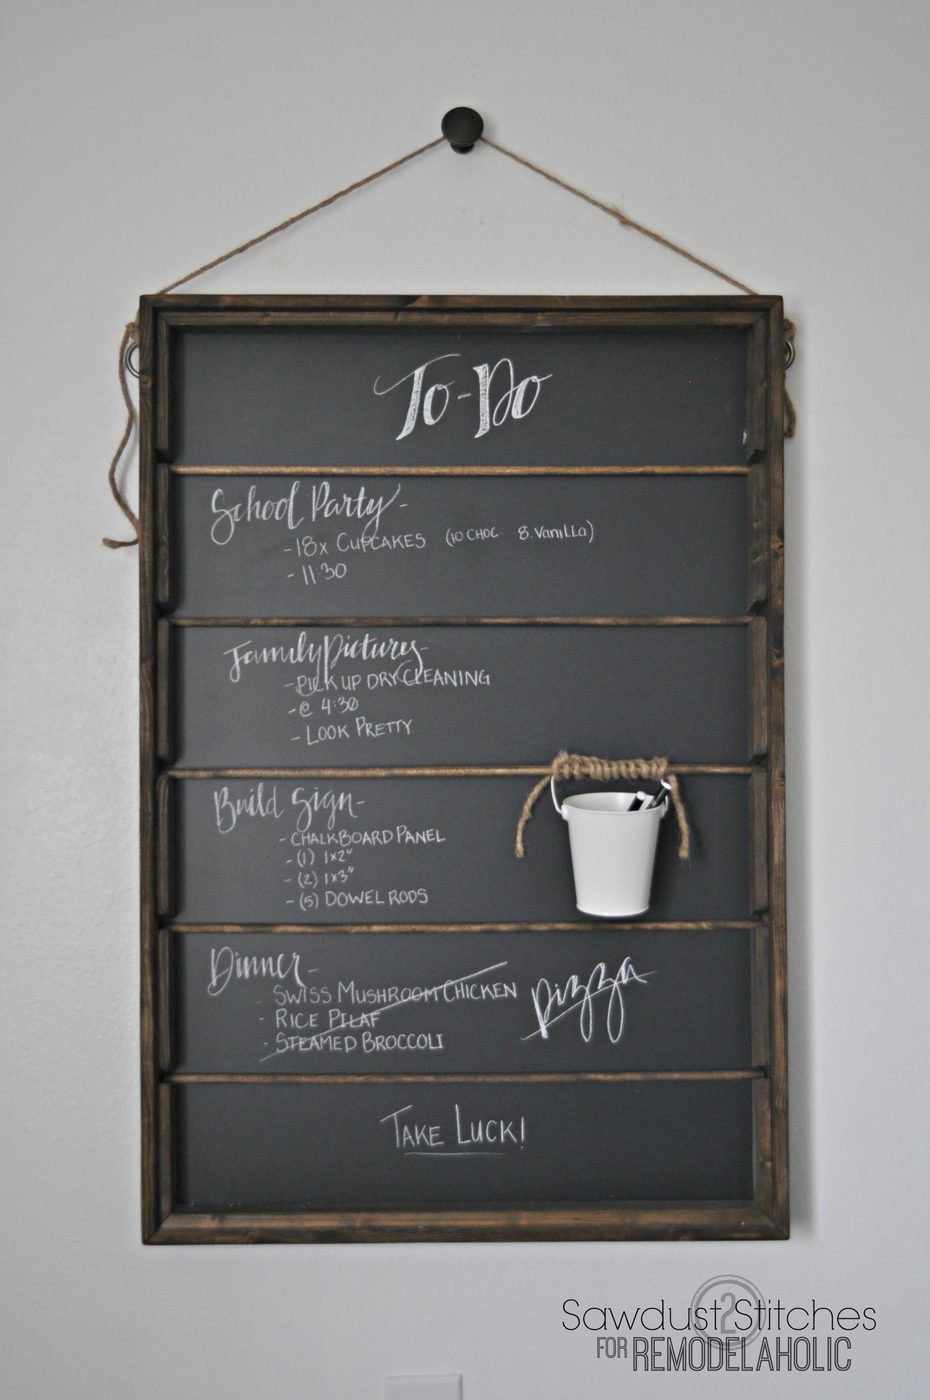
You can hang this any number of ways, but I chose to install brackets on the sides and tie a piece of rope to them creating a place to hang mine. If you prefer you can always simply attach hanging brackets to the back of the unit.
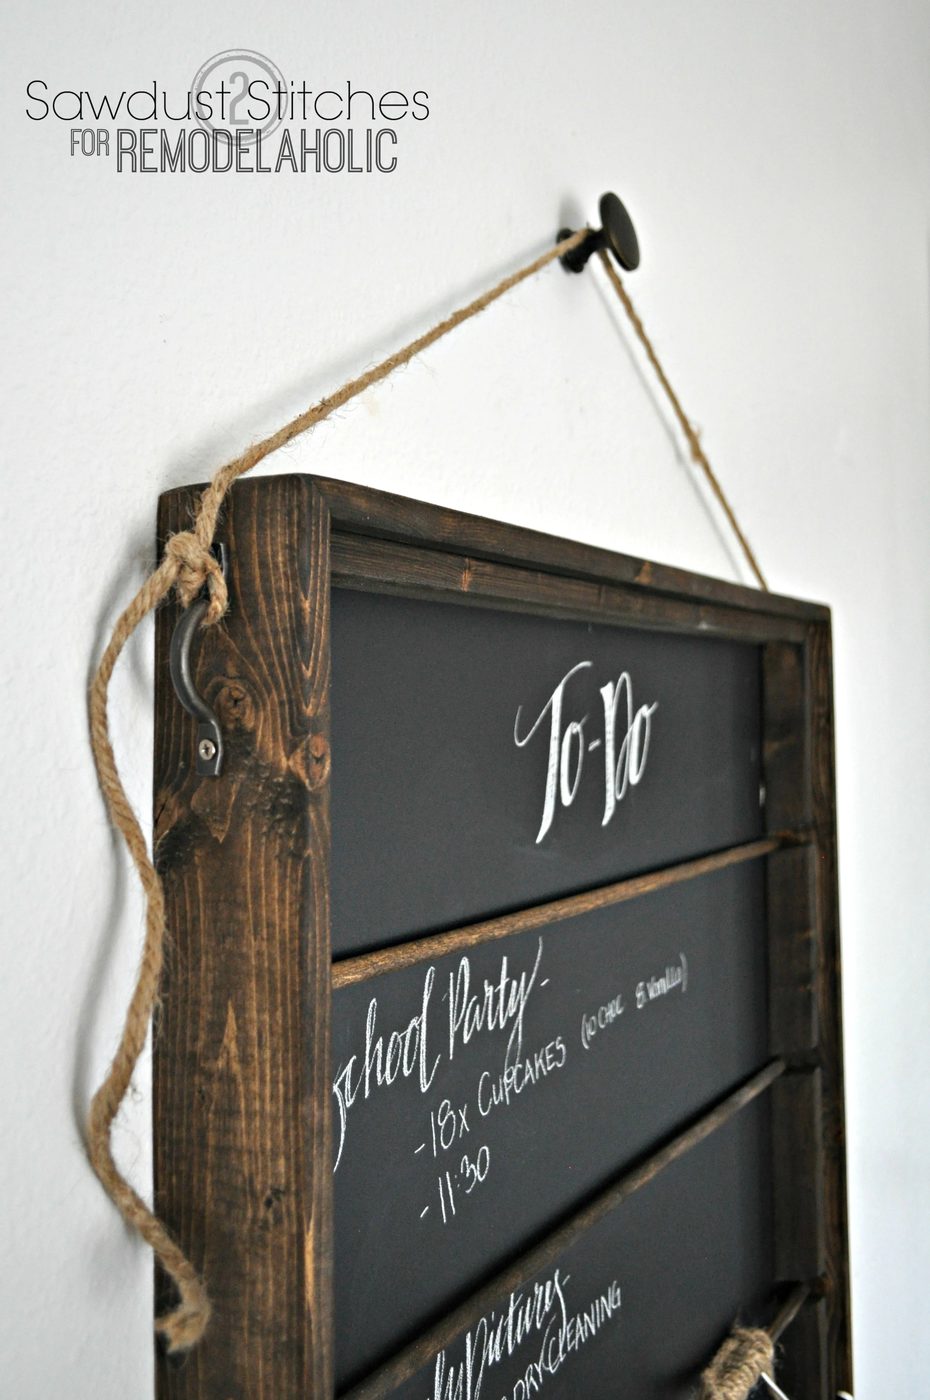
That is all there is to it! Personalize it, use it, love it!
Take Luck,
Corey
See more from Corey over at Sawdust 2 Stitches:
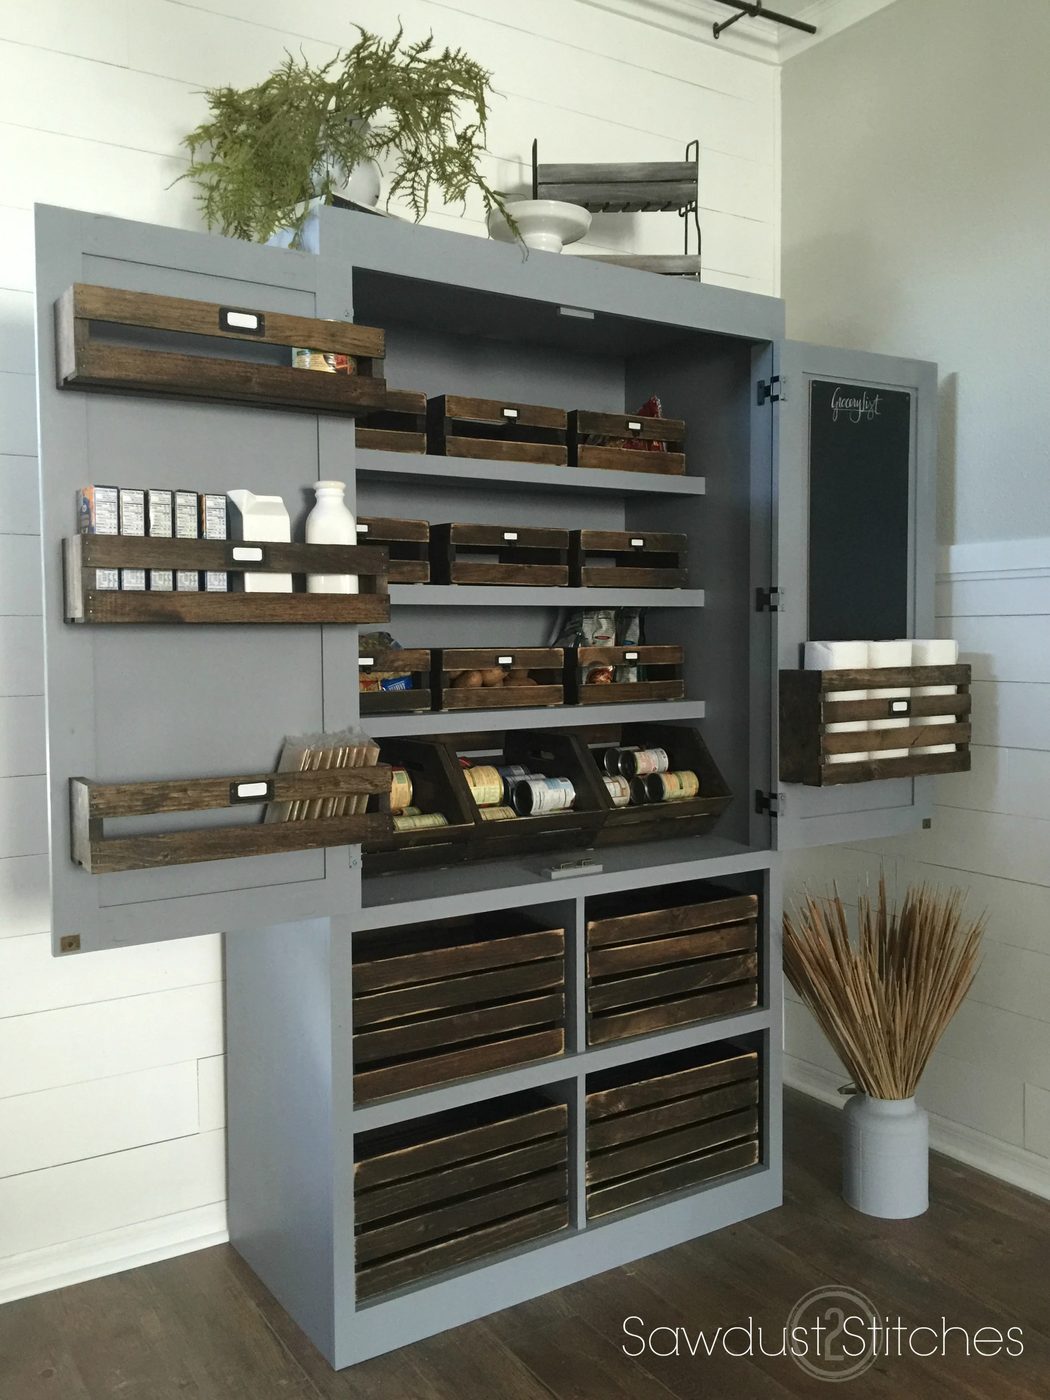
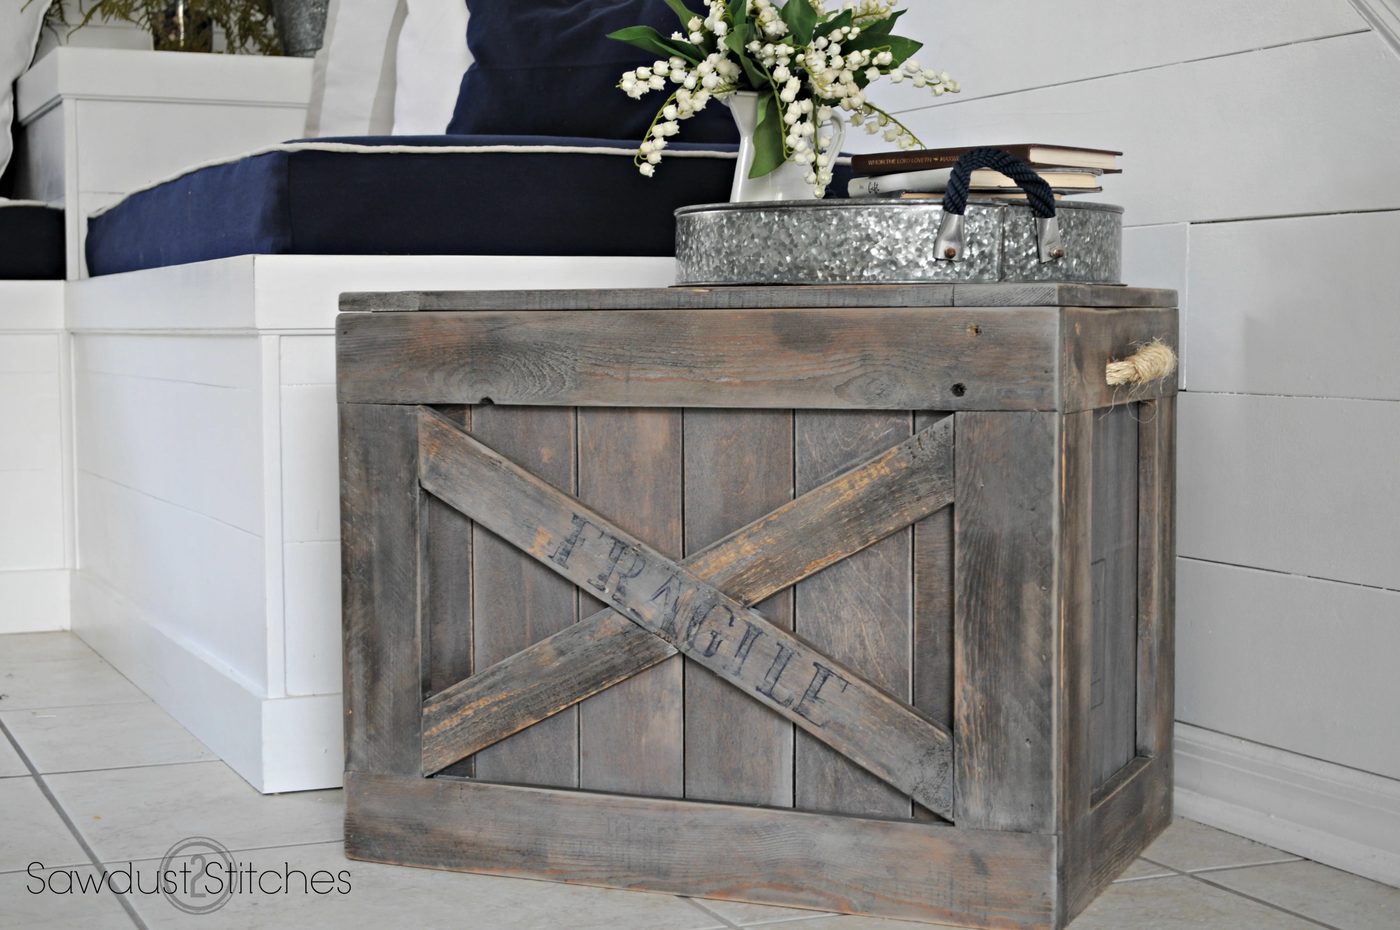
Freestanding Pantry // Scrap Wood Rustic Crate
 |
 |
More Handmade message boards:
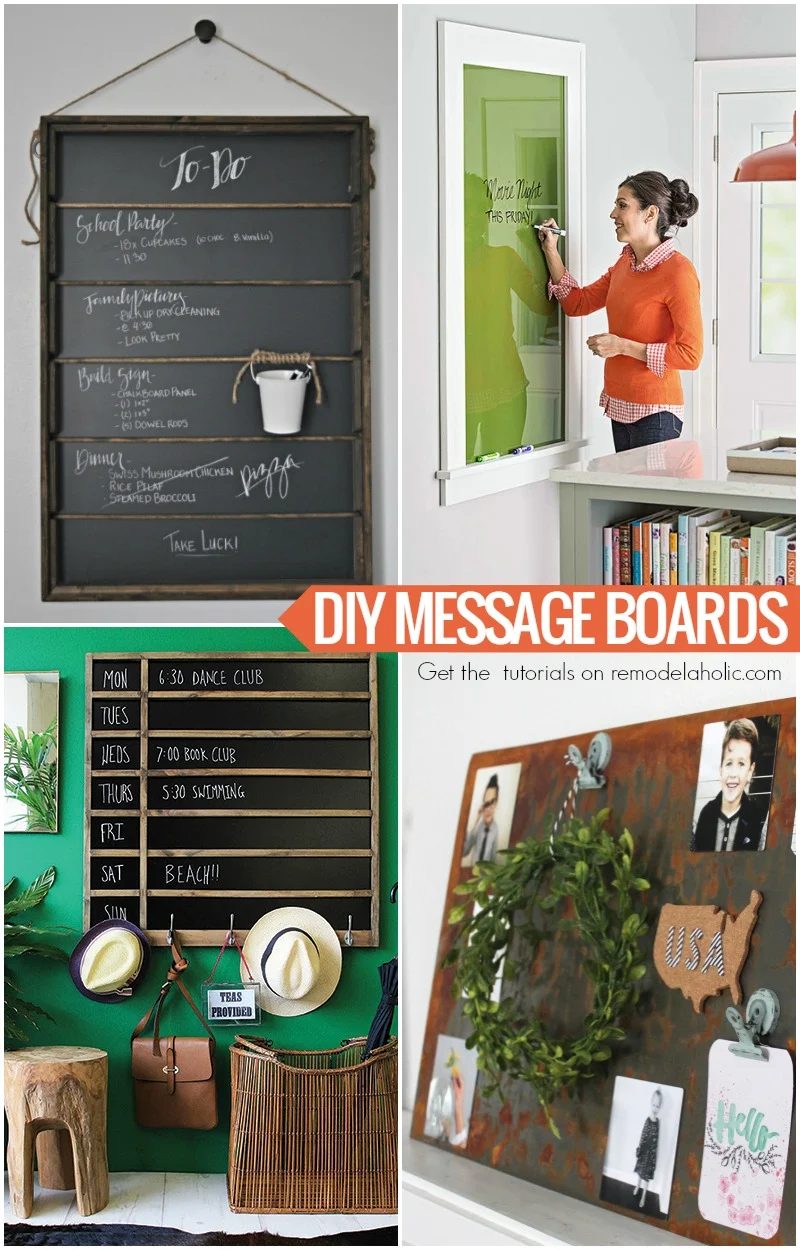
1: Chalkboard Organizer (walkthrough above )
2: Dry Erase Glass Message Board
3: Divided Chalkboard Calendar
4: Weathered Metal Magnet Board
plus see more functional wall decor options here: