Materials and the sequence of the job sit together on this page.
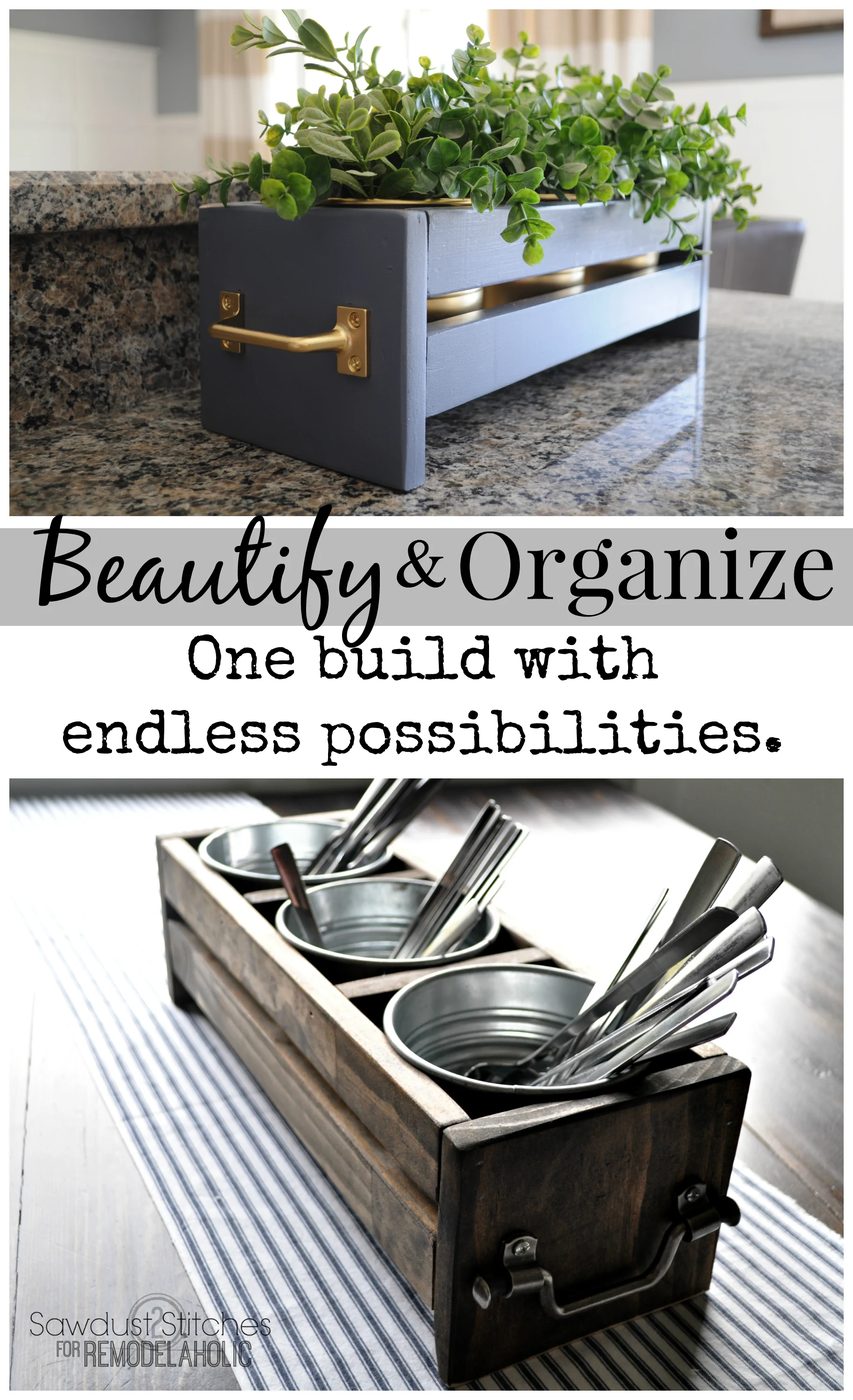
Hey everyone, Corey here from Sawdust 2 Stitches. I don’t know about you, but I feel like I have spent all of January trying to get my house back in order from the chaos of the Holidays! With New Years Resolutions still fresh on my mind, I thought I would share one of my new builds to help keep my home neat, organized, and stylish without breaking the bank!
This is a very versatile organizer that is handy in any room! With the added that bonus, that it is so low-cost to build, you can afford one for every room in your home!
How to Build Bucket Organizer
Supplies Suggested- Miter saw
- Sandpaper and/or Sander
- Nail Gun and/or Hammer and Nails
- Handles/pulls (Optional)
- Paint and/0r Stain
- Paint brush
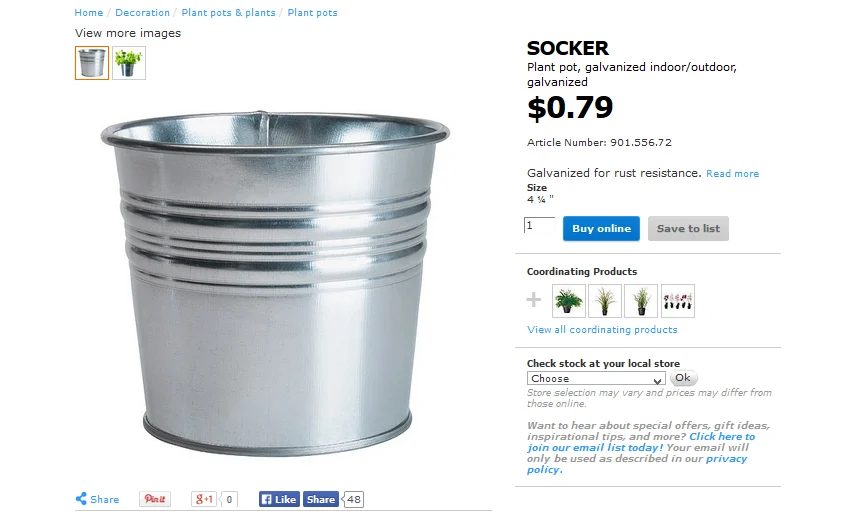
- Ikea Potting Tins
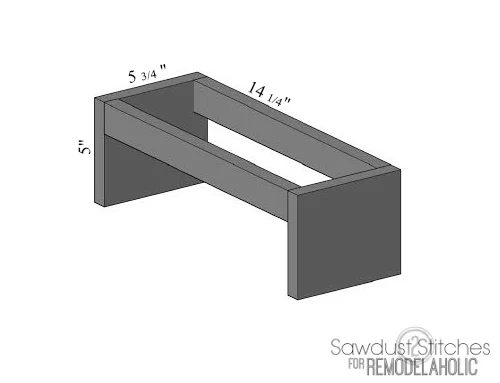
- (2) 1×2″ @ 4 1/4″
- (4) 1×2″ @ 14 1/4″
- (2) boards @ 5 3/4 x 5″ ( I used a 1×6″ and cut to the specified dimensions.)
- (1) 1×2″ board (8′ long) $1
- (1) 1×6″ board $7 (Approx. Varies by location and quality. One board is enough for eight caddy’s!)
- (3) Tins $2.50 ($0.79 a piece )
- Hardware Varies ( I got mine from Lowes for less than $1 a piece!)
- Total= $12.50 ( Approximate,)
I made these organizers to accommodate Ikea Potting tins. They are are really sturdy compared to a lot of smaller pails I have seen around recently, please they are clearly low-cost! You can find these in their plant section. They are technically considered “Plant Pots”.
( If you don’t have access to Ikea, these dimensions can certainly be reconfigured to accommodate other sizes.)
I first cut all my boards and then sanded before assembling. I used as dab of wood glue on all joints, and then reinforced with a 16 gauge 1.5″ nails.
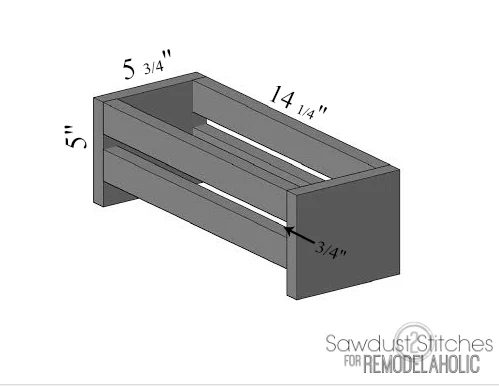
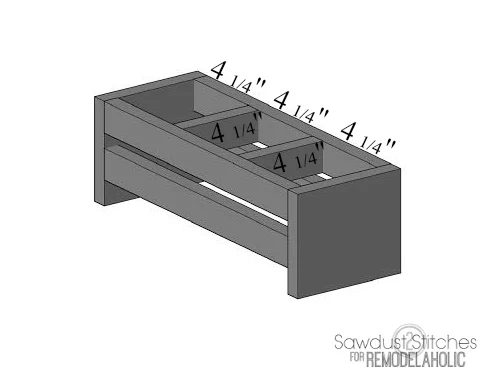 After it was completely assembled, I filled the nail holes with a wood hole filler. Once the nail filler had completely dried, I then sanded it again. At this point I was ready to add stain and/or paint.
Once the organizer is dried you can add your handles (if desired) as well as your tins!
It works great in the kitchen as a utensil holder/organizer. It is well fitted to add character to a counter top, or would be excellent for the occasional party/bbq. (We live in Florida and pretty much BBQ year round.) 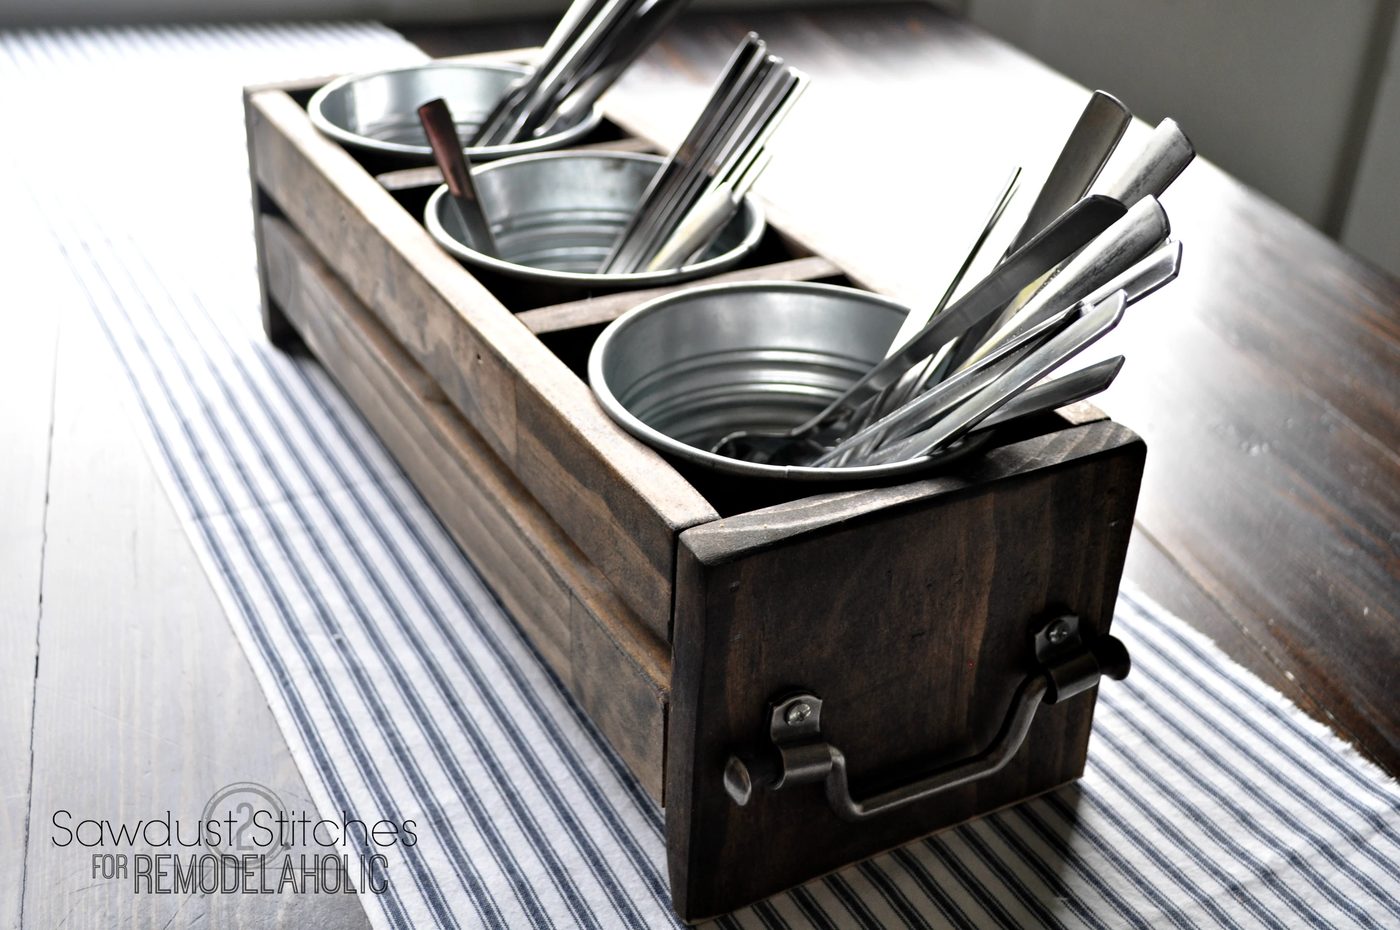
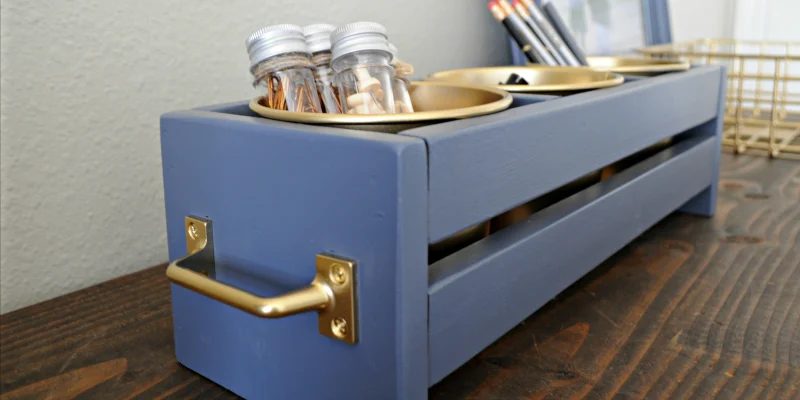
Does your office need a little help ? Try dressing it up with a little bit of gold spray paint, and you will have all the ease and accessibility without cluttering up your workspace. 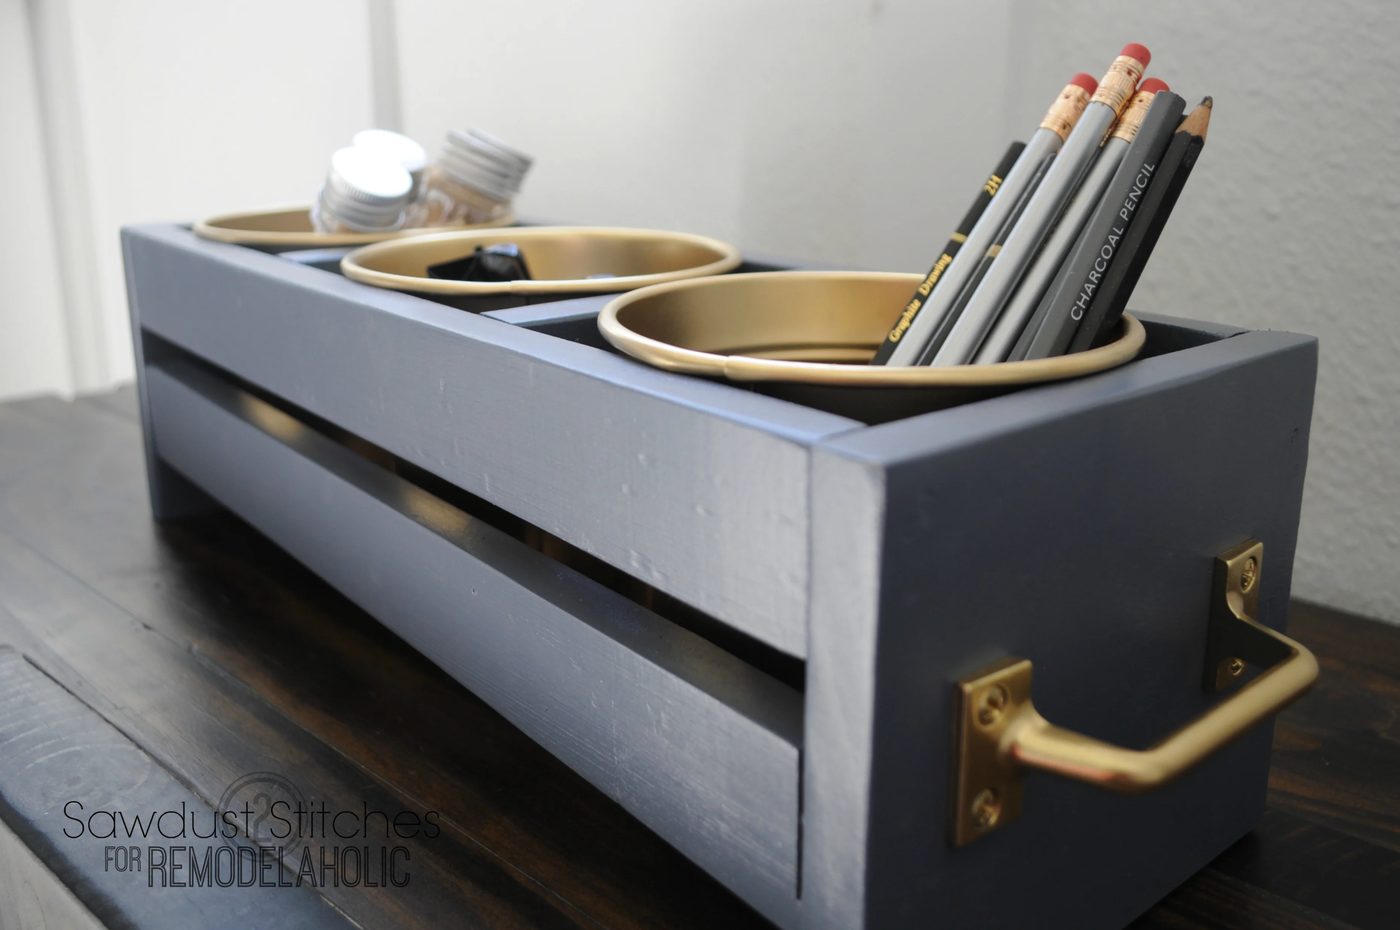
How about the bathroom vanity !? This is what originally spurred this option. I always hated things being on the counter top, but hated fishing around in the cabinets for the everyday essentials. This caddy was the well fitted customizable solution. 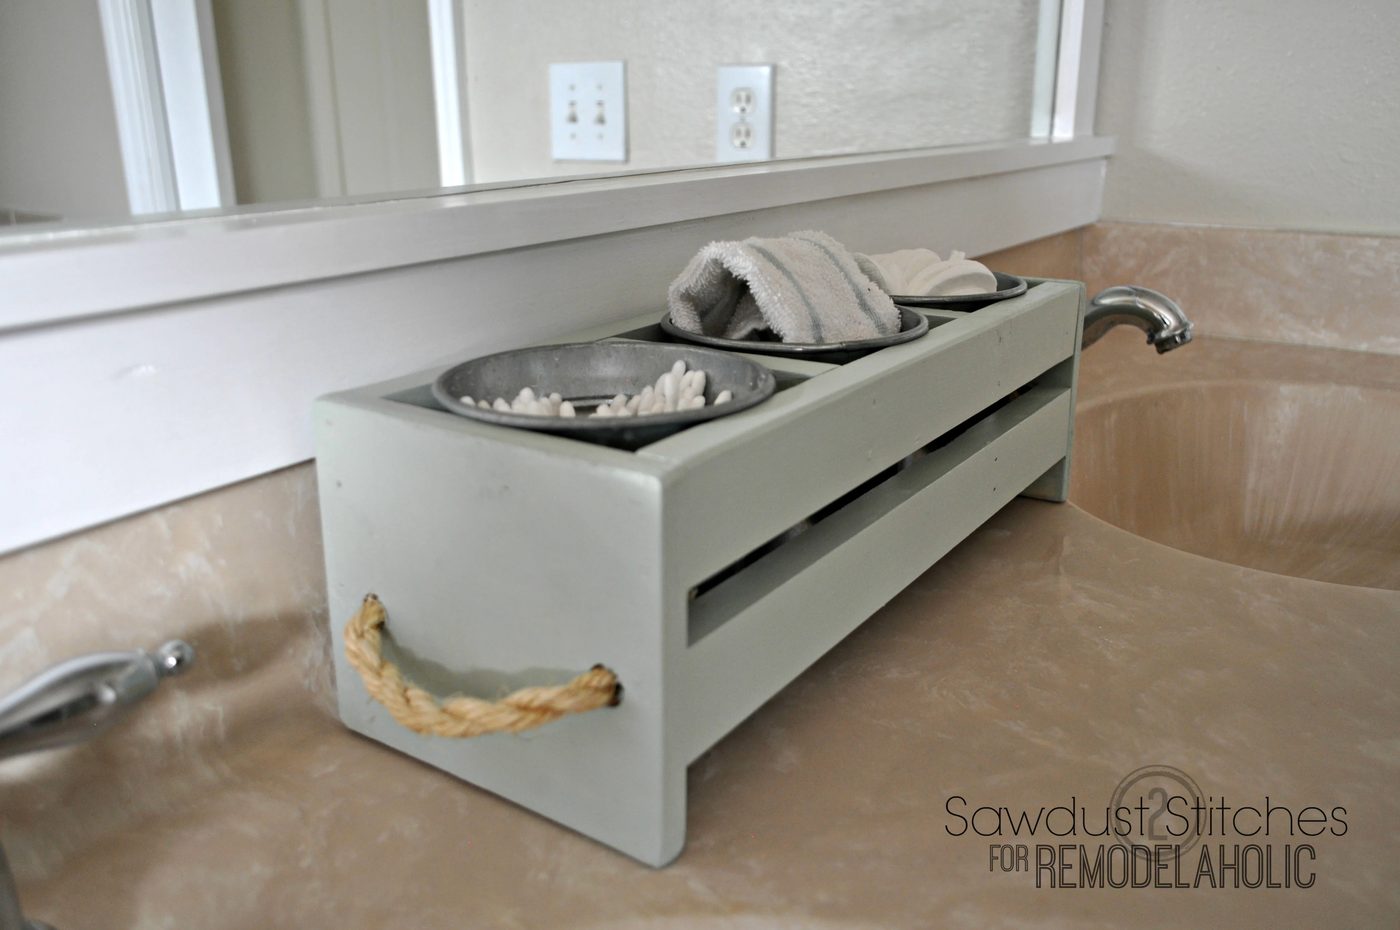
Another thing I love about this design, is that is cute enough to be simply decorative! Add a couple of plants and you have an adorable stand alone decorative piece. 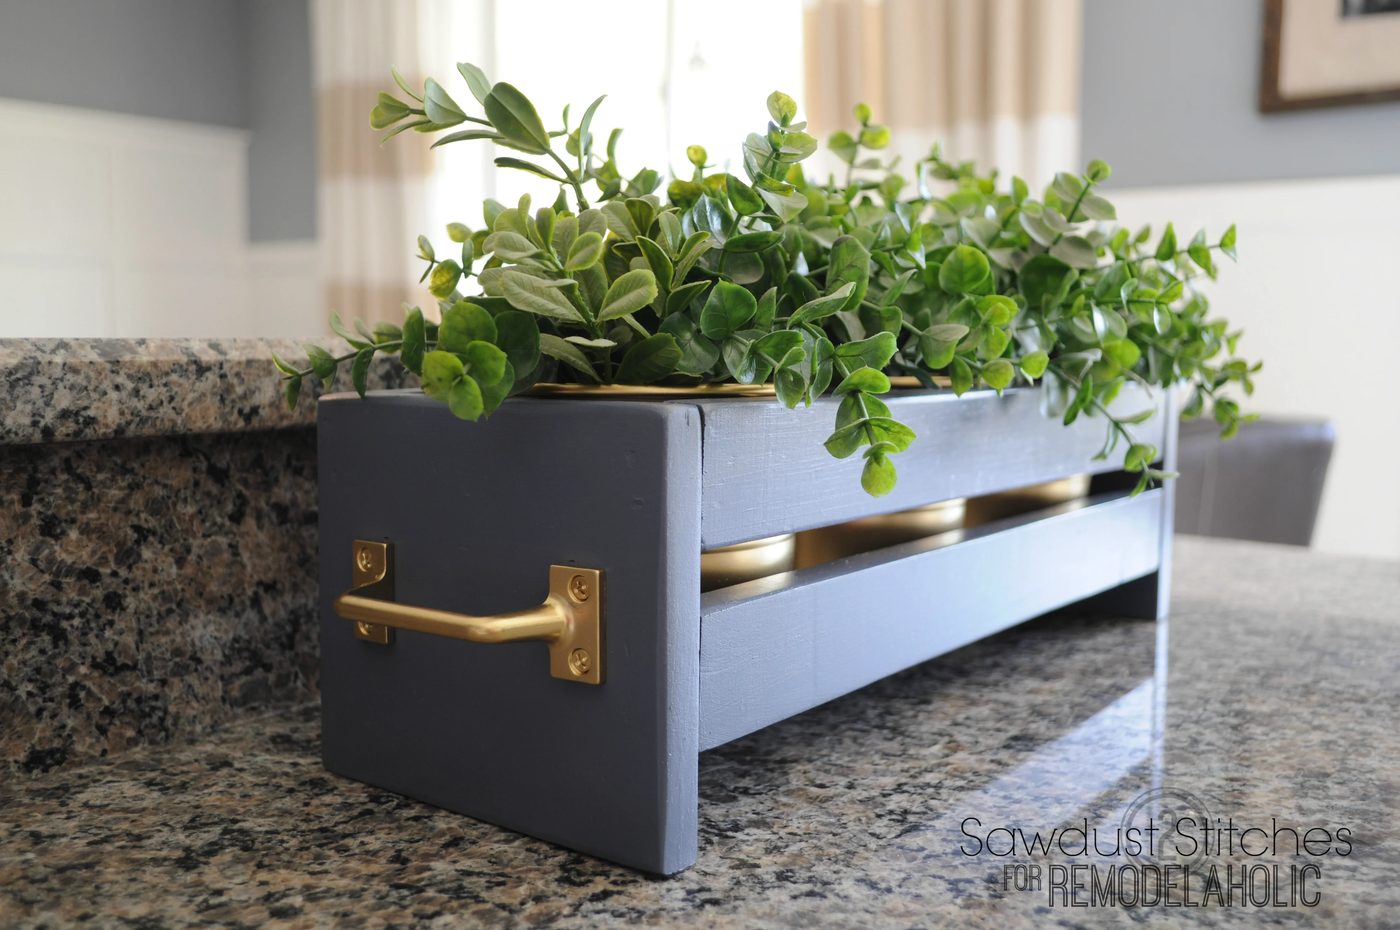 Honestly, with different paint and hardware the possibilities are limitless! Seriously, you can easily adjust the measurements to accommodate any number of tins!
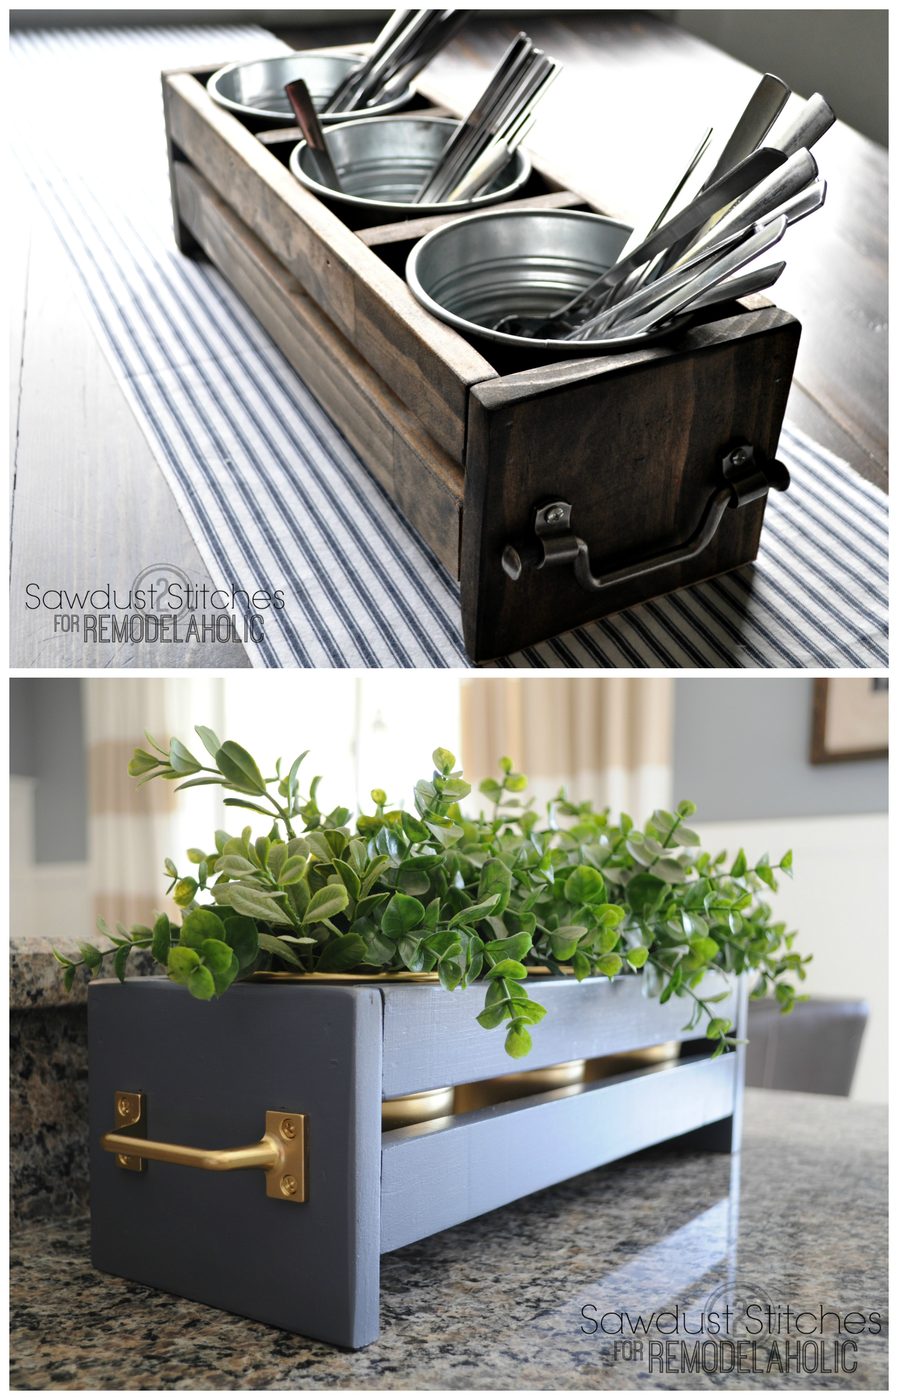
So, as you are battling the ongoing war of containing the clutter, give this a try. It just might be the solution you need in every room, and with the cost you can afford it!
Take Luck,
Corey from Sawdust 2 Stitches
If you are headed to Ikea, you might want to look at these other Ikea Hacks
 |
 |
 |
—————————————
More straightforward organizing options:
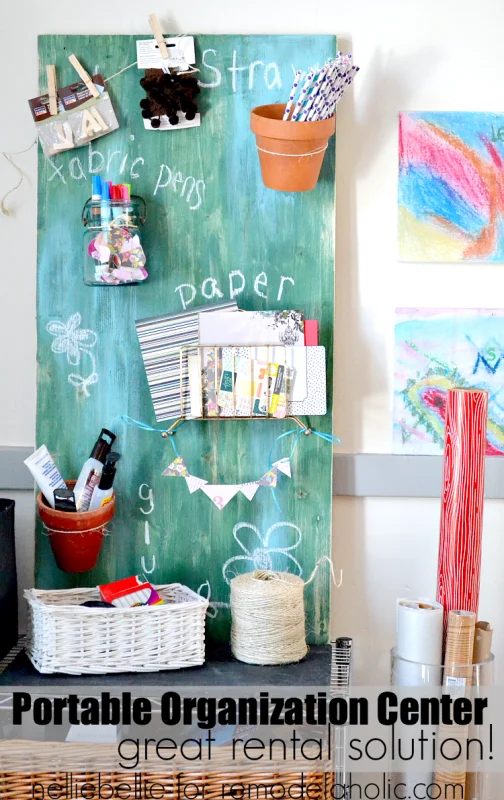
straightforward Portable Supply Organizer