The steps below follow the order of the work for this project plans project.
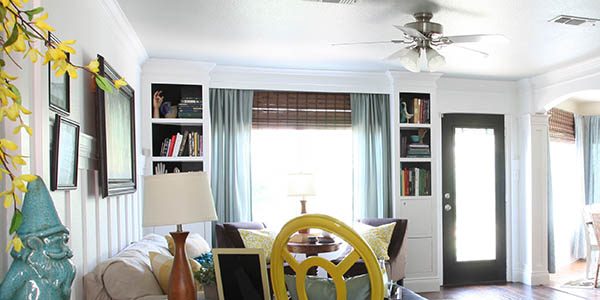
These are the built-in bookshelves that we designed and installed in our park house living room. It was a pretty direct construction that most any Handmade’er can take on. So, we wanted to share the plans of our built-in bookshelves since we’ve had a few people ask.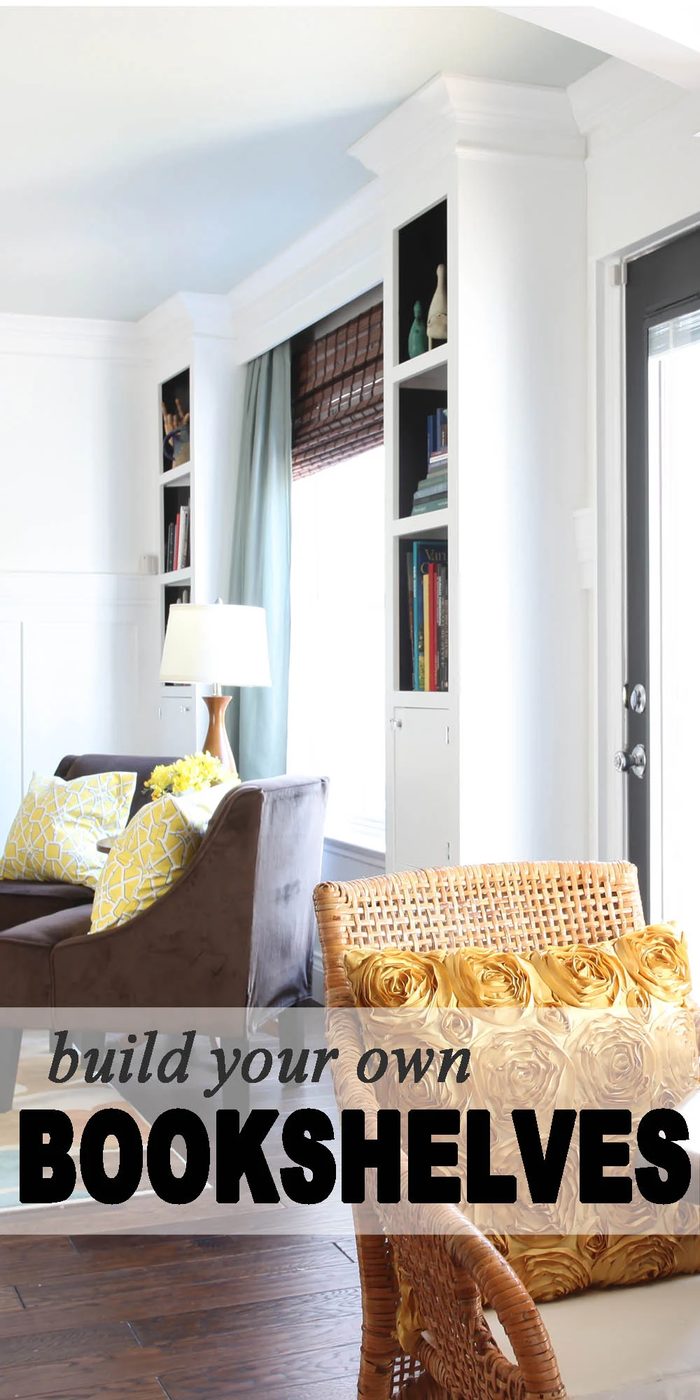
The plan that you will see in this post, was made for the bookshelf on the right of the window. The one on the left is slightly custom because there were a few problems with that corner. A design dilemma if you will! You can see our dilemma in more detail here with this post. Anyway, we had to design that corner a little bit different than the other side, since there was a plumbing chase there. By designing the build-in bookshelves, we figured out a way to hide the whole corner entirely, but still keep a uniform look around the window and door. Sound good? Good!
Now here are the plans for you to look at, so you can build your own.
Here are the overall dimensions of our built-in bookshelves.
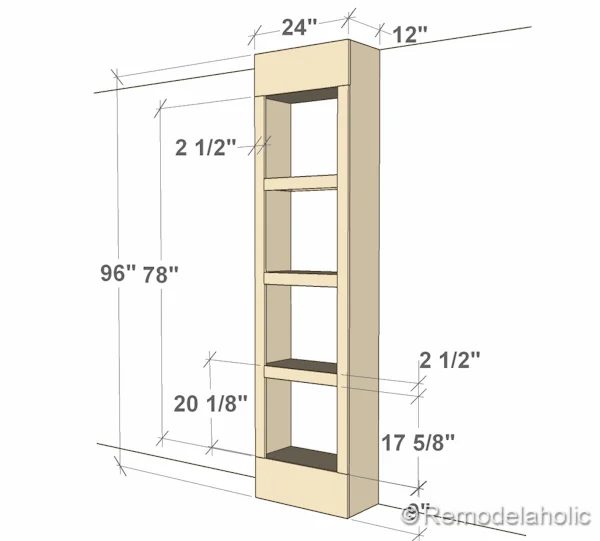
Notes
- You can take this walkthrough and modify it to the size that you want. Just make all the adjustments according to your spaces needs. But, I recommend not having a bookshelf that is more than 3 and a half feet wide without a center support of some type.
- This bookcase goes floor to ceiling. The space from the top to the bookshelf opening, was reserved for crown molding. The space from the floor to the bottom shelf was reserved for the base molding. We personally like tall base moldings and crown. If you plan on using base moldings or crown, add up the height of the molding installed, plus the face frame width, for your final face frame height.
Materials Used
- (1) MDF Sheet – 4’x8’x5/8”
- (Approximate 100+) Brad Nails 1”
Tools Used
- Table Saw (optional)
- Miter Saw
- Nail Gun
- Sanding Block
- Tape Measure
- Framing Square
- Pencil
- Sander Block
- Level
Cut Sheet (length x width x thickness)
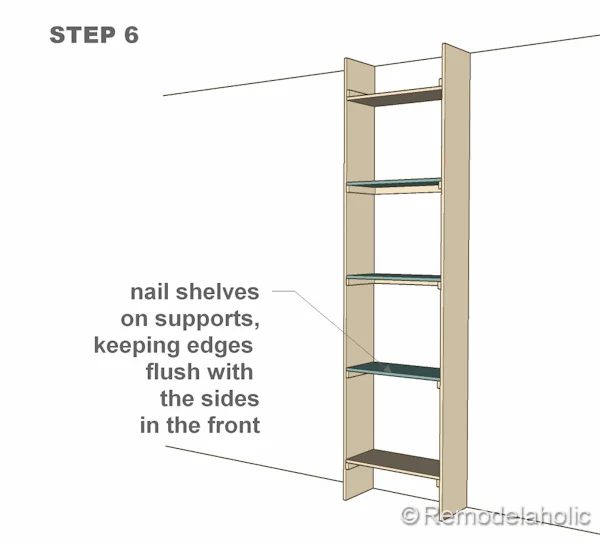
- (5) Wall Brackets – 22 3/4″ x 1″ x 5/8″
- (2) Sides – 96” x 11 3/8” x 5/8’”
- (10) Shelf Brackets – 10 3/4” x 1” x 5/8”
- (1) Top Shelf Support – 22 3/4″ x 11 3/8” x 5/8”
- (1) Bottom Shelf – 22 3/4″ x 11 3/8” x 5/8”
- (3) Middle Shelves – 22 3/4″ x 11 3/8”x 5/8”
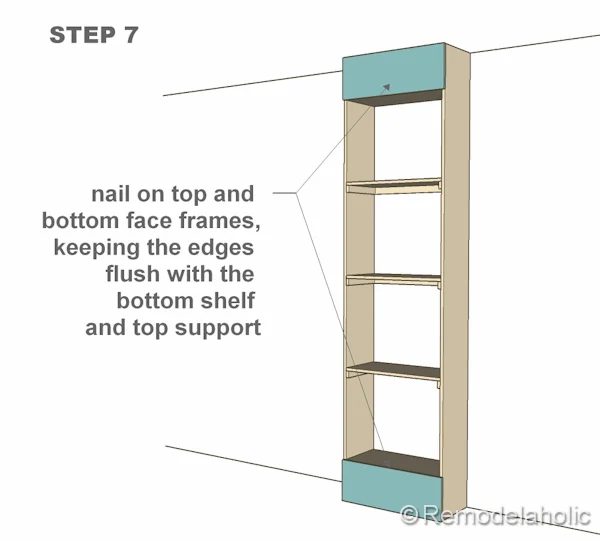
- (2) Top & Bottom Face Frames – 24” x 9” x 5/8”
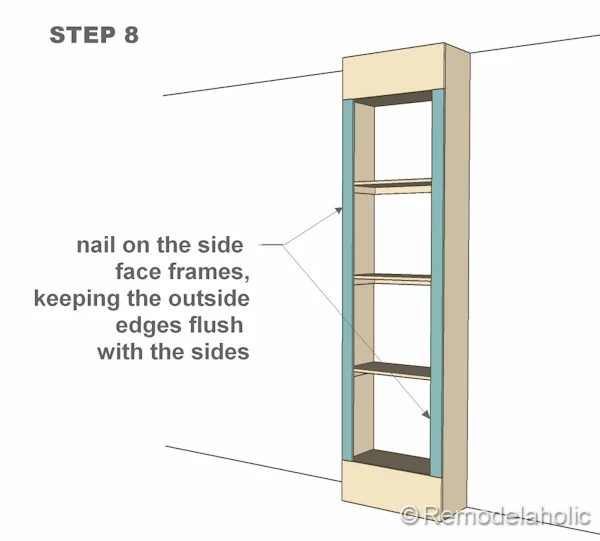
- (2) Side Face Frames – 78” x 2 1/2” x 5/8”
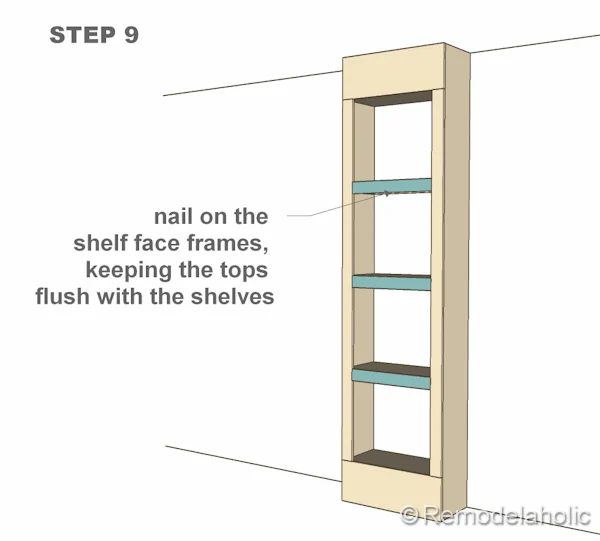
- (3) Shelf Face Frames – 19″ x 2 1/2″ x 5/8″
Construction Steps For The Built-in Bookshelves
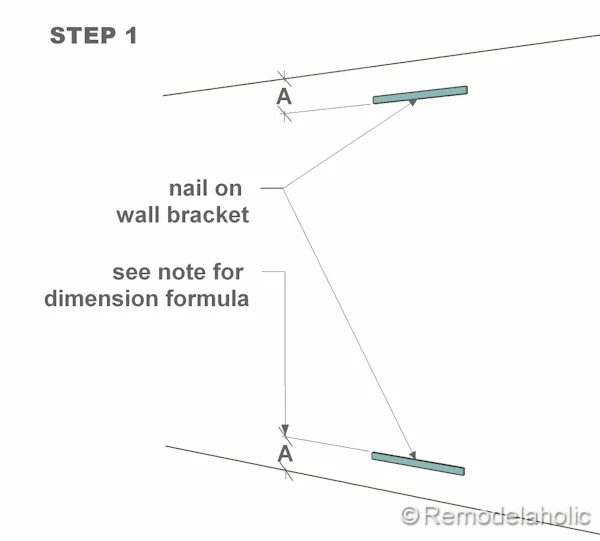
Note To calculate the dimension of “A”
Add the height of the base molding + the width of the face frame. For our bookshelf we needed to add 6 1/2” (base molding) + 2 1/2” (face frame) = 9”.
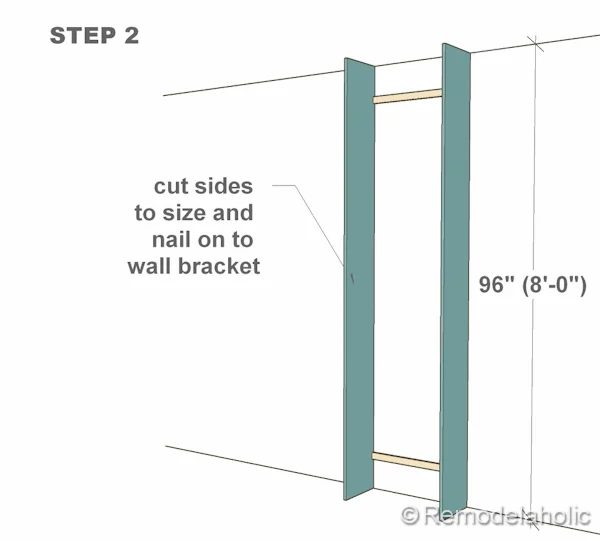
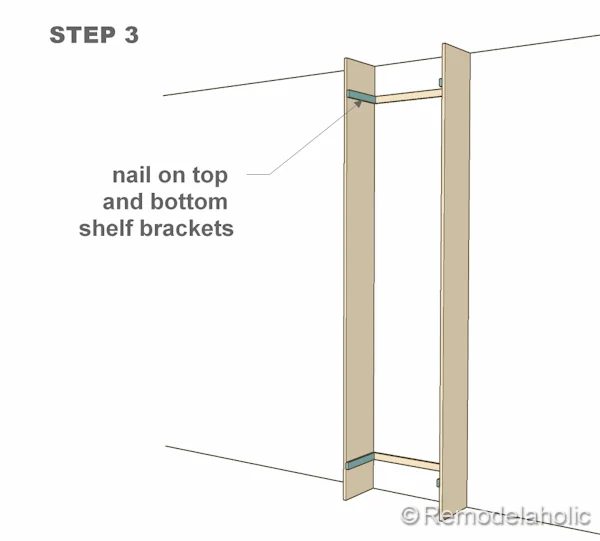
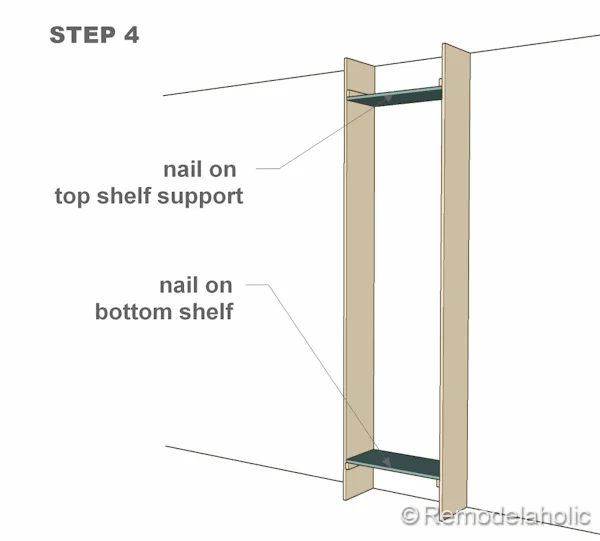
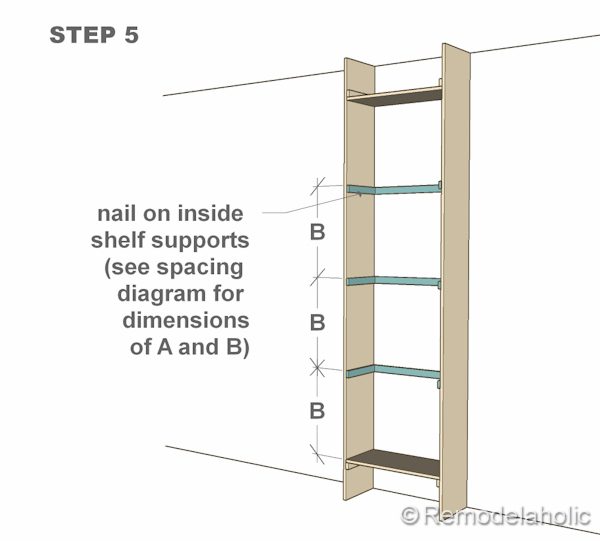
Note To calculate the dimension of “B”
Measure the opening height from the top of bottom shelf to top of the shelf support (78” see first diagram with dimensions). Add up the total face frame widths of the number of shelves within the main opening (3 x 2 1/2”= 7 1/2”. Subtract that number from the total opening of 78”. 78” – 7 1/2” = 70 1/2” Divide that number by the number of shelf openings (4). 70 1/2” / 4 = 17 5/8”. Take 17 5/8” and subtract out the thickness of the one of the shelves of 5/8”. 17 5/8” – 5/8” = 17”. The dimension of B is 17”
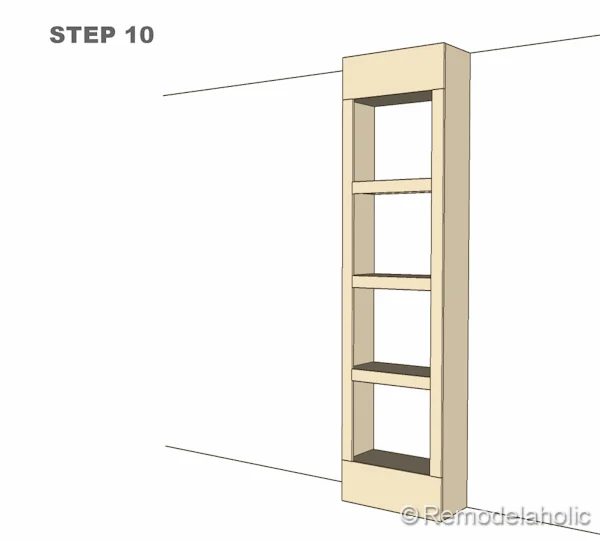
Your now done with the construction. Nice job! Now you can sand and paint it.
 |
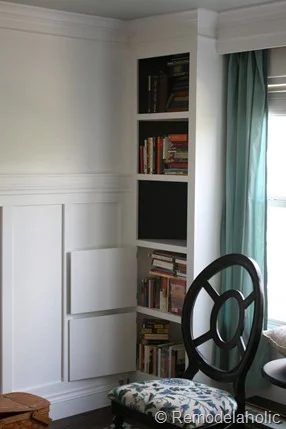 |
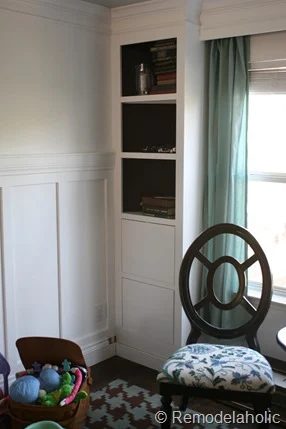
We decided after we build it, to add doors to the bottom two shelves that are flush with the face frame. This was to help keep out little people and create a more finished look. All I did was cut out a door from a sheet of mdf, that was an 1/8” less wide on all sides than the opening. I added two little hinges and walla!
Now it’s your turn to build your built-in bookshelves. You can also look at our free project plans, to see other cool things to build.