Materials and the sequence of the job sit together on this page.
How to Build and Install Concrete Countertops walkthrough by Jessie of Imperfectly Polished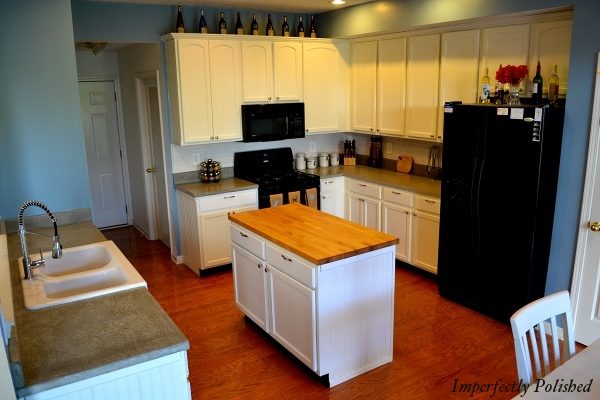
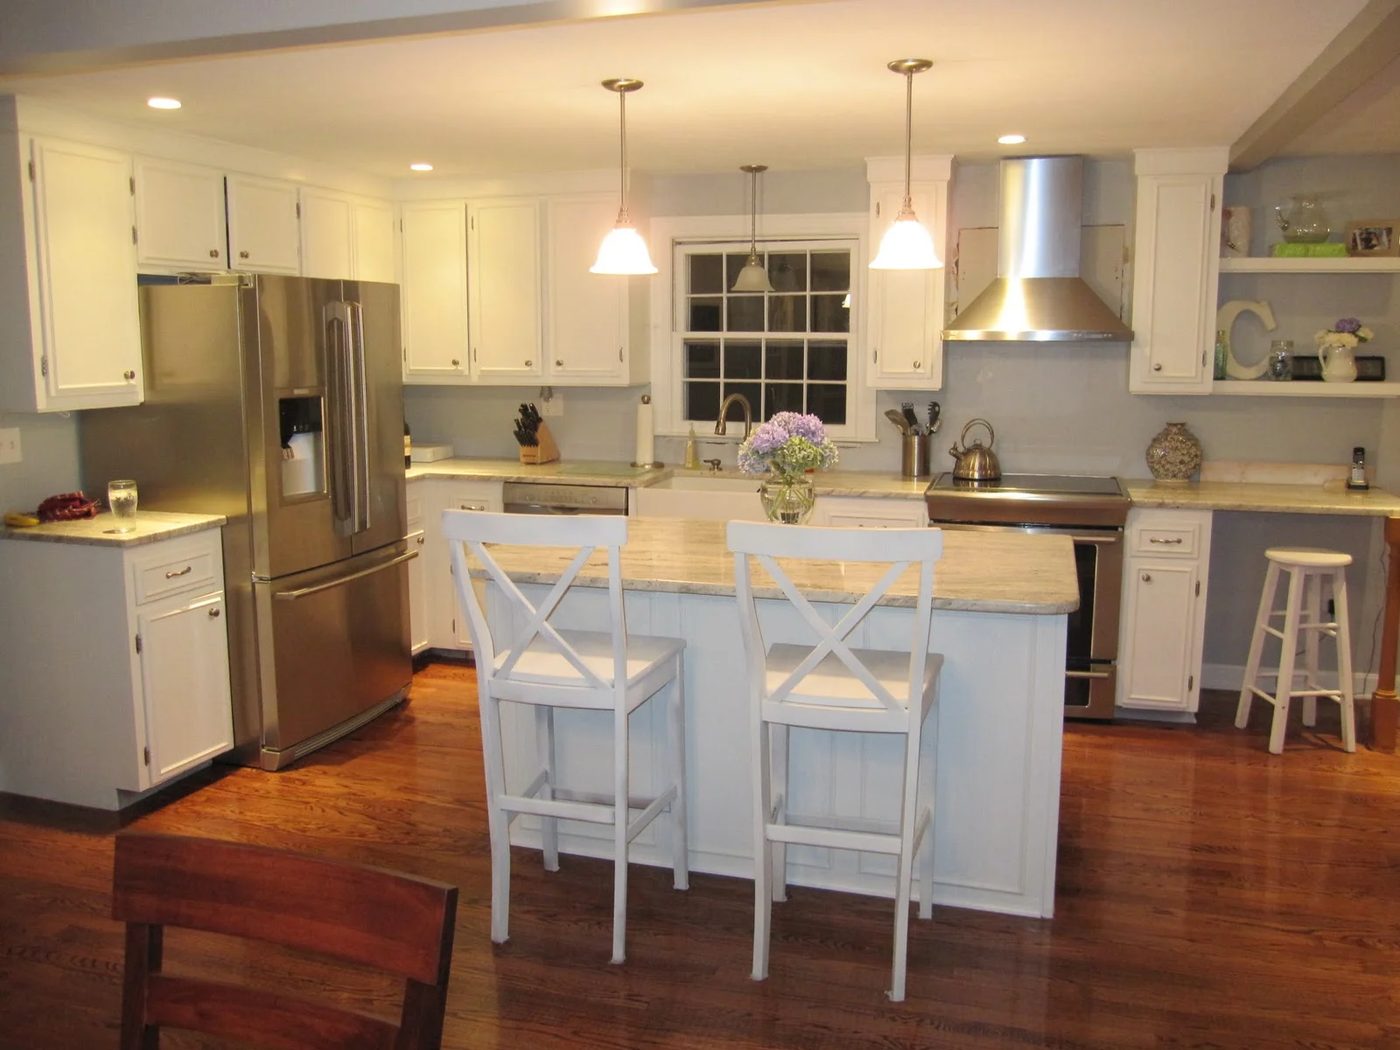
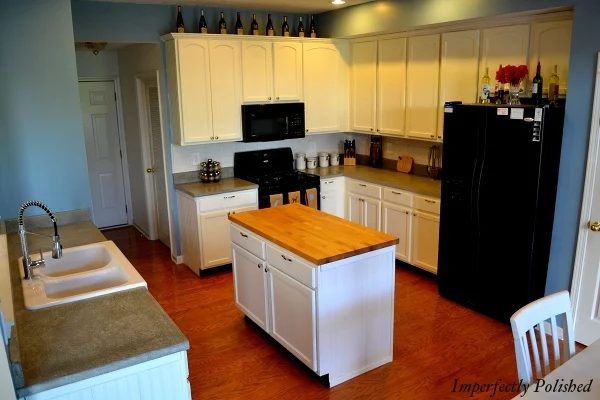
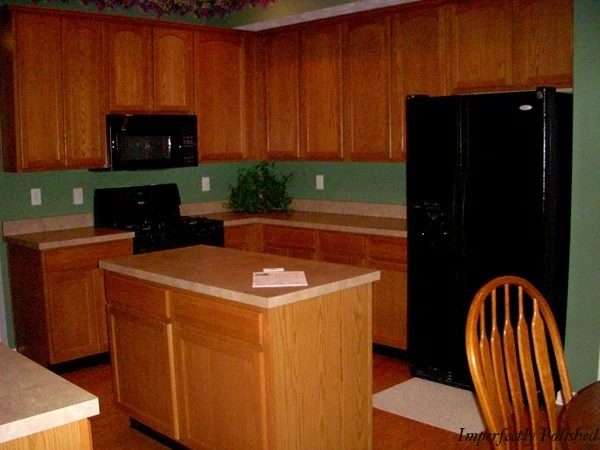
Hi Bekob readers! I’m Jessie and I blog over at Imperfectly Polished. I am thrilled to be guest posting here today and sharing a walkthrough on our new concrete countertops! Before we get started on step-by-step process, I’ve gotta show the before and after. Here is what our kitchen looked like when we bought our house two years ago:
And here it is today {with our purty
new counters}:
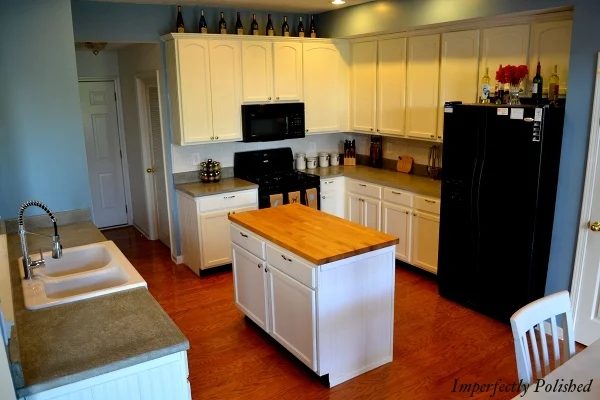
Before we get started, let me tell you that this is a picture-heavy post with lots of steps but totally worth every minute of it. A kitchen our size will cost you about $400 to make concrete counters which is wayyy less than having these made for you. We estimated that our counters would have cost $4,400 to be done by the pros! That’s a huge savings:) Ok, are you motivated now?
Step 1:
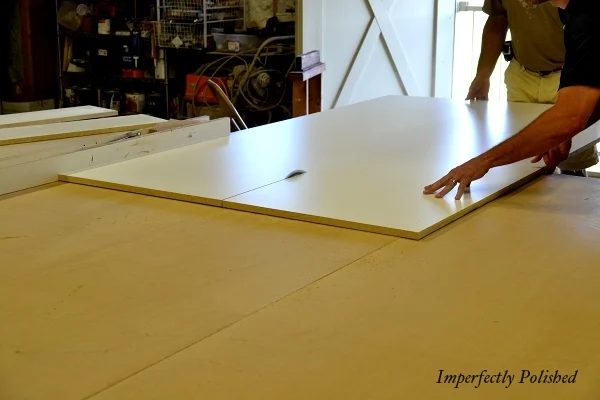
Build forms. Start by measuring your current counters. Measure again:) Make sure that you are exact. We did the counter and the backsplash so we measured both
of them the same as our current counters. Then you will need to buy melamine board to create your forms. We got this at Home Depot. This type of board will give your counters a smooth finish. Cut them to the size of your counters.
Lucky for us, we know some people with some big tools. We used 3 sheets of melamine to create our forms,
and had a little leftover.
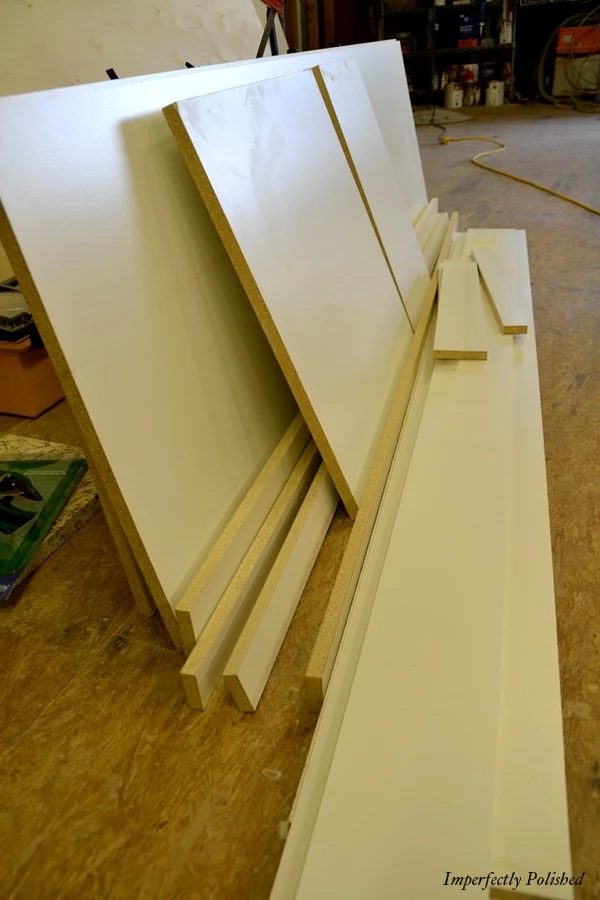
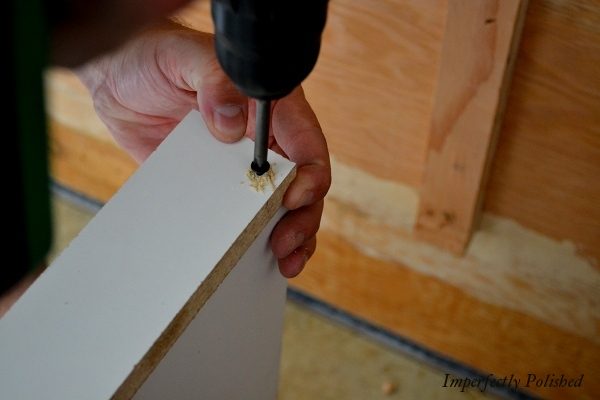
Next, assemble the forms. Once again, double and triple check to make sure you have all the pieces you need and that they are the correct sizes. Mike pre-drilled each hole and then put the screws in place so the boards wouldn’t crack.
Once your forms are built, you’ll need to find an area to pour them. We have a 3-car garage so we used the area that we don’t normally park in. We bought two sheets of plywood and shimmed them so they were level.
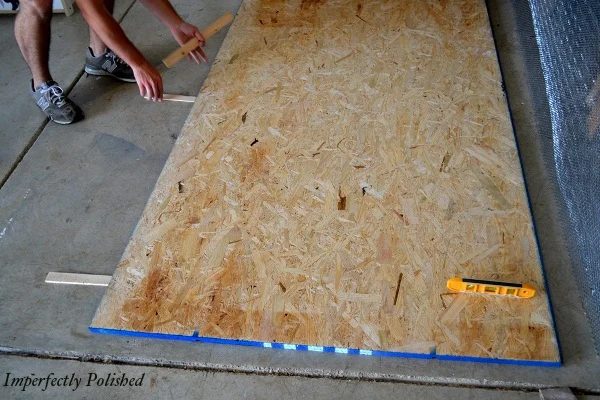
Then we covered them in plastic to protect them from the concrete spills that are bound to happen.
The next step is to prep the boards for pouring. We taped off the boards and added a silicone bead around the entire thing. This helps to keep the concrete sealed in and also creates a slightly rounder edge on your finished counter. Once you get the silicone on, use your finger and wipe off the excess. Then remove your tape.
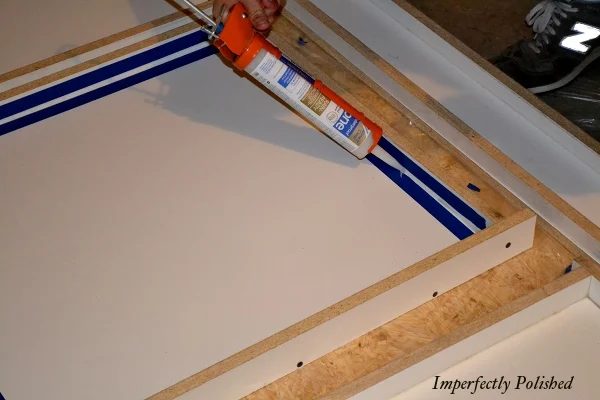
The last prep step is to spray a release agent on your boards. We used a small squirt bottle that we already owned and wiped it with a napkin to make sure it was evenly distributed. Don’t skip this step! Our counters slid right out when we were done.
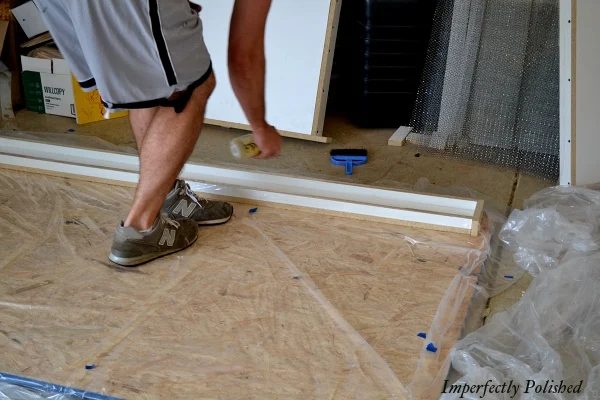
Now it’s time to pour! We rented a small concrete mixer for the day {cost: around $40}.
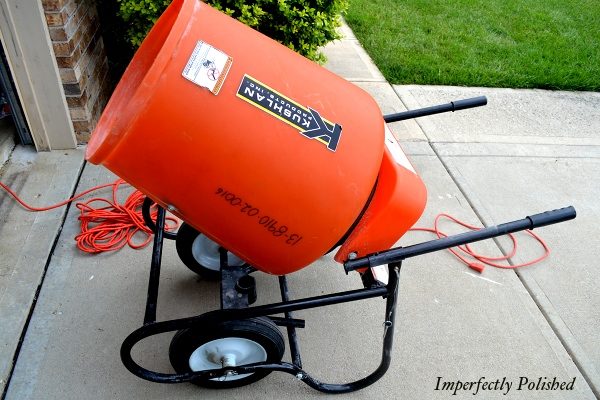
We bought a countertop Quikrete mix through our local Home Depot. They had to special order the mix for us and it arrived within a week. We had about 45 sq. ft. to cover in our kitchen so we ordered 12 bags, but only needed 8. This type of concrete is around $13.99/bag, which is about 3-4 times as much as regular concrete. You can use regular concrete but you will have to add some additives for extra strength and crack-resistence. This already has it in there so you know that your counters will be strong.
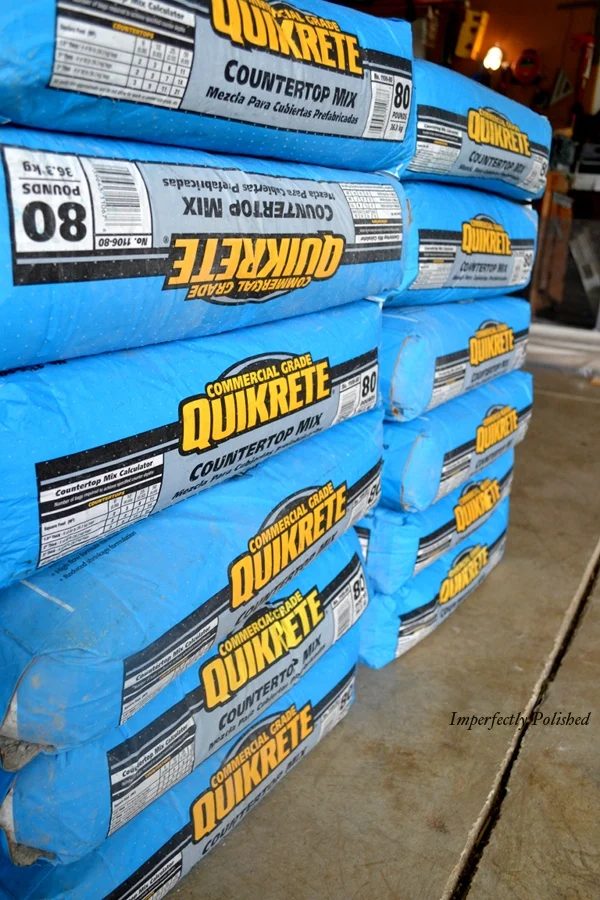
Next, start mixing!
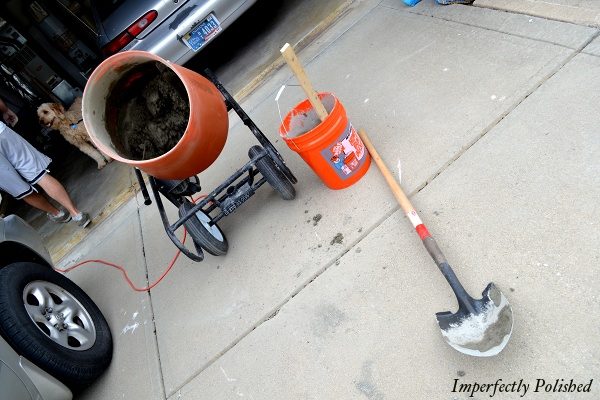
The directions say to use about a gallon of water per bag but we learned the hard way {by repouring a couple} that you really need about a gallon and a half. Add water until you have the right consistency {similar to the consistency of a Wendy’s frosty}. Too much water can make your counters lose strength and not enough can make it rocky so you have to be careful here.
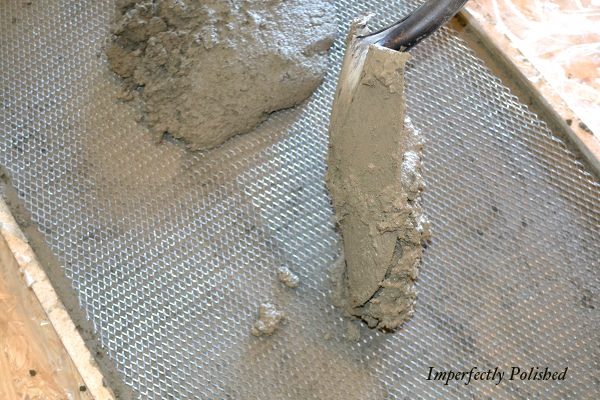
You pour half the concrete in, smooth it out, then add a wire mesh in the middle. This helps reinforce the counters. You will need to cut this ahead of time and leave an inch or two around all sides so that it doesn’t stick out:) I used a trowel to smooth out the concrete as Mike poured in it.
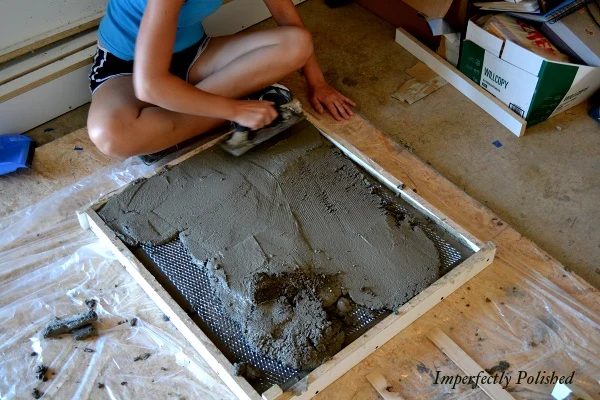
Once it is all poured, you will want to walk around the sides of the forms and vibrate it to get rid of any air bubbles inside. You can use a hand sander and push against the sides or lightly tap the edges with a hammer. Either method will work. Then, use a smooth piece of wood {we used a 2×4} to screed the top. This scrapes off the excess concrete and smooths out the surface for you. This will be the bottom of your counter so you want it level so it will sit nicely on your counter.
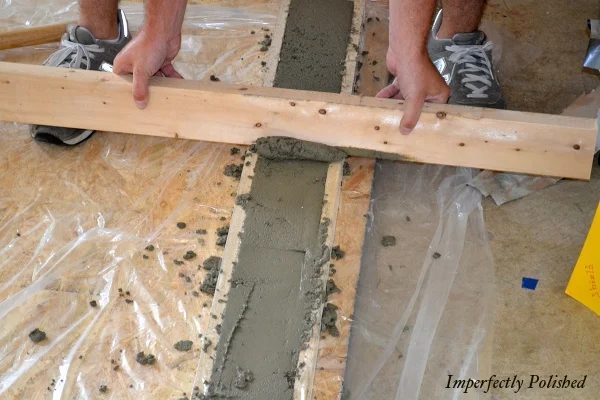
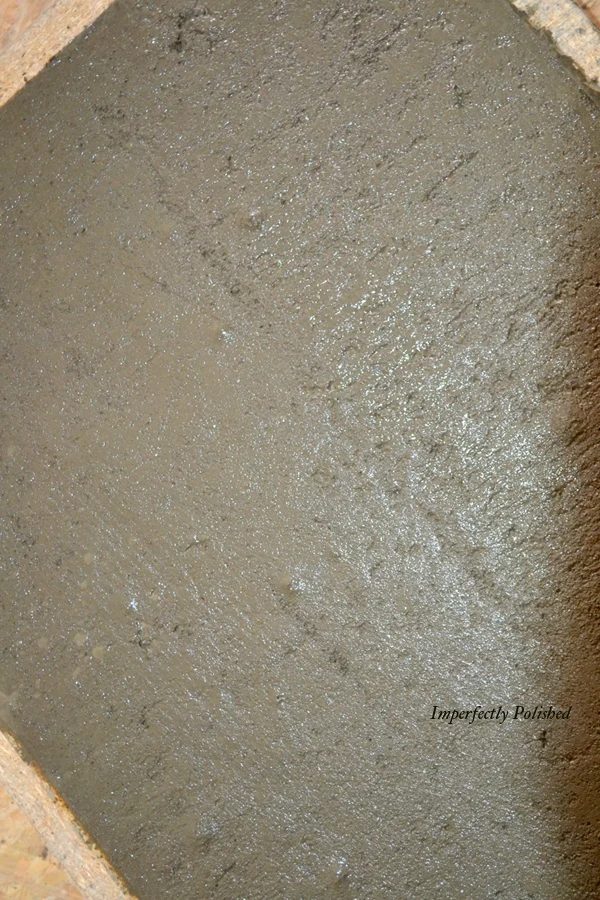
This is how it looks when it’s finished and ready to harden.
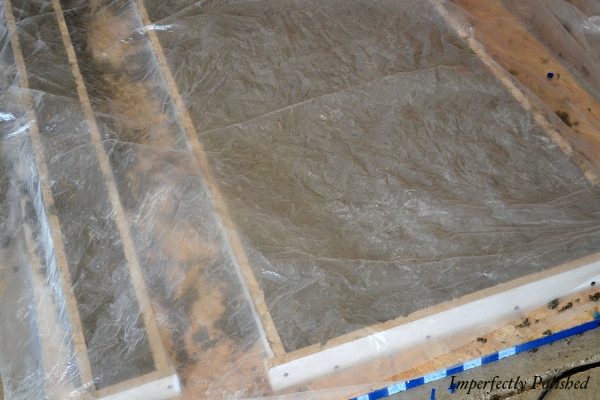
Finally, cover your poured concrete with the rest of the plastic. This helps the concrete cure and keeps a
little bit of moisture in there.
Let it sit for a few days before de-molding. If you use the release agent, the counters should slide right
out as you flip them over. You can however, simply unscrew the molds to remove them as well. Mike unscrewed them all to save his screws:)
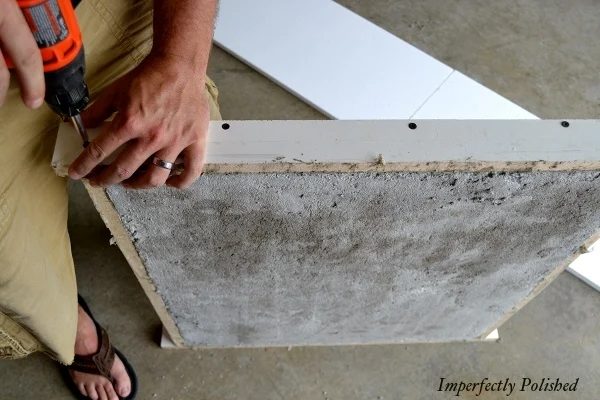
We laid them out onto foam board when we de-molded to give them a soft place to land. The next step is finishing. You will likely have some small holes to patch.
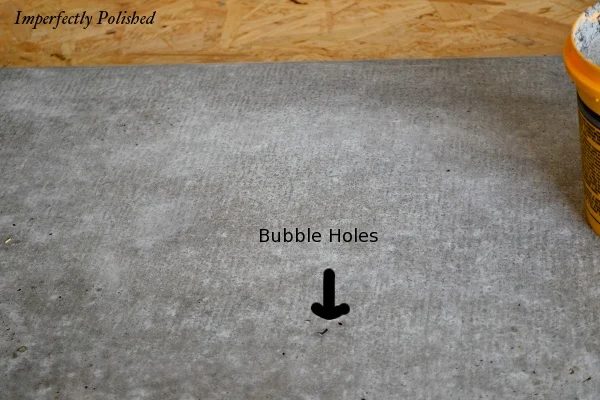
I actually was glad we had some because they had so much character to the finished piece. We patched ours with a direct concrete patch from Home Depot and sanded the entire surface until it was smooth.
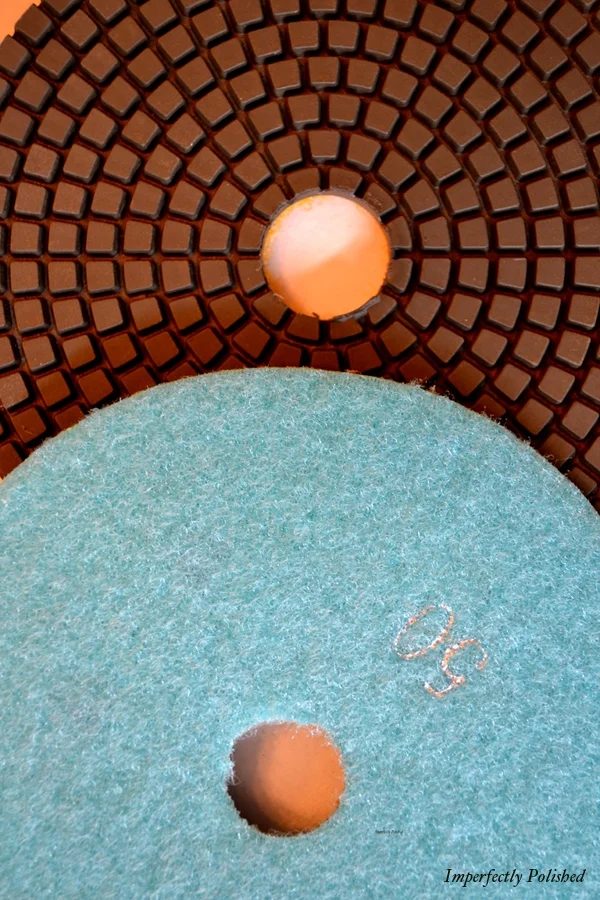
We purchased a diamond grit sand paper {on the recommendation of the many tutorials we watched} but in the end, we aren’t sure it was worth it. They worked great {and last a long time} but direct sandpaper would have done the same thing-you just may have to buy a lot of it:) We used a 50 grit and a 400 grit for finishing. Once it is all sanded and smooth, seal it up!
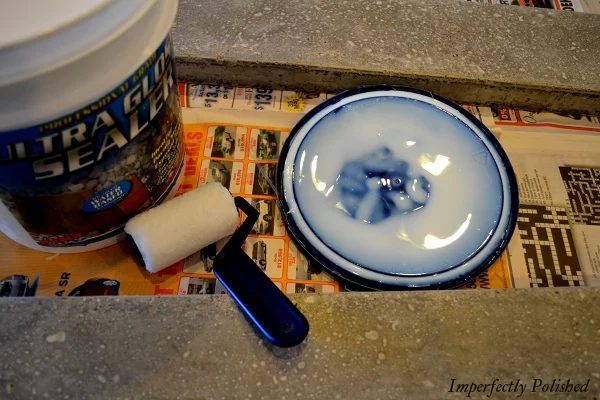
We used a high gloss concrete sealer and rolled it on. I did three thin coats. Then put it in place. We used silicone to secure the slabs down and to attach the backsplash pieces.
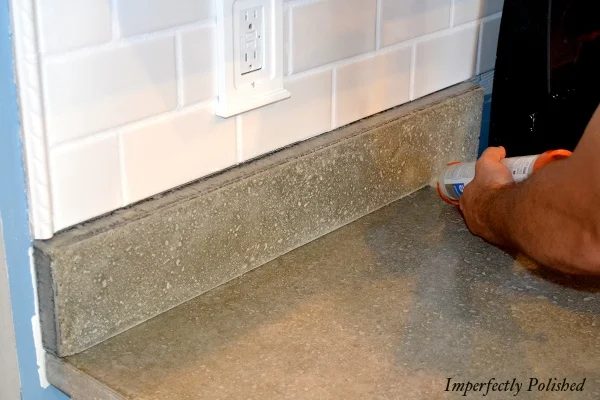
Finally, finish it all off with a polish of carnauba wax {make sure it is 100% so it is food safe} and enjoy your pretty, polished counters!
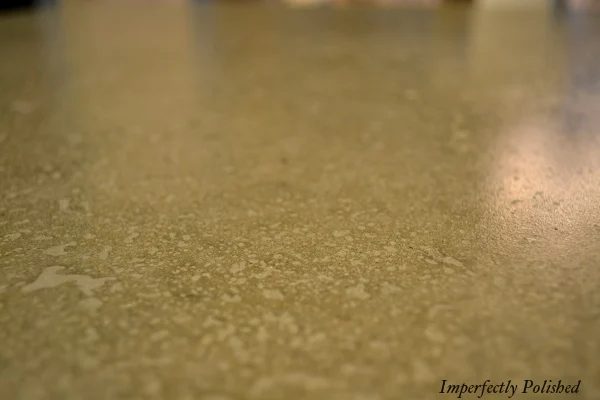
You can see a lot more pictures of the finished product and get more details on this process over at Imperfectly Polished! I would love to hear if any of you try this! I can tell you that it was a lot of work, but worth every minute! We love the high-end kitchen we have now and love the price tag even more:)
Thanks for having me! – Jessie
Want more great countertop and backsplash options check these other posts out: Copper Countertops walkthrough; Kitchen Renovation option Stenciled Backsplash and Kitchen Renovation Reveal Faux Painted Tile Backsplash Quick and Painless Backsplash Makeover With Contact Paper Kitchen Backsplash From Tiles to Beadboard Temporary Kitchen Backsplash Fix; Guest