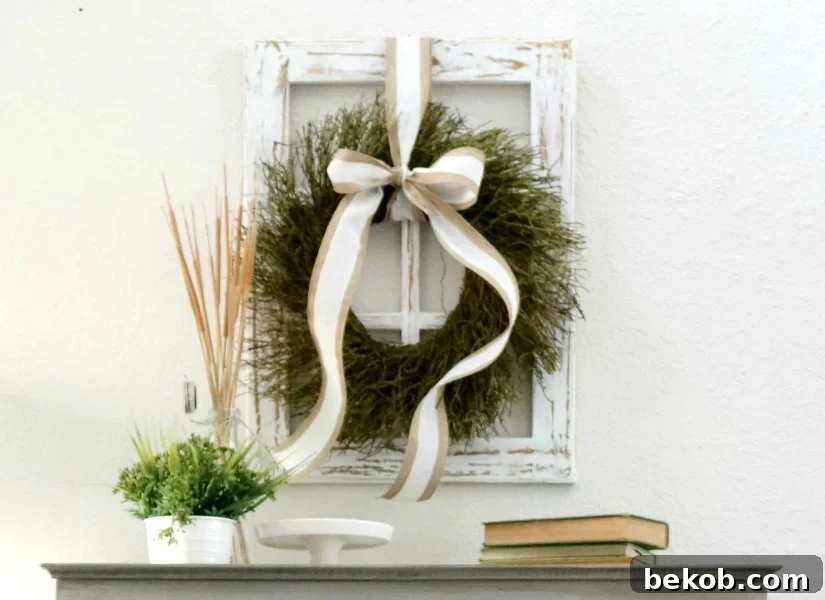
DIY Rustic Window Frame: A Step-by-Step Guide for Seasonal Decor
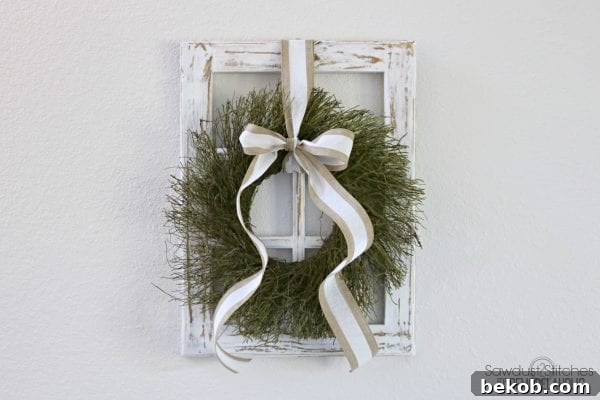
Hello everyone! I’m excited to share a fantastic DIY project with you: a rustic window frame that’s perfect for showcasing seasonal wreaths and adding a touch of farmhouse charm to your home. If you’re anything like me, you love decorating for the holidays. But sometimes, the excitement fades after the big ones are over. This simple window frame is a game-changer! It allows you to easily swap out wreaths for different holidays and seasons, ensuring your home always feels festive and inviting.
What’s even better? This frame looks stunning on its own, even without a wreath. It’s a versatile piece that can complement any decor style. So, let’s dive into the step-by-step instructions and create your own beautiful rustic window frame!
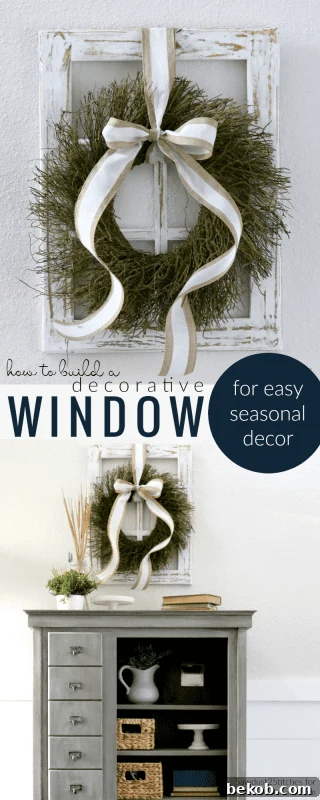
How to Build Your Own Decorative Window Frame
This project is surprisingly simple and can be completed in a weekend. With just a few basic tools and materials, you’ll have a gorgeous window frame ready to display your favorite wreaths and seasonal decorations.
Supply List:
- (1) 1″ x 4″ x 8′ Standard Pine Board
- Ribbon (optional)
- Wreath (optional)
- Weathered Oak Stain
- Flat White Paint
- Candle Wax
- Paint Brush
- 1 1/4″ Kreg Screws
Note: As an alternative, you can use an inexpensive 1×3 board and a 1″ square dowel. Just adjust your cuts and measurements accordingly.
Tools Recommended:
- Table Saw
- Miter Saw
- Drill
- Kreg Pocket Hole Jig
- Stapler (if adding ribbon)
- Putty Knife (if distressing paint)
Cut List:
Using the 1″ x 4″ board:
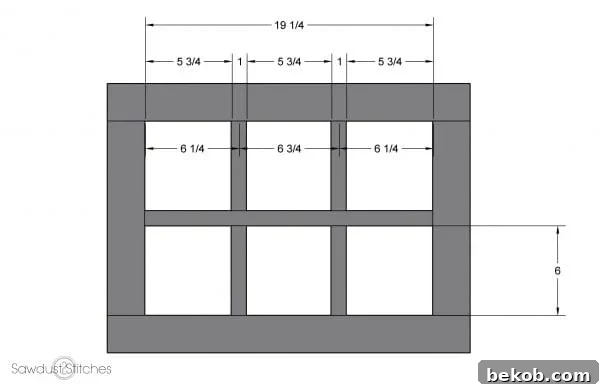
- (2) @ 24″ (Frame Sides)
- (2) @ 13″ (Frame Top and Bottom)
Using the 1″ x 3/4″ Board:
- (1) @ 19″ (Grid Center)
- (4) @ 6″ (Grid Sides)
Step 1: Prepare the Boards
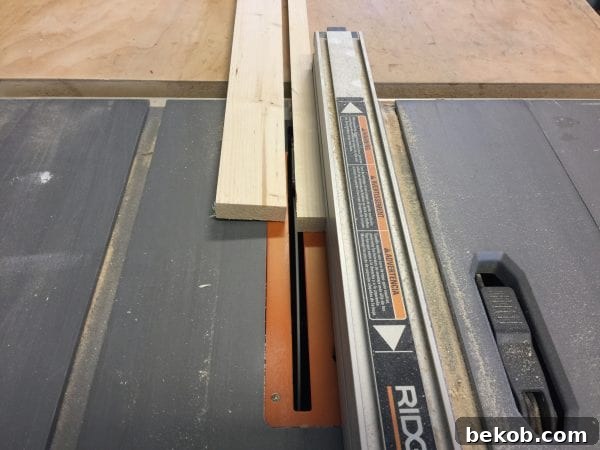
One of the best things about this project is that you can get all the necessary boards from a single 1″ x 4″ standard pine board. First, use your table saw to rip the board down to approximately 1″ wide and 2 1/2″ wide pieces. The 2 1/2″ inch board will actually measure 2 3/8″ to account for the saw blade width.
Step 2: Assemble the Outer Frame
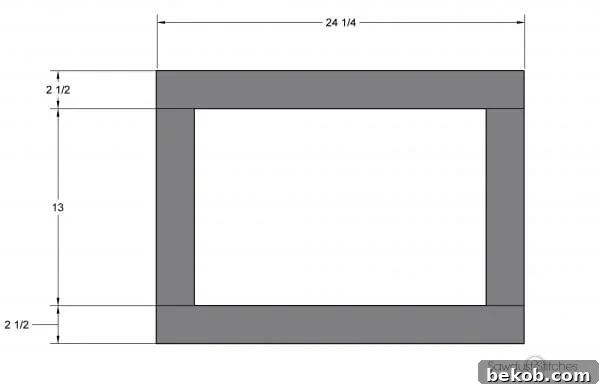
Now it’s time to construct the outer frame. Use the two 24″ boards and the two 13″ boards. Before assembling, drill pocket holes in both ends of the 13″ boards. These pocket holes will allow you to easily attach the top and bottom pieces to the sides.
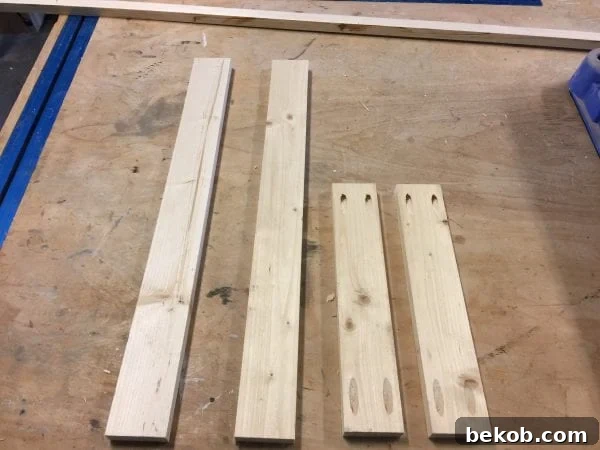
Using 1 1/4″ Kreg screws, attach the 13″ boards to the 24″ boards to form the rectangular frame. Make sure the corners are square for a professional look.
Step 3: Create the Inner Grid
The inner grid adds character and dimension to the window frame. Drill pocket holes in both ends of all the grid pieces: the (4) 6″ pieces and the (1) 19″ piece.
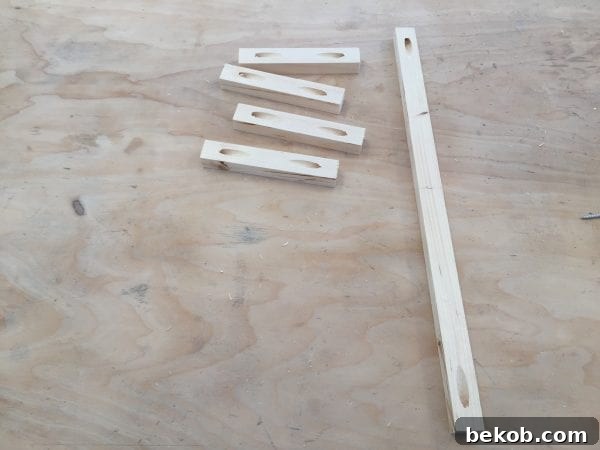
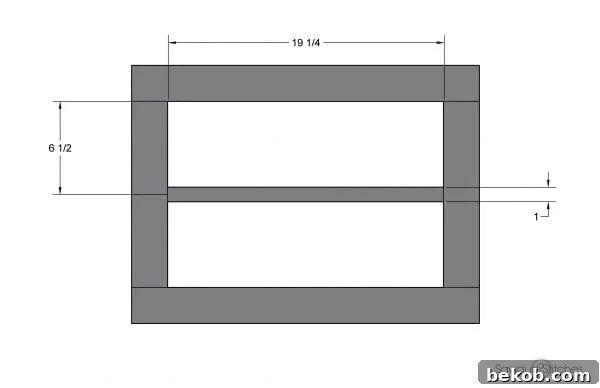
Before you start attaching the grid pieces, I recommend marking the placement of each piece on the frame. This will ensure even spacing and prevent mistakes. Attach the grid pieces using 1 1/4″ Kreg screws.
Step 4: Finishing Touches
Now comes the fun part: giving your window frame a rustic, aged look. Before you begin painting or staining, sand down the entire frame to create a smooth surface.
Start by staining the frame with Weathered Oak stain. Apply two coats for a richer color, allowing each coat to dry completely before applying the next.
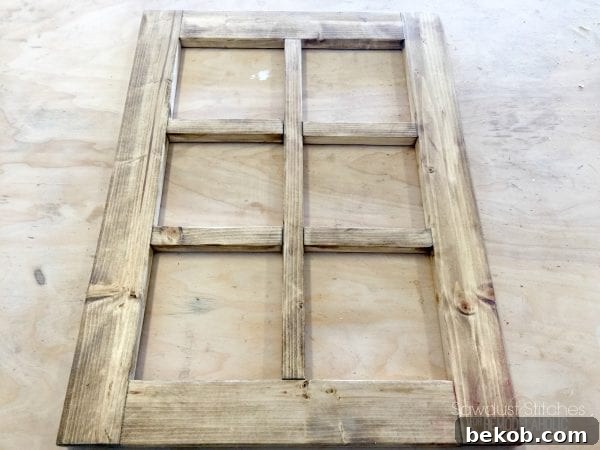
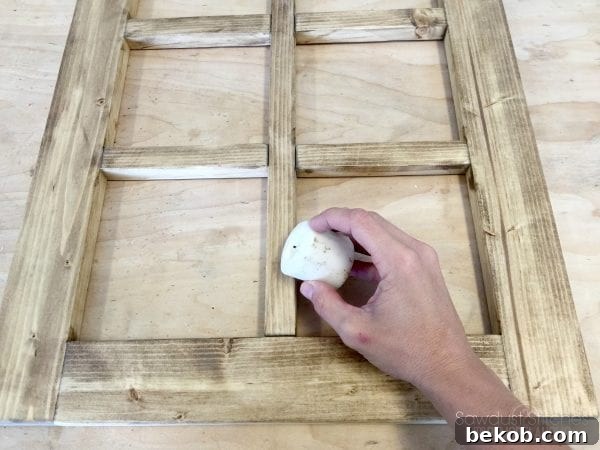
Once the stain is dry, it’s time to distress the frame. The most common way to achieve a chippy paint look is by using either petroleum jelly or candle wax. I prefer candle wax because I feel like I have more control over the distressing process.
Rub the edge of a candle over various parts of the frame, focusing on areas where you want the stain to show through. The candle wax will prevent the paint from adhering to those areas, creating a distressed effect.
Next, apply a coat of flat white paint over the entire frame. You can use chalk paint if you prefer, but regular flat latex paint works just as well for this project. Use an old, worn-out paintbrush for a streaky application. Don’t worry about making it look perfect – the imperfections will add to the rustic charm.
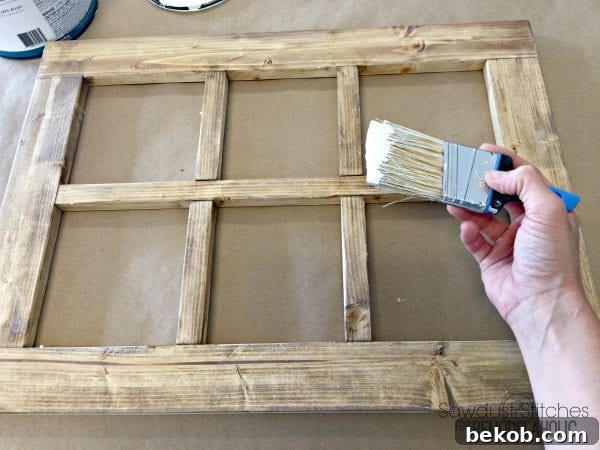
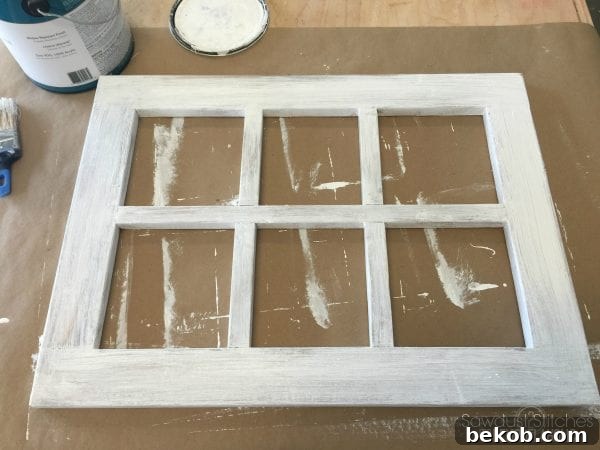
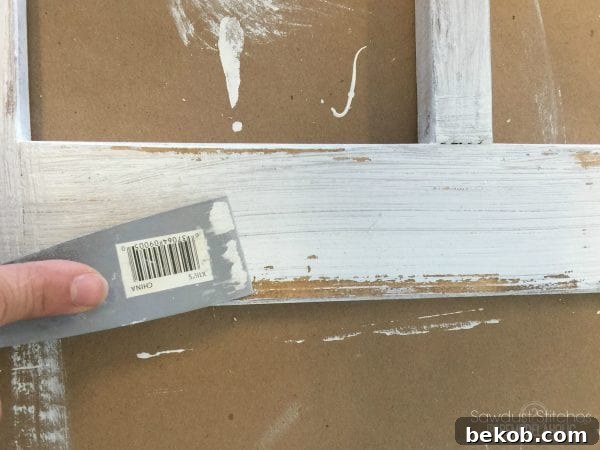
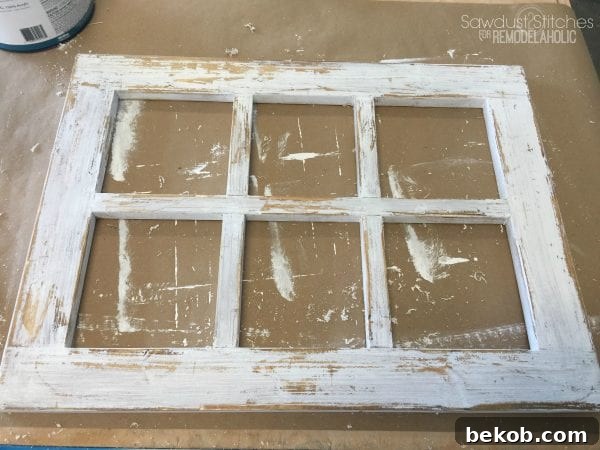
Once the paint is dry, use a putty knife to scrape off some of the paint. The areas where you applied candle wax will scrape off easily, revealing the stained wood underneath and creating a beautiful distressed finish.
Step 5: Accessorize and Decorate
Your rustic window frame is now complete! While it looks adorable as is, it’s also the perfect backdrop for seasonal decorations. Add a simple ribbon to create a charming backdrop for a wreath.
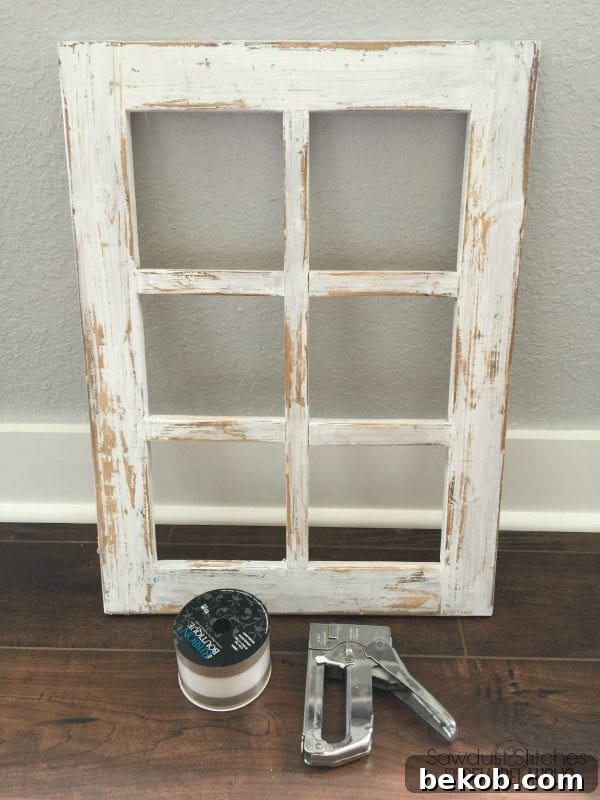
Use a heavy-duty stapler to attach the ribbon to the back of the frame.
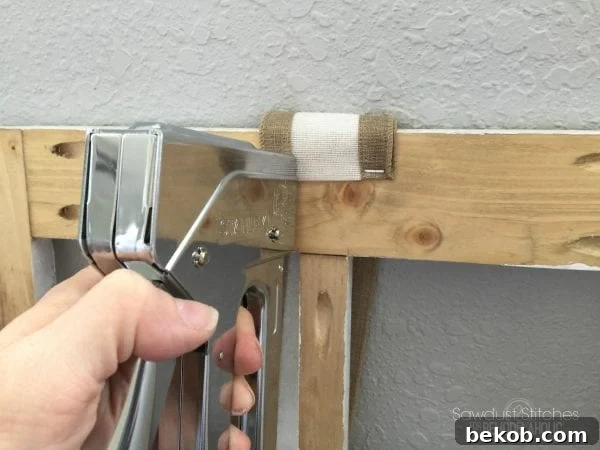
Finally, add your favorite wreath to complete the look. This window frame can be used for Christmas decor, spring wreaths, or any other seasonal decorations you can imagine. The possibilities are endless!
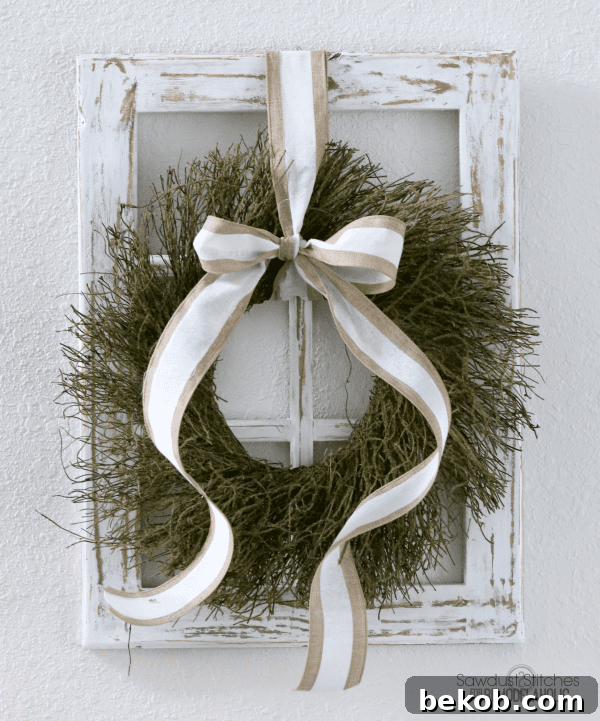
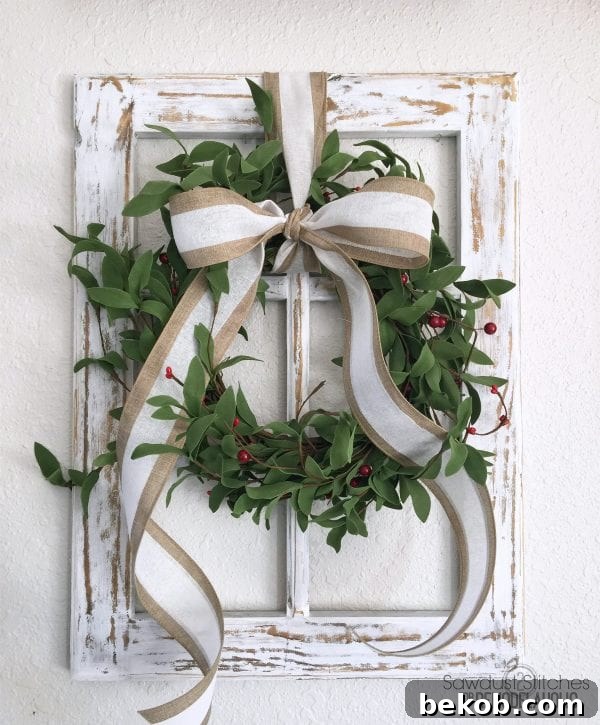
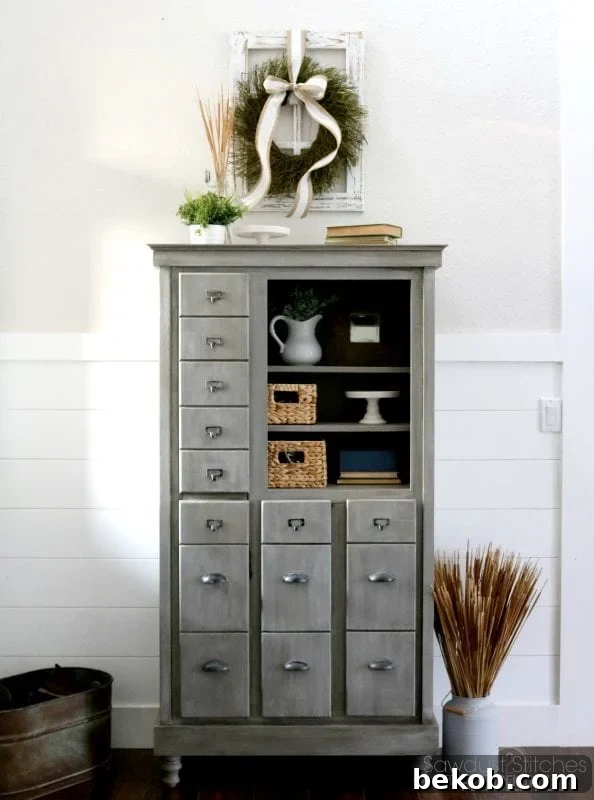
Enjoy your beautiful, handcrafted rustic window frame! It’s a unique and versatile piece that will add a touch of charm to your home for years to come.
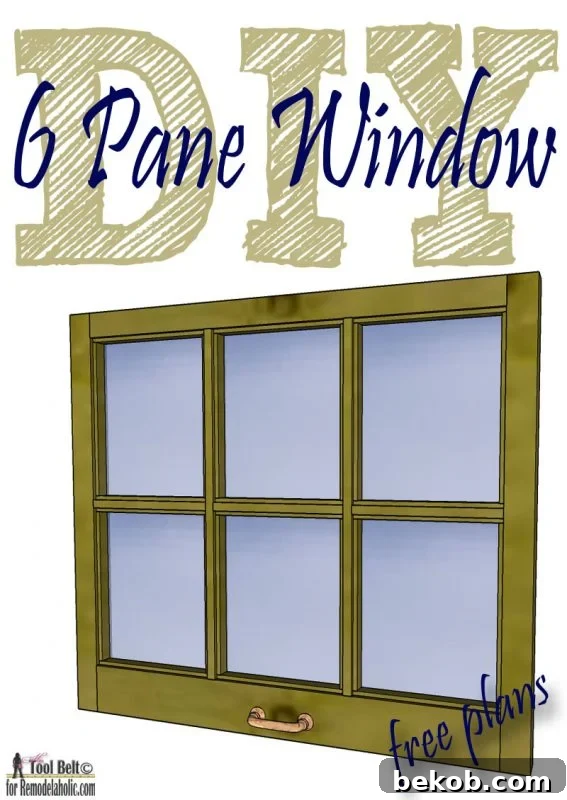
Looking for more of an old window style? Build this!
More easy seasonal decorating ideas:
Easy-swap holiday printable set

Reversible seasonal pallet porch signs