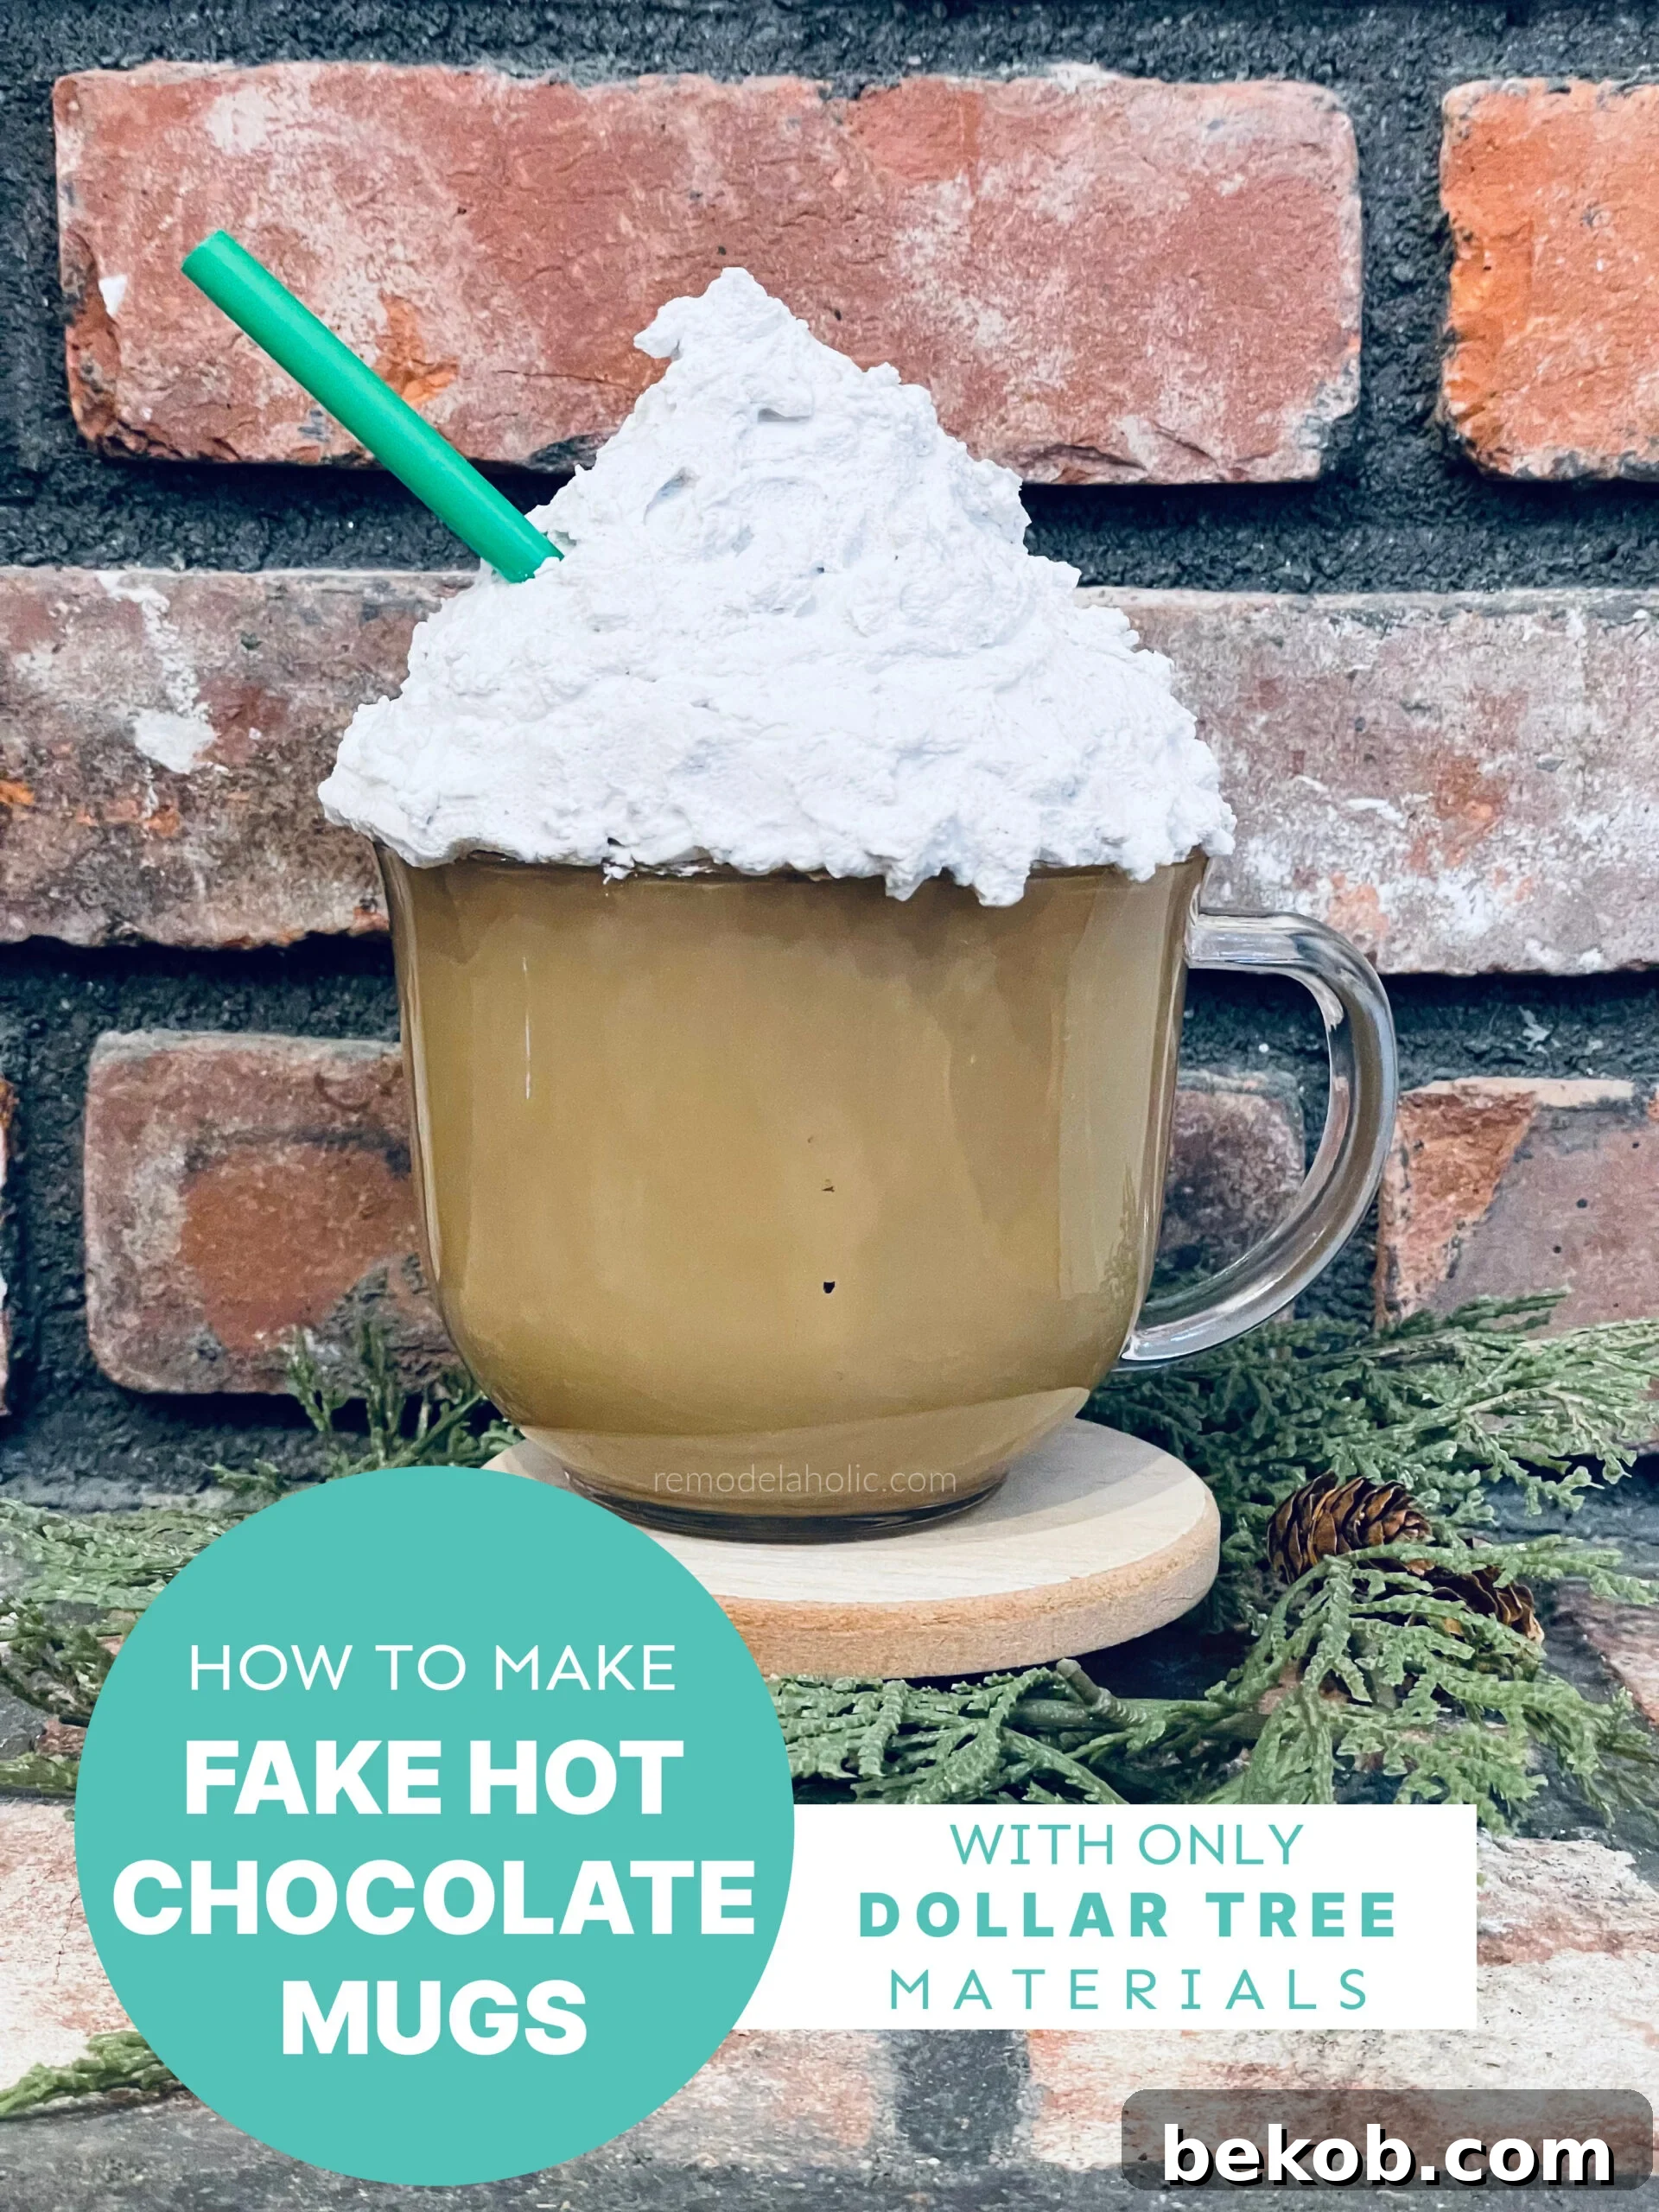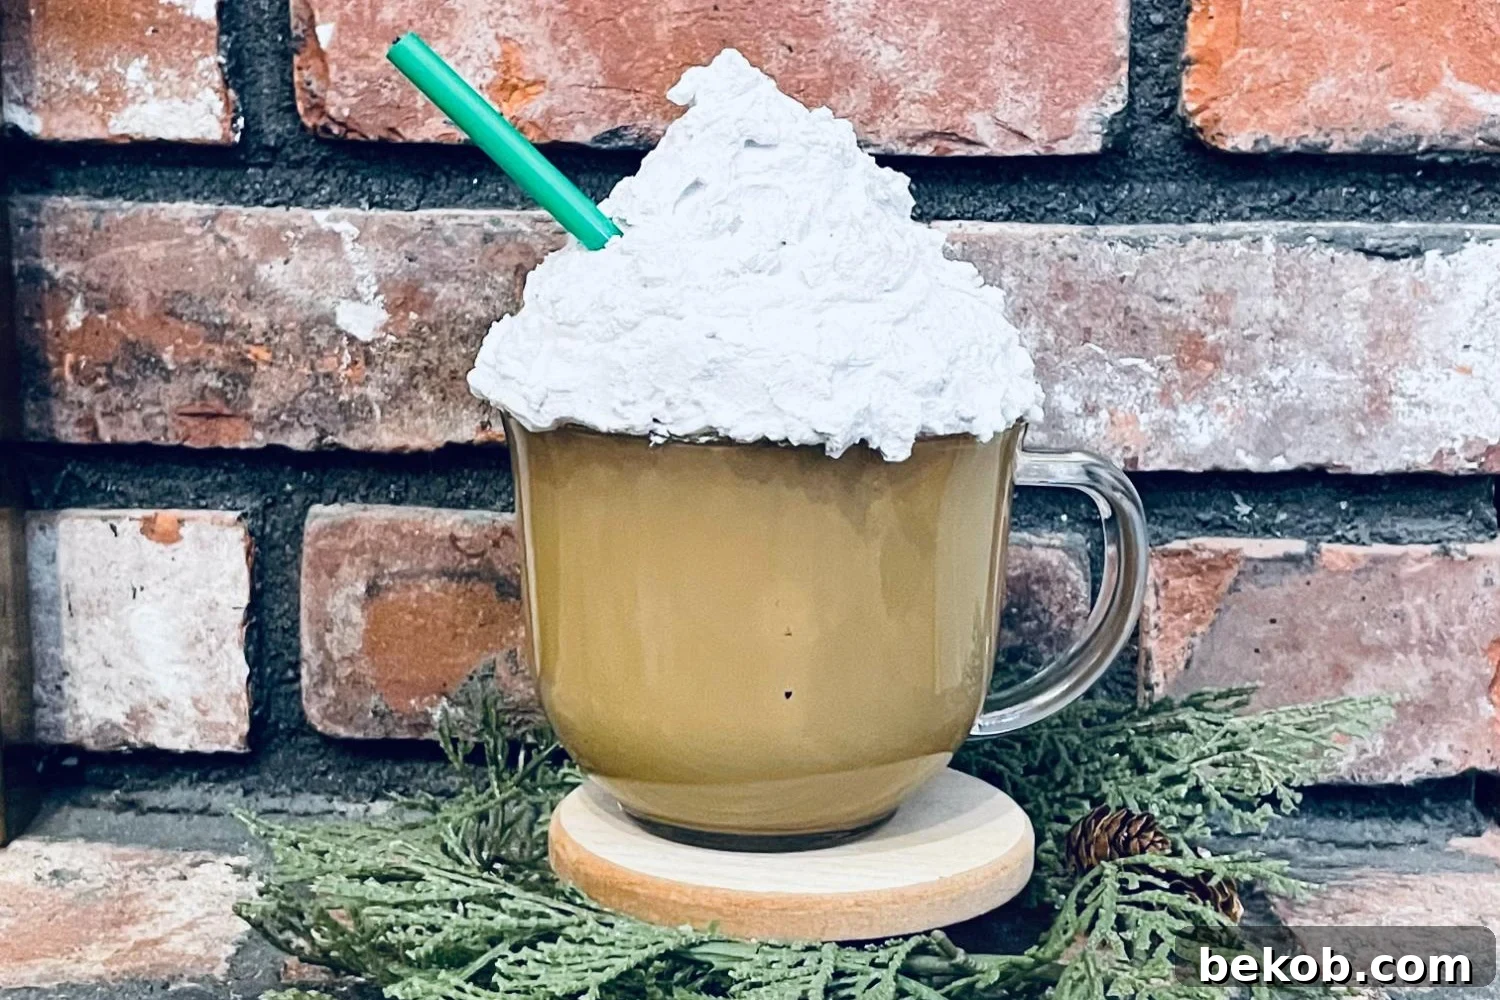
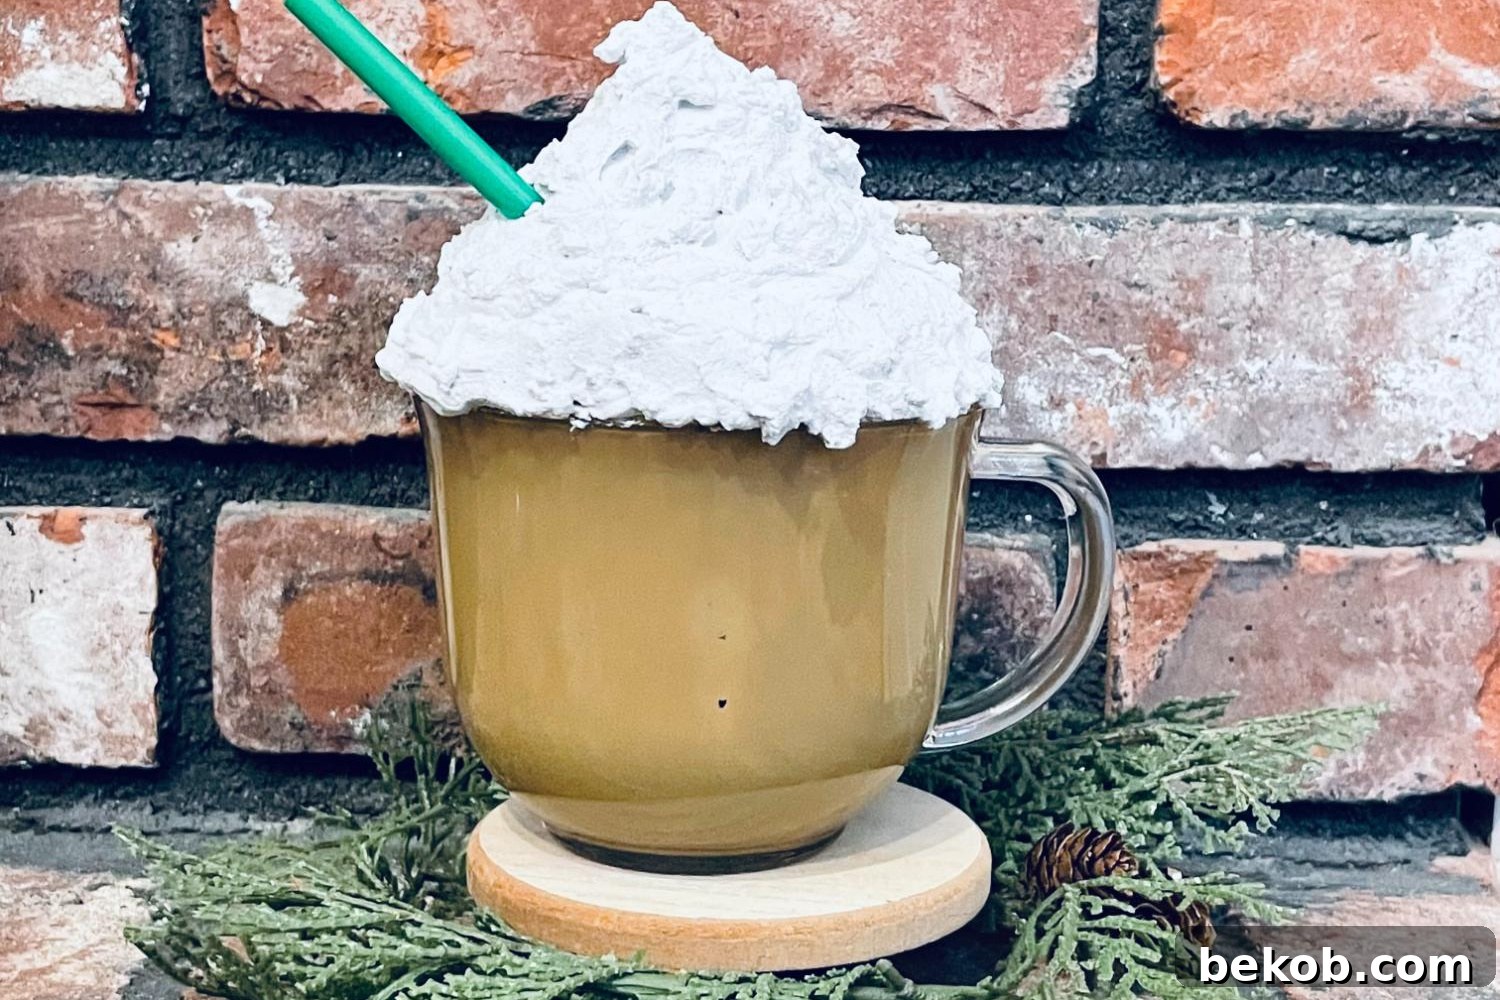
If you’re hosting a festive gathering this winter, a thoughtfully designed hot chocolate station is an absolute must! Enhance the visual appeal of your hot cocoa bar with charming Dollar Tree fake hot chocolate mugs, perfectly complementing your seasonal decorations. These delightful DIY creations are ideal for setting the scene at a winter wonderland party, a magical Polar Express celebration, or simply to add a cozy touch to your Christmas tree display or mantelpiece. They bring a whimsical, inviting atmosphere without the mess or hassle of real beverages.
To further inspire your setup, explore these 13 clever ideas for creating an inviting home hot chocolate station and bar. For those who love a good DIY project, learn how to build your own wood bar cart, providing a stylish and functional foundation for your station. And of course, no hot chocolate bar is complete without the perfect brew; discover 25 Great Hot Chocolate Recipes to Make at Home that will delight your guests.
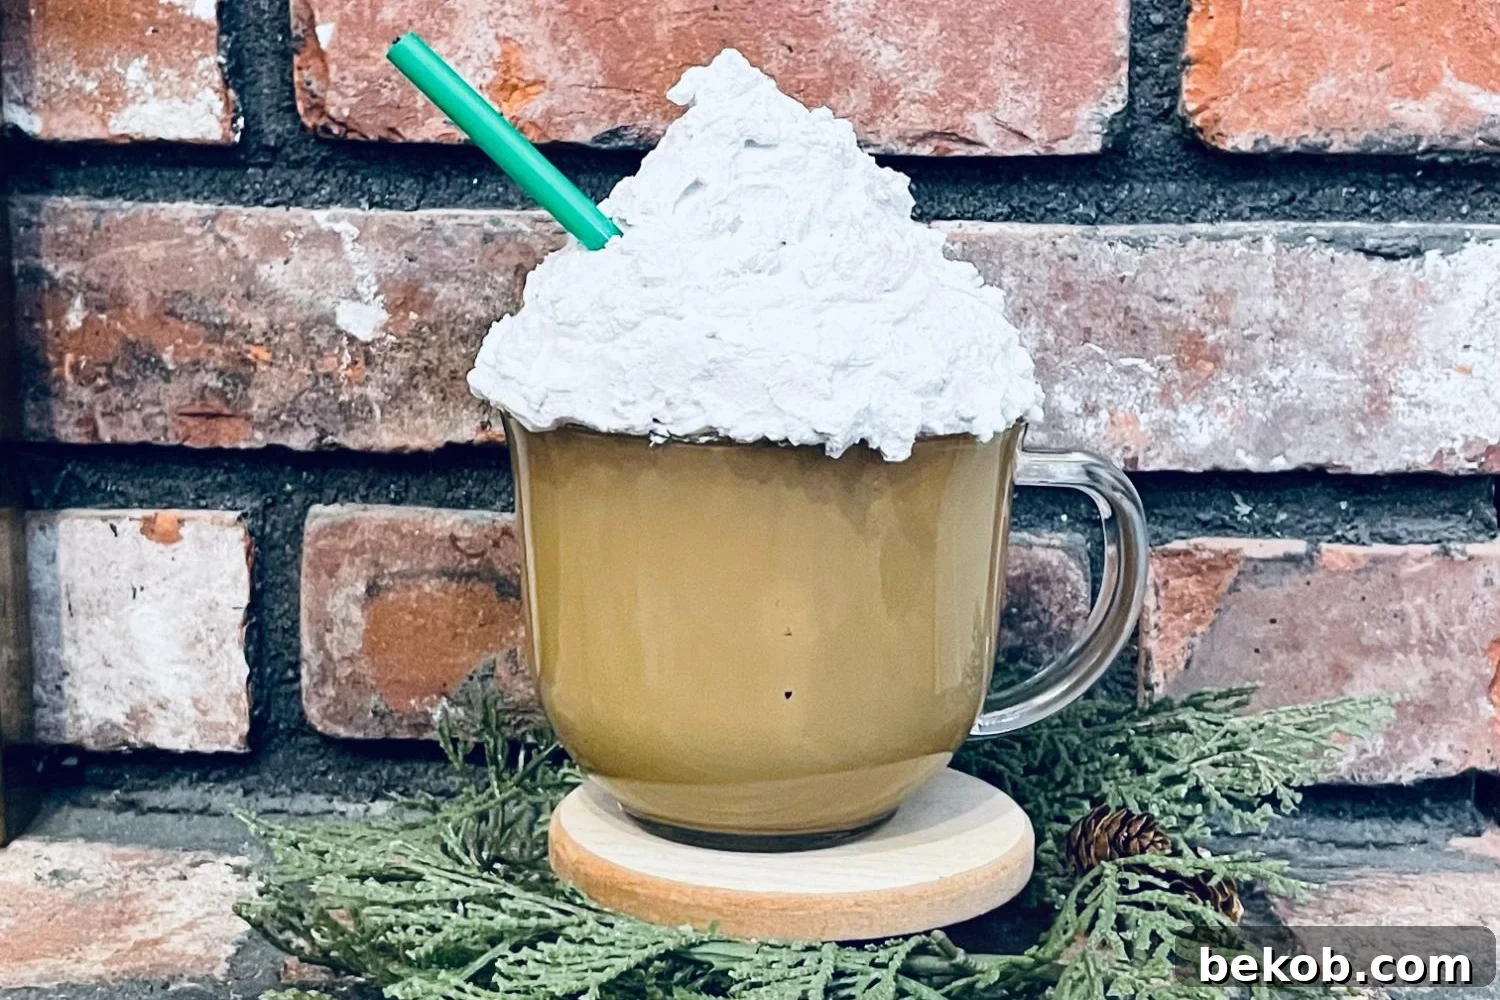
Elevate Your Holiday Decor with DIY Fake Hot Chocolate Mugs
Transform your winter celebrations with a captivating hot chocolate station, a beloved feature at any seasonal party. Beyond offering delicious drinks, consider the presentation. Imagine guiding your guests to a beautifully arranged hot chocolate bar, complete with your own DIY bar cart, personalized mugs that guests can customize with Sharpies, and an array of essential toppings and treats. However, for decoration that lasts all season and adds a unique charm, these fake hot chocolate mugs are an absolute game-changer.
These enchanting decorative mugs are not just for parties; they make splendid additions to your mantel, bookshelves, or any spot needing a touch of winter cheer. Their charm lies in their ability to evoke the warmth and comfort of a steaming cup of cocoa, creating a cozy ambiance without the need for actual hot beverages. They are particularly wonderful for children’s parties, such as a Polar Express theme, as they eliminate any concerns about spills or hot liquids.
In this comprehensive guide, we’ll walk you through the simple, step-by-step process of crafting your own fake hot chocolate mugs, utilizing readily available and affordable Dollar Tree supplies. We’ll also share our best tips and recipes to ensure your hot chocolate bar is not just a treat for the eyes, but a resounding success that leaves a lasting impression on your guests.
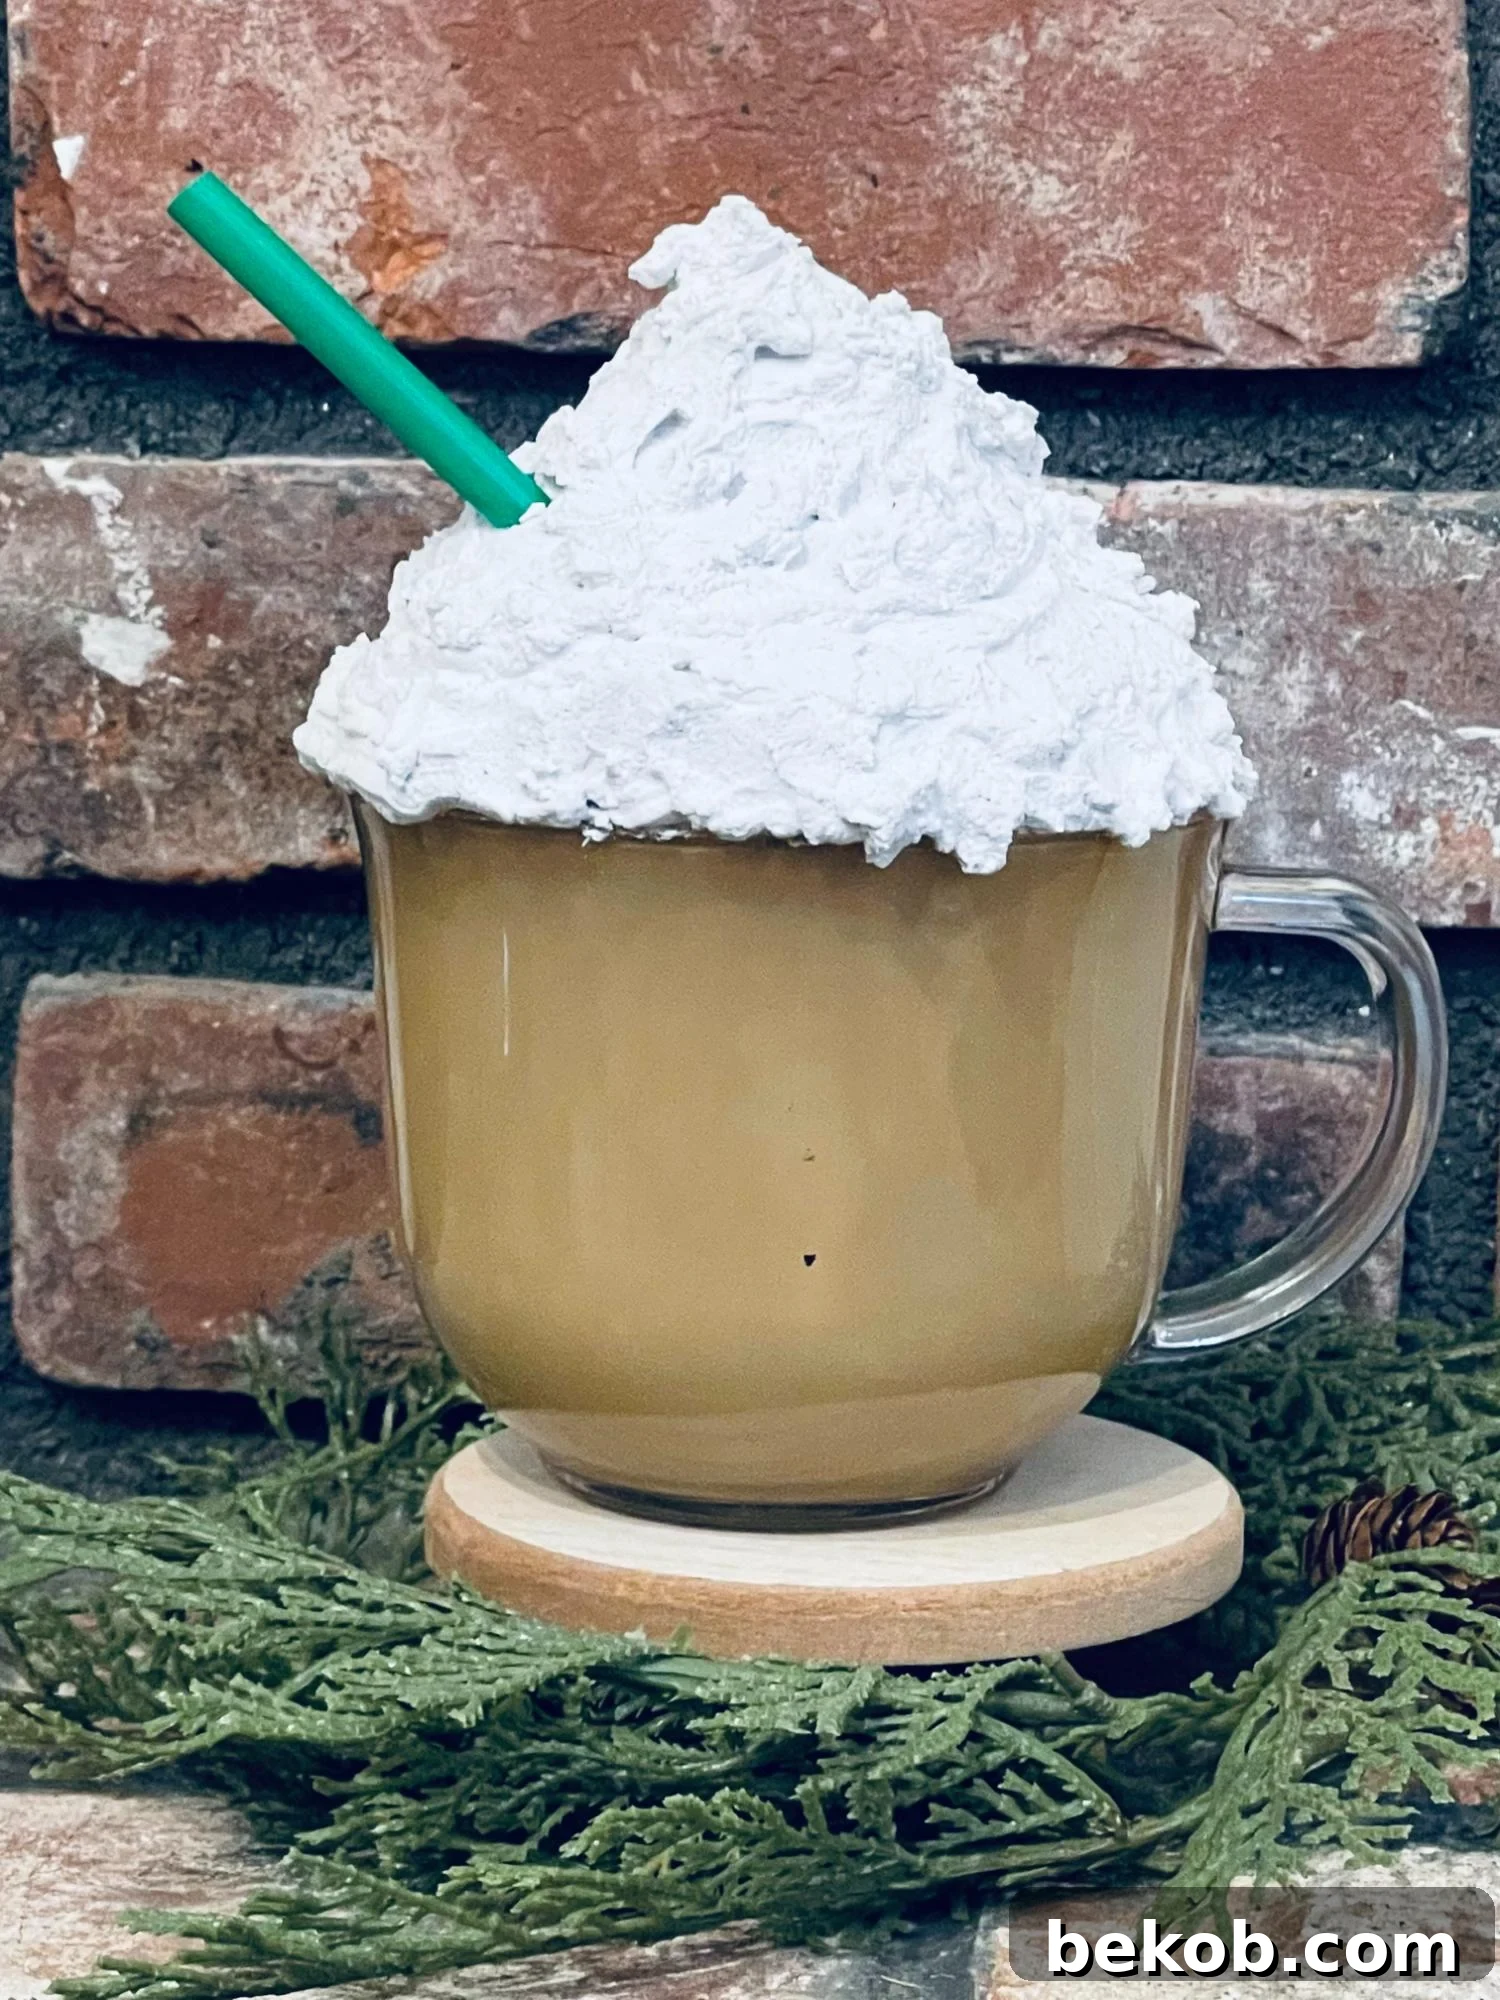
Why Crafting a Fake Hot Chocolate Mug is a Delightful DIY Project and Party Decoration
Crafting fake hot chocolate mugs offers a wonderful blend of creative expression and festive spirit, making it an ideal winter craft project for all ages. These adorable miniature mugs instantly bring to mind images of snug evenings by a crackling fireplace, savoring a warm cup of hot cocoa. Beyond their aesthetic appeal, this craft boasts several compelling advantages:
- **Budget-Friendly Brilliance:** One of the greatest perks is its affordability. By utilizing supplies predominantly sourced from Dollar Tree, you can create one exquisite mug or a whole dozen of fake hot cocoa decorations without breaking the bank. This makes it an accessible project for everyone.
- **Mess-Free & Long-Lasting:** Unlike real hot chocolate, these decorative versions require no cleanup after the party. They won’t spill, spoil, or attract insects. Once crafted, they can be stored and reused for many seasons to come, offering enduring festive charm year after year.
- **Versatile Decor:** These mugs are incredibly versatile. Use them as centerpieces, mantel decor, shelf accents, or even as unique Christmas tree ornaments. They add a consistent theme to your holiday decor, tying various elements of your home together.
- **Allergy & Kid-Friendly:** For parties with diverse guests, particularly children or individuals with food allergies, fake hot chocolate mugs are a safe and inclusive decoration. Everyone can enjoy the visual delight without any dietary concerns.
- **Engaging Activity:** The process of making these mugs can be a fun activity in itself, perfect for a cozy craft night with friends or a creative session with family. The sense of accomplishment from creating something beautiful is truly rewarding.
How to Make a Fake Hot Chocolate Mug for Decor: A Detailed Step-by-Step Tutorial
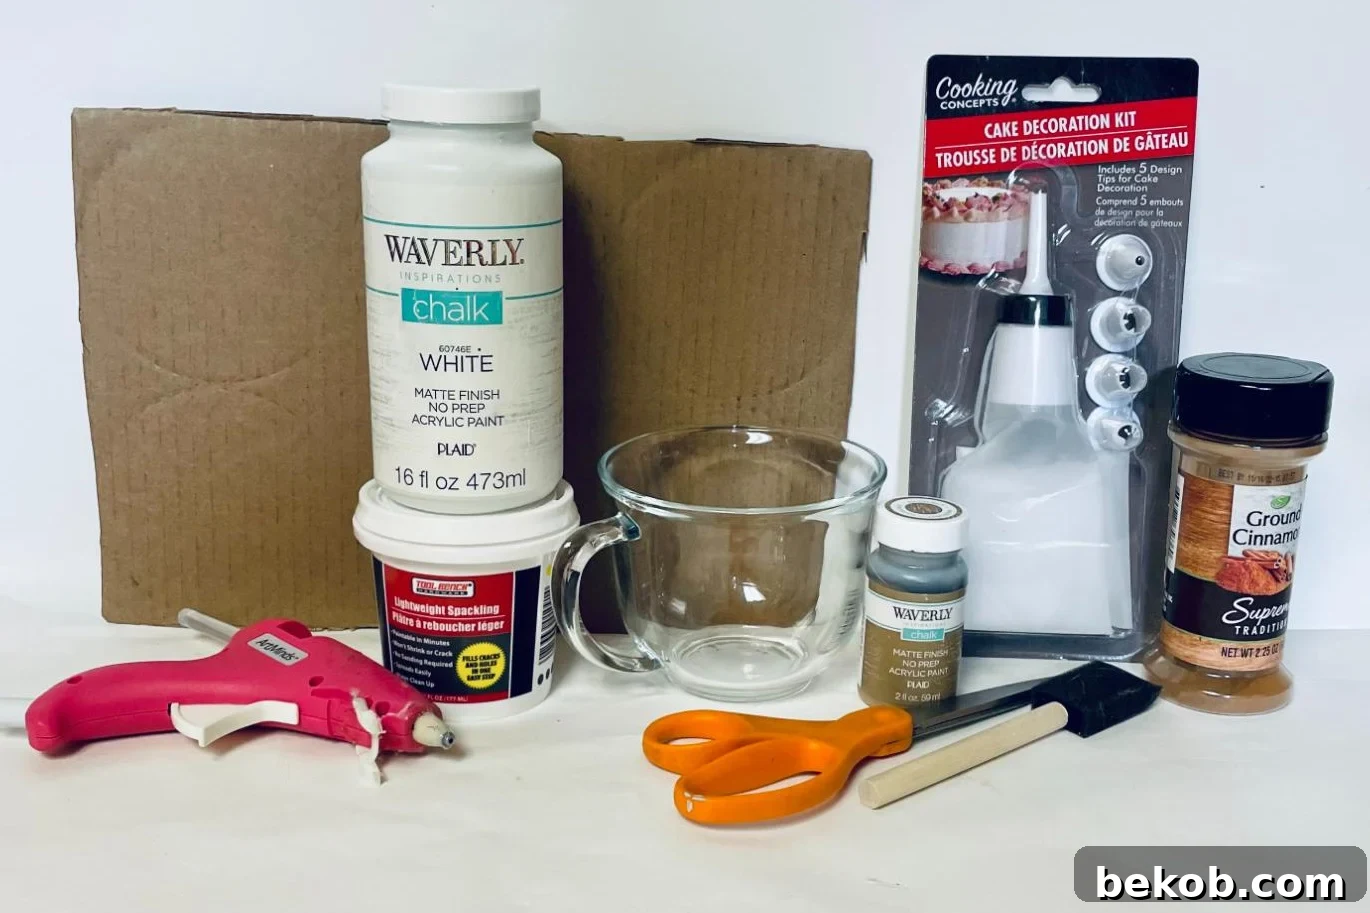
Fake Hot Chocolate Materials: What You’ll Need
Gathering your materials is the first exciting step in bringing your fake hot chocolate mugs to life. Most of these items are readily available at discount stores like Dollar Tree, making this an incredibly budget-friendly project:
- **Dollar Tree Glass Mug:** Choose a clear glass mug to showcase the layers of your fake hot chocolate. I personally used the large 18 oz clear mug, which offers ample space for detailing. A smaller 8 oz Irish coffee mug would also be adorable for a more delicate display.
- **Styrofoam Ball:** Select a Styrofoam ball that can fit inside your chosen mug. These often come in a convenient 3-pack at Dollar Tree, providing excellent value. The Styrofoam serves as a filler, reducing the amount of spackle needed and keeping the mug lightweight.
- **Dollar Tree Spackle or Squeeze Tube Caulk:** This is the magic ingredient for creating the realistic hot chocolate and whipped cream textures. Spackle offers a denser, more matte finish, while caulk from a squeeze tube can provide a smoother, more glossy appearance for certain elements.
- **Cake Decorating Frosting Tip Kit and Icing Bags:** These tools are essential for piping on the “whipped cream” with professional-looking swirls and peaks, mimicking real dessert artistry.
- **Plastic Jumbo Straw (or Regular):** A straw adds an authentic touch to your faux beverage. Choose a color that complements your holiday theme, such as a festive red or green.
- **White Chalk Paint or Acrylic Paint:** This will be used to create the appearance of whipped cream when mixed with spackle or caulk.
- **Brown Chalk Paint or Acrylic Paint:** This paint is crucial for the “hot chocolate” layer. You might need a few shades to achieve a rich, realistic cocoa color.
- **Cardboard:** A sturdy piece of cardboard is needed to create an insert that will hold the hot chocolate and whipped cream layers in place within the mug.
- **Scissors:** For cutting the cardboard and trimming the straw.
- **Paint Brush:** For applying the base paint layers inside the mug.
- **Hot Glue Gun and Glue Sticks:** Essential for securing the cardboard insert and Styrofoam ball, providing stability to your creation.
Fake Hot Chocolate Instructions: Step-by-Step Creation
Follow these steps carefully to craft your beautiful and realistic fake hot chocolate mugs:
Step 1: Create the Cardboard Insert
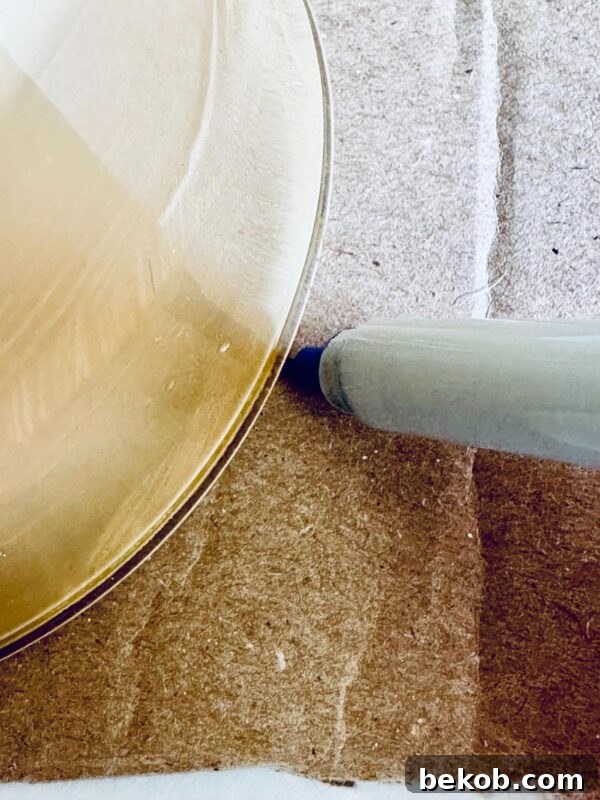
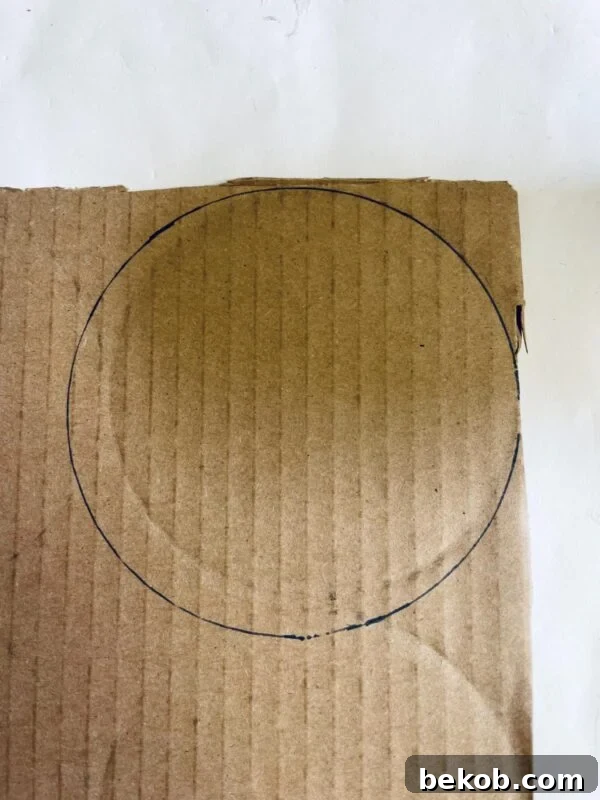
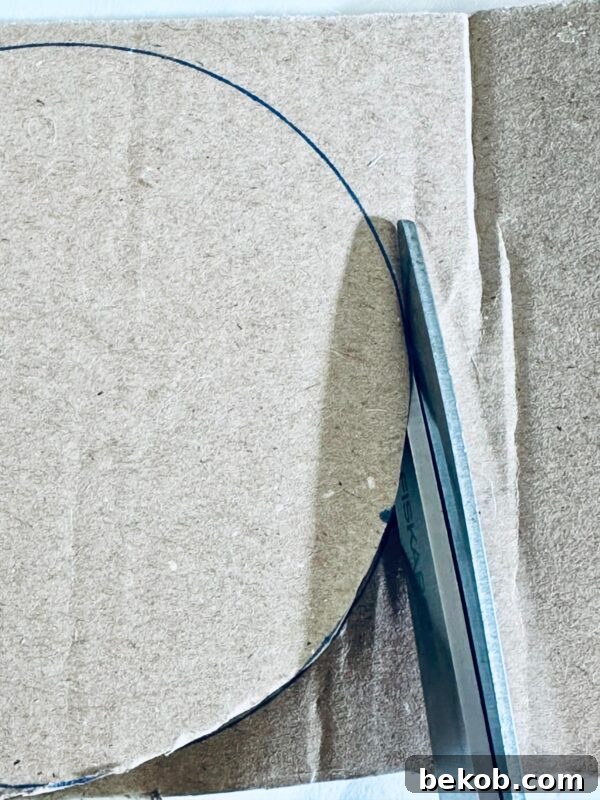
Begin by flipping your glass mug upside down onto a piece of cardboard. Carefully trace the top rim of the mug to create a perfect circle. Cut out this cardboard circle. This piece will serve as the internal platform for your hot chocolate layers. If you envision a mug that appears only partially filled, you can cut a smaller cardboard circle to fit deeper inside the mug, then use additional cardboard pieces or a smaller Styrofoam block to prop it up to your desired height. Ensure the fit is snug but not too tight, as you’ll need to glue it in place.
Step 2: Paint the Mug’s Interior for the Hot Chocolate Effect
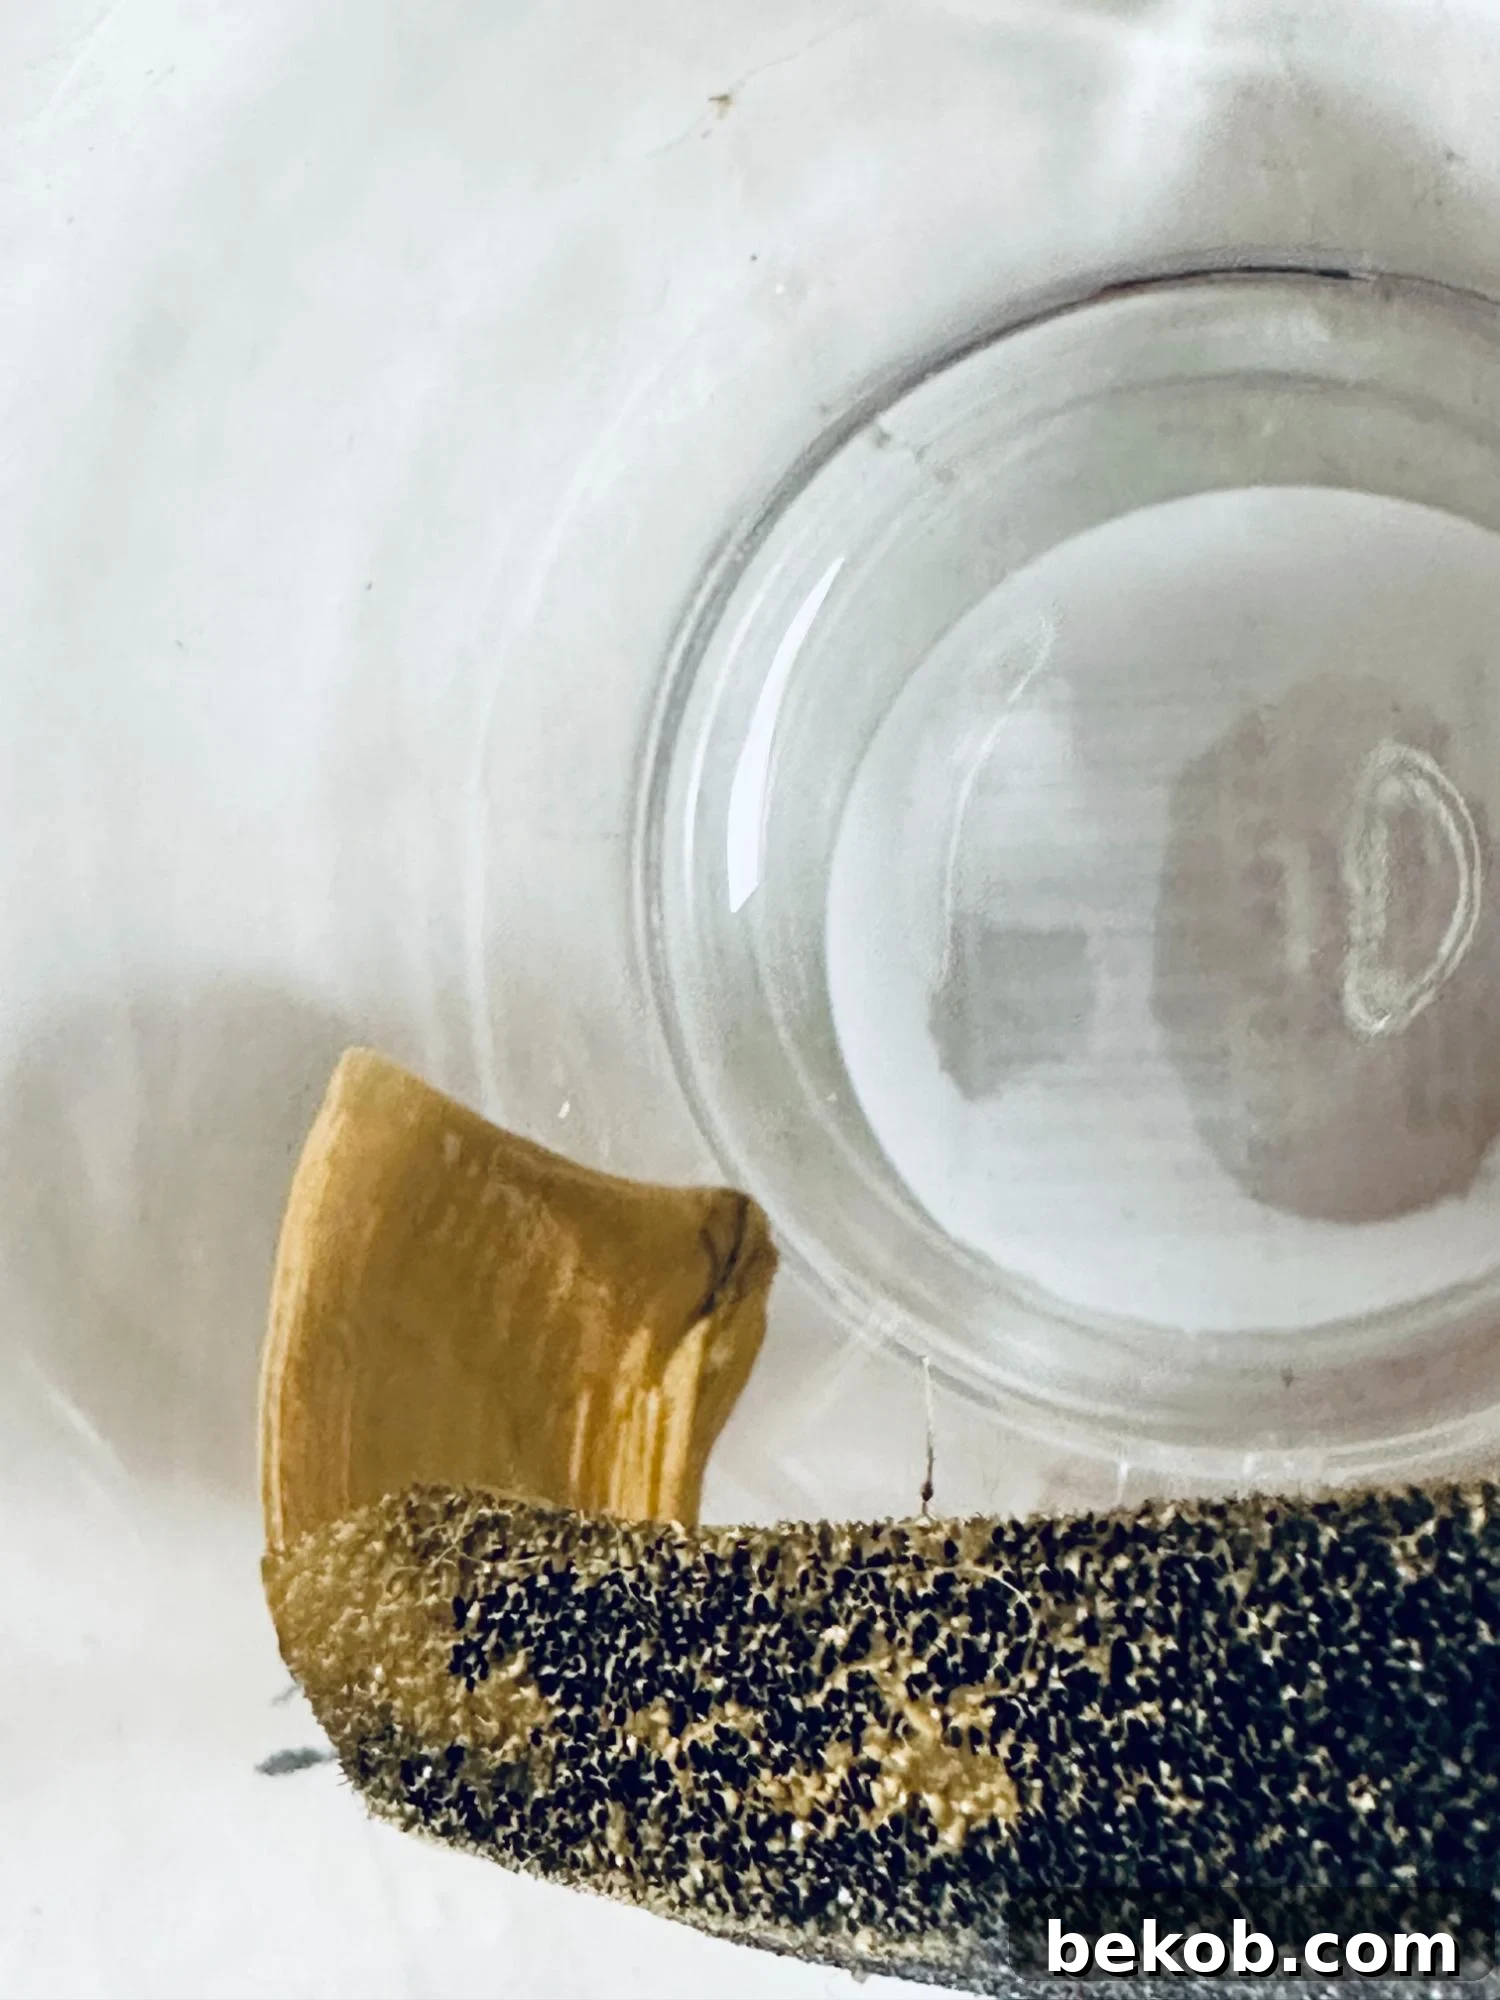
Using your brown or tan-colored paint, carefully paint the inside of the mug. This step creates the visual depth and color of the hot chocolate itself. If you’re using acrylic paint, which can be somewhat translucent, you’ll likely need to apply multiple coats to achieve an opaque and rich color. For a more authentic look, consider mixing a dark brown with a touch of red or orange to get a warm, inviting cocoa shade. Allow each coat to dry thoroughly before applying the next for optimal coverage and adhesion.
Step 3: Secure the Insert and Add the Foam Core
Once the interior paint is dry, apply a thin, even line of hot glue around the inside rim of the mug, or at the height where you want your fake hot chocolate to appear to end. Carefully place your cardboard circle onto the glue, pressing down gently to ensure it’s firmly secured. Next, glue a Styrofoam ball directly in the center of the cardboard insert. This ball will provide a raised base for your “whipped cream,” giving it volume and shape.
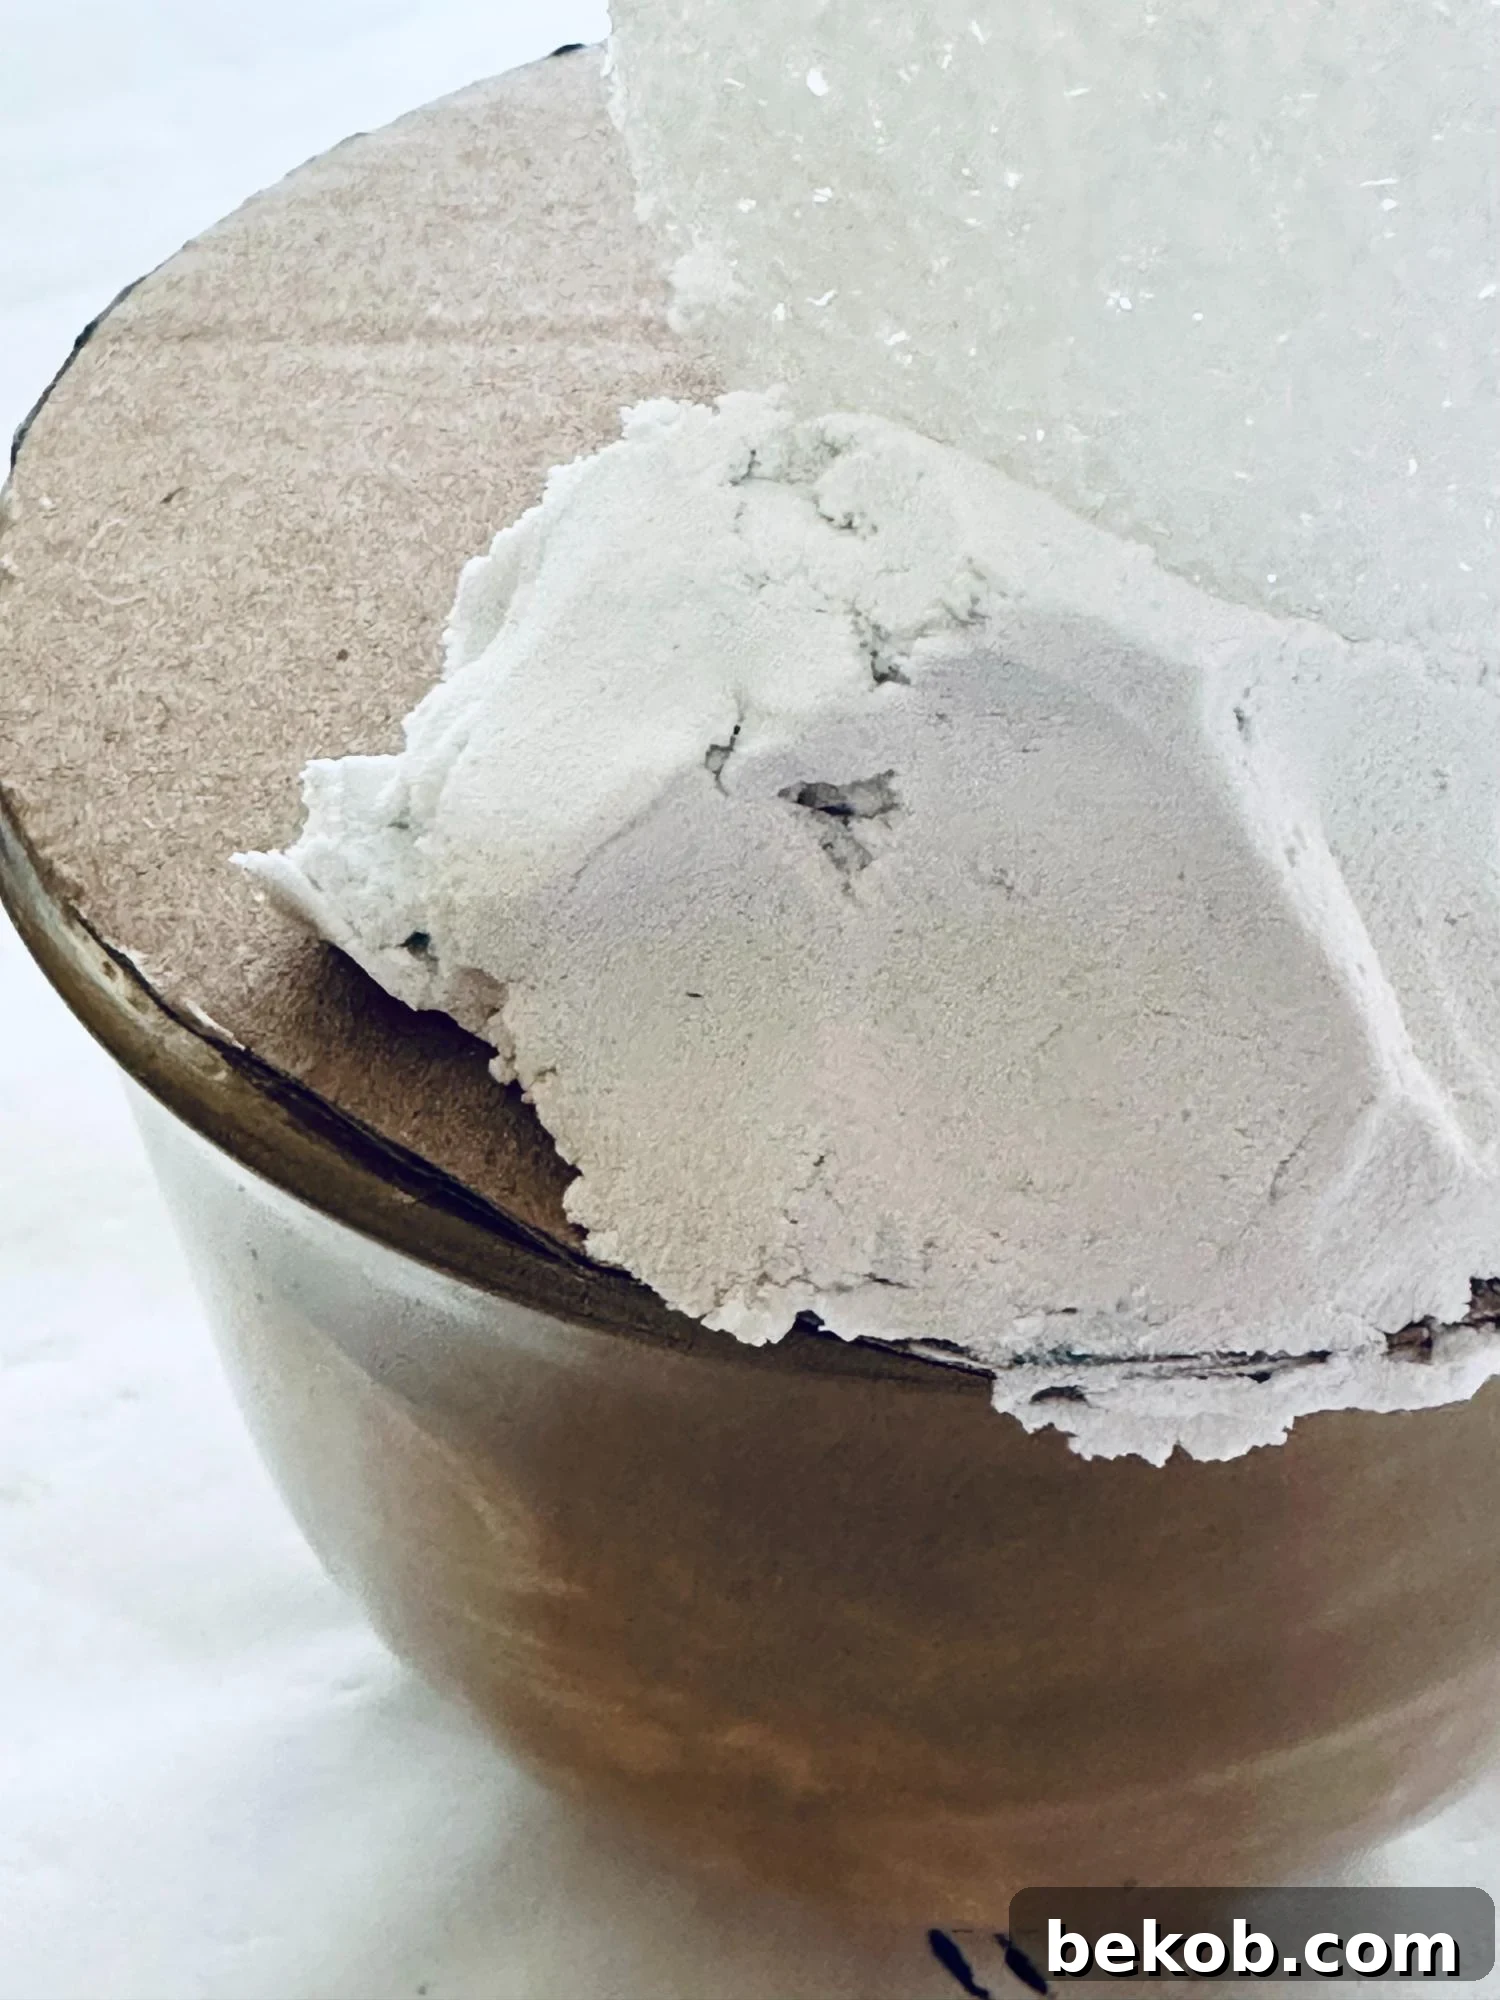
**Optional:** If you wish for some of the hot chocolate to be visible at the top, rather than being completely covered by the fake whipped cream, you can create a realistic hot chocolate layer directly on the cardboard. To do this, mix some spackling or caulk with a small amount of your brown paint. Stir until thoroughly combined, then spread a thin, even layer of this mixture over the cardboard insert, around the Styrofoam ball. This will give the illusion of a liquid surface beneath the whipped cream. If you use this method, you might then add a slightly smaller foam ball in the center of this layer.
Step 4: Craft the Irresistible Fake Whipped Cream
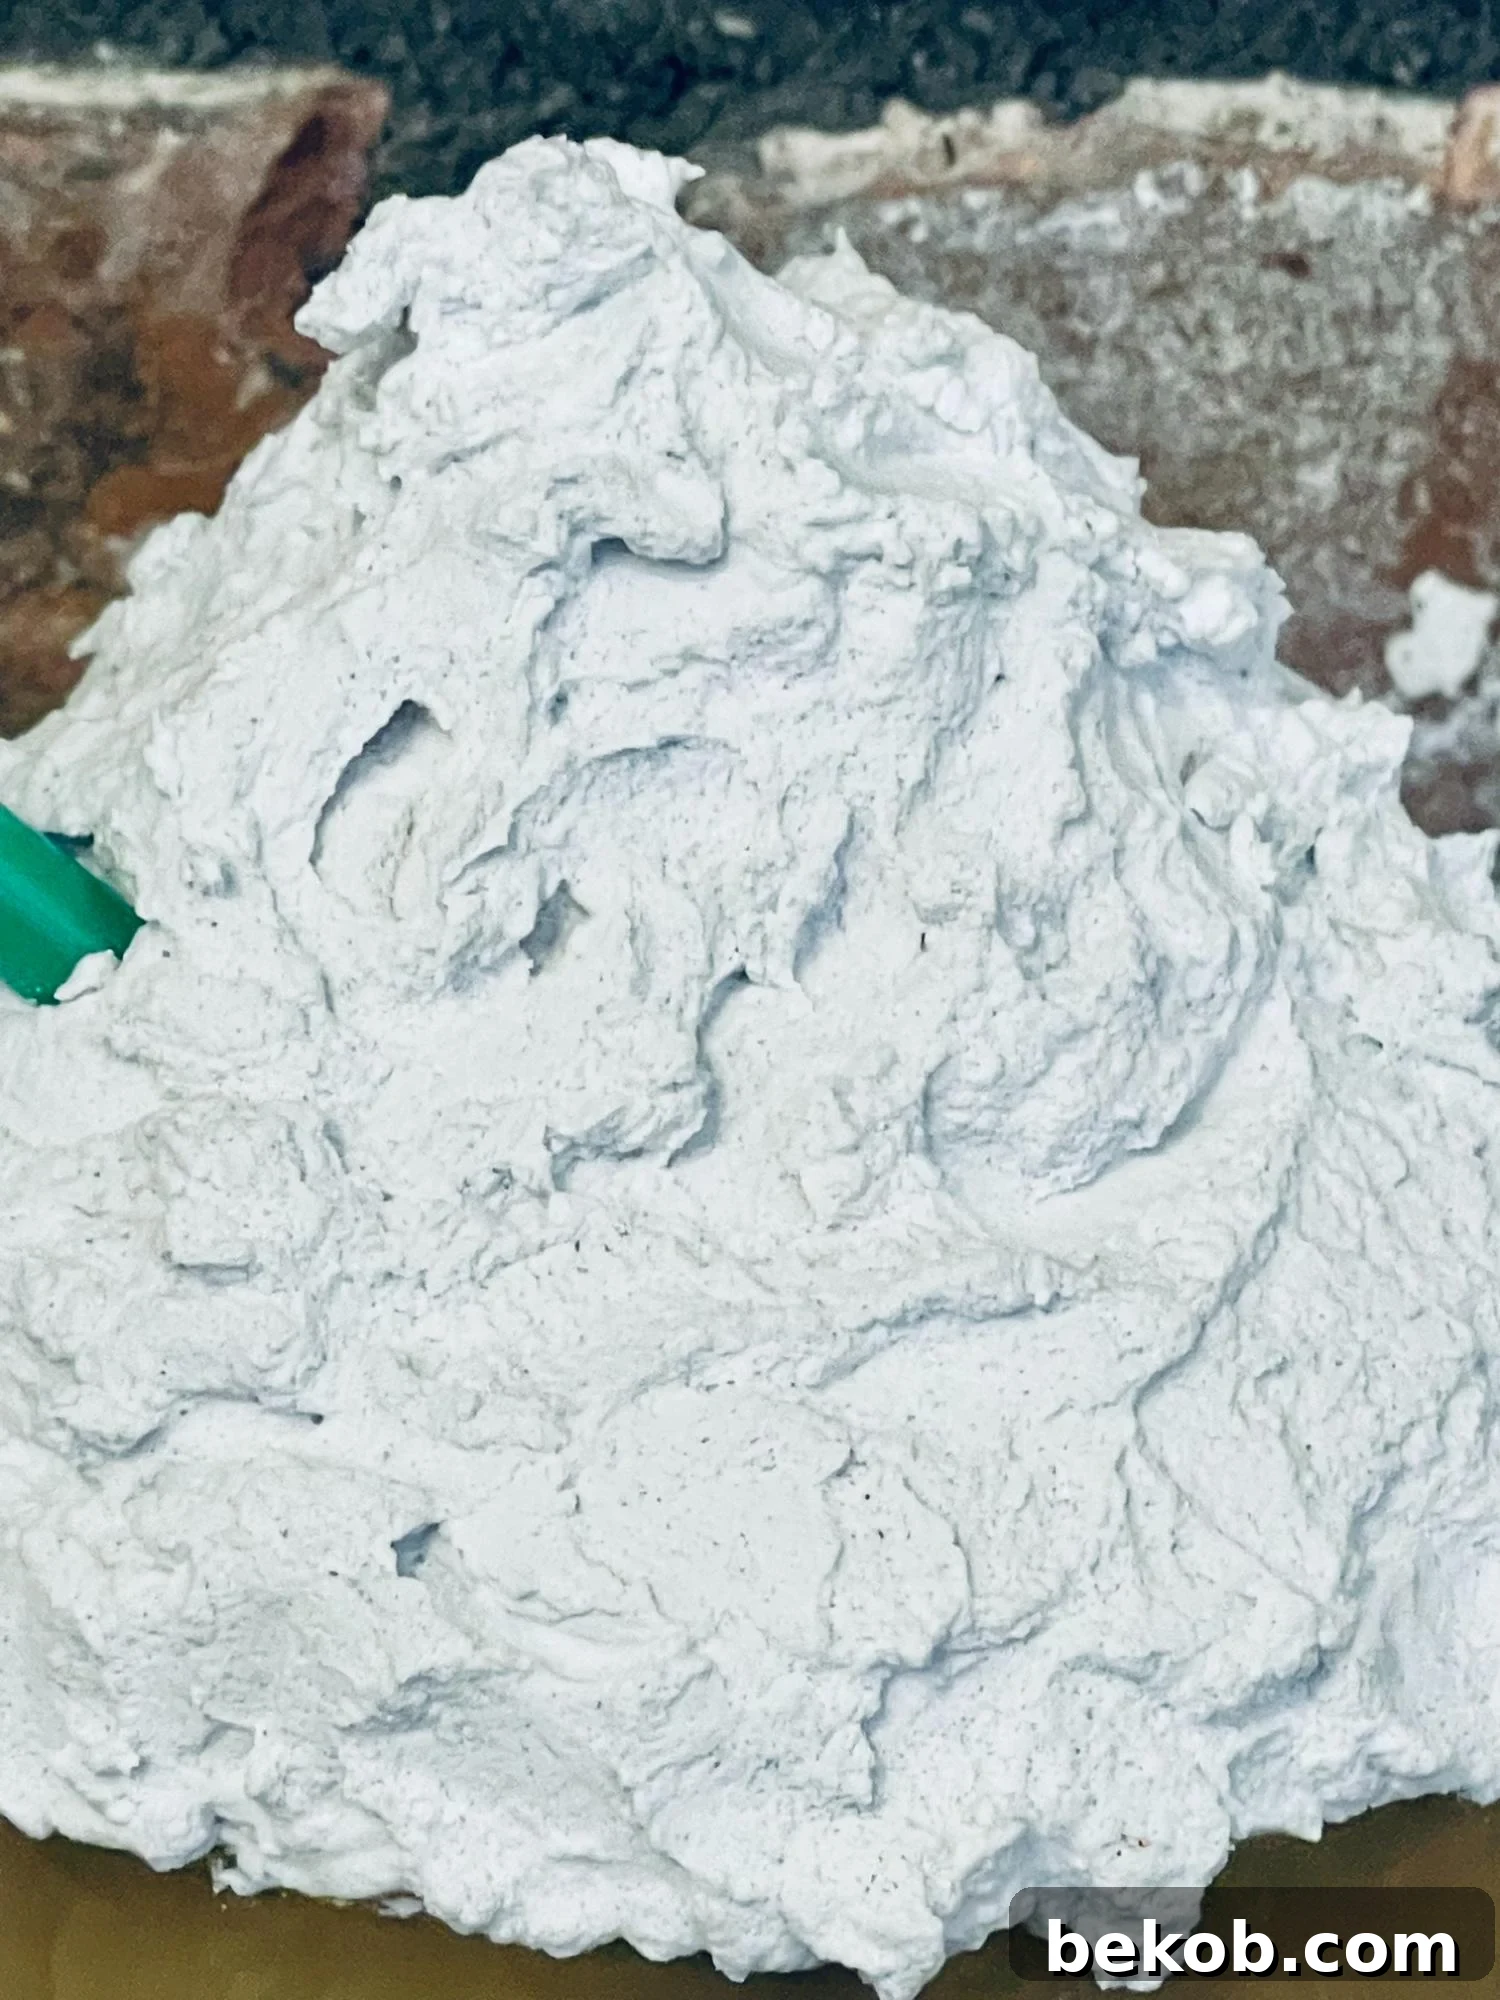
Now, prepare your “whipped cream.” In a mixing bowl, combine your white paint with a generous amount of spackle or caulk. Stir thoroughly until you achieve a thick, fluffy, and pipeable consistency that mimics real whipped cream. The ratio might vary depending on the product, so start with less spackle/caulk and add more as needed. Apply an initial base layer of this mixture over the Styrofoam ball and cardboard using a spoon or a crafting knife, shaping it roughly into a dome. Then, transfer the remaining mixture into a cake decorating bag fitted with your chosen frosting tip (a star tip or round tip works wonderfully). Pipe on the rest of the fake whipped cream, creating beautiful swirls, peaks, and dollops for a truly finished and appetizing appearance.
Step 5: Add the Decorative Straw
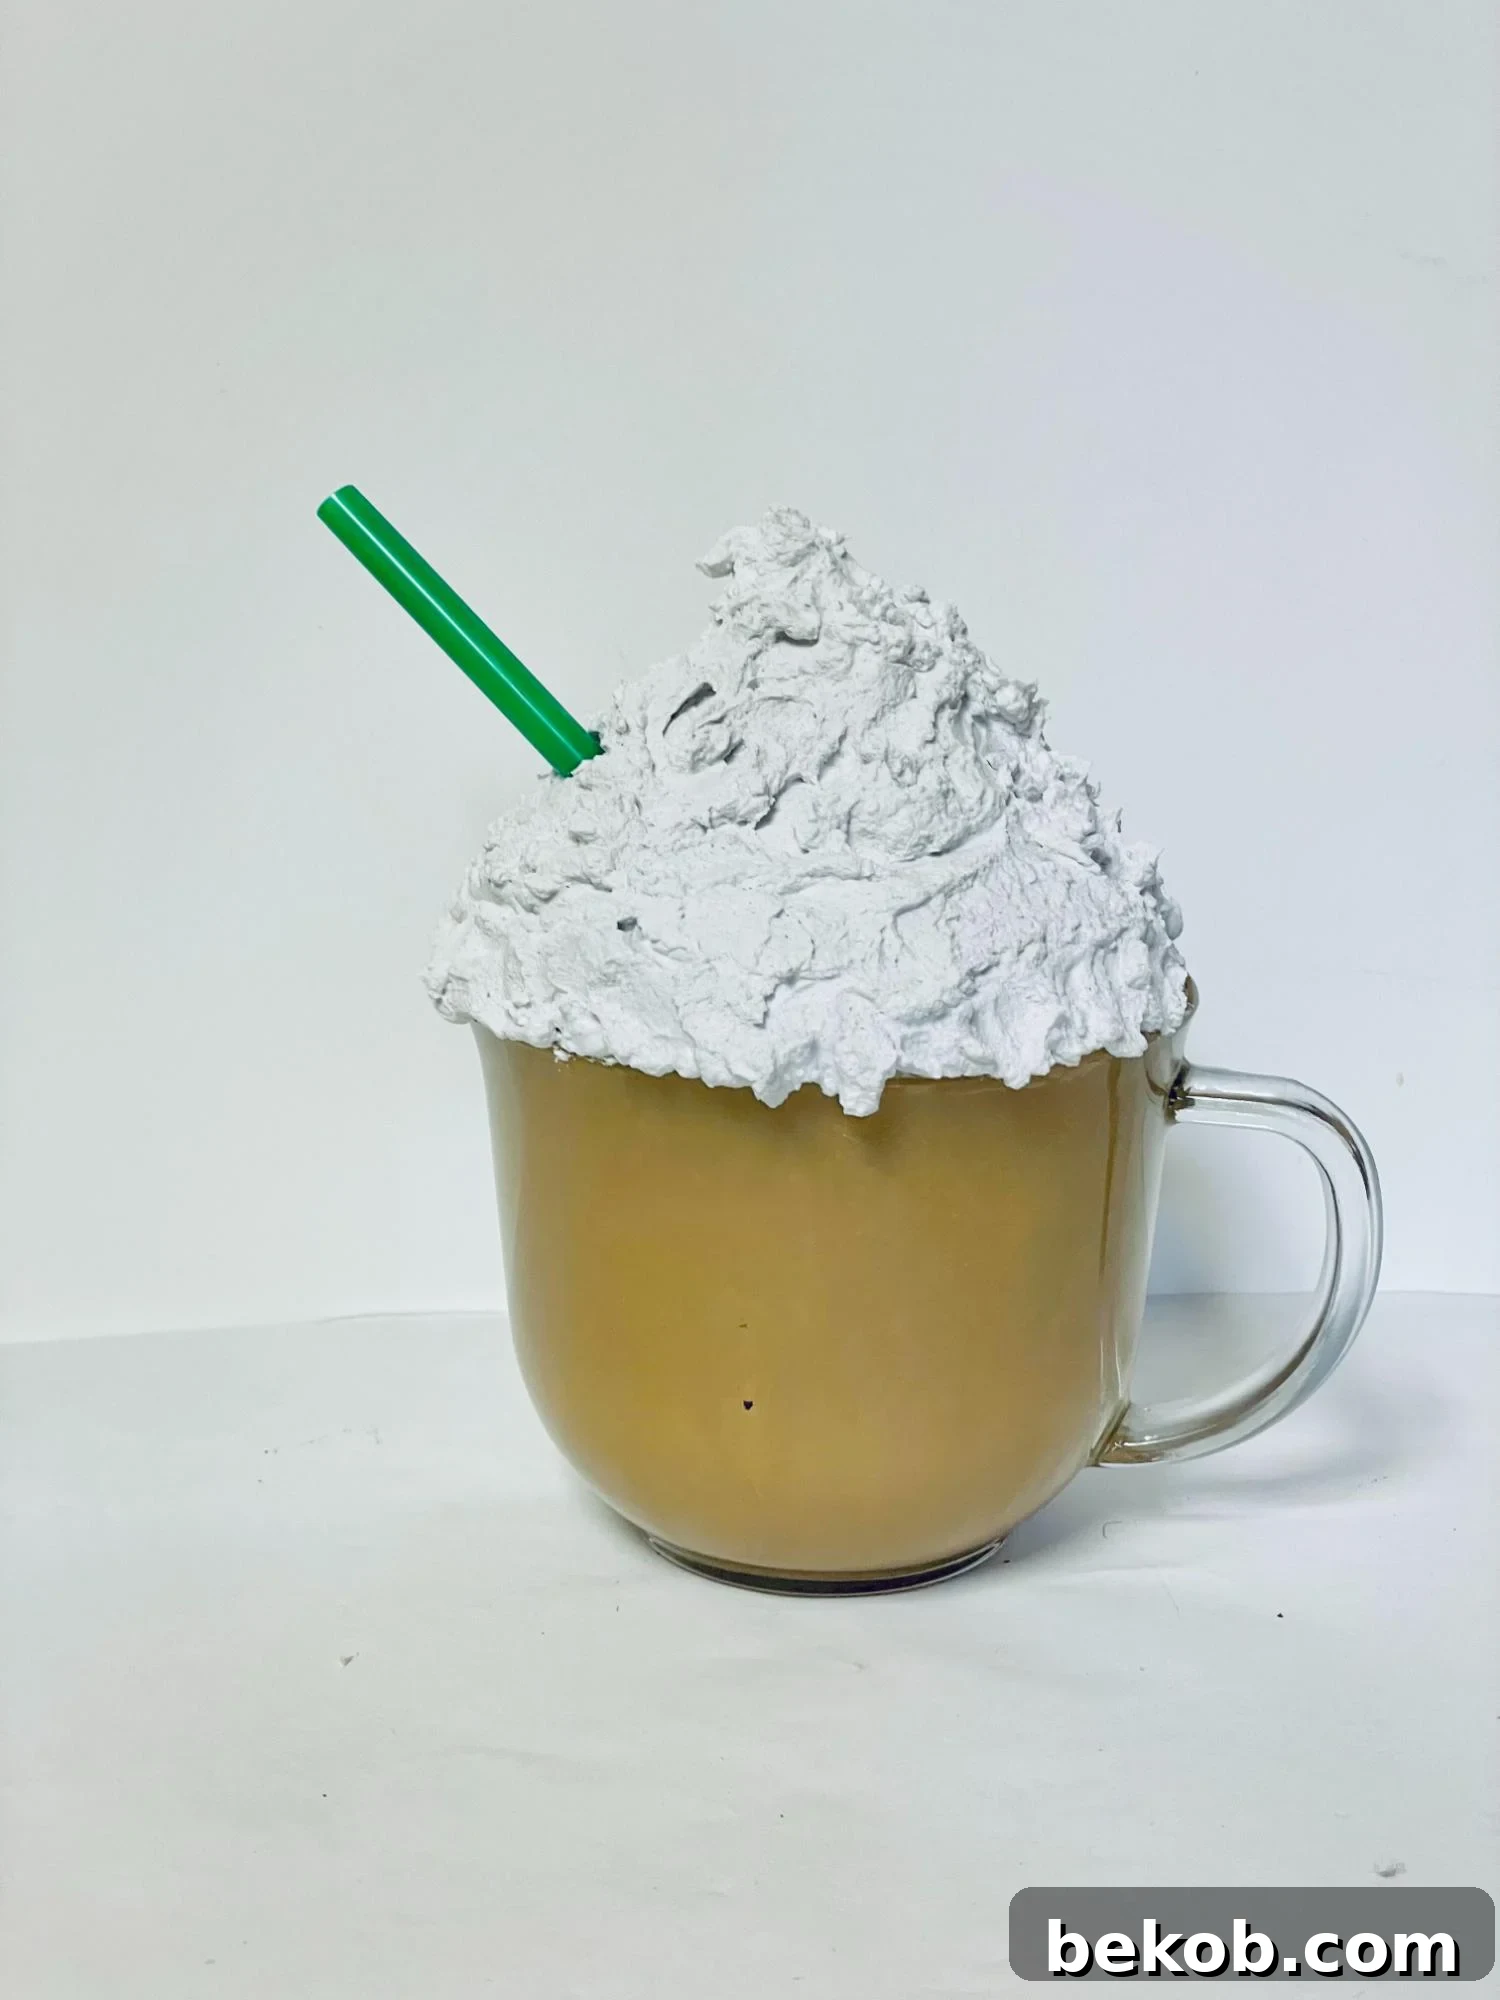
Select your plastic straw and trim it to a suitable length, ensuring it doesn’t extend too high above the mug. Gently insert the trimmed straw into the freshly piped “whipped cream,” positioning it slightly off-center for a natural look. The spackle or caulk will hold the straw firmly in place as it dries. Once the straw is inserted and any final adjustments to the whipped cream are made, it’s crucial to allow the mug to dry completely. This typically takes at least 24 hours, but can be longer depending on humidity and the thickness of your spackle/caulk application. Patience here ensures a durable and long-lasting decoration.
Creative Variations for Your Fake Hot Chocolate Mugs
Once you’ve mastered the basic technique, unleash your creativity with these delightful variations to make each fake hot chocolate mug unique and even more festive:
- Peppermint Twist: For a classic holiday look, add a candy cane to the top of the hot chocolate. You can use a real miniature candy cane for authentic charm or craft your own using air-dry clay painted with red and white stripes. Alternatively, sprinkle crushed peppermint candies (real or faux made from clay/glitter) onto the “whipped cream” before it dries for a delightful texture and color burst.
- Sprinkle of Joy: Elevate the fun factor by adding sprinkles! Use real candy sprinkles for a realistic touch, or for a non-food option, create your own “sprinkles” from tiny pieces of colored air-dry clay or use white glitter for a glistening, snow-like effect. This simple addition instantly makes the mug look more cheerful and appealing.
- Marshmallow Madness: Who can resist extra marshmallows? Mimic this by gluing mini white pom-poms around the edge of the mug, creating a fluffy, marshmallow-covered effect. For a more sculpted and permanent solution, fashion your own fake marshmallows using white air-dry clay, which can then be arranged atop the whipped cream for a wonderfully cozy finish. Consider lightly “toasting” the edges of your clay marshmallows with a dab of brown paint for added realism.
- Caramel Drizzle Delight: Simulate a luscious caramel drizzle by mixing a small amount of brown or tan paint with clear craft glue. Drip this mixture over the “whipped cream” in a swirling pattern for an extra touch of decadence.
- Cinnamon Dusting: For a subtle yet authentic detail, gently dust the top of the “whipped cream” with a tiny amount of real ground cinnamon using a fine-mesh sieve. This adds both visual warmth and a hint of a comforting aroma.
Common Questions About Fake Hot Chocolate Mugs
Can I use a different type of paint?
Absolutely! While our tutorial primarily suggests chalk paint for its matte finish and excellent coverage, acrylic paint works equally well. If using acrylics, you might find yourself needing to apply multiple coats to achieve a fully opaque and rich color for the hot chocolate layer. The most critical aspect is achieving the right shade: aim for a deep, inviting brown that truly resembles rich hot chocolate. Be cautious not to make it too dark, which might look like coffee, or too light, which could appear diluted or unappealing.
How can I personalize the fake hot chocolate mugs?
Personalization is where your creativity truly shines! Get imaginative with additional decorations. You can tie festive ribbons or small jingle bells around the mug handles for a touch of holiday sparkle. Miniature ornaments, such as tiny snowflakes or stars, can be glued onto the mug itself or nestled into the “whipped cream.” For a truly bespoke touch, use paint pens to add names, initials, or charming holiday sayings like “Joy” or “Cozy” to the outside of the mugs. Stenciling a snowflake pattern or a small festive motif is another excellent way to add a unique flair.
How durable are these fake hot chocolate mugs?
Once the spackle or caulk has fully cured (which can take up to 48 hours, depending on thickness and humidity), your fake hot chocolate mugs will be quite durable. They are designed for indoor decorative use and can withstand handling. To ensure their longevity, avoid exposing them to extreme temperatures or direct sunlight for prolonged periods, as this could cause the materials to yellow or crack over time. If they get dusty, a gentle wipe with a dry cloth will suffice.
Are there any safety considerations?
While these mugs are non-toxic once dry, it’s crucial to remember that they are purely for decoration and are not edible. Keep them out of reach of very young children or pets who might mistake them for real food or drinks. When crafting, ensure good ventilation, especially when working with paints, spackle, or caulk. Always supervise children if they are participating in the crafting process.
Design Your Dream Hot Chocolate Bar: Tips for a Memorable Experience
A well-curated hot chocolate bar is more than just a place to get a drink; it’s an experience, a focal point of festive gatherings, and a cozy invitation to indulge. Planning your DIY hot chocolate bar and self-serve station involves thoughtful consideration of beverages, delectable toppings, and engaging accessories to create an unforgettable treat for your guests.
Hot Chocolate Bar Ideas for Every Palate
As you meticulously plan your hot chocolate station, it’s essential to consider a diverse range of offerings to cater to all tastes. Focus on both the staples and some exciting additions to your buffet.
Essential Beverages
Hot chocolate, in its various glorious forms, is naturally the star of the show. Offer a classic milk chocolate option, but also consider a rich dark chocolate or even a creamy white chocolate variant to provide choices. Guests will especially appreciate having a selection of coffee and tea available, particularly if adults are attending the party. You can provide individual hot cocoa mixes along with hot water, or for larger gatherings, pre-mix a batch of hot cocoa and keep it warm and ready to serve in an insulated thermos or a slow cooker. Don’t forget alternative milk options like almond or oat milk for those with dietary preferences.
Indulgent Hot Chocolate Recipes to Try
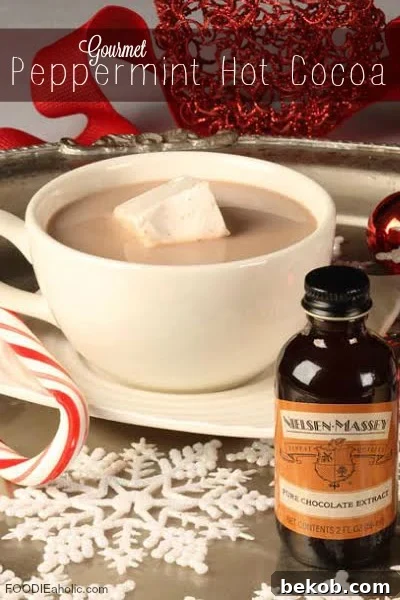
- Gourmet Peppermint Hot Cocoa
- High-Protein Peppermint Hot Chocolate and Vanilla Whipped Cream
- Spicy Cinnamon Hot Chocolate
- Dairy Free Hot Coco
Decadent Hot Cocoa Toppings, Mix-Ins, and Stir-Ins
This is where the hot chocolate bar truly comes alive! Offer a tempting array of classics and creative additions. For toppings, definitely include mini marshmallows, large fluffy marshmallows, and a generous dollop of whipped cream (from a can or homemade). Beyond these, consider chocolate chips (milk, dark, white, and even flavored), crushed peppermint candies or butter mints, toffee bits, and elegant chocolate shavings. Small pieces of various chocolate bars or chocolate orange segments can add a gourmet touch.
Guests will adore stirring in an assortment of flavored creamers, rich caramel sauce, and decadent hot fudge sauce. Expand your syrup selection to include hazelnut, French vanilla, or even a spicy chili-infused syrup for adventurous palates. Offer a variety of festive stir sticks, such as cinnamon sticks or chocolate-dipped spoons, to enhance the experience.
To top it all off, provide chocolate sprinkles, colorful edible glitter, or a light dusting of cinnamon or cocoa powder. For an adult gathering, small bottles of liqueurs like peppermint schnapps, Baileys, or Kahlúa can be discreetly offered for a spirited twist.
Mugs, Cups, and Accessories for a Seamless Experience
Consider whether you’ll opt for disposable cups (with insulating sleeves for hot drinks) or reusable mugs. Offering plain ceramic mugs and Sharpie pens can create a fun activity where guests customize their own souvenir mug to take home. Mason jars with handles also make for a rustic and charming serving option. Crucially, don’t forget to provide an ample supply of spoons or stir sticks, along with napkins.
Complementary Sweet Treats for Your Hot Chocolate Bar
Every exceptional hot cocoa bar deserves a selection of delightful accompaniments. We particularly love serving elegant pirouette cookies, delicate Milanos, and classic shortbread cookies. And for a truly homemade touch, baking a batch of “Better than Nutter Butter” Peanut Butter Cookies is always a hit! Explore our extensive list of favorite cookie recipes for even more inspiration.
Best Cookie Recipes to Pair with Hot Cocoa
- Chewy Chocolate Cookies
- Raspberry Shortbread Cookies
- Easy Lemon Drop Cookies
- Chewy Gingerbread Cookies
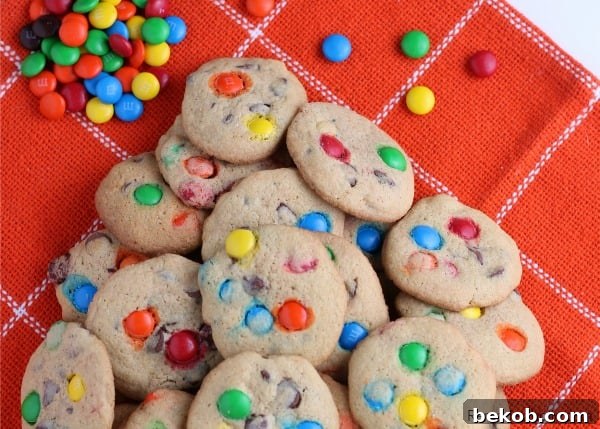
- Chocolate Chip M&M Cookies
How to Decorate a Hot Chocolate Bar Party for Visual Appeal
Beyond the charm of your DIY fake hot chocolate mugs, creating an aesthetically pleasing hot chocolate bar is key to a truly memorable party. Thoughtful decoration transforms a simple drink station into a festive showstopper:
- Strategic Setup: Position your hot chocolate bar on a prominent bar cart, a dedicated table, or an easily accessible counter. Ensure there’s enough space for guests to move comfortably and customize their drinks without feeling crowded. Explore our favorite DIY bar cart ideas here to find the perfect foundation for your station.
- Elegant Ingredient Displays: Present all your hot chocolate ingredients, toppings, and mix-ins in attractive decorative jars, clear glass containers, or elegant ceramic bowls. This allows guests to easily see the options and adds to the overall visual appeal. Provide individual spoons or serving tools for each item to maintain hygiene and ease of use.
- Clear Labeling: Make it easy for guests to identify all the offerings by using clear and charming labels for each drink and topping. Small chalkboard frame clip-on signs are an excellent, reusable option. Alternatively, write on festive gift tags (like our free printables) and tie them onto the containers with baker’s twine or decorative ribbon for a rustic touch.
- Utilize Tiered Trays: Maximize your counter space and add visual interest by incorporating tiered trays. You can make your own metal tiered tray or a charming wood tiered tray. Fill these with an assortment of toppings, small treats, and even miniature decorative elements like pinecones or fairy lights.
- Festive Banners and Signage: Create a focal point with a decorative banner proclaiming “Hot Cocoa Bar” or a festive sign. Use our free printable red polka dot letters to spell out a custom message, or hang a colorful paper garland. A DIY chalkboard easel can display the menu or a welcoming holiday message in elegant chalk art.
- Ambiance Enhancers: Don’t overlook the power of ambiance. Incorporate soft lighting with fairy lights draped around the station or flameless candles for a cozy glow. A festive tablecloth, some winter greenery (like pine branches), and a few well-placed ornaments can tie the entire theme together beautifully.
Read our tips for creating a great hand-lettered chalkboard sign.
How to Make a Fake Hot Chocolate Mug for Decor: Step-by-Step Tutorial
Print Recipe
Ingredients
- Dollar Tree glass mug I used the large 18 oz clear mug, and this smaller 8 oz Irish coffee mug would be cute, too
- Styrofoam ball to fit inside mug 3-pack at Dollar Tree
- Dollar Tree spackle or squeeze tube caulk
- Cake decorating frosting tip kit and icing bags
- Plastic jumbo straw or regular
- White chalk paint or acrylic paint
- Brown chalk paint or acrylic paint
- Cardboard
- Scissors
- Paint Brush
- Hot glue gun and glue sticks
Instructions
-
Flip the mug over and trace the top section on cardboard. Cut out the circle to cover the mug. If you want a mug that’s only partially filled, cut the cardboard smaller to fit inside the mug and other cardboard pieces to prop it up.
-
Paint the inside of the mug with tan-colored paint, applying multiple coats if using acrylic paint.
-
Add a thin line of glue around the top of the mug (or wherever you’d like the fake hot chocolate to stop) and place the cardboard circle, then glue a Styrofoam ball in the center.
-
If you want to see the hot chocolate at the top (rather than covering it completely with the fake whipped cream), mix some spackling or caulk with the brown paint and spread a layer on top of the cardboard.
-
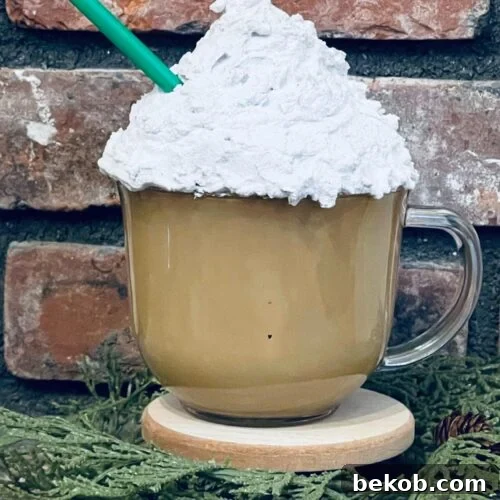
Mix the white paint with spackle or caulk for a whipped cream look. Apply a base layer with a spoon or knife, then use a cake decorating bag to pipe on the rest of the fake whipped cream for a finished appearance.
-
Trim a green straw and insert it into the spackle. Allow 24 hours to dry completely.