
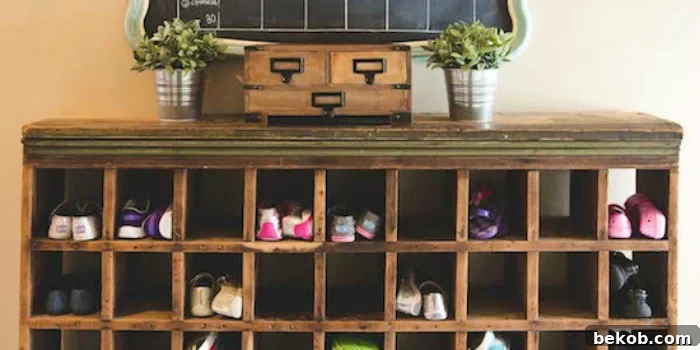
Build a stunning, tall, and narrow DIY shoe cubby shelf, taking inspiration from the timeless charm of a vintage wood mail sorter! With our detailed woodworking plans, this project is perfect for beginners and can be completed in a single weekend, offering a stylish solution to entryway clutter.
Seeking more clever storage ideas for every room? Explore our other fantastic cubby projects, including a toy organizer cubby shelf, a versatile entryway shelf with cubbies, and a space-saving wall cubby shelf.
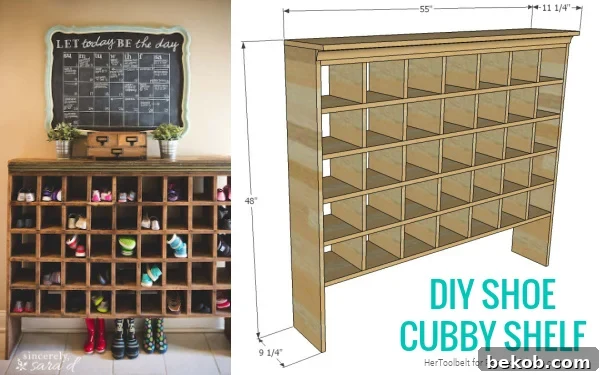
Build Your Own Vintage Mail Sorter Inspired Shoe Cubby
This post contains affiliate links, which means we may earn a small commission if you make a purchase through them, at no extra cost to you. See our full disclosure policy here.
Hello everyone! I’m Sara from Sincerely, Sara D., and I’m absolutely thrilled to share my journey and this fantastic DIY project with the Remodelaholic community today.
While I often feel like a misplaced Southern girl, drawn to sunshine and warmth, I’m a proud Midwesterner, born, raised, and still living in the heartland. I’m a busy mom to three wonderful children and a wife to an incredibly patient man who wholeheartedly supports my endless stream of DIY projects and creative ideas.
My passion lies in DIY home decor, and I firmly believe that anything can be painted! Among my most popular tutorials are my painted faucets guide, which transforms an everyday fixture, and my foolproof tutorial for achieving perfect chalkboard lettering every time. I love creating practical yet beautiful solutions for the home, and today’s project is no exception.
The Inspiration: A Timeless Vintage Mail Sorter
A couple of years ago, we settled into our current home, and one of the very first areas I tackled was our mudroom. This space is not only long and narrow but also serves as our family’s primary entrance, conveniently located right off the garage. As many families can relate, an entryway often becomes a dumping ground for shoes.
While my kids are generally good about kicking off their shoes upon entering, this habit inevitably led to an unsightly pile of footwear by the doorway – a classic entryway challenge. I knew I needed a functional and attractive solution to tame the shoe chaos, especially given the narrow footprint of the mudroom.
Serendipity struck shortly after we moved in when I stumbled upon an old post office mail sorter at a local antique mall. It was love at first sight! For just $80, it was an absolute steal, and I knew I had to have it. My fingers were crossed, hoping it would be the perfect size to accommodate my children’s shoes and bring some much-needed order to our entryway.
The antique dealer was kind enough to deliver the piece to my home, which led to a rather humorous scene. My husband watched with a mix of confusion and amusement as a muddy, wasp-infested “mystery machine” panel van unloaded what looked like an old, neglected piece of furniture. He wasn’t quite seeing my vision at that moment!
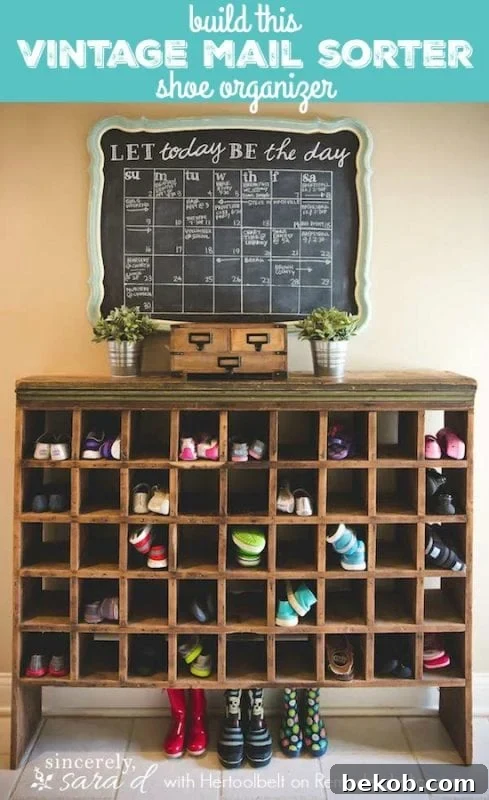
However, a little elbow grease and thorough cleaning transformed the rough-around-the-edges mail sorter into a beautiful, functional piece that perfectly fit our mudroom. With three active kids, our family is always on the go – juggling school, sports, piano lessons, and church activities. To complement our new shoe organizer and help us stay on track, a DIY chalkboard calendar became the perfect finishing touch for the space. Two years later, we are still absolutely loving and regularly using this vintage mail sorter turned shoe cubby!
Given its success and the sheer practicality it brought to our home, I was delighted when Remodelaholic approached me about creating plans so that their readers could build their own version. I was happy to share the dimensions and offer a crucial suggestion: to make the cubbies slightly deeper and wider than my original mail sorter shelves. This modification ensures that the DIY version can comfortably accommodate larger kids’ shoes and even adult footwear, making it even more practical for modern families.
How to Build Your Own DIY Shoe Cubby Organizer
To bring this fantastic idea to life for our readers, we enlisted the expertise of Amy from Hertoolbelt. Amy meticulously drafted modified plans, allowing you to build a stylish vintage mail sorter shoe cubby shelf just like Sara’s, but optimized for modern use.
This comprehensive 12-page woodworking plan is specifically designed with the beginner in mind. It’s so user-friendly that you can easily finish this project in a single weekend! The complete plan provides everything you need to succeed, including detailed diagrams, precise dimensions, and clear, step-by-step assembly instructions to guide you through every stage of the build.
Shoe Cubby Dimensions & Customization Options
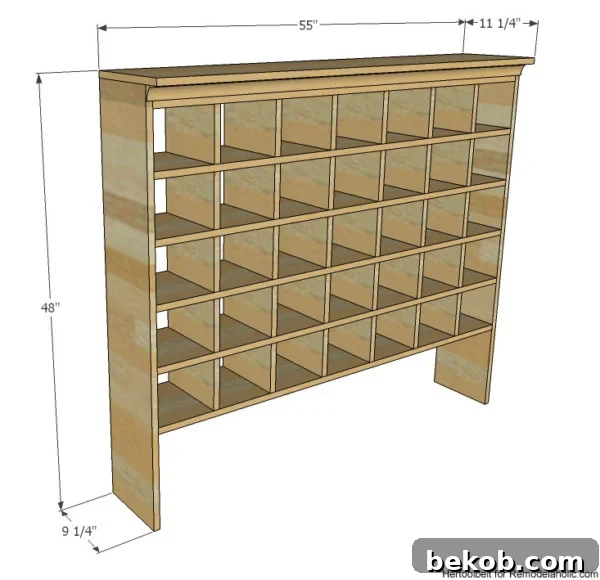
One of the best features of this tall shoe cubby is its adaptability. You can easily adjust the plans to perfectly fit your unique space, as Kristi demonstrated below. The provided plans include detailed measurements to construct a mail sorter cubby featuring 35 individual cubbies, offering ample storage:
- Overall dimensions: 55” W x 48” H x 11 ¼” D (with a narrower 9 ¼” depth at the base for a streamlined look)
- Individual cubby interior dimensions: 7” W x 6” H x 9 ¼” D – generously sized to accommodate various shoe types.
Essential Materials for Your Project
This sturdy and stylish tall shoe cubby is designed to be built using common lumber sizes, making it accessible for most DIYers. You’ll need 1×10, 1×12, and 1×3 boards, along with attractive 1 1/4″-2 1/4″ trim molding to give it a polished, finished look.
Pro Tip for Narrow Spaces: If your hallway or entryway is particularly narrow, you can save a few precious inches of space by opting for 1×8 and 1×10 boards instead of the wider options mentioned above. This slight adjustment can make a big difference in tight areas.
You’ll also need these crucial supplies for assembly and finishing:
- 1 1/4″ pocket hole screws: For strong, hidden joinery that provides structural integrity.
- 1 1/4″ – 1 1/2″ brad nails: Ideal for securing smaller pieces and trim.
- Wood glue: Essential for creating durable, long-lasting bonds between wood pieces.
- Sandpaper: To smooth out any rough edges and prepare the wood for staining or painting.
- Wood filler (optional): Perfect for filling any small gaps or imperfections for a seamless finish.
- Stain: To enhance the natural beauty of the wood or achieve your desired color.
- Polyurethane/top coat: To protect the finished piece from wear and tear, ensuring its longevity.
Recommended Tools for a Smooth Build
While it’s theoretically possible to construct this shelf with just a hand saw and miter box, relying on screws and glue/nails for assembly, we highly recommend utilizing certain power tools. These tools will significantly improve joint strength, cutting ease, accuracy, and ultimately save you a considerable amount of time.
- Compound Miter Saw: For making precise, angled, and cross cuts quickly and accurately.
- Jig Saw (or small hand saw): Useful for cutting curves or making small, intricate cuts.
- Brad Nailer: To effortlessly attach trim and other smaller components with neat, minimal holes.
- Table Saw (optional): Excellent for ripping boards to specific widths and ensuring perfectly straight cuts, though not strictly necessary.
- Rafter Square: For marking and checking angles, ensuring your cuts and assemblies are perfectly square.
- Kreg Jig (pocket hole jig): A game-changer for creating strong, concealed joints, making assembly much cleaner and sturdier.
- Tape Measure: Indispensable for all measurements – remember to measure twice, cut once!
- Pencil: For marking your cuts and assembly points.
Get the Complete Woodworking Plans for Your DIY Shoe Cubby Here.
Reader-Built Mail Sorter Shoe Cubby Shelves: Your Success Stories!
We absolutely love seeing our dedicated readers utilize our woodworking plans to craft incredible storage solutions and beautiful furniture for their own homes. It’s incredibly rewarding to witness these projects come to life!
Have you built something amazing using our plans or found inspiration from content you’ve seen here on Remodelaholic? We’d be thrilled to feature your work! Send us a brag post here and share your DIY triumph.
Dan’s Custom Shoe Cubby Gift
Our talented reader, Dan, took our plans and built a magnificent shoe cubby for his daughter. The finished piece turned out absolutely wonderfully and made for a thoughtful, practical gift! (Shared in January 2017)
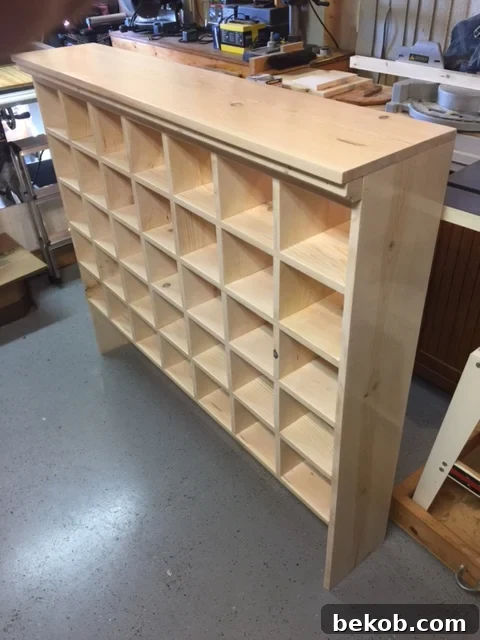
Here’s what Dan had to say about his building experience:
I built the shoe cubby for my daughter’s house, and she absolutely loves how it looks in her redecorated entryway. For assembly, I utilized Kreg pocket screws and biscuits to create strong, secure joints for all the shelves and partitions. My daughter then stained the pine wood with a beautiful white stain, followed by five coats of polyurethane for a durable and gleaming finish.
What an incredible and personalized gift, Dan! It’s clear why your daughter adores it. Thank you so much for sharing your fantastic work and valuable insights into your building process!
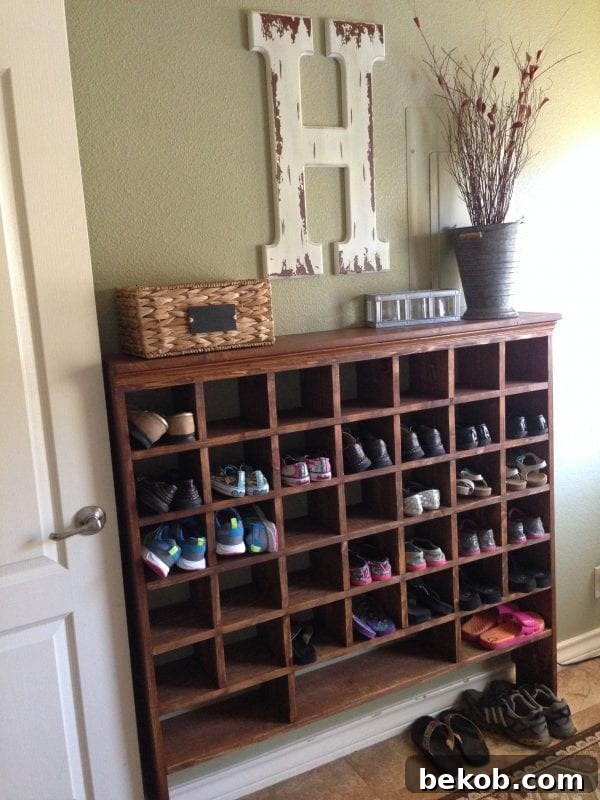
Kristi’s Narrow Shoe Cubby Organizer: A Perfect Custom Fit
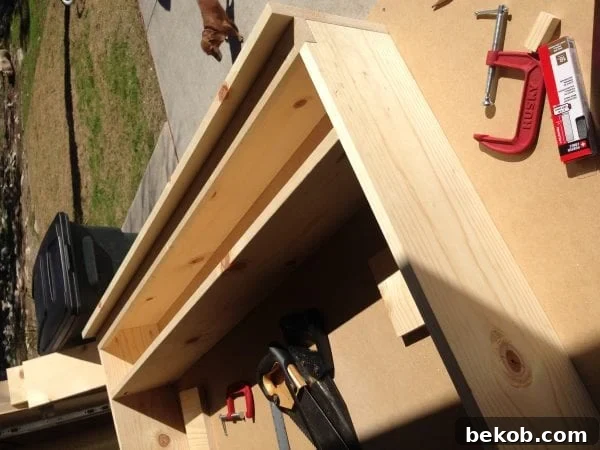
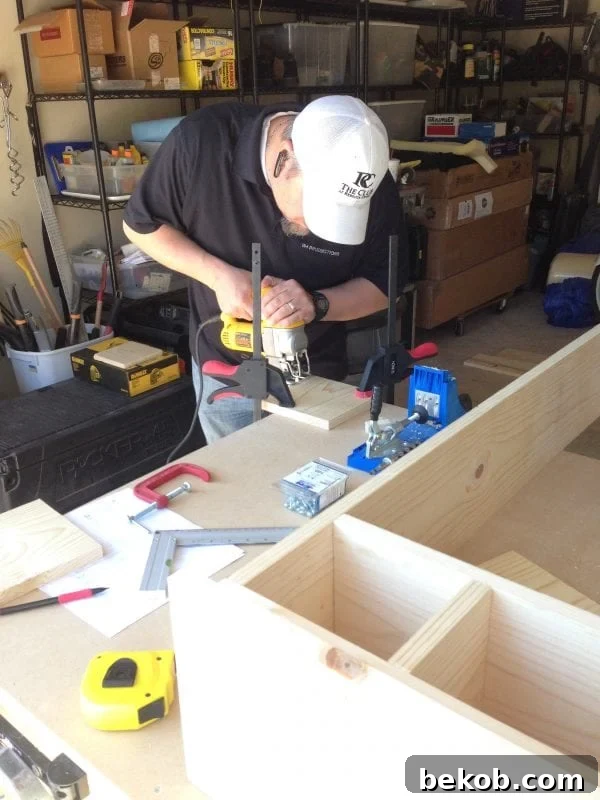
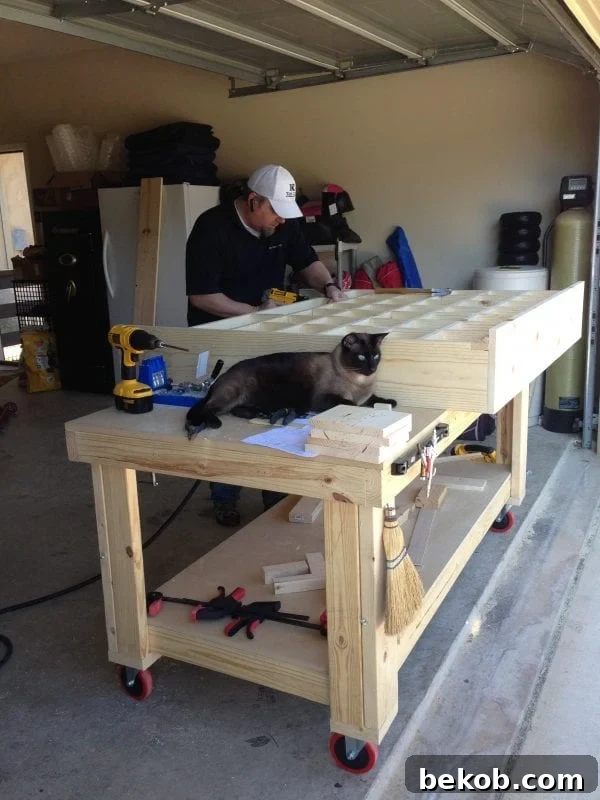
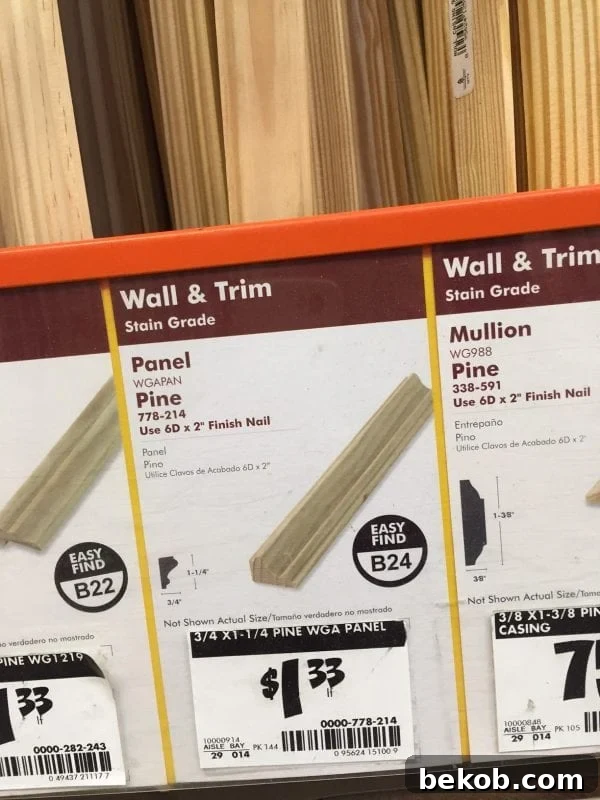
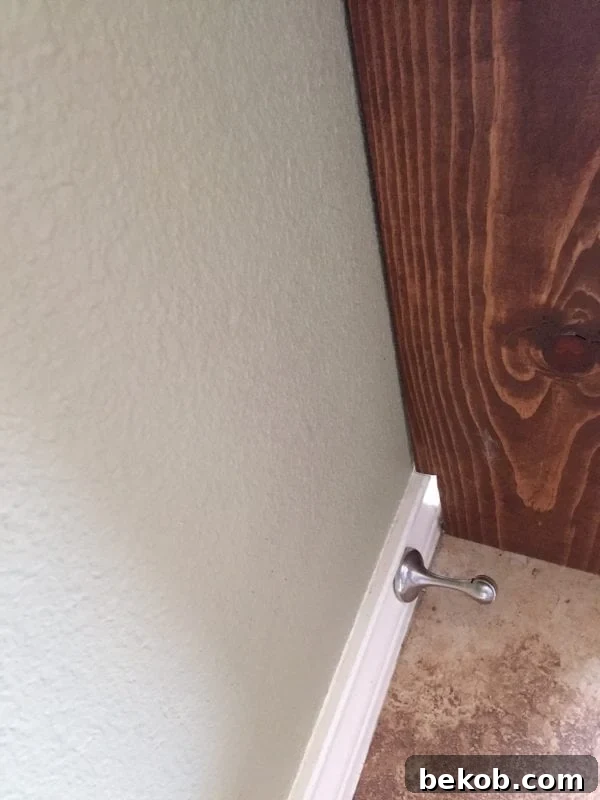
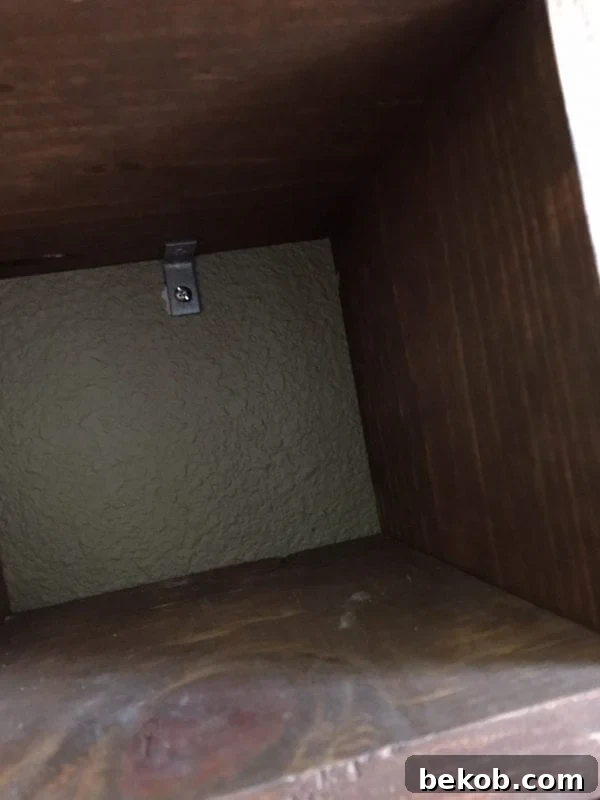
Kristi was so captivated and inspired by Sara’s original shoe organizer that she wasted no time heading to Home Depot to gather her supplies and embark on building her very own custom version!
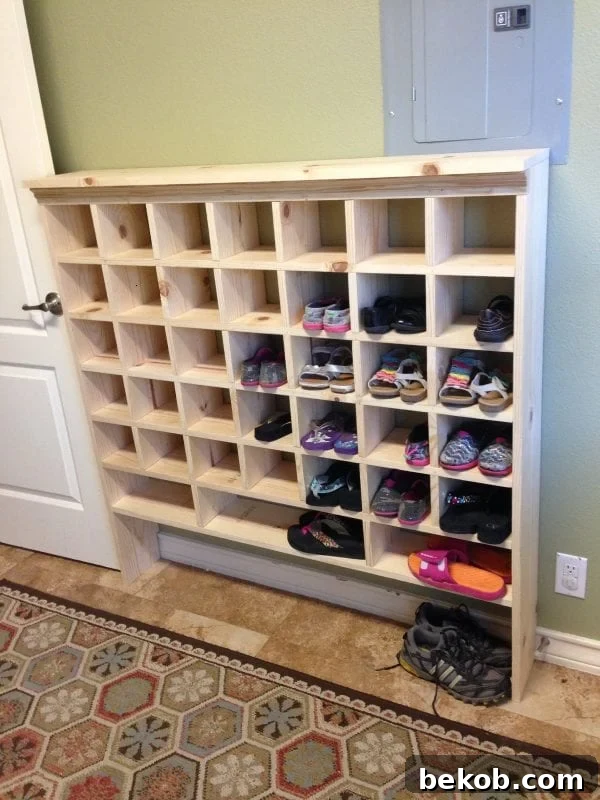
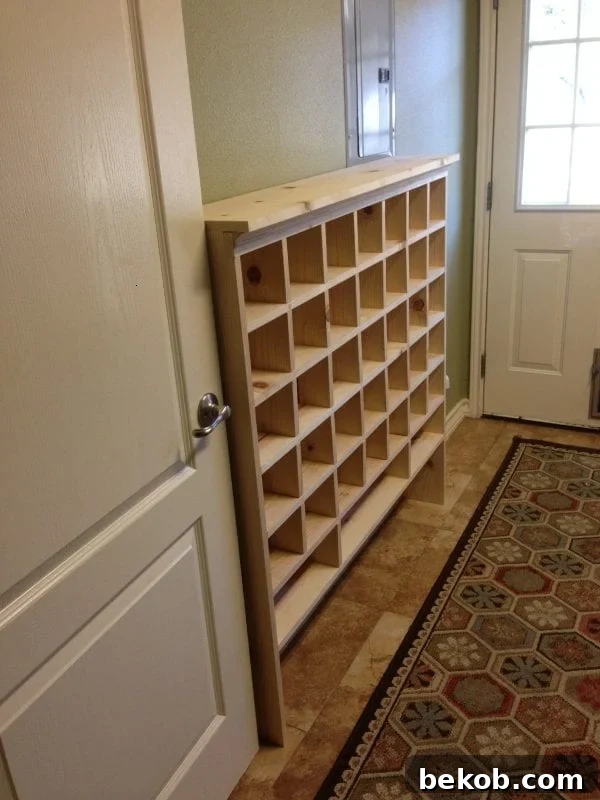
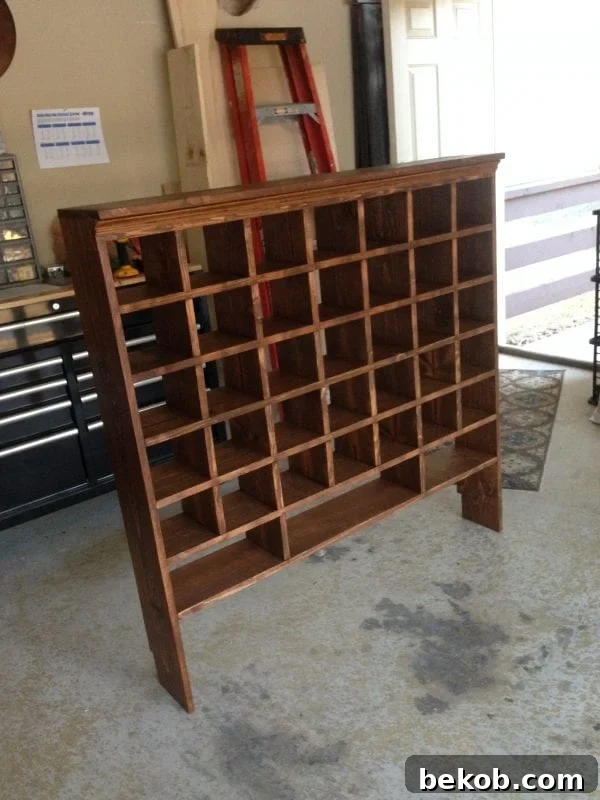
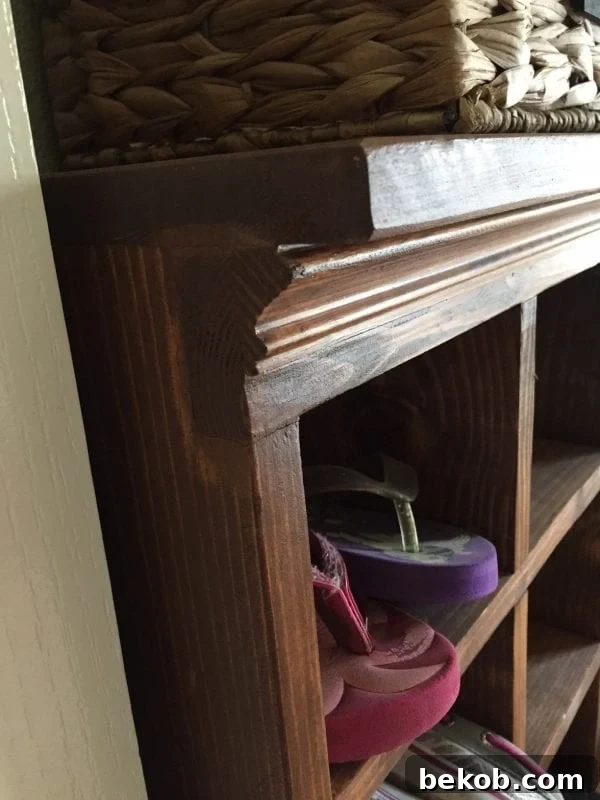
Looking for more fantastic building plans to enhance your home? Be sure to check out additional projects from Hertoolbelt!
Shoe Shelf Bench // Scroll Console Table // Kid’s Step Stool
More Creative Shoe Storage & Organization Ideas:
- Build a dynamic rotating shoe rack to maximize corner space.
- Create an easy entryway storage bench for both seating and hidden organization.
- Discover how to make a DIY wood shoe storage ladder for a unique vertical solution.
- Learn to build a versatile shoe cubby bench, ideal for flexible storage.
- Explore 10 more brilliant ways to store and organize shoes in any space.
Published: December 21, 2015 // Updated: January 7, 2021