
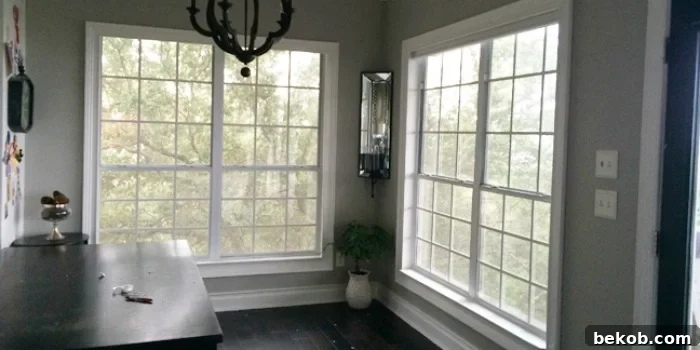
DIY Window Mullions: Transform Your Windows with Custom Grids
Elevate your home’s style by adding character and charm to your windows with custom window mullions (grids). Follow this comprehensive guide to create a stunning visual upgrade for any room.
If you enjoy this project, you might also find inspiration in our articles on Creative Ways to Repurpose Old Windows, Inspiring Window Seat Ideas, and Fantastic Window Covering Ideas.
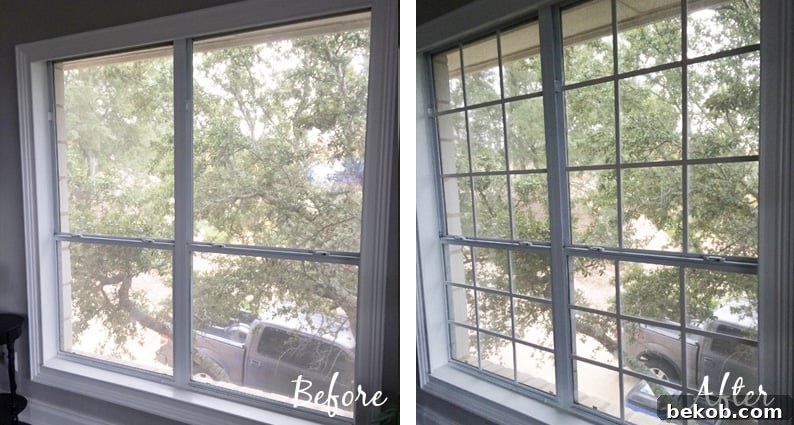
Creating and Installing Your Own Window Mullions: A Step-by-Step Guide
Transforming a standard house into a personalized and stylish home often involves a combination of significant renovations and subtle details. While larger projects, like entryway renovations and cabinet upgrades, create substantial change, smaller touches like selecting the perfect paint colors and window treatments add layers of character.
In this article, we’ll explore how to create and install your own window mullions, or grids, for a significant visual upgrade. This project can transform plain, unadorned windows into features that enhance the style of any room. This simple yet impactful project is perfect for adding a touch of sophistication without breaking the bank.
One homeowner, Jill, has dedicated considerable effort to personalize her home. You may recall her DIY range hood and creatively trimmed arched windows. Her latest endeavor, adding custom window mullions, is a straightforward yet striking addition. Previously, only half of her home’s windows featured grids, creating an inconsistent aesthetic. Jill devised an ingenious and affordable method to create her own window mullions, ensuring uniformity throughout her home. This easy-to-implement project significantly improves the overall aesthetics, harmonizing the large windows with the existing paned windows, with the new grids seamlessly integrating into the current window frames.
DIY Window Mullion Grids: A Detailed Tutorial by Jill from The Rozy Home
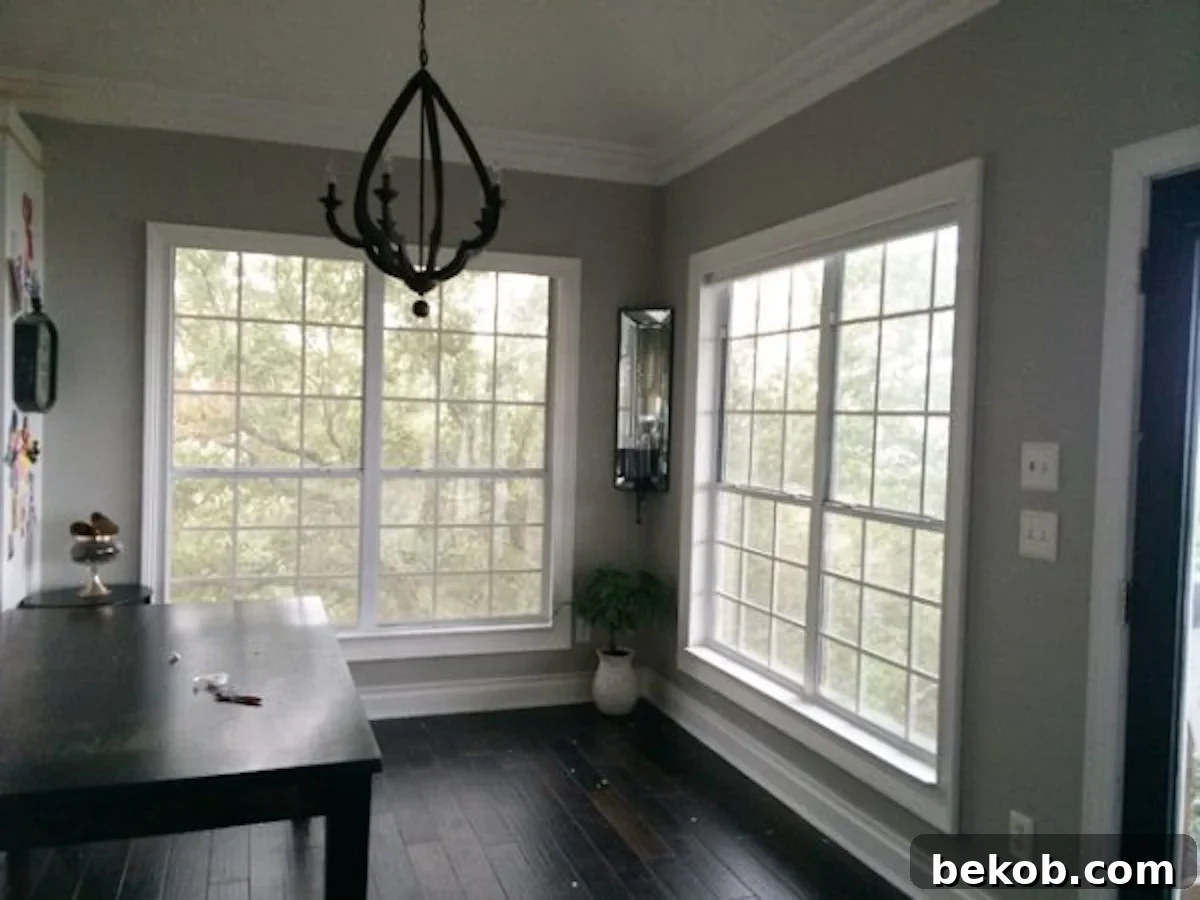
Hello! I’m Jill from The Rozy Home. For the past five years, I’ve been working to transform our house into our dream home. My latest project is definitely one of my favorites. I have an absolutely amazing view from my dining room during the day. However, at night, when the view disappears, I’m left with two large, rather boring windows. I’ve been somewhat dissatisfied with these windows for some time but could never quite figure out why.
Then, it hit me: the windows on the front of the house all have grids, including the arched windows and even the smaller ones, while those on the back and side of the house did not. Initially, I assumed the builder had done this to maximize the view. However, the more I considered it, the more I realized it was likely a cost-saving measure. If the builder truly intended to enhance the view, they would have installed larger windows without the pane dividers.
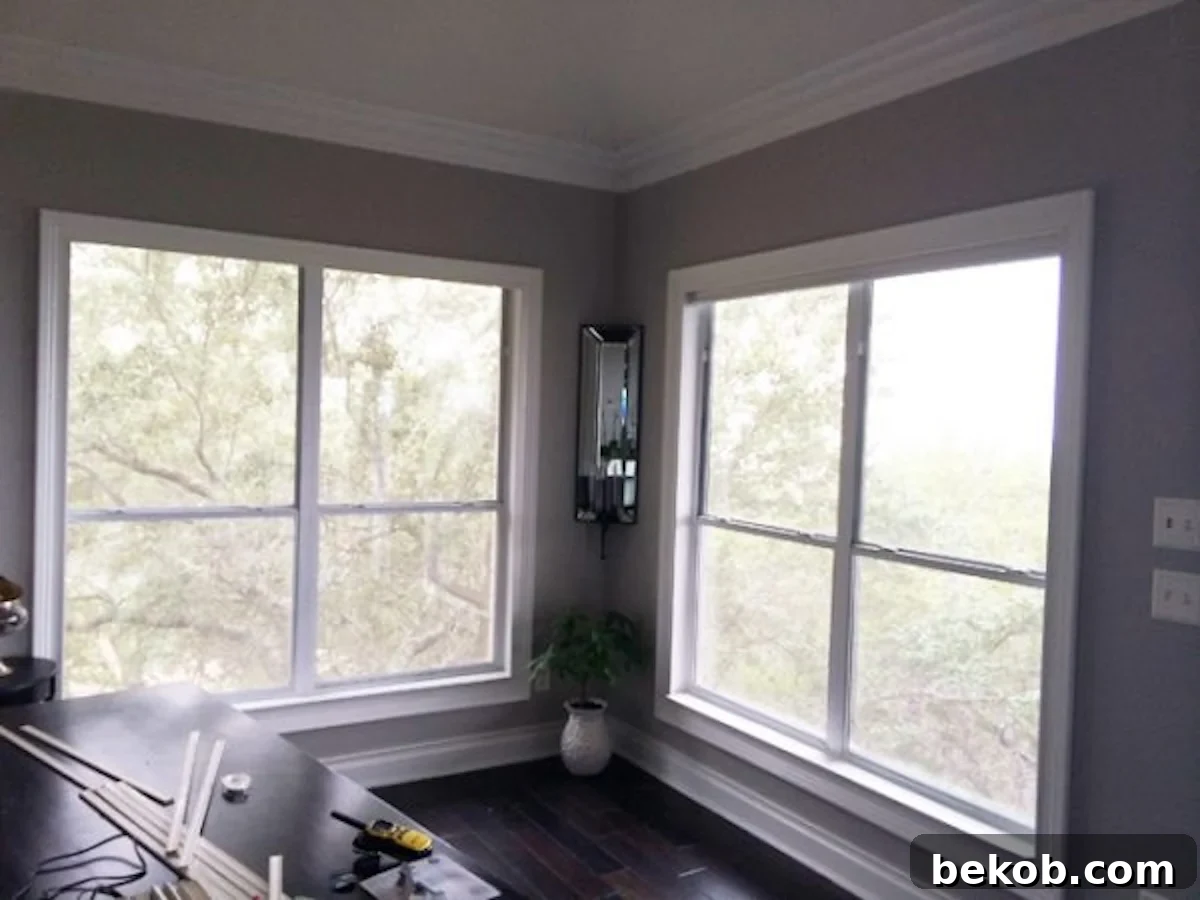
Recognizing this, I decided to add my own window grids. I’ll be honest: I wasn’t sure where to begin. Naturally, I turned to the internet but was disappointed by what I found. The tutorials were either overly complex or looked incredibly cheap. So, as I often do with projects, I grabbed a cup of coffee and just thought about it.
I walked around the house, carefully examining the windows with grids. I soon realized that the grids were simply constructed from two vertical pieces and six horizontal pieces. Armed with this knowledge, I headed to Home Depot to find the perfect trim.
Important Note: Traditional mullion grids from window manufacturers consist of thin aluminum strips placed between the panes of glass in double-pane windows, facilitating easy cleaning and improving energy efficiency. These DIY windowpane dividers are easily removable for cleaning the glass panes, saving money by creating my own grilles while achieving the desired aesthetic appeal. Homeowners who seek the true architectural style of window muntin grids might consider consulting a window manufacturer about retrofitting or replacing their windows.
Dividing windows into smaller panes of glass can slightly reduce the amount of natural light entering the room, but this DIY project does not compromise the window’s structural integrity. Therefore, consider your personal preferences and make an informed decision based on what you desire for your windows.
Step 1: Selecting the Mullion Grid Material
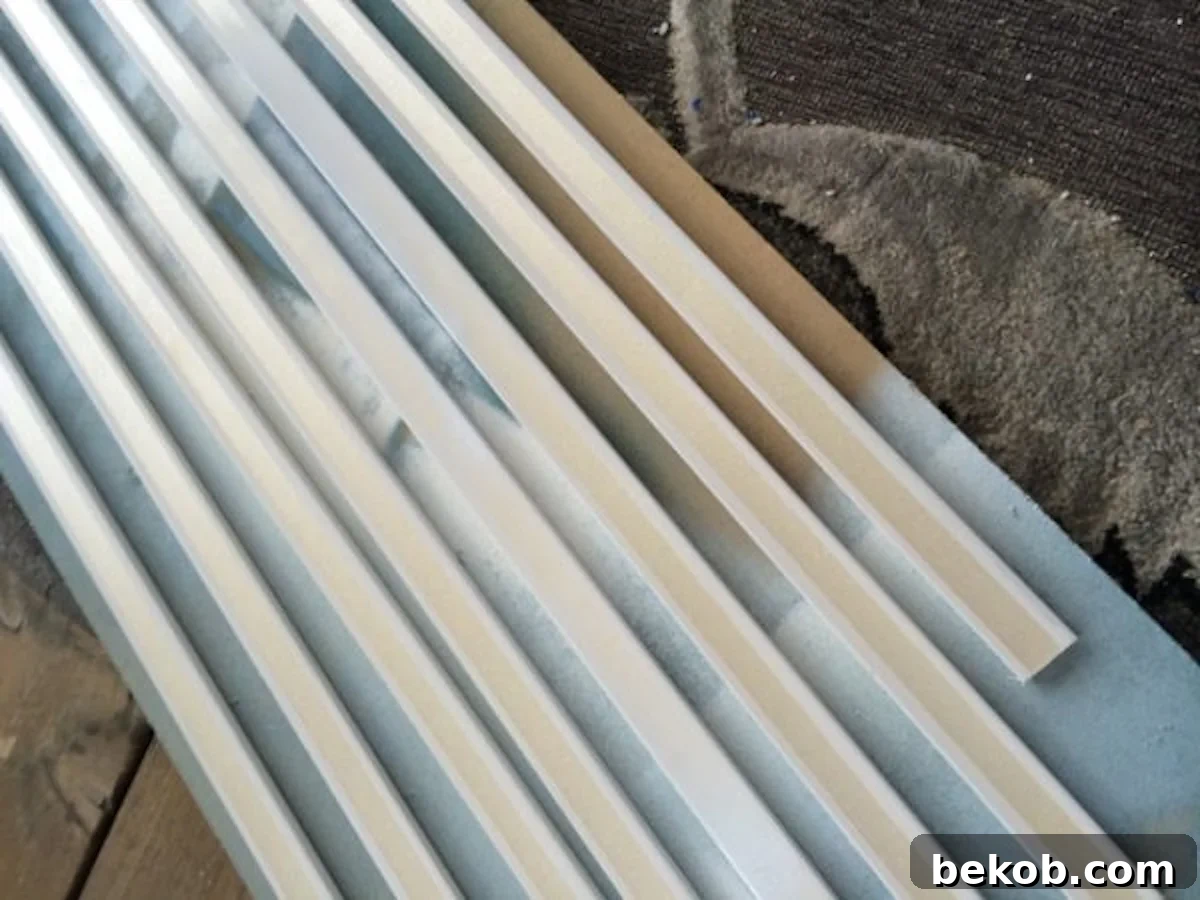
At Home Depot, I examined a lot of trim. I considered wood, but the existing grids on the front windows are not wood, so they wouldn’t match. After some searching, I found these polystyrene vinyl screen mouldings:
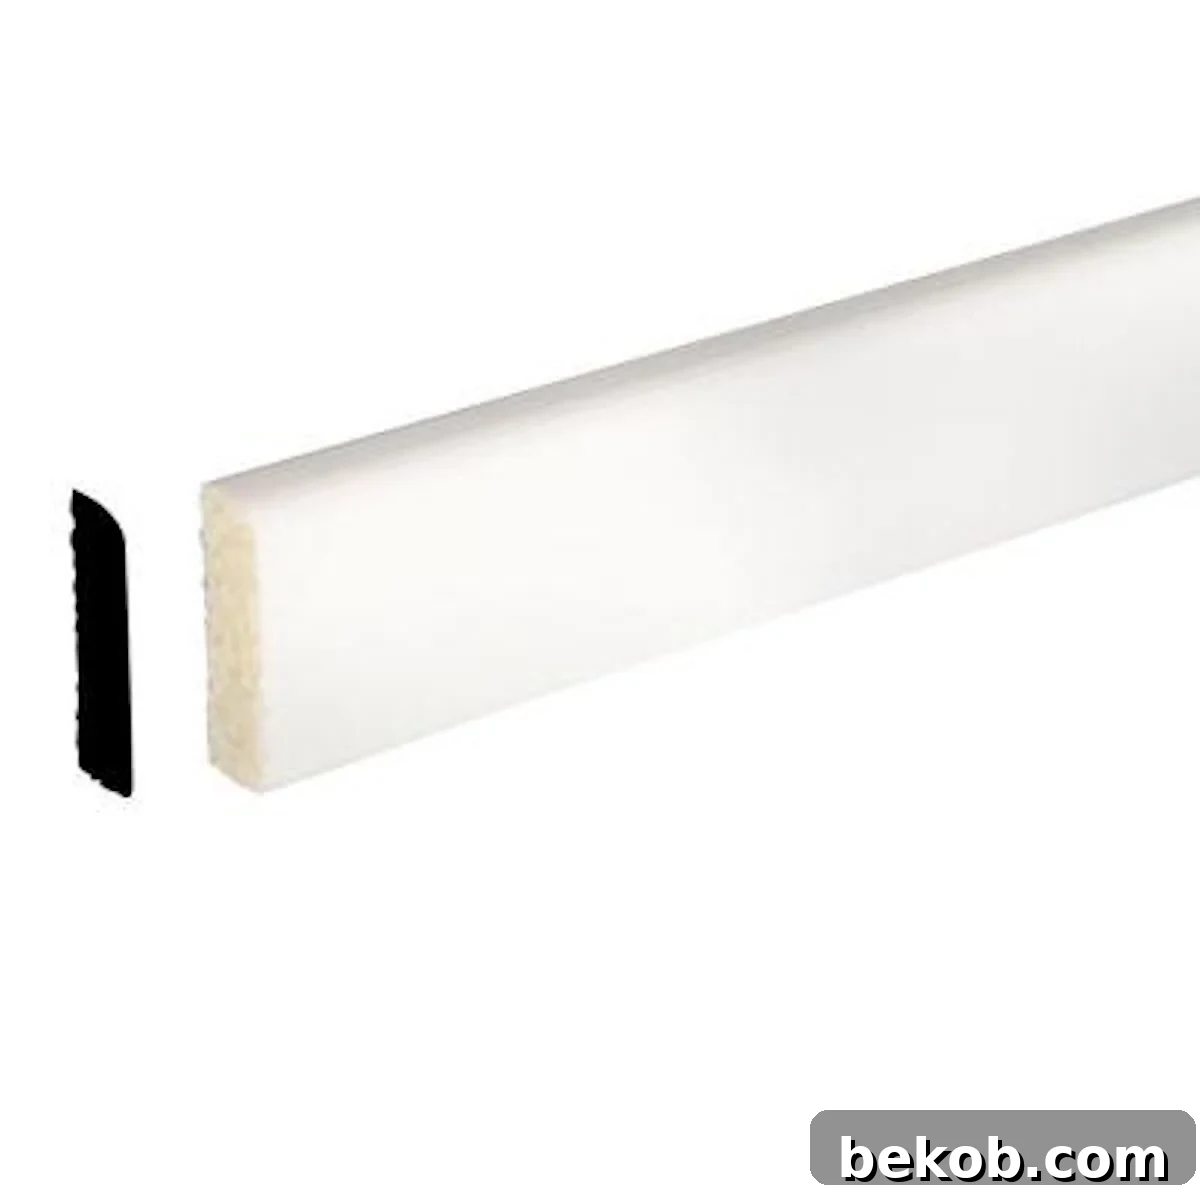
Not only were they the perfect width, but at $2.38 for 8 feet, they were also the right price. My windows are 32 inches wide and 72 inches tall, and there are four in total, so I calculated that I needed 16 pieces (though, in retrospect, 12 pieces were sufficient).
Update: I later switched to this pine screen moulding trim, which is slightly thinner, to prevent the mullions from rubbing against the window when opened.
Step 2: Planning the Mullion Grid Layout
Once home, I first determined the desired spacing for the vertical dividers. I decided on two vertical pieces, spaced approximately 10 1/4 inches apart. Next, I decided on the number of horizontal pieces. For this, I chose three rows. With this in mind, I measured the length from the top to the bottom of the window glass.
I made these cuts and secured them to the window using double-sided tape. This allowed me to accurately measure the length of the horizontal pieces. After determining the length, I cut 48 (yes, 48!) horizontal pieces and the remaining vertical pieces.
Step 3: Painting the Mullion Grid Pieces
After cutting the pieces, I took them to the garage and spray-painted the backs. Although this wasn’t entirely necessary since the backs wouldn’t be visible, I wanted to “do it right.”
A word of caution about spray-painting polystyrene: it requires at least three coats for adequate coverage. I used Rustoleum 2X, and it still took three coats.
Step 4: Assembling the Mullion Grids
After deciding on the spacing for each grid, I measured and marked the spot from the bottom of the grid upwards. I spaced mine 8 1/2 inches apart, so I measured 8 1/2 inches from the bottom and marked across the entire piece. Placing a horizontal stile at the bottom between the vertical stiles is helpful to ensure accurate measurements.
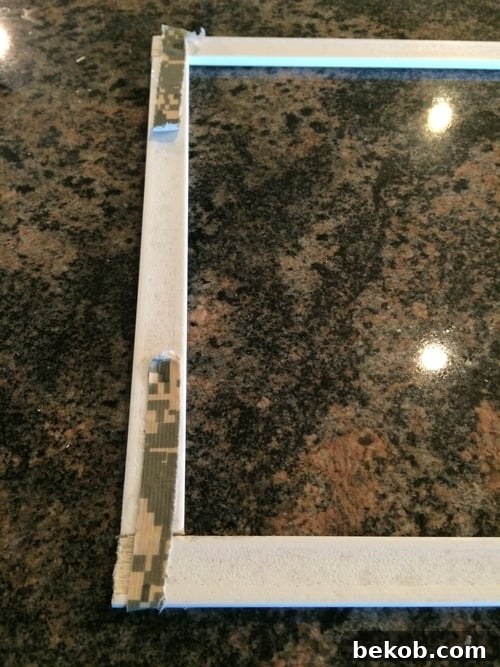
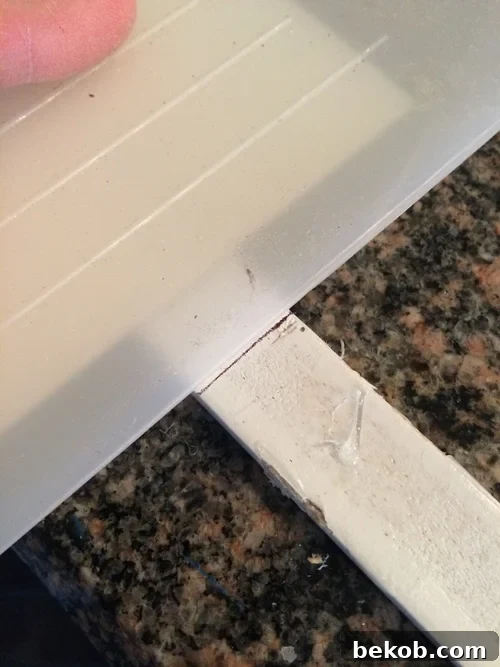
Next, I used a hot glue gun to apply hot glue to the end of a horizontal stile and attached it to the vertical stile. Then, I did the same on the other end, attaching it to the other vertical stile. It’s easiest to start with the center horizontal stiles first, as this will provide more stability to the overall structure.
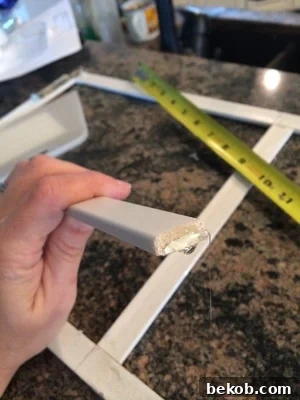
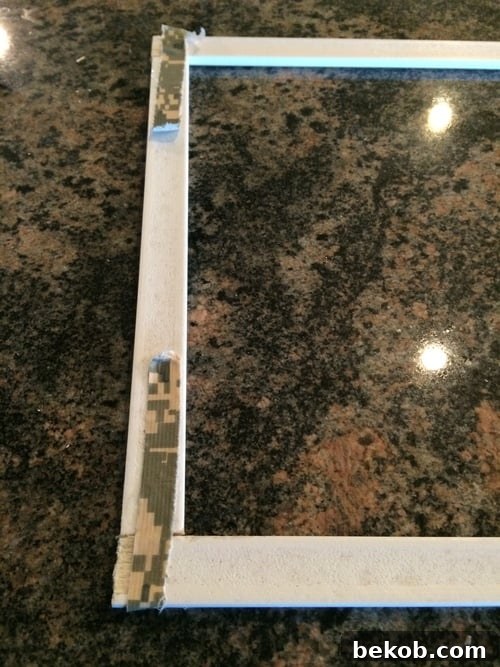
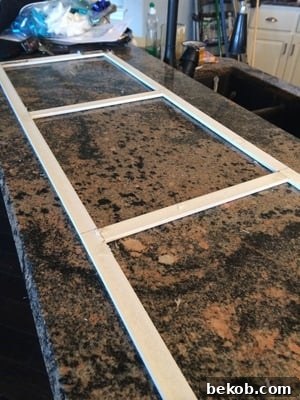
Repeat these steps on the left and right sides. Allow the grids to sit for approximately 15 minutes to ensure the glue has fully set.
Step 5: Attaching the Mullion Grids to the Windows
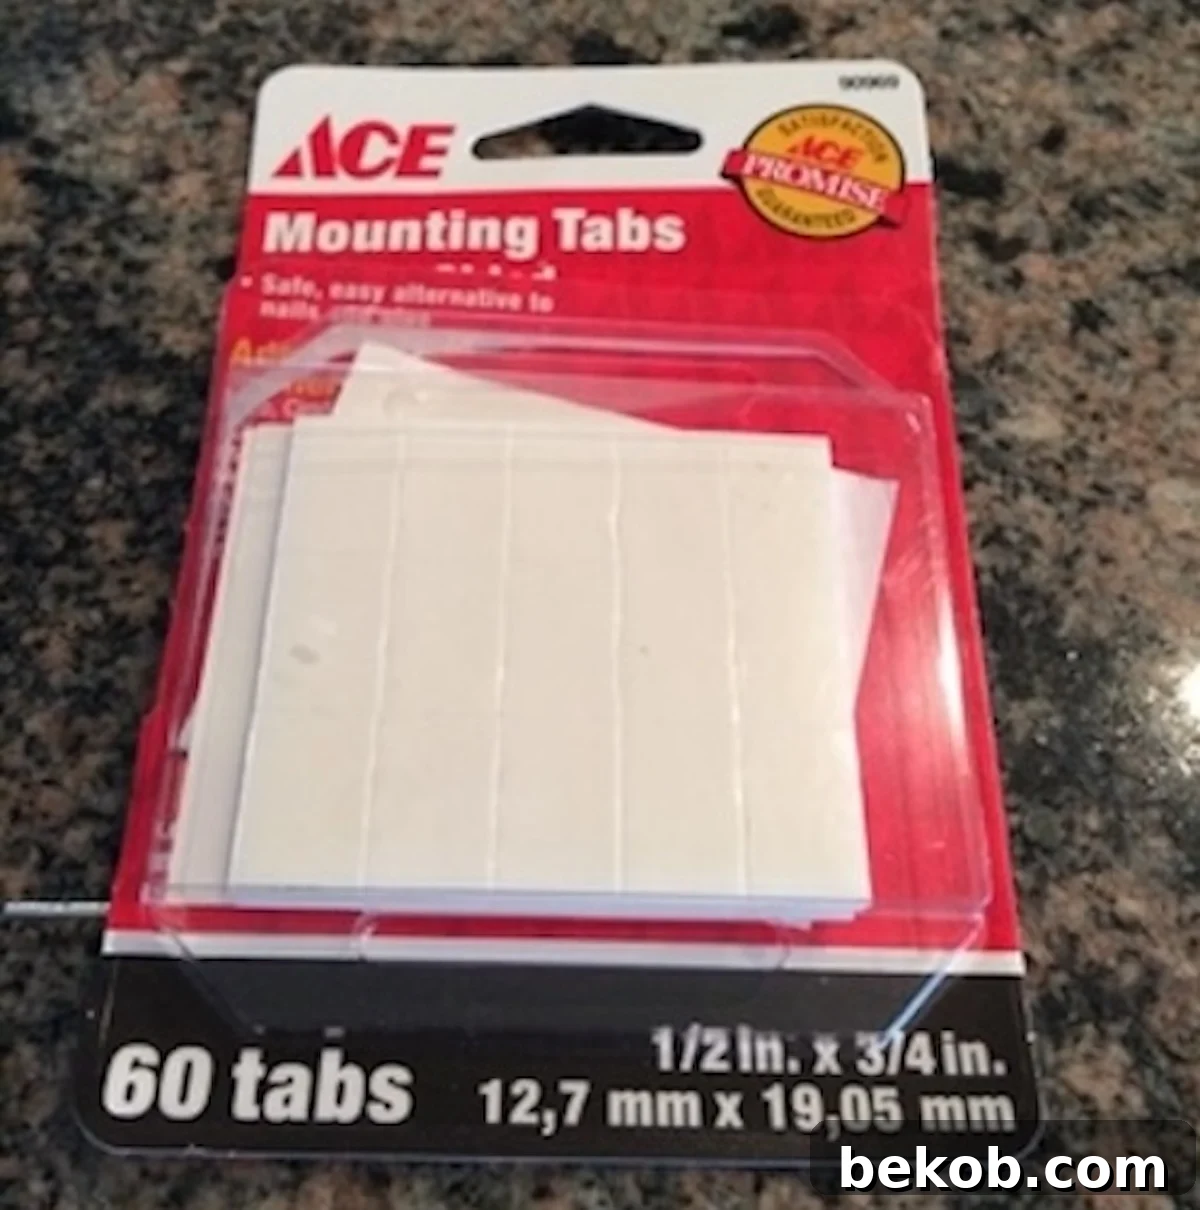
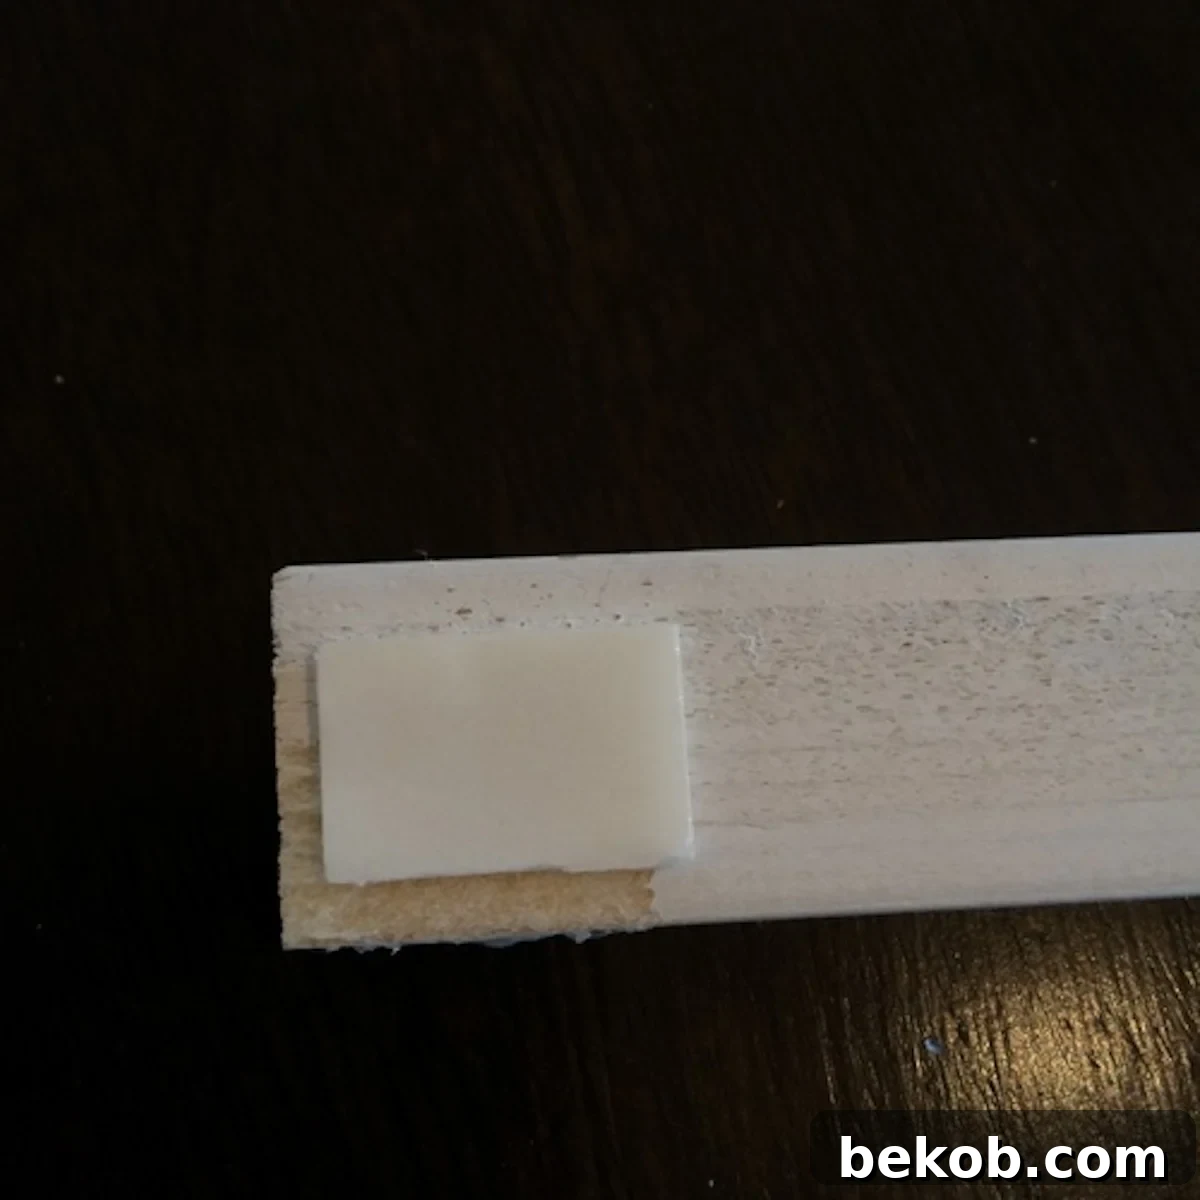
To attach the grids to the windows, I used double-sided mounting tape from Ace Hardware. I placed one piece on the back of the top of each vertical stile, and in some cases, on the outer horizontal stiles. They adhere very well and are inexpensive and easy to replace if they wear out.
And there you have it! With a bit of time and patience, you can easily give your windows a more custom and sophisticated look.
The total cost of this project, including paint, was $35, which averages out to around $9 per window. This is a very affordable way to add character to otherwise plain windows! 🙂
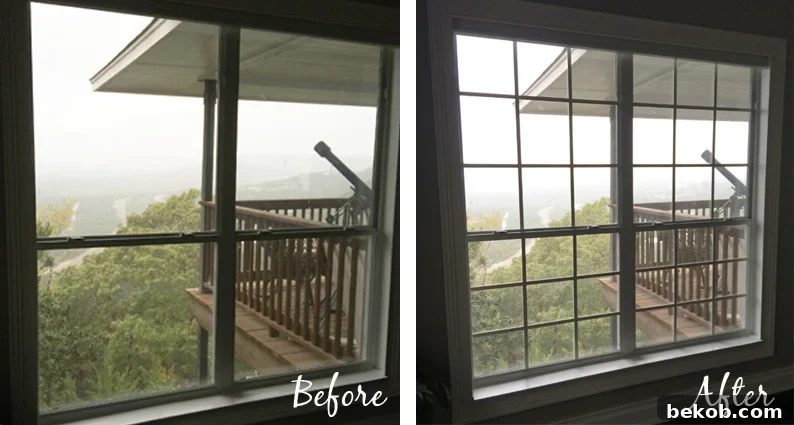
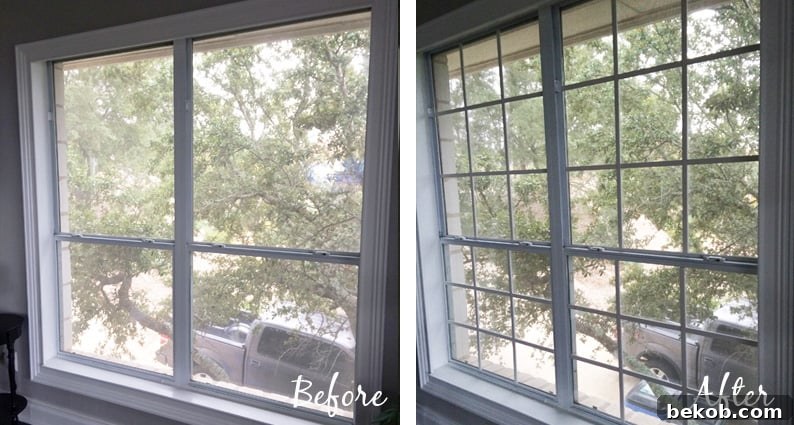
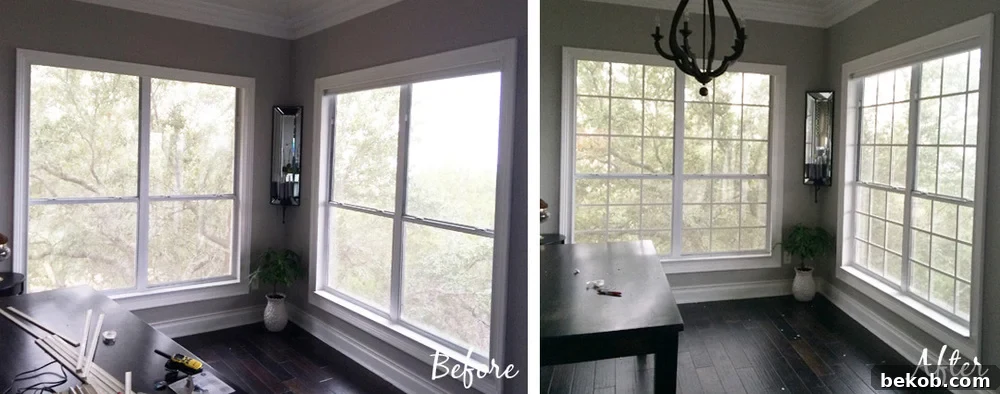
————————————–
Thank you for sharing this with us, Jill! This is such a budget-friendly and easy upgrade!
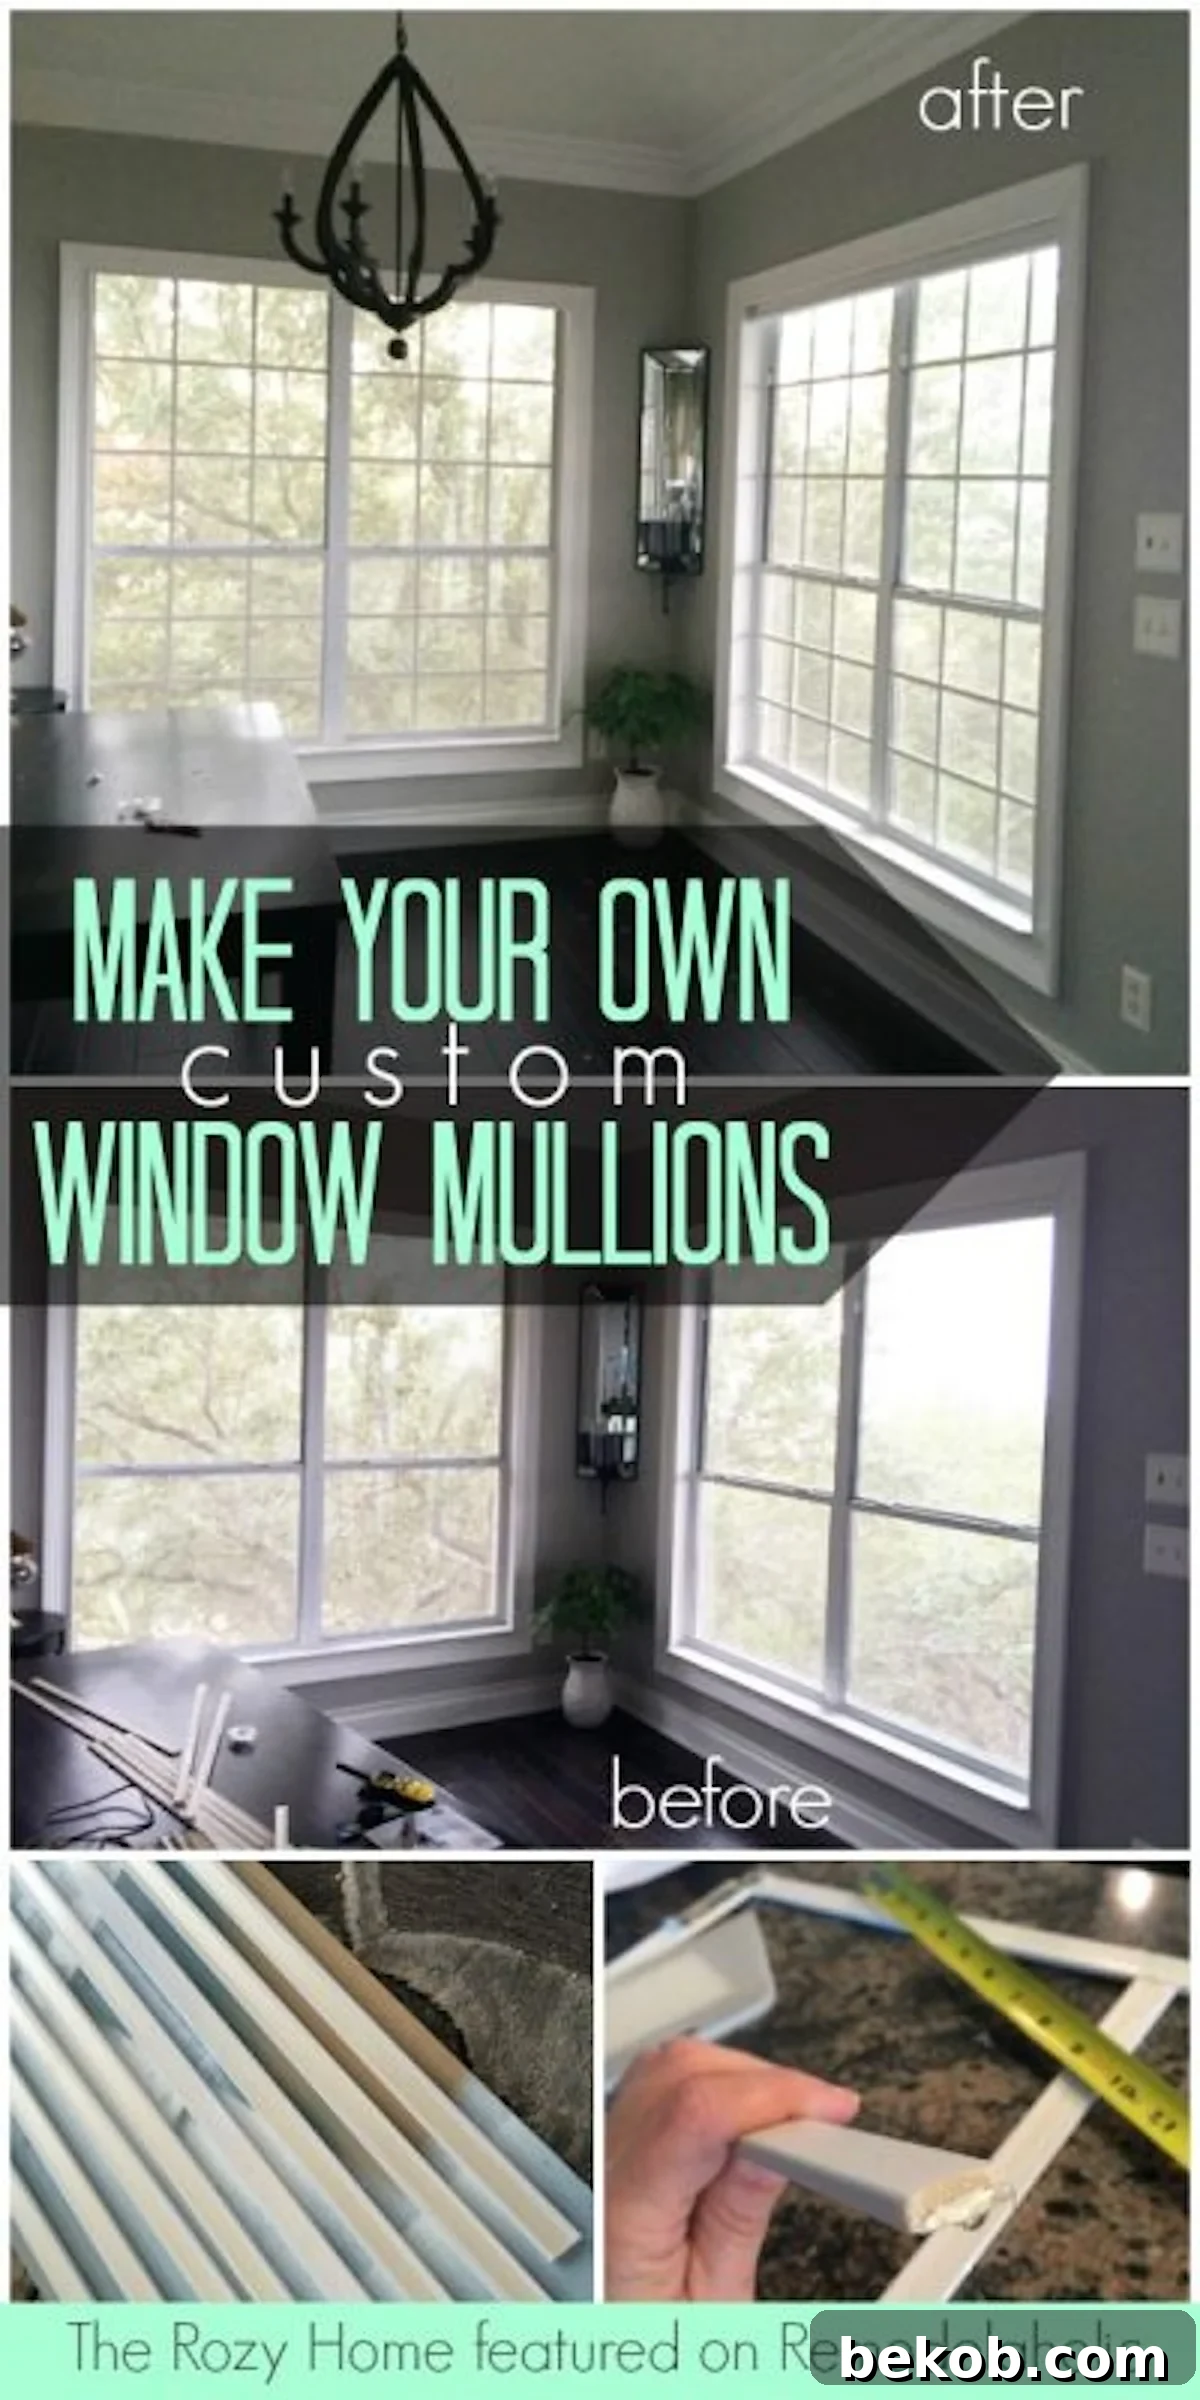
Wow, what a difference those window mullions make! The “before” picture shows a nice room, but it feels a bit plain. The “after” picture, on the other hand, is absolutely stunning! The mullions add so much character and charm to the space. They give the windows a more traditional look and really help to frame the beautiful view.
I’m also impressed by how much brighter the room feels with the mullions in place. They seem to let in more light, which makes the room feel more airy and spacious.
Remodelaholics, be sure to visit Jill at The Rozy Home. She consistently has great projects to share, such as her entry closet redo, and helpful tips, like this must-have tool for painting cabinets.
This concludes our holiday guest series! But don’t worry, we always have more great tips, inspiration, and tutorials for you.
Be sure to subscribe to follow us by email and follow along on social media: Facebook | Instagram | Pinterest | TikTok
More Window DIYs to Try
DIY Faux Leaded Glass Window
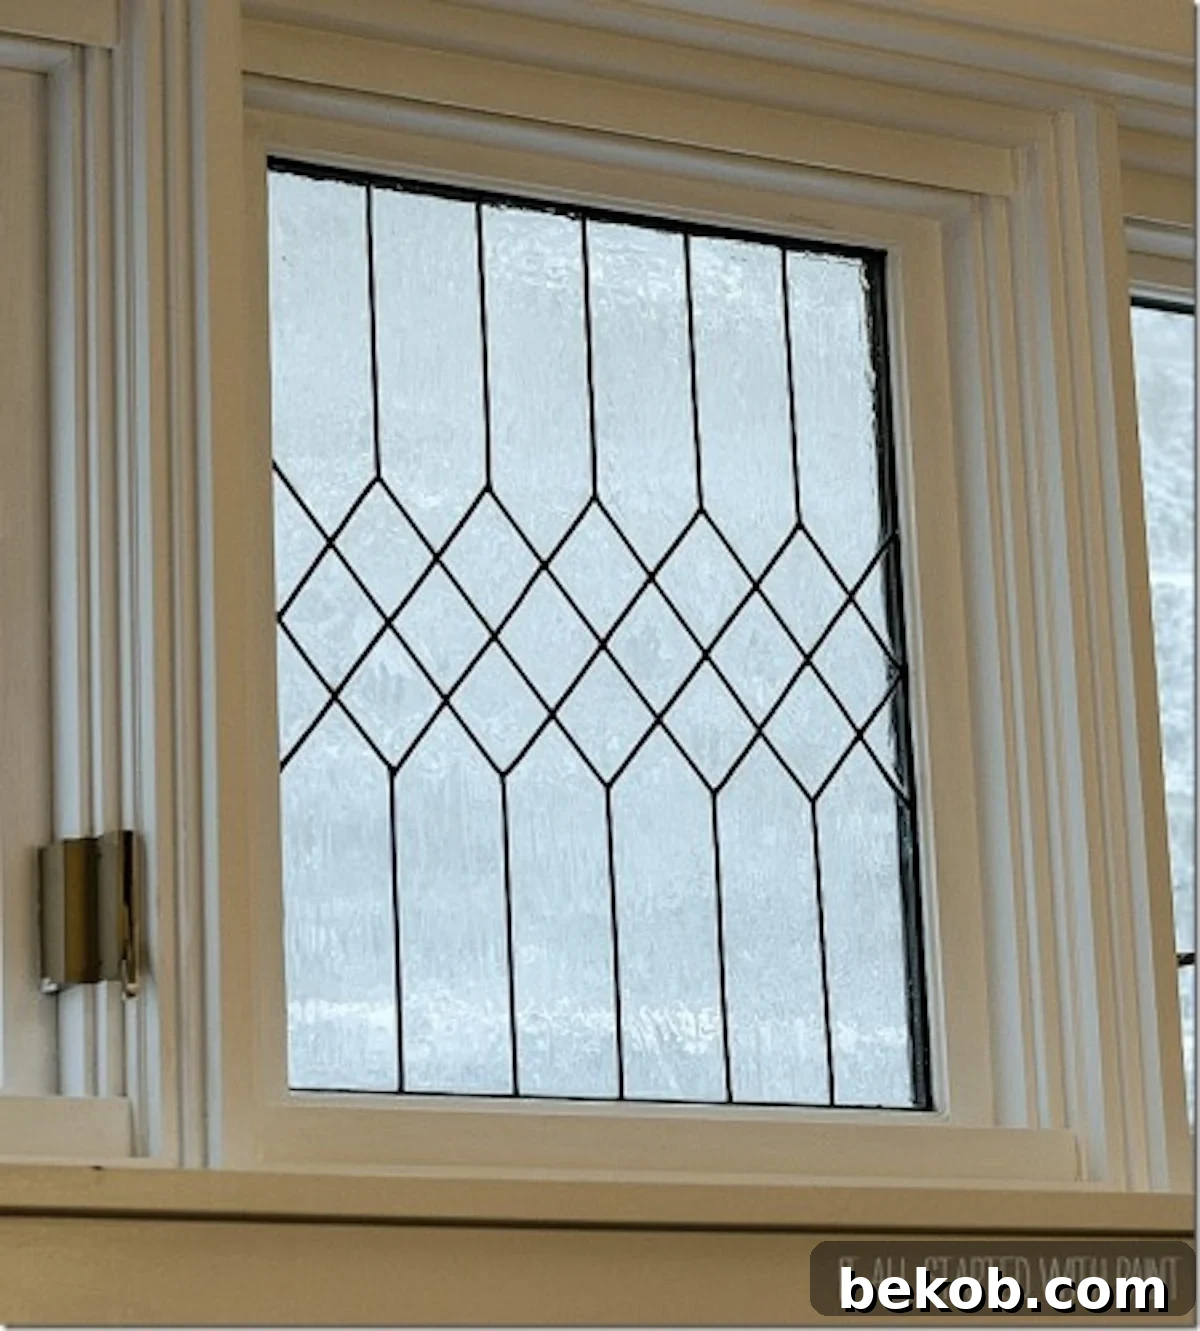
Photo Credit: It all started with paint.
That DIY faux leaded glass window is absolutely stunning! The diamond pattern is classic and elegant, and it adds so much character to the window.
Make a Faux Transom
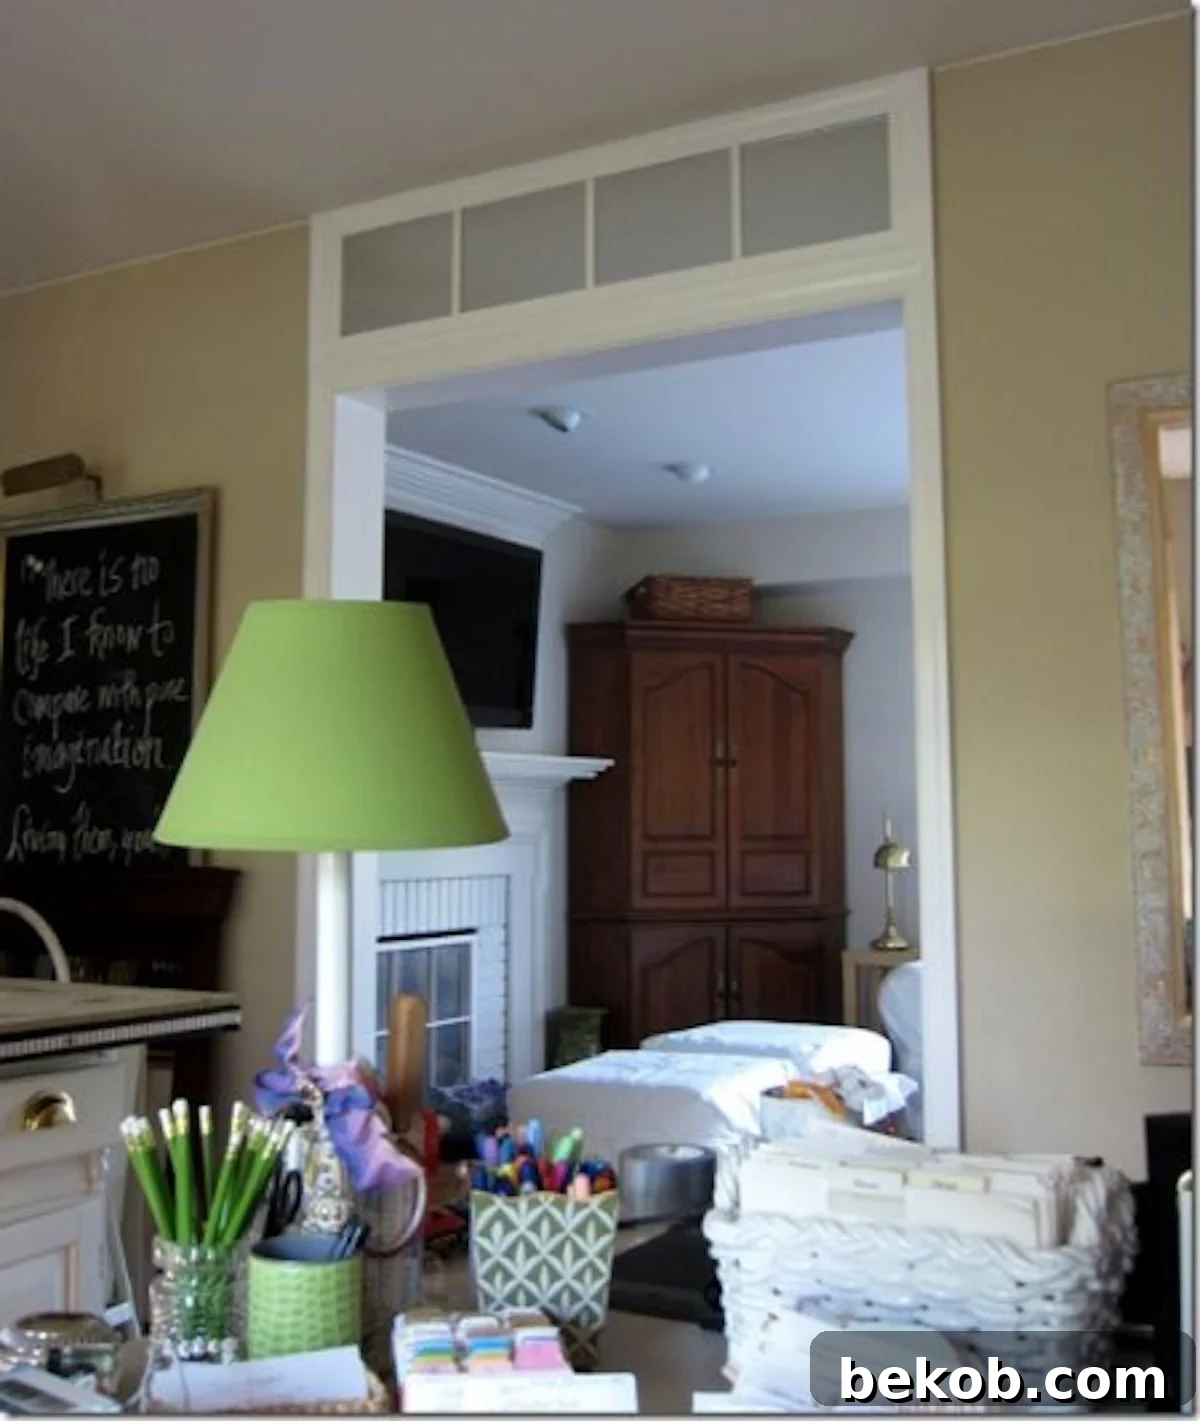
Photo Credit: In my own style.
The faux transom adds a unique look and really elevates the doorway. It looks like it’s been there forever. The added light and the sense of openness it creates are fantastic.
Add Window Trim
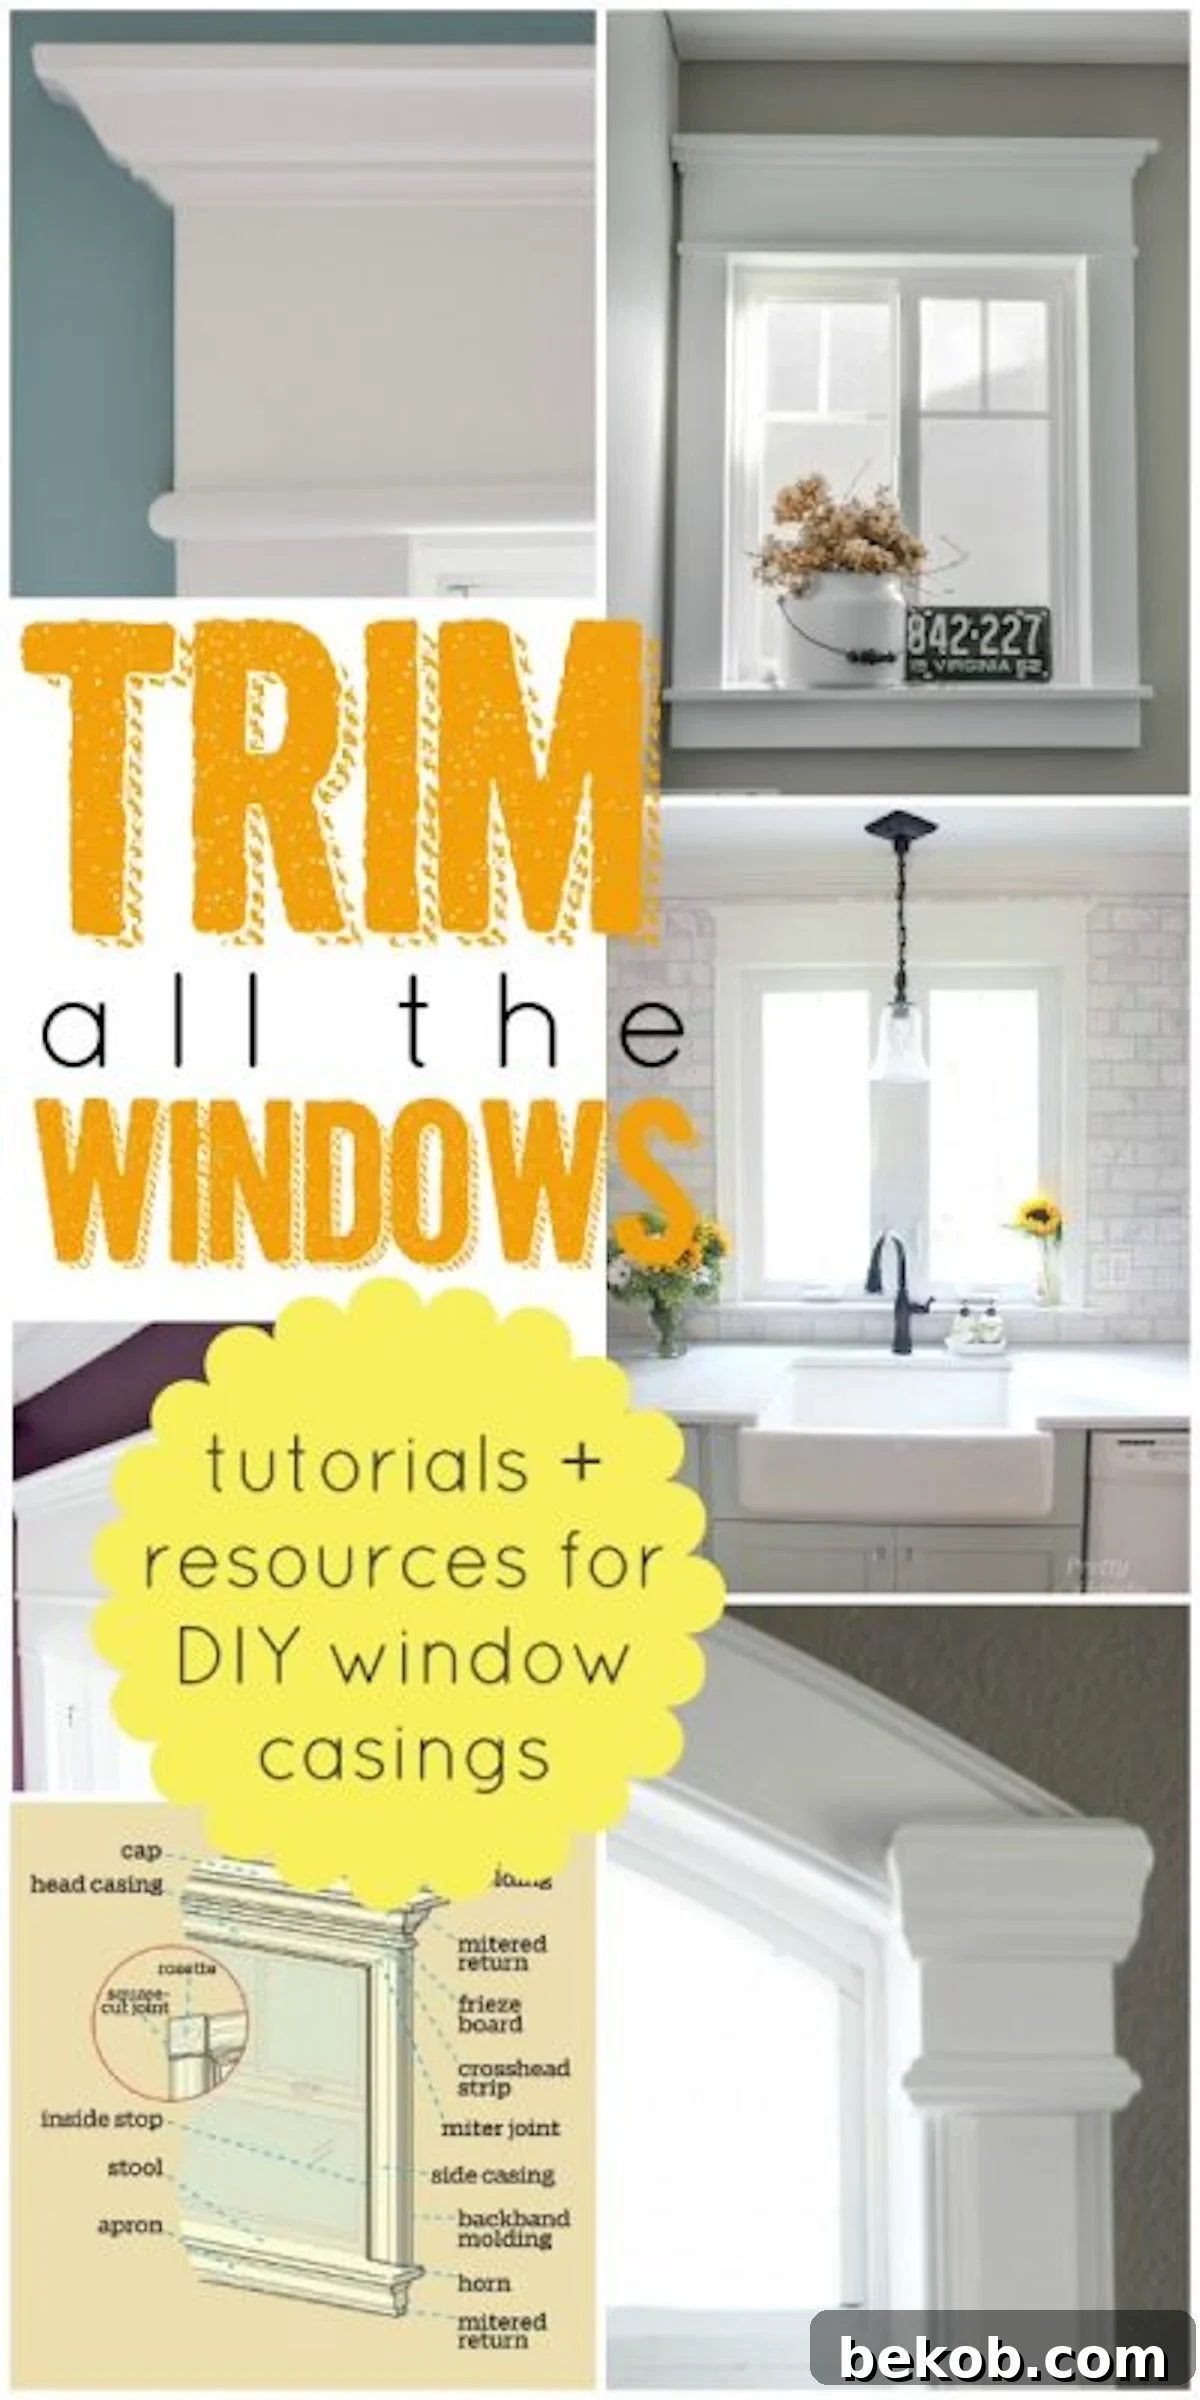
Photo Credit: Remodelaholic.
Adding window trim is a great way to add style and personality to your home. I can’t wait to see how much warmer and more inviting my home will feel with the added charm of window trim!
Pin this to save and share!
First published 5 Jan 2015 // Last updated 30 Sept 2024