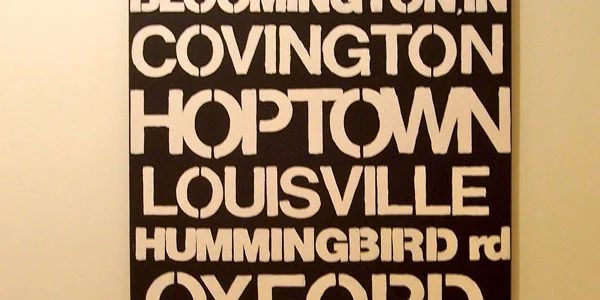
This wall art walkthrough stays in the order the work happens.
Well, we have been seeing these destination art pieces pop up all over right? So I thought I would show you this walkthrough that Emily from Mini House was kind enough to send to me, in case you too want to try your hand at it!
Some of you have asked, “Where do you come up with this stuff?” I’m a copycat. I’ll see something and with Nick’s help figure out how to make it with a touch of my own flare. This project’s inspiration was pulled from May’s House striking along with several variations popping up on Etsy.
I like to think that you guys are checking my blog religiously so here’s the moment you’ve all been waiting for – the BIG REVEAL!
Our Version
Now for those who are interested on how to create your own, keep reading friends.
Head to Michaels and bring the list below to purchase the nuts and bolts:
24 x 48 inch primed canvas. $14.99 w/ coupon
2″ inch stencils. $1.99 on Clearance
3″ inch stencils. $0.99 on Clearance
4″ inch stencils. $1.99 on Clearance
Jar of black acrylic paint. $5.99 w/ coupon
Tube of acrylic paint (color: titan buff). $8.99 w/ coupon
A spool of ribbon. $0.99
Grand Total: $35.93 vs. $295 price tag online
*Michaels always seems to have a 40% coupon on a full price item
Prep Work
Make a List, Check it Twice.
We created a list of every place Nick and I lived starting from birth until now. This is where you can get a little creative (i.e. instead of Cincinnati, we used the Queen City). This helps to switch it up. From there we taped together a paper “canvas” so we could see the spacing and make adjustments. This step is critical, I repeat critical.
We were working three different sizes of stencils so in some cases where we thought we’d use a 4″ inch stencil, we had to swap for a 3″ inch because there wasn’t enough room. (As you can see with the Excelsior mishap below).