This project plans walkthrough stays in the order the work happens.
Well, for those of you that are not really into crafts, I am finally back with a remodeling project. I realized lately that it is very good for my stress levels to have some small projects now and then…. and actually it was just sorta fun to be creative in a different form…
But back to my first love, finishing the big projects! For the moment we are still currently working on the family room mantel. The last time you saw it, this is what it looked like, a big huge hole on the wall!
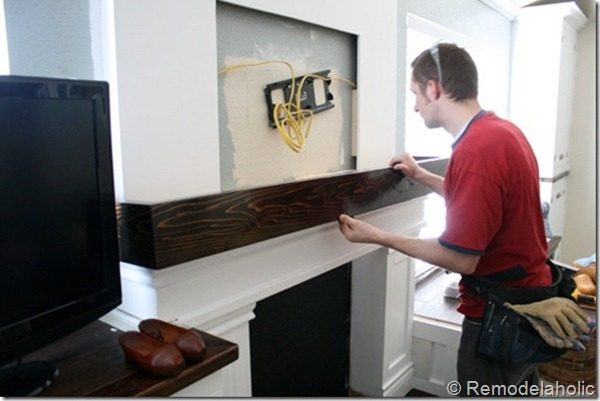
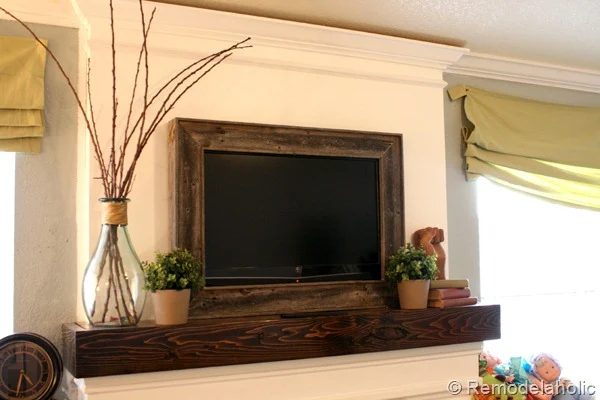
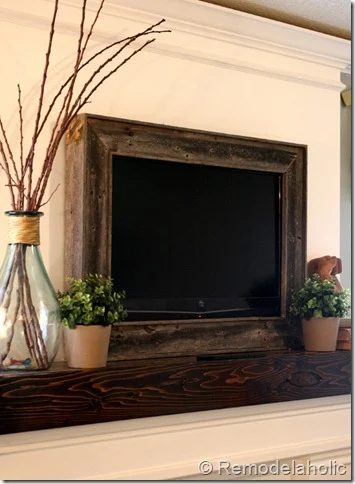
Later with the TV hung back up this is what it looked like.
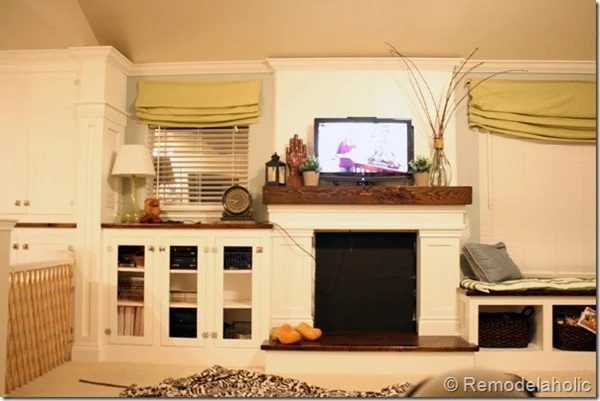
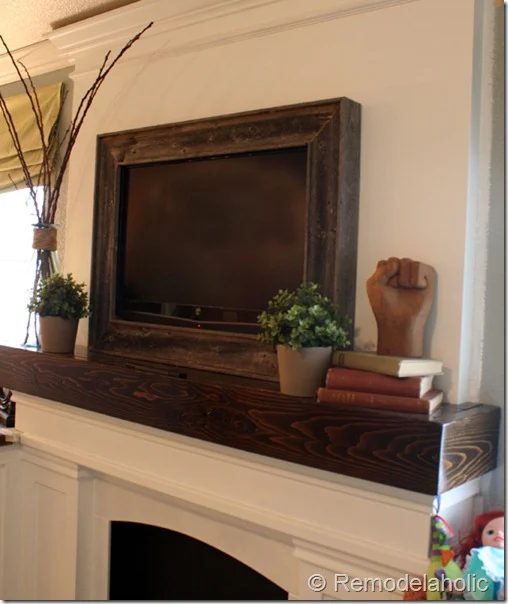
Basically it is starting to look close to done, but the TV is screaming for a face lift. Especially since it is sort of the main feature up there.
Framing in a Wall Mount Television
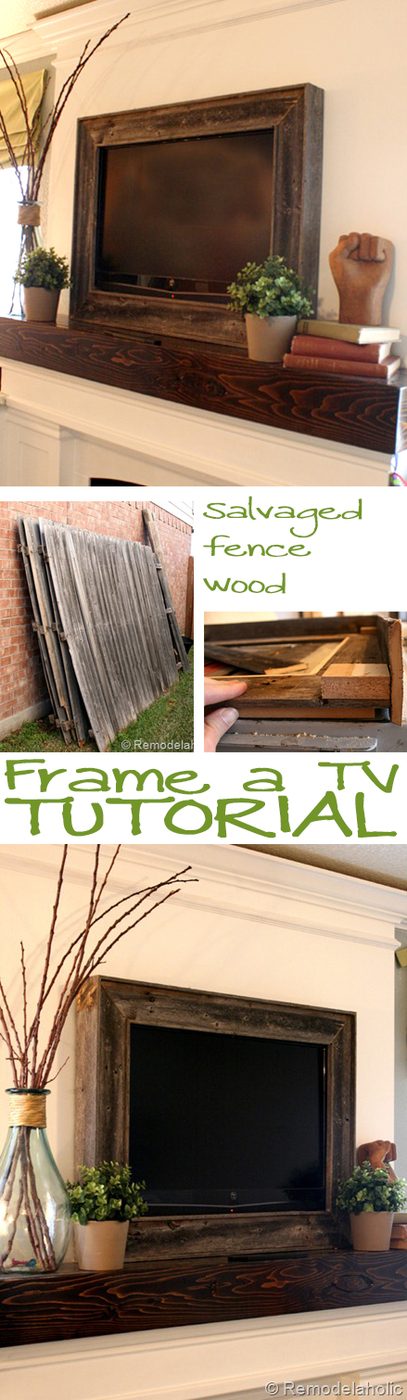
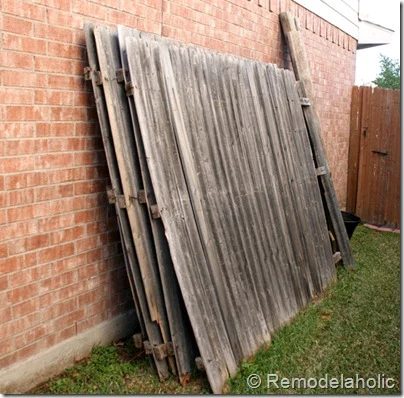
What’s a girl to do?… pick up trash from another persons yard and build something. ***Correction… her husband is supposed to do that for her! Last spring here in Texas we had some big wind storms and a lot of old fences got blown over. A neighbor down the street had about 10 whole panels just sitting by the curb. So my solid hubby went and collected them. ( I like that rustic wood look like in this sign art I made a while ago) and a whole bunch of free rustic wood sounds good to me!
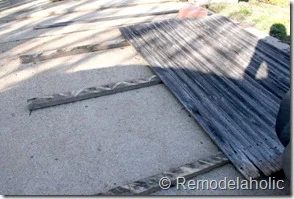
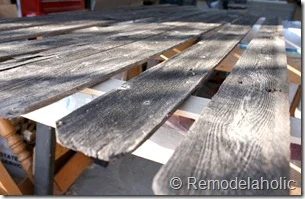
He cut some boards off and laid them out to get ready to use them.
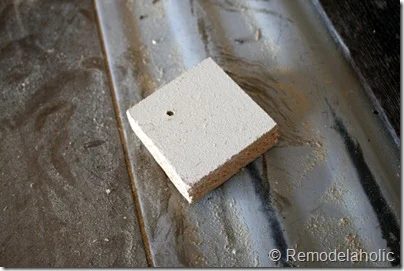
He started with a 4 little corner blocks (old scrap wood)
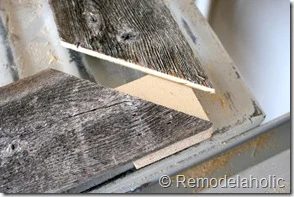
He placed those blocks on the outside corner and nailed the mitered edges in place just directly thorough the front of the frame with finish nails. once it was square.
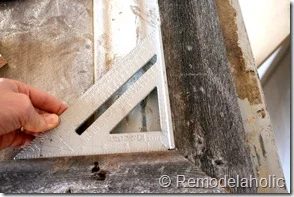
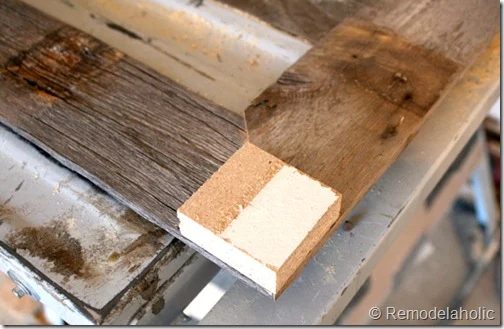
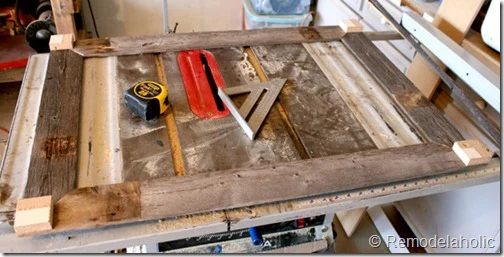
Here he had a basic square frame, but it was just flat wood, and wouldn’t hide the TV edges very well.
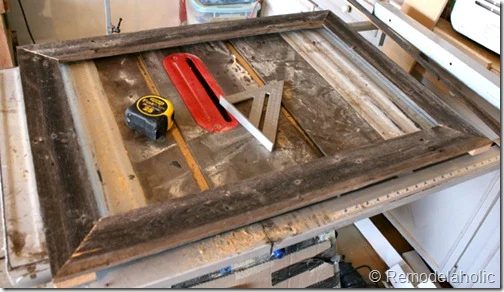
He added a small bead of wood in the inside corner, for dimension.
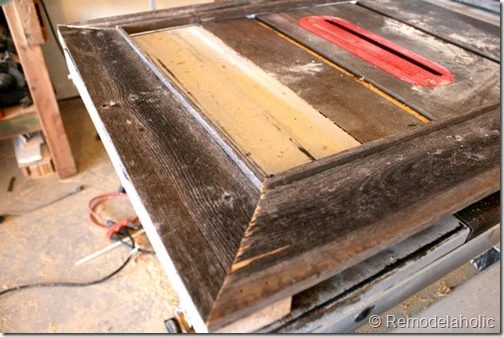
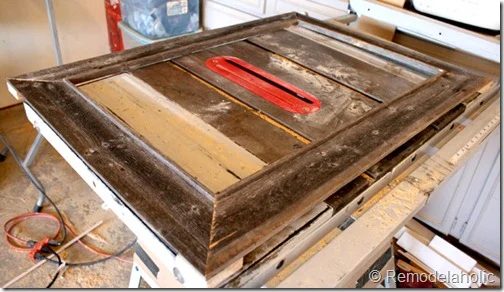
Now because the TV is a bit deep and we need to cover up the edges, we wrapped the whole outside edge with another fence rail, and just nailed it into the block on back. (but you can also see how it comes out on the front to add even more dimension like the center box!)
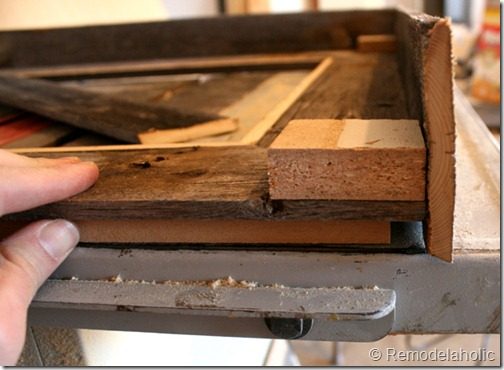
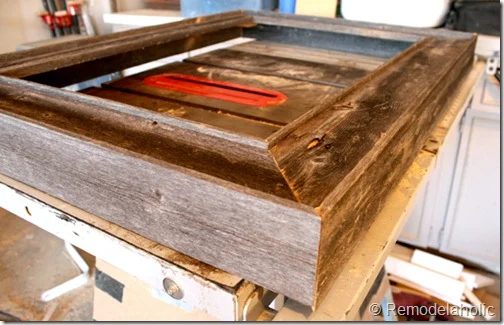
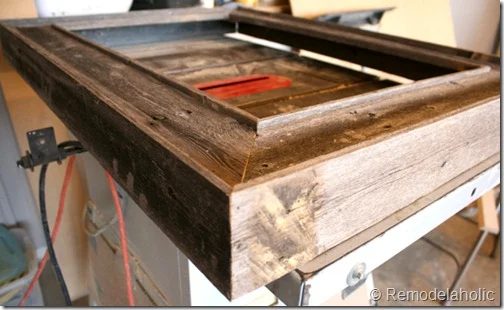
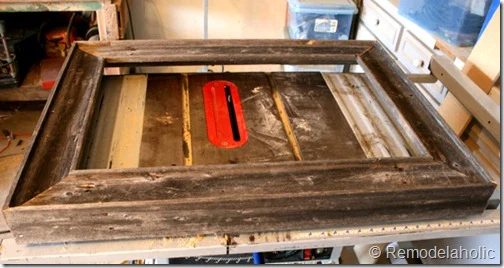
Next just set it down so that the top of the frame is, well on top… Then drill a few holes (we did about 6) along the top for ventilation.
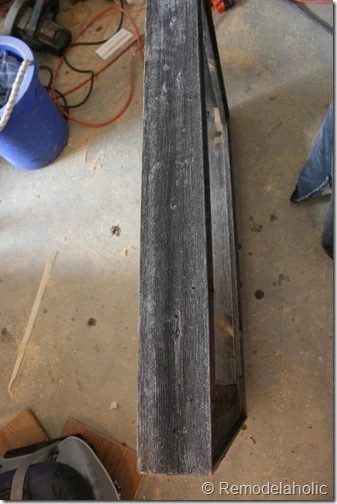
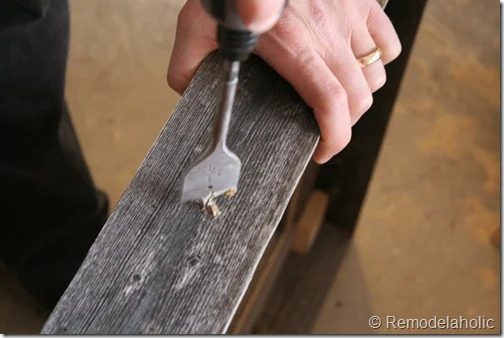
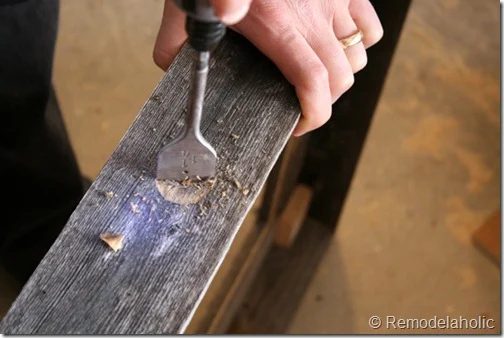
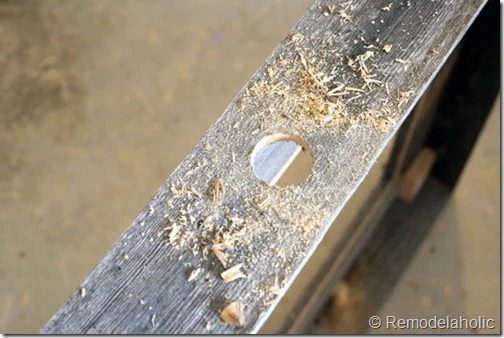
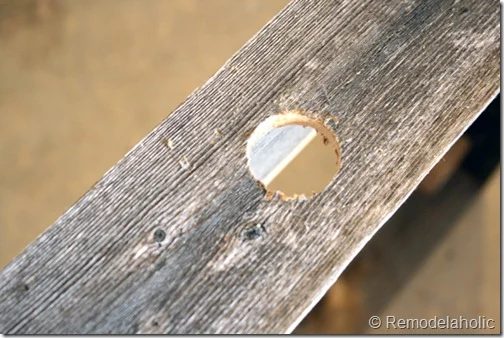
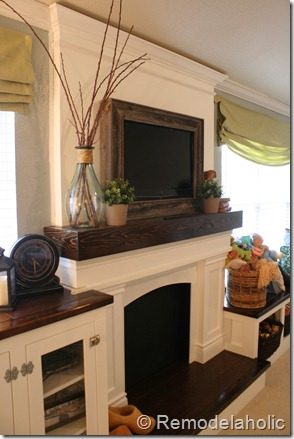
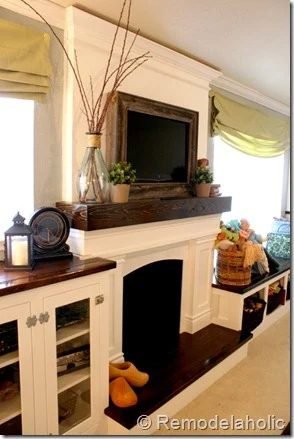
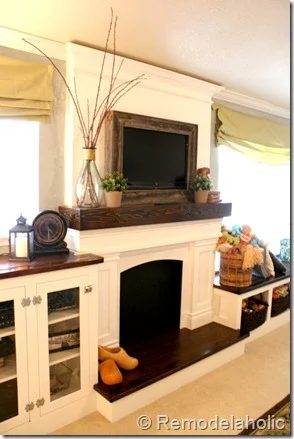
It was done in about an hour! Next we just slid it over the TV…right now it just sits on the mantel… we will attach it at some point I am sure! But here is what it looks like (we think it might be a little too dark, so we might try to lighten up the color a bit… but we also talked about making a few different frames that can be changed out… it did only take and hour after all… and the second time is always faster!
…and yeah, I didn’t move the toy basket for the “pretty pictures”… but at least most of the toys are in the basket and not strewn all over the room!
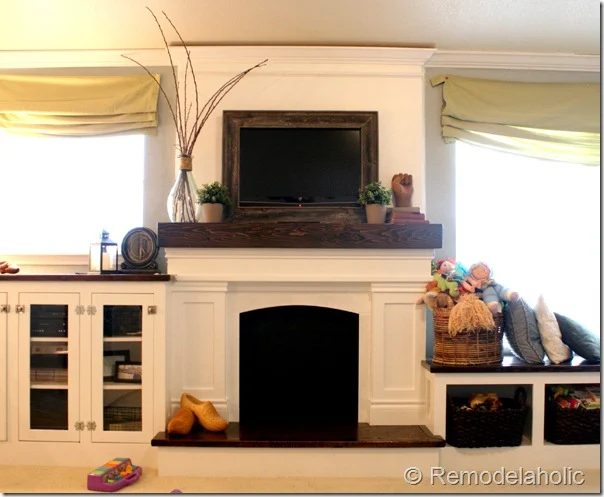
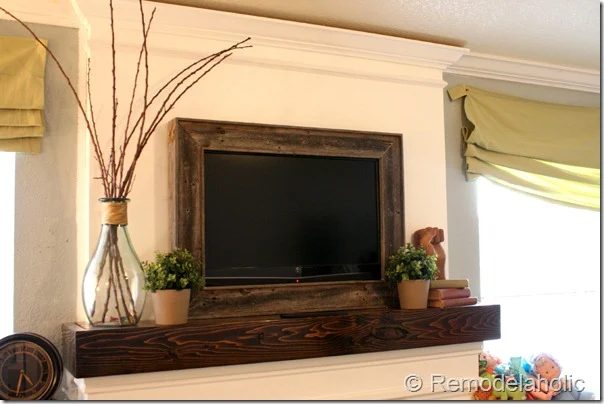
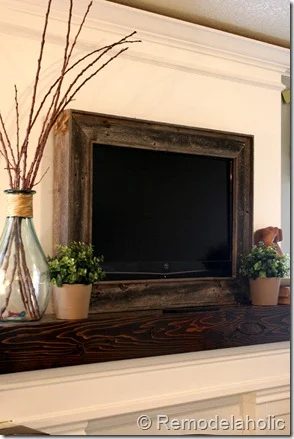
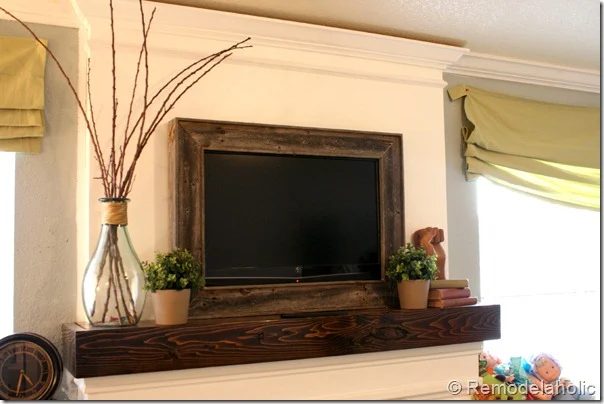
Well What do you think?
It the frame too dark? Should it be a lighter color?