Read the sequence from the top before cutting, painting, or moving pieces.
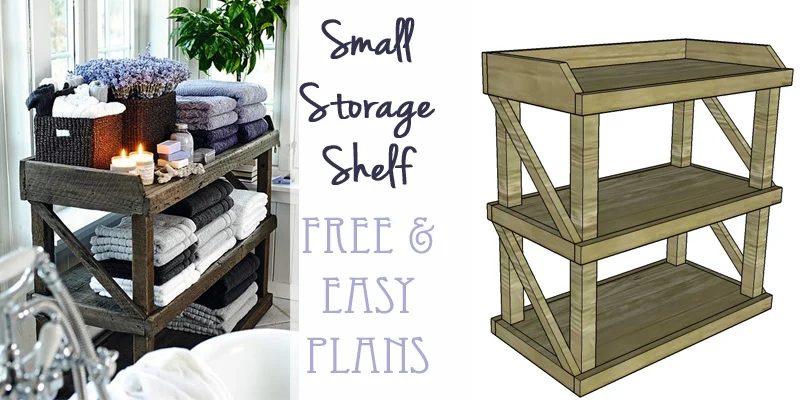
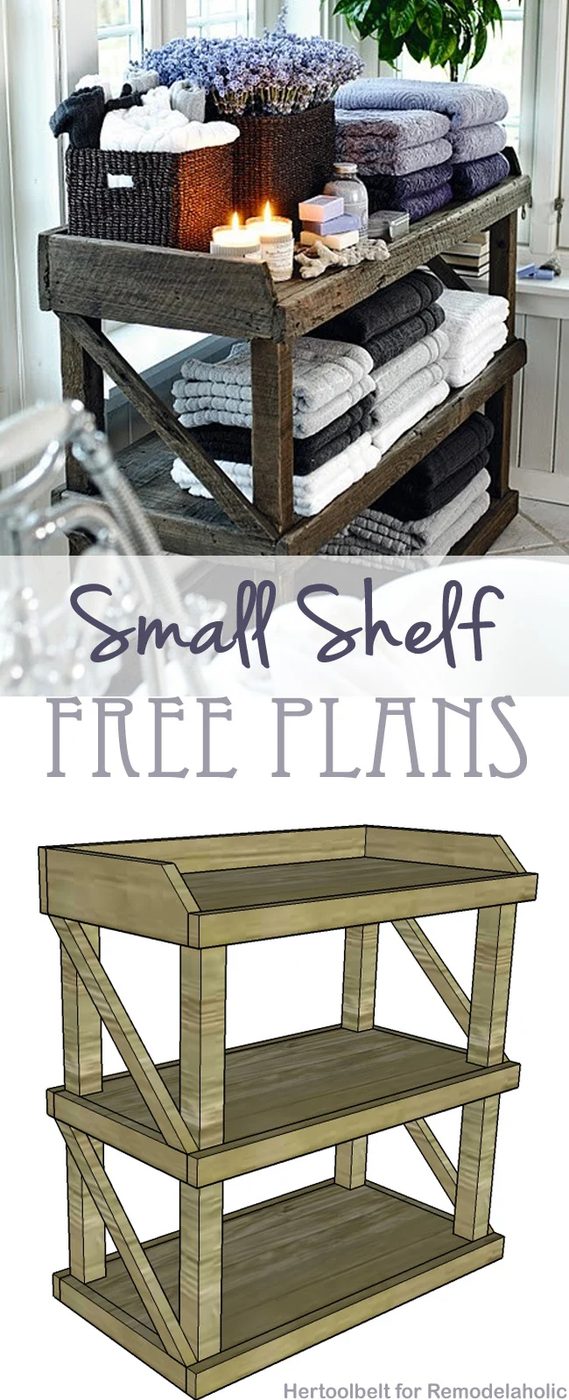
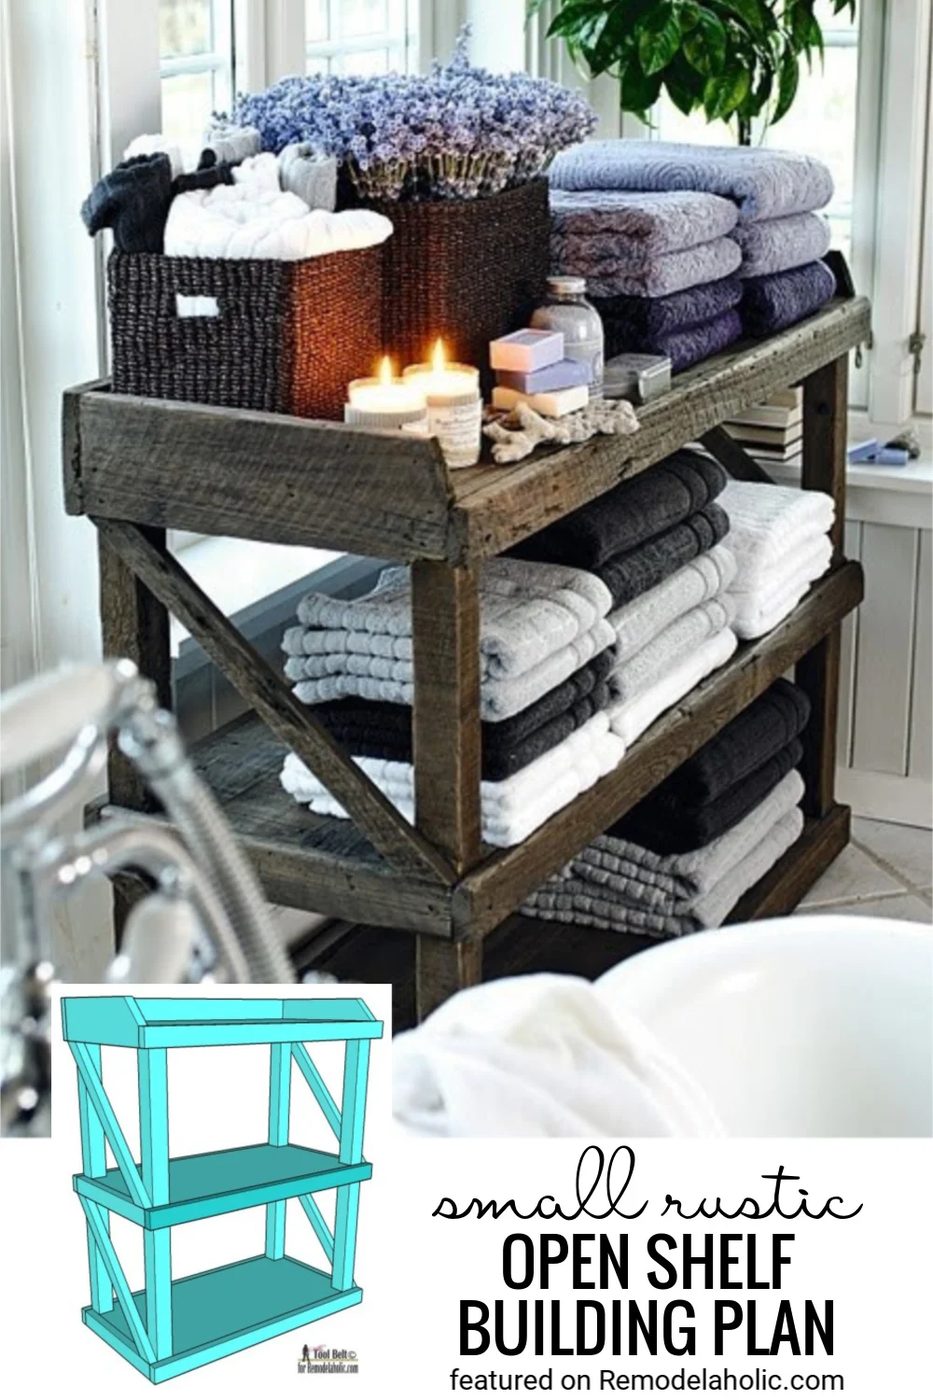
Hi, it’s Amy from Hertoolbelt, back again with another fun build project. If you missed last week’s Rotating Shoe Rack check it out here. I am always on the look out for great bathroom storage solutions. I love this small rustic tub side storage shelf as seen on Shelterness. Even if you don’t have room for a shelf in your bathroom, it would be great as a bookshelf in a child’s room or on top of a dresser.

How to Build a Small Open Shelf
open this to get a free PDF version of this planThese plans are designed for wood readily available at the hardware store. If you are building with reclaimed lumber, adjust the plans according to your lumber sizes. Here are a few tips for working with reclaimed lumber.
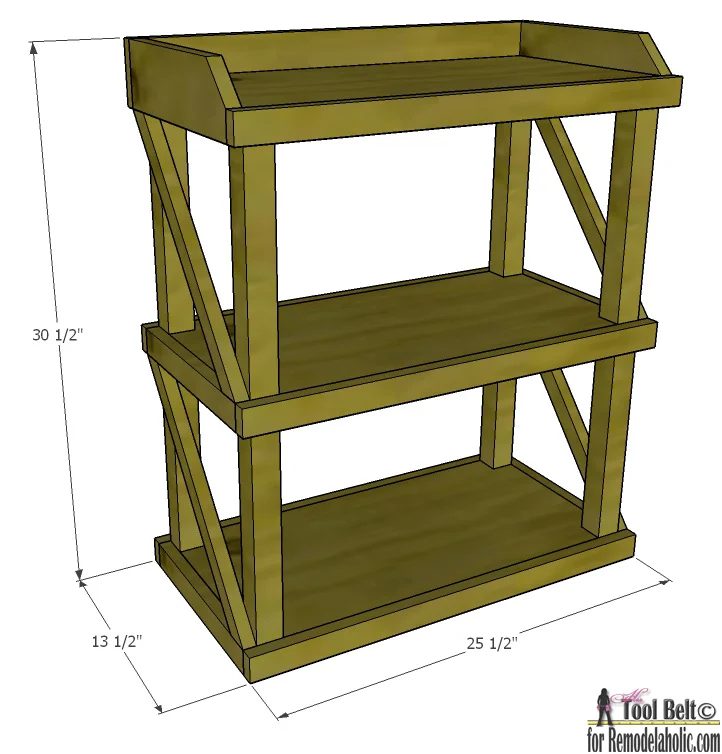
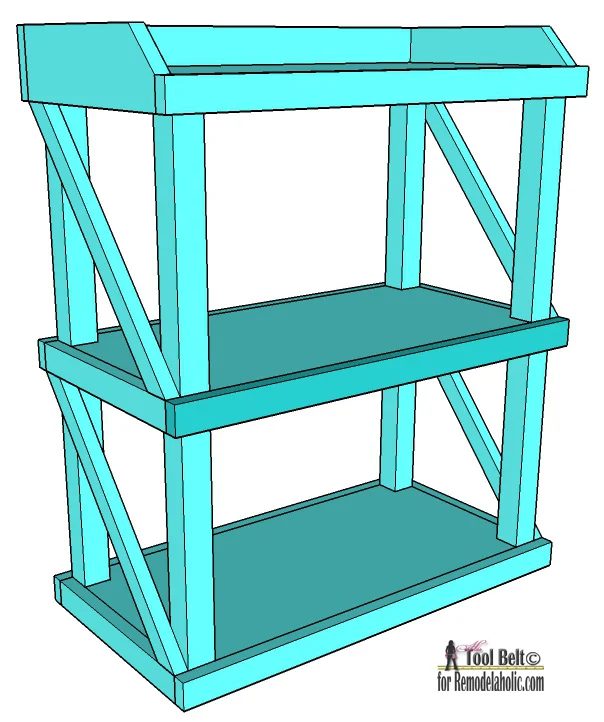
Finished shelf dimensions: 30.5″H x 25.5″W x 13.5″D
Materials Needed:
(approximate lumber cost is $27)
- 2 – 2″ x 2″ x 8′ (actual 1 1/2″ x 1 1/2″)
- 2 – 1″ x 4″ x 8′ (actual 3/4″ x 3 1/2″ furring strip)
- 1 – 3/4″ x 2′ x 4′ plywood
- 8 – 1 1/2″ pocket hole screws
- 1 1/2″ minimum length brad nails
- wood glue
Cut List:
| Letter | Quantity | Width | Thickness | Length | Material |
| A | 4 | 1 1/2″ | 1 1/2″ | 27 3/4″ | Pine 2×2 |
| B | 2 | 12″ | 3/4″ | 24″ | Plywood |
| C | 5 | 1 1/2″ | 3/4″ | 25 1/2″ | Pine 1×4 |
| D | 4 | 1 1/2″ | 3/4″ | 12″ | Pine 1×4 |
| E | 4 | 1 1/8″ | 3/4″ | 17 1/2″ | Pine 1×4 |
| F | 2 | 3 1/2″ | 3/4″ | 12″ | Pine 1×4 |
| G | 1 | 3 1/2″ | 3/4″ | 25 1/2″ | Pine 1×4 |
| H | 1 | 12″ | 3/4″ | 24″ | Plywood |
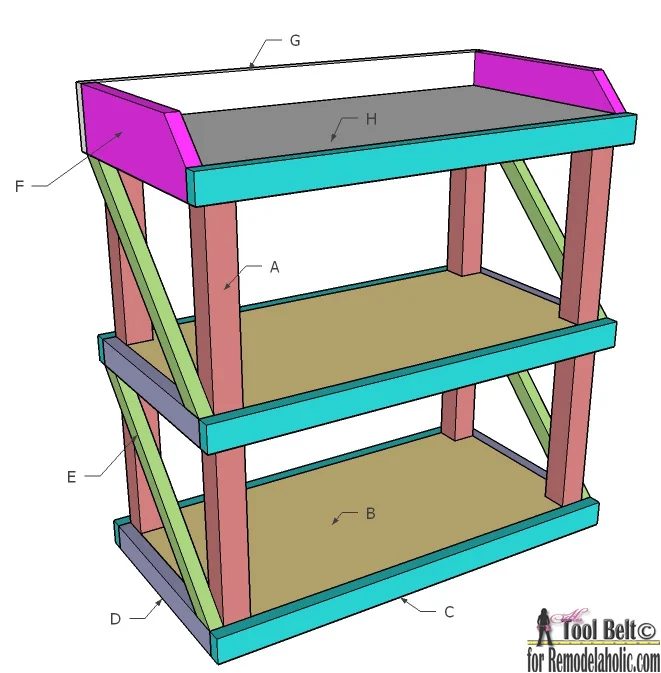
Step 1:
Cut the 2×2’s into 4 pieces that are 27 3/4″ long (A).
Step 2:
Cut the plywood into 3 pieces that are 12″ x 24″. See plywood cut diagram below:
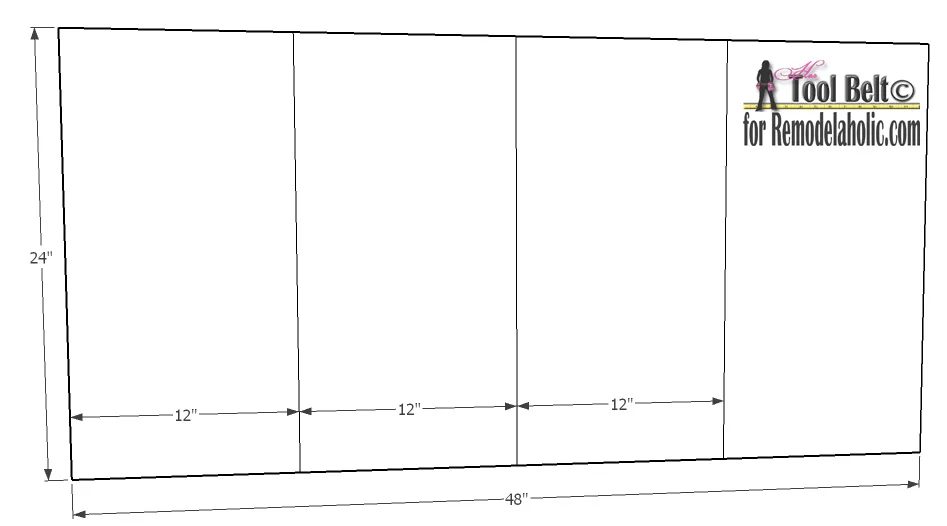
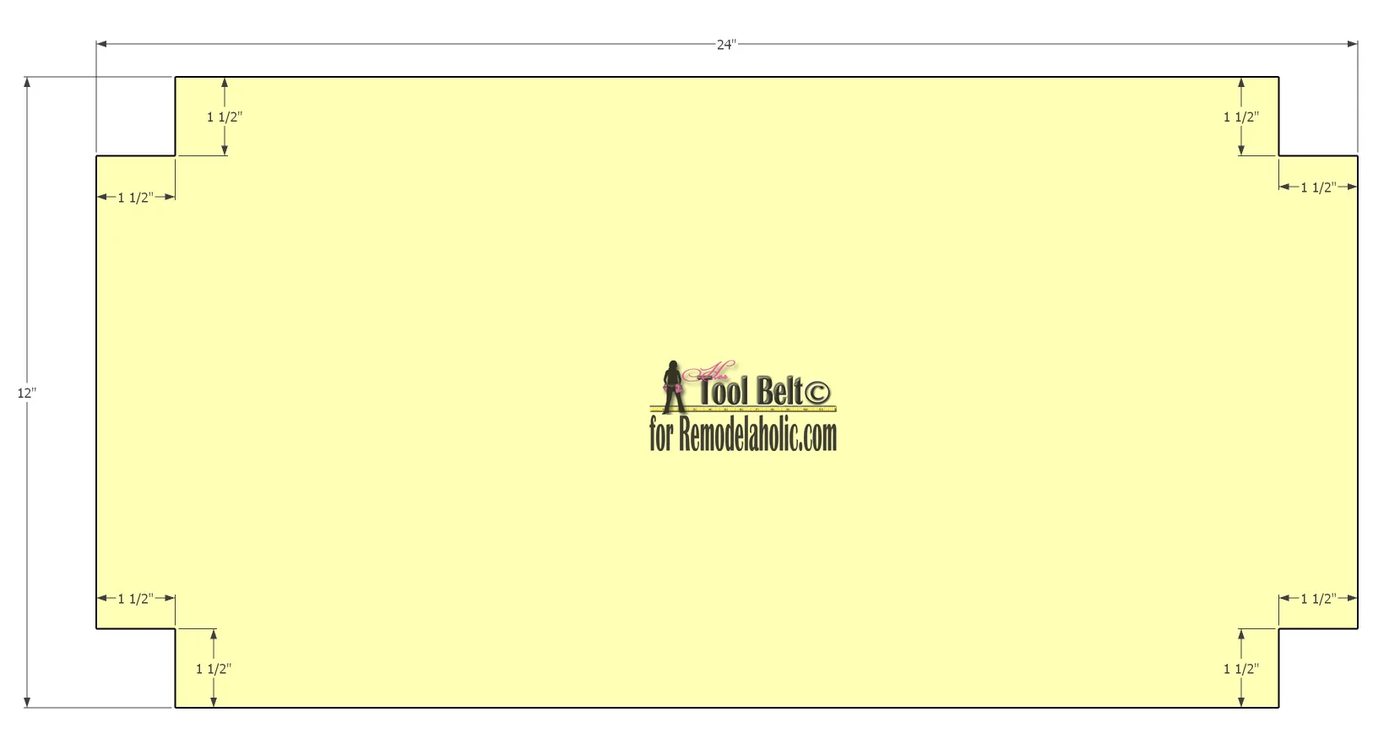
On 2 of the 12″ x 24″ plywood pieces, cut the corners out 1 1/2″ x 1 1/2″ for the legs, these are (B).
Step 3:
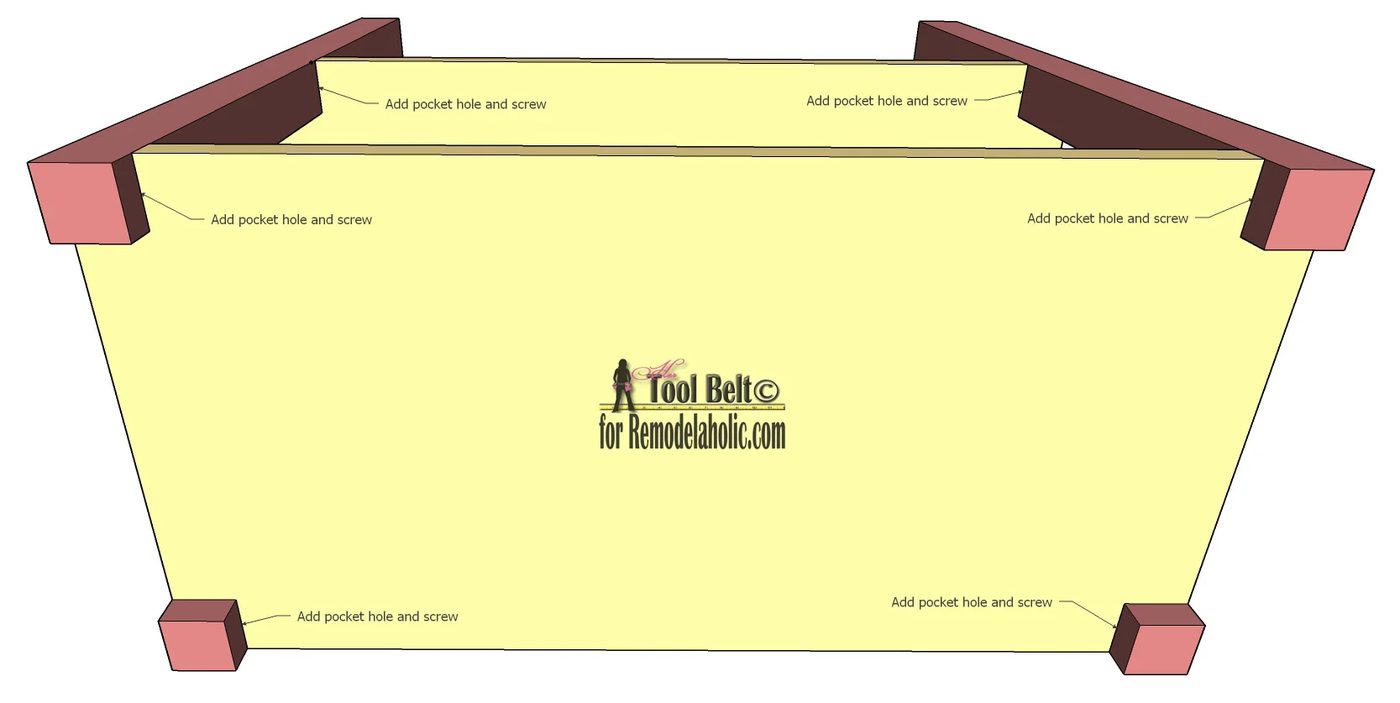
Mark the 4 legs (A), measuring from the bottom at 3/4″ and 14 1/4″. These marks will be the bottom of the plywood shelves.
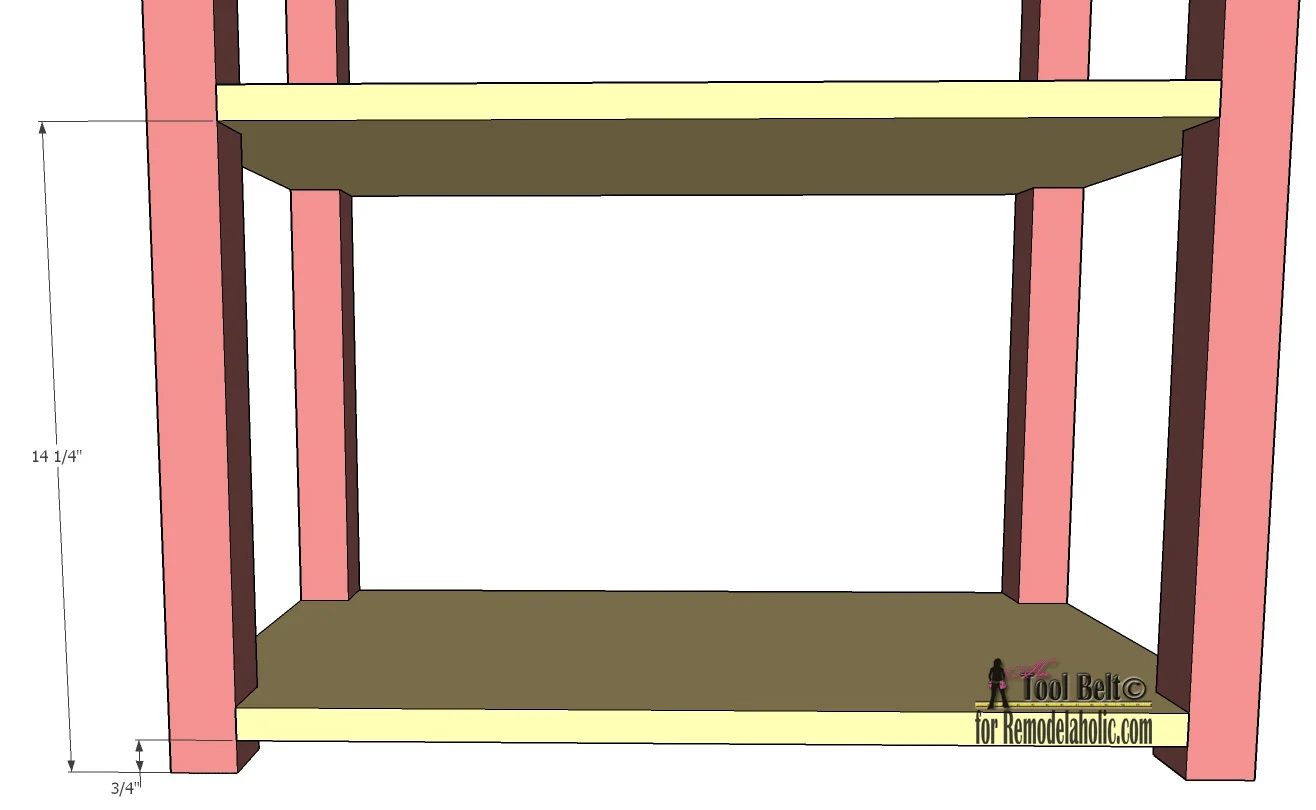
Use a pocket hole jig (Kreg) and drill a pocket hole in each corner to attach the legs. Use 1 1/2″ pocket hole screws and wood glue to attach the plywood shelves to the legs, add more screws as necessary.
Step 4:
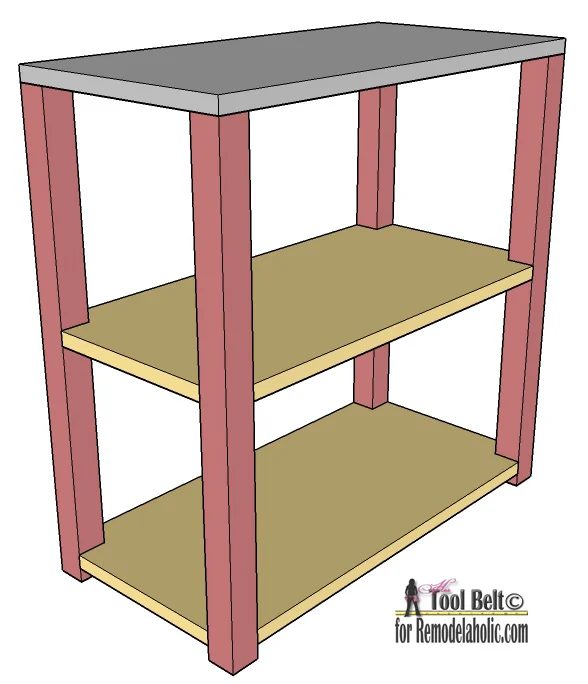
Attach the top shelf (H) to the top of the legs with wood glue and brad nails.
Step 5:
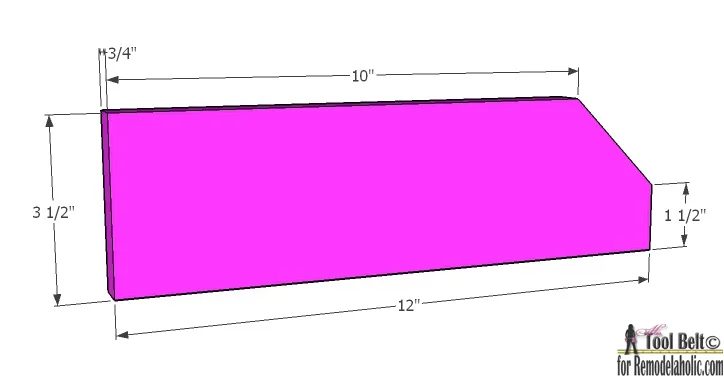
Rip one of the 1×4’s into 1 1/2″ wide x 8′ long pieces. Cut letters C & D trim pieces. From the other 1×4, cut letters F & G.
To make the diagonal cut on the F’s, on one end measure up 1 1/2″ and 10″ over. Cut the remaining diagonal corner off.
Step 6:
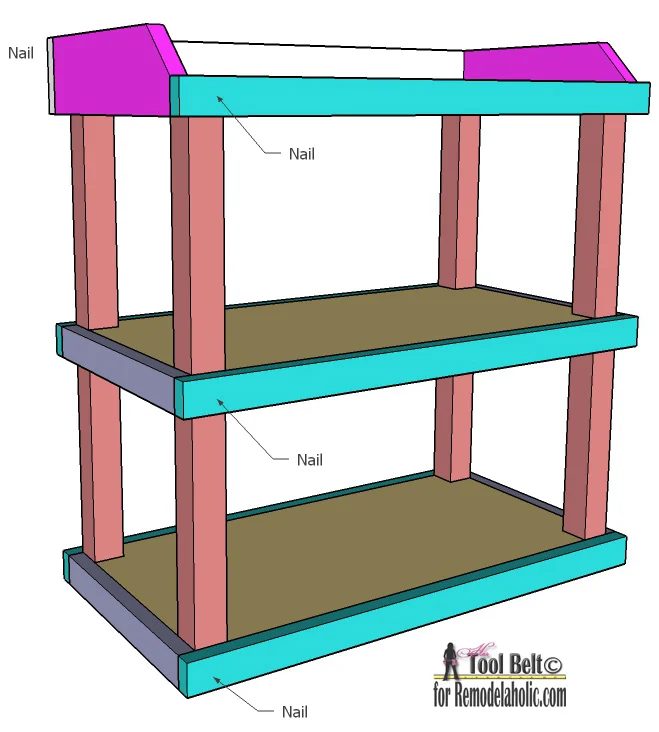
Glue and nail the side trim pieces D & F onto the shelf and legs. Make the top of D flush with the shelf.
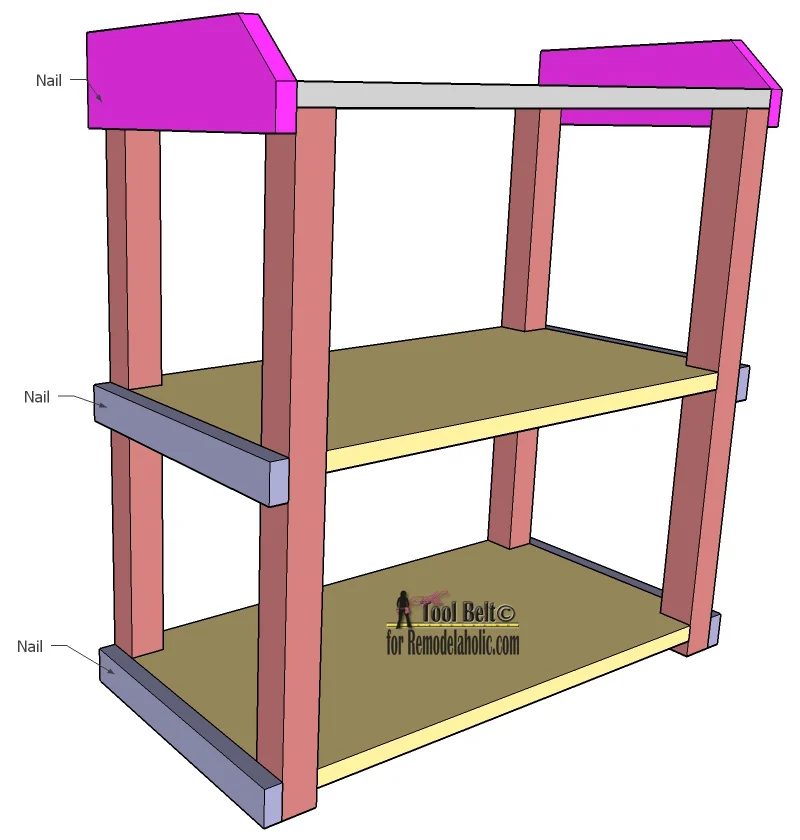
Glue and nail the trim pieces C & G onto the legs and shelf, lining up with the previously installed trim pieces.
Step 7:
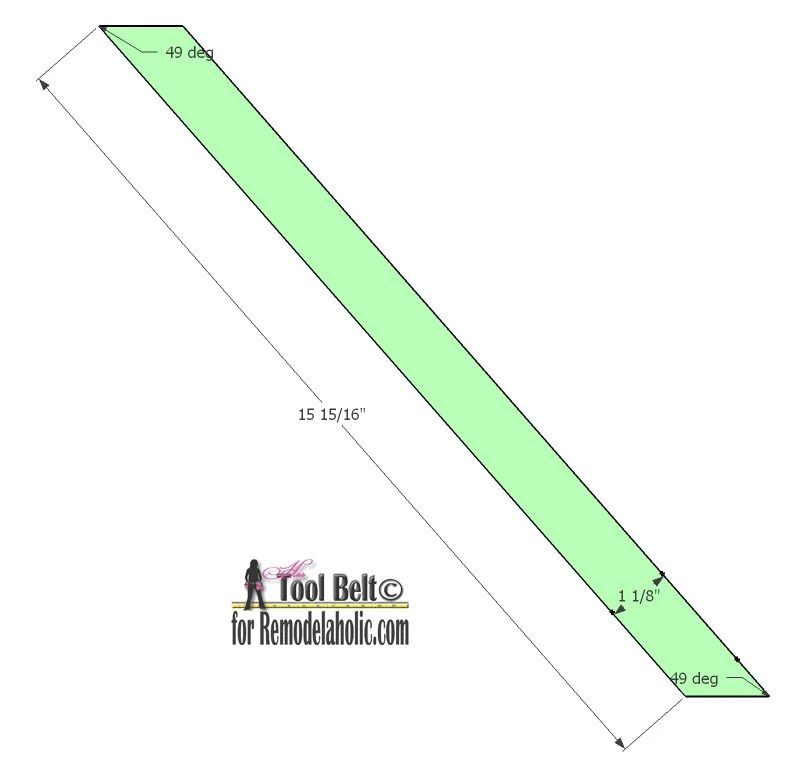
Rip the remaining 1×4’s into 1 1/8″ widths and cut 4 x ~17 1/2″ long. On one end, cut a 49 deg angle. From the end, measure down 15 15/16″ and cut a parallel angle of 49 deg. These are the diagonal trim pieces (E).
Glue and nail the diagonal trim pieces onto the shelf.
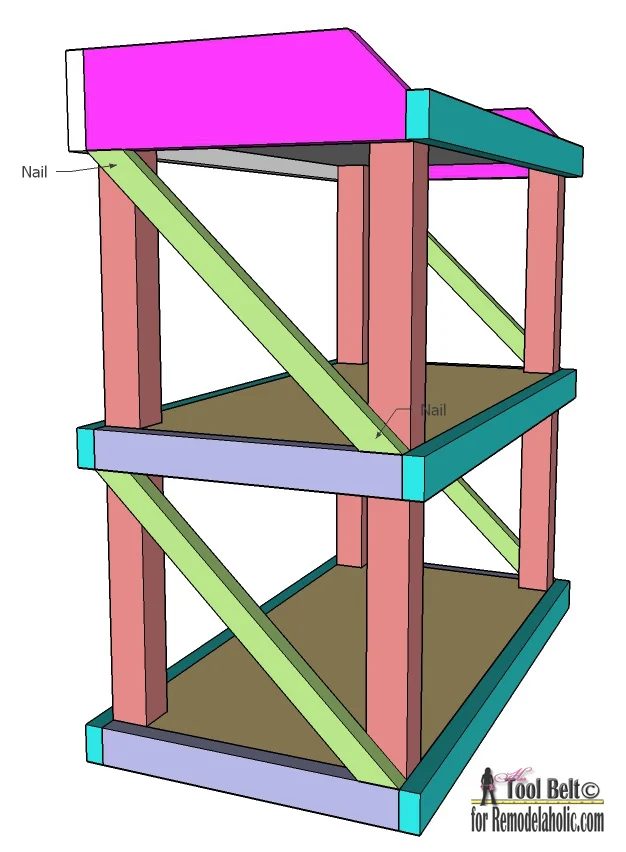
Allow the glue to dry, and you’re done building!
Step 8:
To finish the small shelf, fill the nail holes with wood filler. After the filler is dry, lightly sand the wood until smooth. If staining, apply wood conditioner and stain as directed. If painting, prime and paint with your go-to color.
 |  |
For more build plans look at Hertoolbelt:
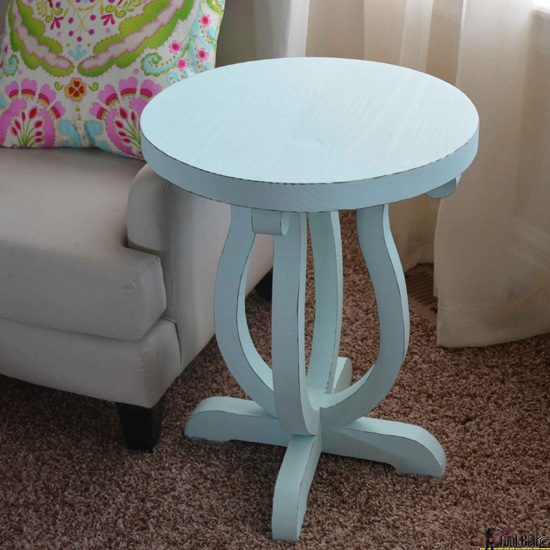 | 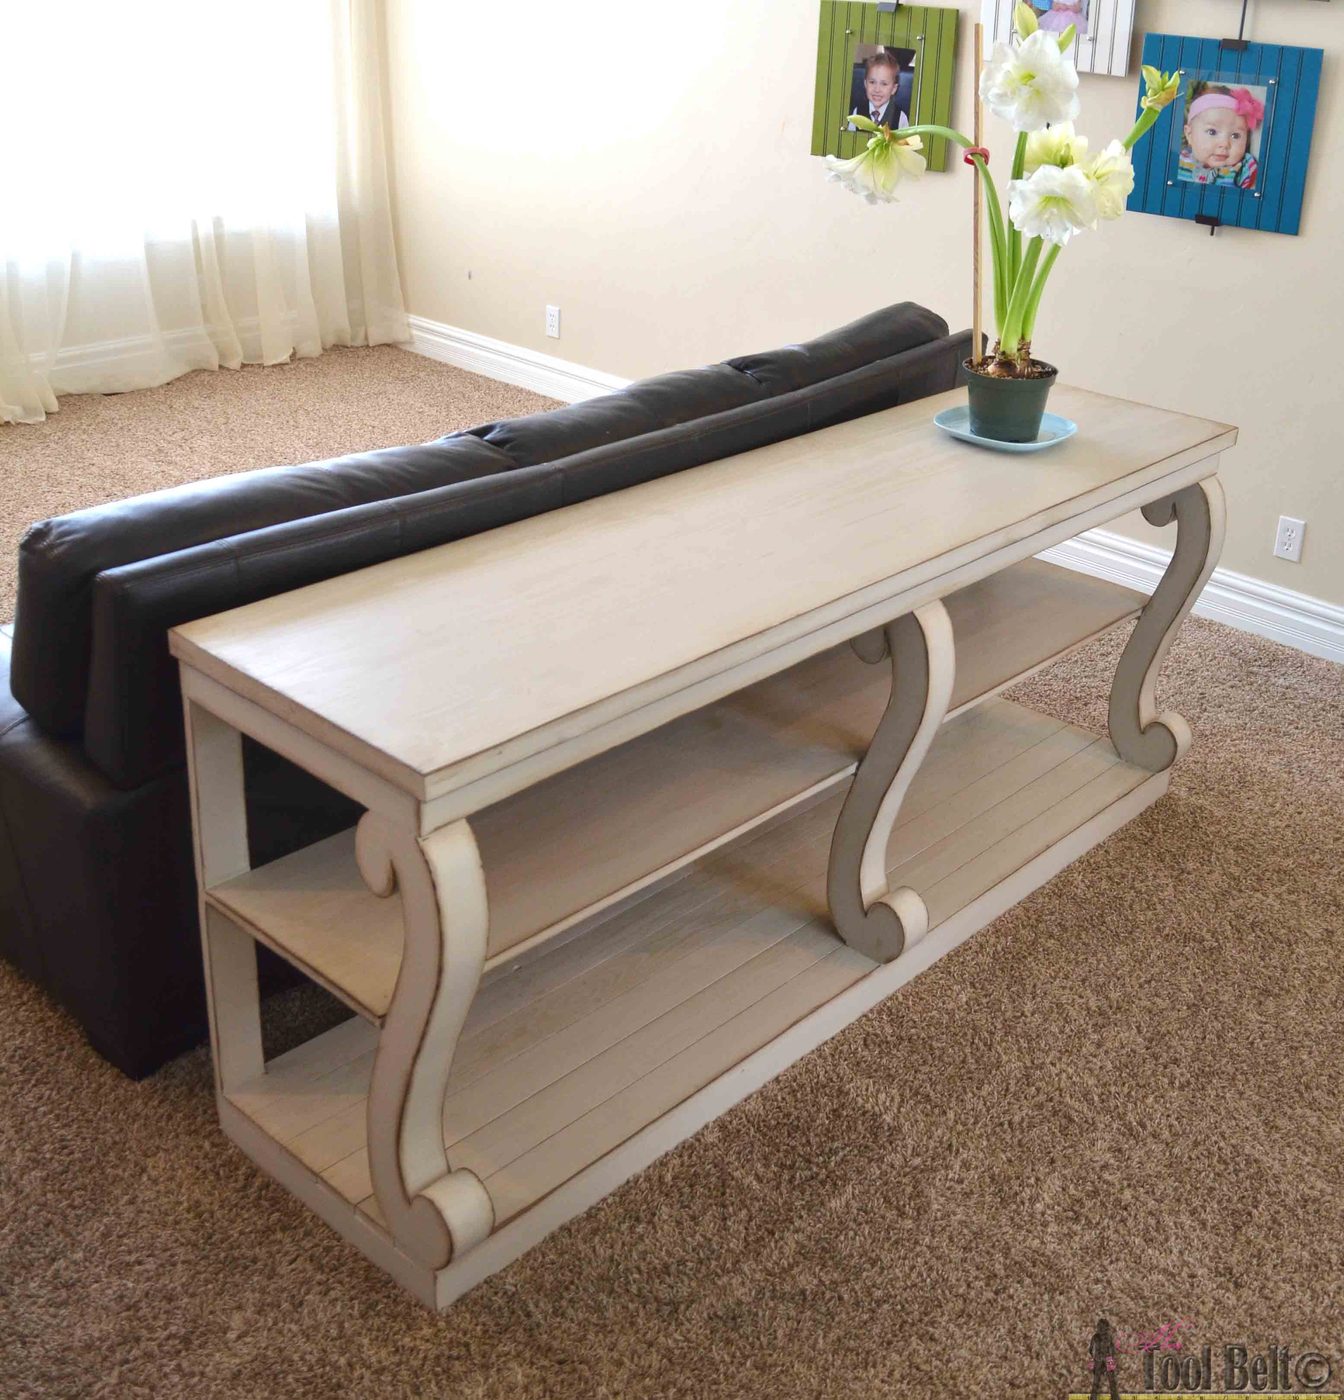 | 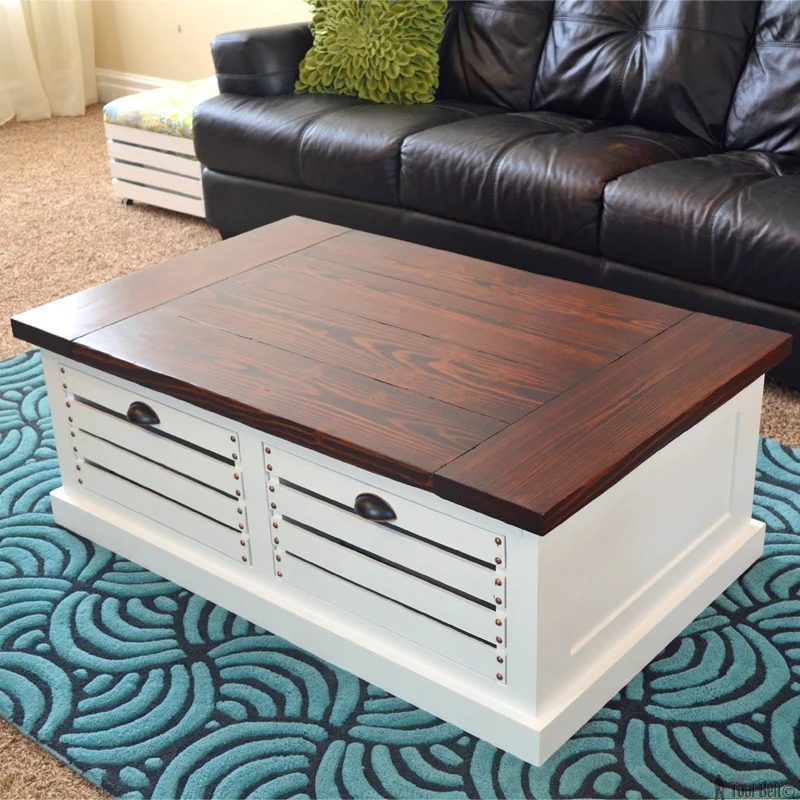 |
Curvy Side Table // Scroll Console Table // Crate Coffee Table
——————————————————————————–
Need more shelving options? Read our post about 25 Handmade shelves, and try out these shelf building plans:Cabinet Door Storage Bins
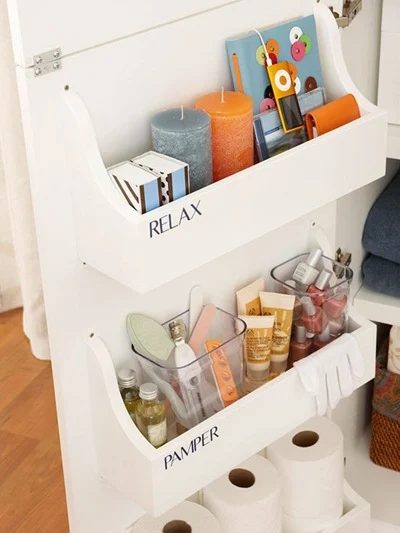
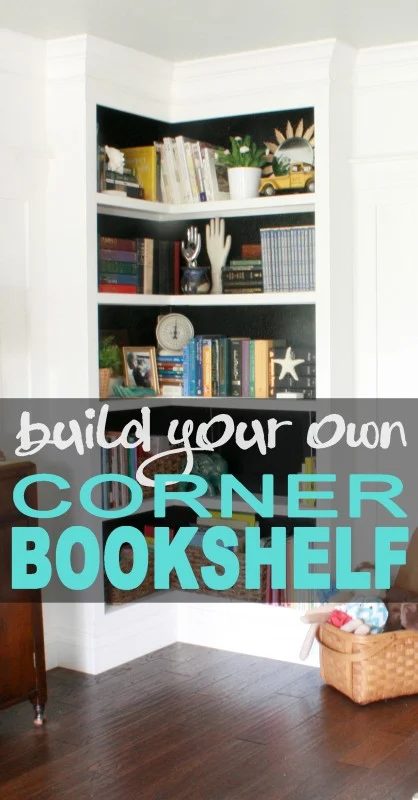
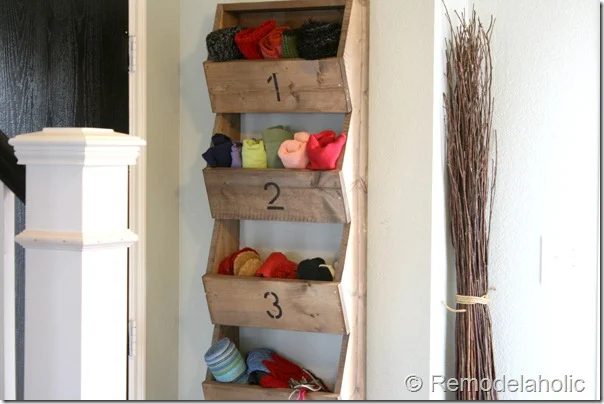
Built-In Bookshelves and Corner BookshelvesRustic Wall Storage Bins