Read the sequence from the top before cutting, painting, or moving pieces.
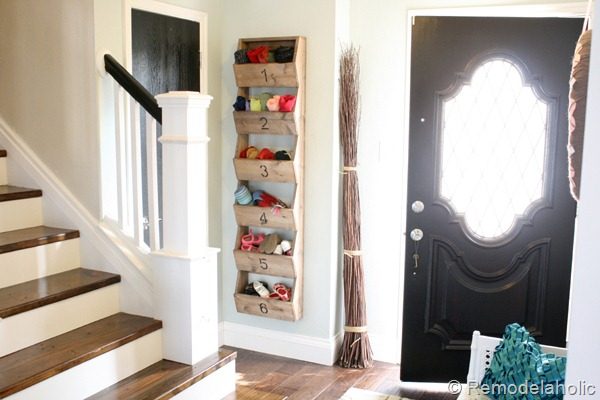
Add storage to your entryway, mudroom, or closet with these rustic wood wall storage bins, built from just 3 boards using a jigsaw, hammer, and nails.
For more small-space storage solutions: build storage between the studs, a tall narrow shoe cubby shelf, or a folding desk with storage.
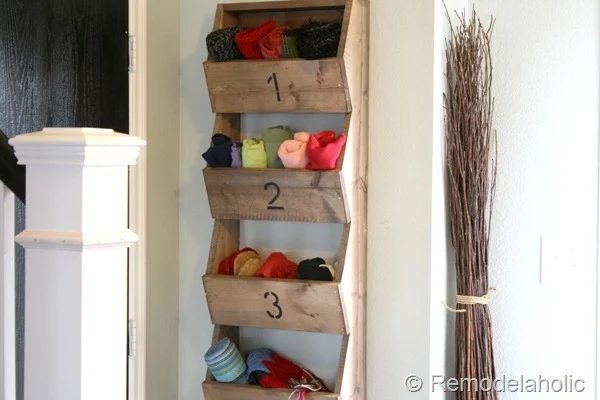
Speaking of creating storage… for a while now I have been talking to my husband about building a storage bin for the back of our entry closet door. Something that I can organize baby socks, shoes and hats in… not to mention all the other randoms that we need to keep in the front closet.
(I am SO sick of running up stairs to my girls rooms for socks, since neither of them will leave socks on to save their laundry drowning mother’s life.)
So, I decided to keep all their shoes and socks downstairs in the front closet. But I have only had an old Easter shoe basket to put both girls shoes and sock in… needless to say it has been bugging me.
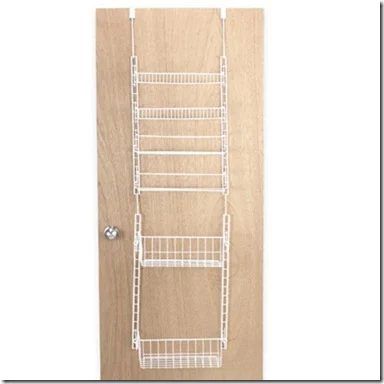
I have seen organizer’s like this, but while it is functional, it is not exactly striking, and I can’t help it, I have a thing for function and beauty…
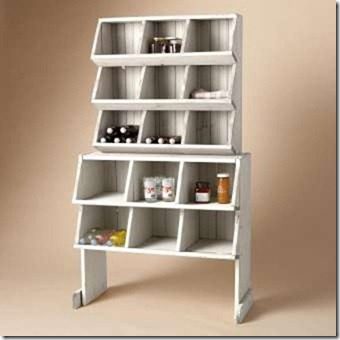
So I started looking for inspiration to check against the options that were growing in my brain. I knew I wanted the bins to not just be square, I wanted an angled bin to add some interest… and when I saw this and it totally was what I was thinking of… almost, I knew it was the right way to go.
I also loved this because the cabinet below was a knock of of a chicken coop nests.. and we love chickens! (sorry no sources for the images I found them a while ago, and can’t remember where)
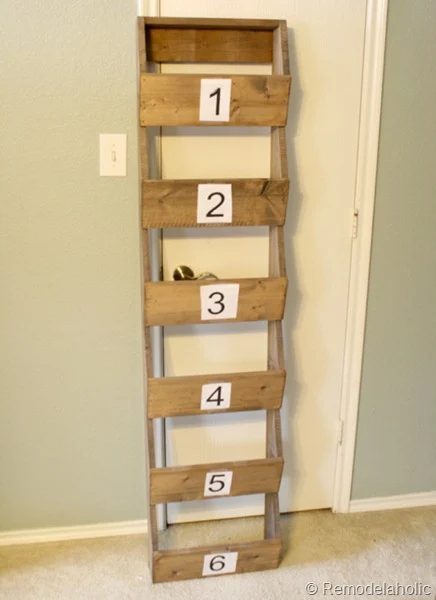
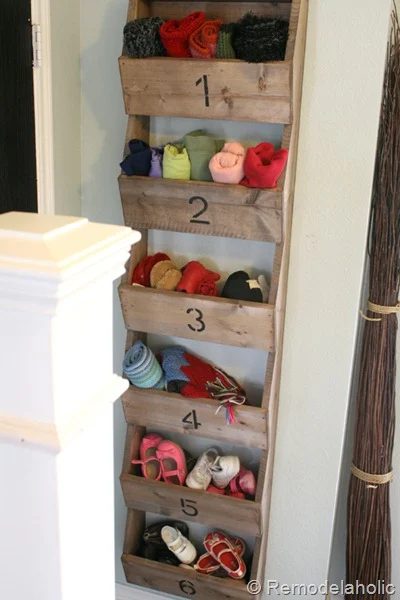
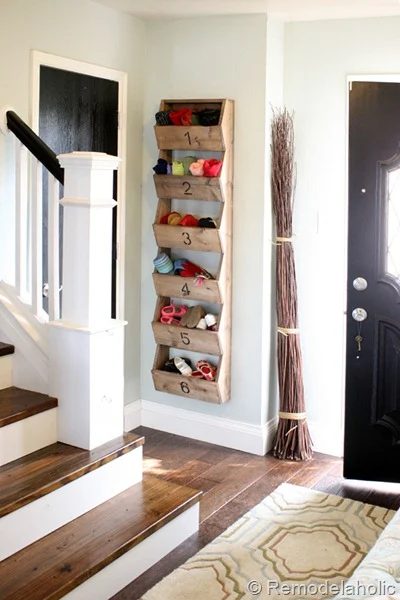
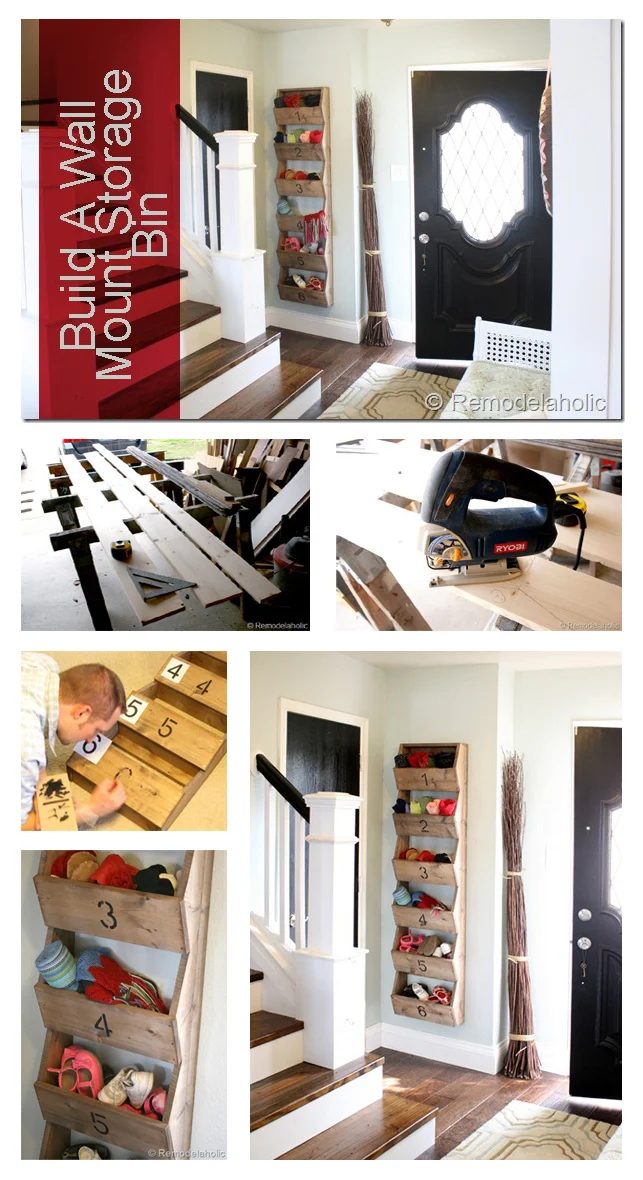
And here is what we came up with:
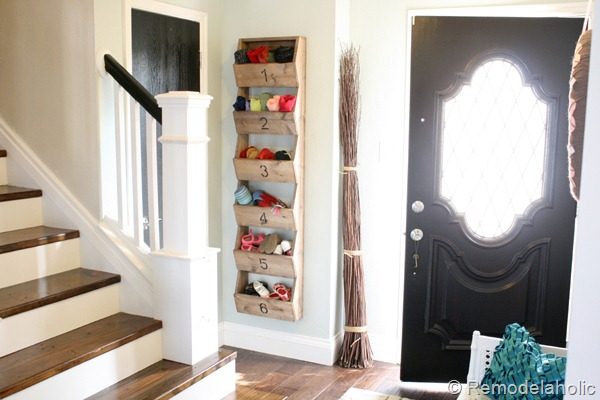
Okay, so I know I said I was going to put it on the back of the door, and I had planned on it, but then, I loved it to much to not see it more often, so it took the place of my rustic art in the entry.
How to Build Wall Storage Bins
Want a printable version of this walkthrough?
Join our email list here, and we’ll send a printable (ad-free!) PDF of this walkthrough right to your inbox. Email subscribers also get exclusive discounts on the plans and printables in the shop — and you can unsubscribe any time.
Detailed printable diagrams coming soon to the shop!
These steps and measurements are the ones that I used. These may be modified slightly depending on your needs and wants.
Time Required: Half a day
- Prepping stain mixture: 15 min. ( 24 hours before staining)
- Cutting and Sanding: 2 hrs.
- Staining: 20 min.
- Assembly: 30 min.
- Painting Stencil: 20 min.
- Hang in place: 10 min.
Supplies Needed:
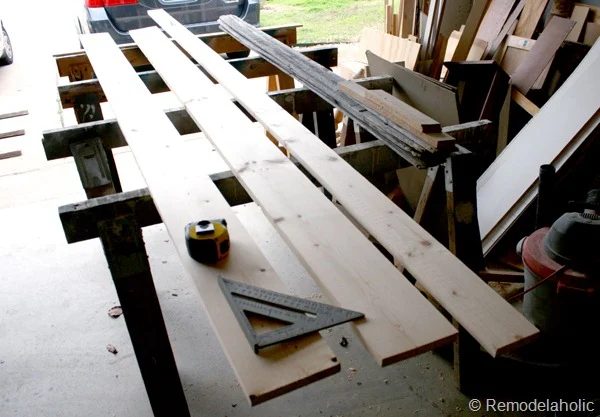
- (3) Pine Board @ 1 x 6 x 10, (actual size, 3/4” x 5 1\2” x 10’, $9.57 each
- for (2) sides and (6) fronts
- (2) Pine Board @ 1 x 4 x 10, (actual size, 3/4” x 3 1\2” x 10’, $10.72 each
- for (6) bottom of bins and (1) top
- Jig Saw or hand saw
- Hammer
- (26) Nails 1 1\4” (found in the garage)
- Sanding block or electric sander
- 100 or 120 grit sand paper
- Pencil
- Straight edge (for laying out the pattern to be cut
- Measuring tape
- Framing triangle (optional, but very useful)
- Wood stain recipe (walkthrough here)
- Fine steel wool
- Vinegar
- Glass jar
- Black Tea
- Bowl for black tea
- Foam brush
- Rag
Step-by-Step Wall Storage Bins walkthrough
Step 1: Cut Pieces
Cut List:
(Quantity) Length x Width x Thickness
- Top: (1) 14 1\2” x 3 1\2” x 3\4”
- Sides: (2) 66” x 5 1\2” x 3\4”
- Fronts: (6) 16” x 5 1\2” x 3\4”
- Bottoms: (6) 14 1\2” x 3 1\2” x 3\4”
- Back Supports: (2) 14 1\2” x 5 1\2” x 3\4”
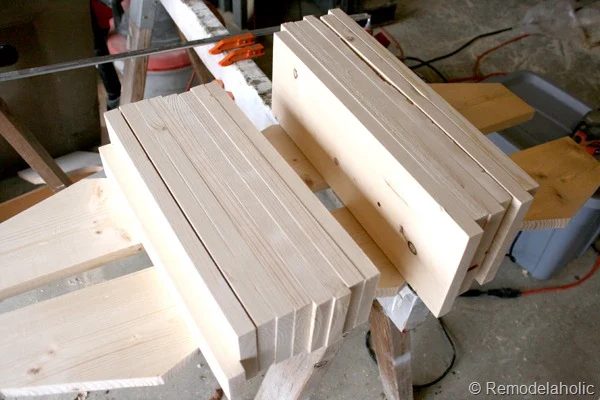
Step 2: Layout pattern on (2) sides.
Divide the sides with a mark on the front at 11” all the way up the front of the board.
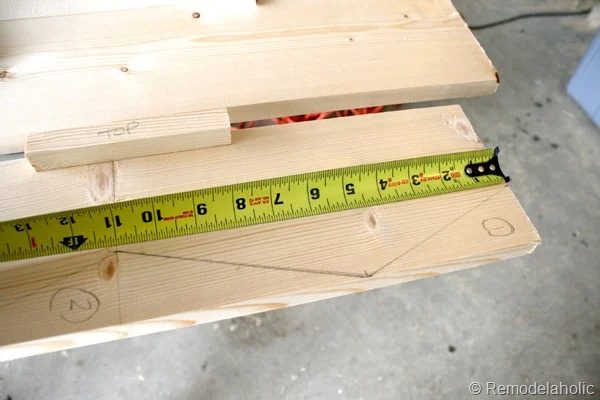
-
- draw a faint line across the board using your triangle.
- mark on the line 3 1\2” from the back of the side on the line just drawn.
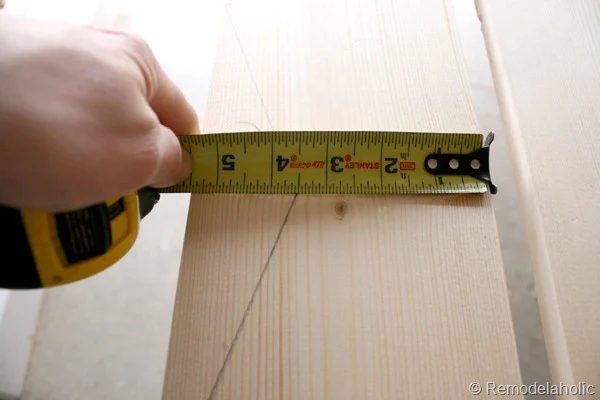
-
- on the front edge of the side, draw a mark 5 1\8” above the 11” line.
- Draw a line using a straight edge connecting the 3 1\2” mark to the 5 1\8” mark. (This line should be about 5 1\2” long for the front piece to be nailed to.
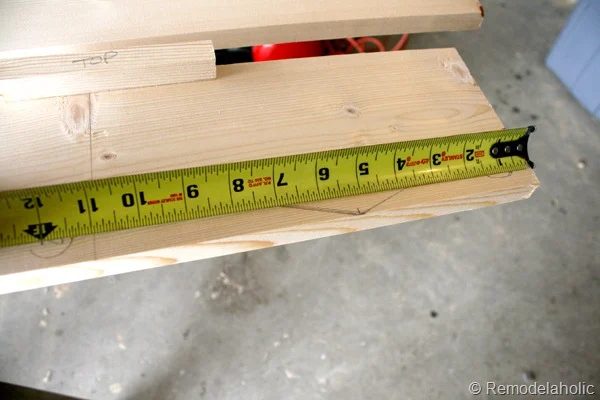
-
- Draw another line from the 5 1\8” mark back to the 3 1\2” mark above on the next line.
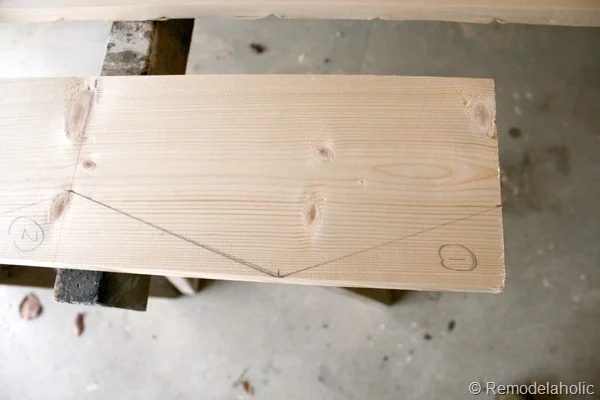
-
- This completes the pattern to be cut.
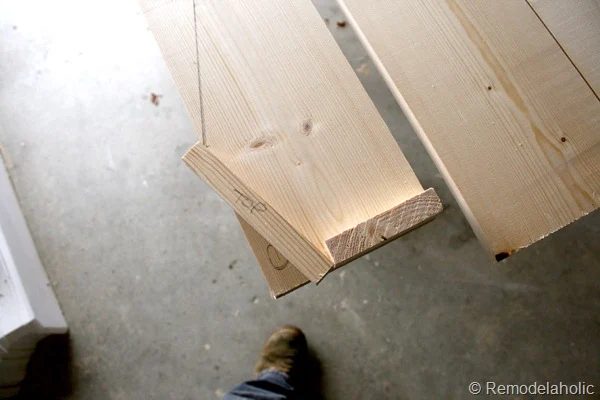
-
- Do some test cuts to get familiar with cutting with the jig saw. It’s ease to get the angled cuts if you are not careful.
- Cut out pattern with jig saw
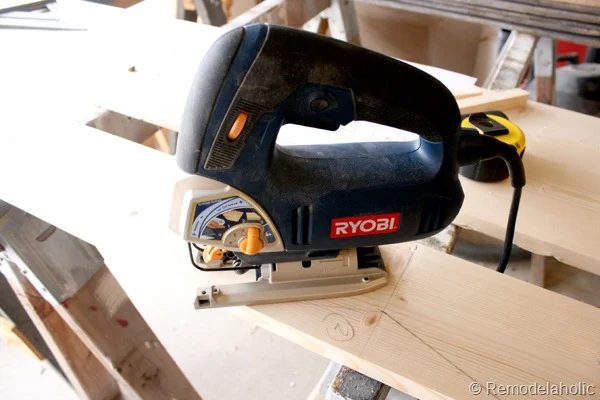
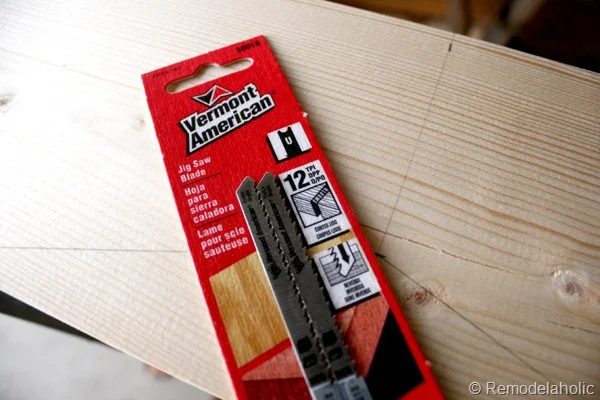
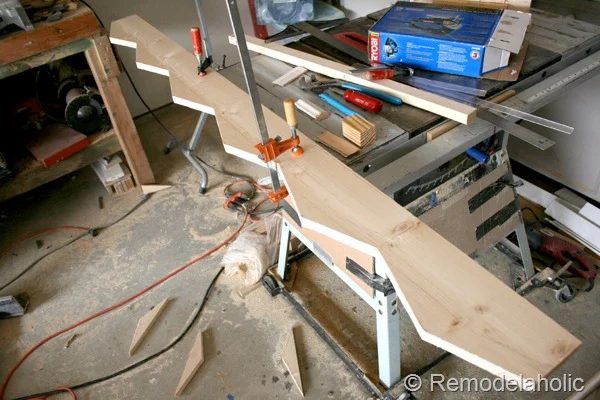
- Be sure to keep the blade straight at all times.
- Cut out the little triangular pieces keeping the blade on the cut side of the line.
- Clamp sides together and sand the cut edges flat, for the front pieces to be nailed to and for the exposed edges to look nicer.
- Sand off or erase pence marks and do any last sanding touchups.
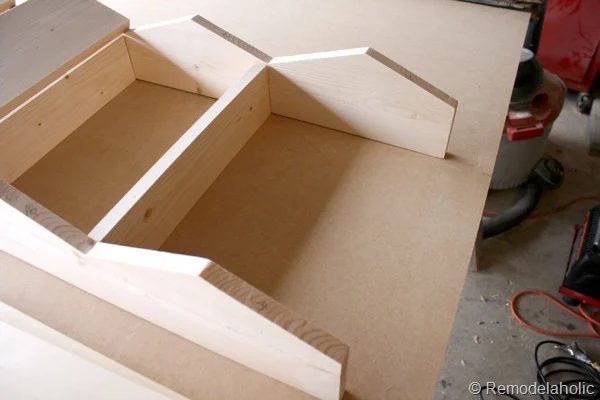
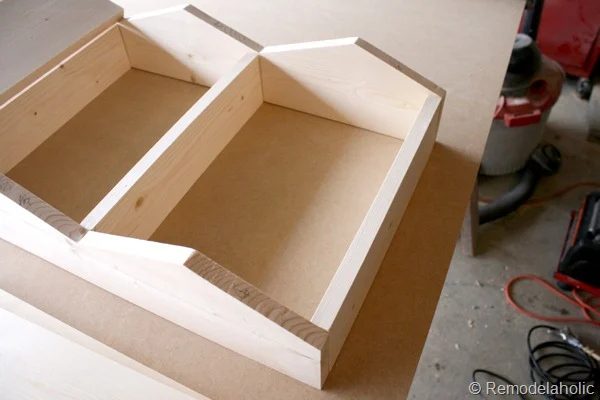
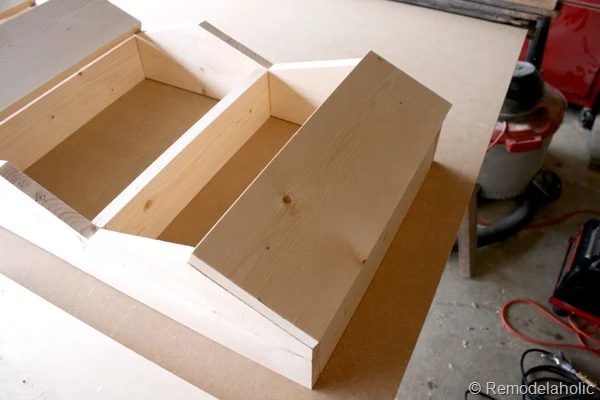
- Test how everything fits together
-
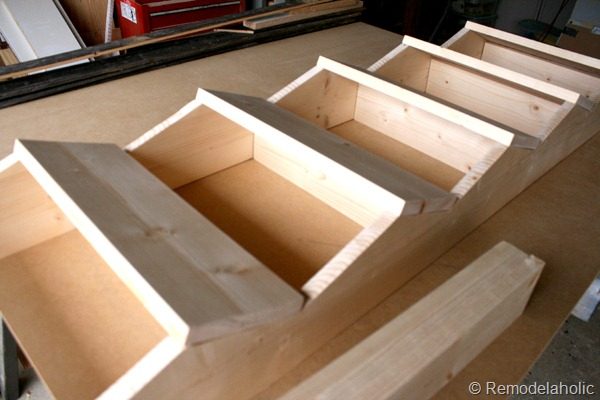
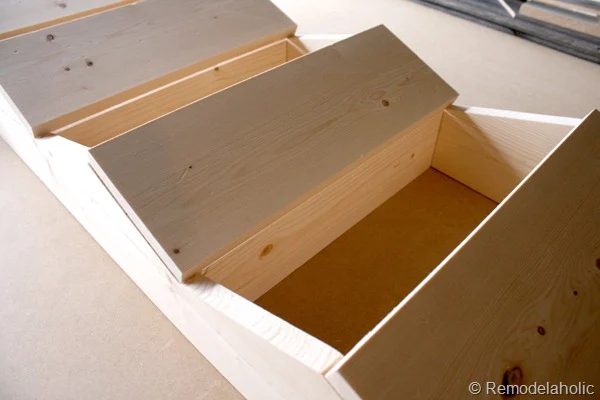
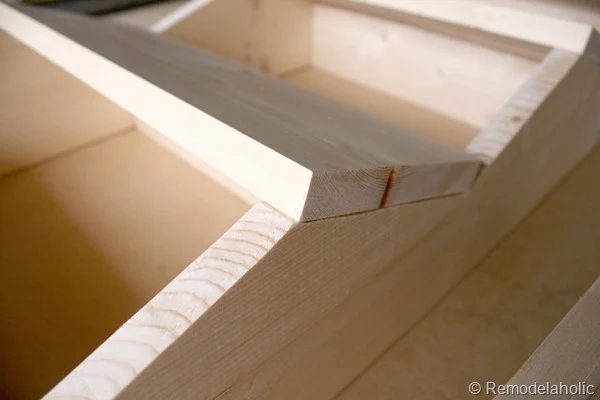
- Distress the cut pieces of wood
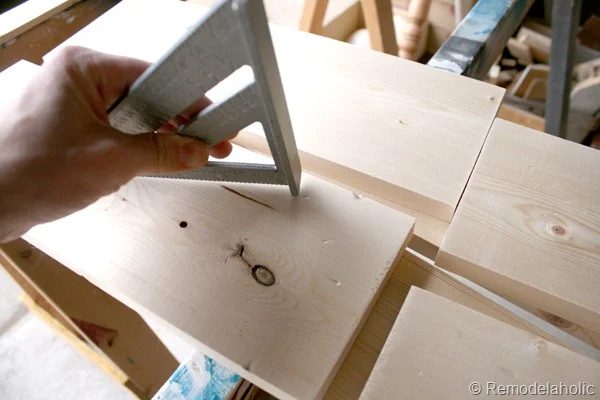
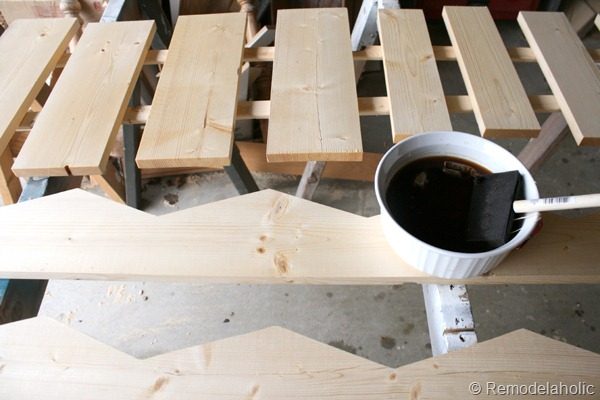
- Apply on layer of tea stain, and allow to dry. You won’t notice much of a difference (maybe you should, but I didn’t)
- Stain the wood using the homemade mixture of vinegar and steel wool (that has been sitting for 24 hours), see the walkthrough here, before assembling.
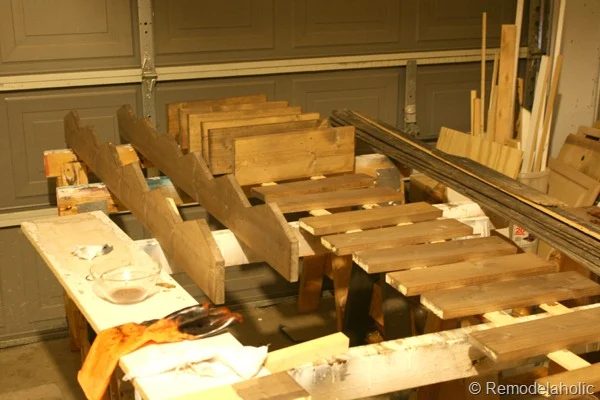
- Assemble the minions cut pieces with nails.
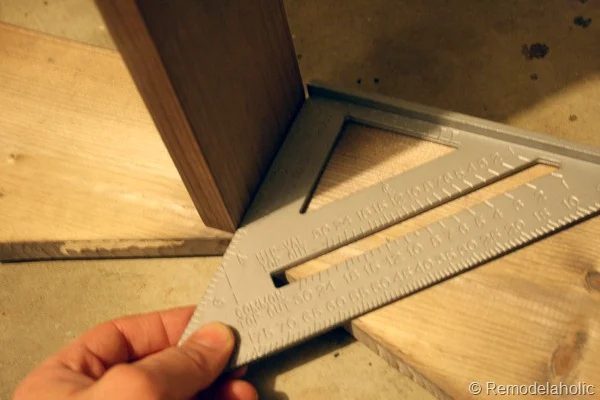
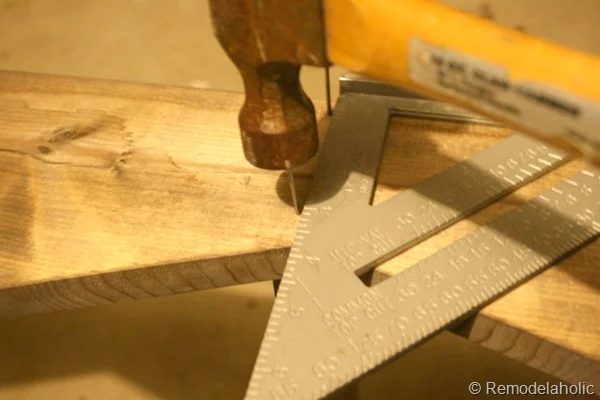
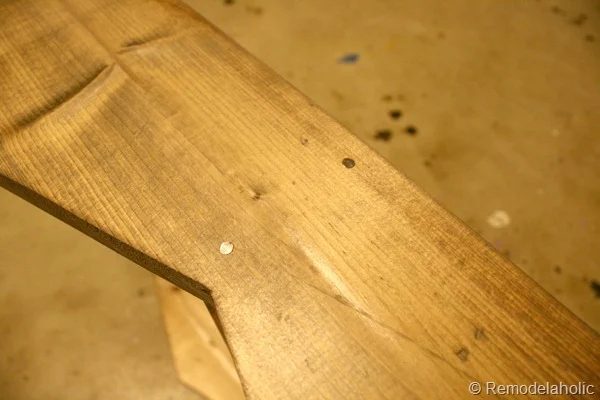
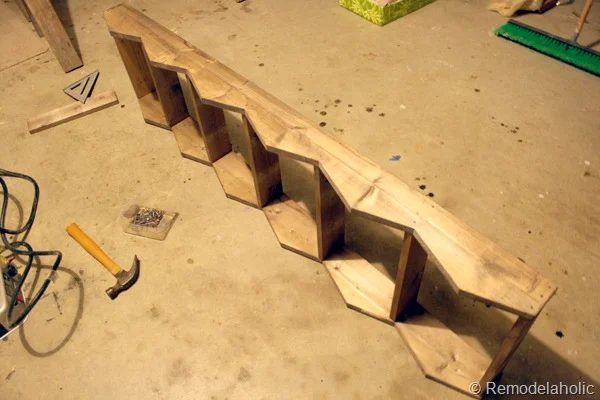
- Nail the sides to the top and bottom pieces with two nails on each side (using your triangle as a guide to keep it square. We used nails with heads to add another detail.
 |
 |
 |
 |
-
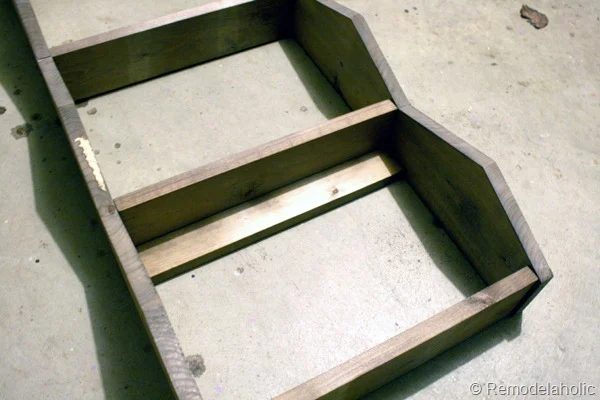
- Nail the back supports to the sides. One at the back top of the top bin and one on the back top of the bottom bin.
-
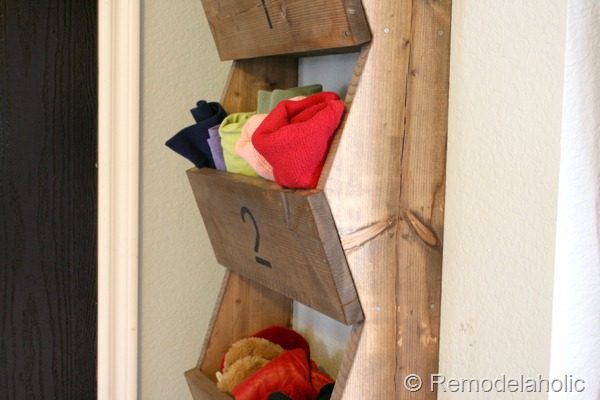
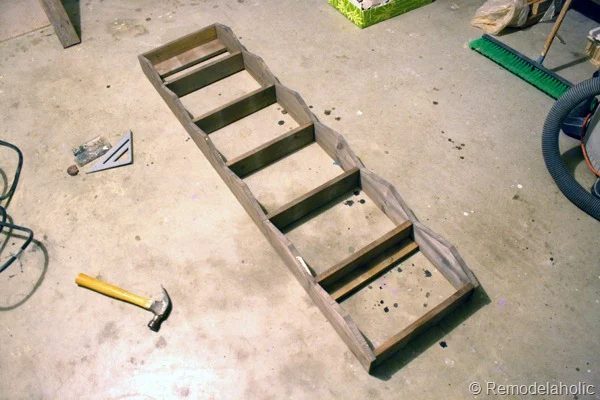
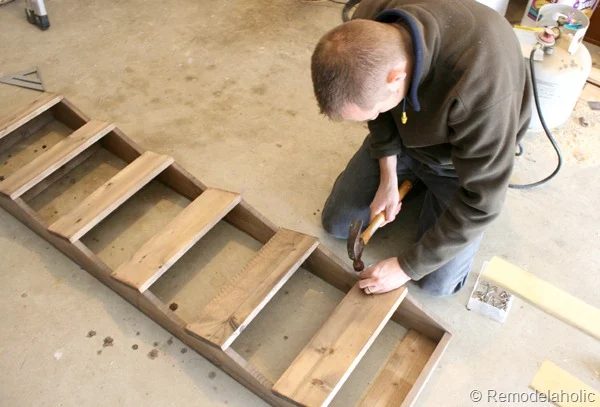
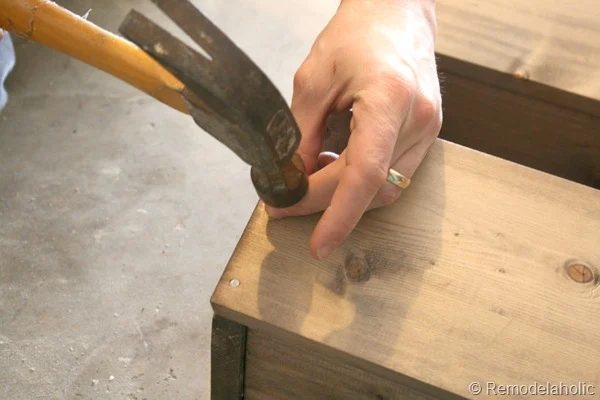
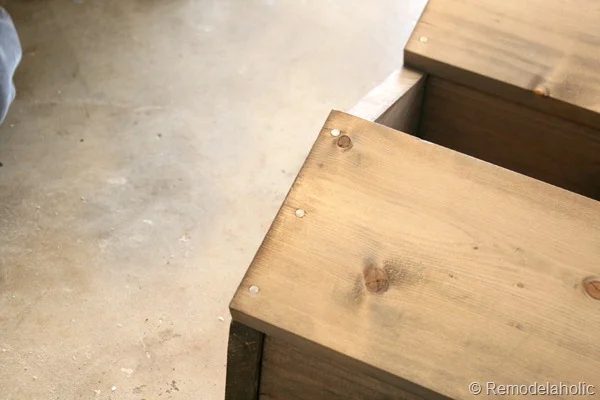
- Nail the fronts to the angled 5 1\2” sides. Again we used small nails with heads so that you would see the nails on purpose to add a tiny bit more rustic detail. At first we only had two nails, but decided to add a third…
 |
 |
 |
 |
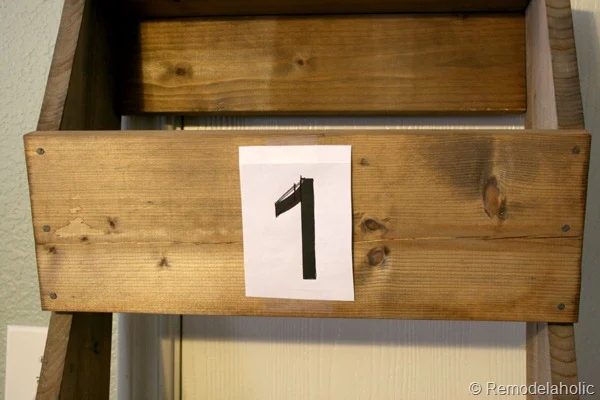
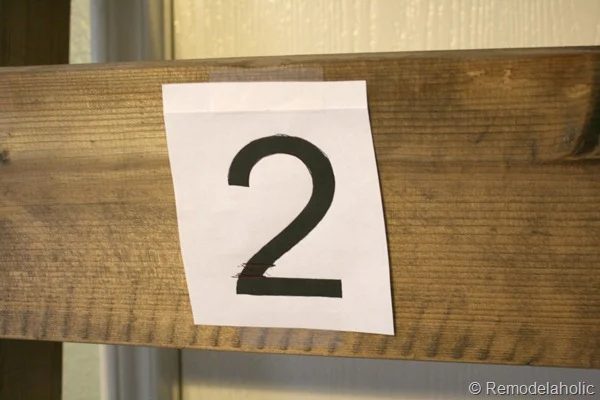
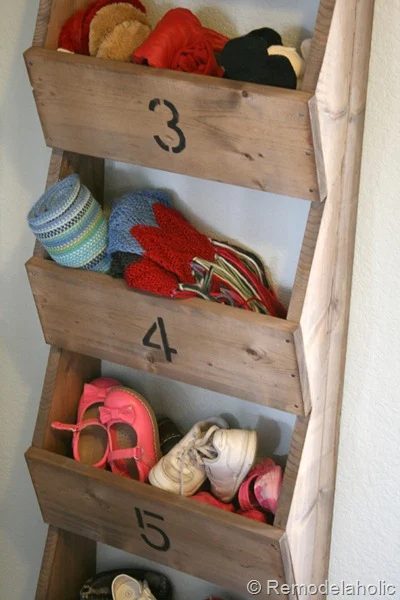
- We chose to stencil some numbers on (this is optional…) To create a low-cost stencil, I printed the numbers I needed in the right size. Then we decided where we wanted breaks, and I made a few tweaks to the lettering.
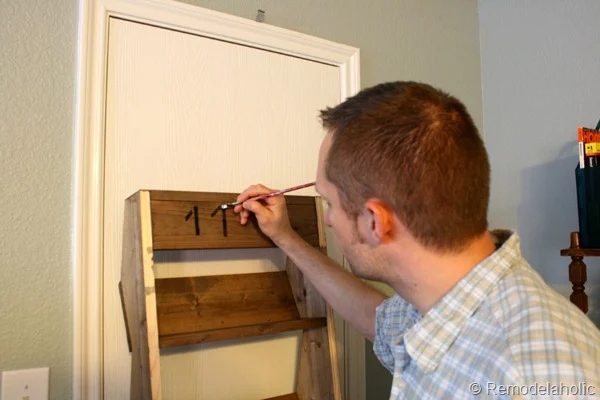
- Tape the letters in place. Then with a ball point pen, Justin trace the outline of each number onto the wood. Because the wood is soft, the pressure through the paper will leave a small mark or groove to follow when painting but that isn’t really visible once painted.
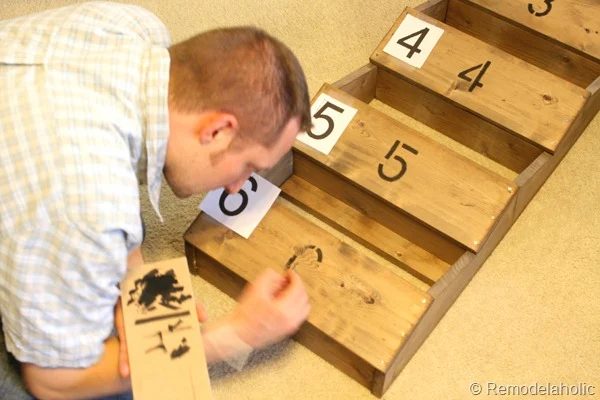
- Dry brush the letters on (Justin tested it out on the back… no one will ever know! (oh shoot I guess I just told you… and showed you a picture!)
 |
 |
 |
 |
Finally, hang it on the wall (we just drilled it right through the back support boards right into a stud. And fill it up with what ever you want. I like things to be functional, so while the stuff inside might not be striking we use it ALL the time… baby sweaters, baby shoes, socks, gloves, scarves and hats. And of course you can change it out for different seasons.
 |
 |
 |
 |
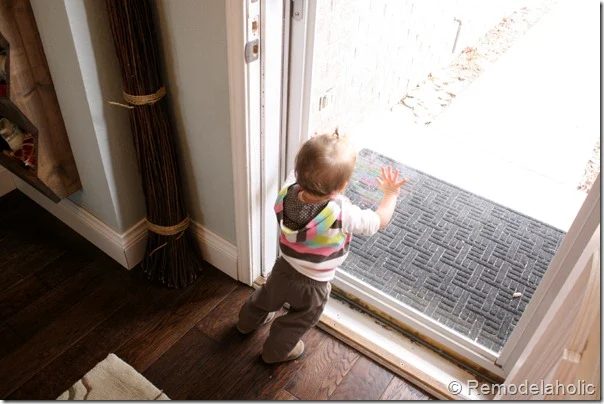
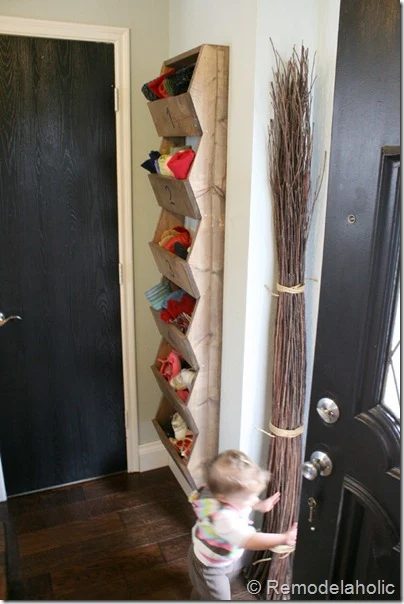
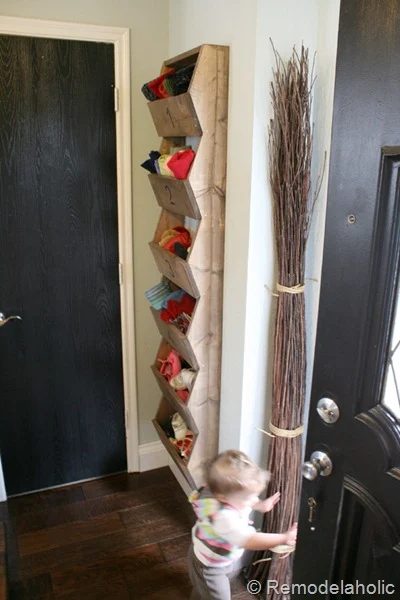
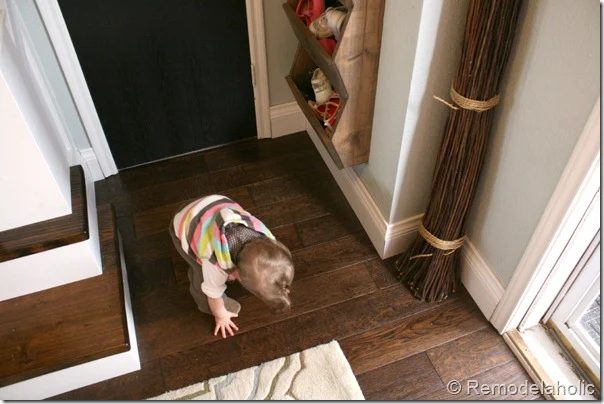
Lydia came over while I was taking pictures. I tried to get her to look through the bins but the front door was open. I asked her to get some shoes… so she bent down to get her shoes… It was cute!
Reader Build: Farmhouse Wall Storage Bins
Over at Tamara’s Joy, she built this organizational piece and loves it! Doesn’t it look great? And it’s so functional! Great job, Tamara. (1/26/18)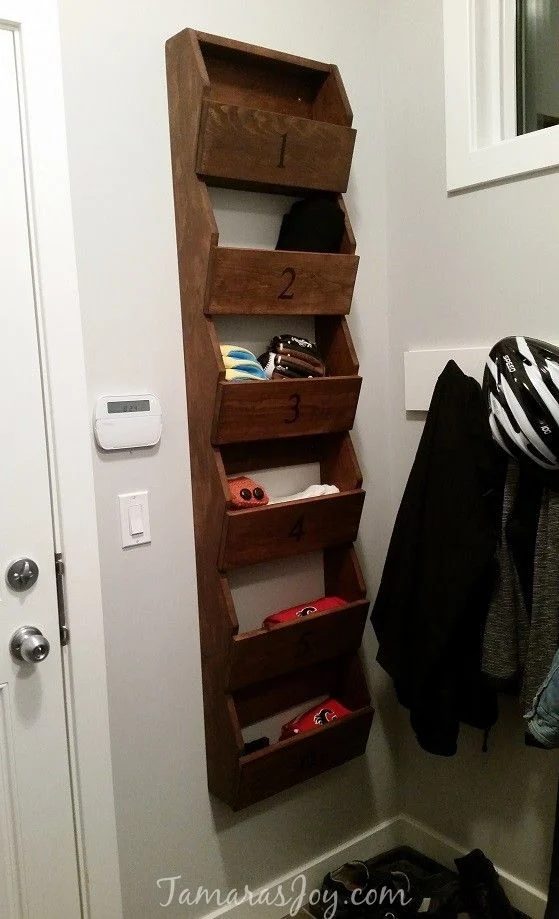
More Handmade storage for your entryway and beyond:
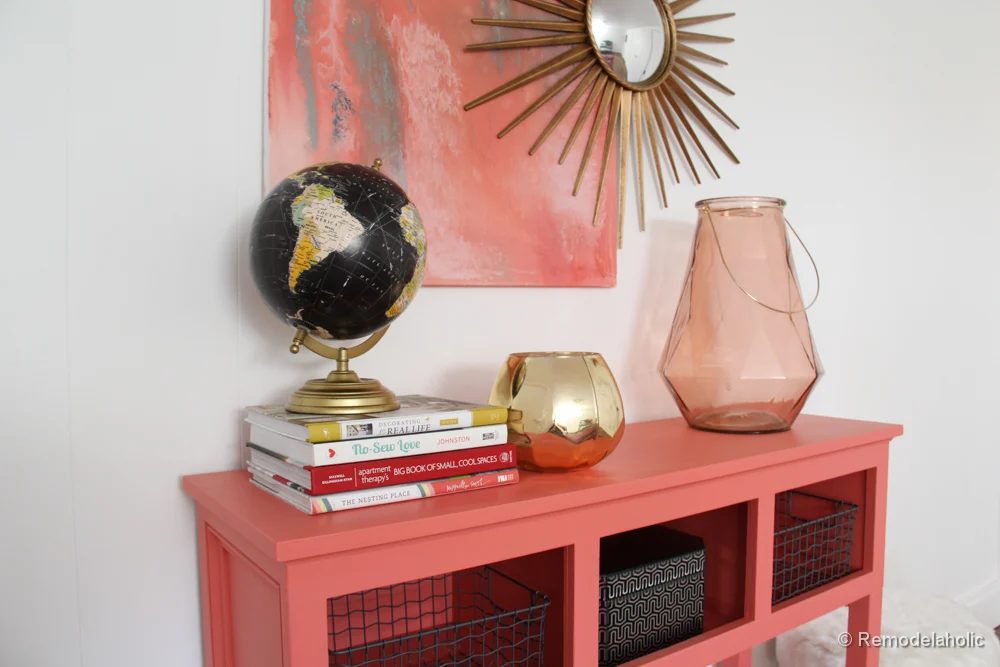
- Entry Table Console with Storage Cubbies
- Cabinet Door Storage Bin Plans
- Tall Narrow Shoe Cubby Shelf
- Mudroom Corner Bench and Shelf
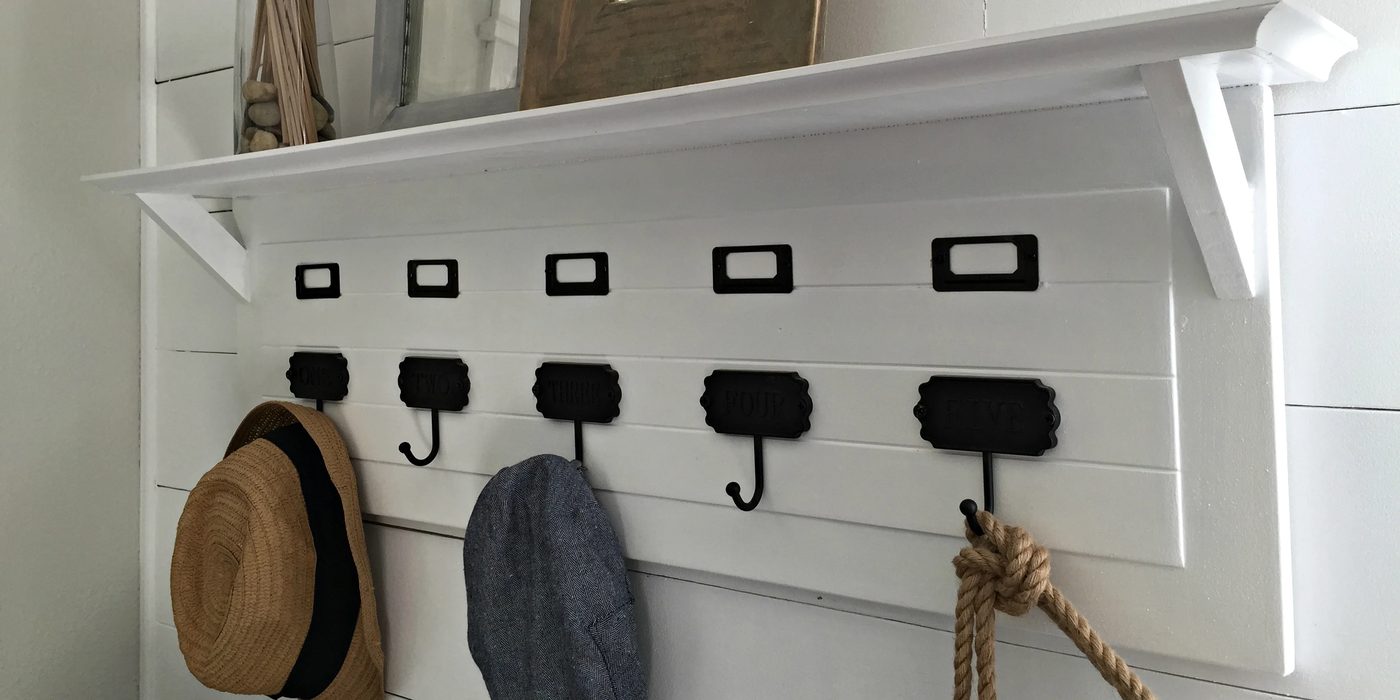
- Wall Coat Rack with Hidden Storage
Published Feb 28 2012 // Updated Jan 28 2021