Materials and the sequence of the job sit together on this page.
Hello fabulous Bekob! It’s Ananda from A Piece Of Rainbow with a new and fun building plan for you today!
Actually, it is not just for you. It is also for the clearly loved little ones in your life!
Have they begged and reasoned with you to build a dollhouse, a fort, or a castle for them? Have you been hesitating because it just sounded too complicated?
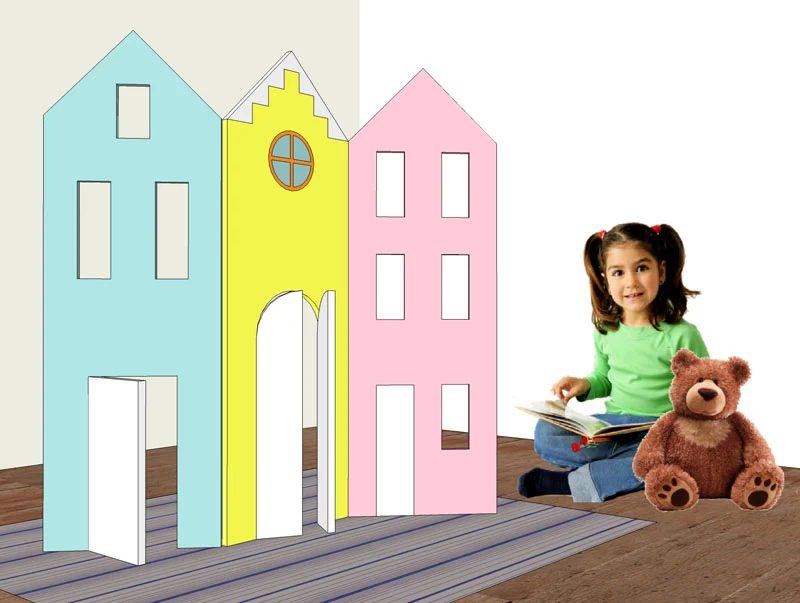
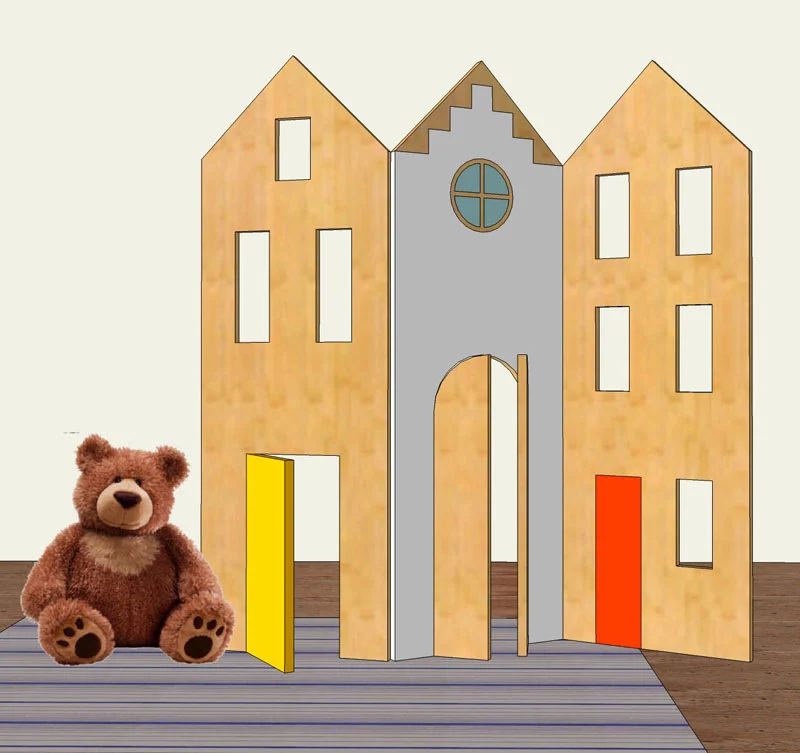
We have a much simpler solution for you: build this vivid room divider easily using just one sheet of 4’x4′ plywood.
It looks like a little castle, with many added functions such as creating more play space and hiding the happy mess in a kid’s room!
Our divider is patterned after this adorable one by this cute German furniture company who sells the unpainted version. We have a set of free plans for you to download. Let’s get started!
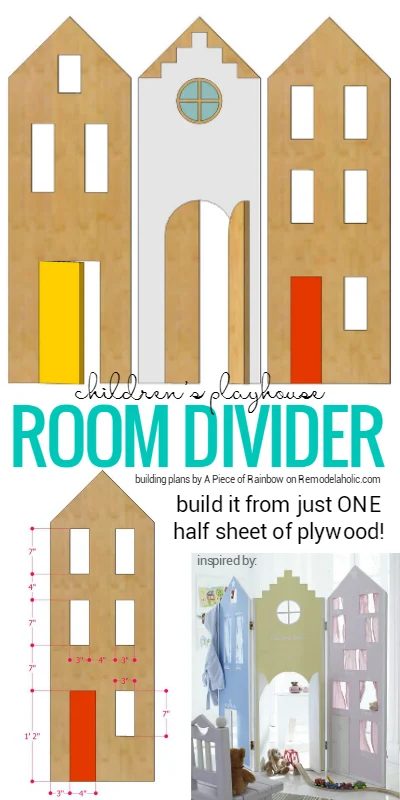
How to Build a Children’s Playhouse Room Divider
open this to get a free printable version of this building plan
Please follow good practices to build safely and smartly. Always wear eye and hearing protection. Work on a clean level surface, free of clutter or debris.
Materials and tools:
- one sheet of 4’x4′ 3/4″ thick plywood: because we will need to screw hinges onto the edge of the plywood, it is recommended to use good quality plywood such as cabinet grade, Birch, etc. The cheaper grades have voids and will not hold the screws well.
- 3/4″ edge banding: optional. It will give a finished look and feel to the cut edges.
- 2” or 2.5” butt hinges
- paint and / or stain for finishing
- jig saw, sand paper or sanding pad, drill
- measuring tape, square, pencil, safety glasses!!
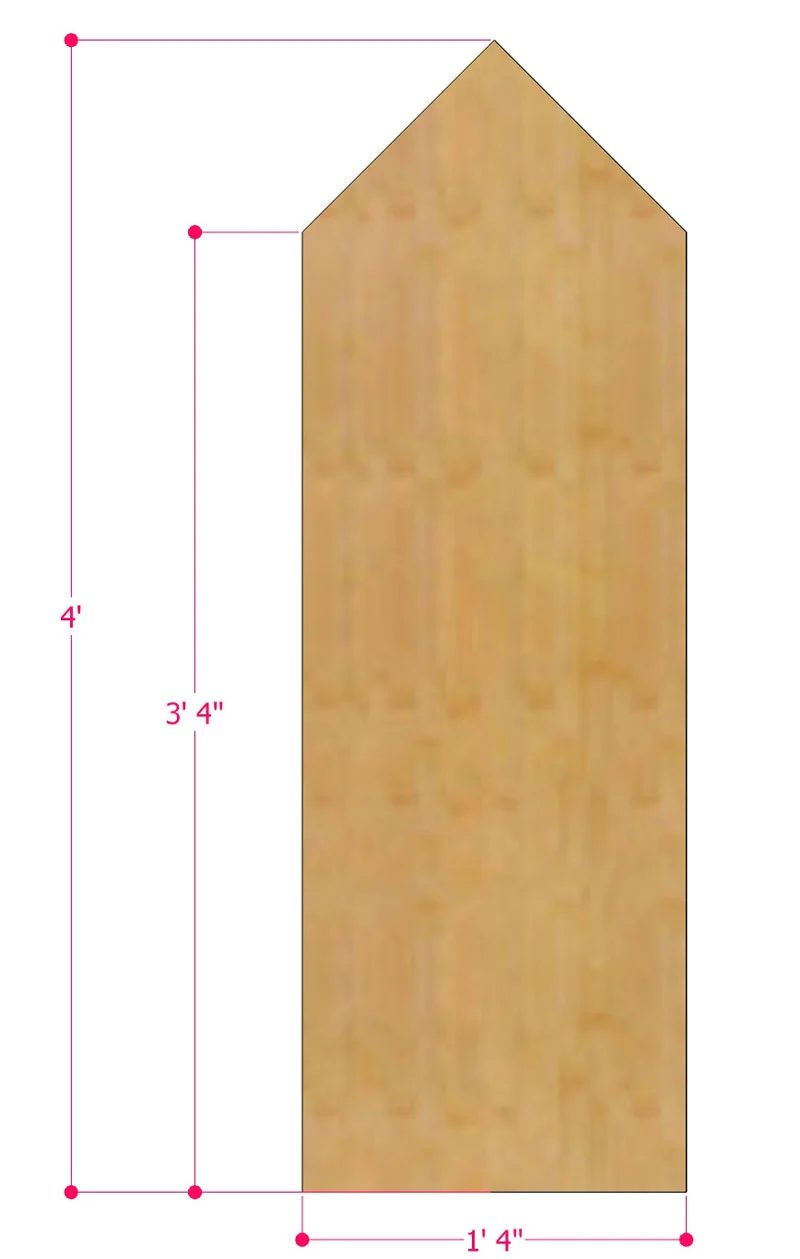
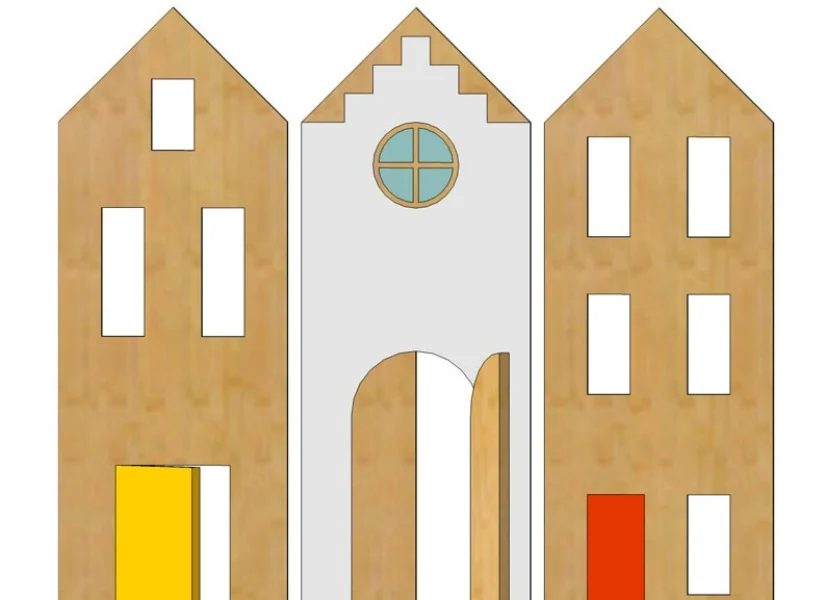
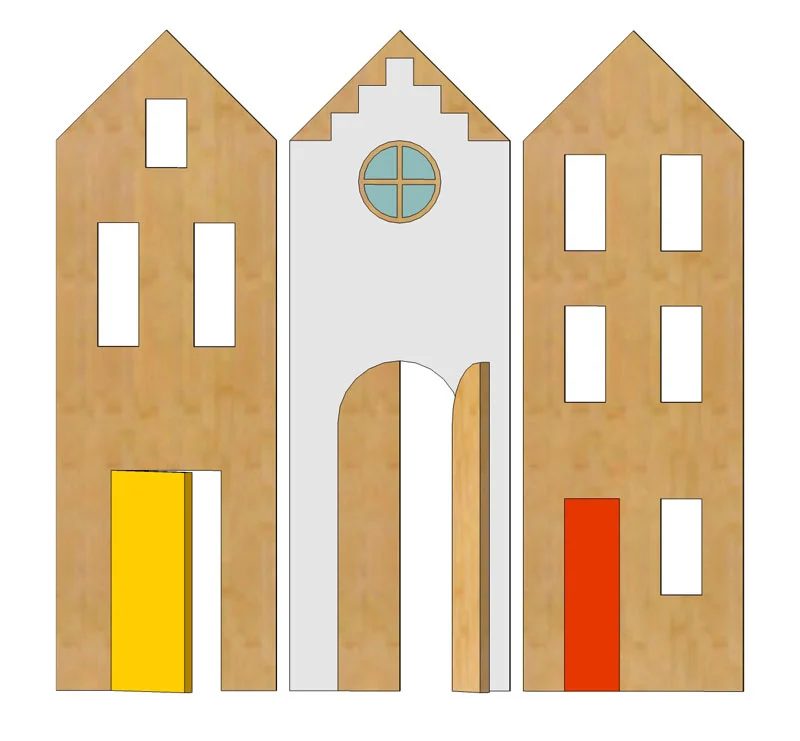
Step 1: measure and cut the 4’x4′ sheet of plywood into three panels, following the dimensions above.
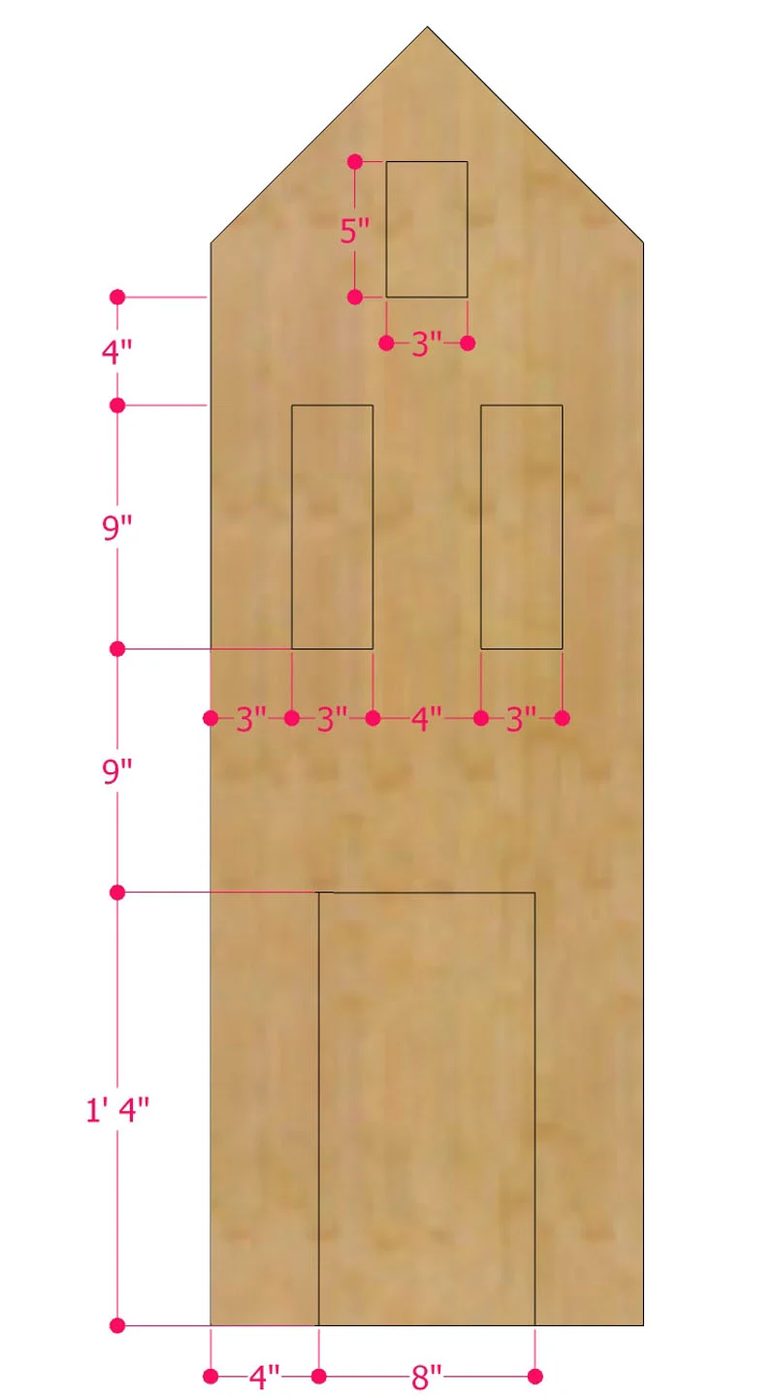
Step 2: Measure and cut openings in each of the three panels.
Fell free to make up your own designs or use the dimensions here.
Save the “door” cutouts for later.
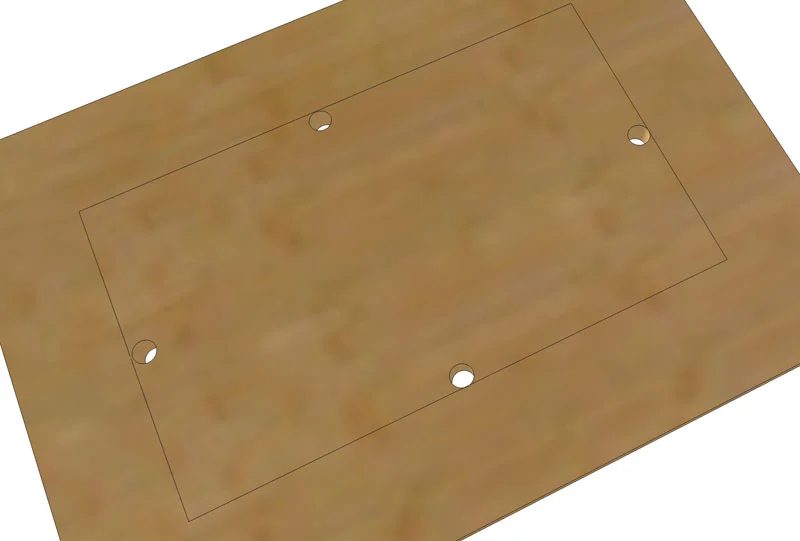
Then to cut the “windows” out, draw the windows on each of the panels, then drilled holes on each side, inside the lines. Starting at each the dots, cut along the line to a corner using a Jigsaw.
A “door” only need to be cut on three sides- the bottom edge does not need cutting. Because we want to save the doors and attach them to the panel with hinges later, we only need to drill a small hole on the top edge, and trim that edge straight. This will give us a door slightly lifted off the floor, which is what real doors are like.
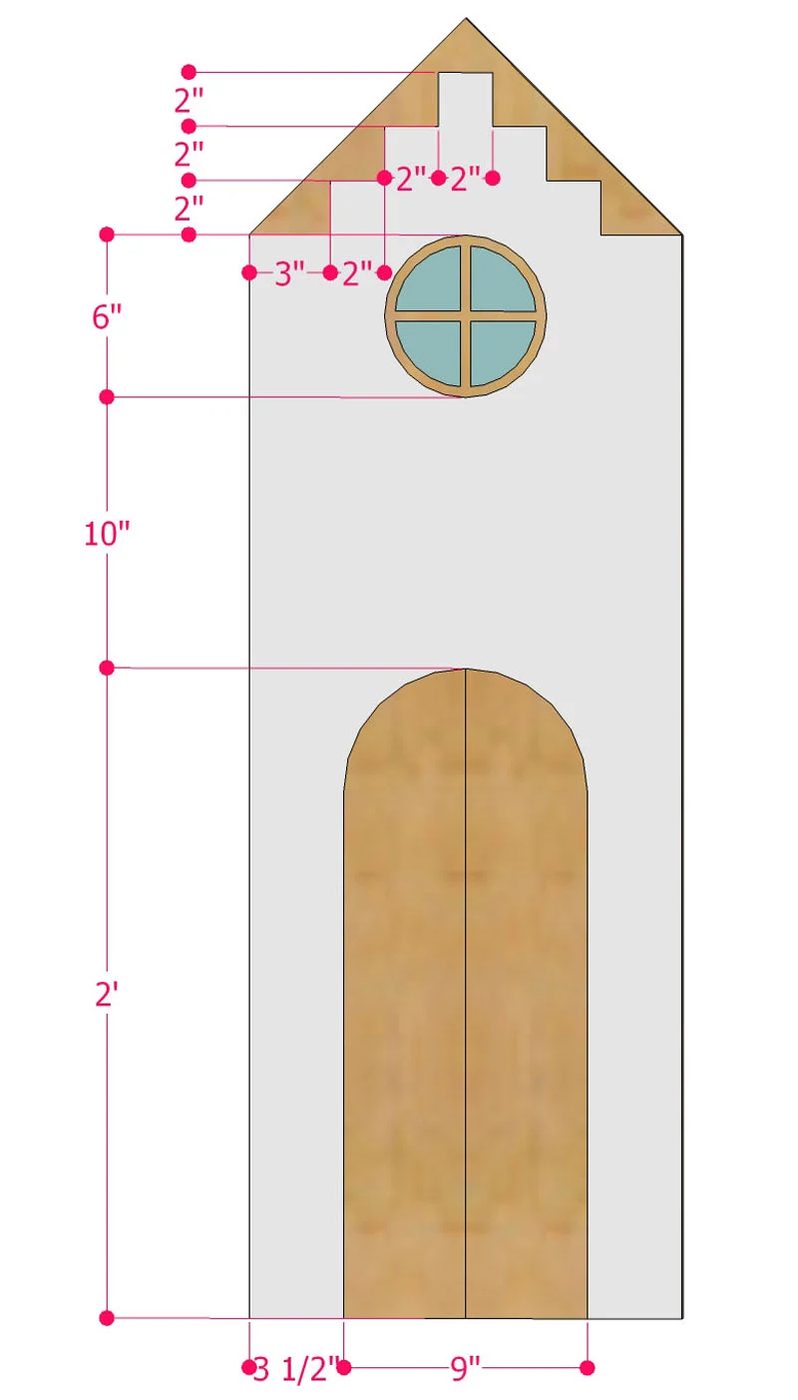
The curved door show above can be cut using a jigsaw without drilling holes.
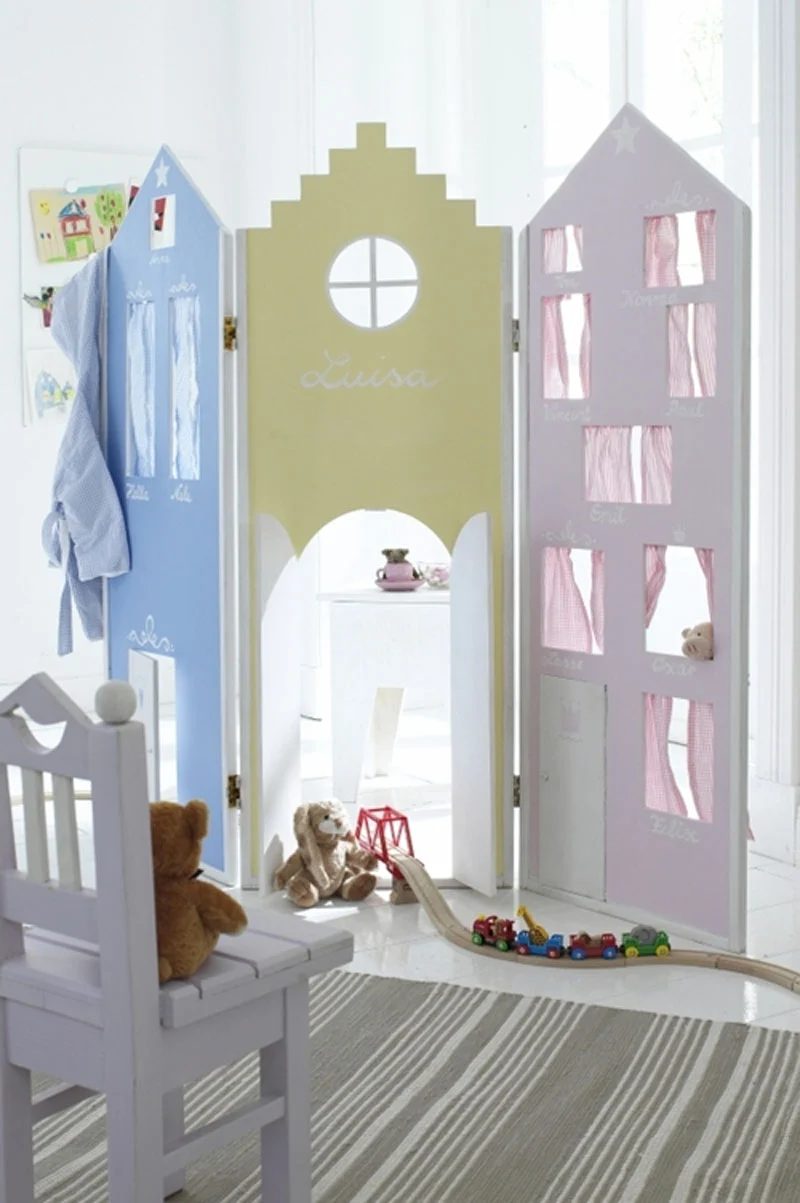
A couple of tips and tricks: If you compare the middle panel in our inspiration image to the one in our plan above, you can see that instead of cutting the circular window and the stepped roof detail, we PAINTED them. Intricate details like these are difficult to create without specialized tools. Why not use paint instead?
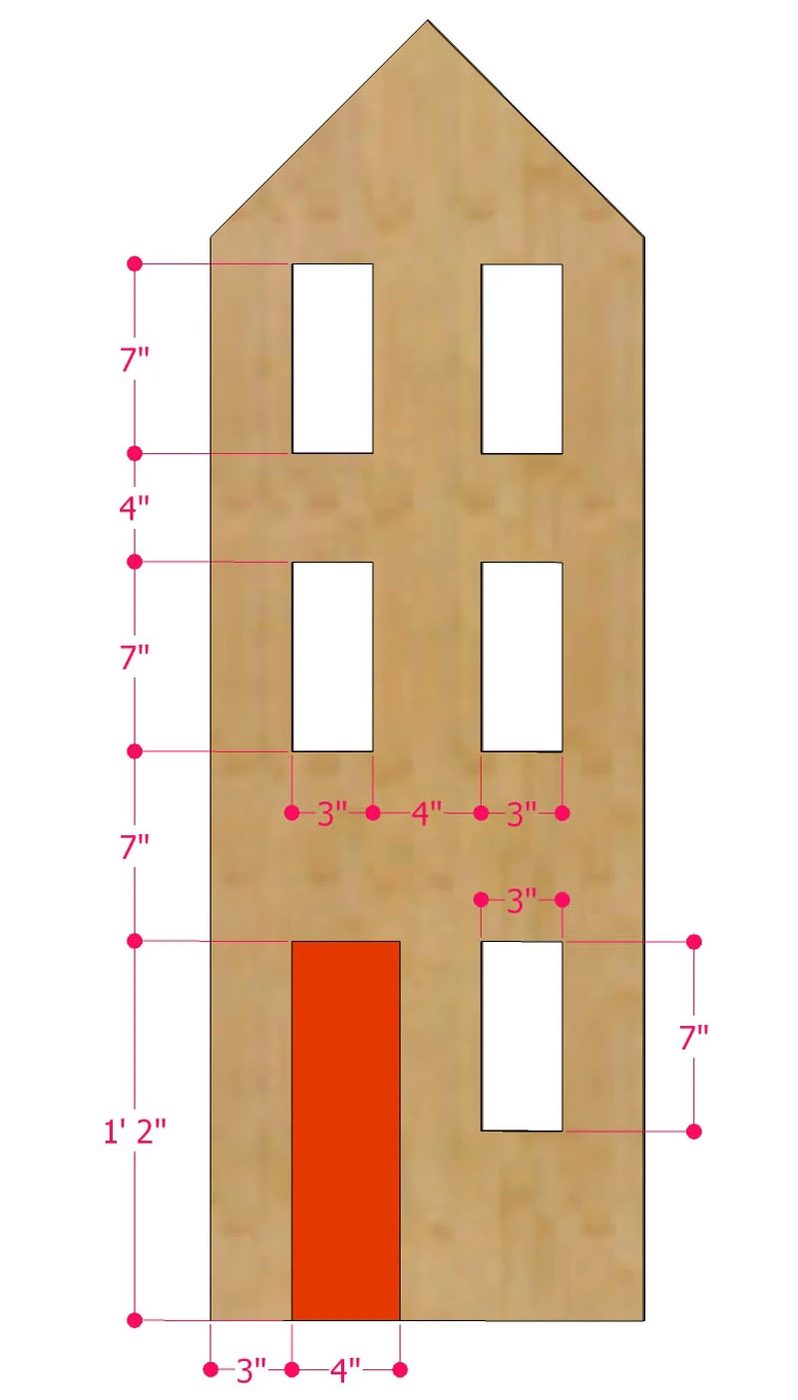
Here’s the third panel. You can even paint a door!
Step 3: Finishes
Add veneer edge banding to all exposed plywood edges.
You can paint or stain each panel. Have fun with this step!
Here are some home-made all natural wood stain recipes that are very straightforward to make and effective!
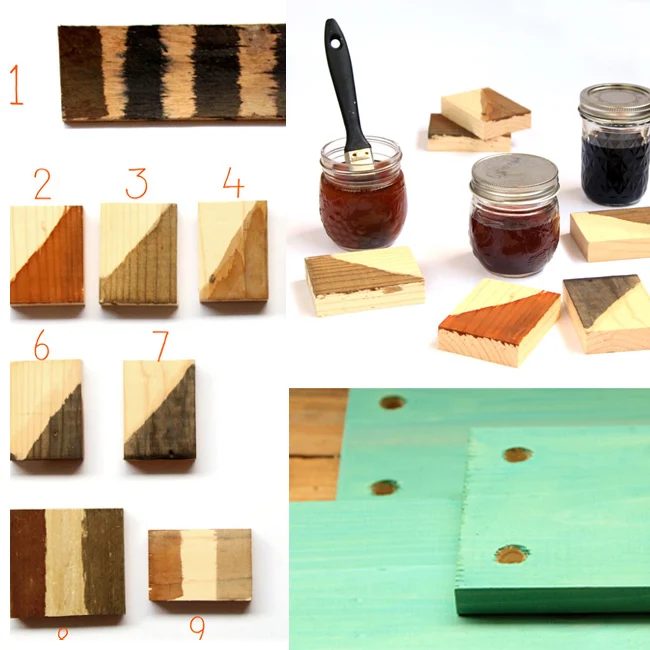
Remember to always choose non-toxic paints and stains!
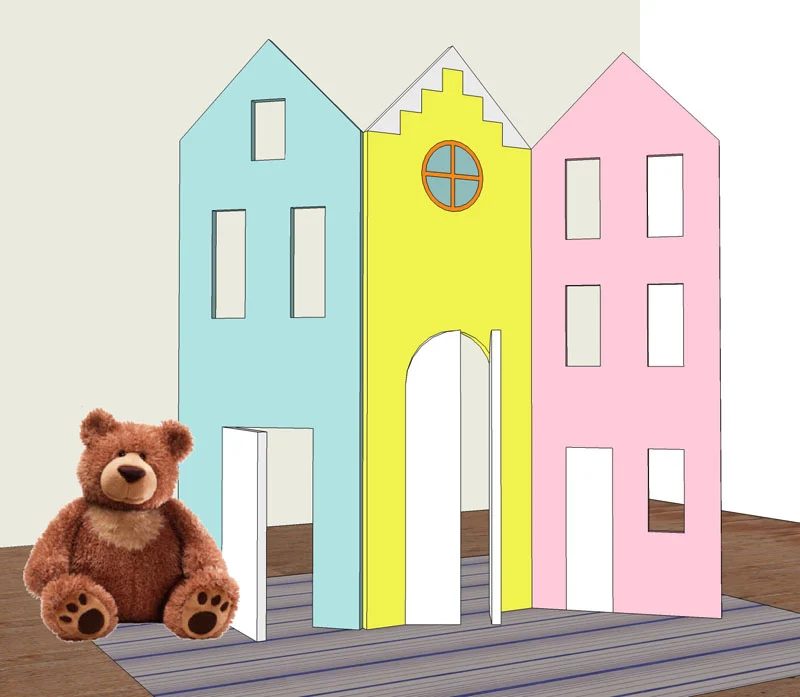
Step 4: Add hinges to panels and doors.
Decide which way you would like the panels to swing, and attach the hinges accordingly.
When attaching screws to the edge of 3/4″ plywood, it is very important to drill pilot holes first so the wood will not split.
The charming little touches such as mini curtains can be created by simply adding a small brass nail on each side of a window and connect the two nails with a piece of string as curtain “rods”.
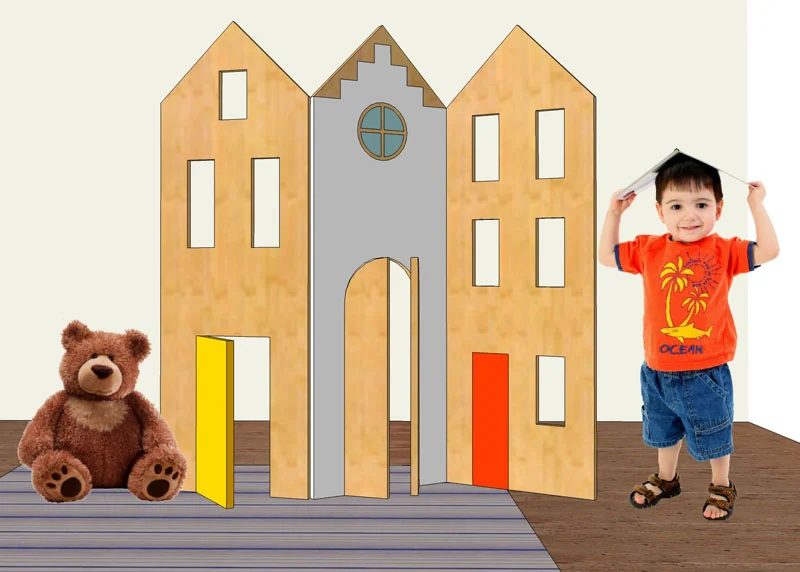
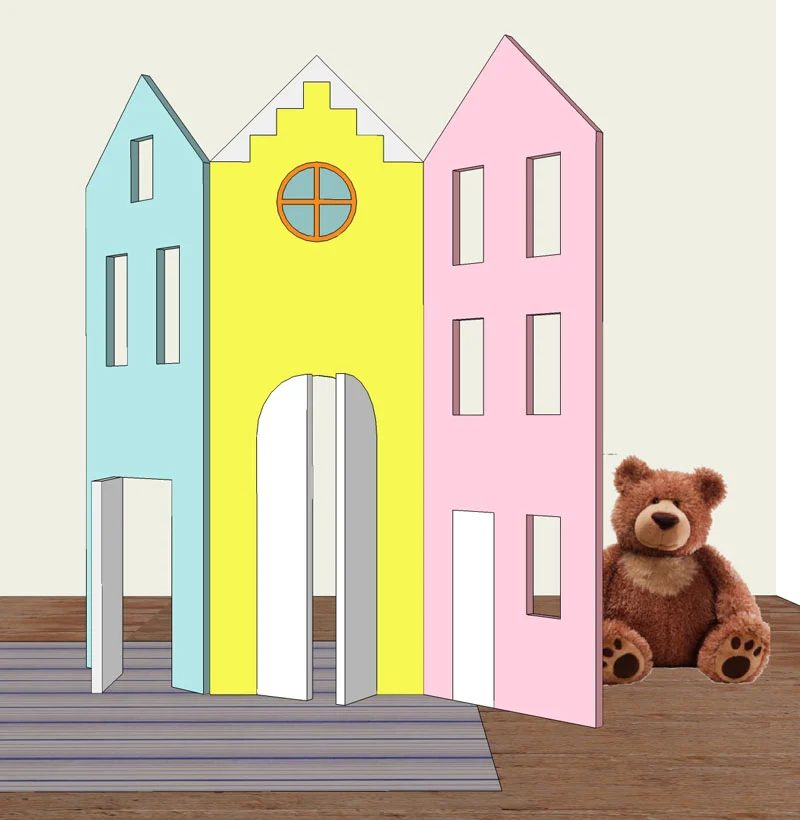
Here’s the building plan for you to download!
Download Plans
A couple more options for you to add a fun touch to any space: transfer images onto wood easily and add your custom designs, and make some 3d giant snowflakes from a few sheets of paper!
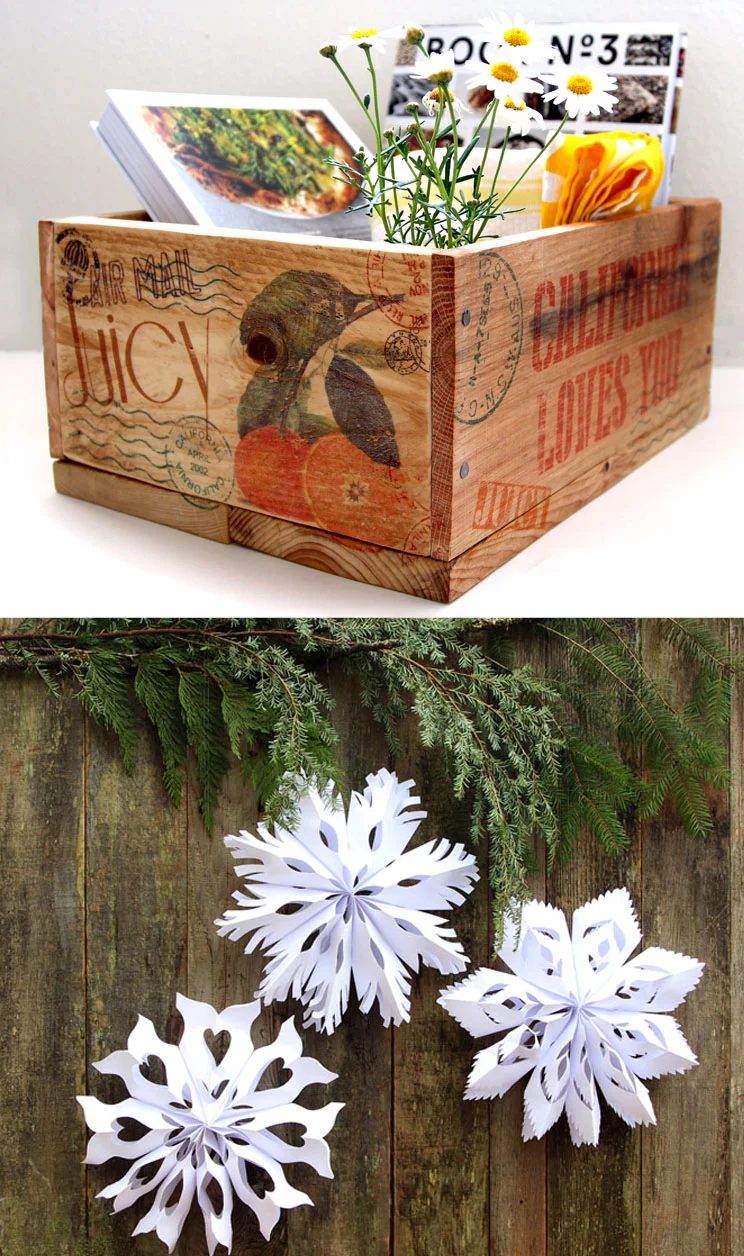
Happy building! See you next time!
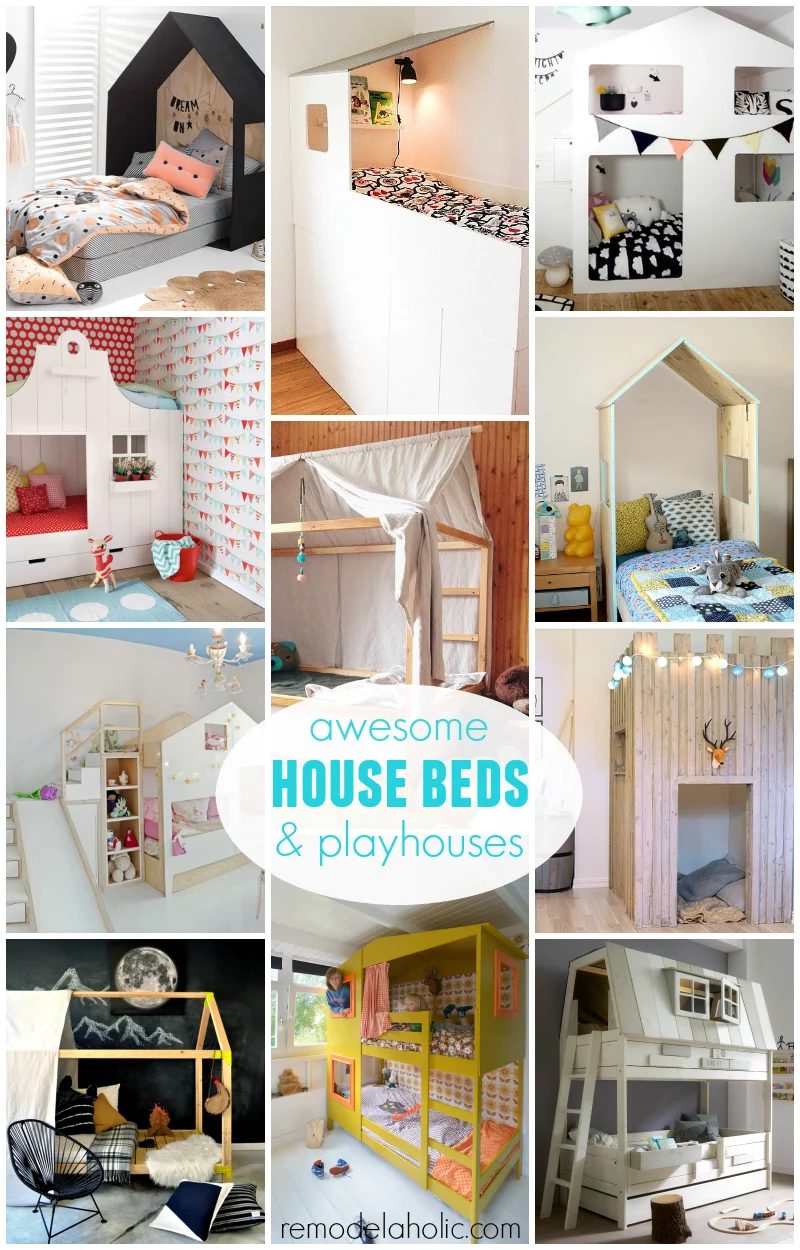
More house-shaped building plans:
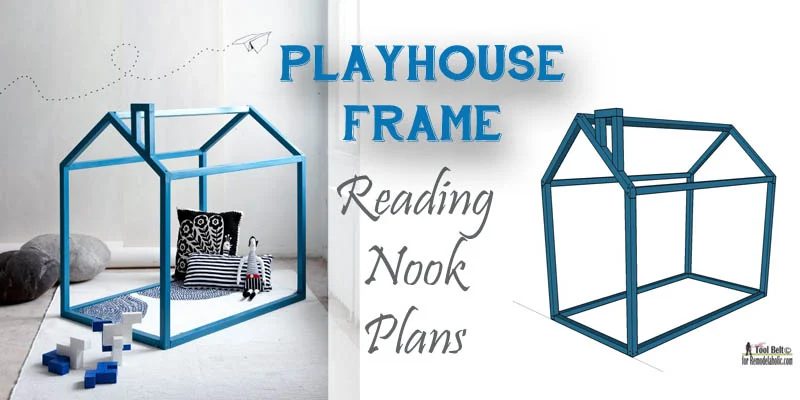
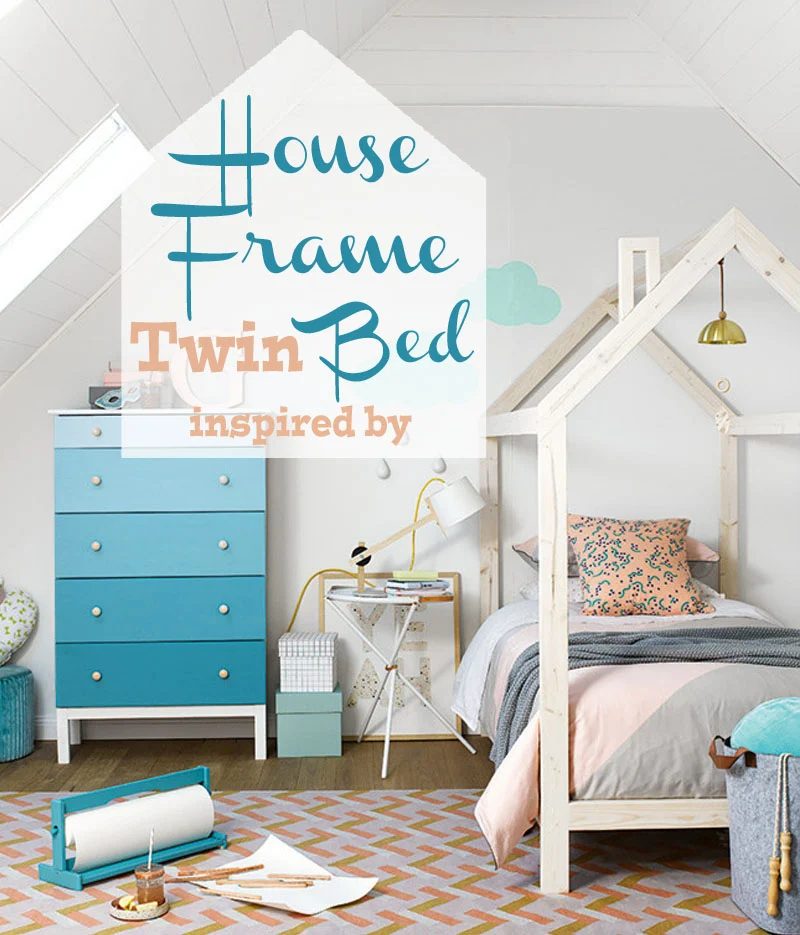
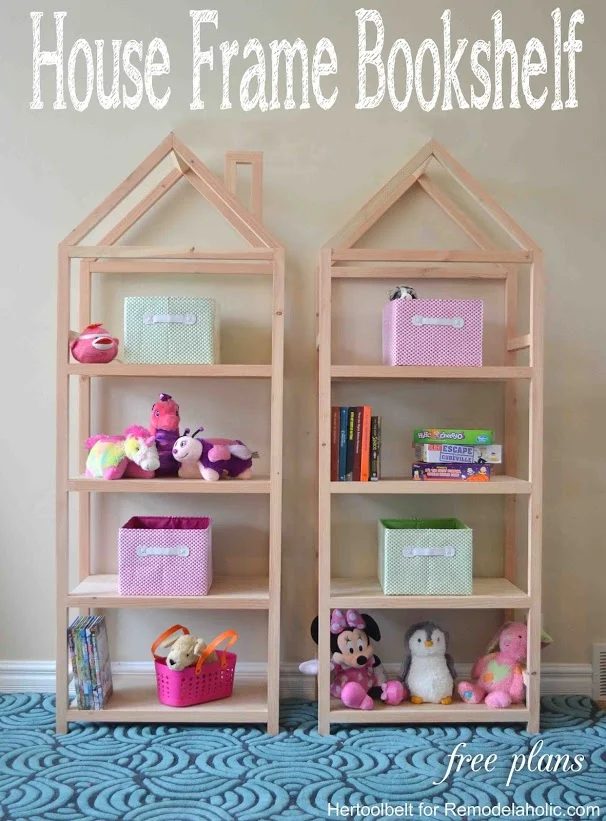
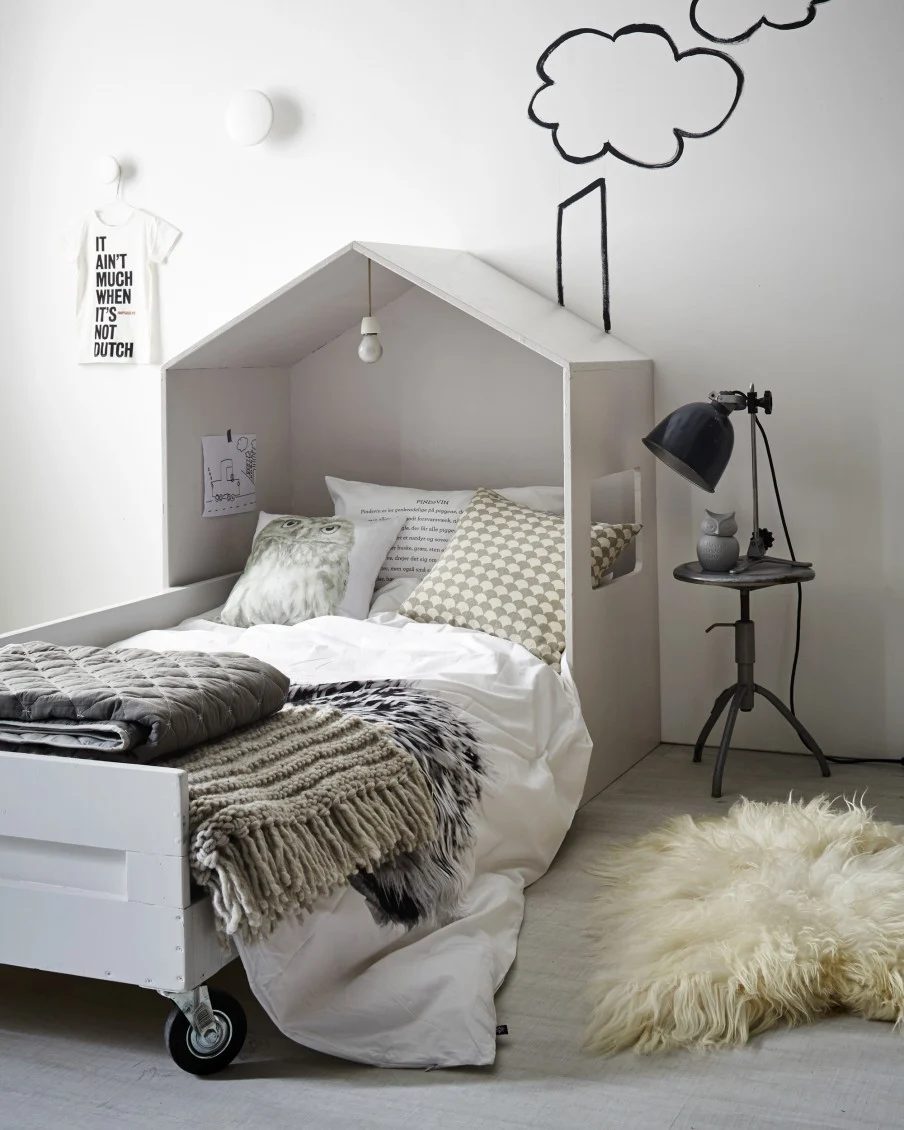
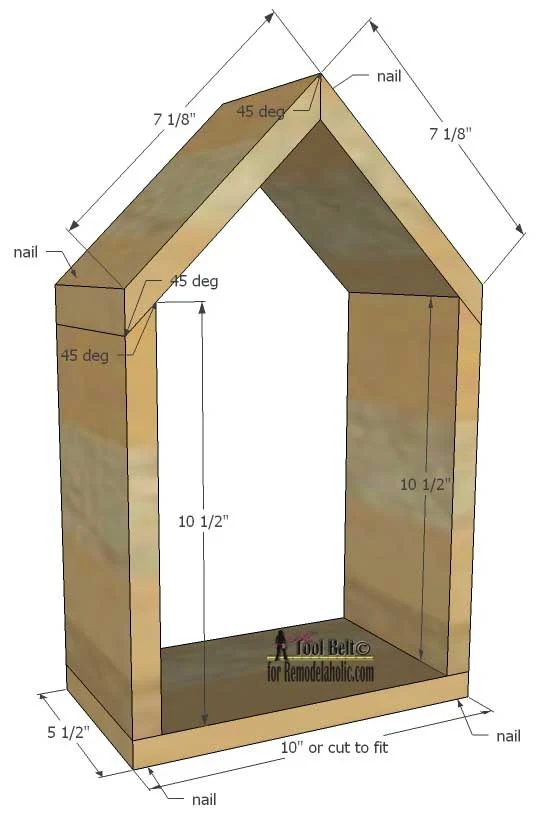
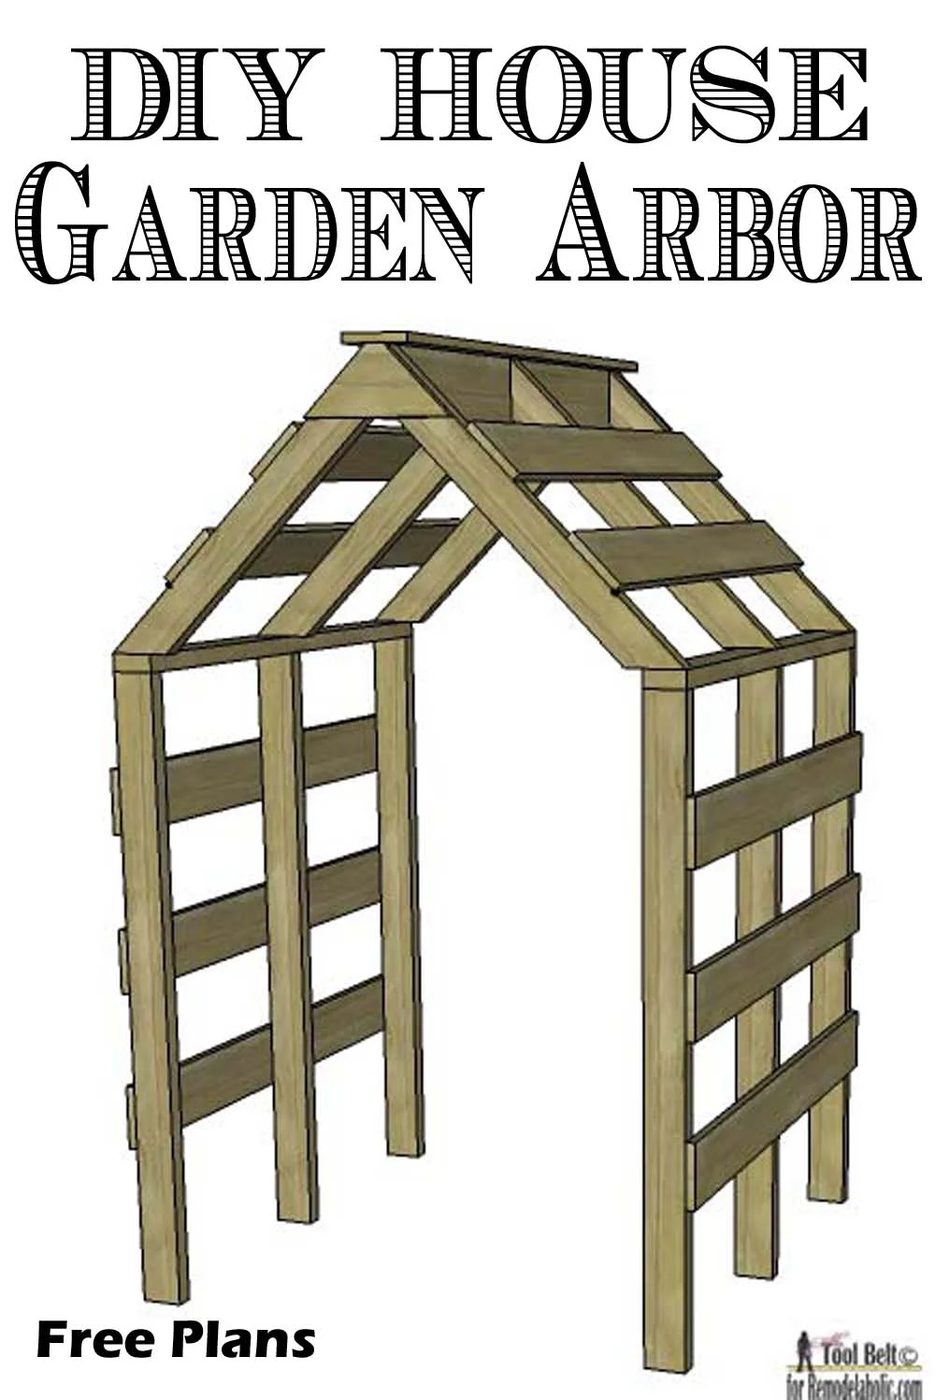
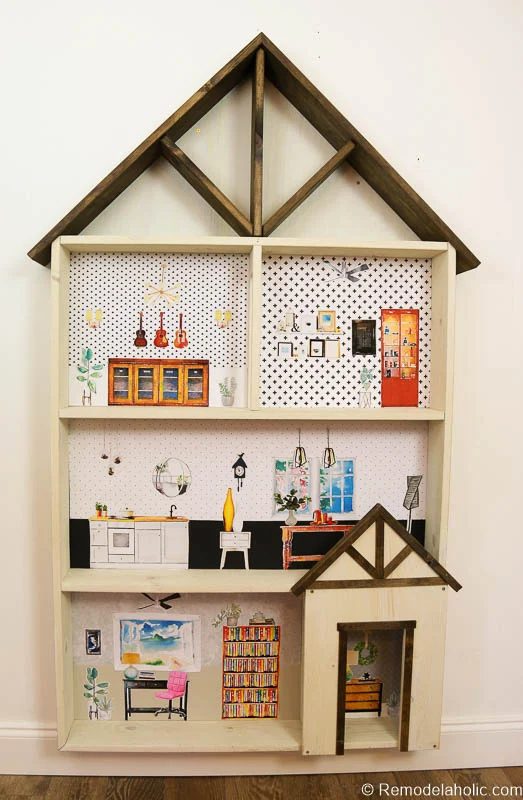
plus more solid house beds and playhouses