The steps below follow the order of the work for this furniture project.
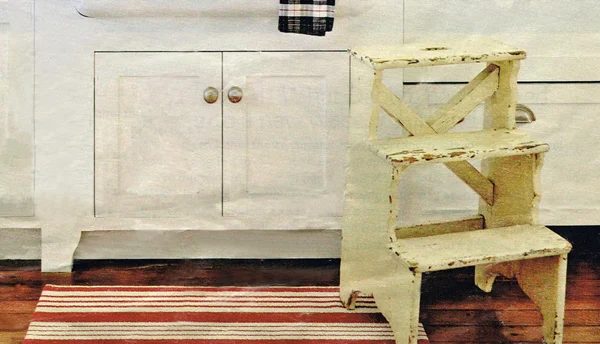
You can buy all kinds of step ladders, but to me it seems that most commercially available step ladders are just not that cute.
So I asked Justin to make some plans of a picture that I saw and love and he kindly obliged. So now, if you like to do a little building, you can build this. Then you can paint it and distress it to get that old world look in a steady new ladder. ( I just ask you to send a picture if you do!)
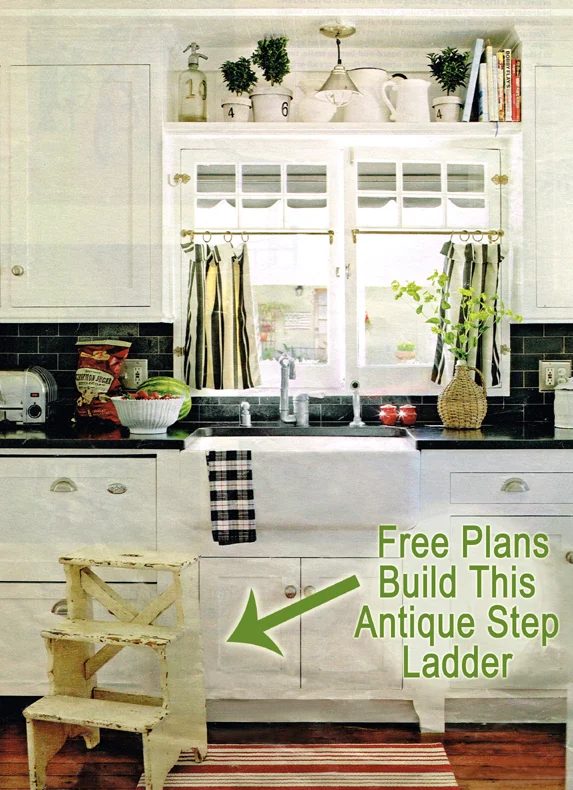
( the image is a scanned image from BHG July 2011)
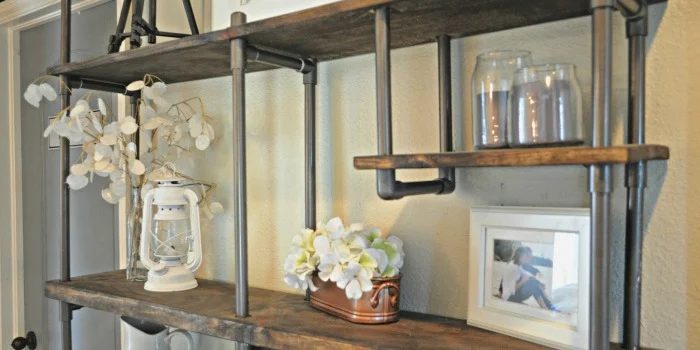
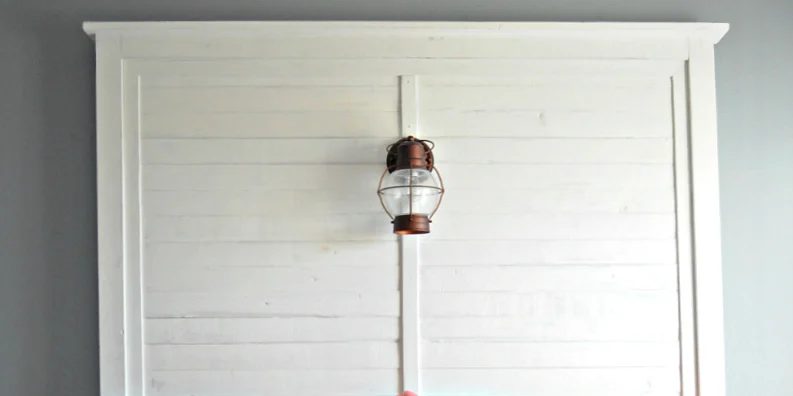
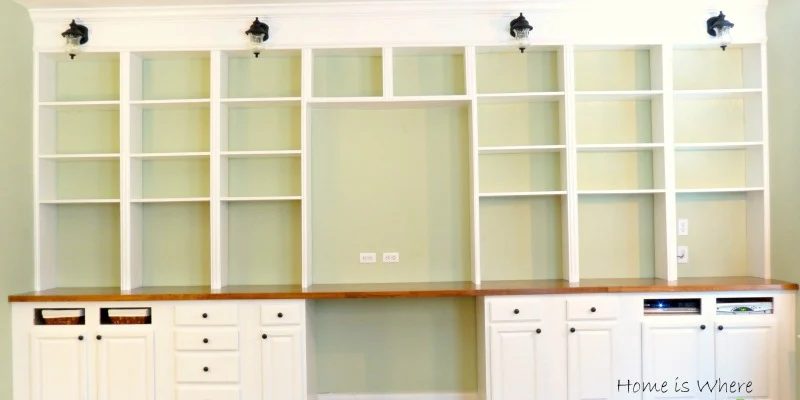
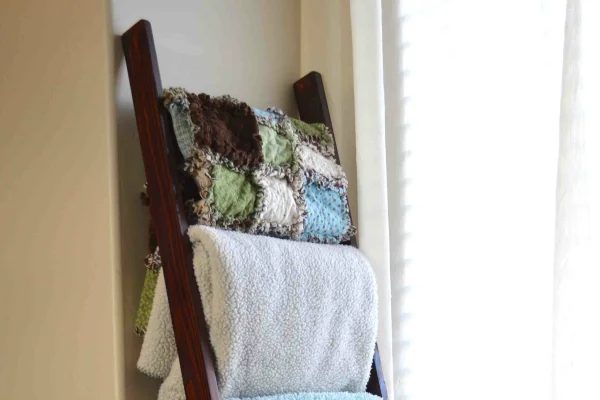
Here is the ladder(above)… The picture unfortunately has seen a little more love than I meant it to, so here are some other great ladder examples.
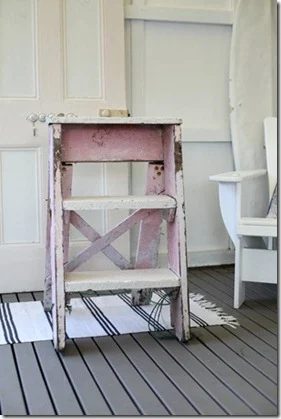
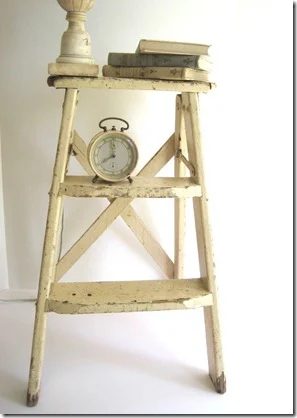
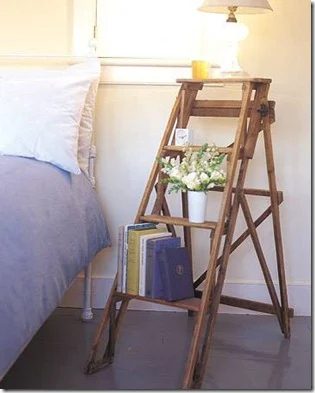
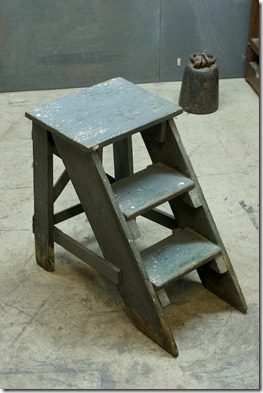
Sources: Image 1, Image 2, Image 3, and Image 4
open this to Get a Free Printable Version of this Building Plan
Below you will find a list of tools, list of materials, cut list, that you will need for this project. You will also find the step-by-stop to assemble the step stool.
This step stool can be assembled using screws or nails and glue. It will all depend on the type of tools that you have available. The way I would prefer is to use a nail gun with 18 gauge brads and glue between the joints. This will give a strong hold for the stool and you will be able to it assemble fast. Once assembled you would be ready to paint it. If you did use solid wood you could stain it a really nice color, then apply a lacquer finish.
List of tools:
- circular saw
- miter saw
- jig saw
- hammer
- nails
- nail set
- sander block
- sand paper
- drill
- pocket hole jig (optional)
- paint
- paint supplies
List of materials:
- MDF (for the sides)
- 2×2 lumber
- 1×6 lumber
- paint
- screws or nails
Cut List:
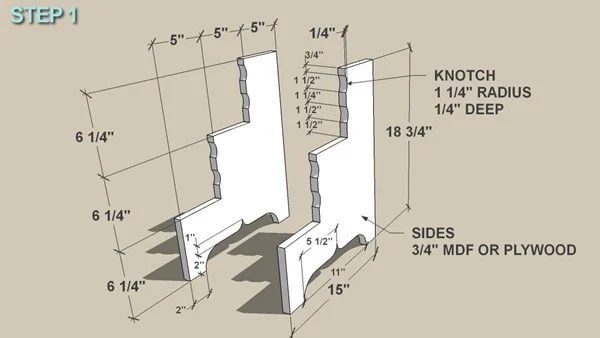
- (2) Sides – 18 3/4” x 15” x 3/4”
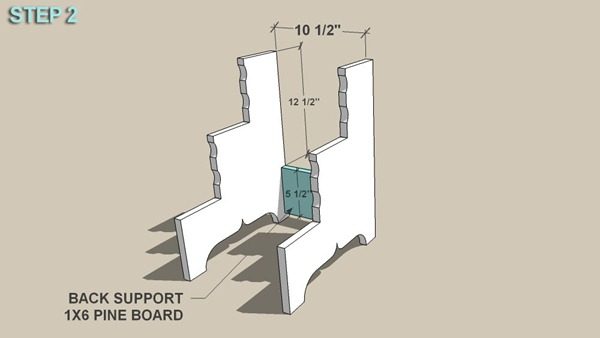
- (1) Back Support – 10 1/2” x 5 1/2” x 3/4”
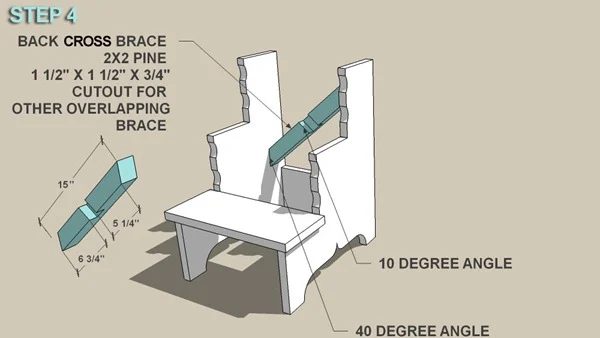
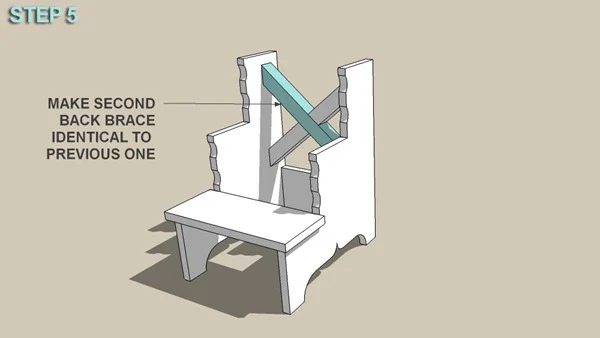
- (2) Back Cross Braces – 15” x 1 1/2” x 1 1/2”
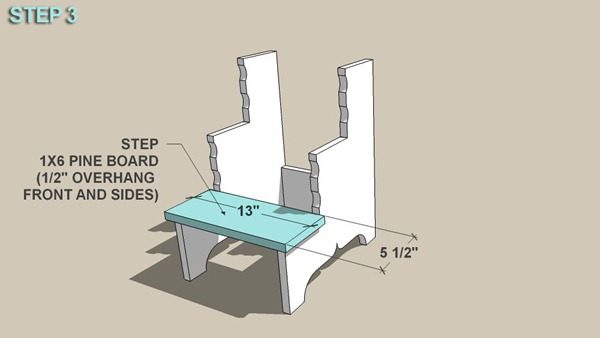
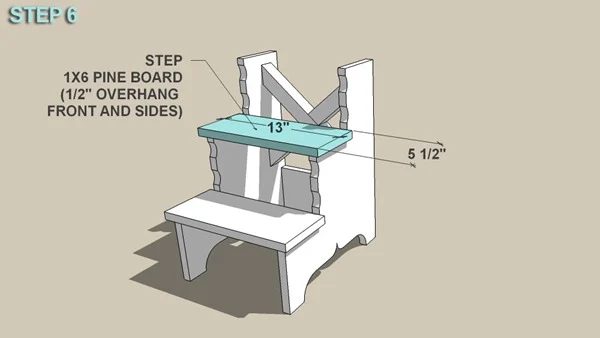
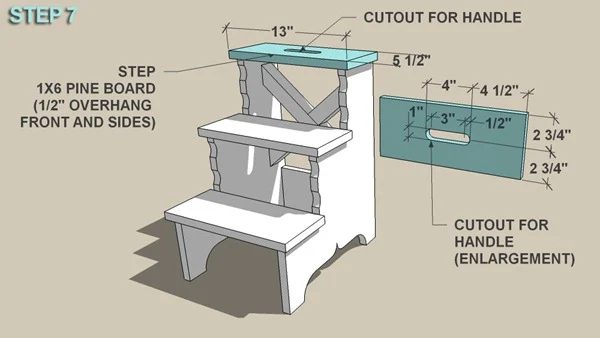
- (3) Steps – 13 1/2” x 5 1/2” x 3/4”
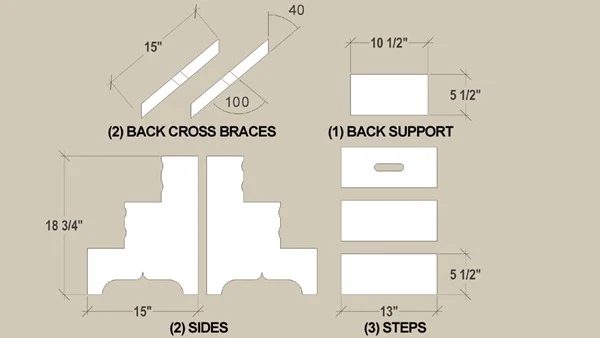
Step-by-step assembly instructions:
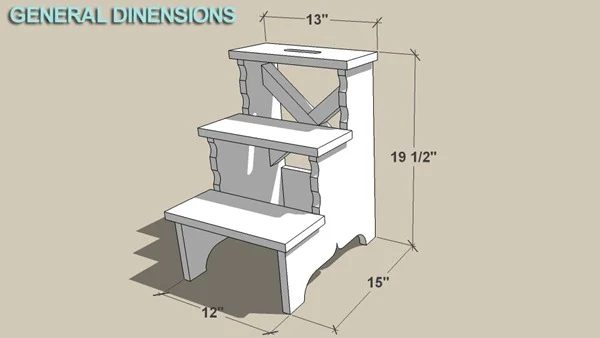
The final step ladder.
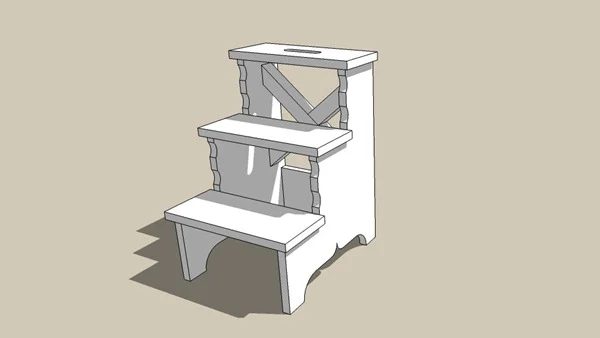
What do you think?
Do you want to build one?
Here are some other projects that we have built, with free plans for you to build your own.
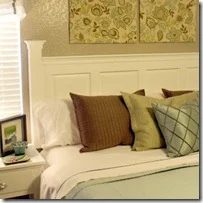
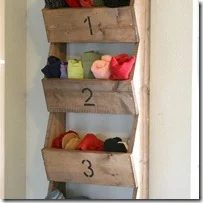
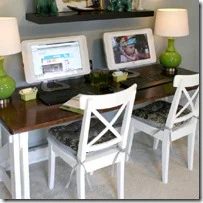
Let us know if you do and how it turned out.
Have fun building and be safe!