This decor walkthrough stays in the order the work happens.
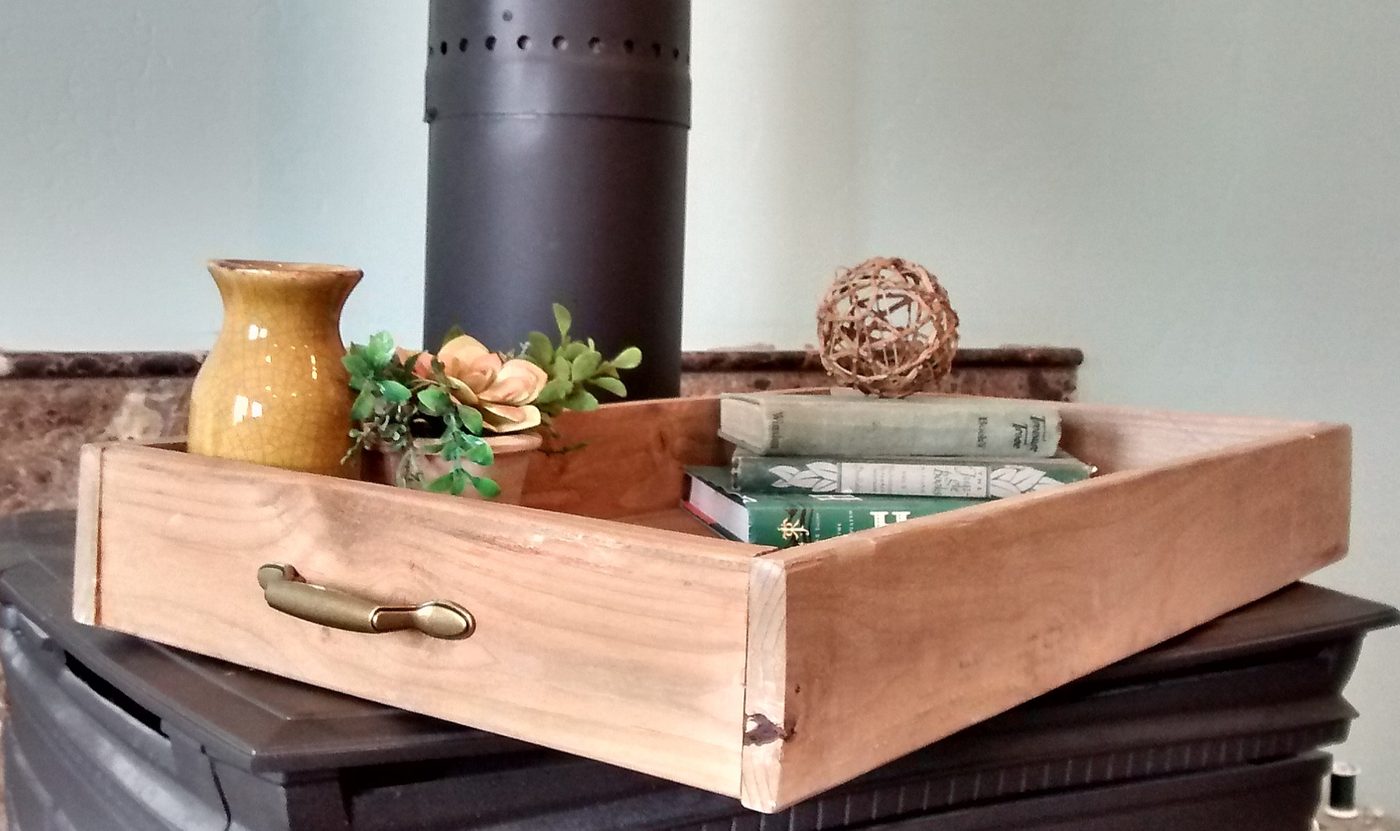
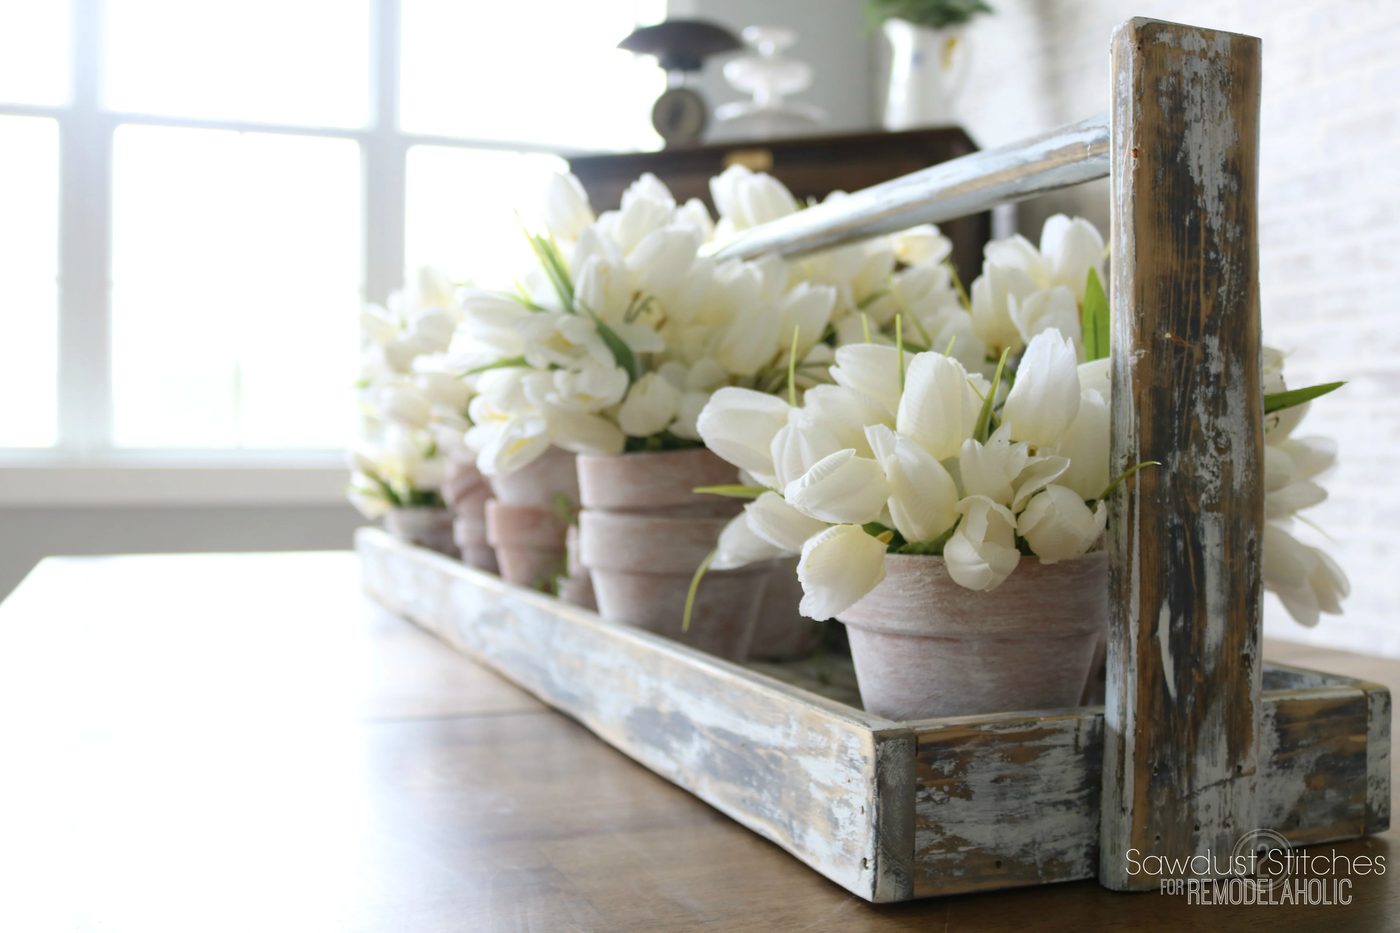
Hey all, Corey back from Sawdust 2 Stitches! Do you struggle with tablescapes ? This is my new go-to! It is a low-cost and straightforward way to create some character and bulk without spending a fortune! It serves as a great foundation to any table decor, fill it with whatever tickles your fancy! For spring I loaded mine up with copious amounts of terra cotta pots and tulips and I LOVE it! Bonus: This table runner can be painted and/or stain to fit any style. Promise it will be the hit of your next social function!
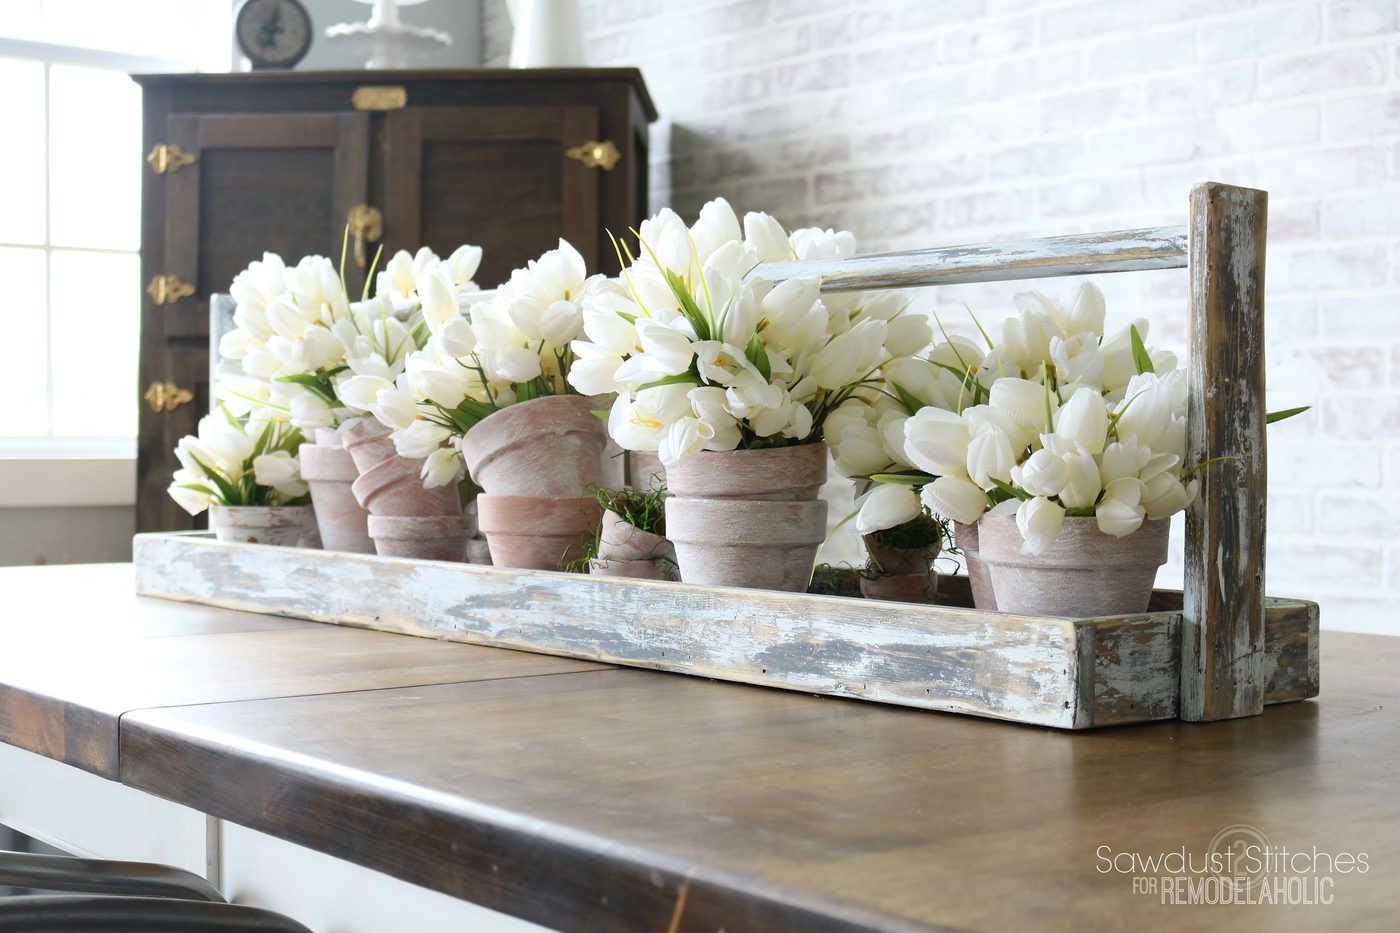
How to Build a Long Table Runner Tray Centerpiece
This post contains affiliate links. Read our full disclosure here.
SUPPLY LIST:
- 1″x 4″ Standard Board
- 1″x 3″ Standard Board
- 1″x 2″ Standard Board
- 5/8″ Dowel Rod
- Sand Paper
- Stain and/or Paint
- Wood glue
TOOLS RECOMMENDED:
- Miter Saw
- Finish Nailer & 1 1/2″ nails
- 5/8″ Forstner Bit
CUT LIST:
Cut from 1″x 3″ Board
- (x2) @ 47 ″
- (x2) @ 11 “
Cut from 1″ x 4″ Board
- (x3) @45 ″
Cut from 1″ x 2″ Board
- (x2) @ 12″
Dowel Rod 5/8″
- (x1) @47″
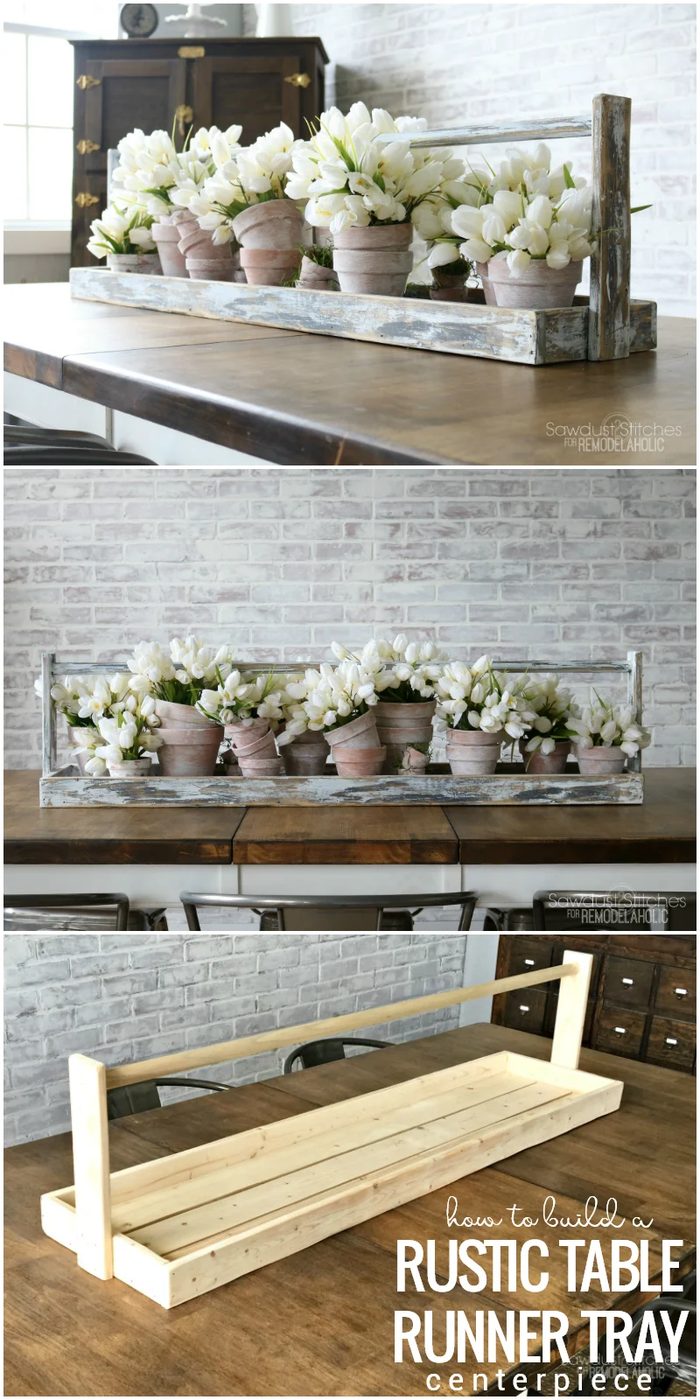
STEP 1: FARMHOUSE TRAY FRAME
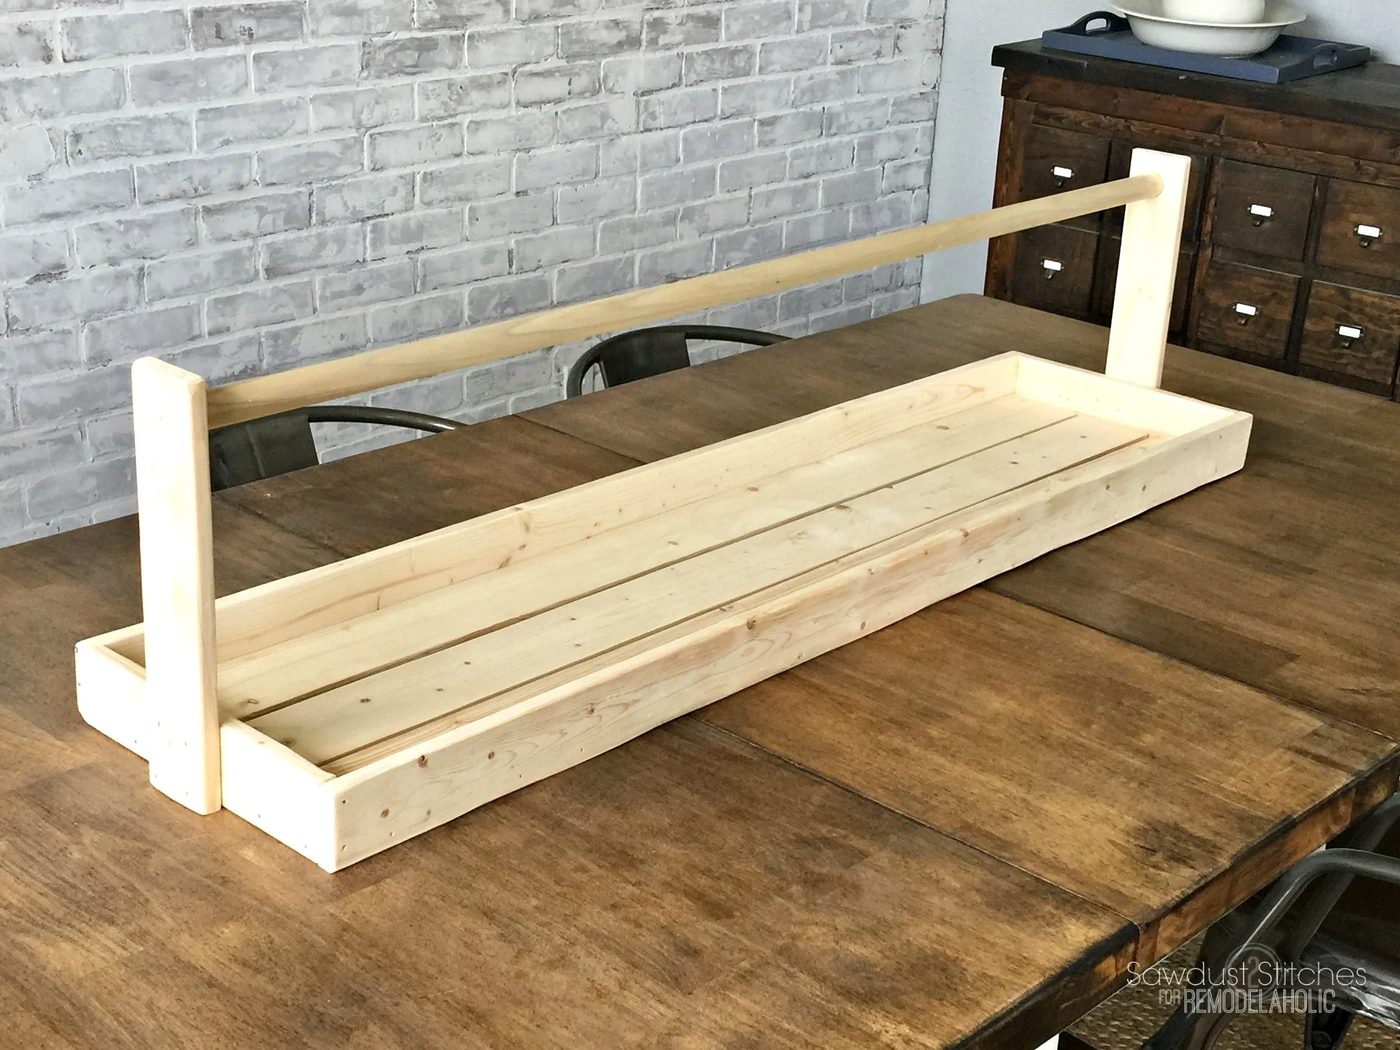
First construct the frame. I add a small amount of wood glue to the joints, and then reinforce with a 1 1/2″ 18 gauge nails.
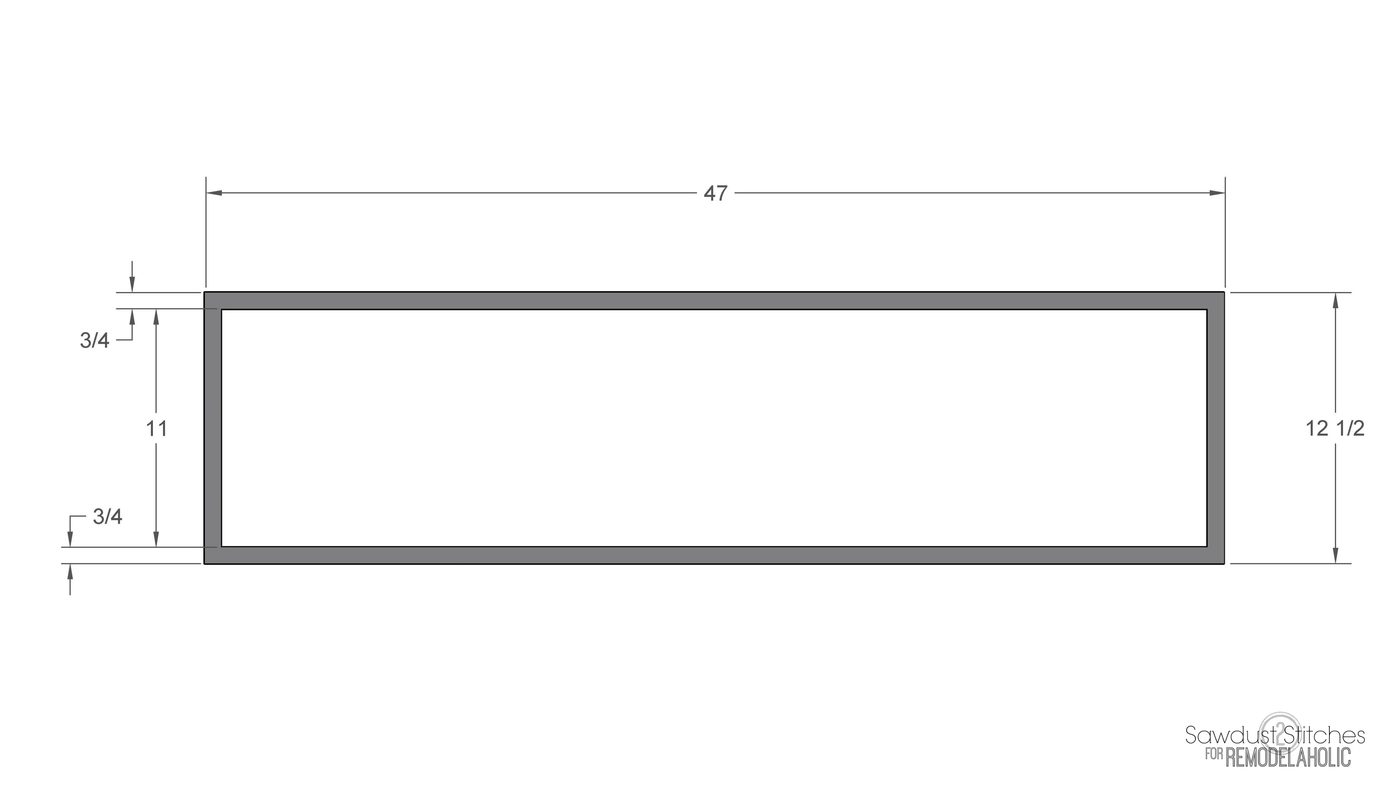
STEP 2: SLATS
Next add the center slats. Again, add a dab of glue or hell if you are a risk taker go ahead and skip this step… (But seeing as already divulged the gauntlet my kids put the last tray through I would strongly suggest it.) After you have glued, or not glued, whatevs, I would reinforce with nails.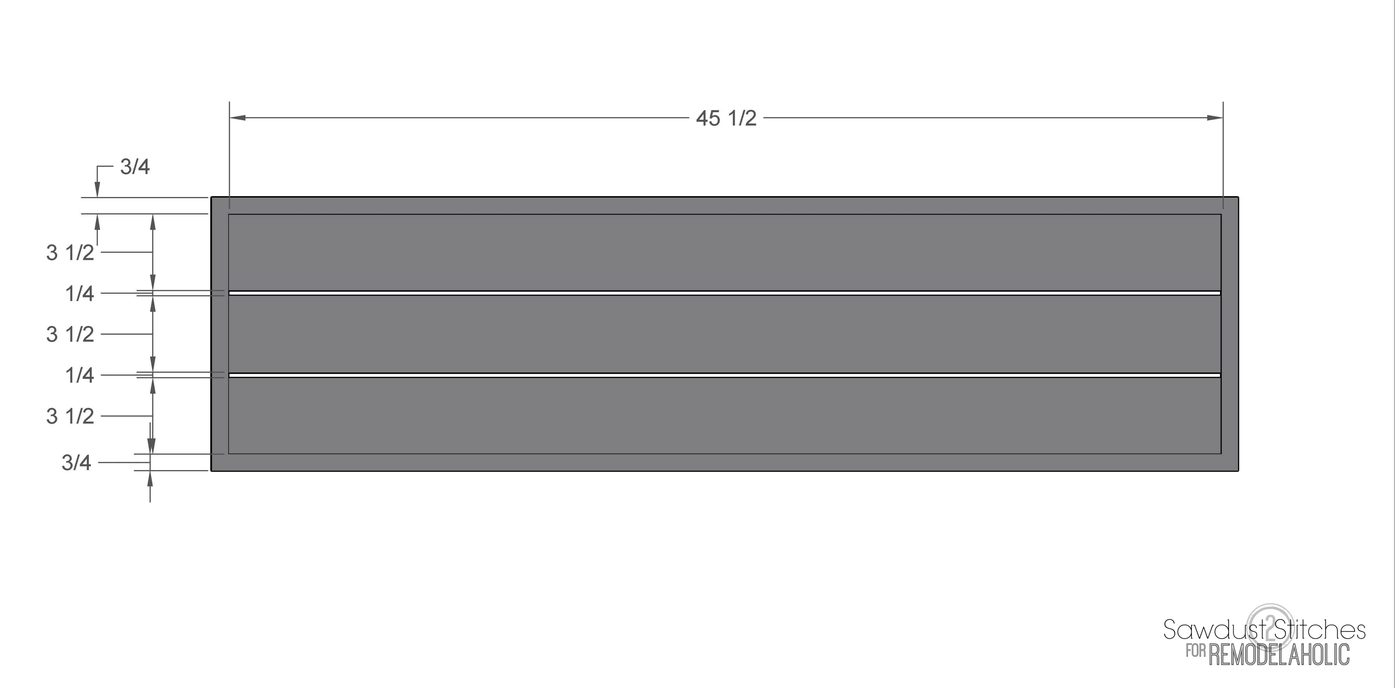
STEP 3: HANDLE
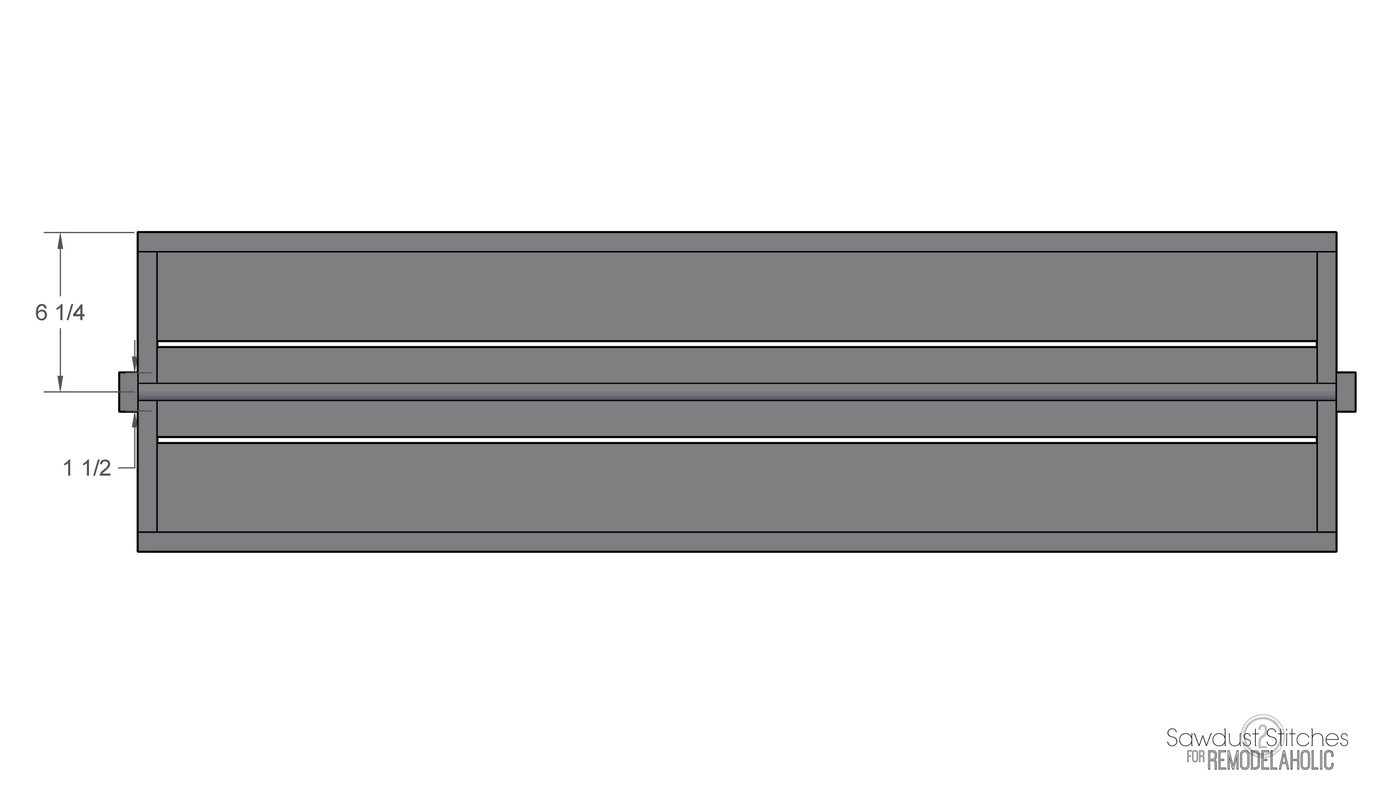
Next up the handle. On the side handles ( 1″x 2″ boards) you will need to drill a hole to accommodate your dowel rod handle. I used a 5/8′ forstner bit to drill mine. I place the hole approximately 1-1/2″ down from the top of the handle and centered it. Once the holes are drilled finesse the dowel rod into both of the side handles on each end. (Again I would suggest a dab of wood glue.) Once the handle is assembled attached it centered on the previously assembled tray.
Then you know the drill, glue, and reinforce.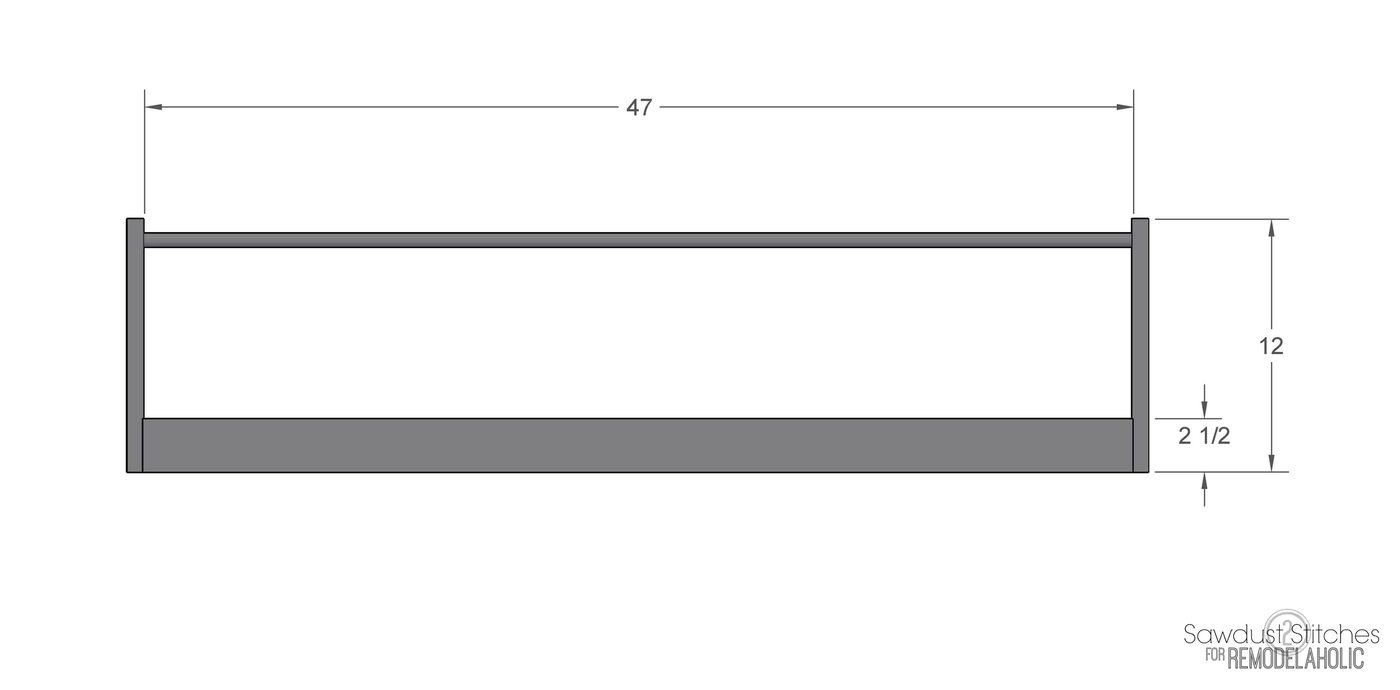
STEP 4: FINISH
You can complete this try with any paint or stain you desire… I personally wanted BOTH! If you want to achieve the same look I have a full Chippy Paint walkthrough HERE. 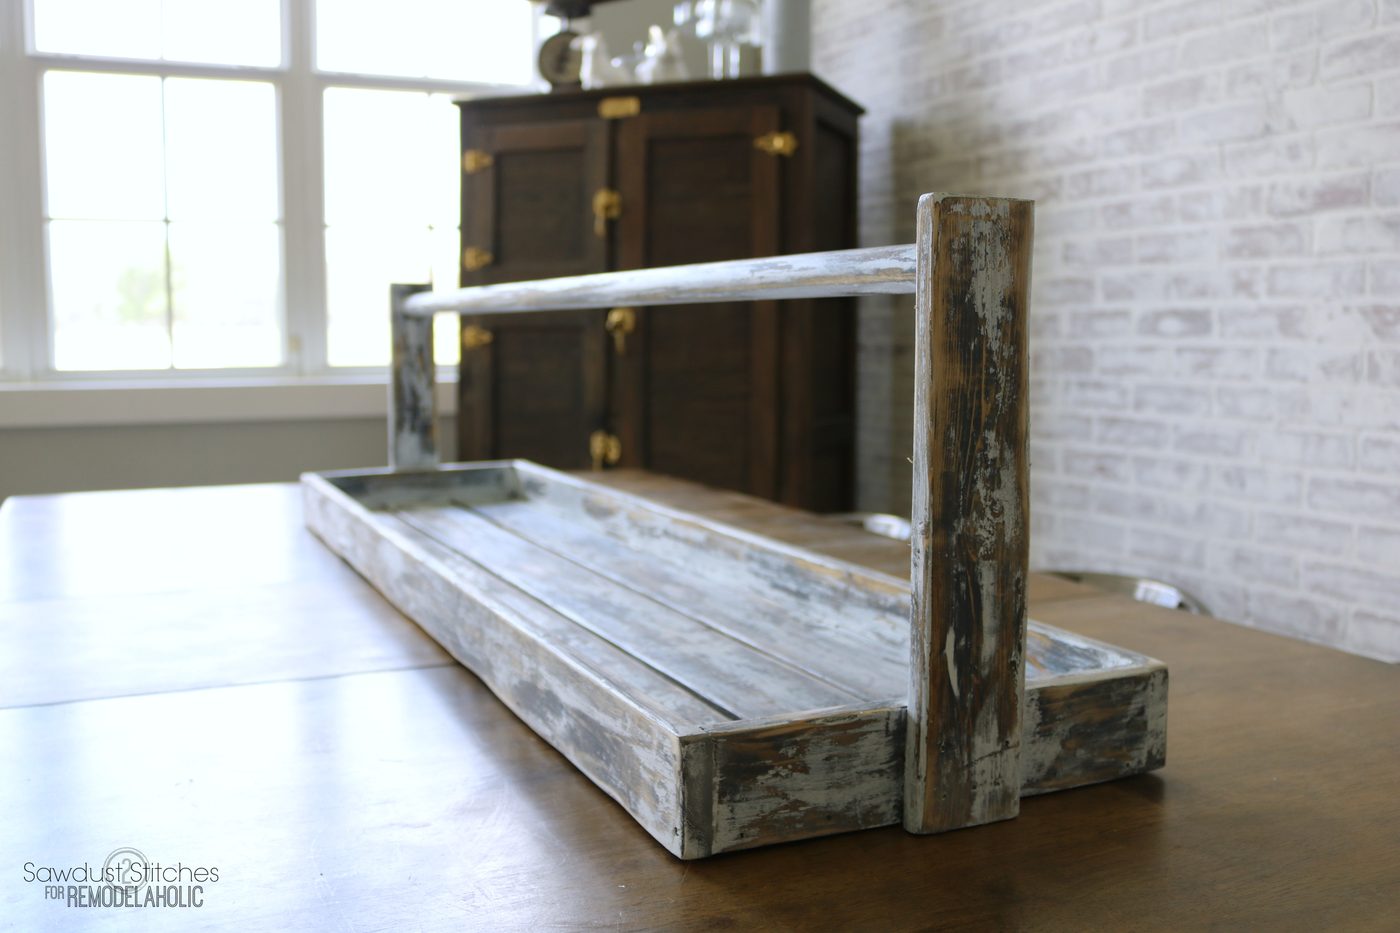
More centerpiece and tray DIYs:
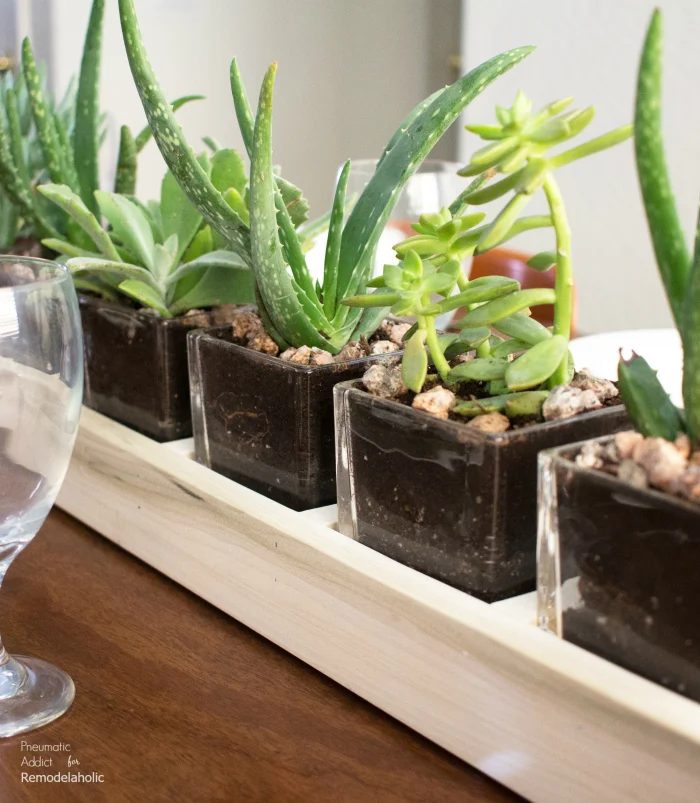
wood and glass centerpiece planter