Read the sequence from the top before cutting, painting, or moving pieces.
look at these striking drop cloth curtains, that you can make too!
Submitted By: Salvage Savvy
Hello, my name is Connie and I have a little blog called Salvage Savvy, where I share tips and options for making thrifty look fabulous. One of my all-time go-to transformations is this dresser. When I purchased it, this thing put the “ug” in ugly!! look at my Vintage Dresser Makeover post if you want to see just how bad it was, and what I did to turn it into this beauty
I love expensive artwork… but unfortunately I can’t afford it, so I just make my own instead! look at this walkthrough on How To Create Your Own [Unbelievable] Artwork and see how you can create your own abstract art as well.
Lastly, I am constantly trying to get organized. One thing I’ve discovered is that if I want to have any chance of staying organized I have to make it pretty! This is a Handmade Organizational Project that has completely changed my life [basically because I don’t spend half my day hunting down all that daily life “stuff” now!]
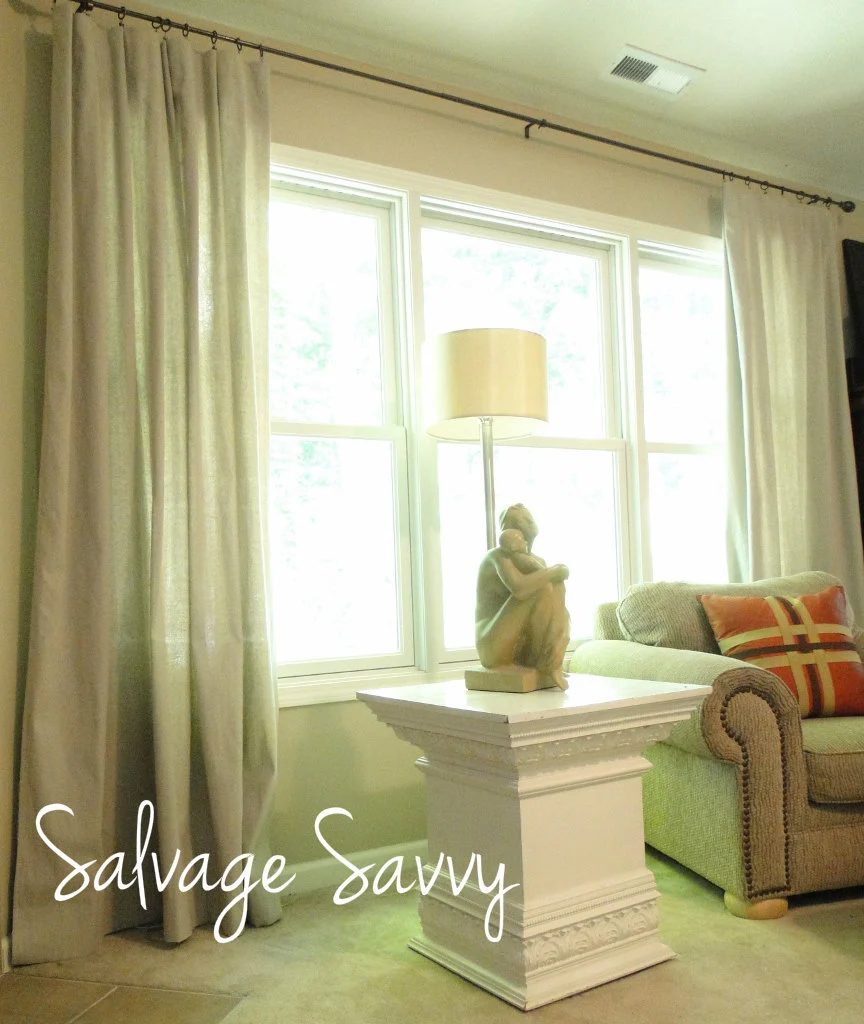
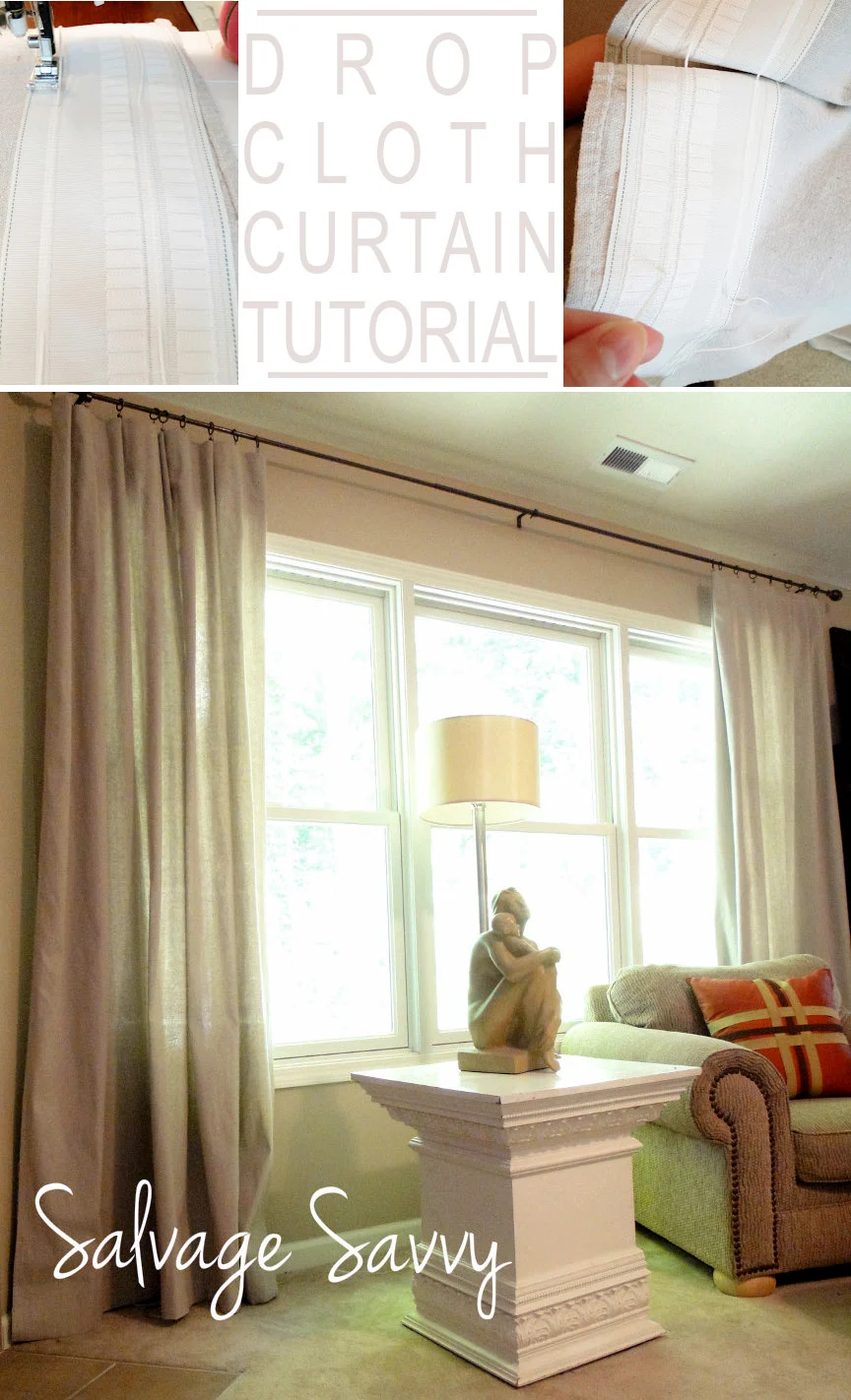
Here are my Handmade drop cloth curtains! I was able to to make each panel for only $12!! Here’s how I did itFirst, I purchased 6ft. x 9ft. drop cloths from a home improvement store. Here’s what I learned about drop cloths: be sure to examine the colors of each cloth because they vary… some drop cloths were darker than others [which wouldn’t matter at all if you were using them correctly!!]. Here’s something else I learned: there are two different weights of drop cloths, the heavier fabric cost about $13 each for a 6×9, and the lighter one was $10. I didn’t want really heavy curtains so I chose the lighter [and cheaper!] ones. And one more note: I chose to pre-wash and iron them before sewing… I’ve got three kids and a dog, so there is a really good chance that I’ll need to wash these curtains so I didn’t want to chance them shrinking after being completed.
Now, onto the actual process! I began with the hem [they are already sewn on the sides… so you can skip that… yea!!!]. I had to shorten mine quite a bit, so I just measured it out and ironed my bottom curtain line into the fabric [all of the material below that line is what needs to be hemmed up. Because I didn’t want a gi-normous hem, I double-folded it… simply take the bottom edge and make it meet your ironed line, then iron down the “new” bottom line [am I making any sense here? it’s straightforward, I promise!]. Here’s how it looks when you’ve got the fabric folded under… *Sided note: make sure that your edges are lined-up… you don’t want them hanging over and looking sloppy [plus that means that your hem is straight, which is a good thing…] Here’s how it looks when it’s pinned and ready to sew… Now, just sew straight across that top edge. Now it’s time to make the pleats for the top… purchase this stuff [I soooo wish I had a name for you, but it comes in a giant roll and you have to have it cut to size like fabric… and I didn’t write down the name… sorry, I’m a terrible blogger lady]. Anyway, find it in the drapery section of the fabric store. There are several pleat options, so find the style that will provide your desired look. Purchase enough to span the width of your panel [these are 6ft x 9ft so I purchased 2 yards for each panel]. This stuff is magic… you’ll see why soon… It couldn’t be easier to sew. Just line it up with the top of your curtain [another note: drop cloths aren’t sewn perfectly… it’s ok, I promise] and pin it on. Then sew it on [top and bottom]. Here’s where the magic happens… once it’s all sewn on, just pull the little strings and… Keep pulling… [note: I learned that you should secure the end strings, then begin pulling from the middle first, working your way to the edges.] And just like that… you’ve made a pleated curtain!!!! Wow, right?! My sister [thanks Amy!] told me about this stiff, and it’s memorable! [Seriously, if it makes ME look like a seamstress then it’s a miracle product!] Now, they are made to be used with rings and hooks, but I used clips [I’ll explain why another day…] so apparently you can use either. And that’s what I did! I basically made a couple folds and sewed three straight lines Sew direct [I know, cheesy… but I had to!] Be sure to look at these lovely curtains as well!