This canyon house walkthrough stays in the order the work happens.
Okay, I know I said with my office reveal post that I was going to get this walkthrough up yesterday, but then, I just couldn’t make myself sit down and do it. Sometimes being of a creative mind set is hard for a desk job!! And honestly, if I don’t want to do it, I can hardly force myself…which is probably why all long essays in school were typed out the night before when I absolutely had to do it… ah, such is life.
Anyway, if you wanna try this shelving projects it is FABULOUS for beginners, so straightforward I can’t even tell you!
straightforward Rustic Wall Shelves
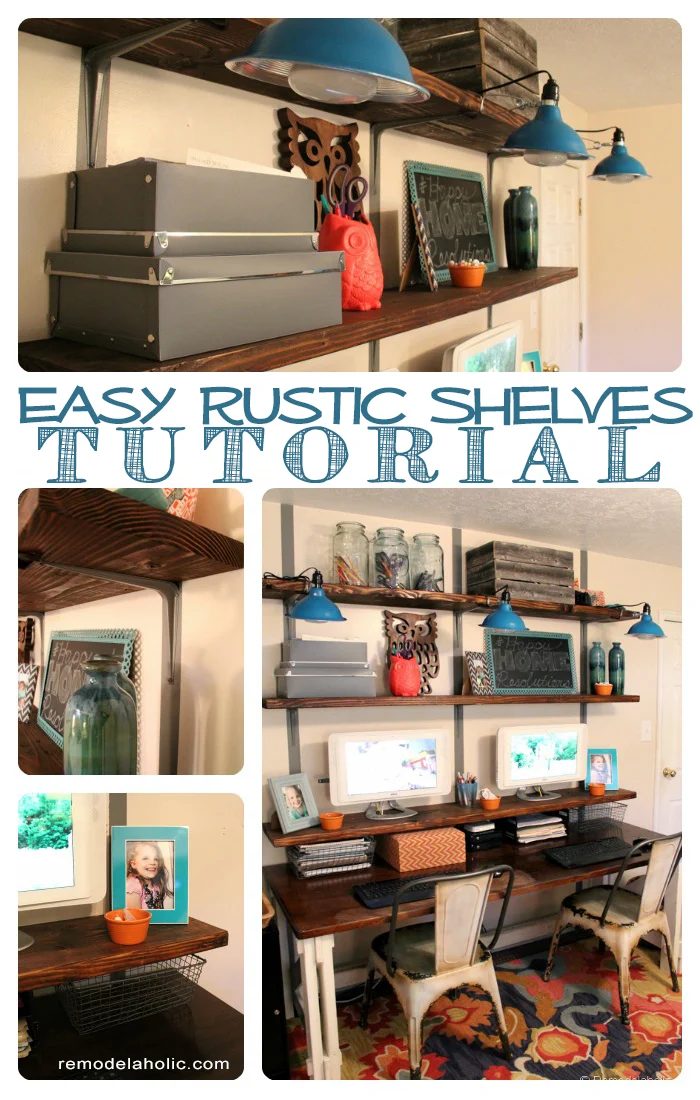
Supplies:
- Small Paint Sample (I used Martha Stewart Zinc mixed into a satin Behr, which matches the brackets perfectly)
- 3M Painters Tape
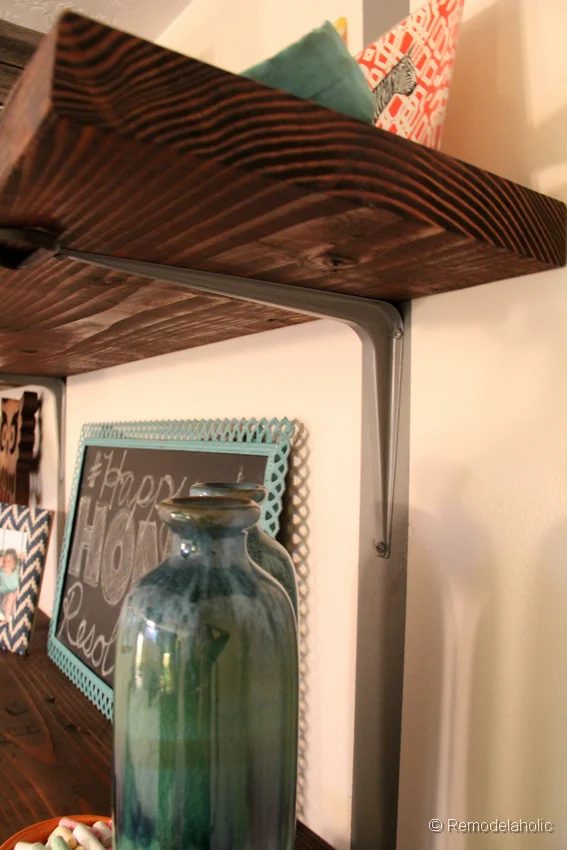
- 8″ x 10″ Grey Shelf Brackets (1 for about every three feet of each shelf) Home Depot has white, grey or black
- Anchor bolts (we used the screw in kind, they hold 75 lbs a piece)
- 2 x 12 by (cut to length desired)
- Dark Walnut stain by Minwax
1. Clean up the Wall
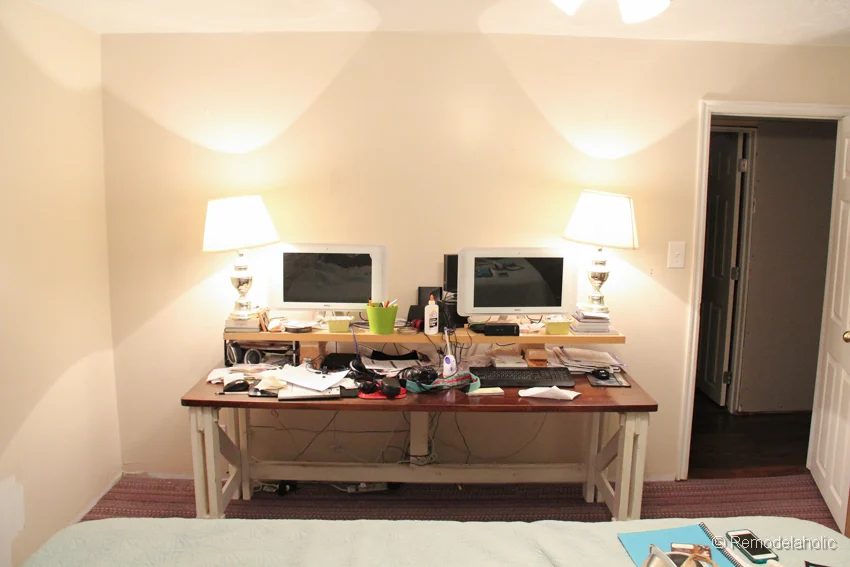
I started by cleaning up the wall we were installing them on. I used a magic eraser to clean off any marks (because we don’t have any of the current paint left), and it really is magic!
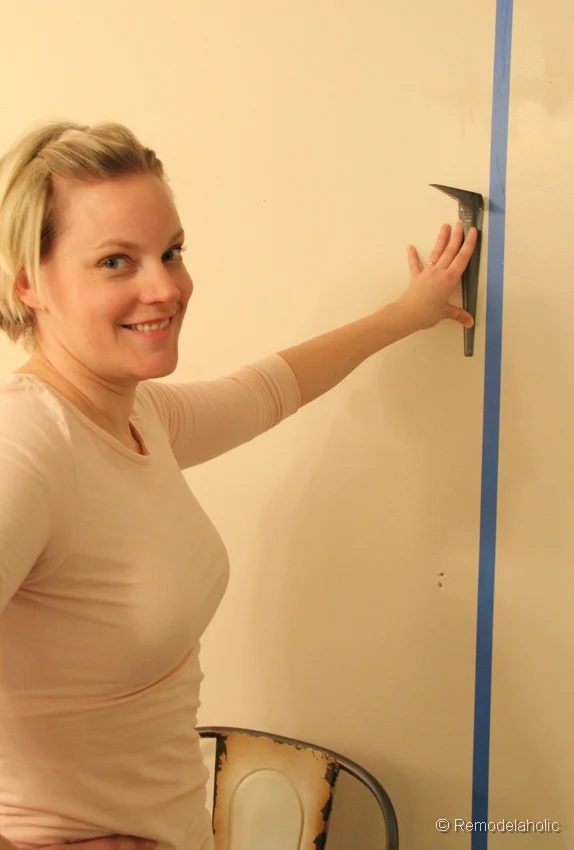
2. Paint the bracket stripes.
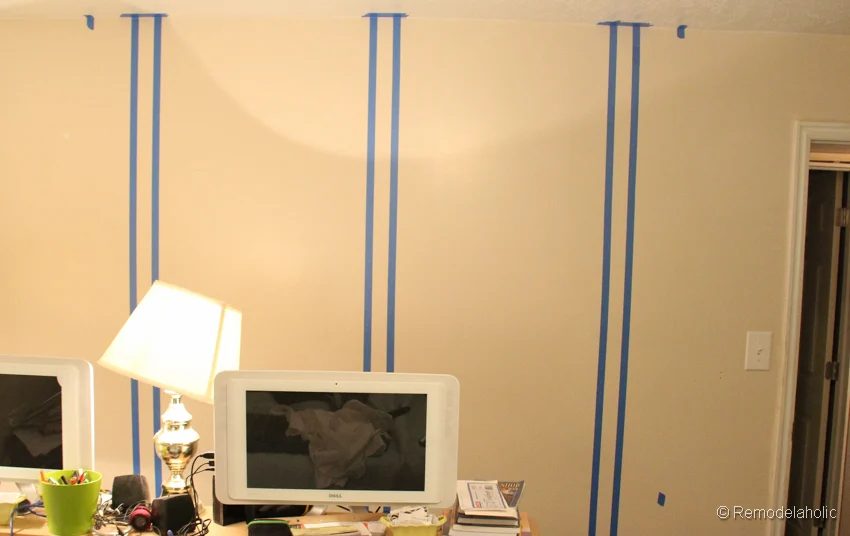
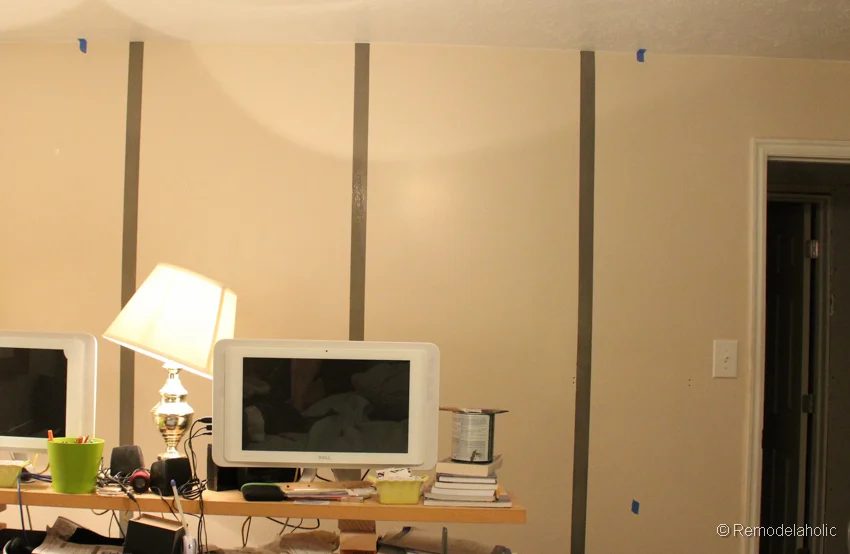
When the wall is all prepped, paint the bracket stripes from floor to ceiling. I matched my brackets as best as I could to the paint color. So find one that matches what bracket you are using, and will contrast with the wall color. Since I have 3 brackets, I have a center line and then 2 that are 6 inches from either end of the shelves. My stripes are 2″ inches wide. I just put the bracket up and figured out a good width.
When you tape them, it is best if you tape the stripes out, using a level for the first line then measuring 2 inches off that new line. Paint over the inside edges of the tape with the existing wall color. After that has dried, paint 2 coats of the grey paint inside the taped portion. This will keep the grey paint from bleeding under the tape, and you lines will be perfectly crisp… mine aren’t quite well fitted since I skipped this step, but I didn’t die.
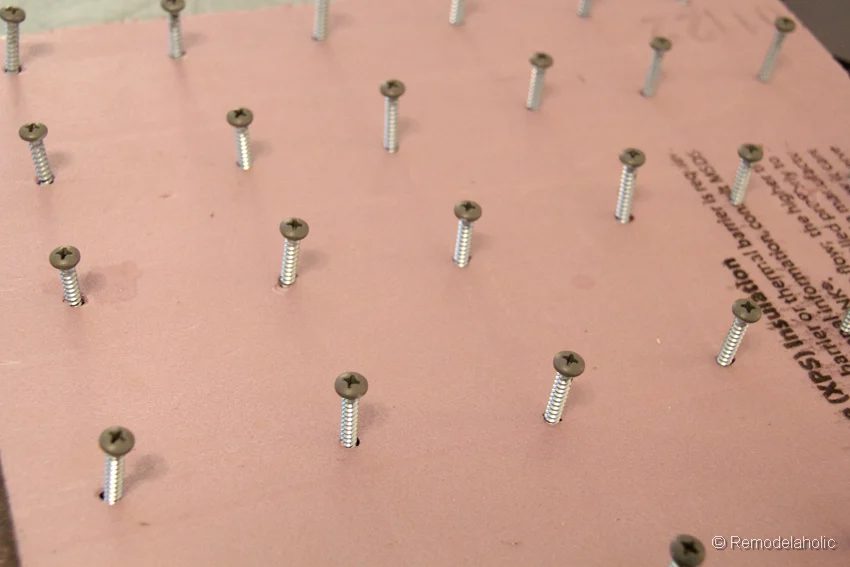
Also, while I had the paint out I painted the tops of the screws for the brackets, so they would match seamlessly with the stripe paint.
3. Locate the brackets and install anchors.
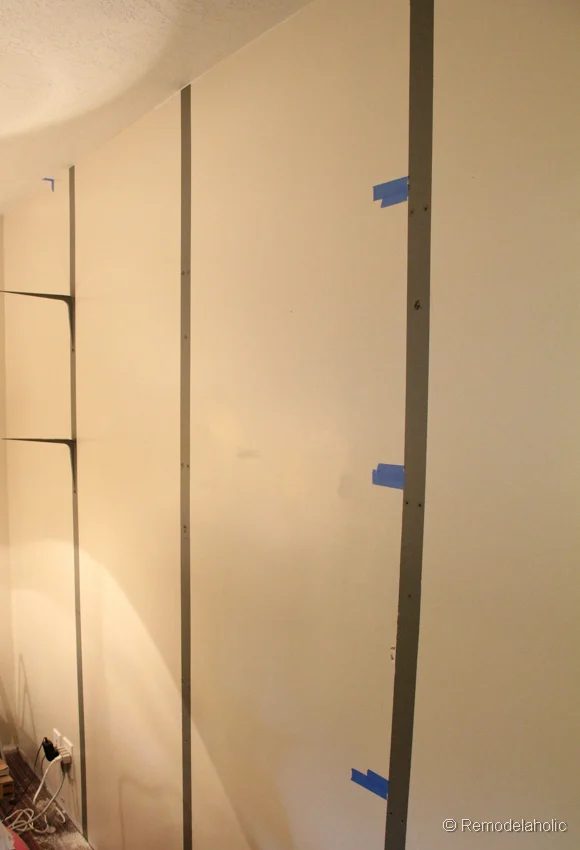
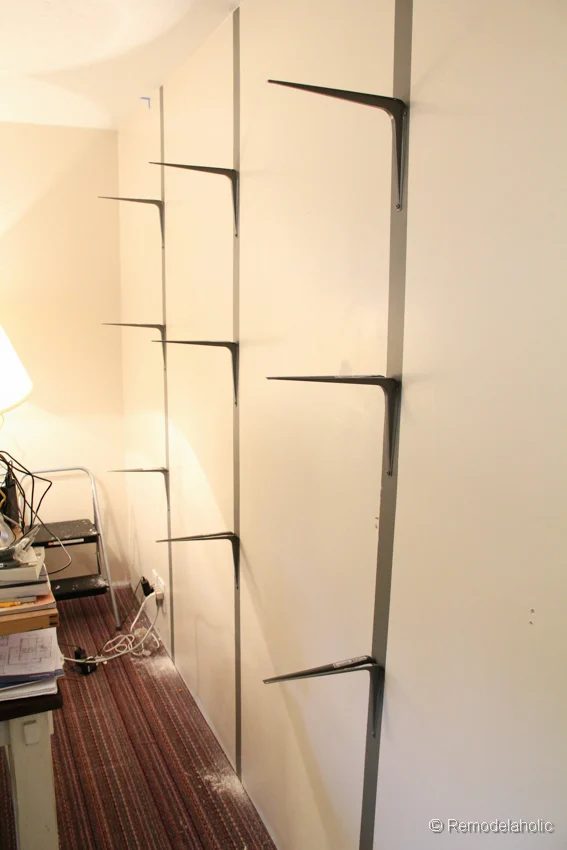
Decide where you want your shelves. We marked the bottom of the shelf across the wall (see the little blue tape spots below) with a string attached level. Now take your bracket, hold it up to the bottom shelf line, centered on the 2″ stripe and mark the screw holes carefully. Install all the anchor bolts you think are necessary, we just went ahead and did all three for each bracket (or if you are lucky and hit a stud, that should do the job for that bracket!!) When the anchors are installed, with a paint brush we gave them a quick coat of the grey paint, so the white wouldn’t peak out from behind the bracket.
4. Screw the brackets to the wall.
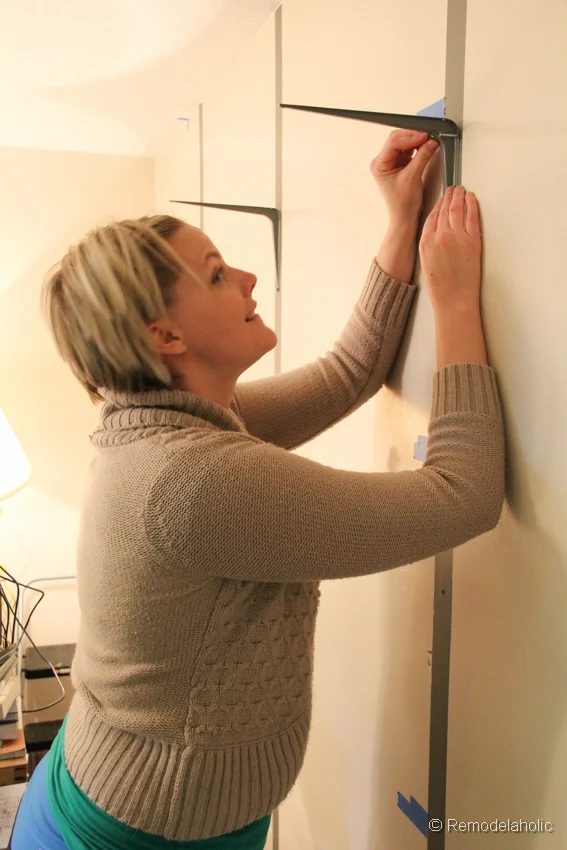
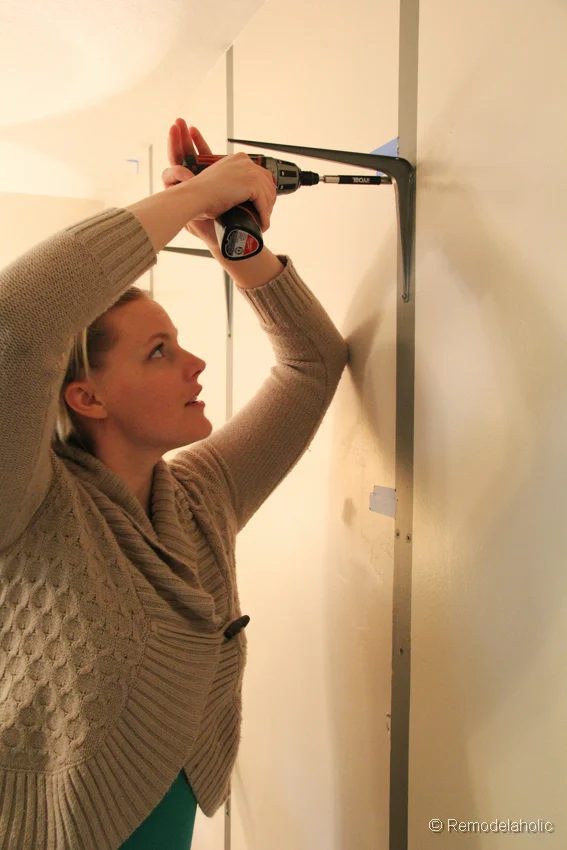
We used the painted screws to attach the brackets to the wall in their proper locations.
 |
 |
5. Cut 2 x 12’s to length, stain and finish
Cut your 2″ x 12″‘s to length. We cut ours 2 inches less than the desk width so they wouldn’t appear wider than the desk. Stain your boards, going with the grain of the wood. We used Minwax, Dark Walnut. Then if you would like a finish coat, finish up with some wax or poly.
6. Install shelves
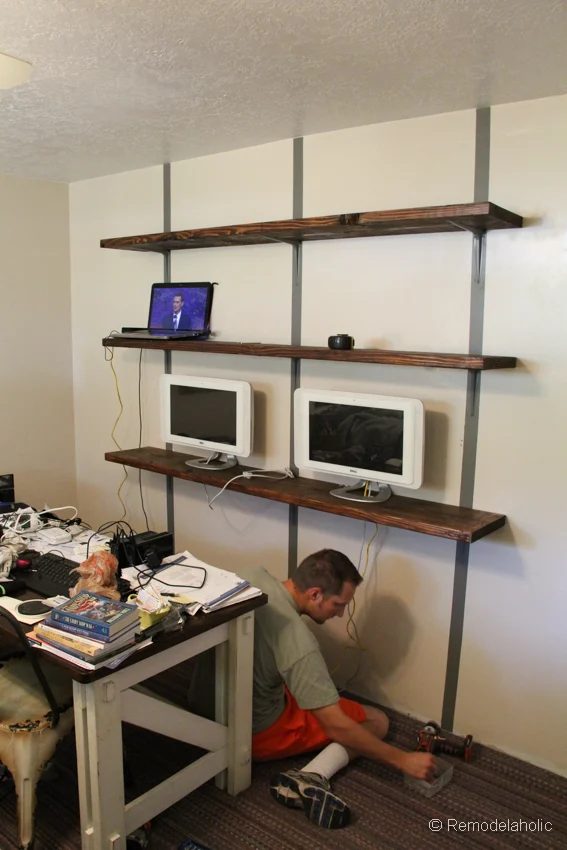
When the shelves have dried completely, center them on the brackets and screw in a couple more painted head screws, to secure them in place. To avoid cracking we pre-drilled the screw holes in the wood then secured the screws.
 |
 |
Guess what you are done!! Now style to your hearts content!
I told you it was straightforward.
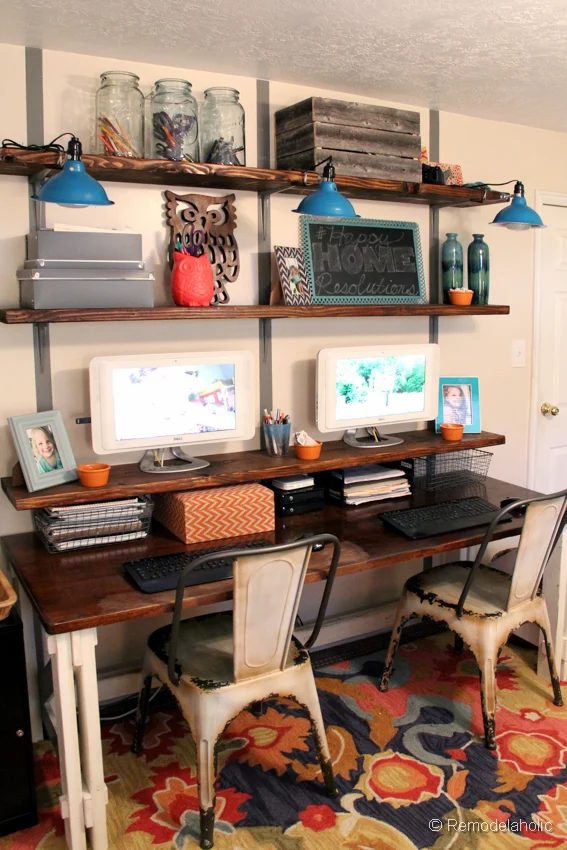
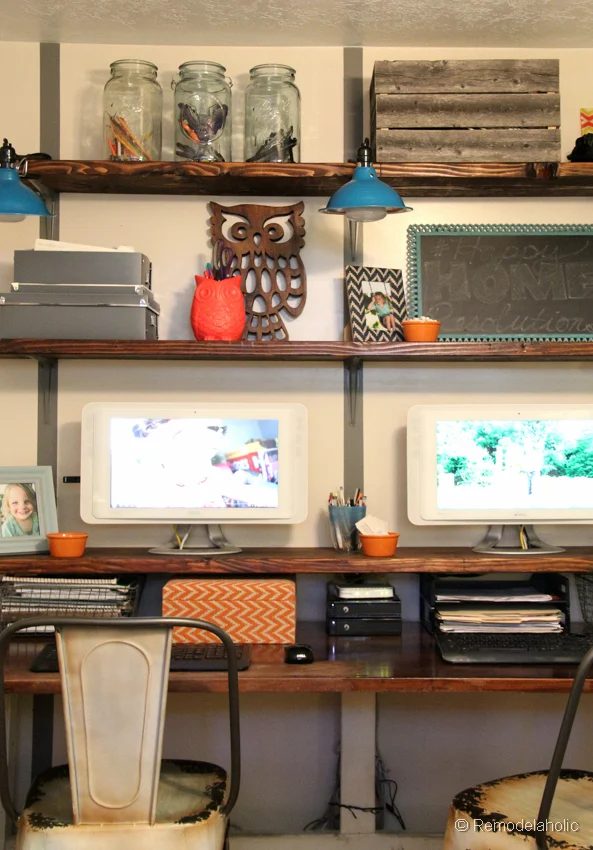
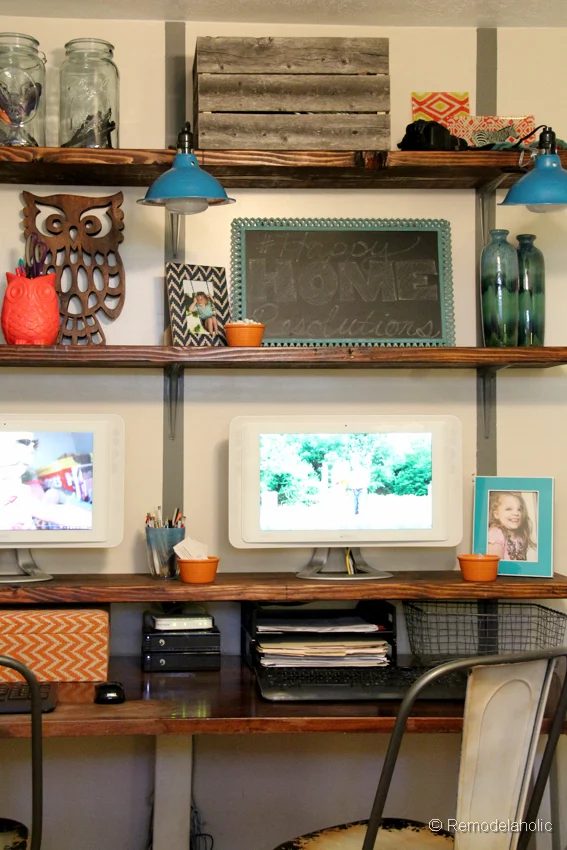
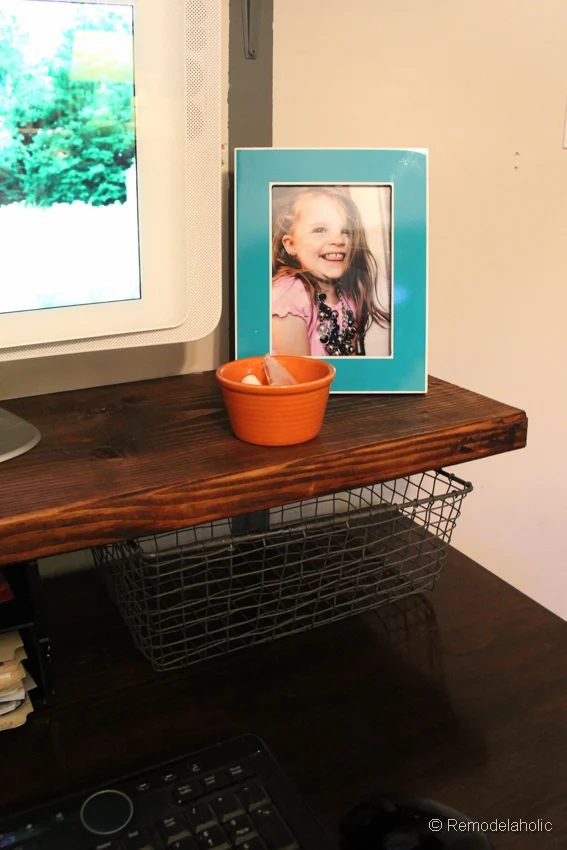
(for the computer cords we just drilled a hole in the shelf they sit in directly under the computer!)
 |
 |
 |
 |
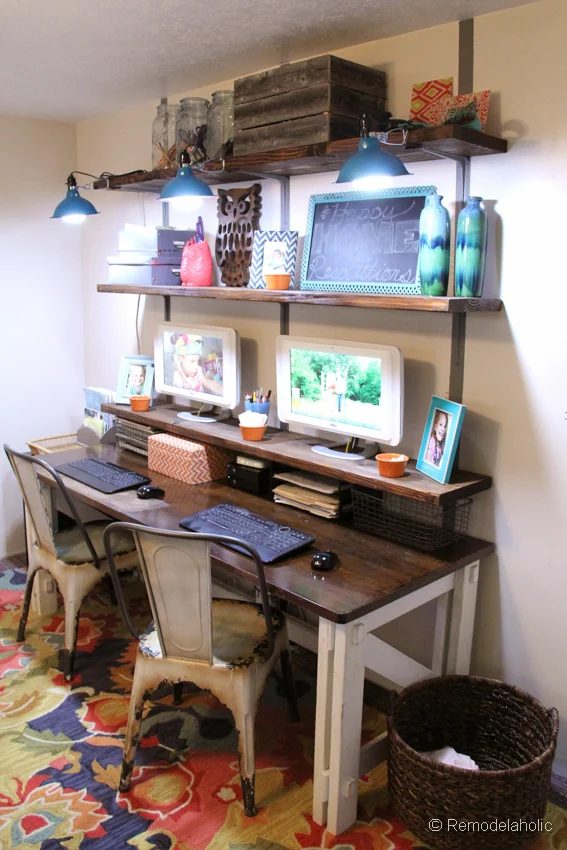
Now, lucky you if you want a desk like the one we have here are the free plans, you can build one of those too! Or you can try these rustic storage bins!
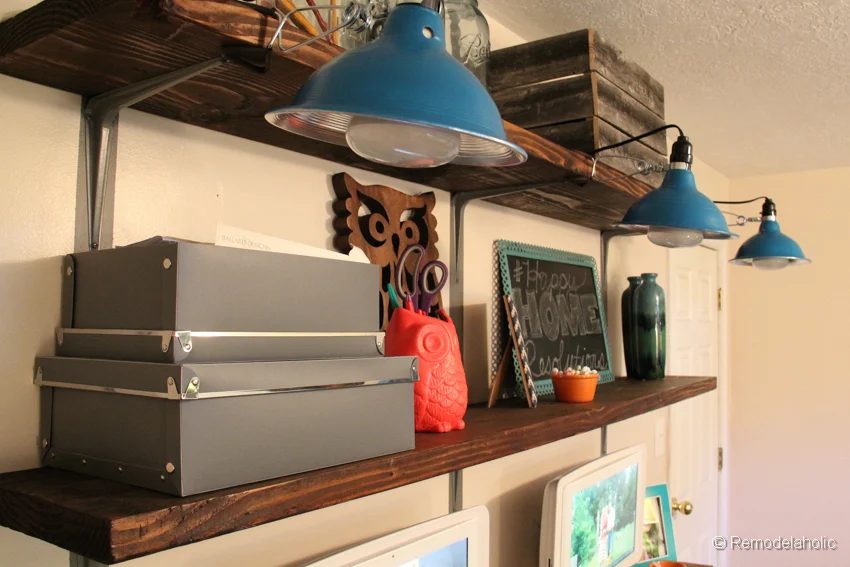
If you are wondering about the lights, they are just low-cost clip on lights from Home Depot that I spray painted with Rustoleum Lagoon paint.
If you are wondering about the rug, the link tells you all about it.