The steps below follow the order of the work for this methods project.
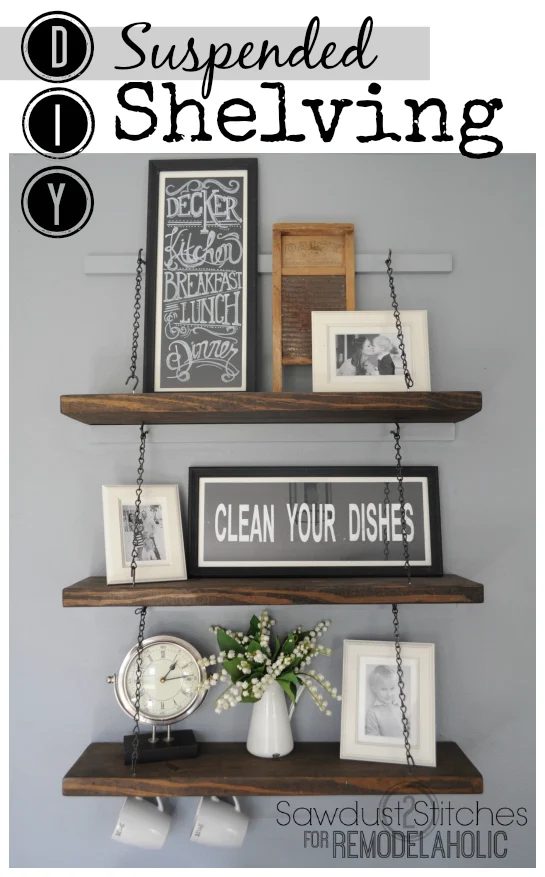
Hey everyone, Corey from Sawdust 2 Stitches here. Happy to be back and have I got an solid walkthrough for you today! This project is extremely versatile, and a very straightforward build. It can be made in a larger scale for a library, or media center perhaps? Or make it small and fill that awkward space in the powder room! It’s low-cost, it’s straightforward, AND it’s got character. It doesn’t get much better than that !
How to Make Suspended Shelving
Materials Used:- (14) 2.5″ Cup hooks
- 6′ Link Chains
- Stain
- Spray Paint
- 2×8″ (8′)
- 1×2″ (8′)
- Wall Color Paint
- Miter Saw
- Sander
- Pliers
- Drill (with a 1/8″ drill bit)
- (3) 2×8″ @ 33″
- (4) 1×2″ @33″
Let’s get started! Begin my prepping your boards. Cut all 2×8’s and 1×2’s. ( The size can vary, just be sure to add extra hooks and chains if you increase the size significantly.)
After cutting I pre-drilled the holes for the hooks. I used a 1/8″ drill bit. ( this just makes it easier to screw in the hooks.)
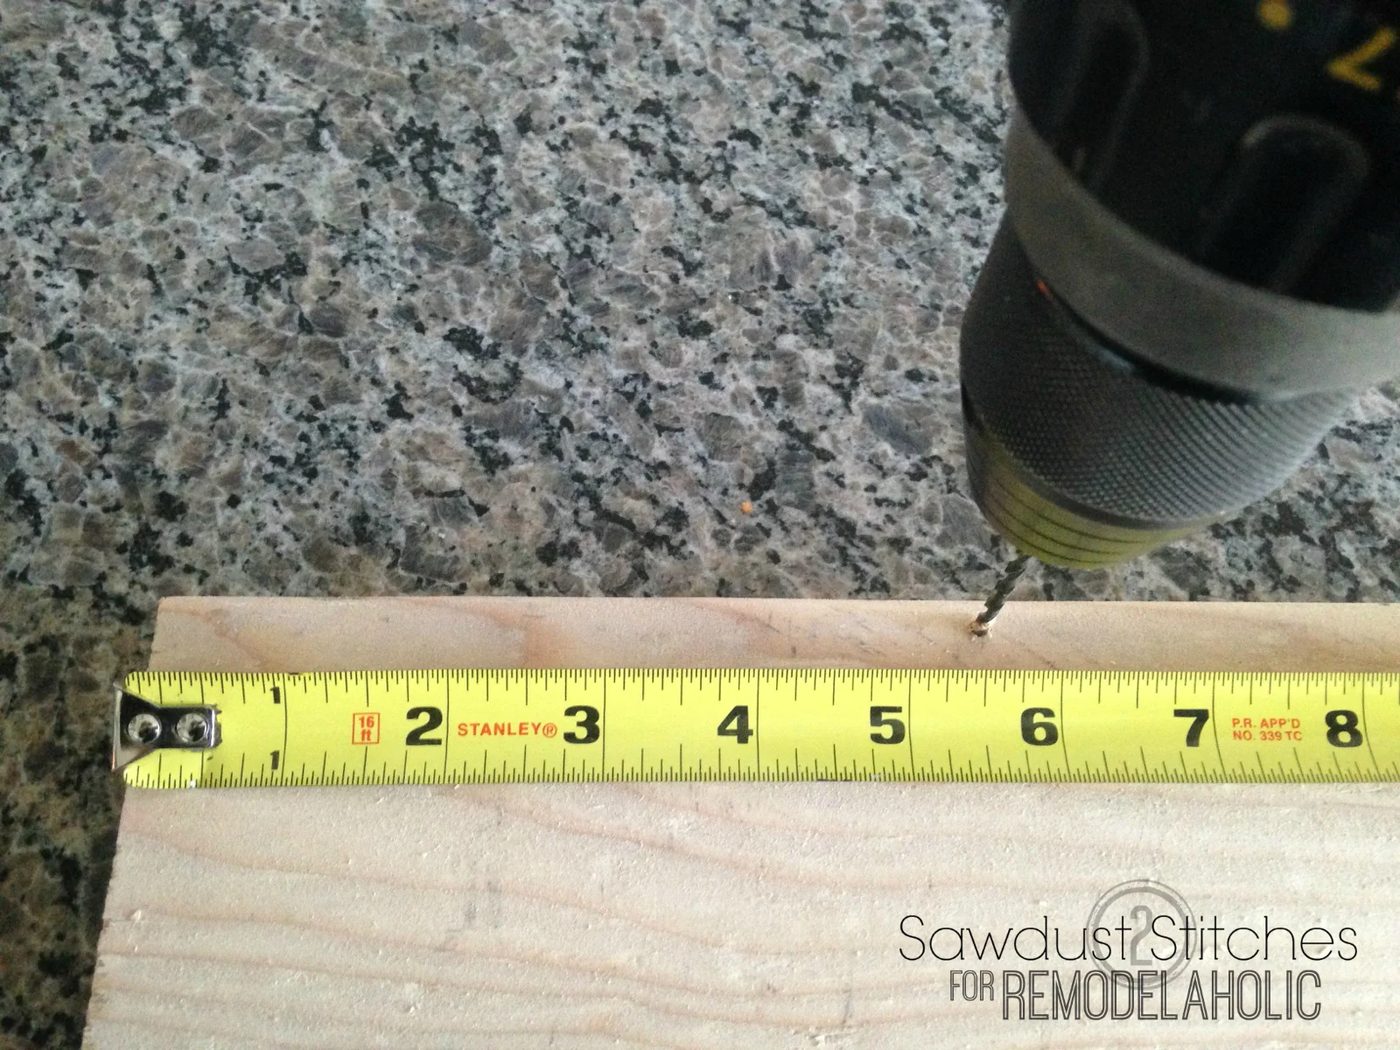 I repeated the same process on the 1×2″ as well.
Next, sand down all of the boards so that they are all smooth, and prepped for either painting or priming.
Painting/Staining:I chose to stain my boards in Jacobean by Minwax. I did not want to bring a lot of attention to the support ( 1×2″), so I opted to paint it to match my wall color. One the boards are dry, they are ready to be installed.
Install:At this point I installed my hooks into the pre-drilled locations. Extra Credit: I chose to spray paint all my hardware using Rustoleum’s Oil Rubbed Bronze.)
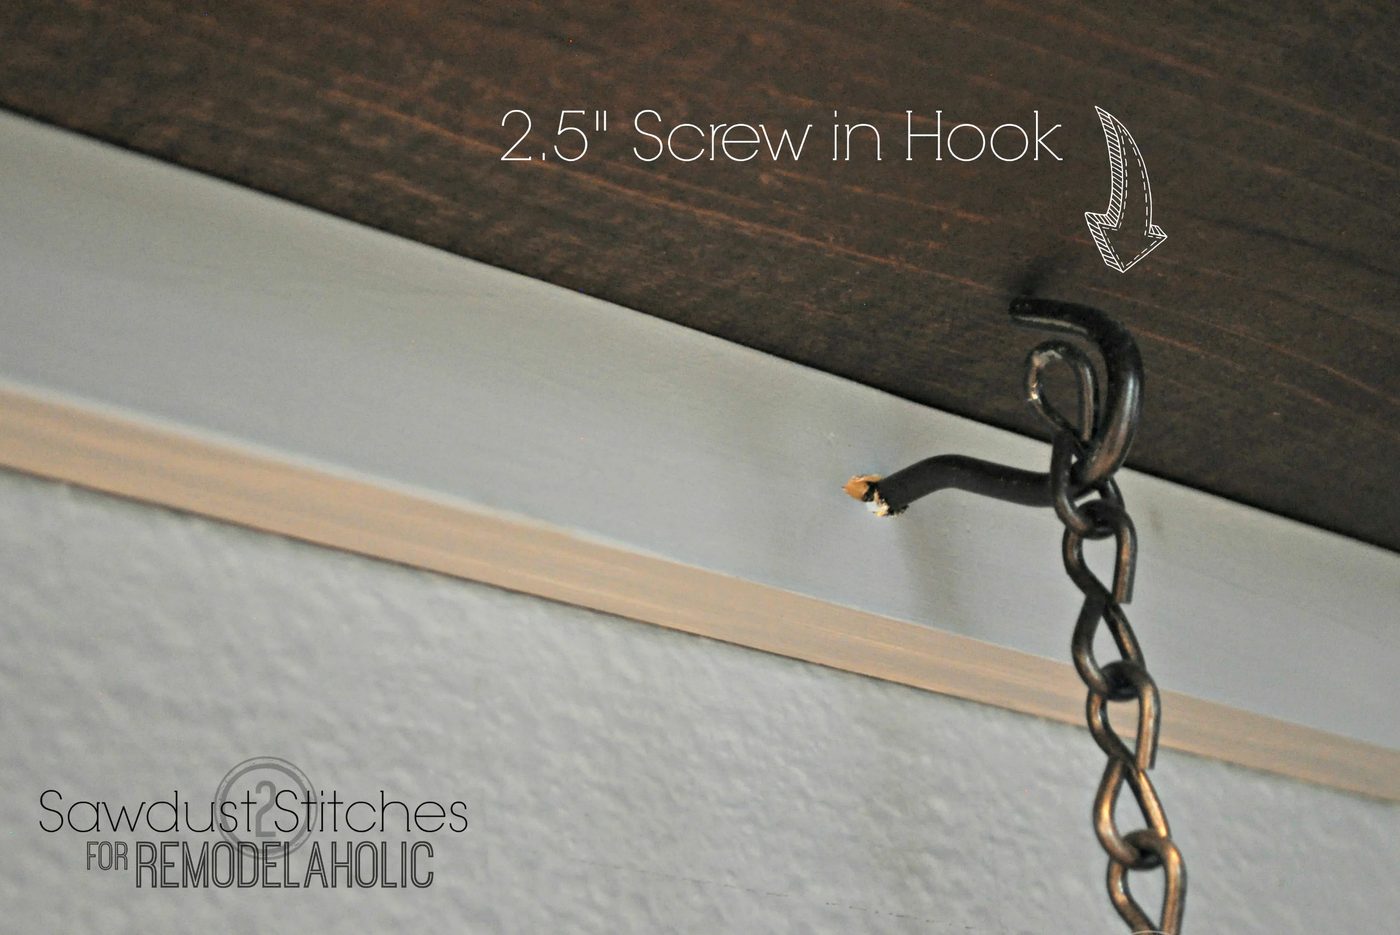
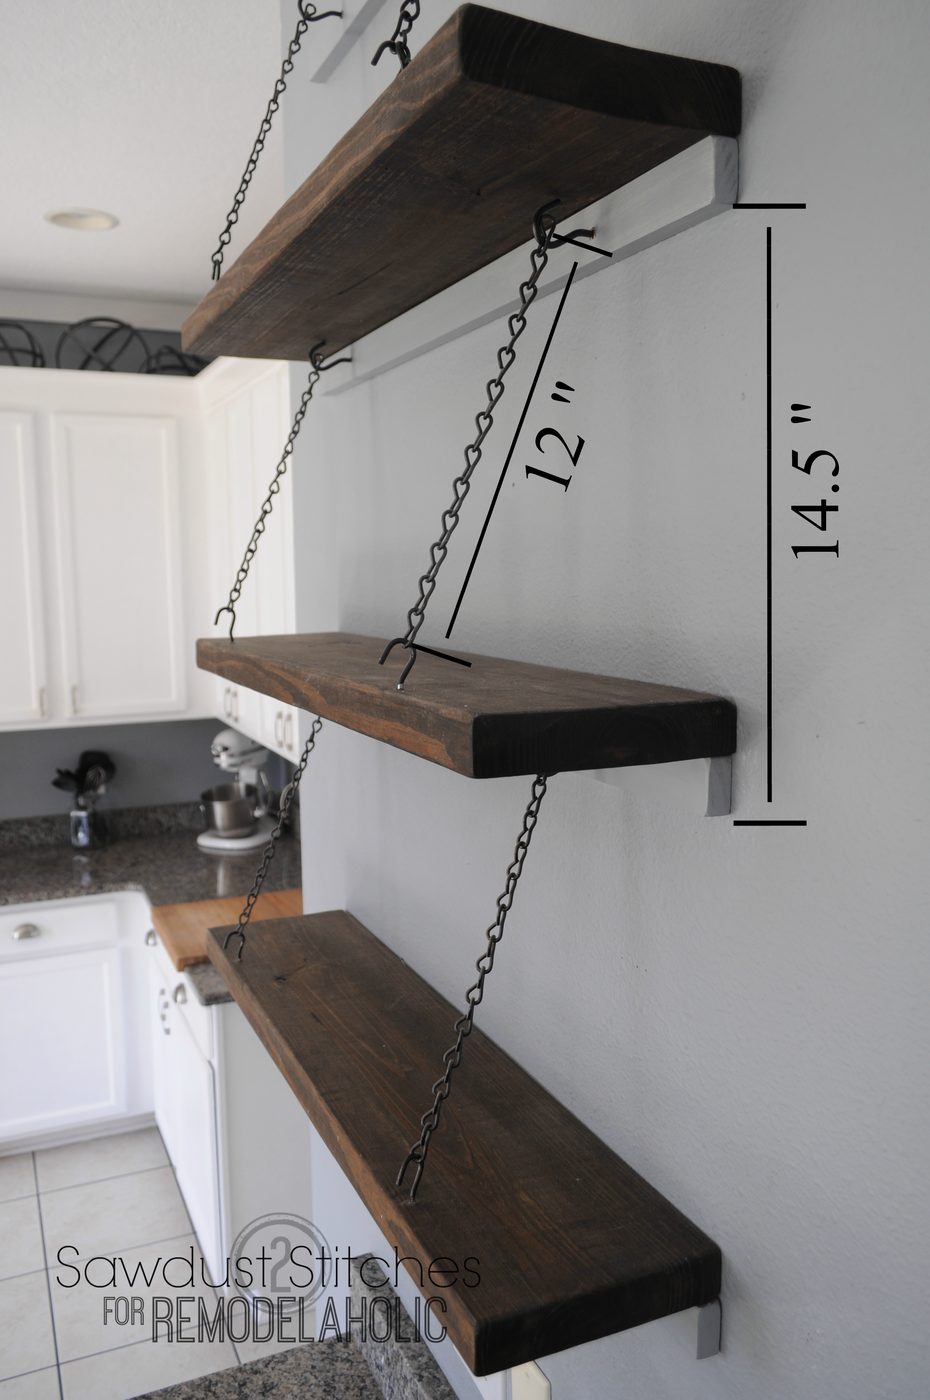
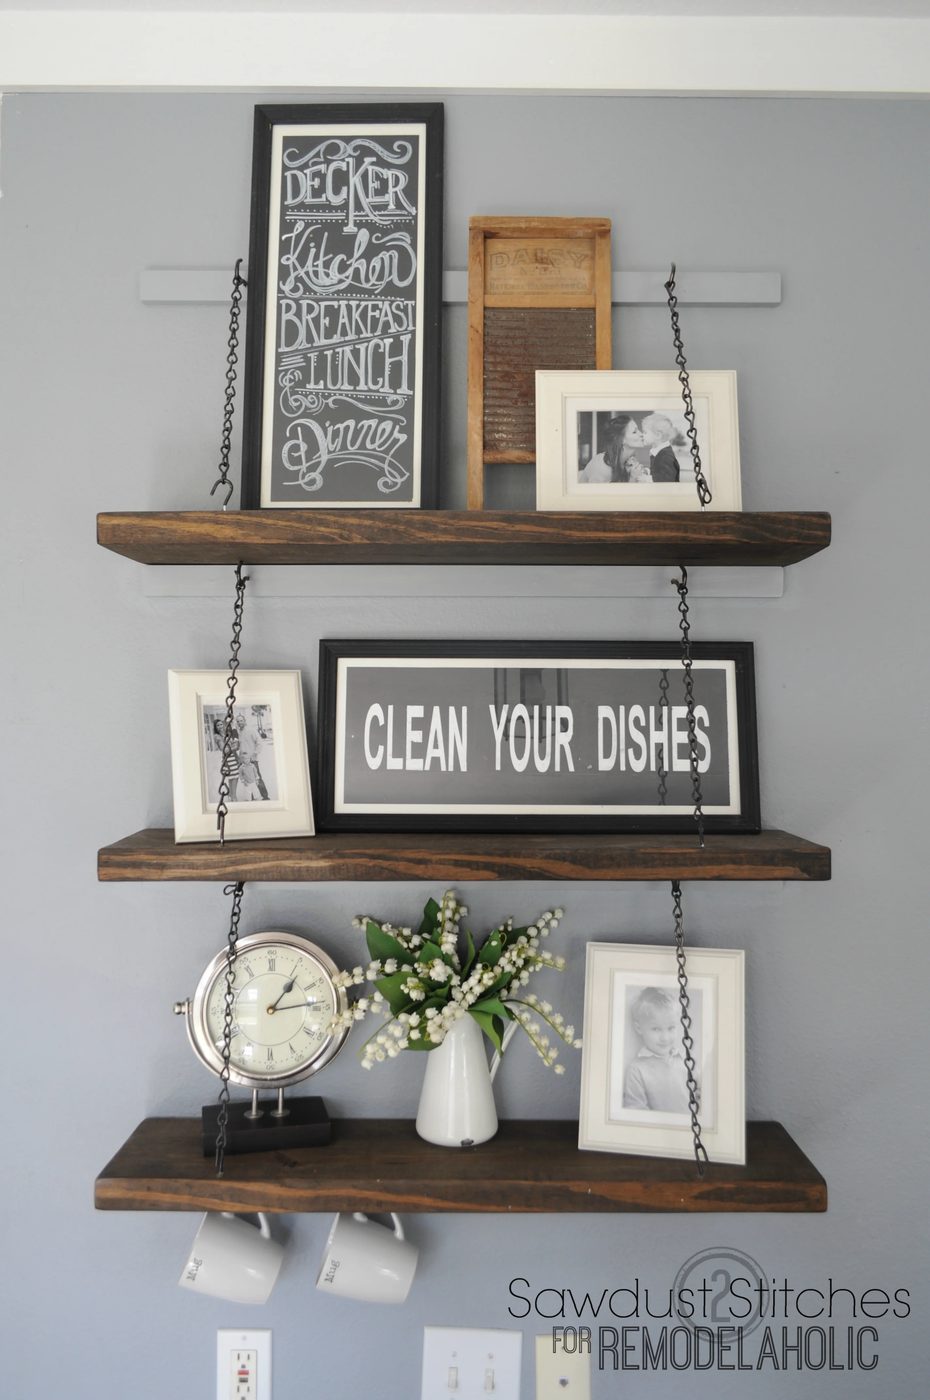
Once the hooks are in place, you will need to attach your 1×2’s to the wall. I spaced mine 14.5″ from the bottom of the board to the bottom of the next board. ( I know that sounds a little confusing, so I included a little diagram below.)
 When attaching the board to the wall, make sure you hit studs. (They are generally 16″ apart.)
After attached you can fill the screw hole with nail hole filler, sand, and then paint.
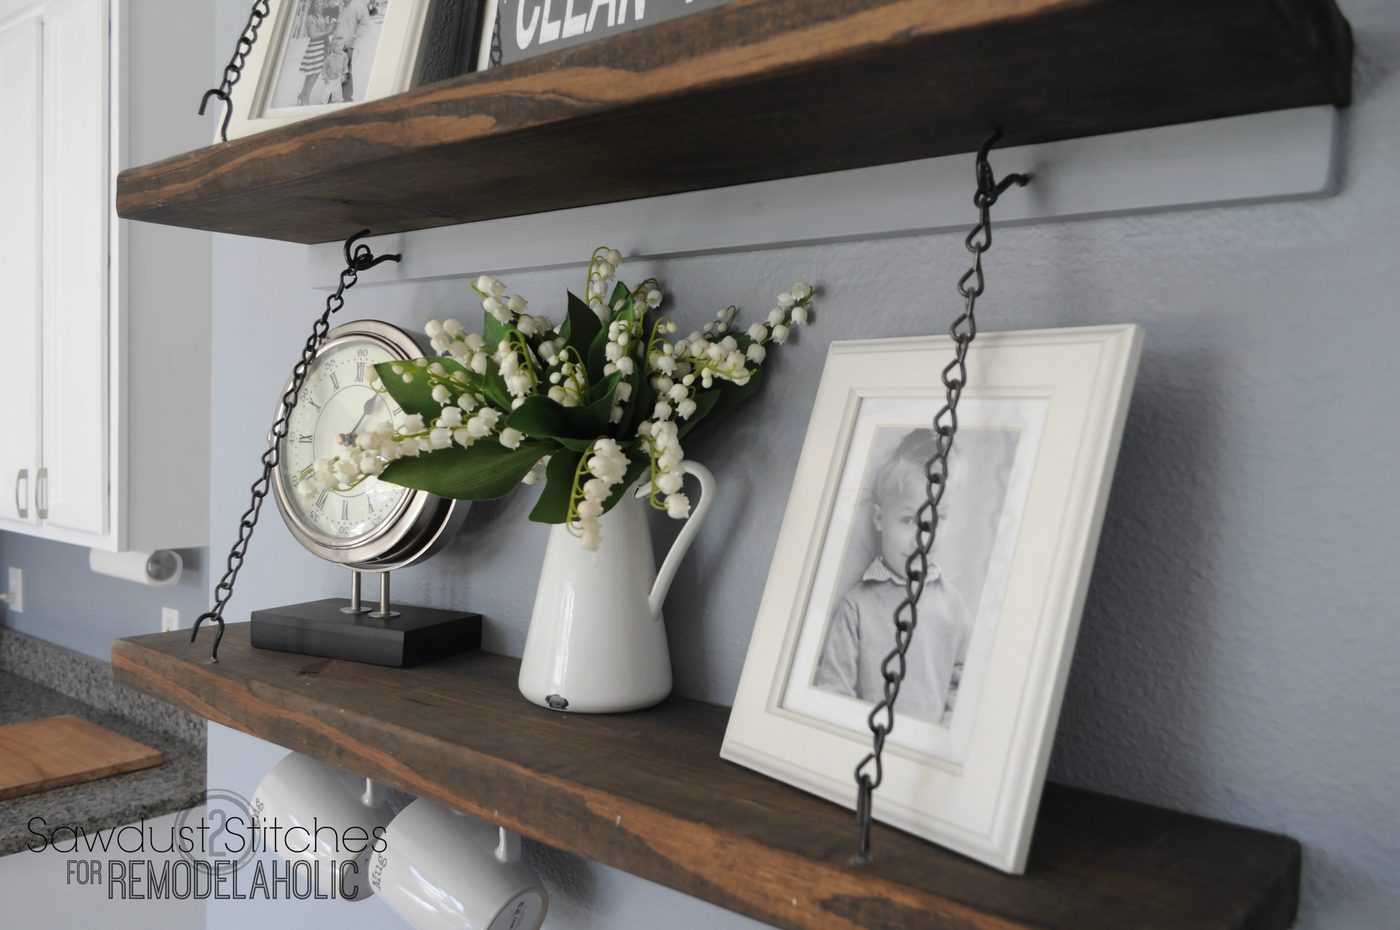
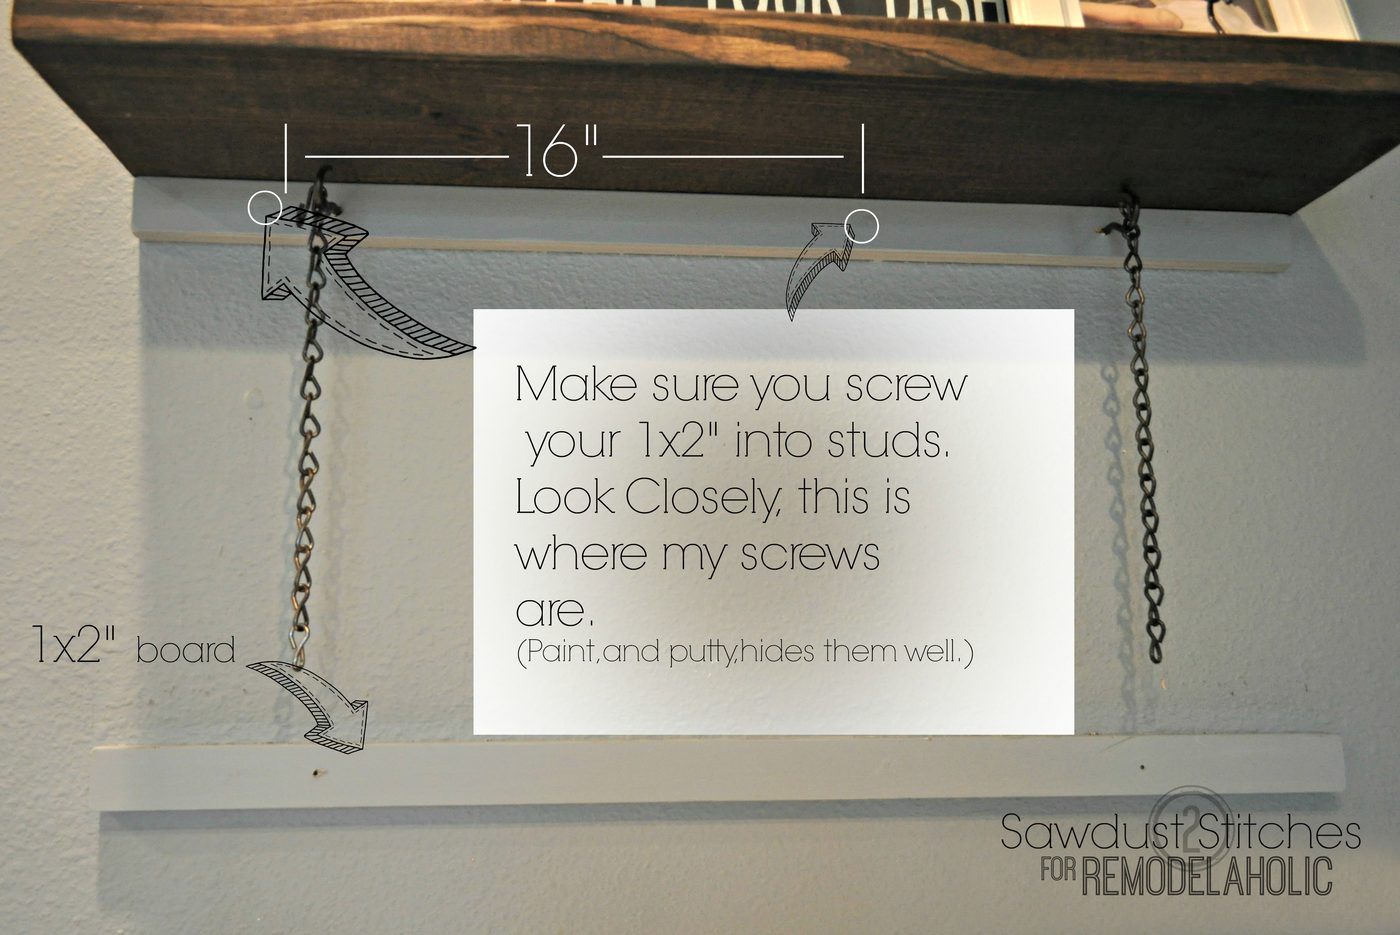 Now you will need to connect the 2 hooks with the chain. Rest the 2×8″ on top of the 1×2″. Gravity should make this fairly sturdy, but for peace of mind you can always tack this in place with a nail gun; shooting down through the 2×8″ into the 1×2″ .
Look how pretty it turned out!
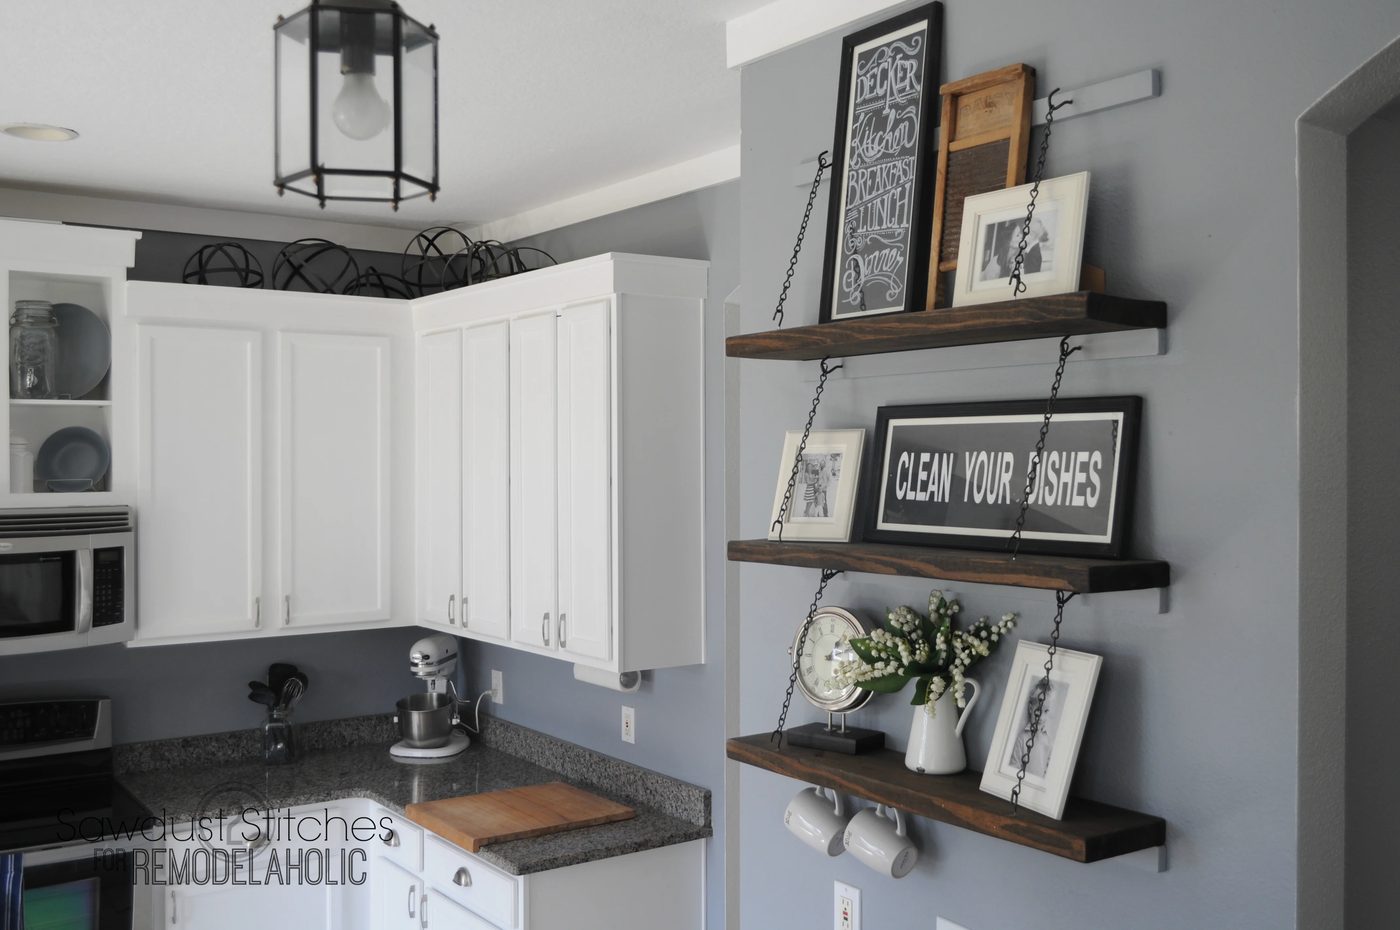 I even decided to add a few extra hooks to the bottom shelf to use as mug hooks.
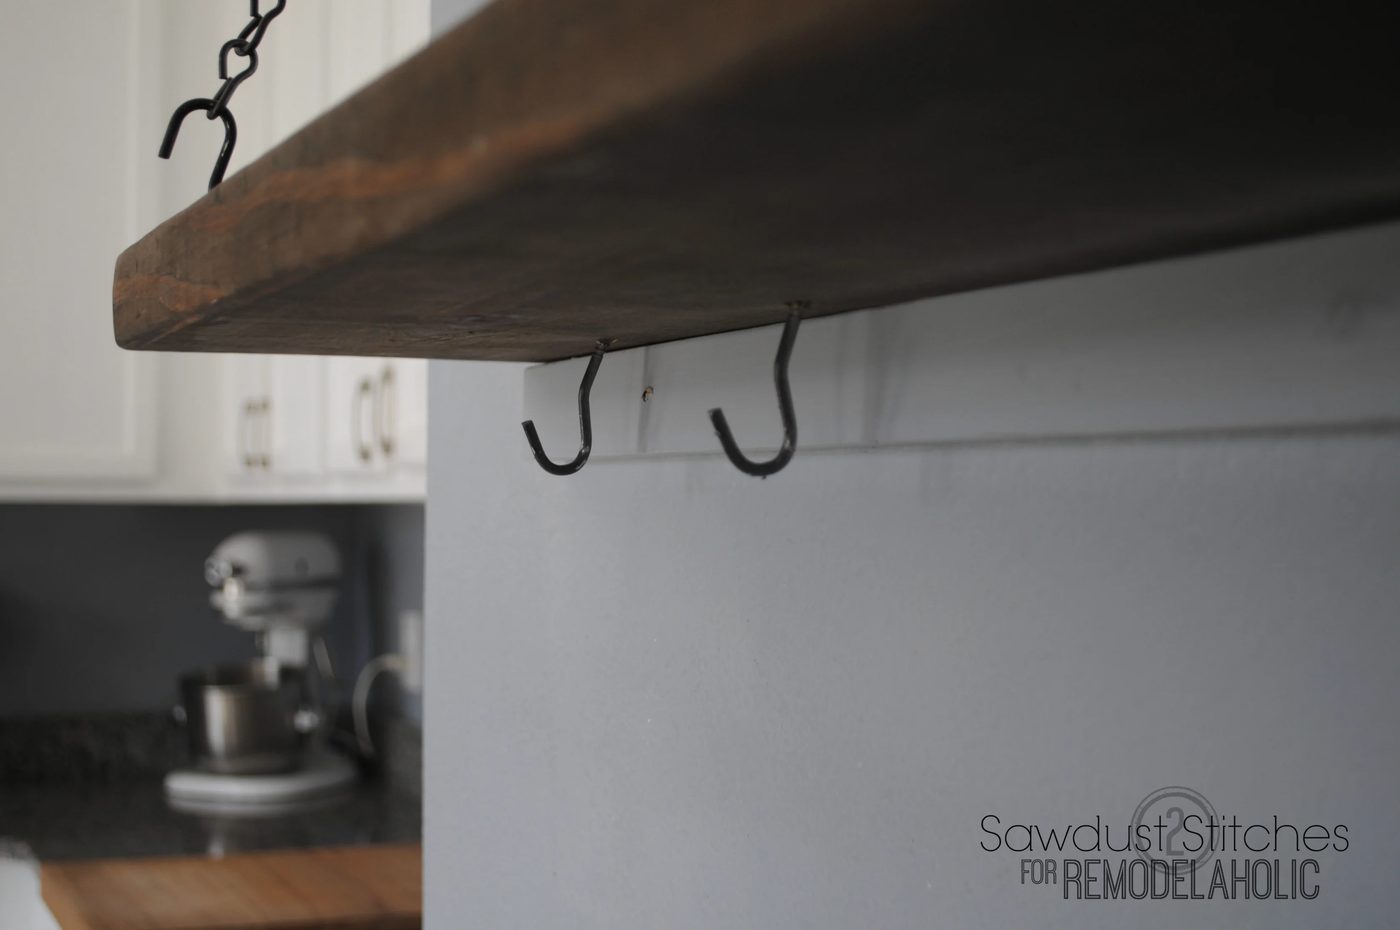 I love it.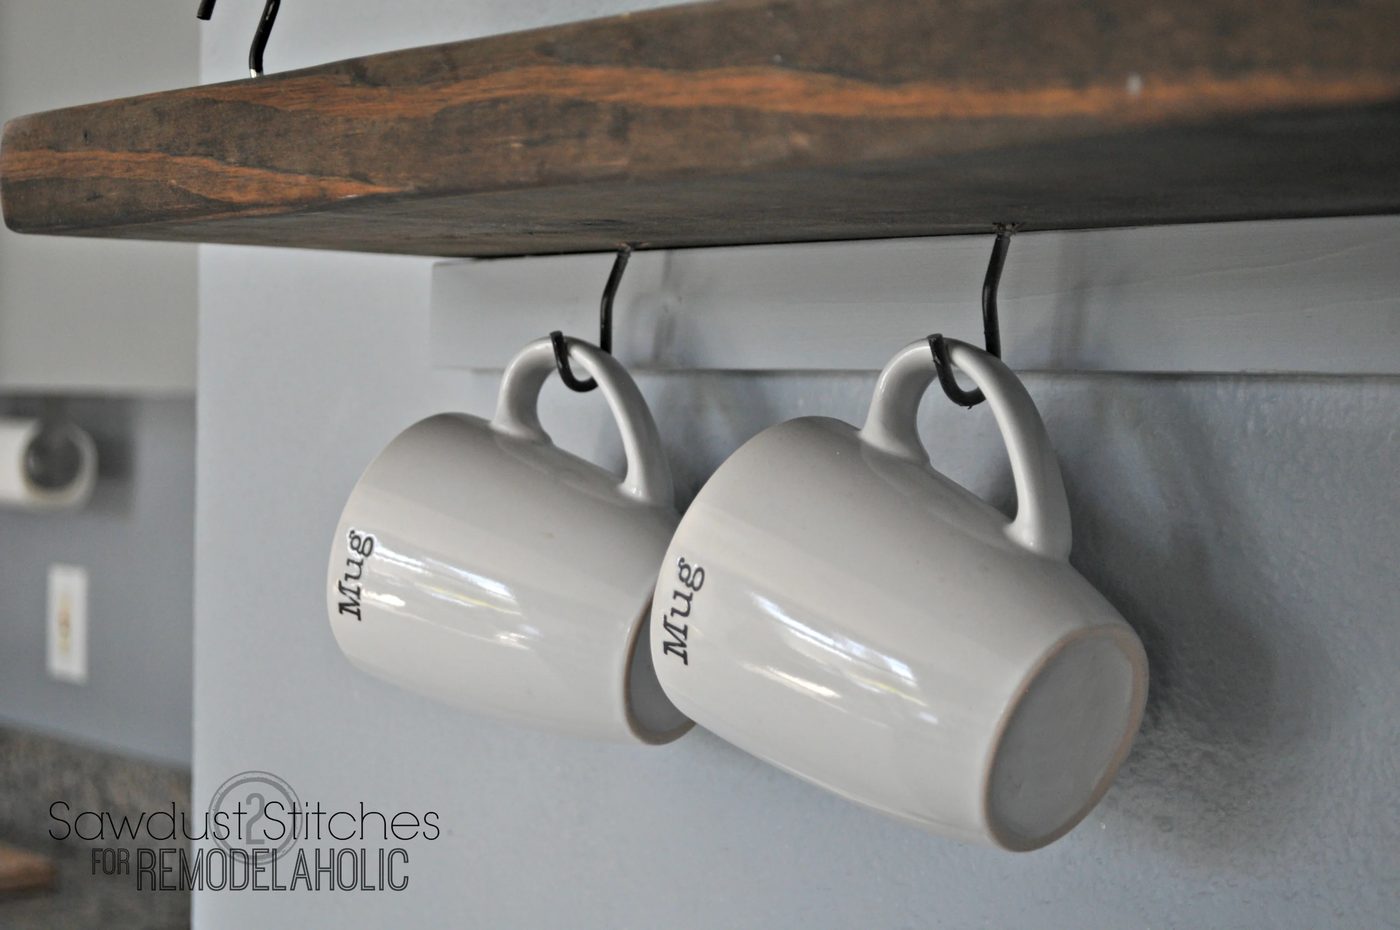
 Thanks so much for reading!
Corey from Sawdust2Stitches
—————————
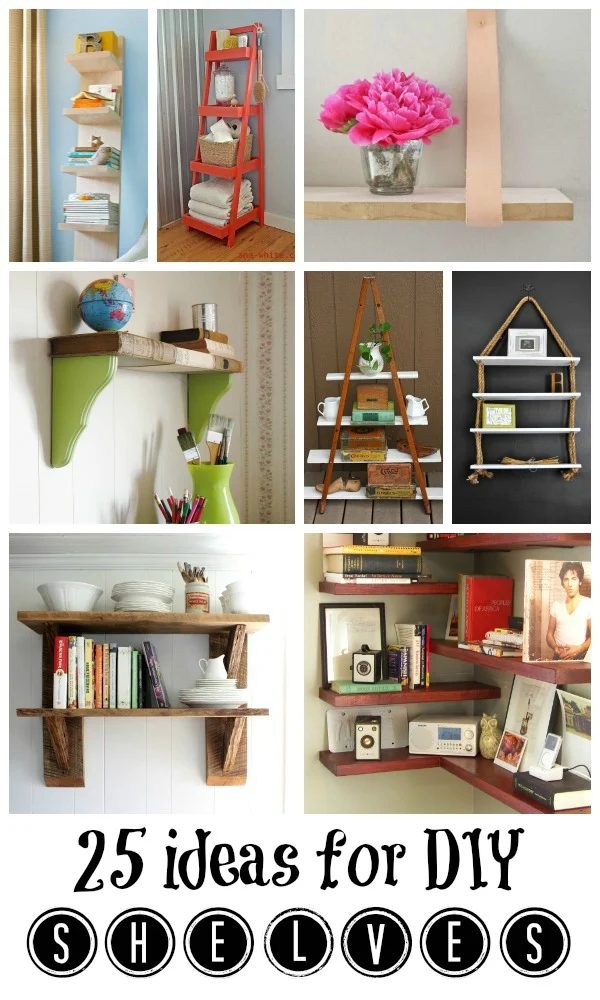
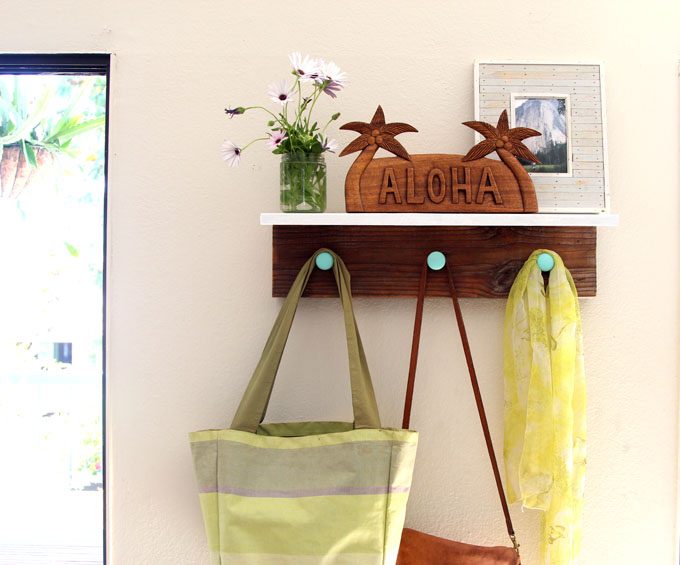
More Handmade shelves:
 |
 |
 |