Read the sequence from the top before cutting, painting, or moving pieces.
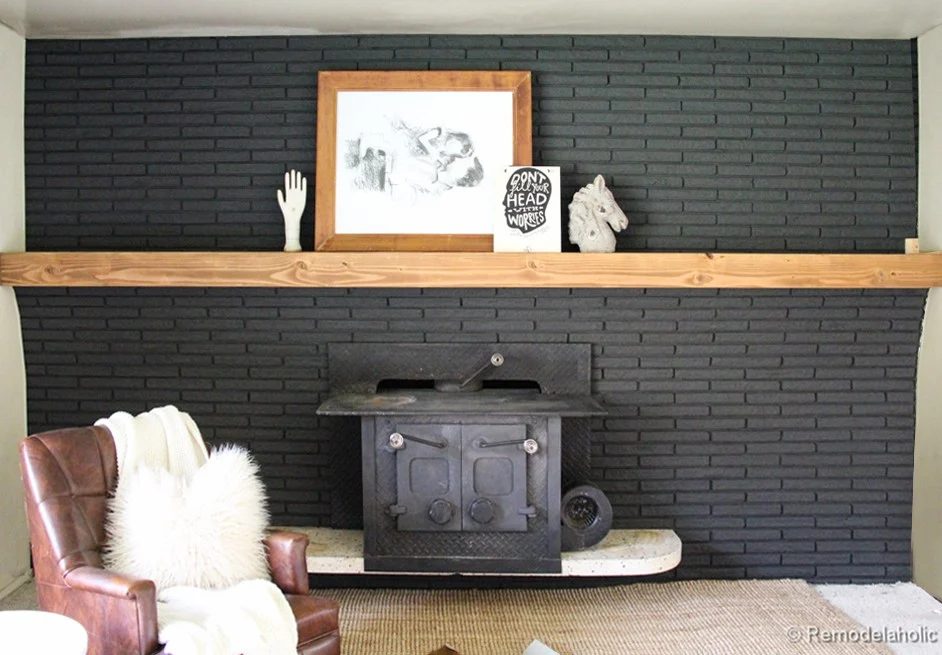
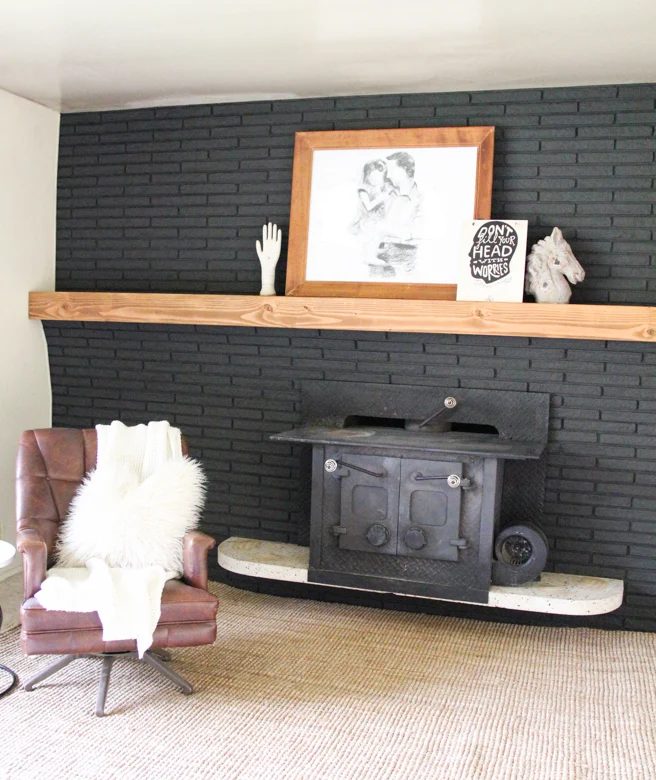
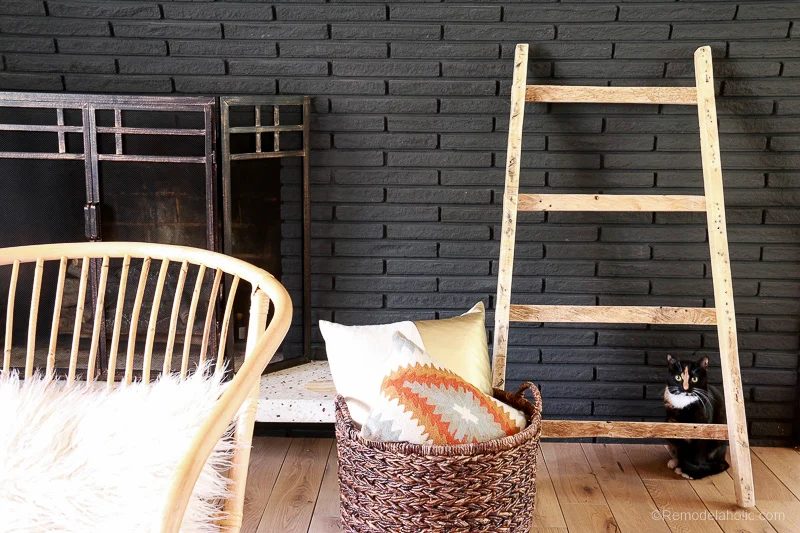
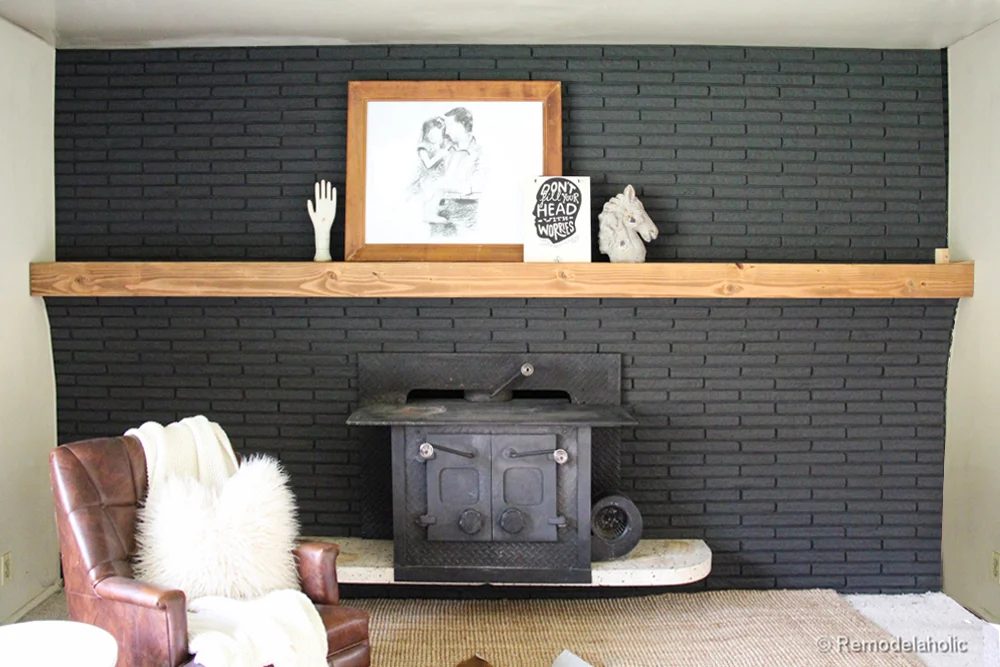
Okay, I showed you how I painted my brick fireplace black last week and I am here to show you how we built our mantel!!! Guys this may be the all time easiest project I have ever done in any house that we have ever owned… with a total of 5 remodeled houses, that is saying something!
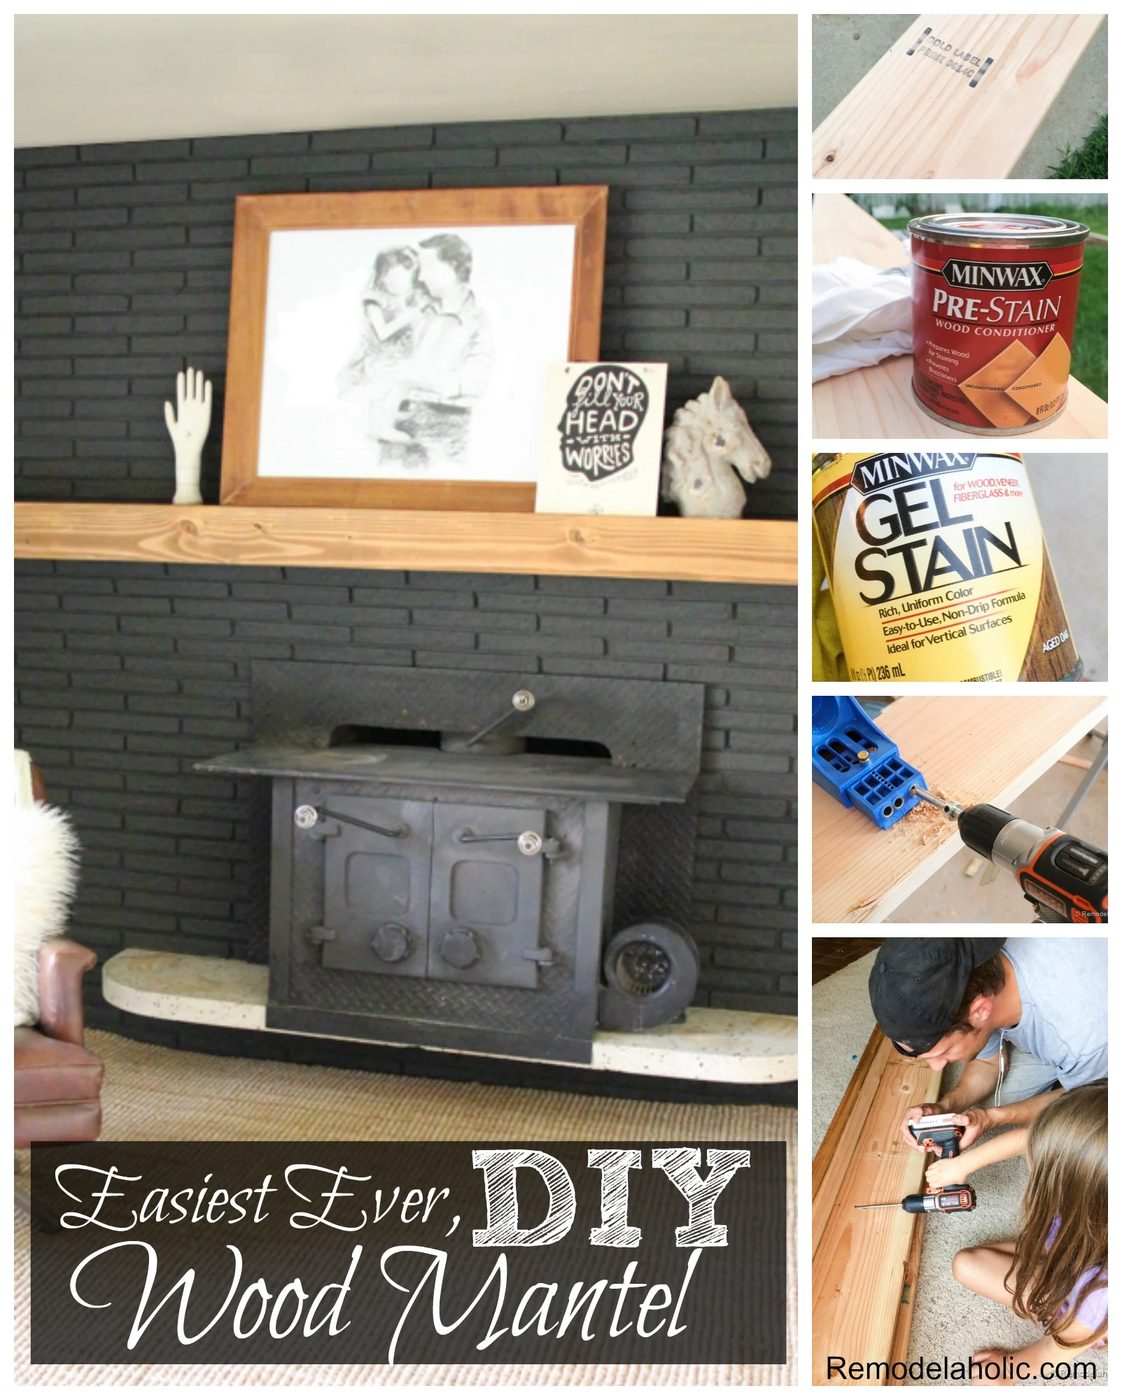
straightforward Wood Mantel Handmade for Brick Fireplace:
Mantel Supplies:
1 – Front Piece, a 2 x 6 (by the length of the mantel, we have to by a 16 foot long board)
1 – Shelf Piece 2 x 8″ (or 10″ wide, this depends on the depth of the brick ledge, by the length of the mantel)
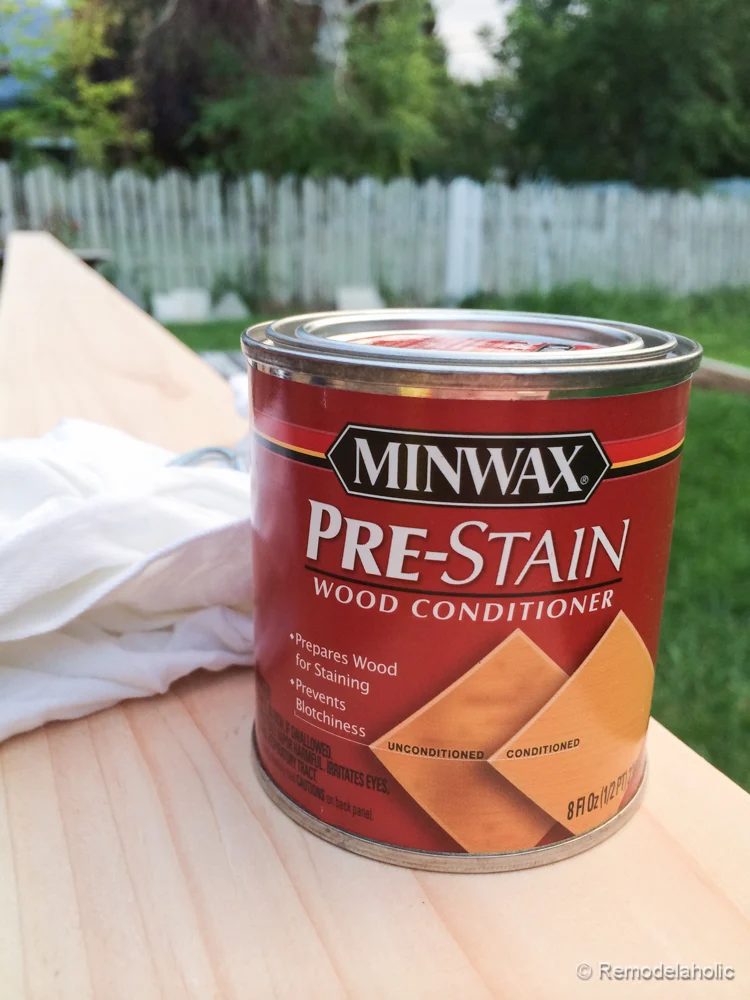
Minwax Pre-Stain Wood Conditioner
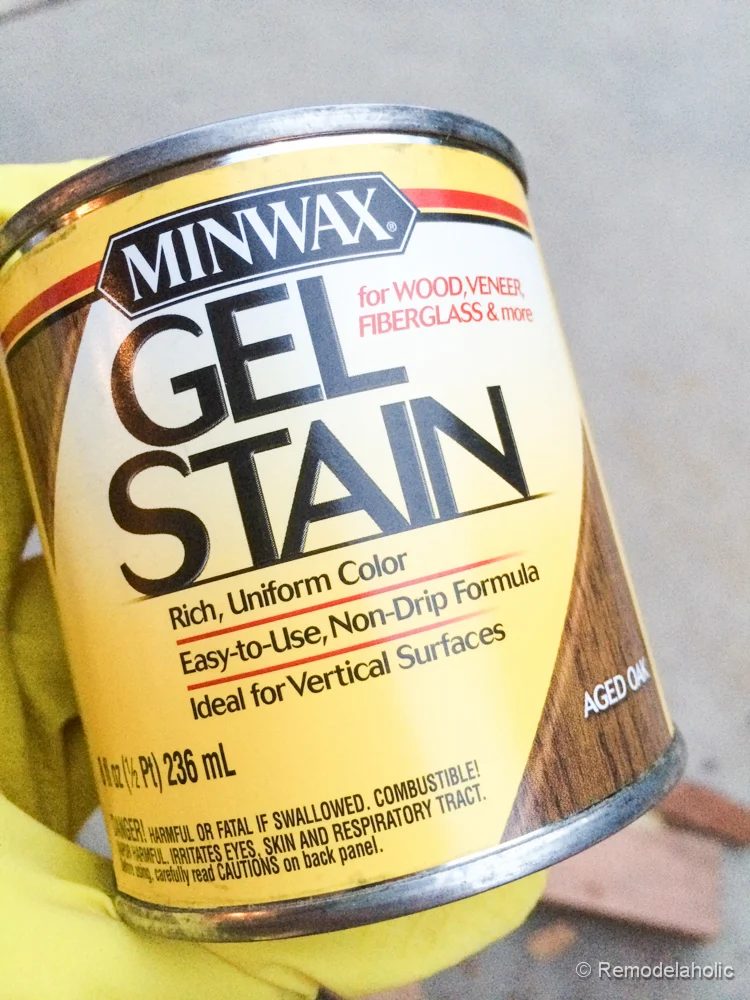
Minwax Gel Stain in Aged Oak
Minwax Fast Drying Polyurethane
Masonry Anchor Bolts
Kreg Jig Screws
Tools:
Random Orbital Sander (or any sander)
Kreg Jig and screws
Drill
Mantel Building Instructions:
1. Take your 2 pine boards and cut them to the proper finished length of the mantel. We had to trim then to about 13′ wide.
2. Sand your boards, to remove and lettering or imperfections that you would not like to see… (by all means, if you like the if you want it there, leave it there)
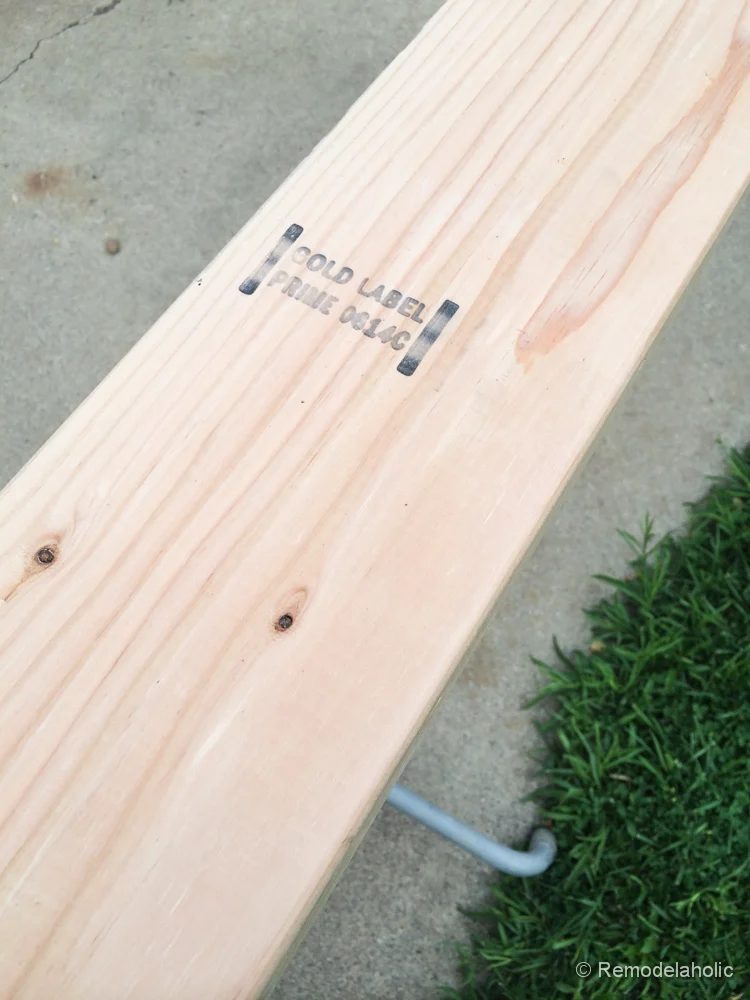
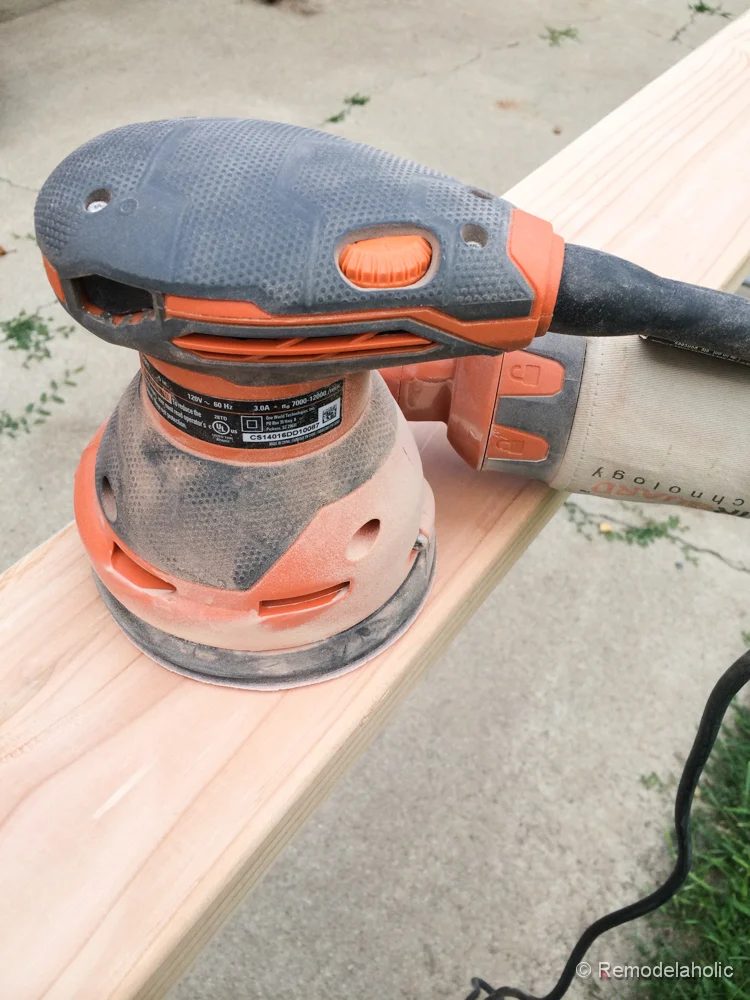
3. Condition your wood with Minwax Pre Stain Wood conditioner, follow all the listed product instructions. This product helps the stain to penetrate evenly on soft woods like pine and poplar. You can read about what it does at the link above. I stained only the top three sides or the surfaces that are showing. For this particular project the 2×6 shows it’s front and 2 sides (no need to finish the back) and the 2 x 10 that is pretty much only the top.
4. After the wood conditioner has been on the proper amount of time, you can now stain your wood. I chose to use, Minwax, Gel Stain in Aged Oak (you can see all the color options here) I didn’t want to go too dark, so I am happy with the color. It has great black undertones, but a nice warm subtle color. Be sure to wipe off the excess allow to dry according to package directions.
5. Apply a Clear Protective Coat. Allow to dry. (We haven’t done this quite yet, because I want to make sure it works with the future flooring choice floor before I finalize the color!)
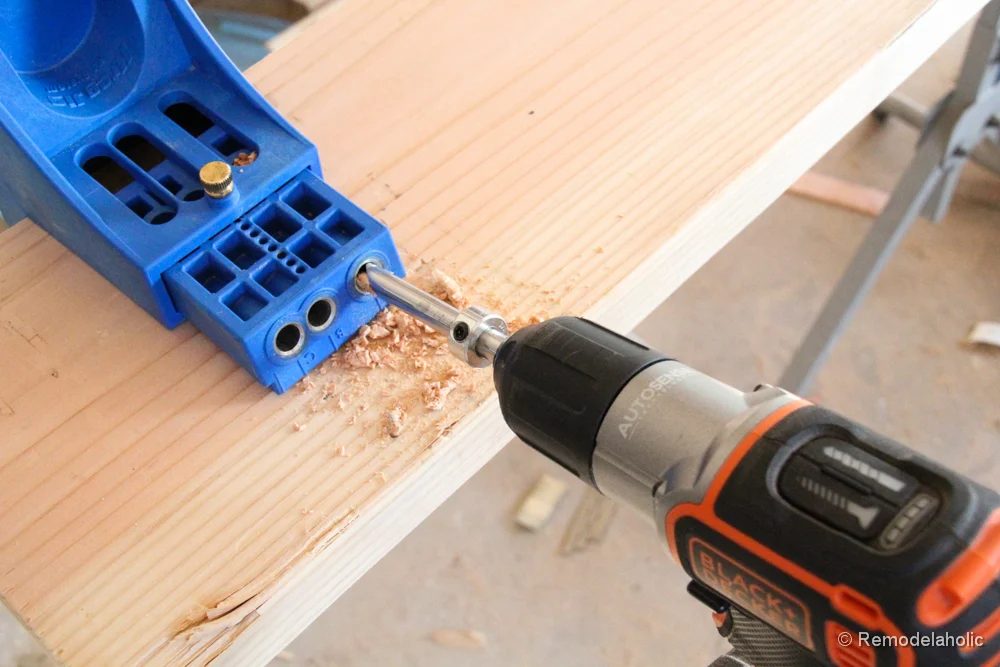
6. On the bottom side of the 2 x 8″ shelf piece, using your kreg Jig, drill a pocket hole from the bottom through the front side of the board. See image below.
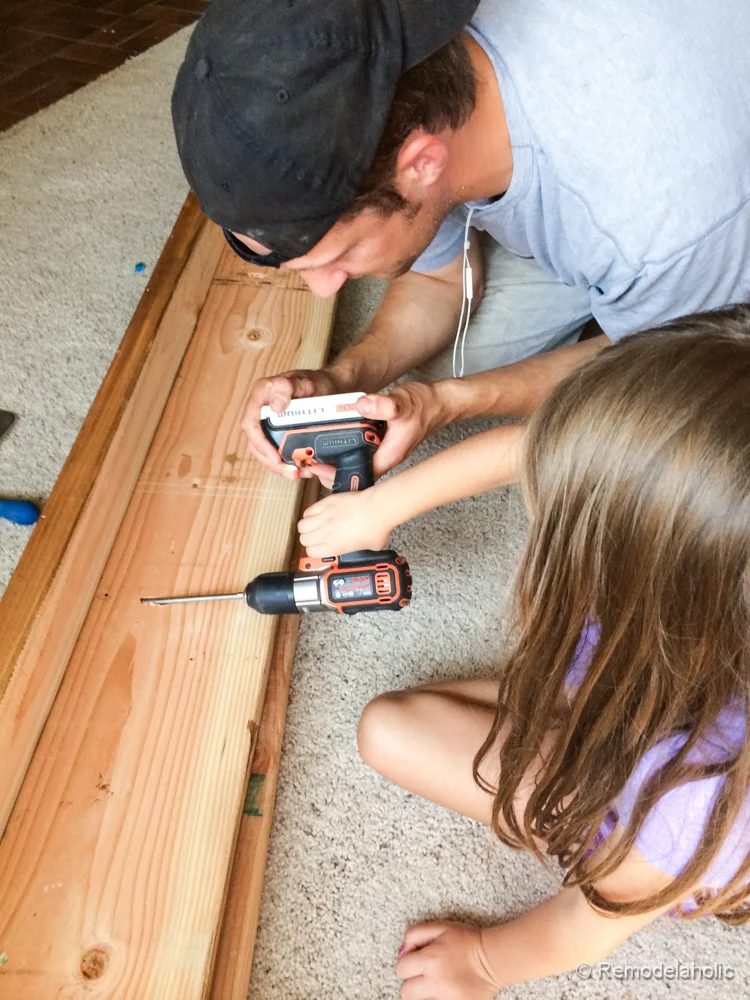
7. With the shelf piece lying good side down on a flat surface, place the front piece perpendicular to the shelf piece. The unfinished back side of the front piece will be butted up to the side of the shelf piece, that you just pre-drilled with the Kreg jig.
Now with the proper Kreg jig screws, drill the front piece to the shelf piece. It will create a sideways “L”. This is so straightforward even a five year old can help!! (Etta has been our little helper! I love that she is willing to try!)
8. Now flip it so the right side is up and anchor it to you brick mantel through the top of the shelf board directly into the brick mantel. (We haven’t done this quite yet, because I want to make sure it works with the floor before I attach it permanently. so we secured it with a block of wood screwed though the side joists, just to hold it in place. Although it is SO heavy and solid it really isn’t moving anywhere!)
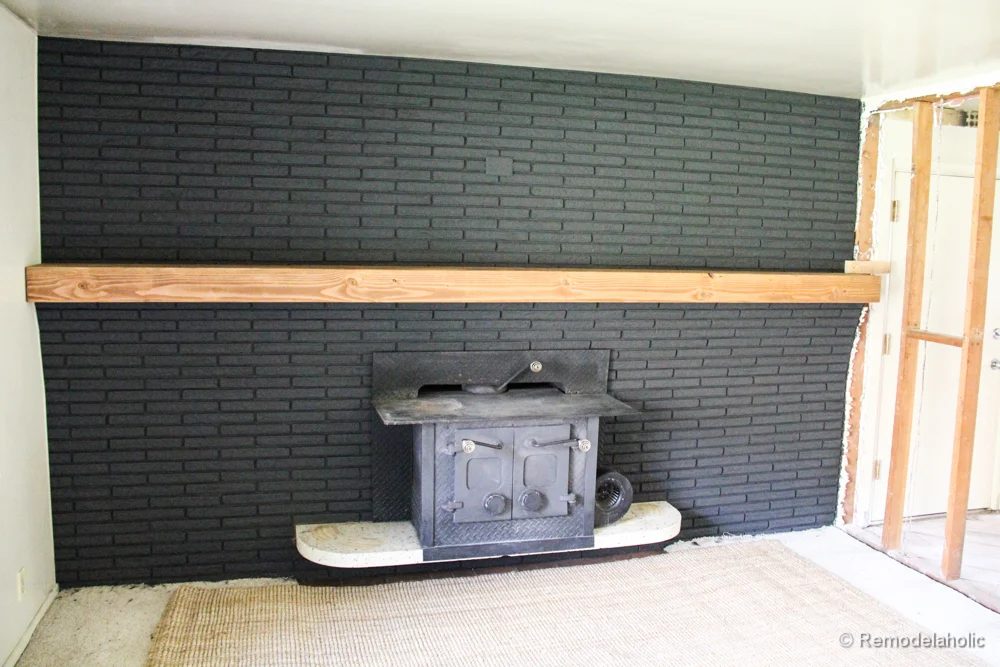
9. DONE and Decorate! See I told you an straightforward wood mantel in no time at all! Now we just need to finish the rest of the room (head deflates a little bit..)! Update: See how the room looks now here!