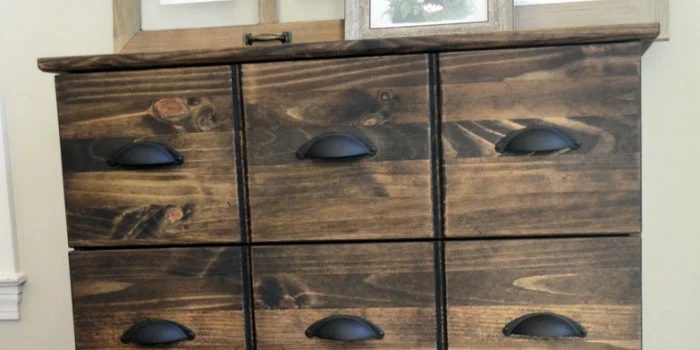
The steps below follow the order of the work for this furniture project.
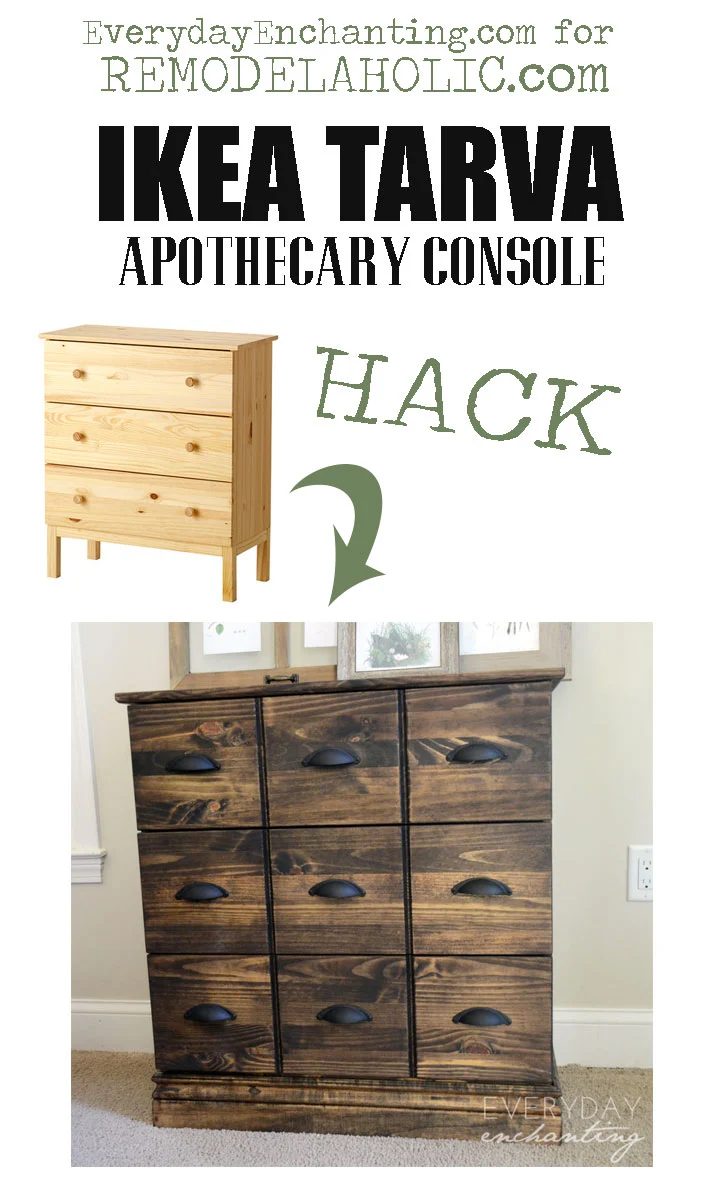
Hey Bekob! Nina from Everyday Enchanting here to show you how I updated an Ikea Tarva Dresser and transformed it into a vivid and inexpensive knock-off of the Pottery Barn Apothecary Cabinet! This is my second Pottery Barn knock-off, we also built a custom sink console, which you can read about here!
This post contains affiliate links. Please see our full privacy policy and disclosure here.
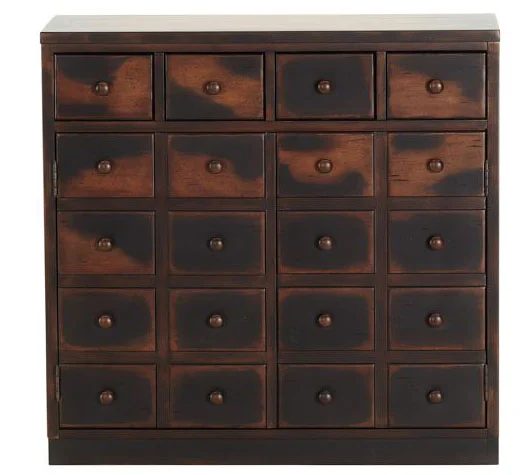
via Pottery Barn
Unfortunately, the $800 price tag is very much beyond my modest-cost. This is the case with most of the furniture I fall in love with- it’s what ultimately led to me becoming a DIYer and then later a Handmade blogger! This is what I love to do- create a high end piece from either scratch or a less expensive (but sturdy) piece!
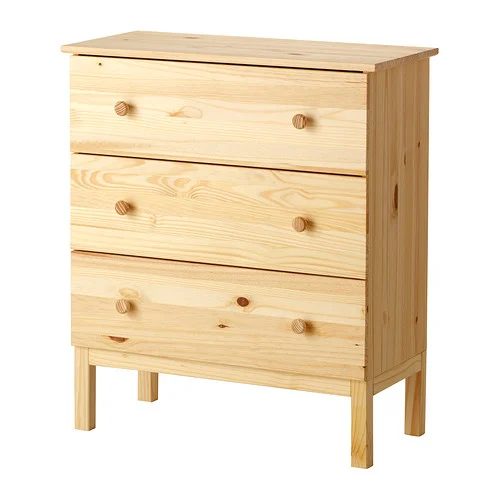
via Ikea
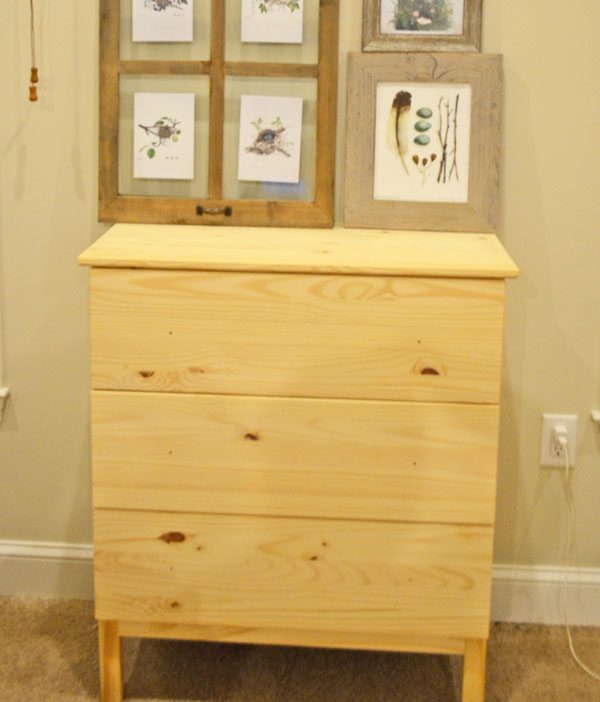
The Ikea Tarva unfinished dresser is much closer to my modest-cost at $80. Contemplating the photo, I realized that it would be possible to create the look for a fraction of the price of the PB version by purchasing the dresser, and using some items I already had to finish it up with the look of an apothecary cabinet.
Ikea Tarva Dresser to Pottery Barn Apothecary Cabinet method
I ordered the Tarva and assembled it as soon as it arrived. I followed the instructions completely, even though I knew I would be taking some parts back off- and assembled the entire dresser.
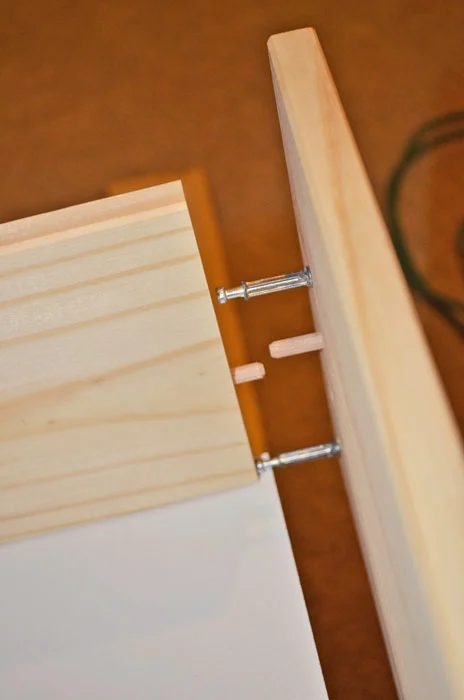
When it came time to do the finish work, I unlocked the cam lock screws and removed the drawer faces.
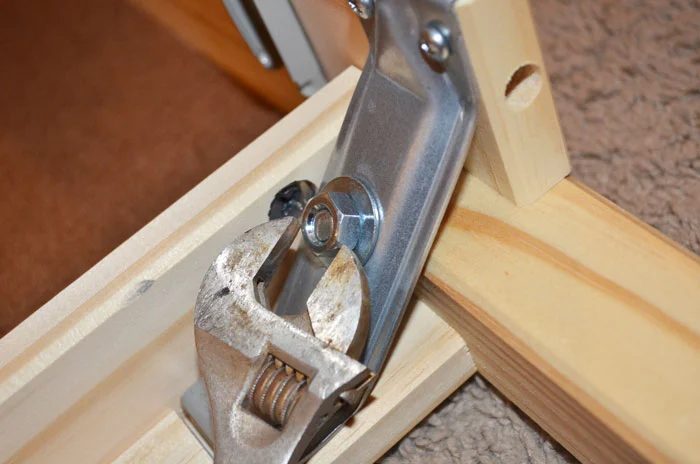
I also removed the legs, since they would need to be cut down to accommodate the trim better.
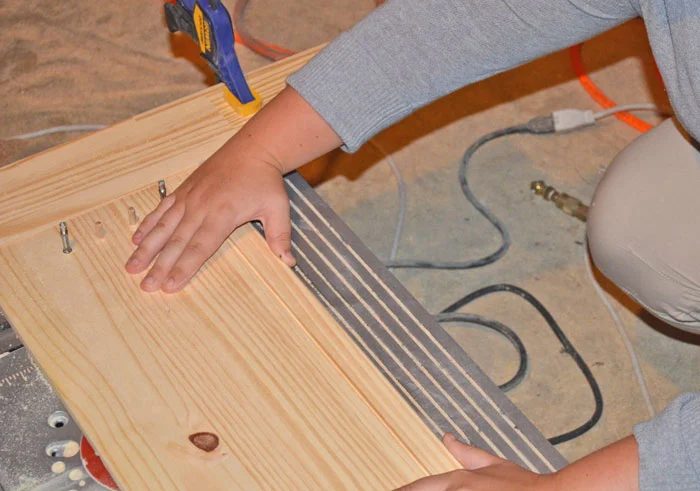
As you can see from the photo above, the PB version has faux-drawers which appear to be panels added on top of the cabinet faces. I opted to use the router to add evenly spaced grooves to the drawer front instead- which ultimately saved the expense, time, and hassle of purchasing wood and adding the panels. We measured out two evenly spaced areas to add the groove, then used a 3/8″ roundnose router bit and router table to add the detail grooves. TIP: Make sure to do a test run with a spare board and the router to confirm your measurements.
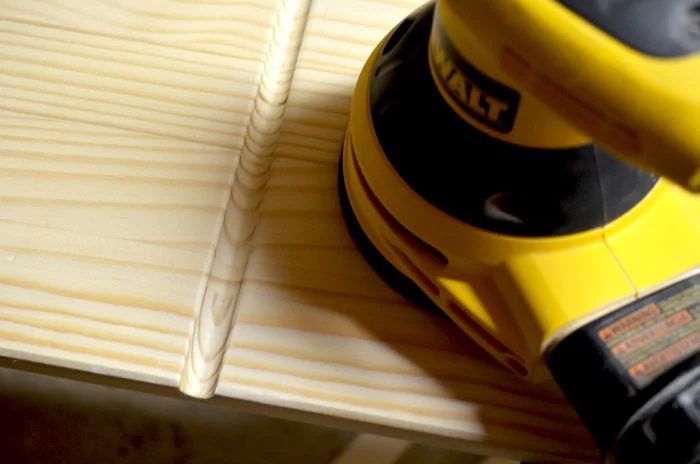
After routing, I broke the sharp edge with 100 grit sandpaper to match the other bevels. Then I went over the entire face with 220 grit sandpaper.
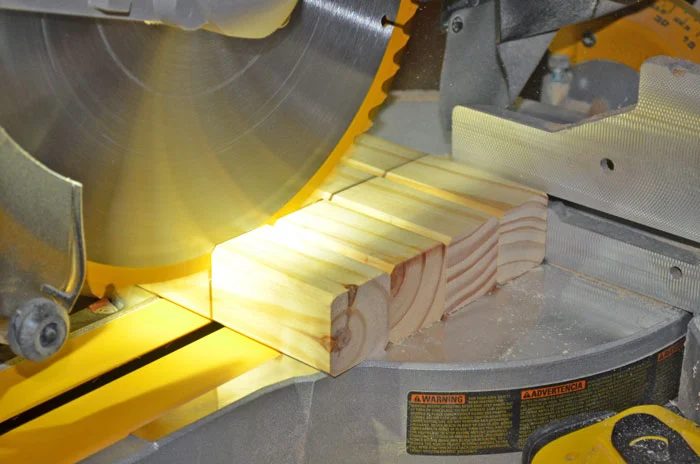
Next I trimmed down the dresser legs and reattached them to the dresser.
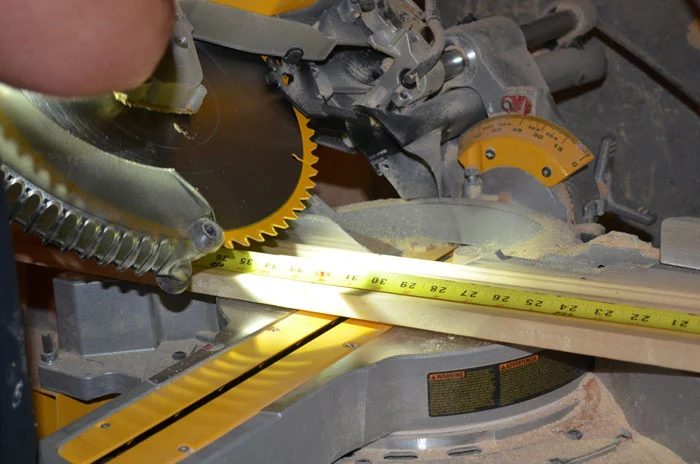
Next we cut the base trim at a 45 degree angle.
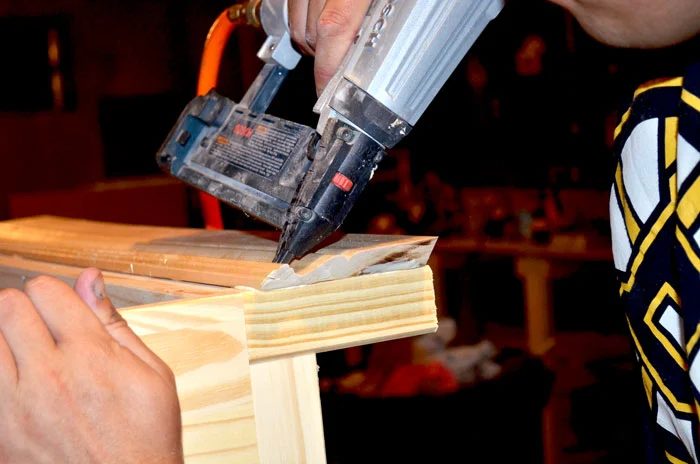 We glued and nailed the trim to the bottom of the dresser. I filled the nail holes and allowed the wood filler to dry.
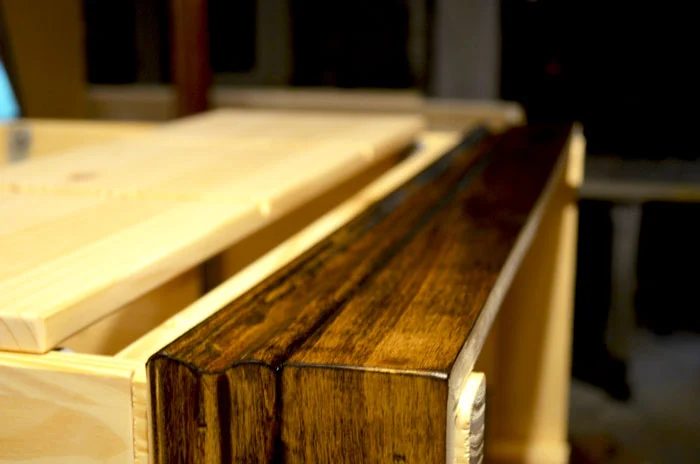
After the wood filler was dry, I sanded down the whole dresser with 220 grit sandpaper. I started by staining the base trim with Minwax Dark Walnut. I suspected from the sanding that the trim was softer and would absorb the stain differently, and that proved to be correct. I ultimately ended up adding a second coat to the bottom trim.
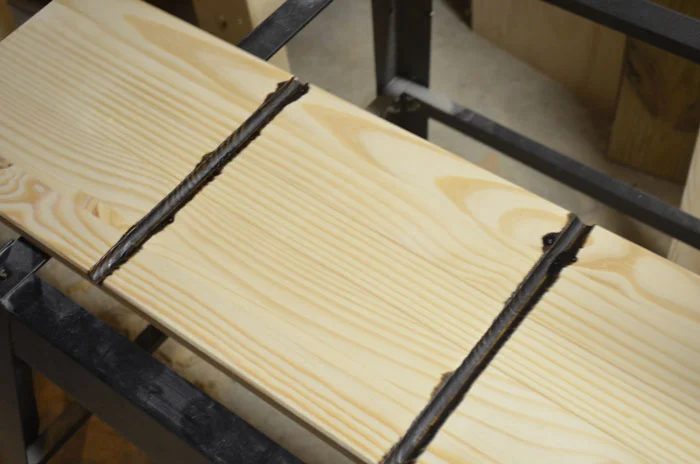
I wanted the groove details to appear darker, so I added the stain first, allowed it to sit, and then stained the rest of the drawer front.
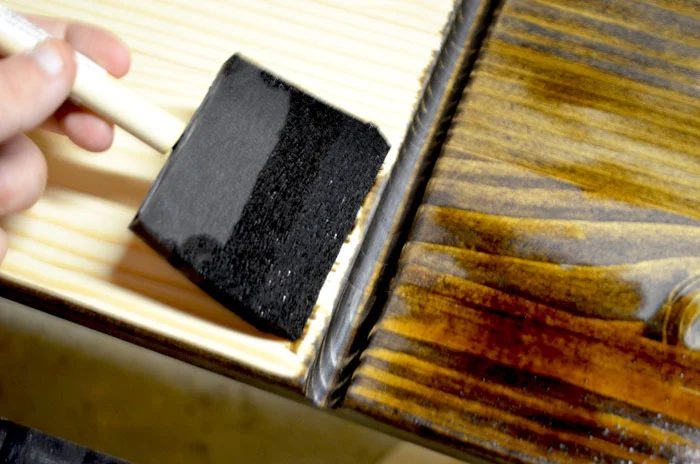
I didn’t allow the stain to sink in for very long before wiping it away, and I only did one coat- I loved the somewhat wild look of the PB version and this was an straightforward way to get a similar look.
After the stain was dry, I installed the drawer pulls. They were the well fitted finishing touch! I plan to also apply some dark wax later on to finish it off.
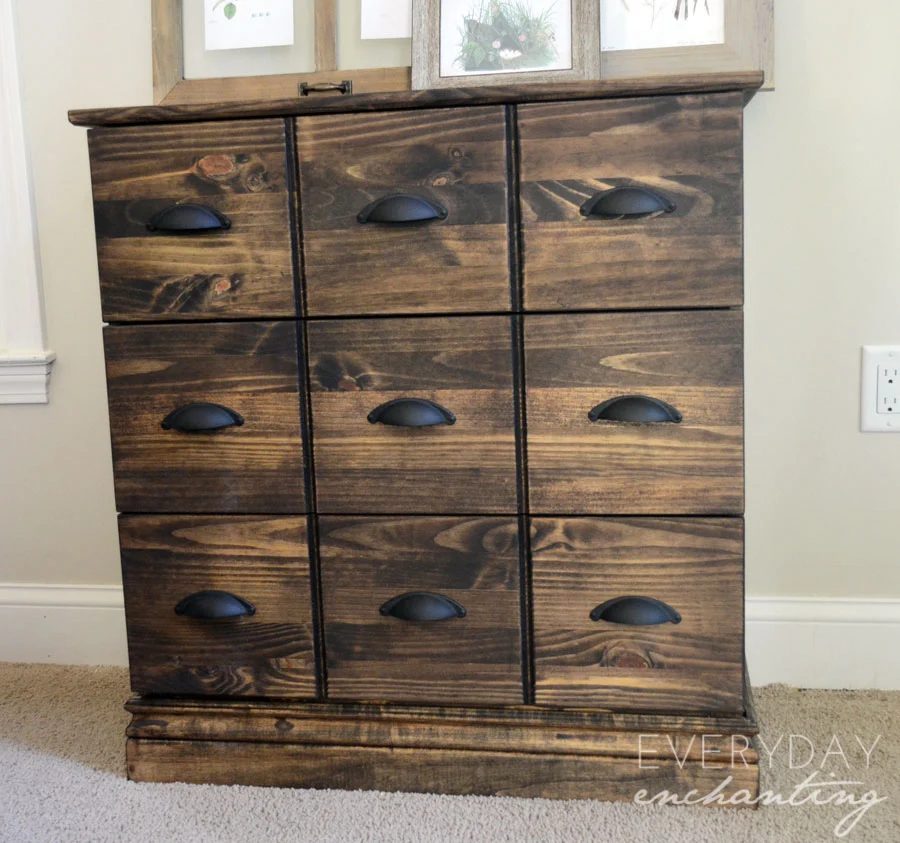
I honestly love it even more than the inspiration photo! It will be used in our living room for storing DVDs, Wii Games, and board games.
Project Breakdown:
Time: approx. 3 hours including assembly (with drying times in between)
Cost: Approx. $121.50
$80 Ikea Tarva
$10 Trim
$ 31.50 Hardware
(Stain, sandpaper, wood filler, and router bit were on hand.)
———————————————
Try these other IKEA hacks to get a designer look at a discount price!
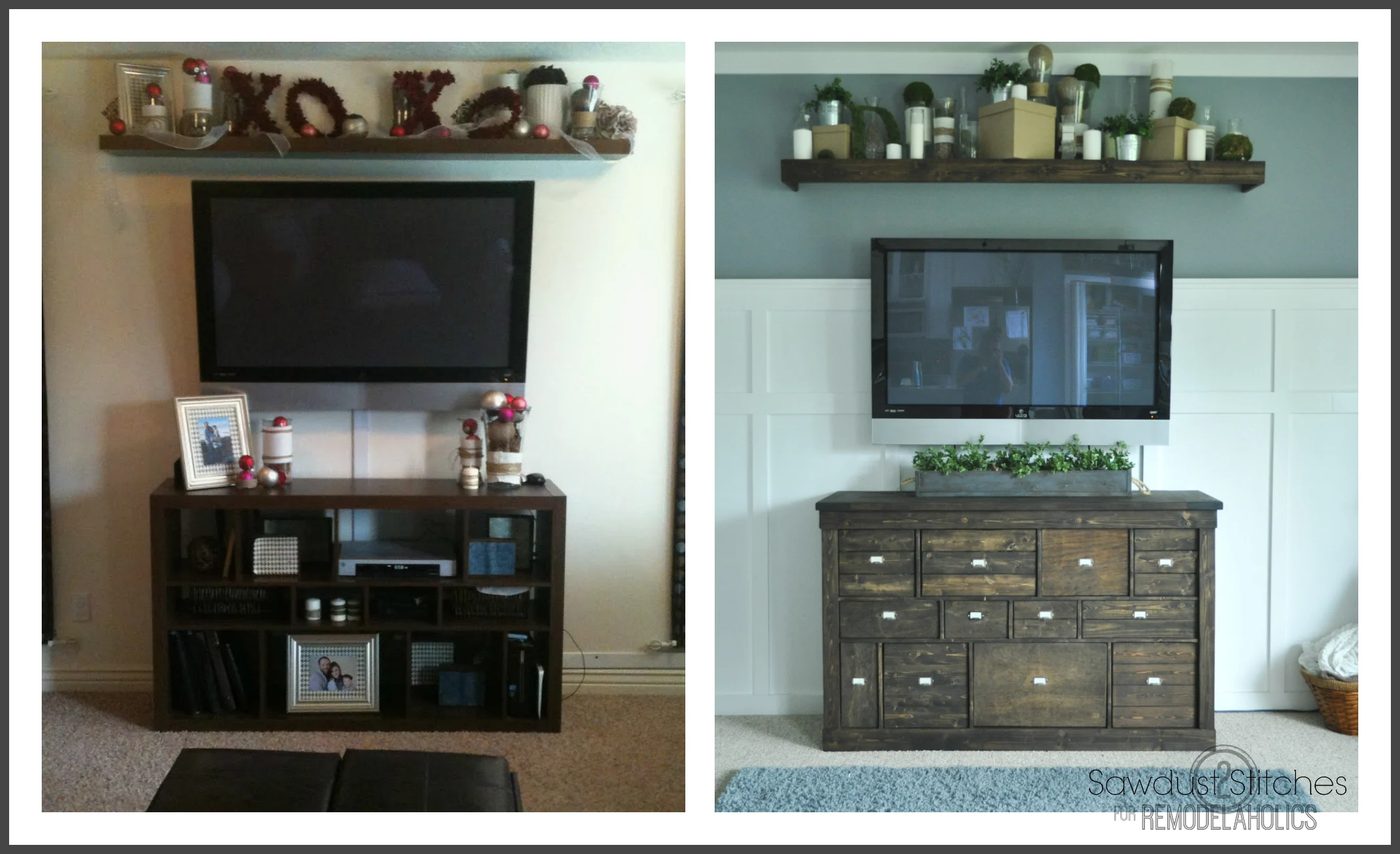
IKEA to Pottery Barn Media Center