
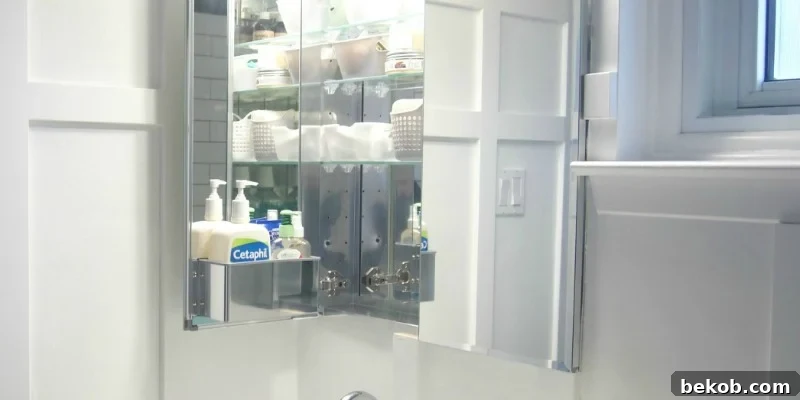
Maximize Your Bathroom Space: A Step-by-Step Guide to Installing a Recessed Medicine Cabinet
Hello Remodelaholics! Are you looking to optimize your bathroom space and add a touch of elegance? One of the most effective ways to achieve this is by installing a recessed medicine cabinet. This project not only enhances storage but also creates a cleaner, more spacious feel in your bathroom. In this comprehensive guide, we’ll walk you through the process of installing a recessed medicine cabinet, step by step.
A recessed medicine cabinet is an excellent solution for smaller bathrooms where every inch counts. By integrating the cabinet into the wall, you free up valuable surface area and create a seamless, built-in look. Unlike surface-mounted cabinets that protrude into the room, recessed models sit flush with the wall, providing a sleek and modern appearance.
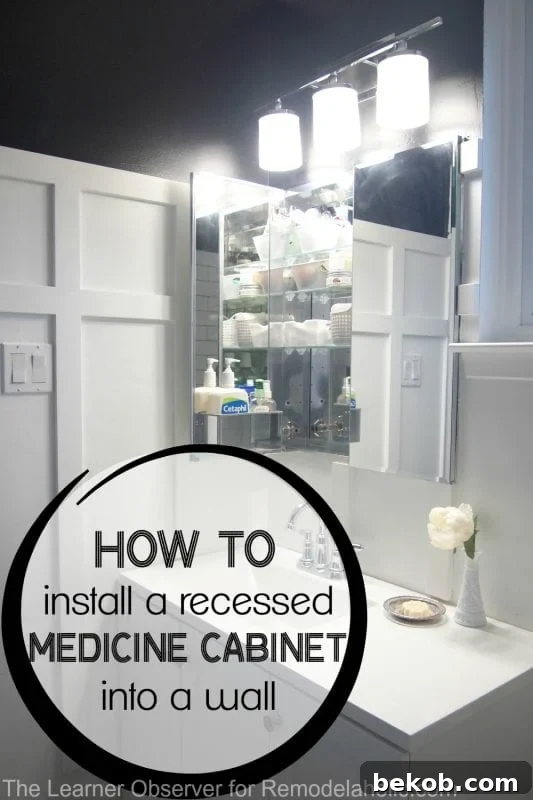
While it might seem daunting, installing a recessed medicine cabinet is a manageable DIY project with the right tools and instructions. Let’s dive into the details!
Why Choose a Recessed Medicine Cabinet?
Before we get started, let’s explore the benefits of opting for a recessed medicine cabinet:
- Space Saving: Recessed cabinets maximize your bathroom’s usable space by sitting flush against the wall.
- Aesthetic Appeal: They offer a clean, integrated look that complements various bathroom styles.
- Increased Storage: Provides ample storage for toiletries and medications, keeping your countertop clutter-free.
- Enhanced Functionality: Improves the overall organization and efficiency of your bathroom.
Tools and Materials You’ll Need
To ensure a smooth installation, gather the following tools and materials:
- Mirrored medicine cabinet (choose a recessed model)
- Jigsaw
- Drywall saw
- Reciprocating saw (optional but helpful)
- Impact driver and drill
- Wood chisel
- Insulation (if needed, especially for exterior walls)
- Staple gun
- 2″ wood screws
- 2×4″ pieces of wood (may be needed for support)
- Measuring tape
- Pencil
- Safety glasses
- Dust mask
- Level
Step-by-Step Installation Guide
Follow these detailed steps to install your recessed medicine cabinet:
1. Preparation and Planning
Before you start cutting into your wall, careful planning is essential. Measure the dimensions of your medicine cabinet’s back. Add approximately 1/4″ to these measurements to create a slightly larger opening in the wall. This extra space will allow for easier installation and adjustments.
Use a stud finder to locate the wall studs in the area where you plan to install the cabinet. It’s crucial to ensure that the placement of the cabinet won’t interfere with any electrical wiring or plumbing. If necessary, consult with a professional electrician or plumber before proceeding.
2. Cutting the Drywall
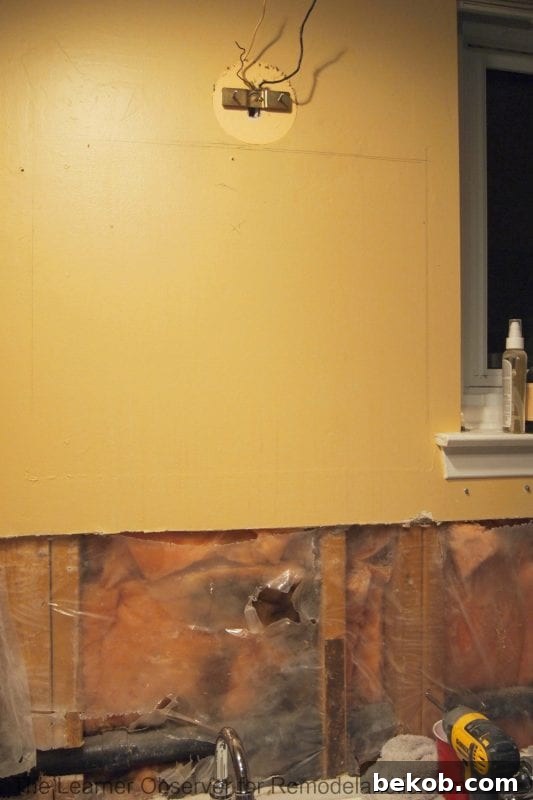
Once you have your measurements, mark the outline of the opening on the wall using a pencil. Use a drywall saw to carefully cut along the marked lines. Take your time and avoid applying too much pressure to prevent damaging the surrounding drywall.
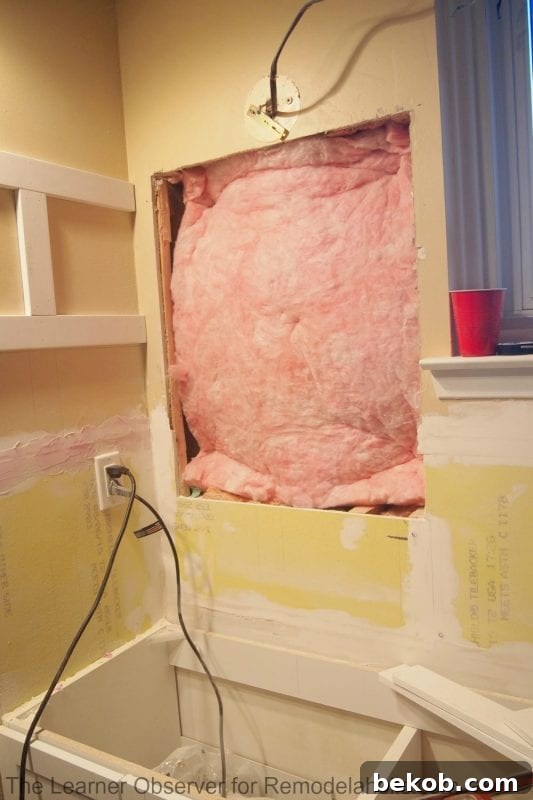
After cutting, remove the drywall piece and inspect the cavity. Check for any obstructions like wiring, plumbing, or insulation. If you encounter any, address them before moving forward.
3. Cutting the Studs (If Necessary)
In most cases, you’ll need to cut one or more wall studs to create enough space for the medicine cabinet. Use a reciprocating saw or jigsaw to cut the studs. Ensure that you are cutting only the necessary portion of the studs and that you leave enough of the studs intact for structural support.
If you remove a significant portion of a stud, reinforce the surrounding structure by adding horizontal support pieces, often called headers and footers. These are typically made from 2×4″ lumber and are installed above and below the opening to distribute the load.
4. Creating Support Structure
Depending on the size and weight of your medicine cabinet, you may need to add additional support. Use 2×4″ lumber to create a frame around the inside of the opening. This frame will provide a solid surface for attaching the cabinet and ensure that it is securely mounted.
Attach the frame to the existing studs using wood screws. Make sure the frame is level and flush with the wall surface to ensure a seamless installation.
5. Installing Insulation
If your medicine cabinet is on an exterior wall, it’s important to install insulation behind it. This will help prevent heat loss and condensation. Cut the insulation to fit the space and secure it with a staple gun.
6. Dry Fit and Adjustments
Before permanently installing the medicine cabinet, do a dry fit to ensure it fits properly in the opening. Make any necessary adjustments to the opening or support structure. This is the time to identify and correct any issues before they become more difficult to resolve.
7. Securing the Medicine Cabinet
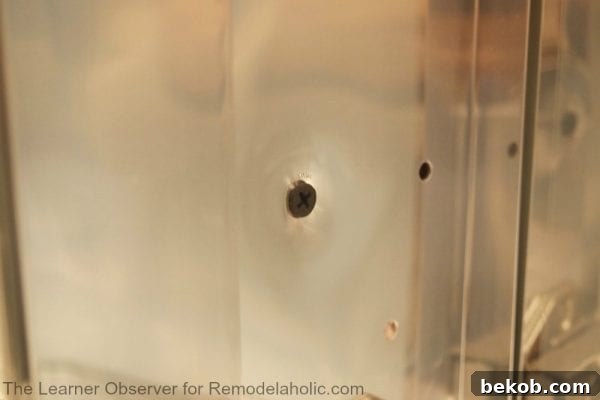
Once you’re satisfied with the fit, it’s time to secure the medicine cabinet to the wall. Most recessed medicine cabinets have pre-drilled holes for mounting. Align the cabinet in the opening and use wood screws to attach it to the support frame.
Ensure that the cabinet is level and flush with the wall surface. Use shims if necessary to achieve a perfect alignment.
8. Finishing Touches
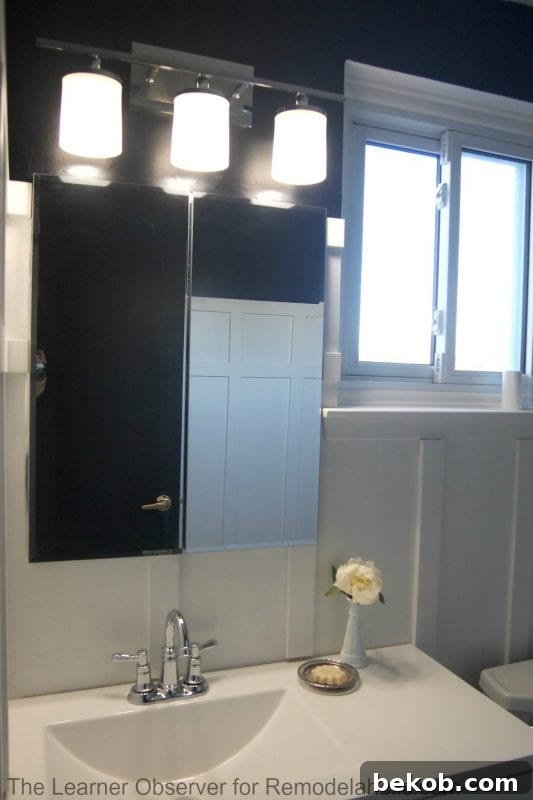
After the medicine cabinet is securely installed, it’s time to add the finishing touches. Fill any gaps around the cabinet with caulk to create a seamless look. You can also add trim around the cabinet to further enhance its appearance.
Clean the mirror and interior shelves, and then organize your toiletries and medications inside the cabinet. Step back and admire your handiwork!
Tips for a Successful Installation
Here are some additional tips to ensure a successful recessed medicine cabinet installation:
- Safety First: Always wear safety glasses and a dust mask when cutting drywall and wood.
- Accurate Measurements: Double-check your measurements before cutting to avoid costly mistakes.
- Proper Support: Ensure that the cabinet is adequately supported to prevent it from sagging or pulling away from the wall.
- Professional Help: If you’re not comfortable working with electrical wiring or plumbing, consult with a qualified professional.
- Read Instructions: Always refer to the manufacturer’s instructions for specific installation guidelines.
Alternative Wall Storage Ideas
If a recessed medicine cabinet isn’t the right fit for your bathroom, here are some alternative wall storage ideas to consider:
In-Wall Shelves
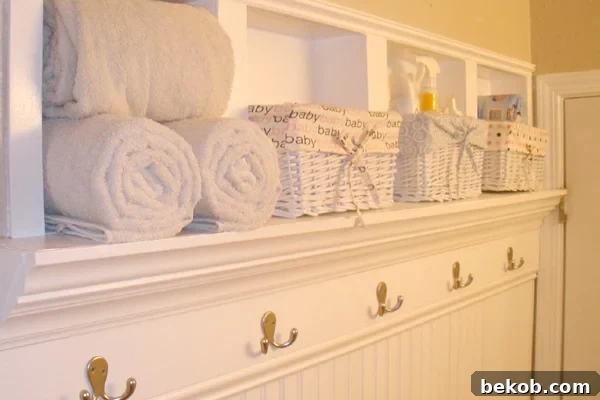
In-wall shelves are a great way to add storage without taking up valuable floor space. They can be customized to fit any size or shape and can be used to display decorative items or store toiletries.
Floating Shelves
Floating shelves are a stylish and versatile storage solution. They can be easily installed on any wall and provide a convenient place to store towels, toiletries, or decorative items.
Over-the-Toilet Storage
Over-the-toilet storage units are designed to fit above the toilet, maximizing unused vertical space. They typically include shelves or cabinets for storing toiletries and other bathroom essentials.
Wall-Mounted Cabinets
Wall-mounted cabinets are a traditional storage solution that can be customized to fit any bathroom style. They come in a variety of sizes and finishes and can be used to store a wide range of items.
Conclusion
Installing a recessed medicine cabinet is a rewarding DIY project that can significantly enhance the functionality and aesthetics of your bathroom. By following these step-by-step instructions and tips, you can successfully install a recessed medicine cabinet and enjoy the benefits of increased storage and a cleaner, more organized bathroom.
Remember to take your time, prioritize safety, and don’t hesitate to seek professional help if needed. With a little effort, you can transform your bathroom into a more comfortable and efficient space.
Do you have any questions about installing a recessed medicine cabinet? Share your thoughts and experiences in the comments below!