
This post contains some affiliate links for your convenience. Click here to read our full disclosure policy.
I’m excited to share a recent DIY project that completely transformed a room: a painted rug! After a bit of a delay due to a persistent illness that swept through our household (yes, weeks!), I’m finally ready to show you how I added a personal touch to a new rug I bought for Etta’s room. Let’s dive into the process of creating a custom rug that perfectly complements your space and reflects your unique style. We will cover everything from selecting the right rug and paint to techniques for achieving crisp lines and durable results.
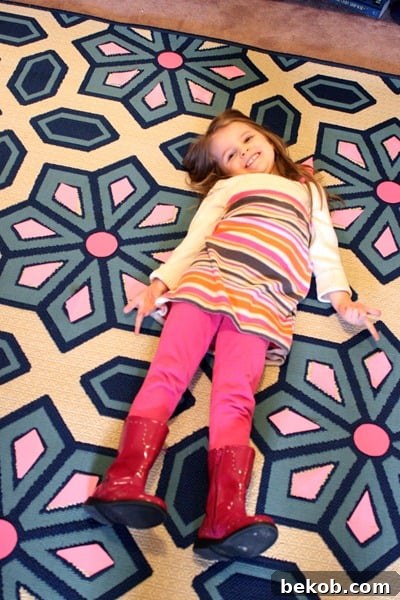
The starting point was a fantastic 6’7” x 9’6” indoor/outdoor rug that I envisioned in Etta’s pink and navy room. It was an absolute steal at only $124 with free shipping from Wayfair. If you’re interested in a similar rug, you can find it here: Oriental Weavers, Caspian Ivory and Blue Rug. However, there was one small issue: it lacked any pink accents. That’s where the DIY magic came in! I decided to infuse the rug with the perfect shades of pink to tie the whole room together.
The idea of painting rugs isn’t new. There are tons of inspiring DIY painted rug projects out there. I’ve even featured some amazing tutorials from other talented bloggers, and they inspired me to come up with my own twist.
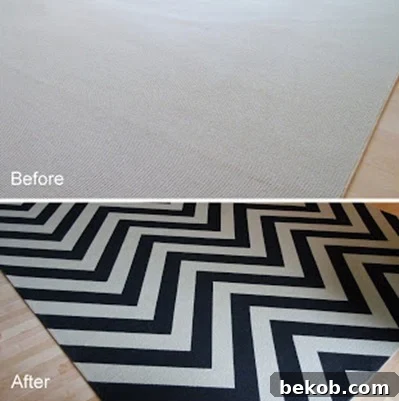
Black Chevron Stripe Painted Rug
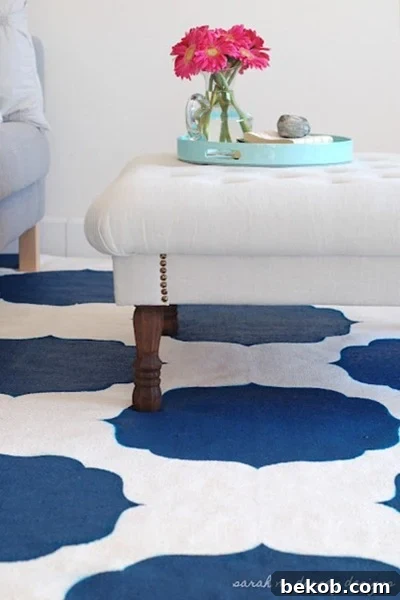
DIY Moroccan Stencil Rug
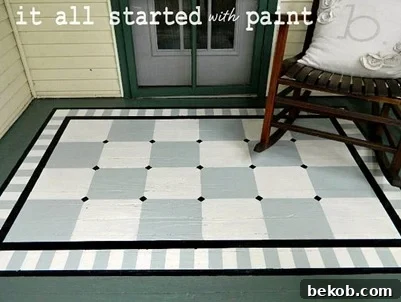
Painted Porch Rug
Painting A Rug: A DIY Tutorial
Drawing inspiration from these fantastic DIY rug transformations, I embarked on my own painting adventure. Painting on a brand new rug? It felt a little risky, but I was confident I could pull it off. Before committing to any paint, I always like to test out my ideas with paper. I do this all the time! (Remember when I was deciding whether to paint the back of my bookshelves black?).
Using paper is a great way to visualize the final result. For one thing, I have a ton of scrapbook paper that I need to use up, and secondly, it allows me to experiment with different designs without permanently altering the rug.
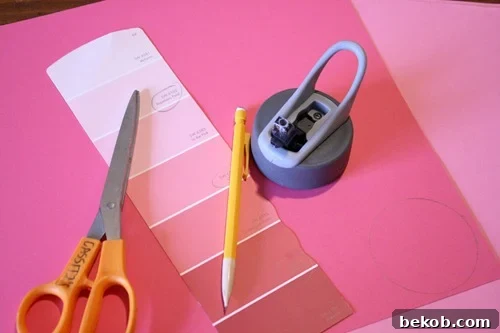
So, I started with some high-tech supplies… okay, maybe not. I drew a circle, folded the paper three times, and cut out four identical shapes at once. Then, I used one of those shapes as a template for the rest. Simple and effective!
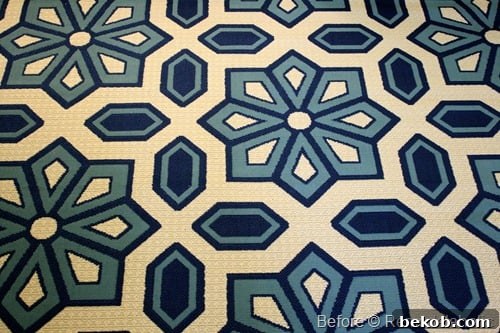
Initially, I experimented with just adding pink to the center of the flower (or snowflake, depending on your perspective) design on the rug.
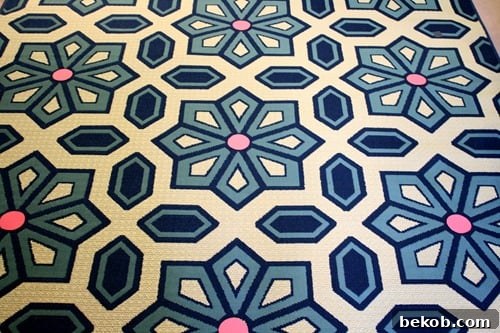
Next, I tried filling in the petals with a second shade of pink, and I thought it looked even cuter!
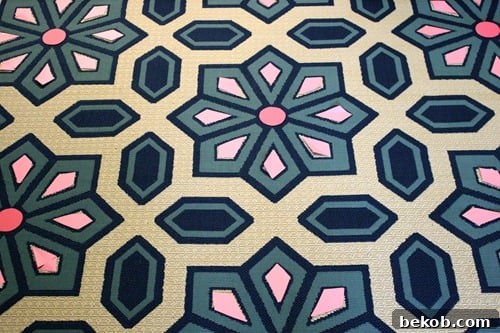
Here you can see the comparison: one side with just the centers painted and the other side with the petals filled in as well:
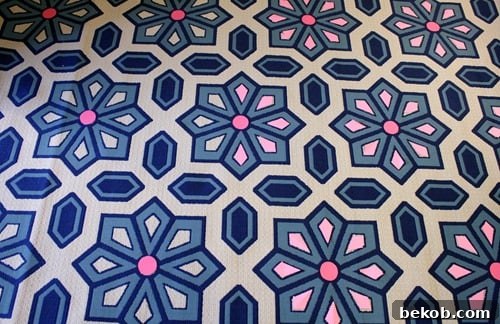
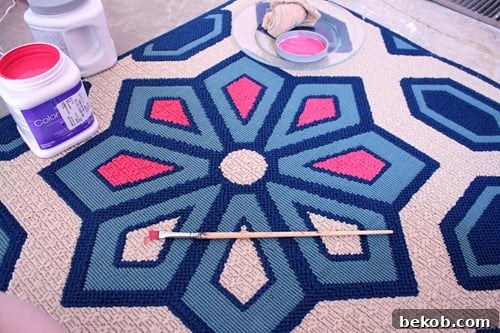
Once I had a clear idea of what I wanted, I gathered my painting supplies and braced myself for the somewhat tedious process. I did end up switching the colors from my paper version, opting for dark petals and light centers. This turned out to be a great choice (something I wouldn’t have known beforehand) because the lighter colored paint dried slightly stiffer to the touch. The darker, coral paint remained soft. Since the white paint was only used in small areas, it worked out perfectly.
*Important note: The looped pile of the indoor/outdoor rug makes it ideal for painting. I don’t think this technique would work well with a cut pile rug, as the paint might not adhere as effectively.
Supplies:
- Two tones of pink/coral paint:
- Sherwin-Williams SW 6582 Impatiens Pink (for the center of the flower – the same color as the walls in her room)
- Sherwin-Williams SW 6586 Heart Felt (for the petals)
- Small 1/2 inch flat paint brush
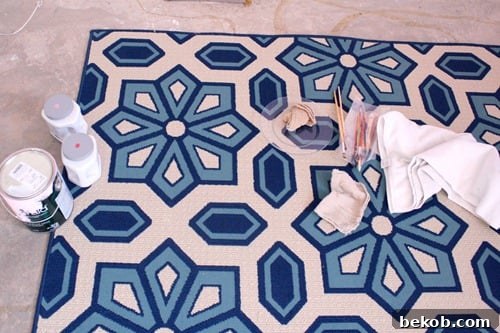
Start slowly. It took a little experimenting to get a feel for how to paint the edges neatly, but I quickly got the hang of it. Slowly start filling in the petals, making sure to work the paint down into the weave of the fibers. Applying thin coats and allowing them to dry completely between each coat will help prevent the paint from cracking or peeling later on.
*This shot (below) shows how you can easily add just a small line of another color to subtly incorporate that color into your rug.
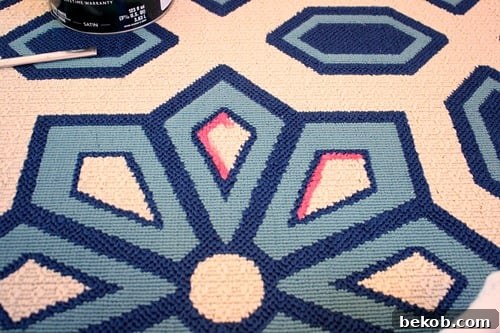
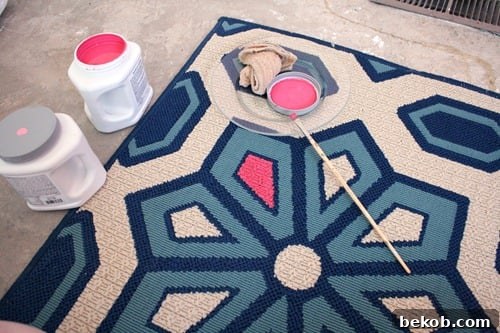
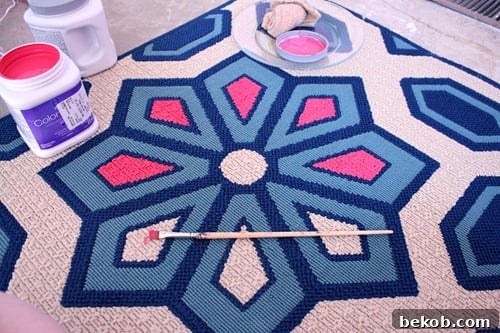
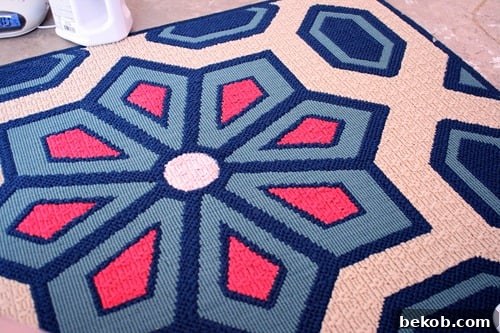
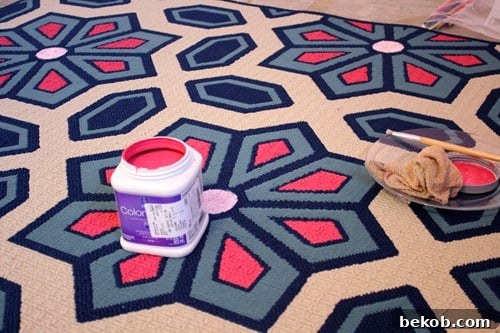
Almost done…
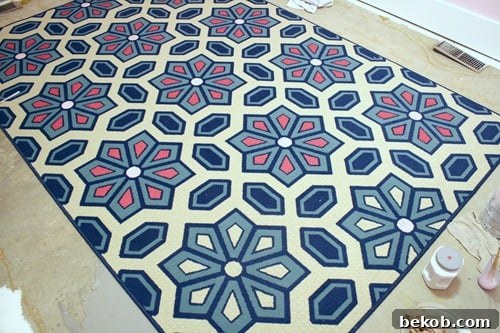
And done… with the rug, at least! There are still a ton of things to do in the room (like installing the new flooring – you might have noticed I’m painting on a concrete floor). But at least one project is complete!
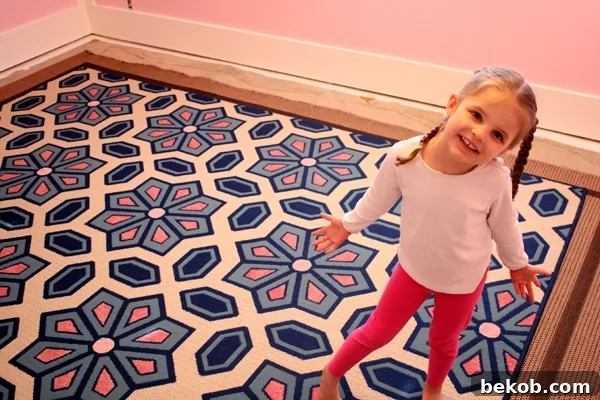
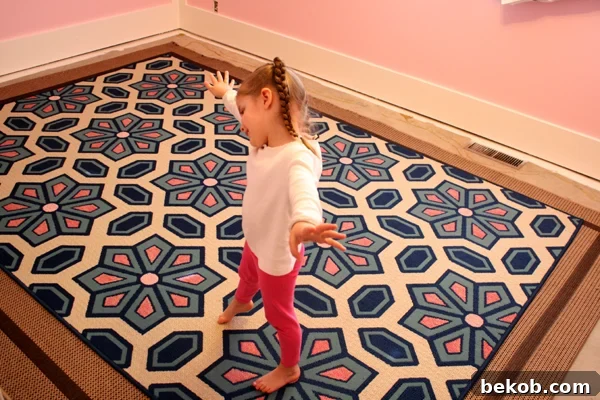
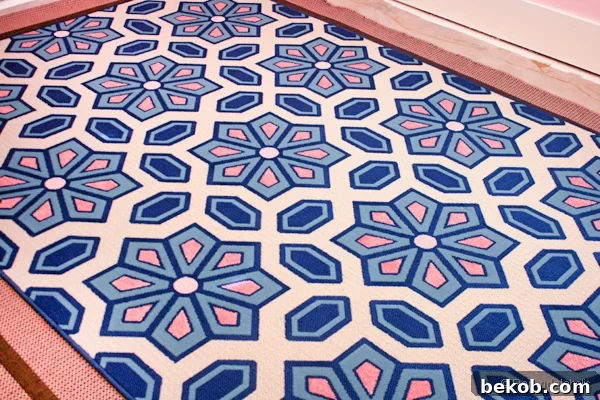
What do you think about painting a rug? Would you try it?
UPDATE: For those of you wondering how it’s held up, the answer is GREAT! Some of the darker color has faded a little bit, but there hasn’t been any peeling or flaking. A big thumbs up from me!
Painting a rug is a fantastic way to inject personality and color into any room. It’s a relatively inexpensive project that can yield stunning results. Don’t be afraid to experiment with different patterns, colors, and techniques to create a rug that is truly unique to you and your home. With a little creativity and effort, you can transform a plain rug into a statement piece that will be admired by all. Whether you choose to replicate a complex design or create a simple, minimalist pattern, the possibilities are endless. Embrace the challenge, and enjoy the process of transforming your space, one brushstroke at a time. Share your painted rug creations with us – we can’t wait to see what you come up with!
Consider these tips when planning your painted rug project:
- Choose the right rug: Opt for a rug with a relatively smooth surface and a tight weave. This will make it easier to paint and ensure that the paint adheres properly.
- Prepare the surface: Clean the rug thoroughly before painting to remove any dirt or debris. This will help the paint adhere better and prevent any unwanted textures from showing through.
- Use the right paint: Acrylic paints are generally a good choice for painting rugs, as they are durable and water-resistant. Consider using fabric paints for added flexibility and longevity.
- Seal the paint: Once the paint is dry, consider sealing it with a clear acrylic sealant to protect it from wear and tear.