The steps below follow the order of the work for this cabinet doors project.
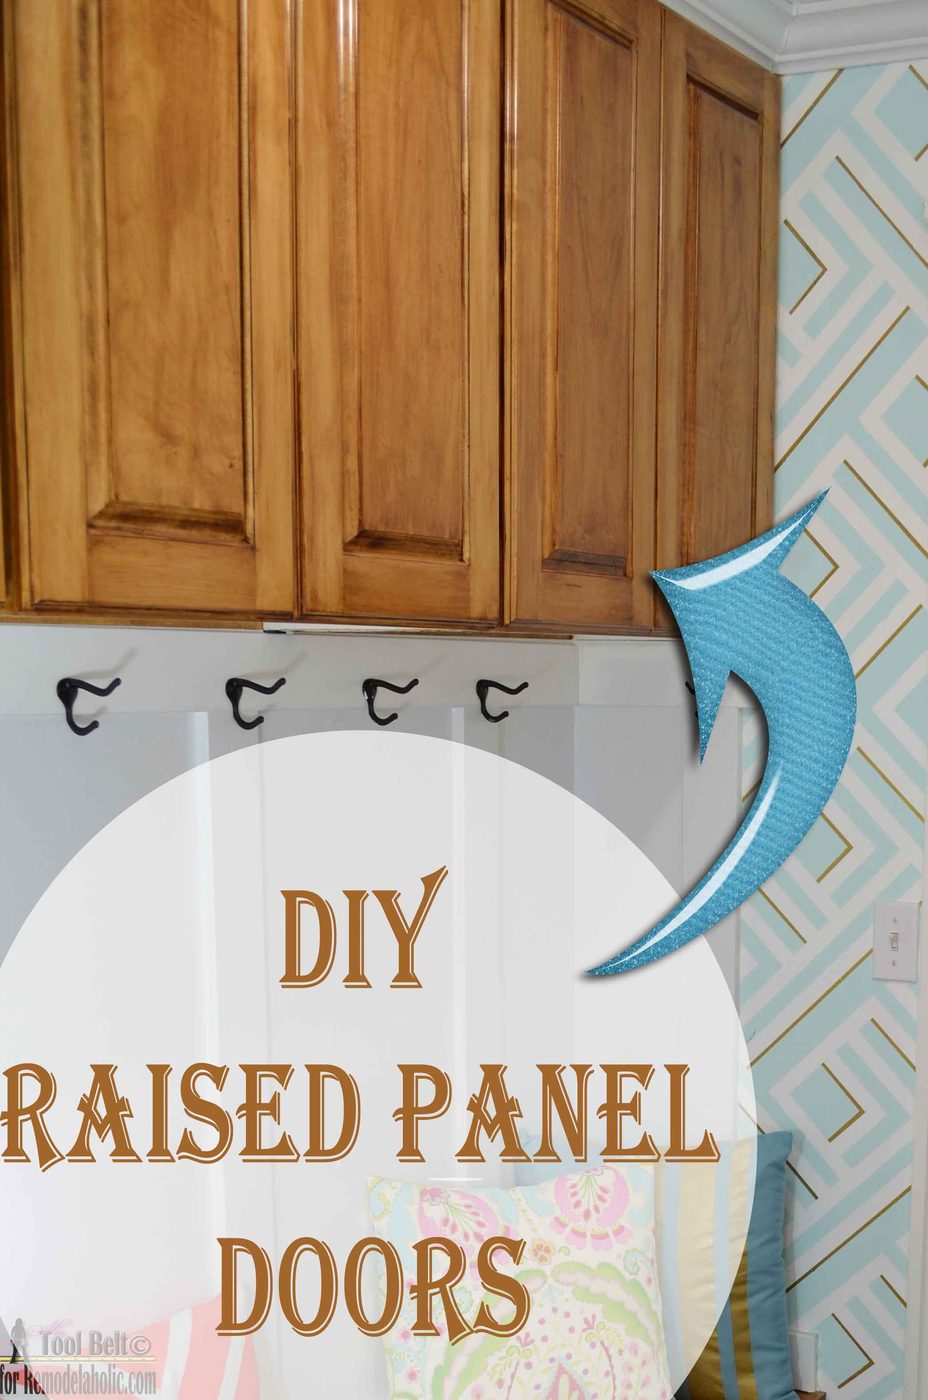
Hi it’s Amy from Hertoolbelt with another build project. Today we are talking about raised panel cabinet doors. When it comes to cabinet doors there are lots of different styles of raised panel doors to choose from: square, cathedral, arch, tombstone. You can choose different routing profiles too: standard, cove, ogee, shaker to name a few. Raised panel doors can look intimidating, but with the right tools, they are actually quite direct to make. The doors for this walkthrough are made with maple hardwood using the Square style with an Ogee panel profile.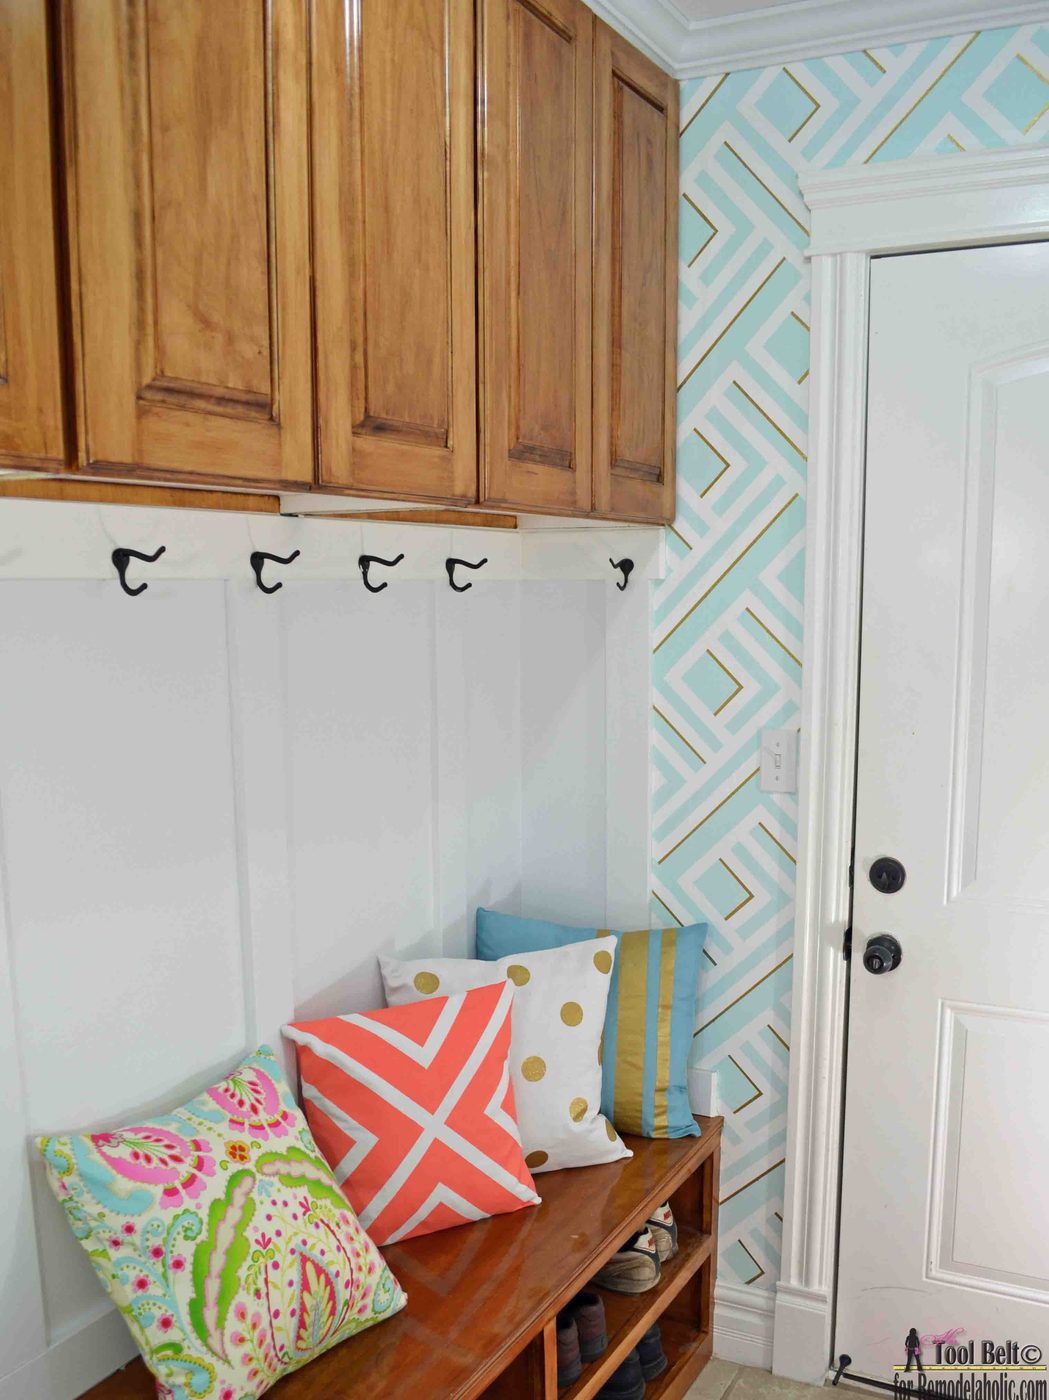
How to Build a Handmade Raised Panel Cabinet Door
Items Needed
- Wood – amount depends on your door
- Router – you need a powerful router that can take a 1/2″ collet diameter, it is also helpful to have variable speeds. (mine is a 3 1/2 hp router)
- Router Table
- Table Saw – not 100% necessary, but very handy
- Wood glue
- Wood filler
- Clamps
- Sander/paper
- Stain/top coat
Step 1 – Determine Door Size
The size of door depends on a few factors, whether the door is inset, if the door is overlay and how much, or european. For my door, I used 1 1/4″ Overlay Hinges. I measured the width and height of the cabinet opening. For the door height, I took the cabinet opening height + 1 1/4″ + 1 1/4″ so the overlay would be the same around the door. On my cabinets I have 2 doors for each cabinet body. For the door width of each door, I took the (cabinet opening width/2) + 1 1/4″.
Now that you have the overall door width and height, you need to determine how wide you want your stiles and rails. You really can do what you want, on mine I chose to do 2 3/4″.
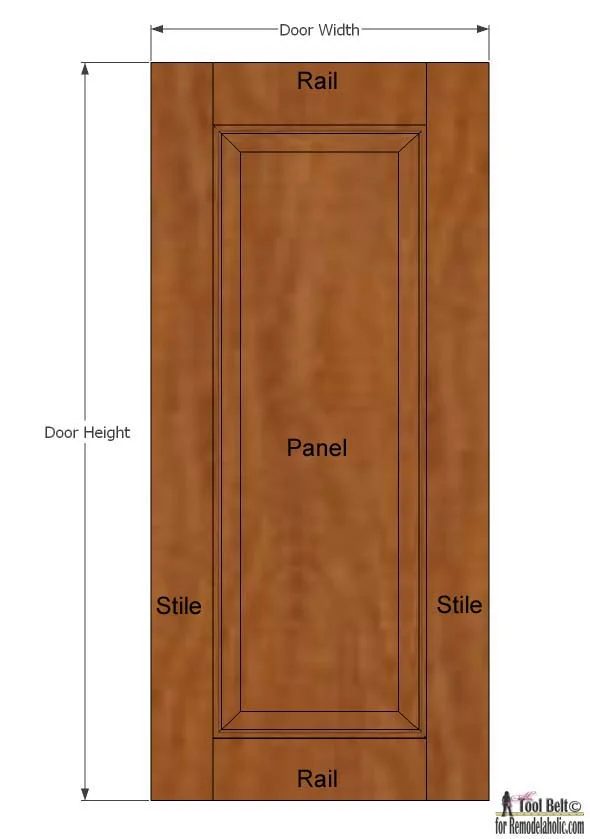
Cut list for each door:
- 2 stiles – 2 3/4″ x door height
- 2 rails – 2 3/4″ x (door width – 2*stile width + 3/4″)
- 1 panel – (door width – 2*stile width + 3/8″) x (door heigth – 2*stile width + 3/8″) the door panel needs room to expand and contract within the stiles and rails.
For my door:
- 2 stiles – 2 3/4″ x 30″
- 2 rails – 2 3/4″ x (13 3/4″ – 2*2 3/4″ + 3/4″) = 9″
- 1 panel – (13 3/4″ – 2*2 3/4″ + 3/8″) x (30″ – 2*2 3/4″ + 3/8″) = 8 5/8″ x 24 7/8″
Step 2 – Routing
You’ll need a few router bits to make the shapes for the cabinet doors, the bits are an investment, but if you plan on making a number of doors it will be worth it. You need a bit to make the profile on the panel, and a rail and stile set (on the packaging it will give you a chart to let you know what speed to set the router.)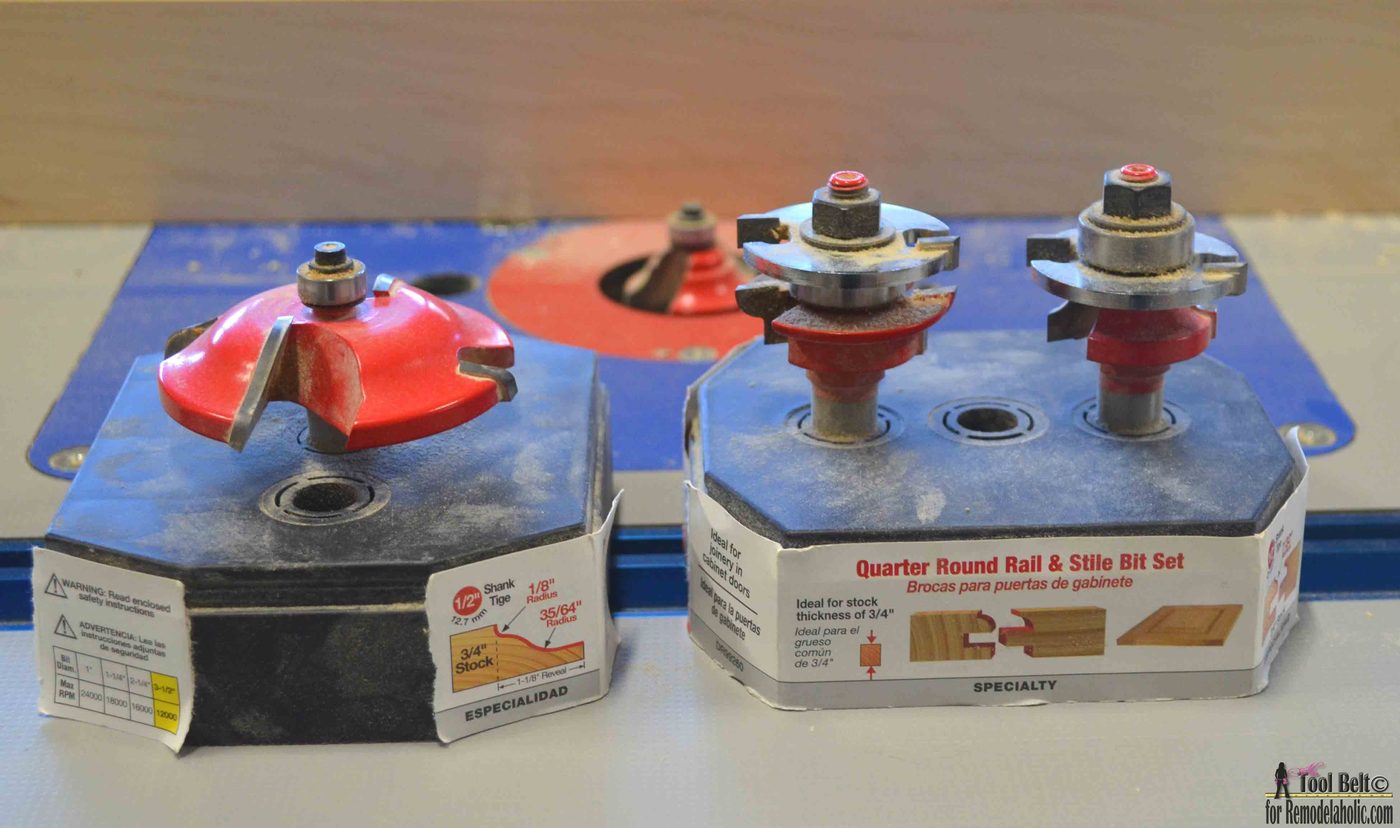 First set up the bit that will make the groove, route one side of each stile and rail. Always feed the wood against the rotation of the bit. On my router table that is from right to left.
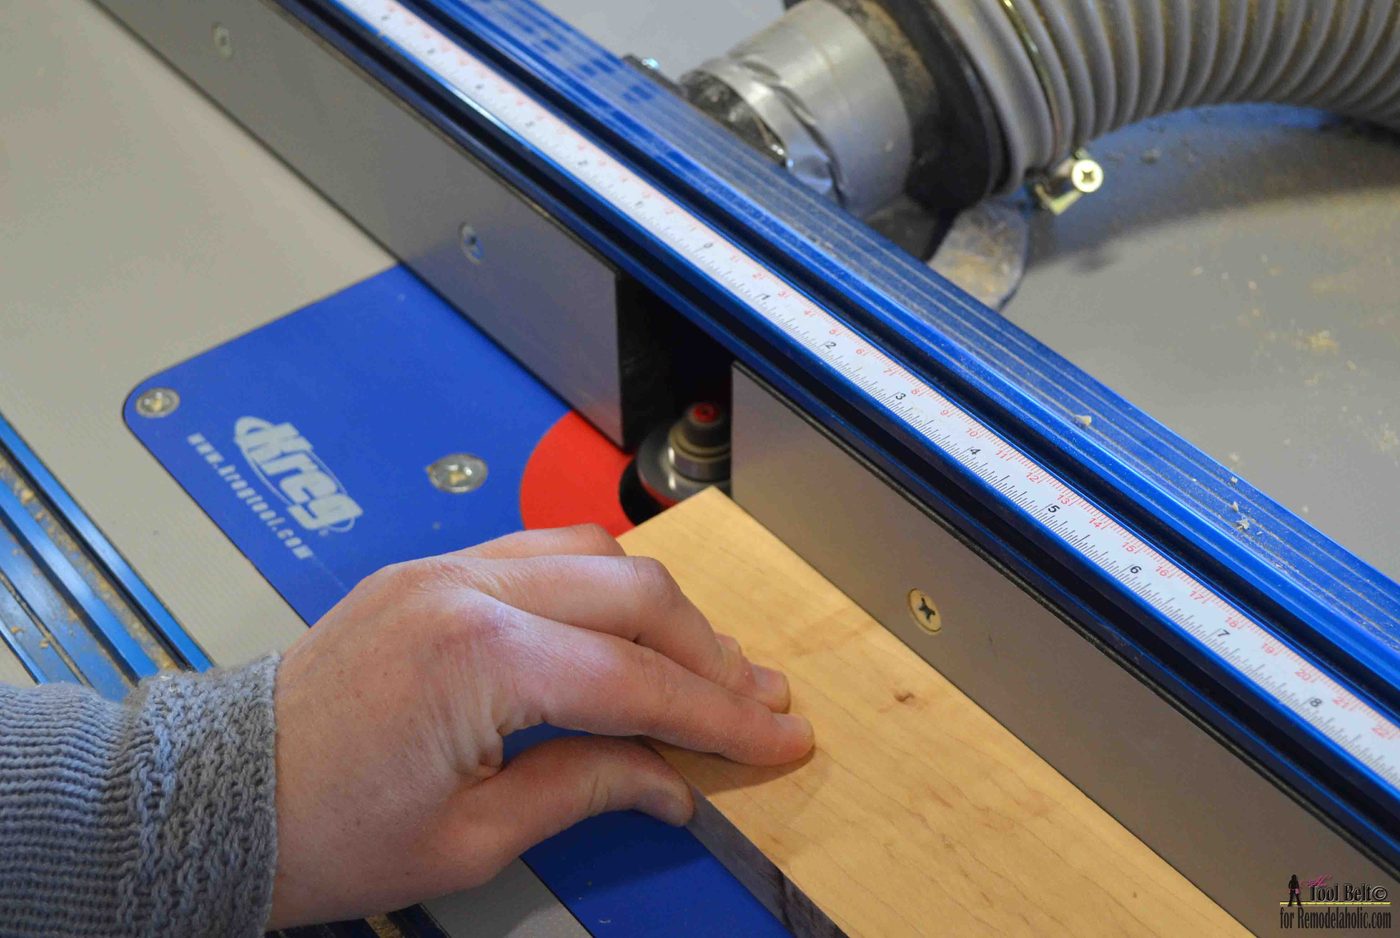 Then change the bit to the one that will make the tongue. Line up the cutters with the previously routed profile.
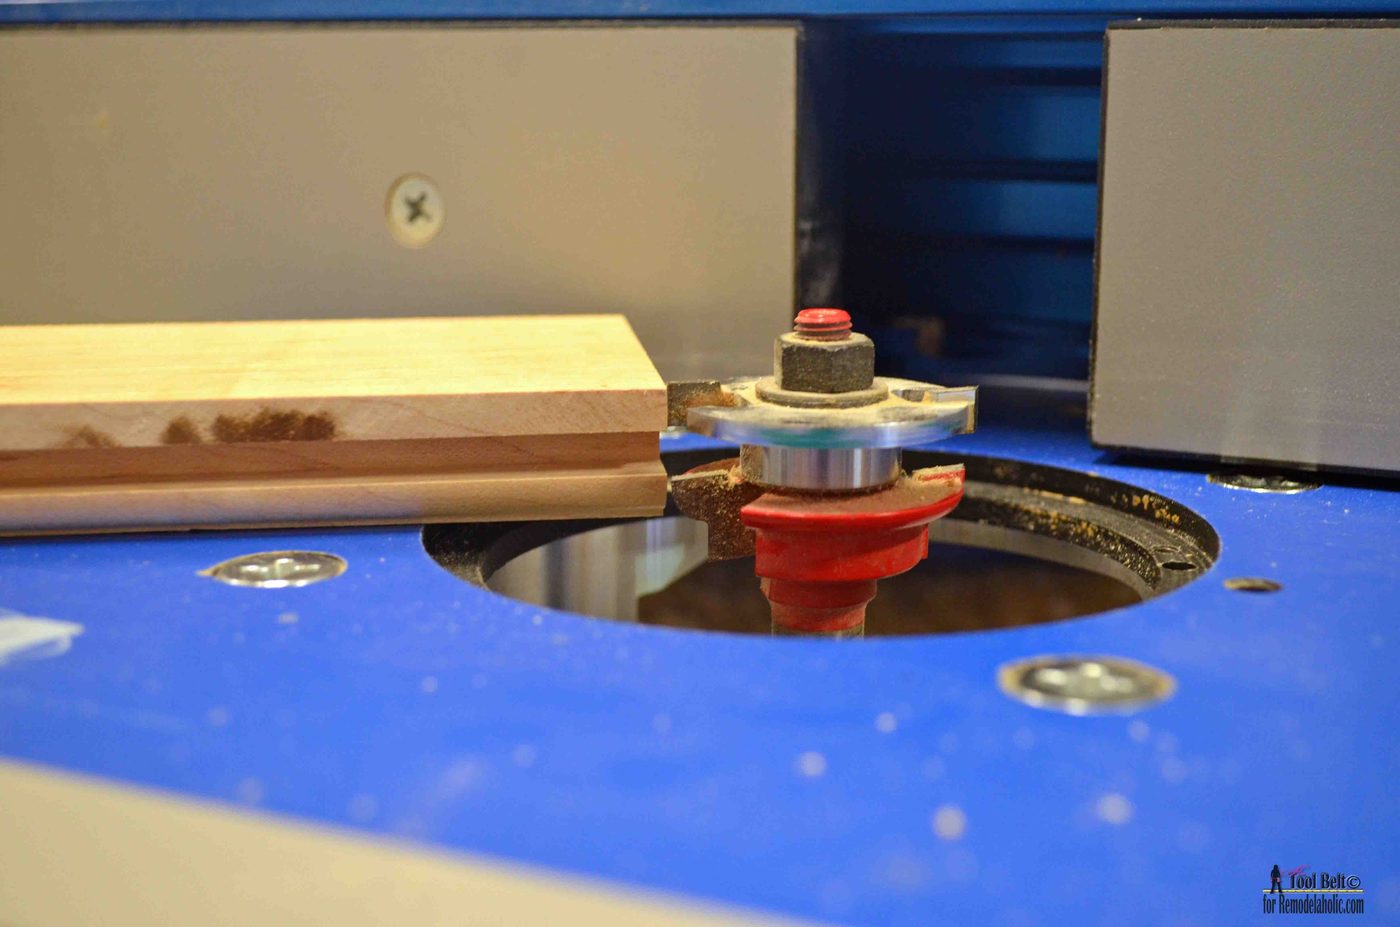 On each end of the rail pieces route the tongue groove.
 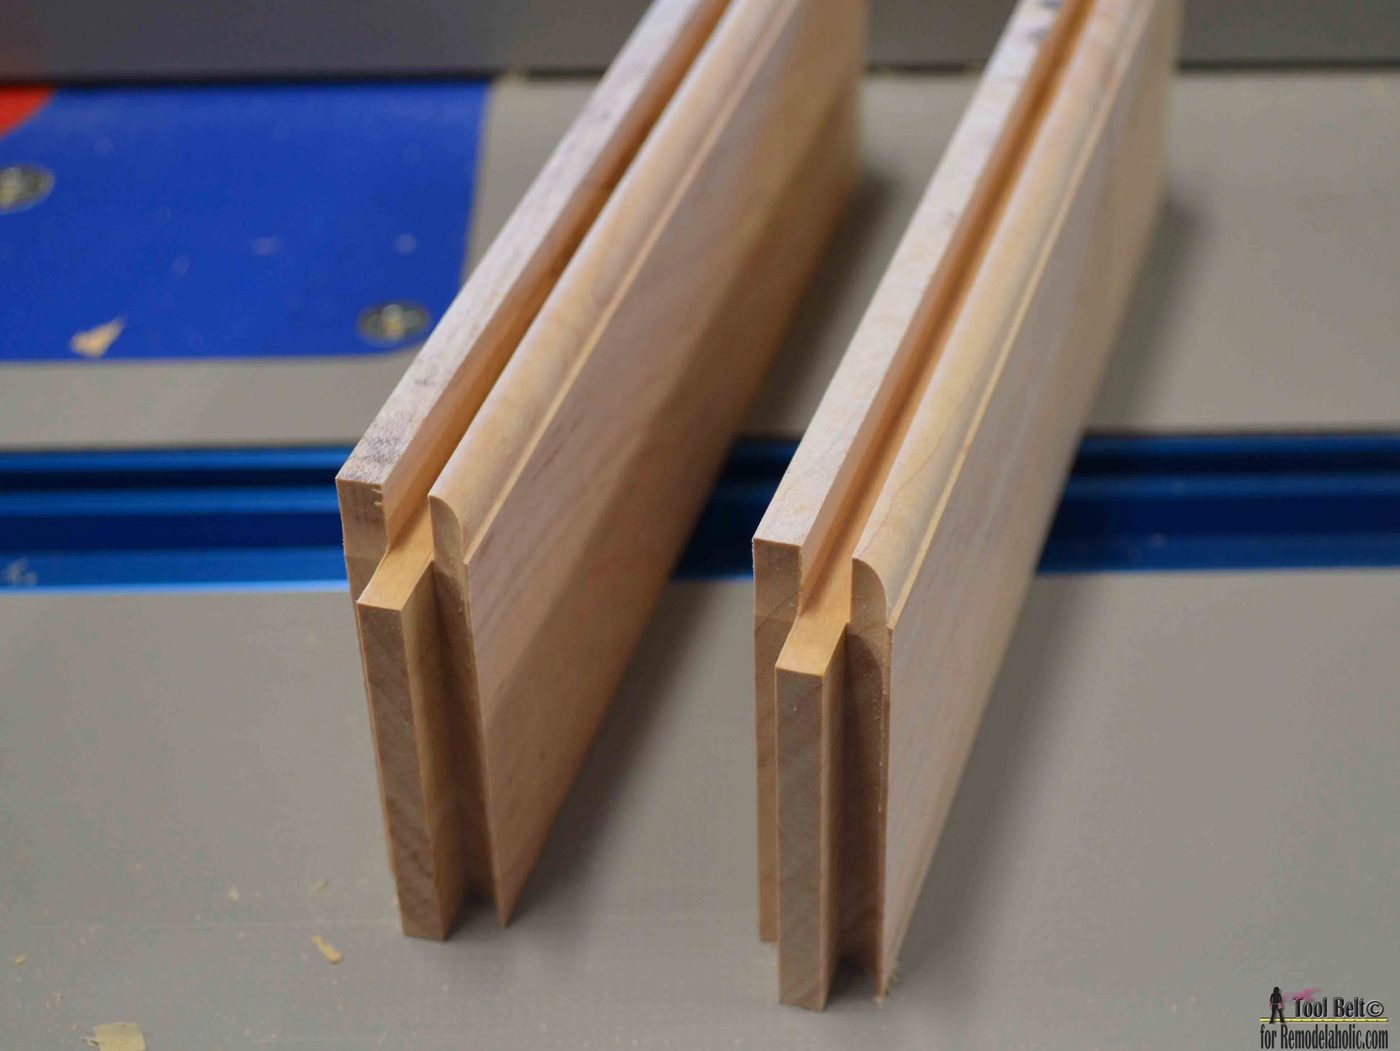 If you want your panel face close to flush with the rails and stile, you’ll need to plane the panel down to 5/8″ thick instead of 3/4″, or use a panel bit with a back cutter. I don’t mind the panel face sticking out a little, so I leave it at 3/4″ thick. Since we are removing a lot of wood with the panel groove, it’s best to route it in stages. I set the router bit fairly low and make multiple passes, raising the bit about 1/8″ at a time, less on the final passes. This will help with tear out. Always route the end grain first, then the sides. The edge of the end grain is more likely to tear out, then the routing on the side can clean up tear out. Stop routing the panel when the tongue is about 1/4″ thick and will fit in the stile and rail grooves.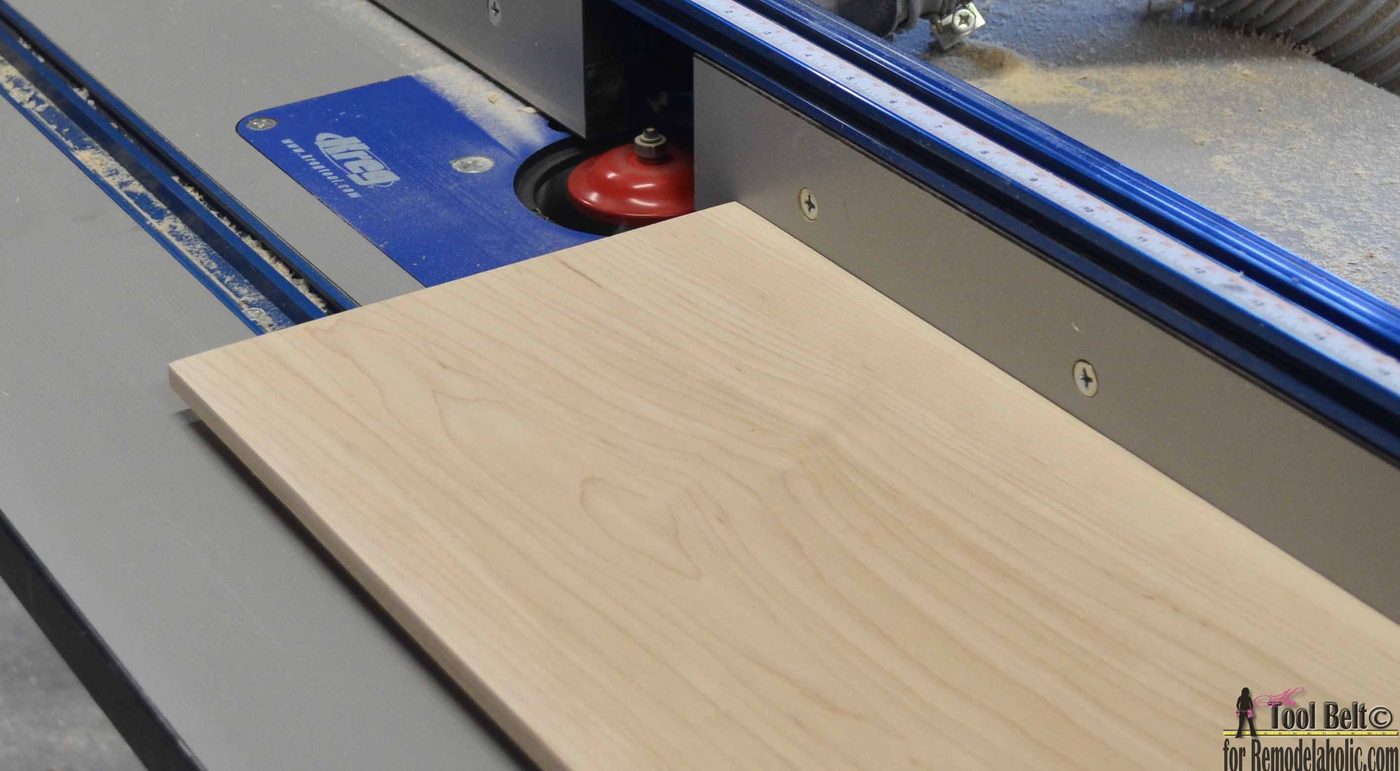
Step 3 – Assembly
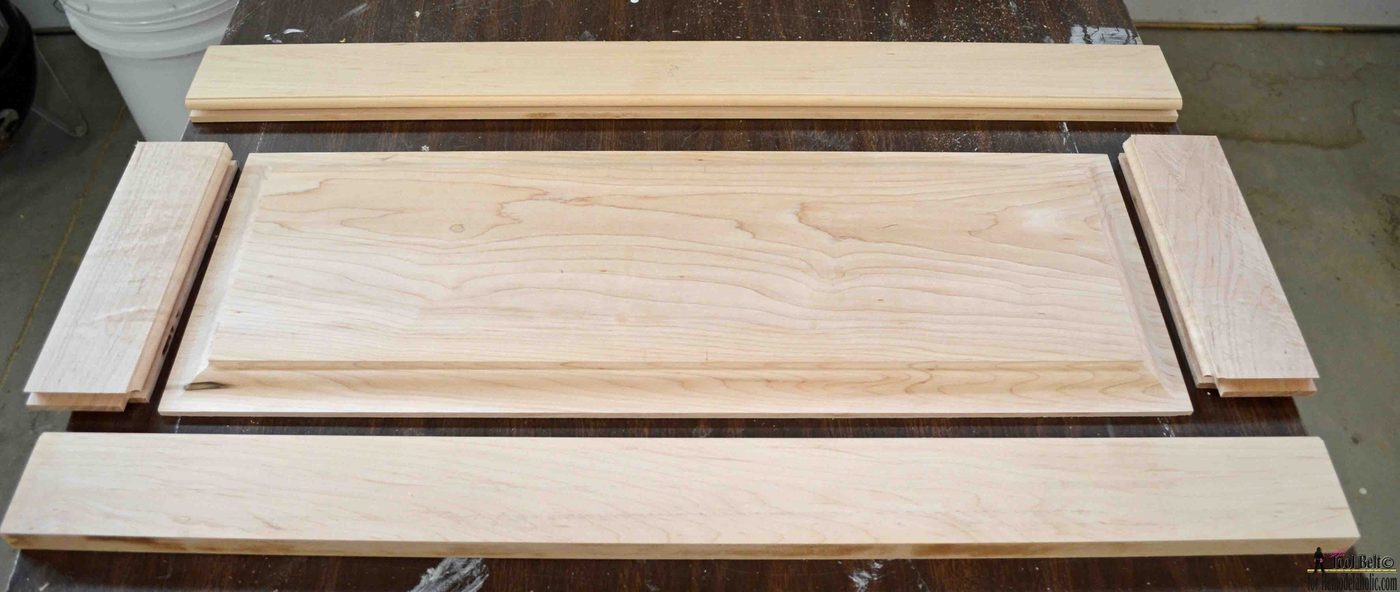
Make sure all of the pieces will fit together snuggly. The center panel needs room to expand and contract with changes in humidity, so it won’t fit tight. Sometimes people will use little foam spacers to keep the panel centered, I haven’t had to use these, but it’s an option.
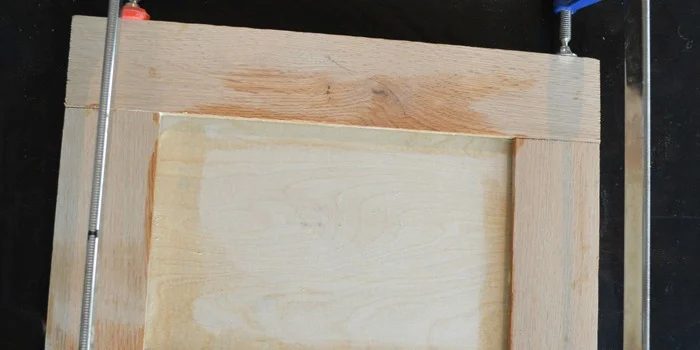
When gluing a raised panel door, you only glue the rails and styles together, and leave the panel to float. 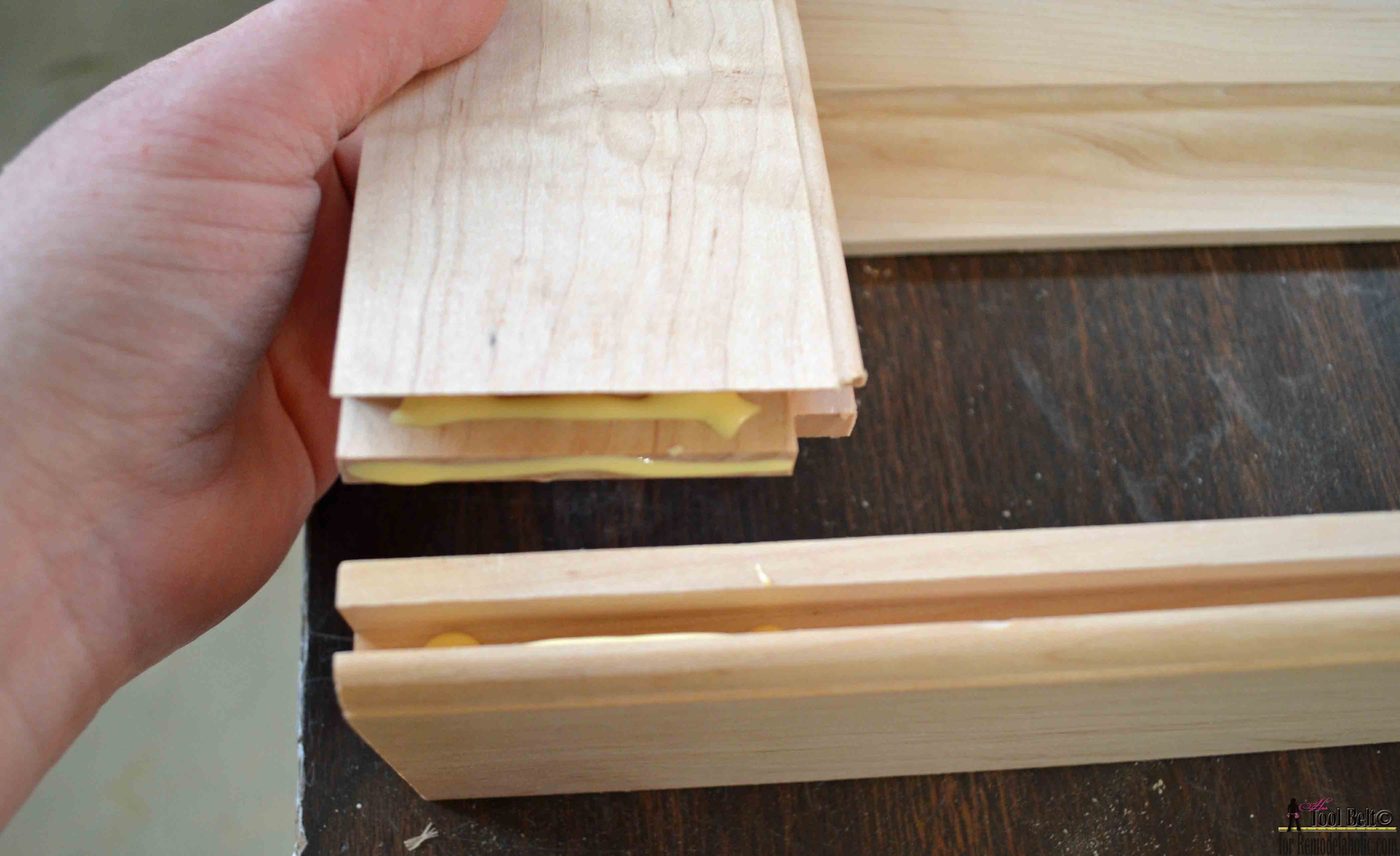 Assemble the door, and clamp tight. Check and make sure the door is square by measuring the diagonal distances of the door, they should be the same.
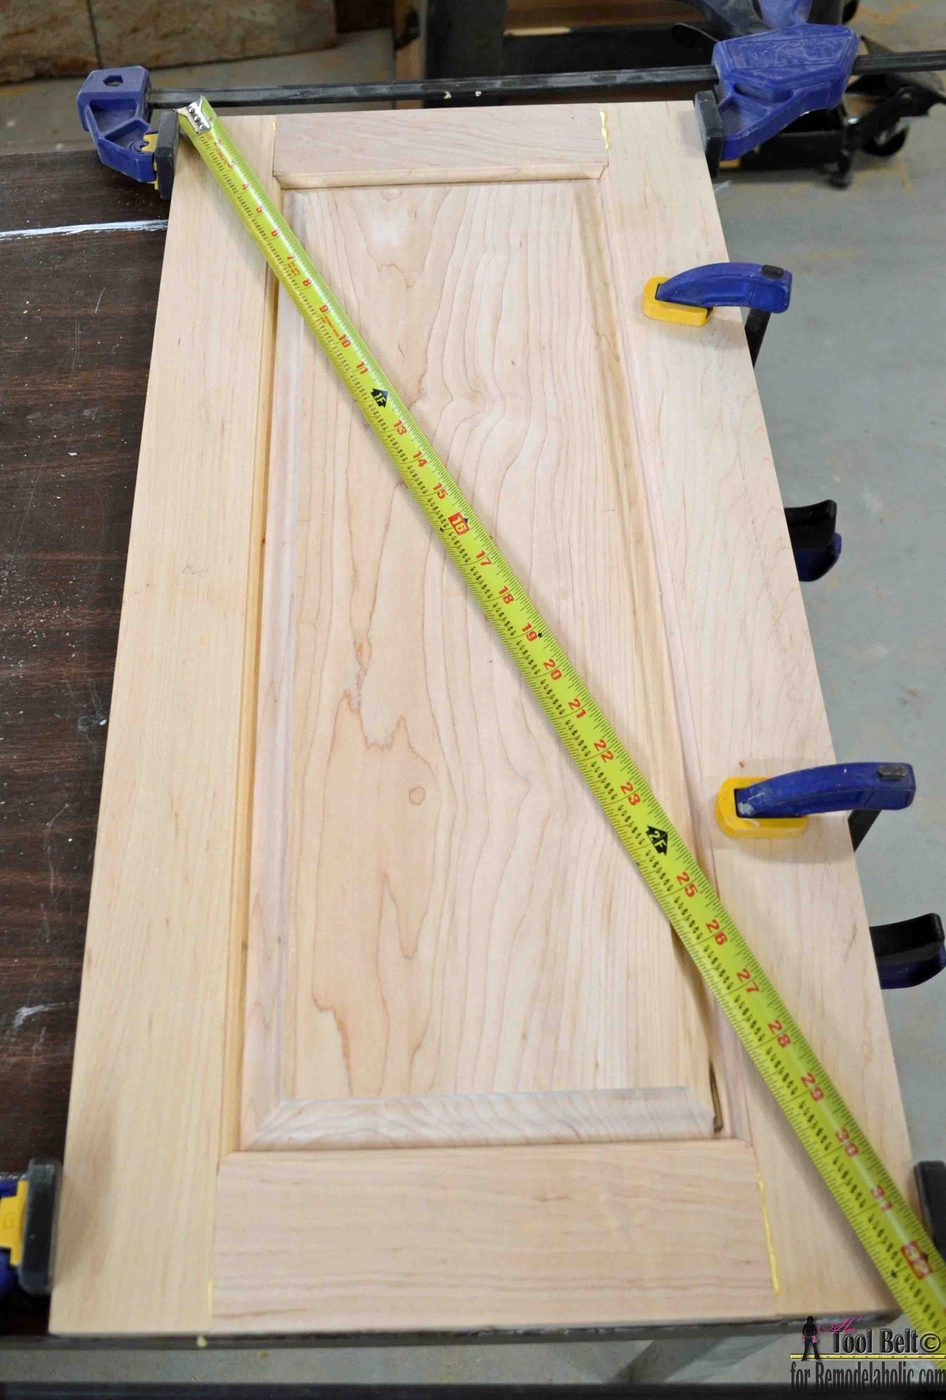 Clamp flat and allow the glue to dry.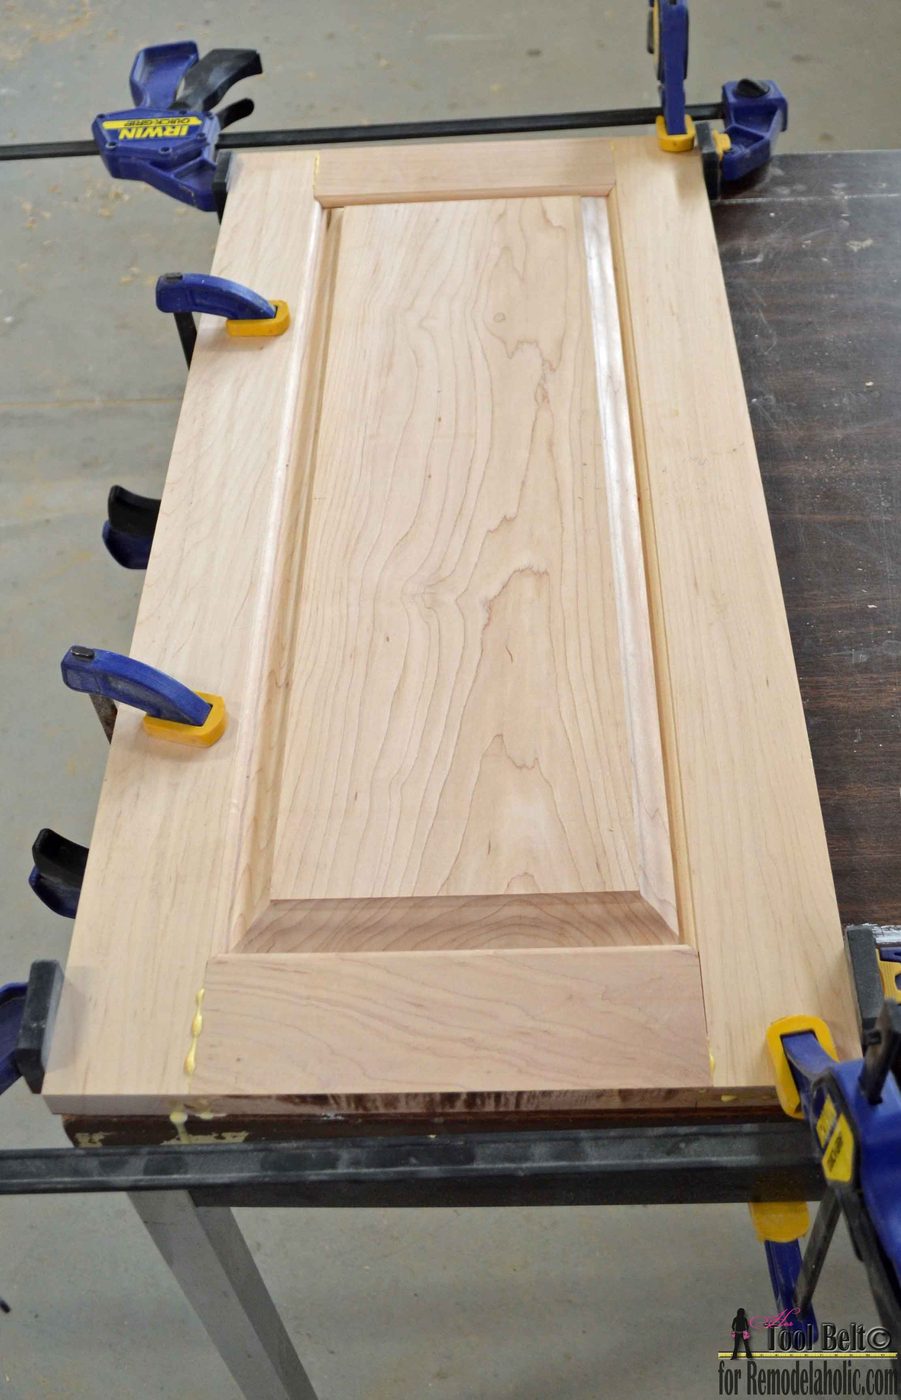
Once the glue is dry, you may want to route a decorative edge around the door. I usually do this with a handheld router. 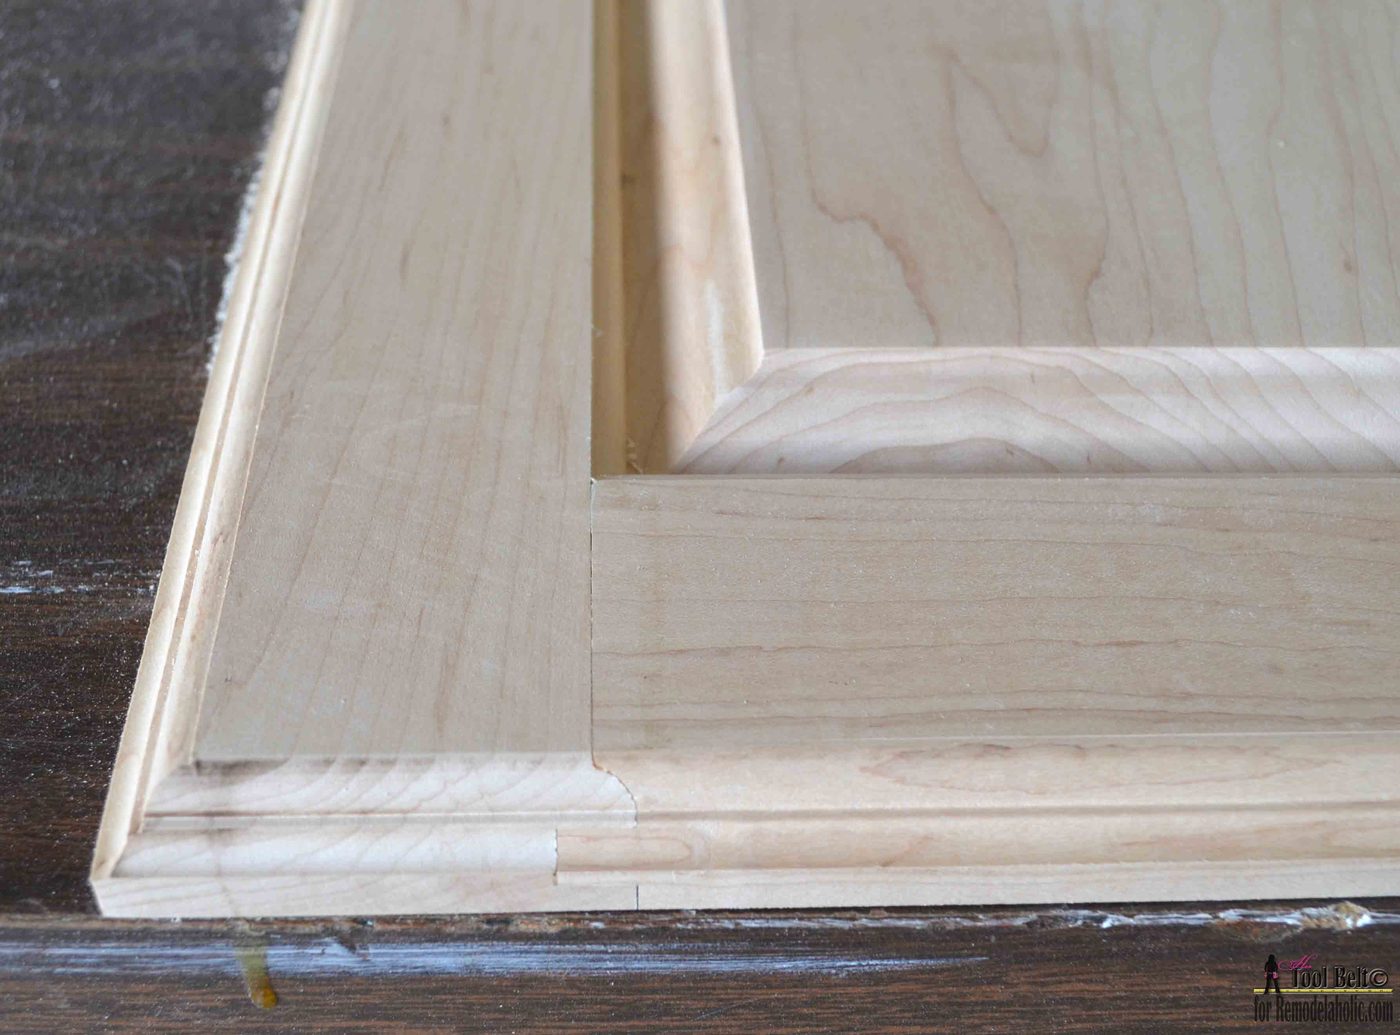
Fill any cracks or blemishes with wood filler and allow to dry. Sand the door, finishing with 120-150 grit paper in the direction of the grain. Stain the door and allow to dry, I used General Finishes Nutmeg. Coat with 1-2 coats of polyurethane and allow to fully dry. Hang your door onto your cabinet and enjoy!
look at more projects at Hertoolbelt
 |
 |
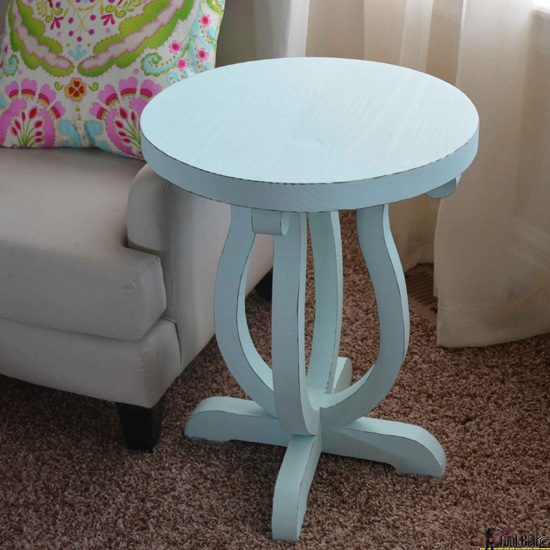 |
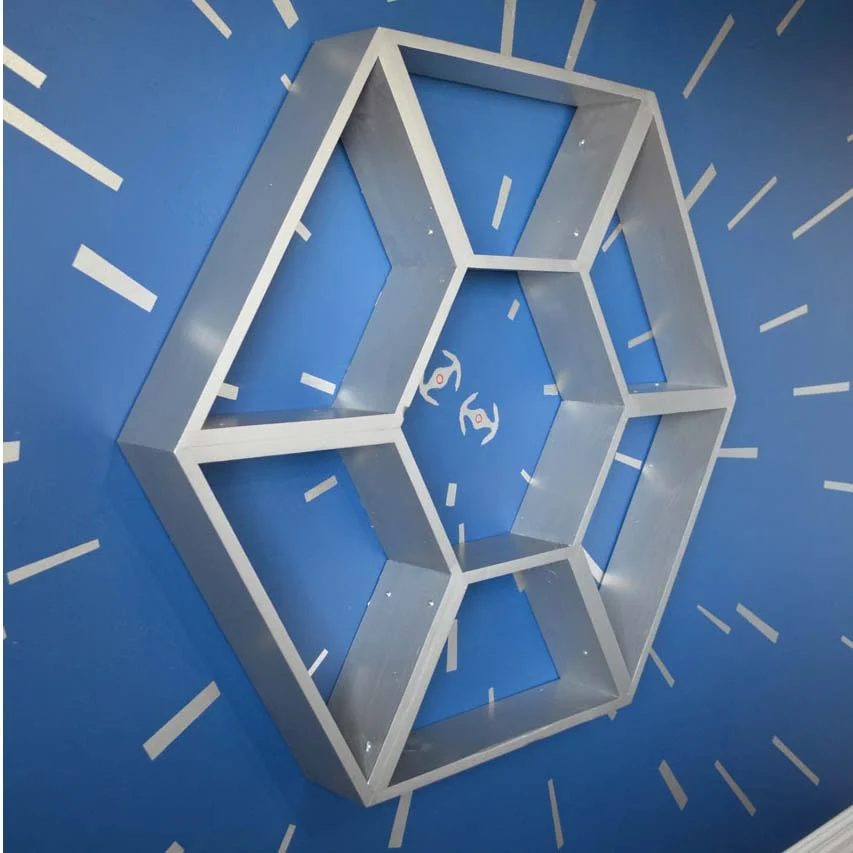
Shoe Shelf Bench // Star Wars Shelf // Curvy Side Table
Coming up in #ShutTheFrontDoorDIY:
(be sure to subscribe by RSS or email to get updates for every post of Shut The Front Door Handmade week)