The steps below follow the order of the work for this project plans project.
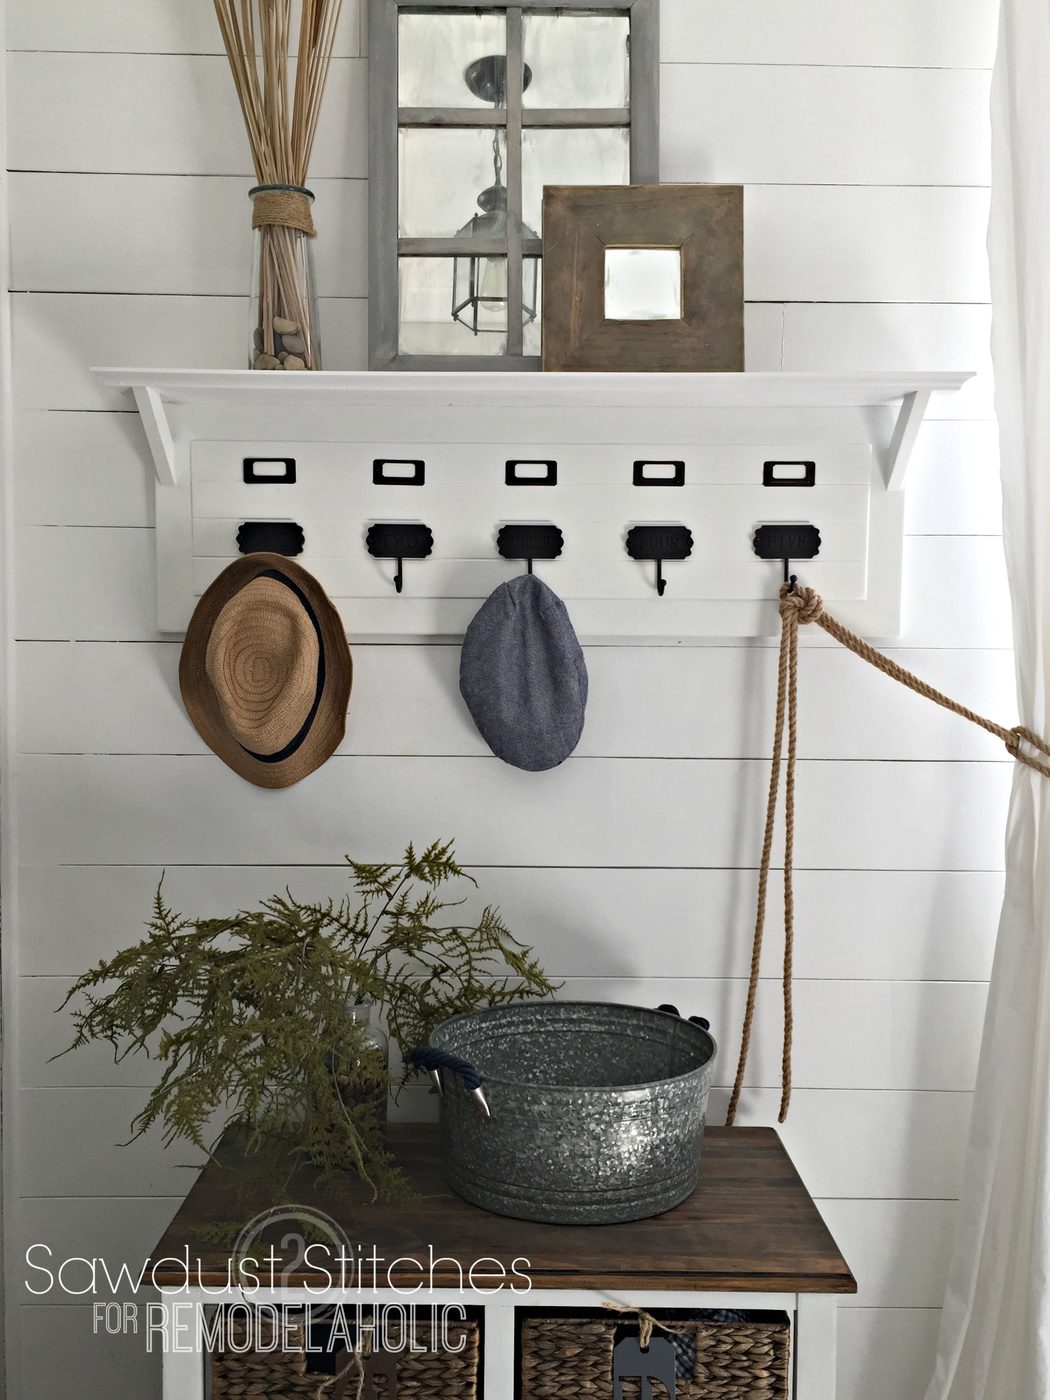
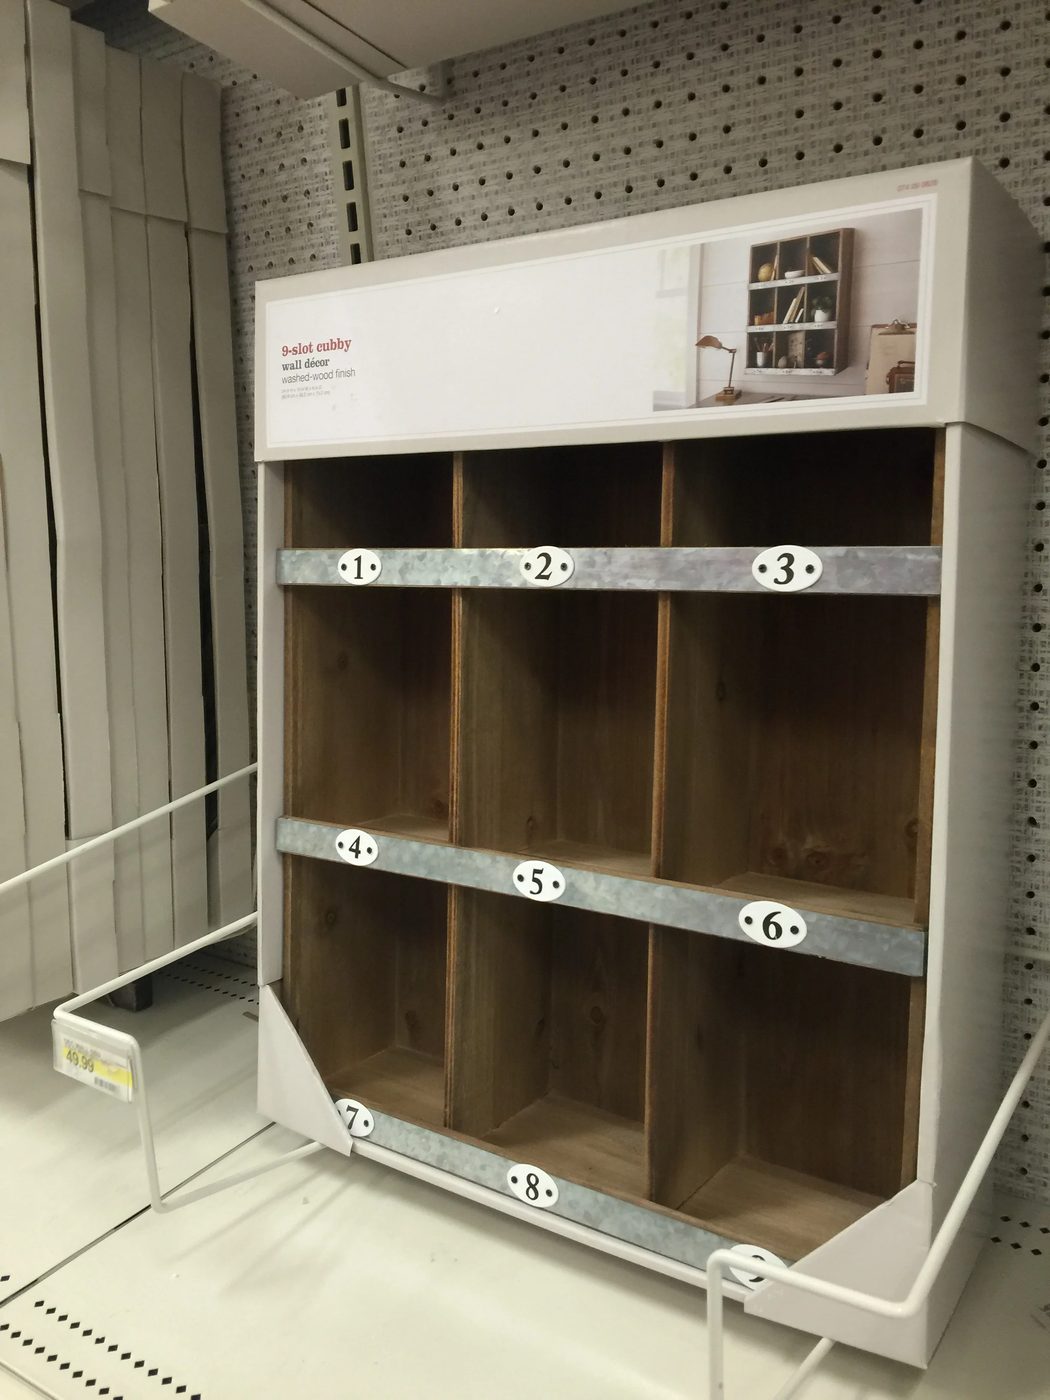
Hey all this is Corey from Sawdust 2 Stitches. I have two big weaknesses, Starbucks and Target… If you visit Target half as often as I do you probably have seen one of these beauties. The first time I saw it I nearly dropped my “Double-Chocolatey Chip Frappucino with Caramel Drizzle”. It was love at first sight! But seriously, $50? I knew I could make it at a fraction of the cost. Challenge Accepted! So without further ado I give you my twist on this Target go-to!
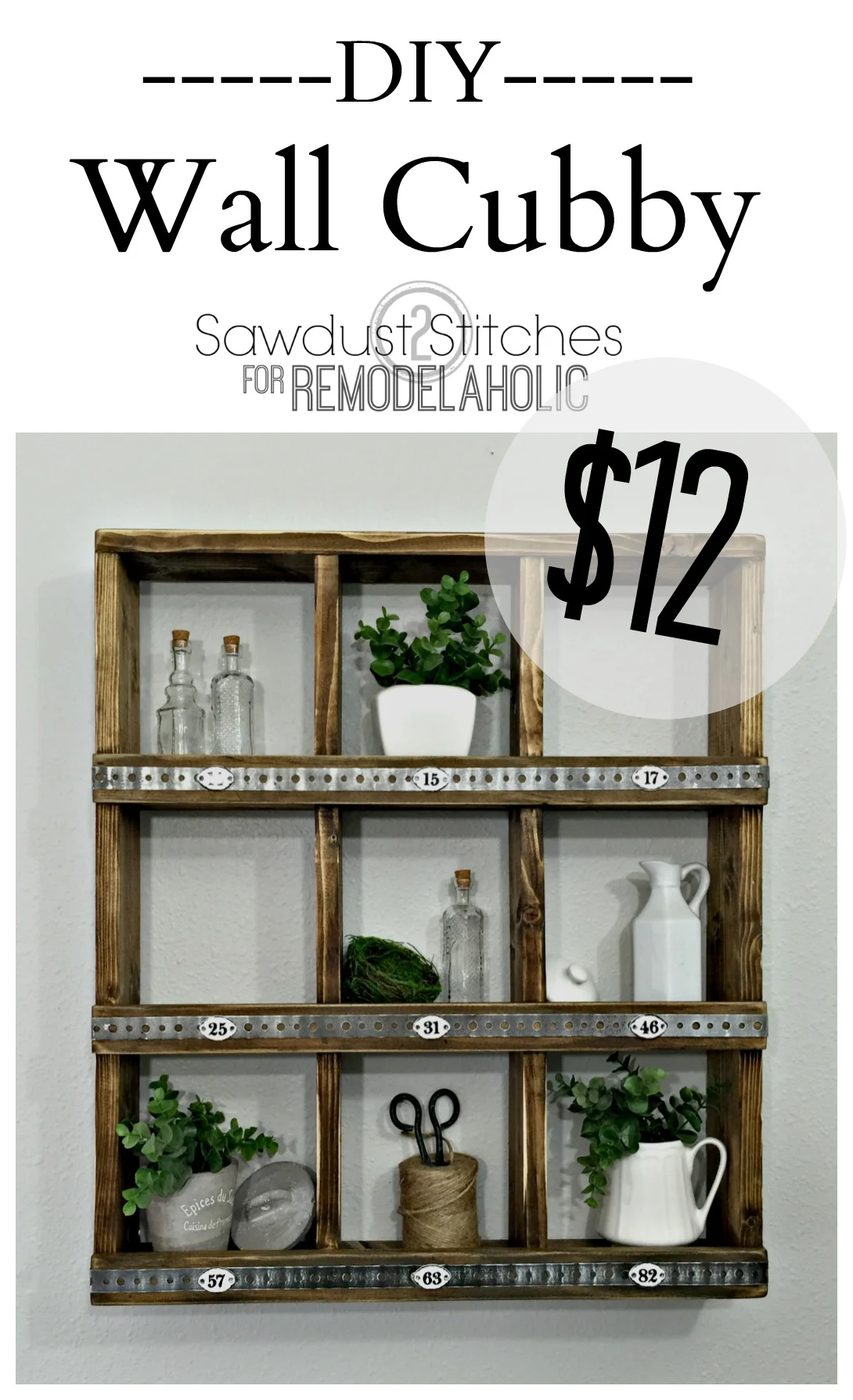
How to Build a Rustic Handmade Wall Cubby Shelf
by Sawdust 2 Stitches
open this to Get a Free Printable Version of this Building Plan
Can’t see the video? Check it out (plus lots of other Handmade videos!) over on our YouTube channel and subscribe, pretty please!
This post may contains some affiliate links. Please see our full privacy policy and disclosure here.
Materials Used:
- 1″x 4″ Boards (2)
- 1″x 2″ Boards (1)
- Stain
- Number Plaques (if desired)
- Metal Hanger Straps (can be found on Amazon)
- D-Ring picture hangers
- Wood Glue
- Wood Filler
- 1/2″ Screws
- 1 1/2″ Nails
Tools Suggested:
- Miter Saw
- Nail Gun
- Drill
- Tin Snips
- Large Clamp
Step 1. Prep Boards
Cut List :
1″x 4″ Board
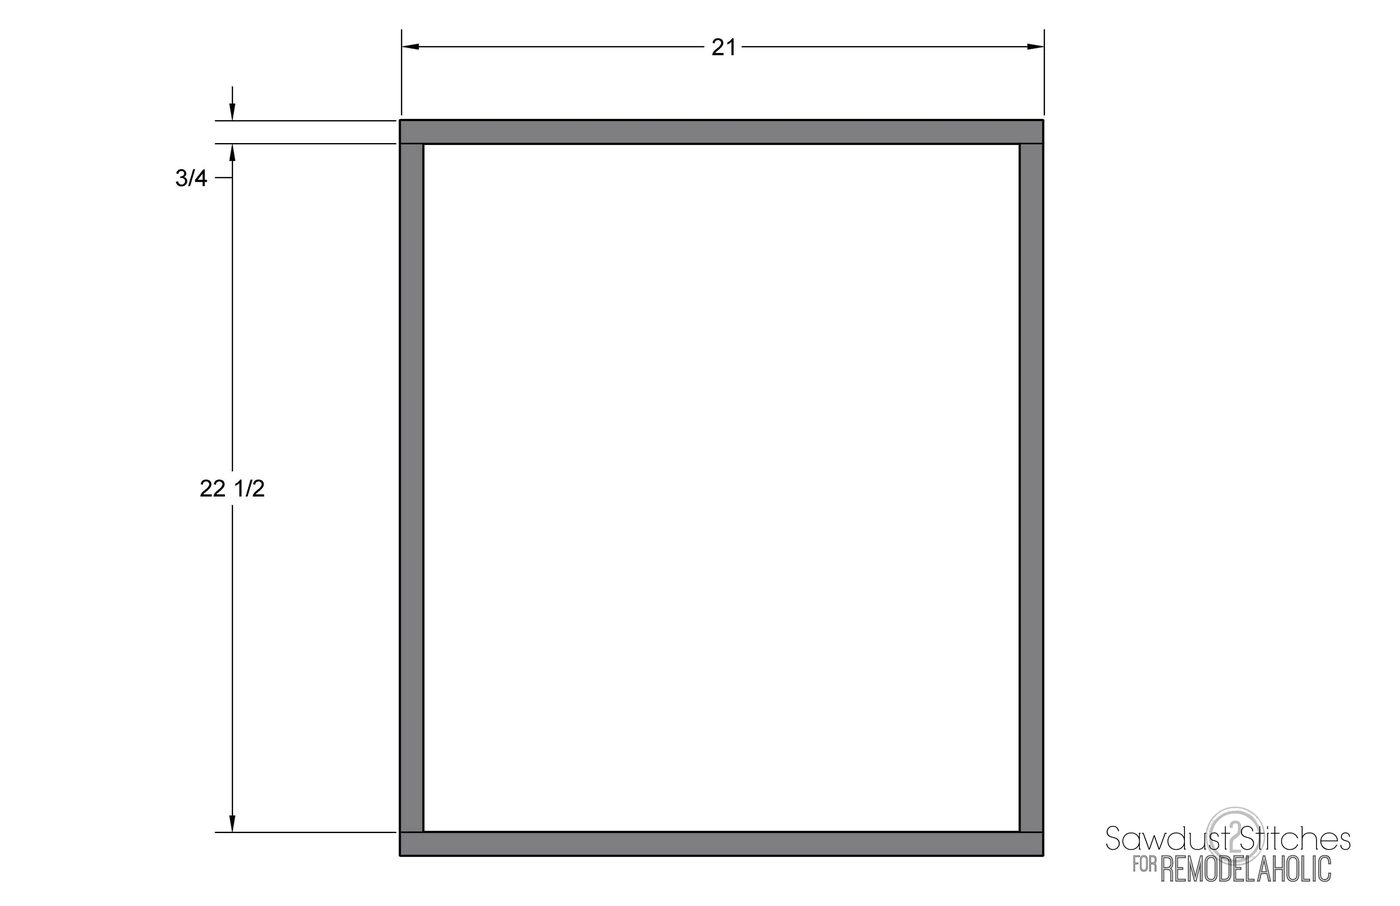
- (2) @ 21″
- (2) @ 22 1/2″
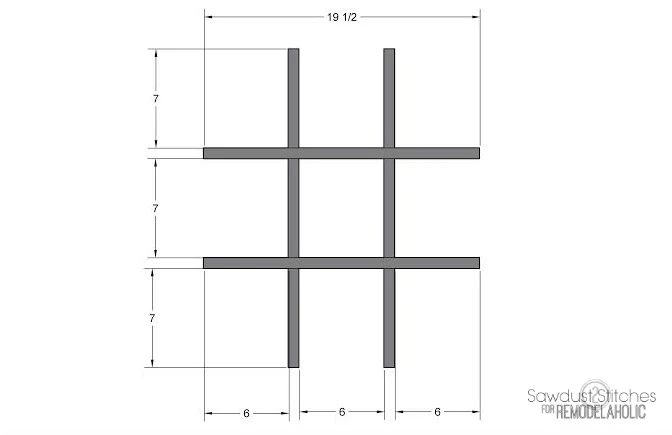
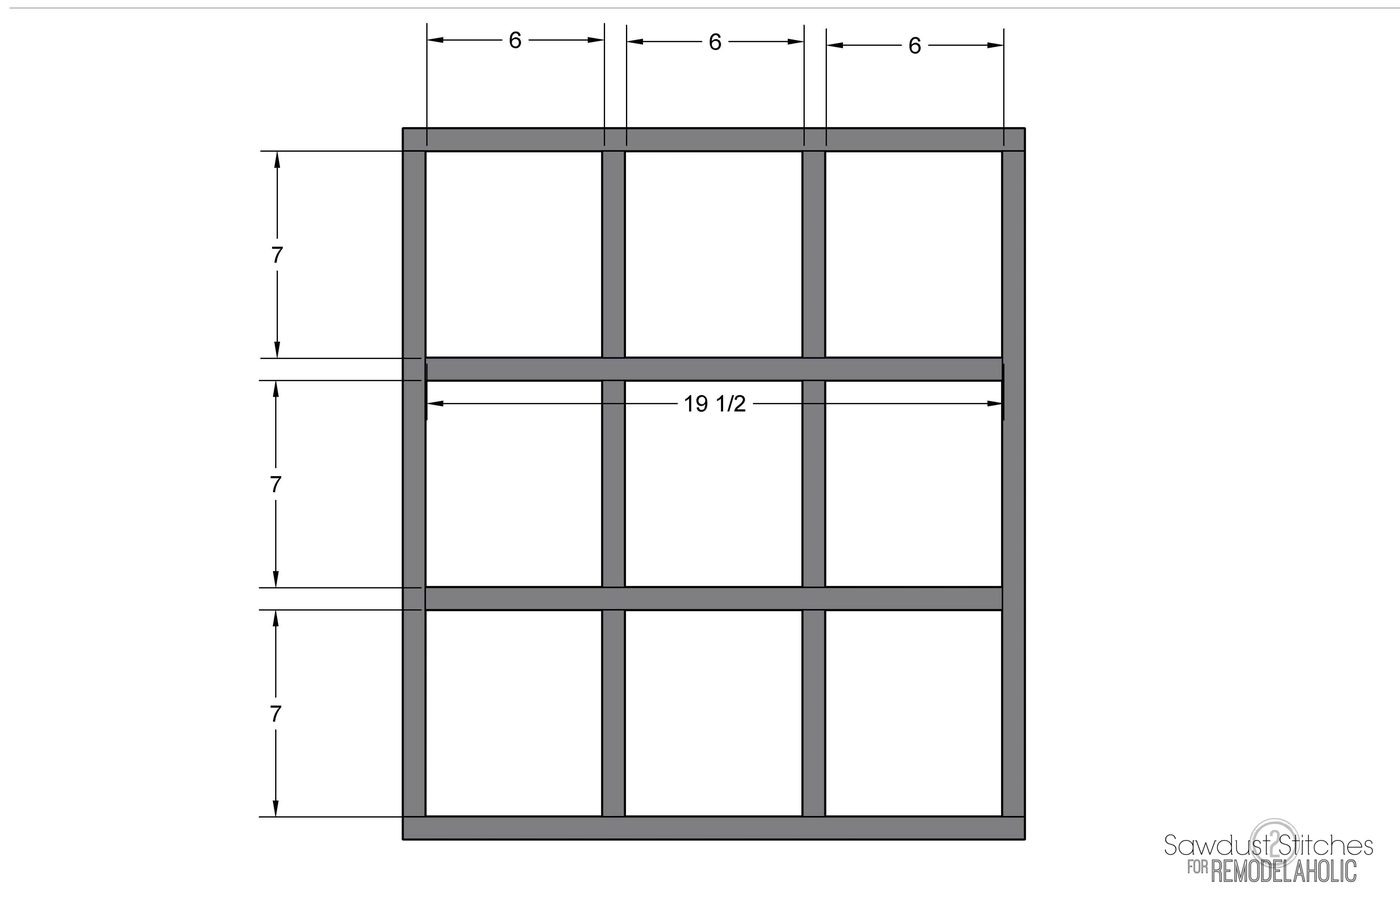
- (6) @ 7″
- (2) @ 19 1/2″
1″x 2″ OR 1/2″x 2″
- (3) @ 21″
Once all boards are cut, I would suggest sanding them before you assemble,and save yourself a headache!
Step 2. Assemble Frame
Secure 22 1/2″ vertical boards to the inside of the 21″ horizontal boards. For best results use wood glue and reinforce with 1 1/2″ finish nails. Allow to dry.
Step 3. Build Grid
Assemble the grid. There really isn’t a right or wrong way to do this. You can use pocket holes, but I opted not to on this project. It is a small build and wood glue would suffice. I first attached the (2) 7″ vertical boards to the 19 1/2″ horizontal board, I used wood glue and then reinforced with 1 1/2″ finish nails. Repeat, so that you have (2) of these. With the remaining (2) 7″ boards, I applied wood glue to either end, properly placed then in between the (2) 19 1/2″ boards, and then clamped to complete the grid. Allow to dry thoroughly.
Step 4. Insert Grid
Once the grid is dried, place it inside of the already assembled frame. Measure to ensure it lines up correctly and then use a finish nail to secure.
Step 5. Attach Front Lip
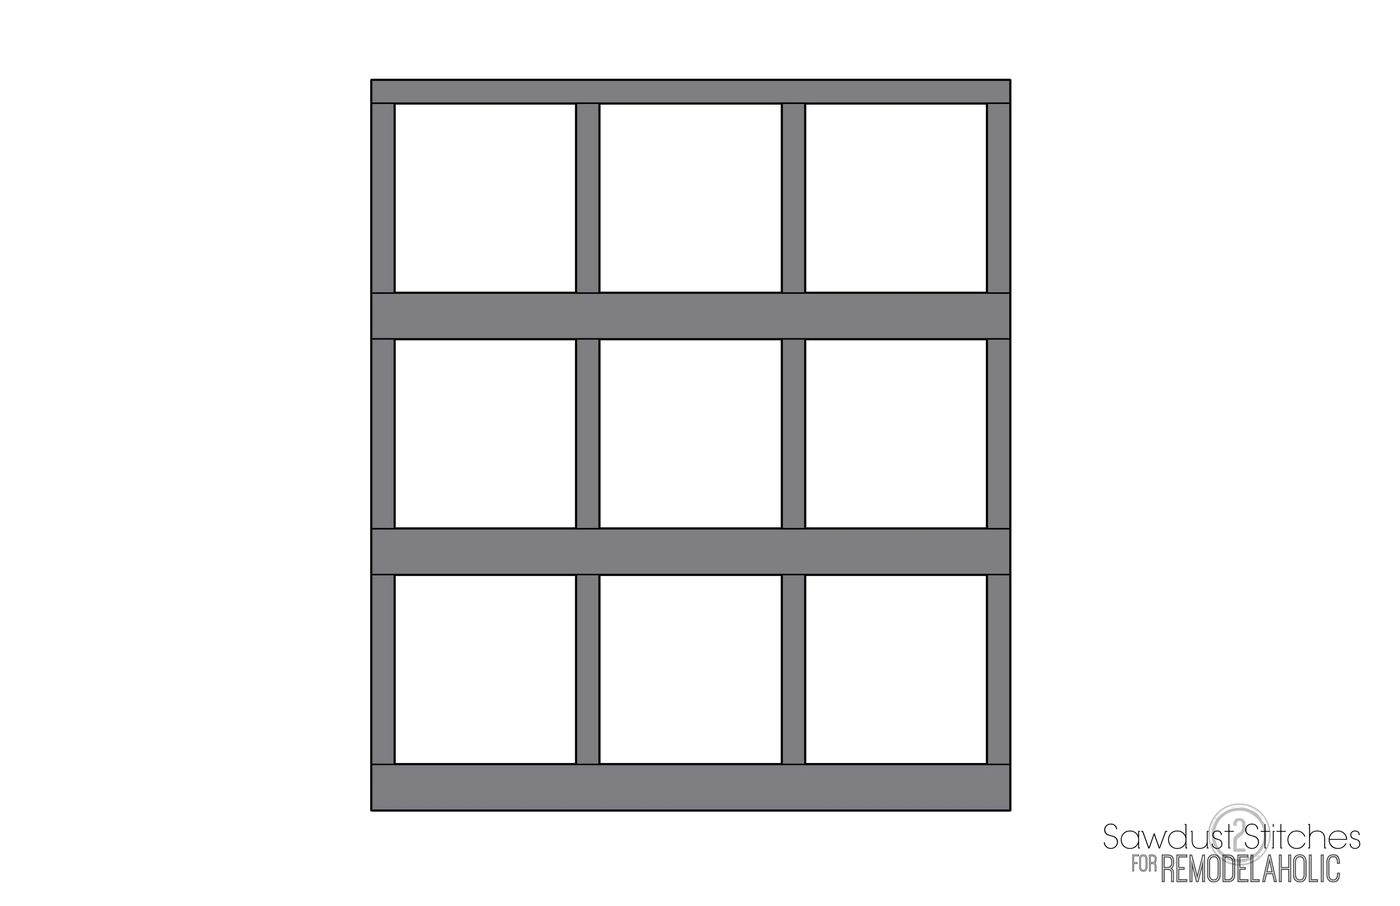
Next apply a small bead of wood glue to the front of the 19 1/2″ horizontal boards, and then place the 1″x 2″x 21″ boards on top, so the bottom of the board is flush with with bottom of the shelves. Then reinforce with 1 1/2″ finish nails.
Step 6. Add Finish
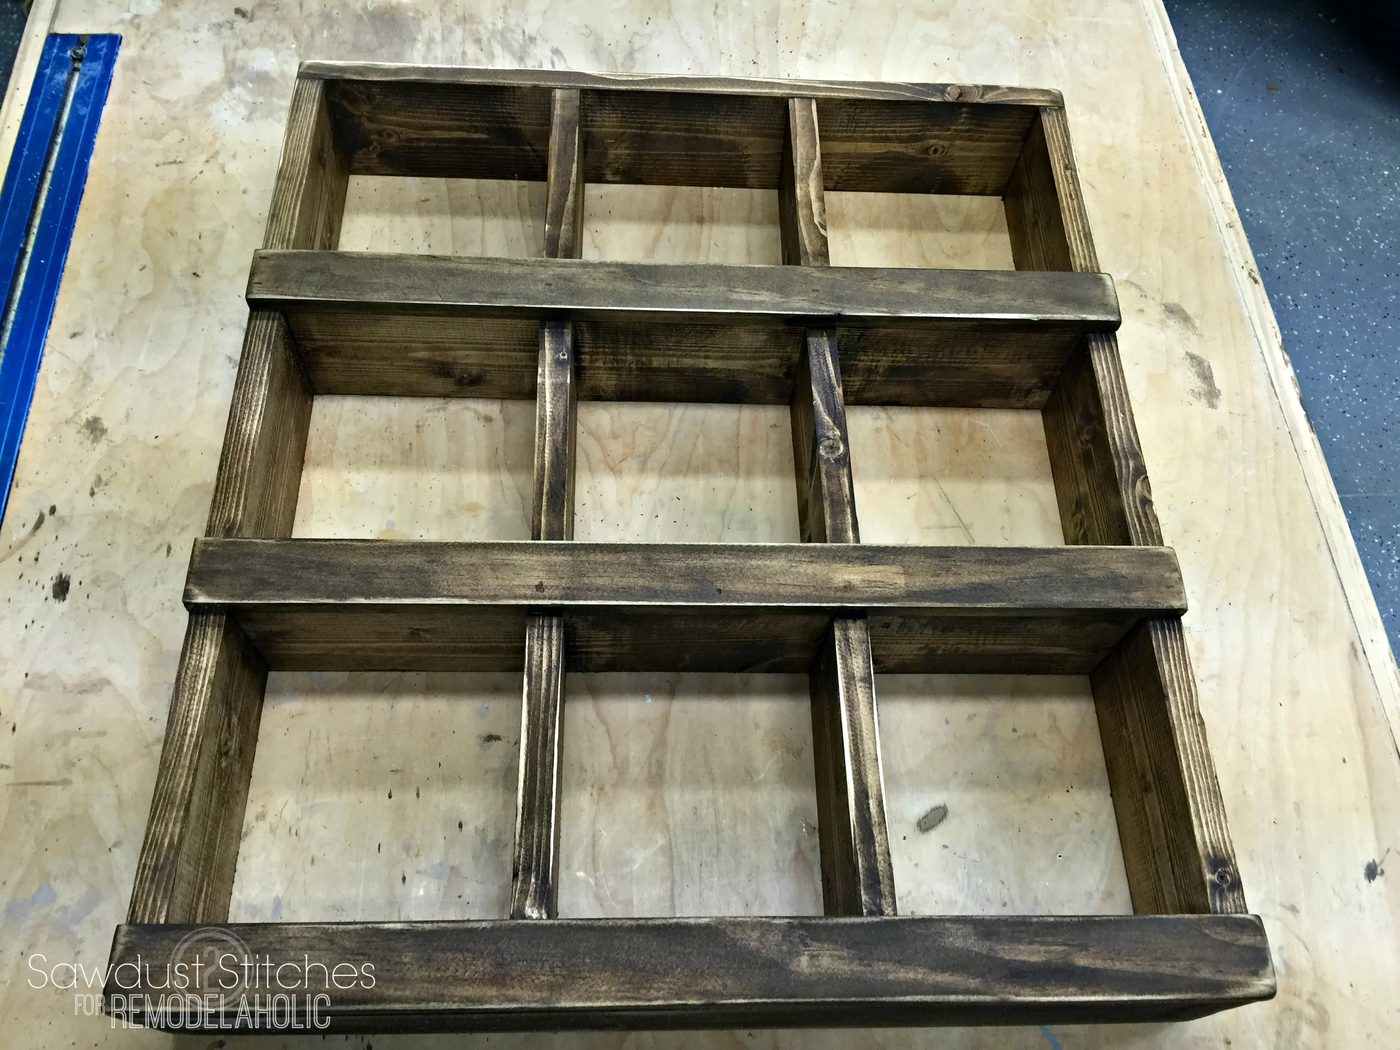
Fill in any nail holes with a wood filler. Allow it to dry . Then sand off the excess filler. NOW you are ready for paint and/or stain. I stained this Dark Walnut by Minwax. After it was dry, I did go over it will a sander to distress it.
Step 7. Add Metal Hanger Straps
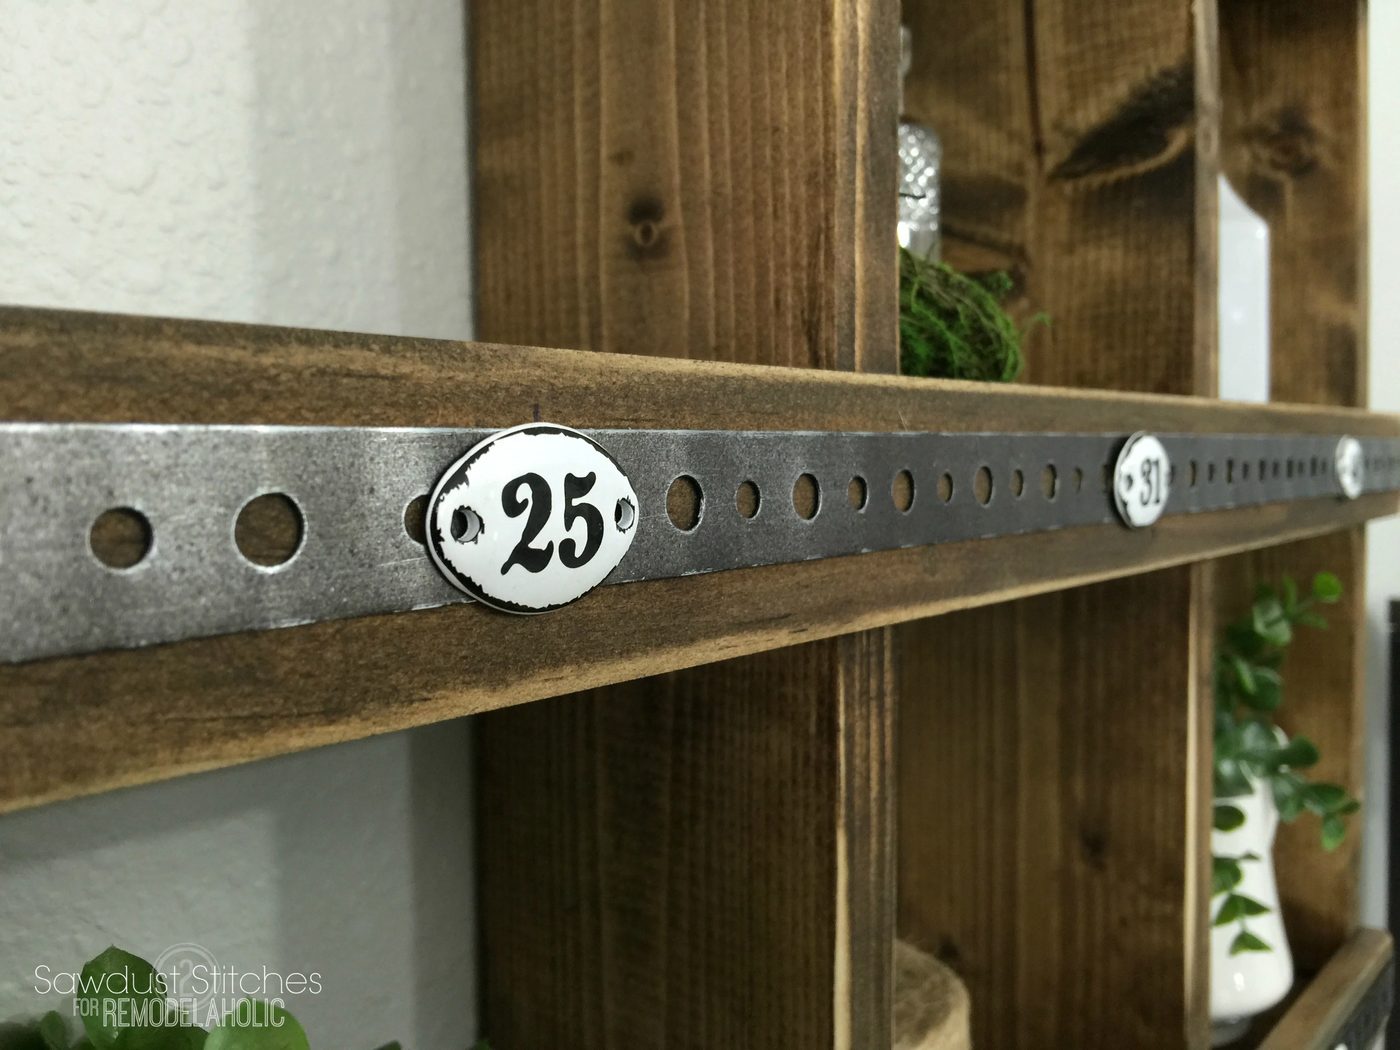
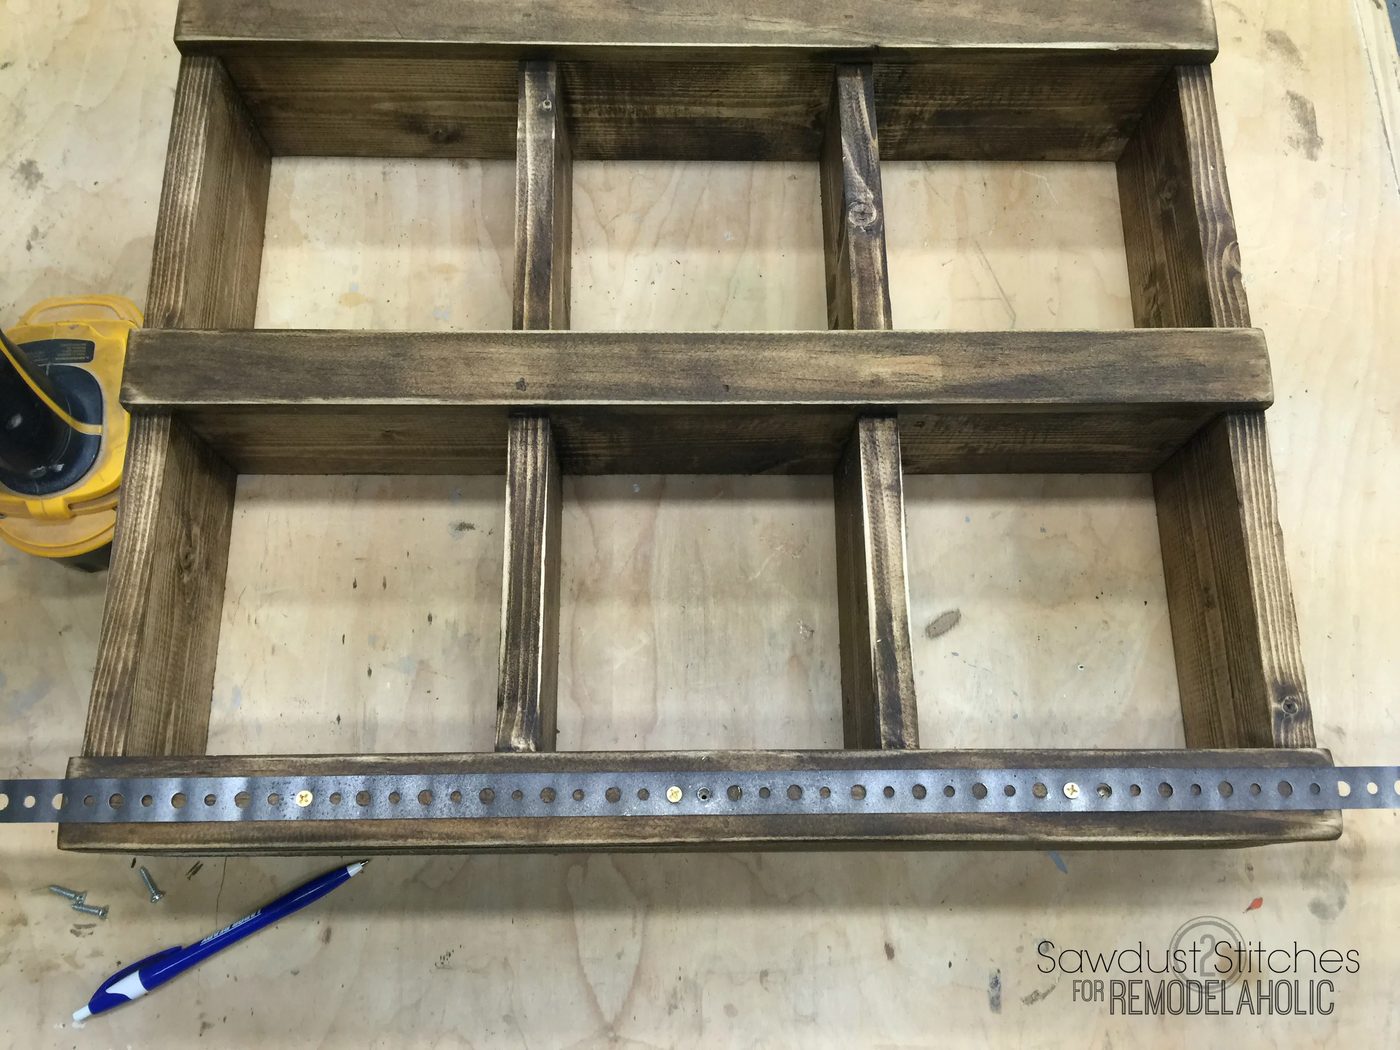
Before I added my metal straps, I cut my three pieces, and (while wearing gloves) straightened out the metal straps. (The straps come in a coil and naturally want to curl.) After working with it for a few minutes, it laid flat. I then dusted it lightly with “Flat Iron” Rustoleum spray paint. After the straps were dry, I LIGHTLY sanded it so that it would have some distressing. To attached I used small 1/2″ screws. I placed the screws where my number plaques would be placed so that they would be hidden. I made sure to make the metal wrap around the back of the cubby unit.
Step 8. Finishing Touches
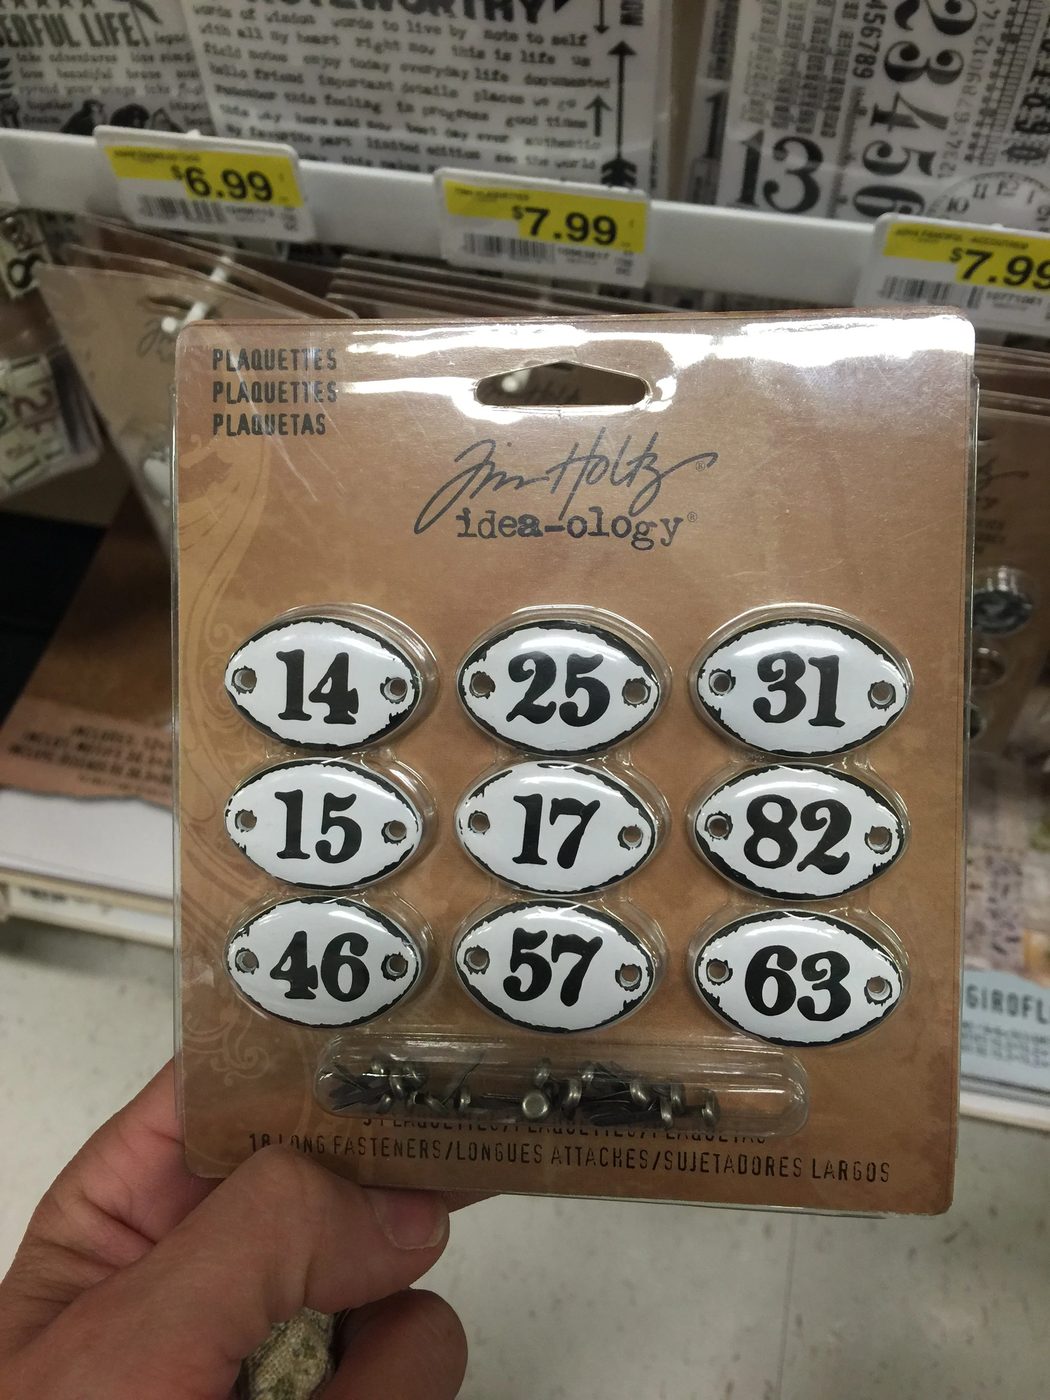
Next I added the number plaques! I found these really cute number plaques at Joanns. They are originally $8, but I used a 50% off coupon and scored them for $4. Nice. I simply attached them with construction adhesive. (Hot Glue would work fine.)
If you decide that you want to hang this on the wall there is a really low-cost way to do it! I used small little d-rings that you can get for about $1! Attach them and you are good to go!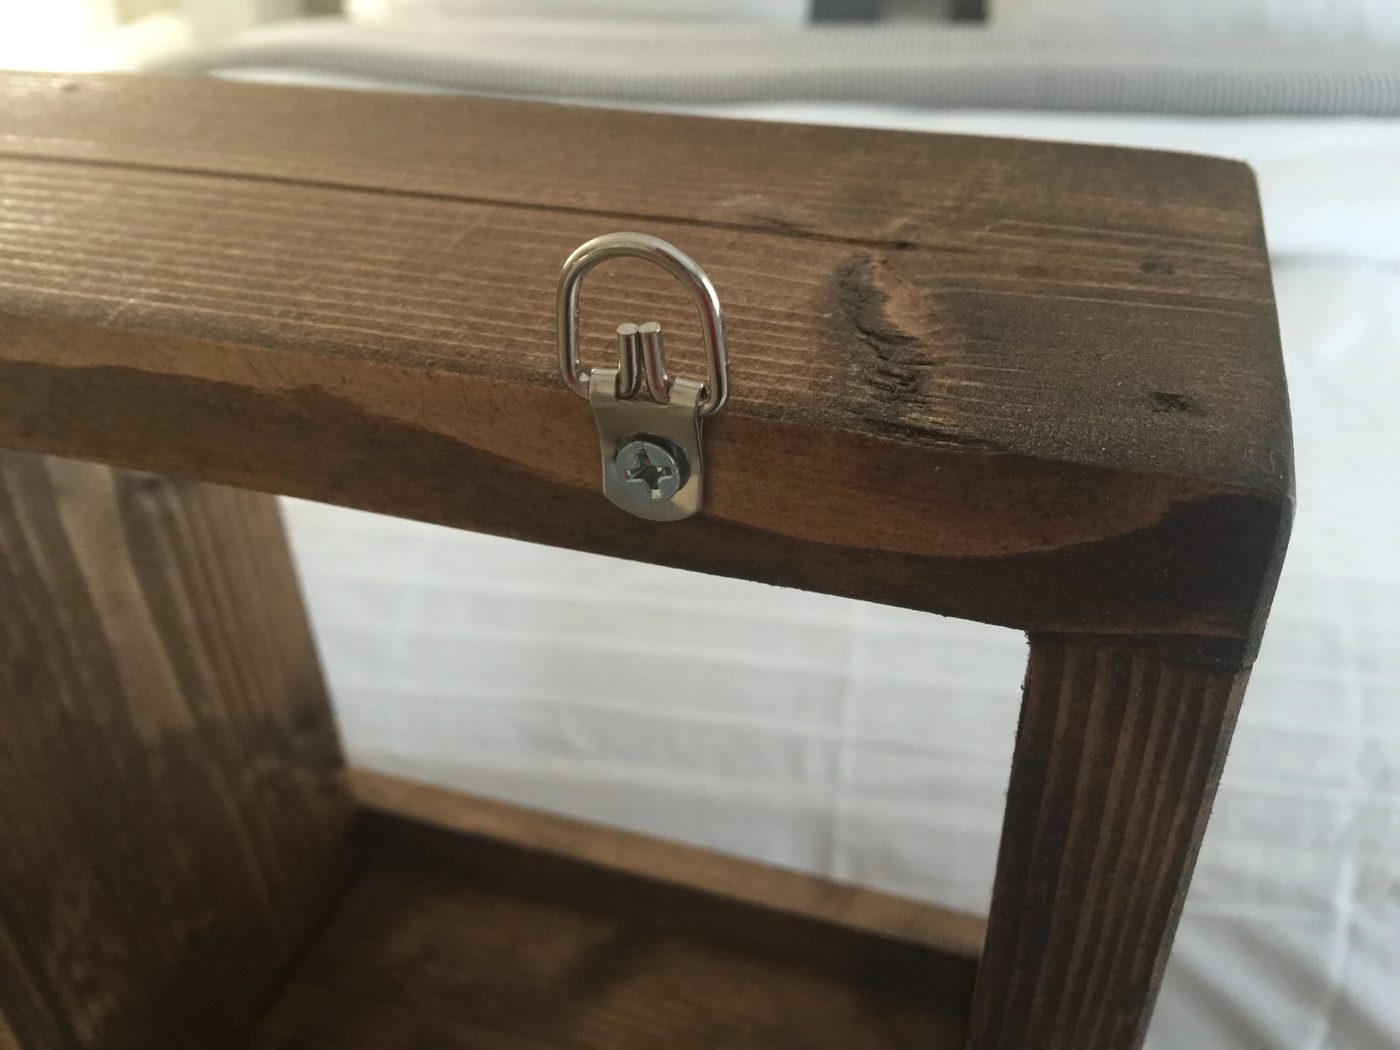
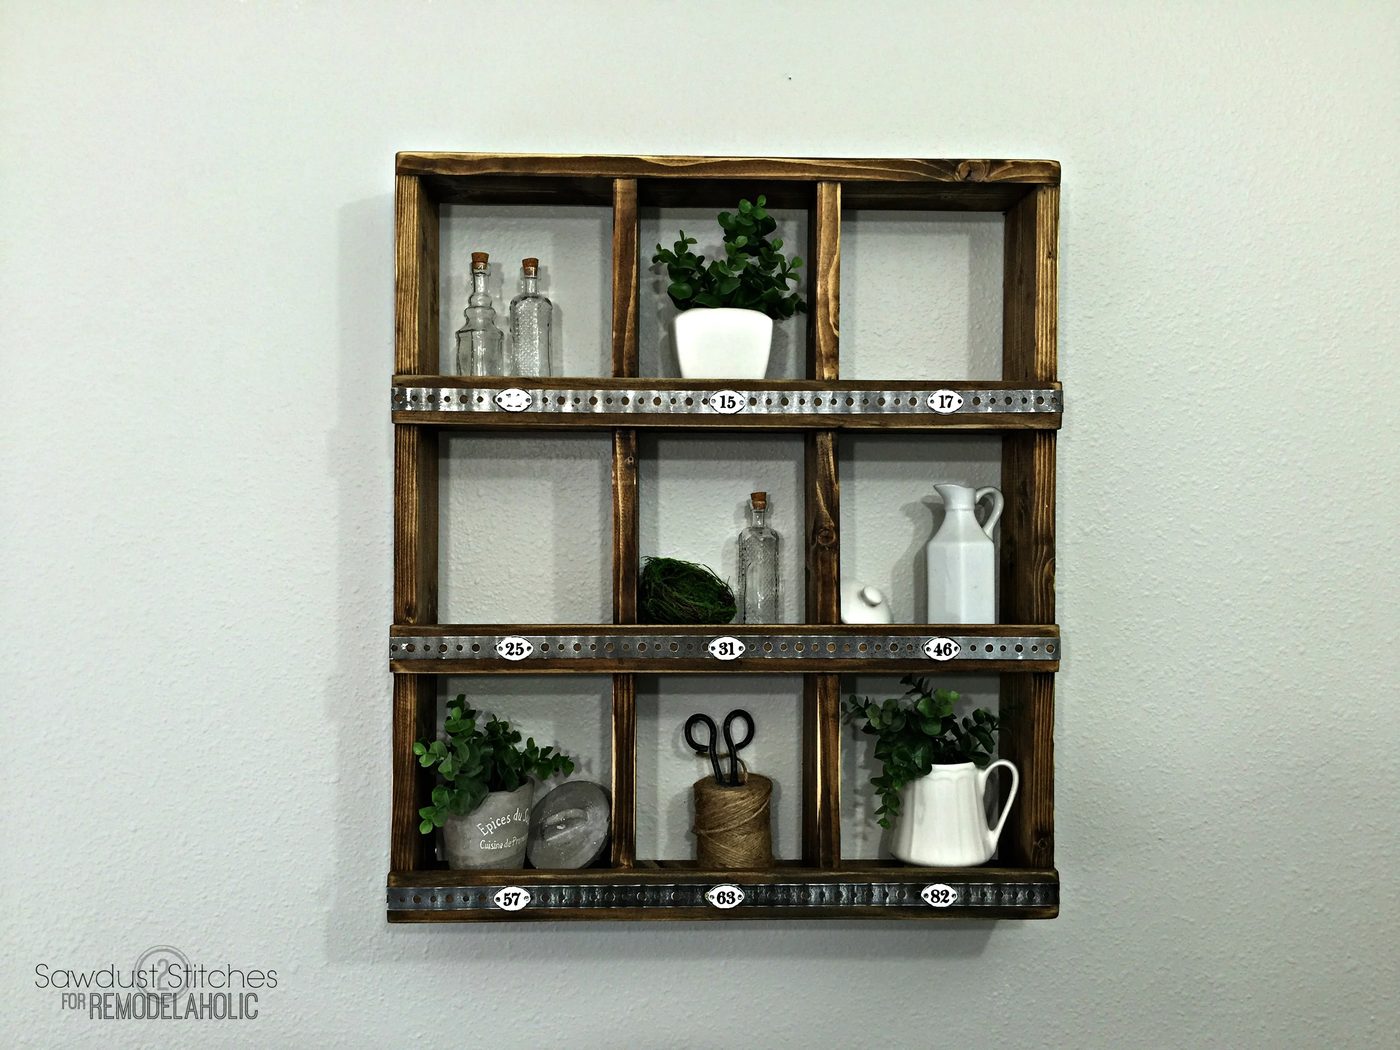
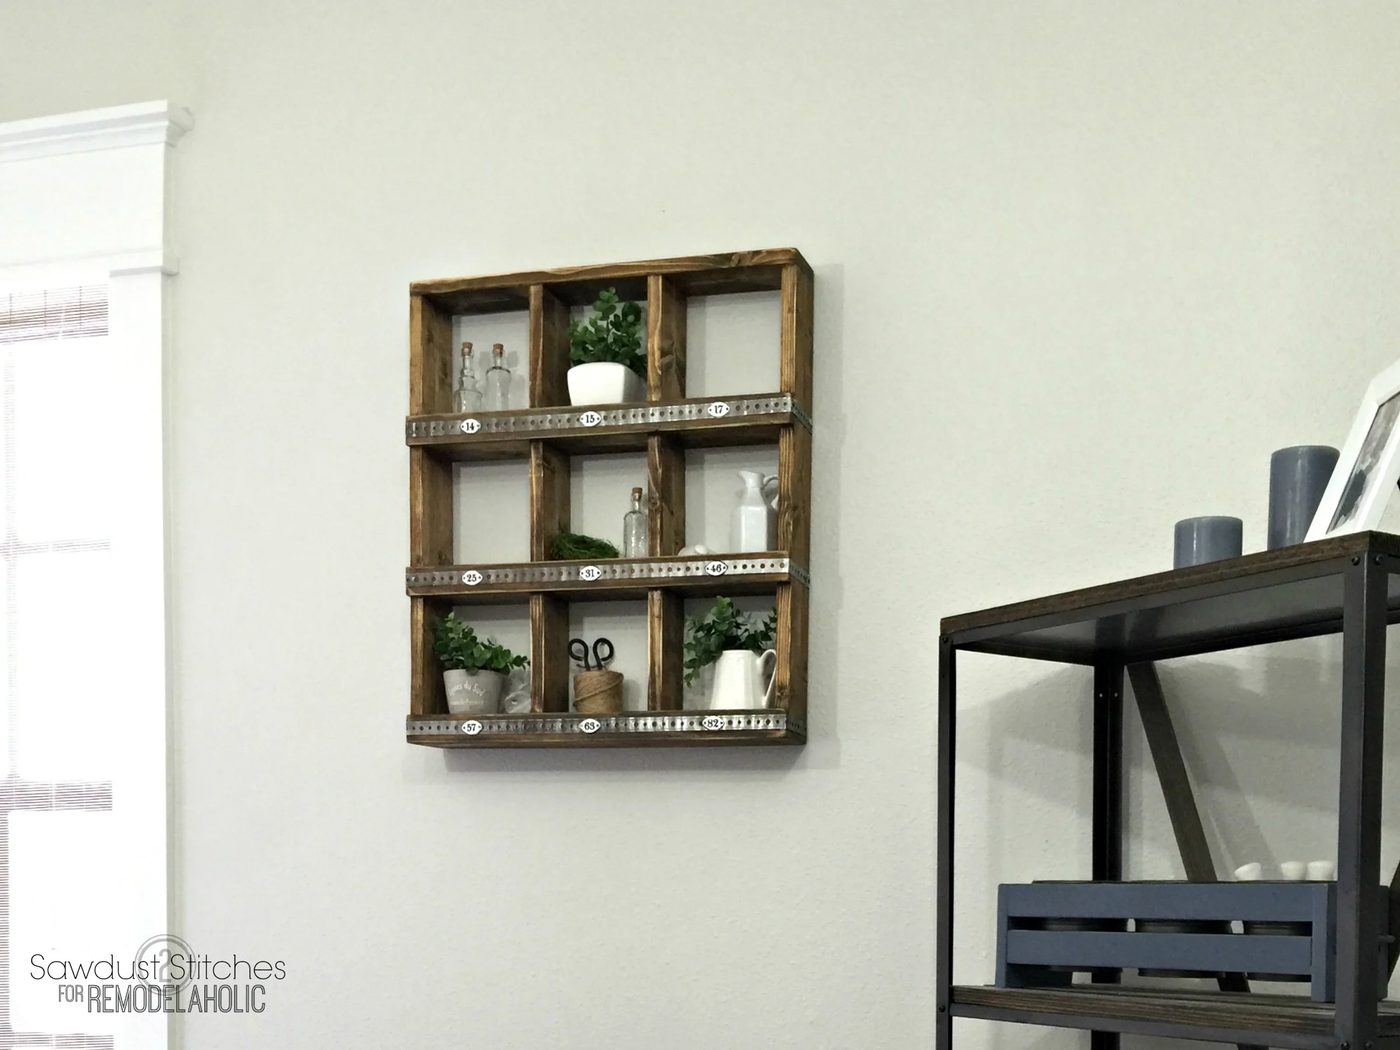
Let’s break it down!
- 1″x 4″ Boards (2) =$4
- 1″x 2″ Boards (1)=$1
- Number Plaques =$4
- Metal Hanger Straps= $3
- Stain and/paint =Will vary. I used some leftover materials. This project will not require much of either.
Total = $12 Handmade vs. Target $49.99
Not too shabby!
Take Luck Friends,
Corey
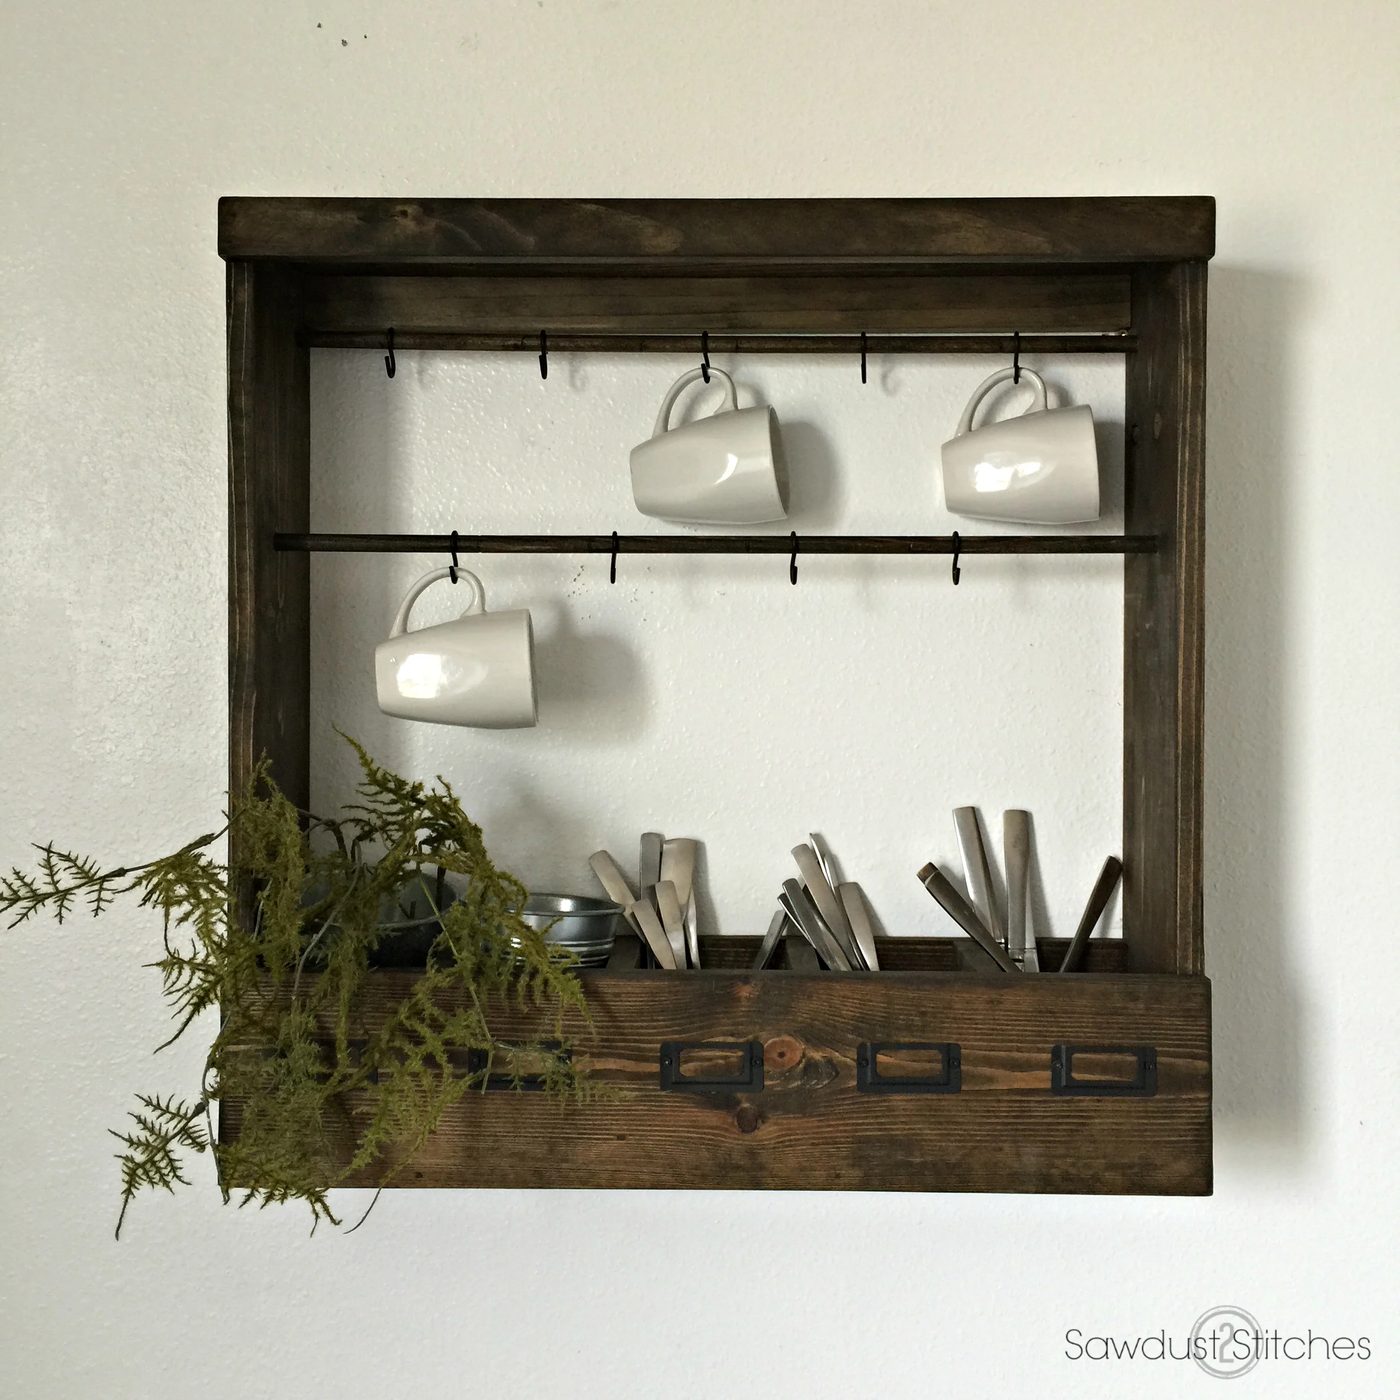
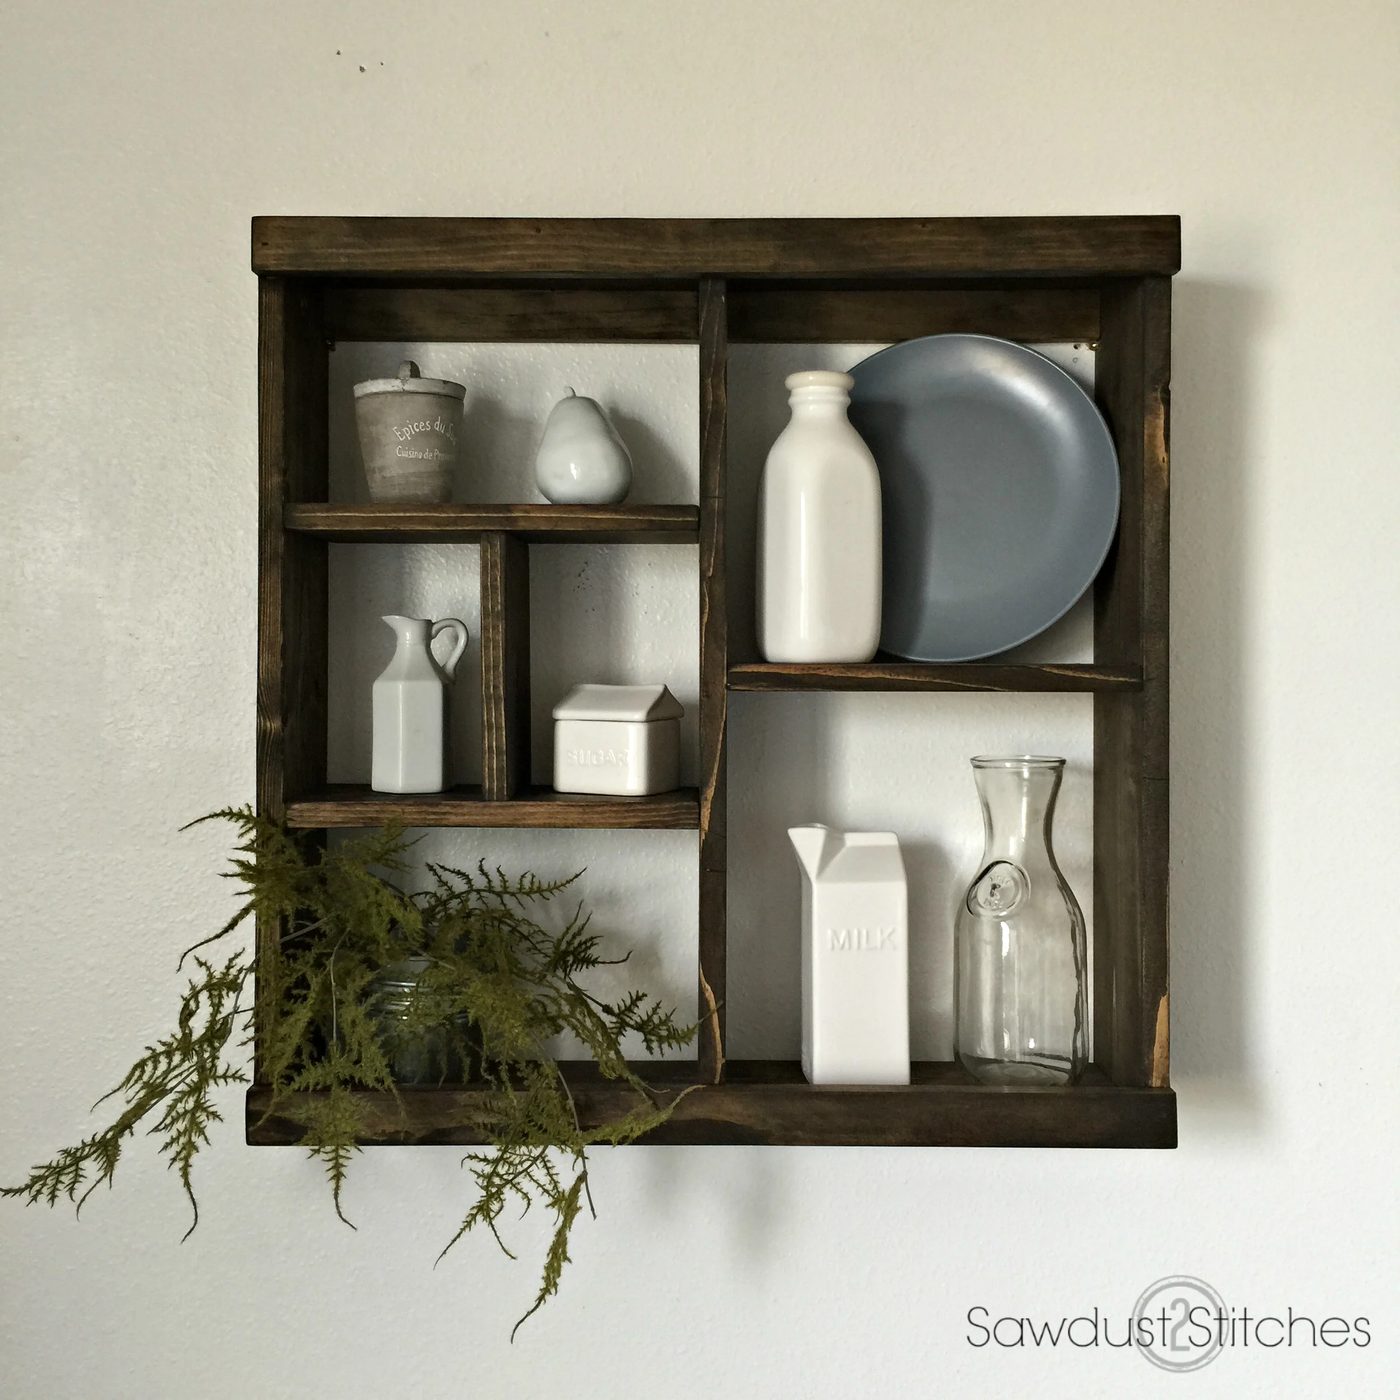
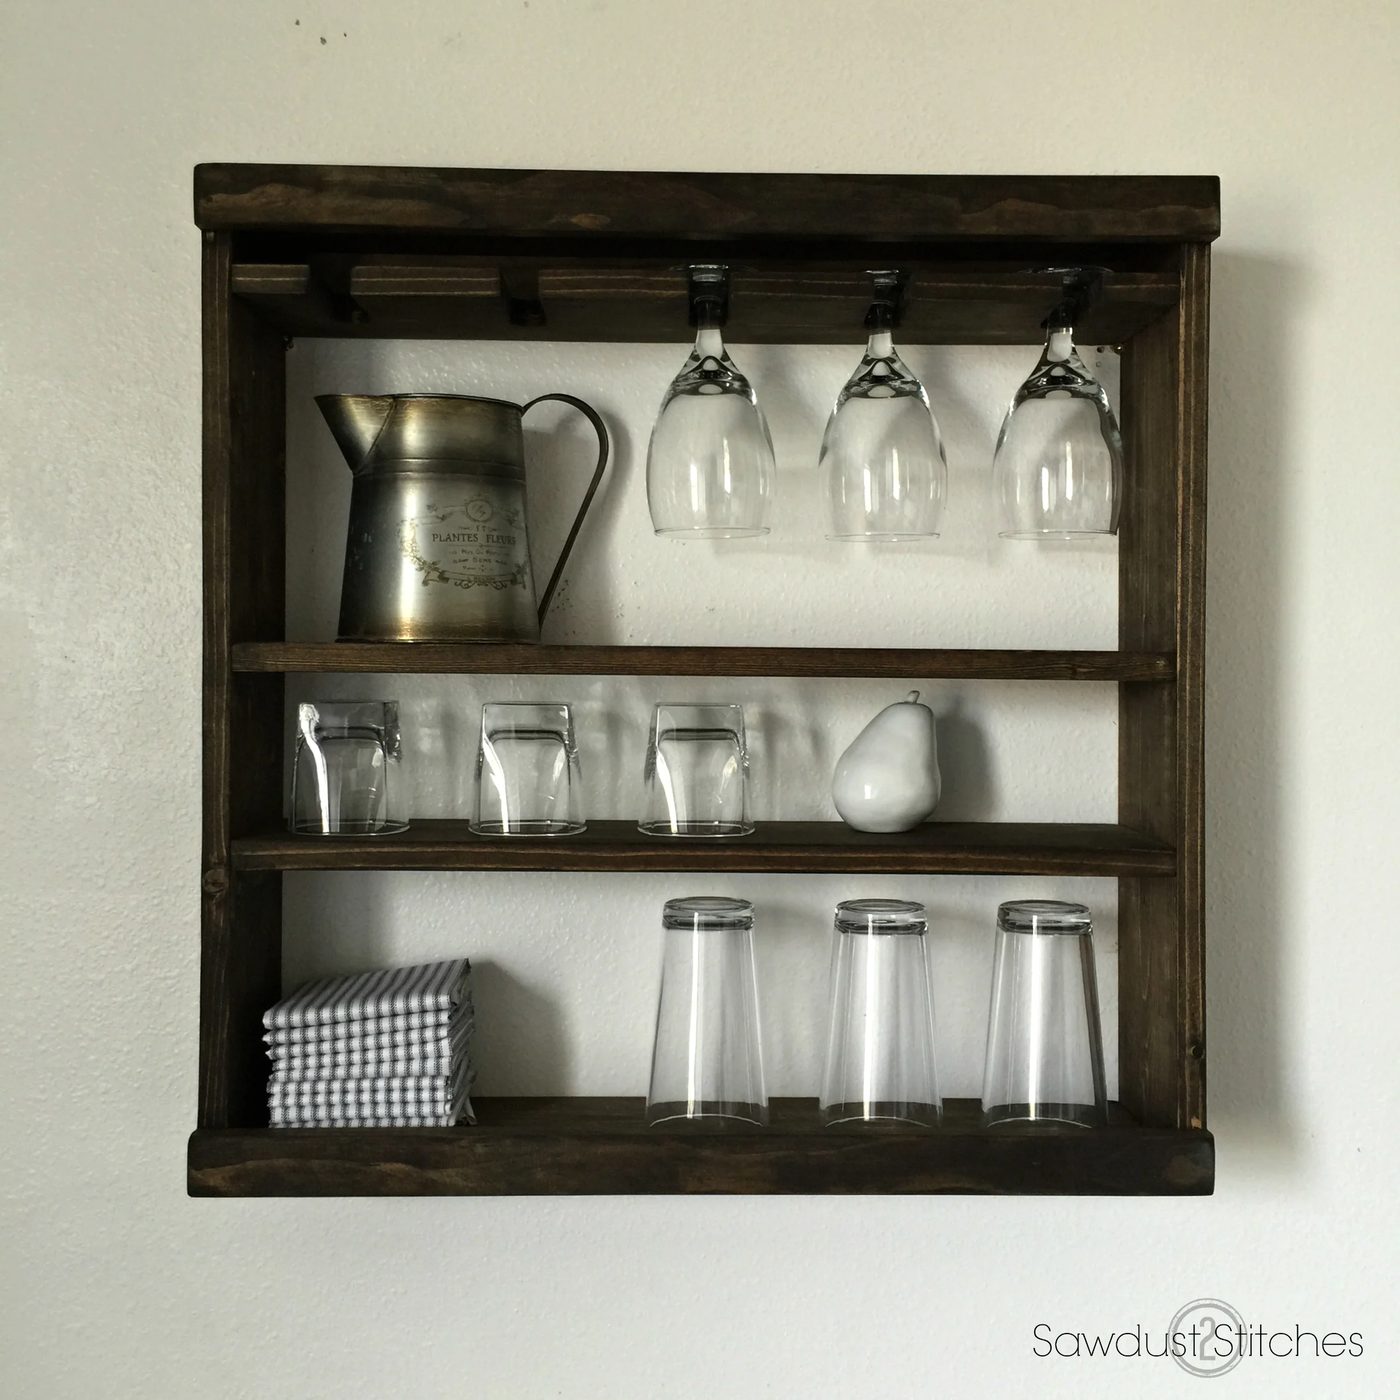
If you are looking for more rustic wall decor options, make sure you look at these Pottery Barn inspired Kitchen Organizers.
(click on each photo to see more)
 |
 |
 |
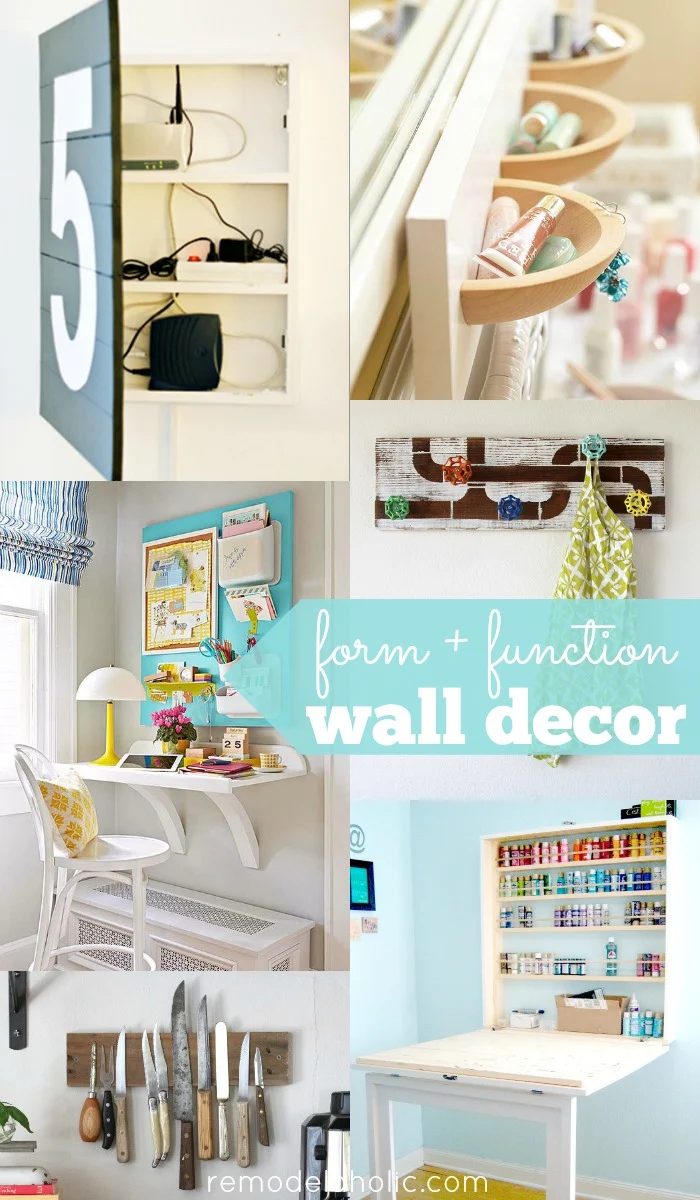
More creative Handmade wall organizers:
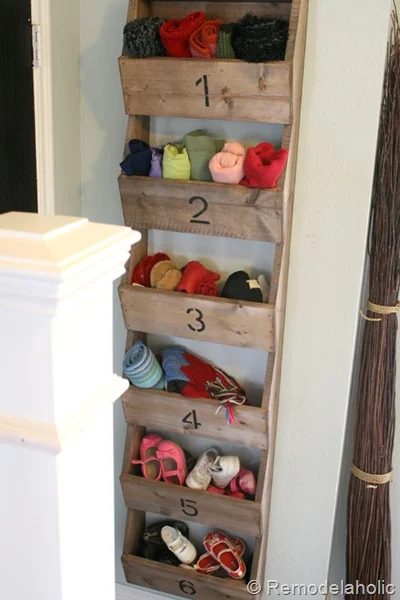
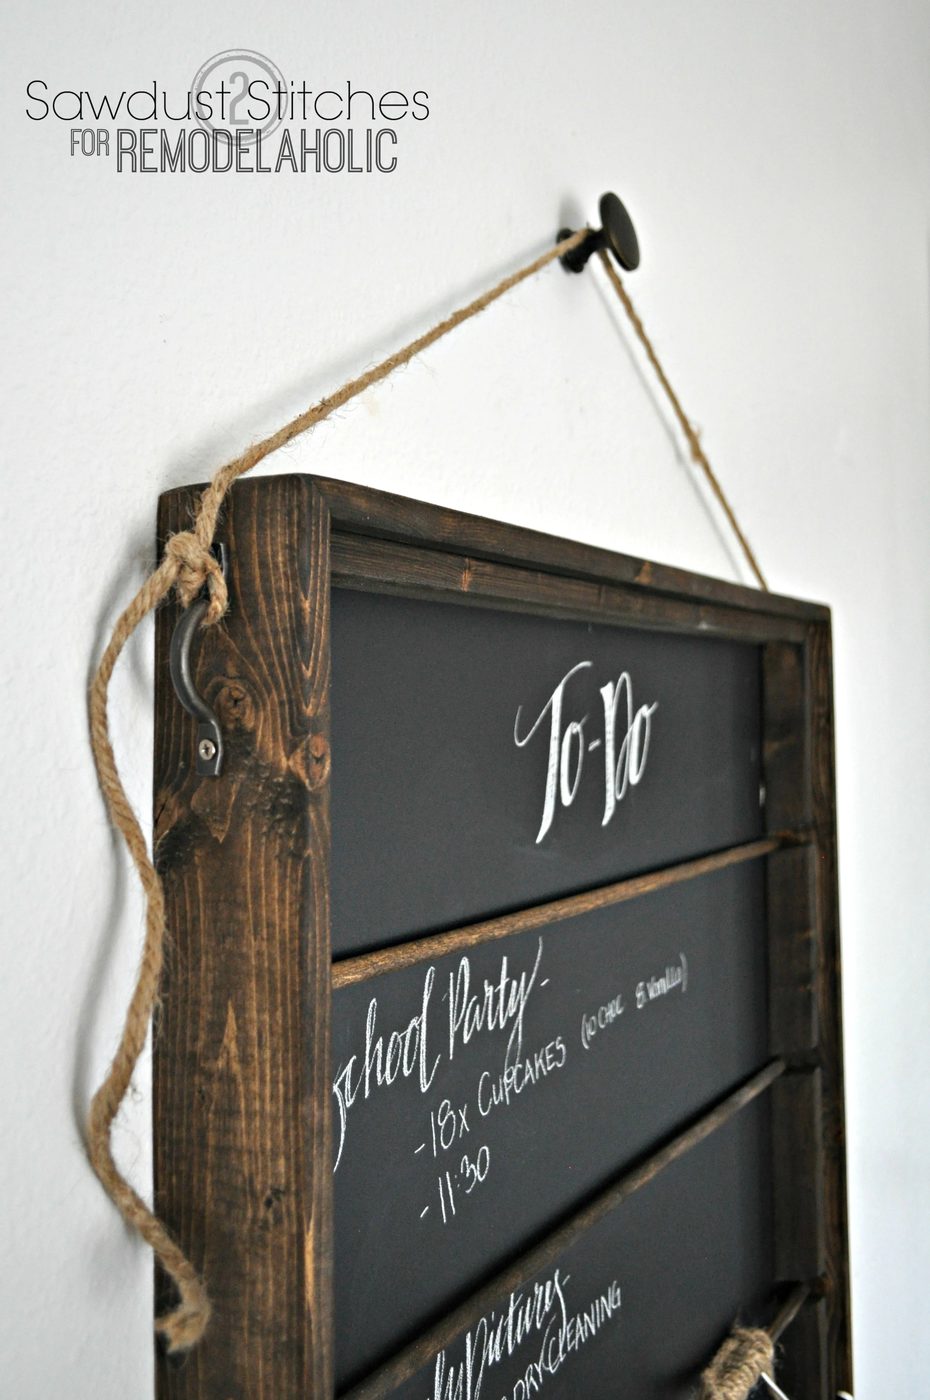
wall-mount chalkboard organizer