Materials and the sequence of the job sit together on this page.
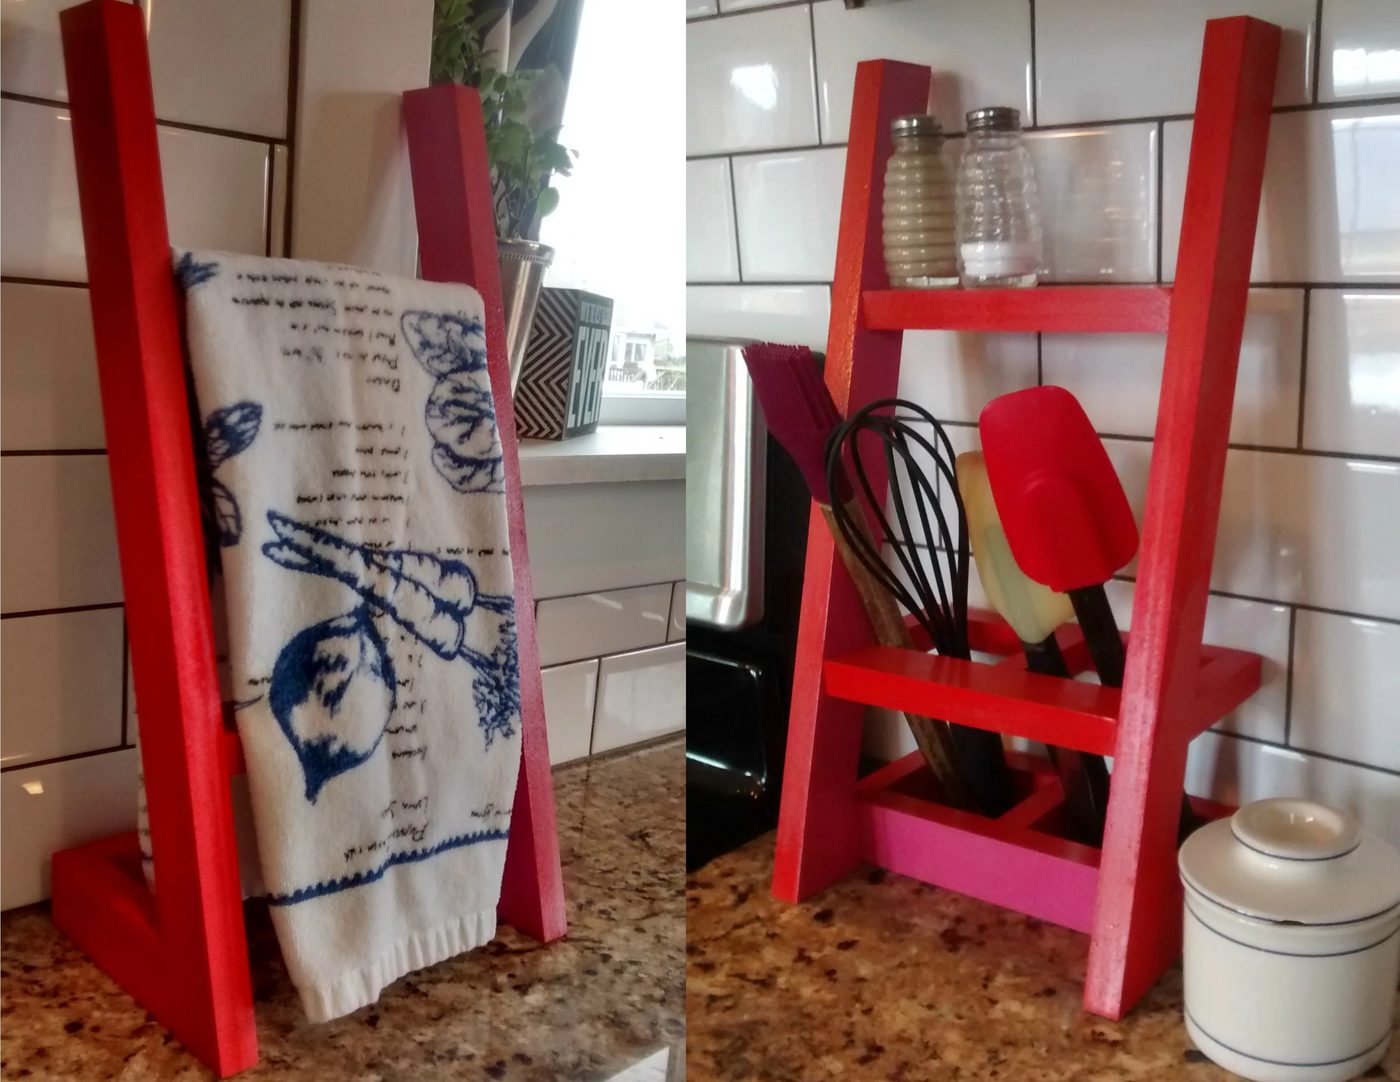
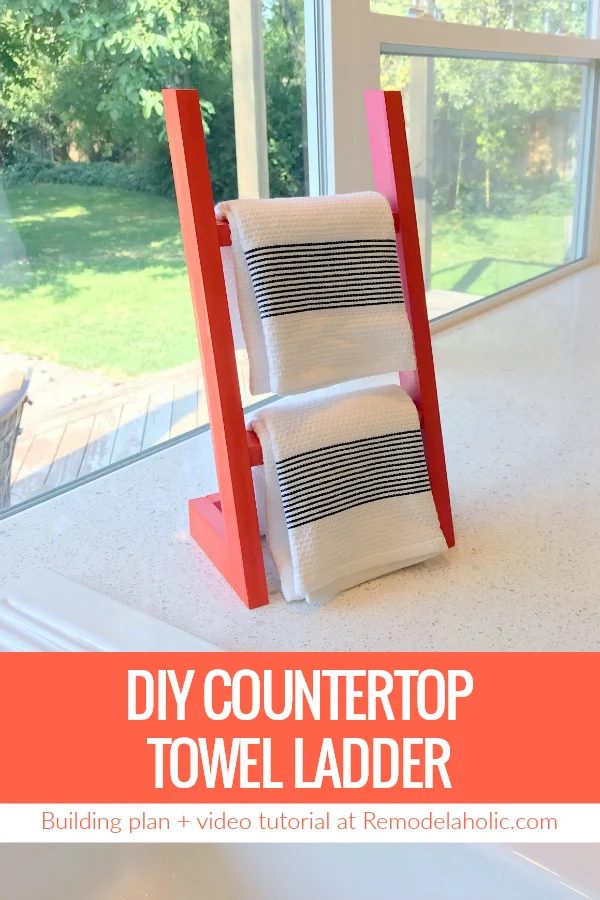
In every kitchen the countertop space is valuable real estate! Recently friend of mine suggested a play on the well known quilt ladder, but for hand towels. This option solved a problem for me. We used to have a dish washer with a front handle, and that is where we kept our towels to dry our hands. Until now we have been walking to the oven to dry our hands. This results in water drops all over my floor courtesy of my darling kiddos! I am hoping this solves that particular problem. I also needed a utensil holder by my stove so I twisted the option a little to create a matching set!
I hope you enjoy these direct countertop ladders for your hand towels, utensils, and spices!
Handmade Countertop Towel Ladder and Utensil Holder walkthrough
open this to Get a Printable Version of This Building Plan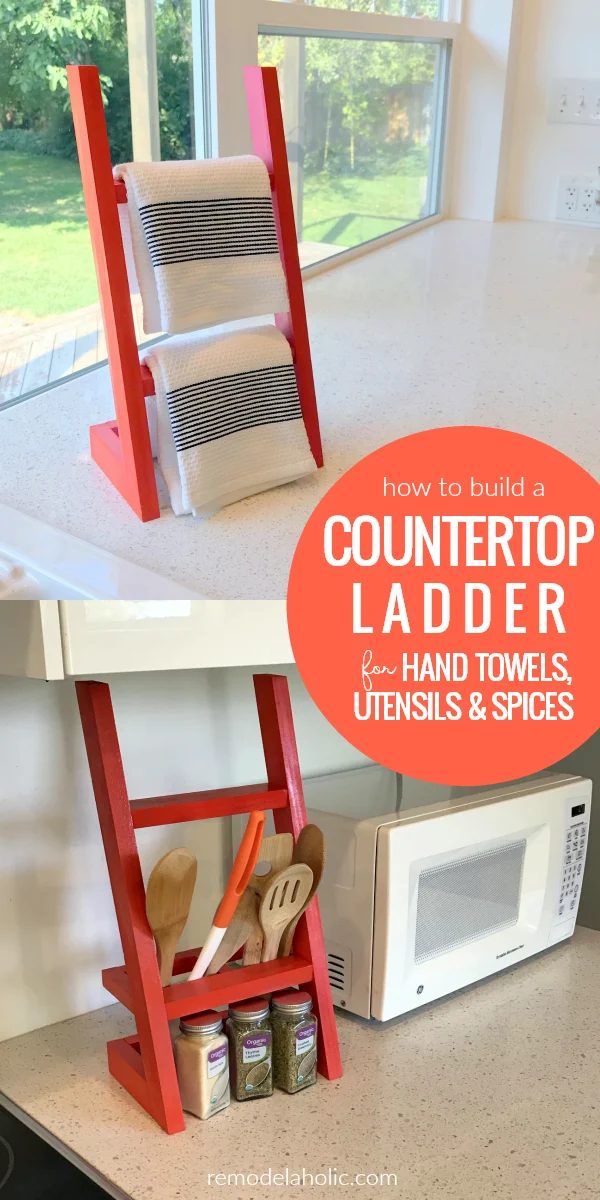
Materials
- 8′ 1×2 pine board
- Wood glue
- Enamel spray paint
Tools
- Miter saw
- Table saw
- Sander
- Clamps
- Masking tape
How to Build a Countertop Towel Ladder
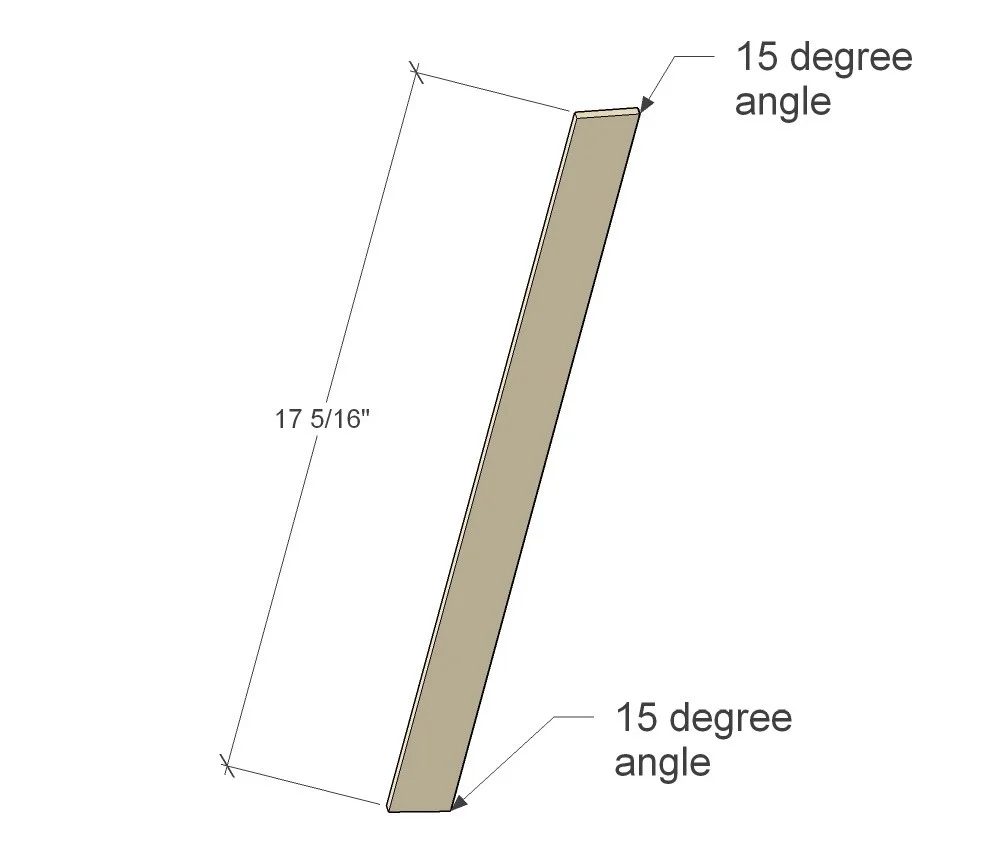
Cut List: Towel Ladder
Set miter saw to 15 degree angle, and cut 2 at 17 5/16″
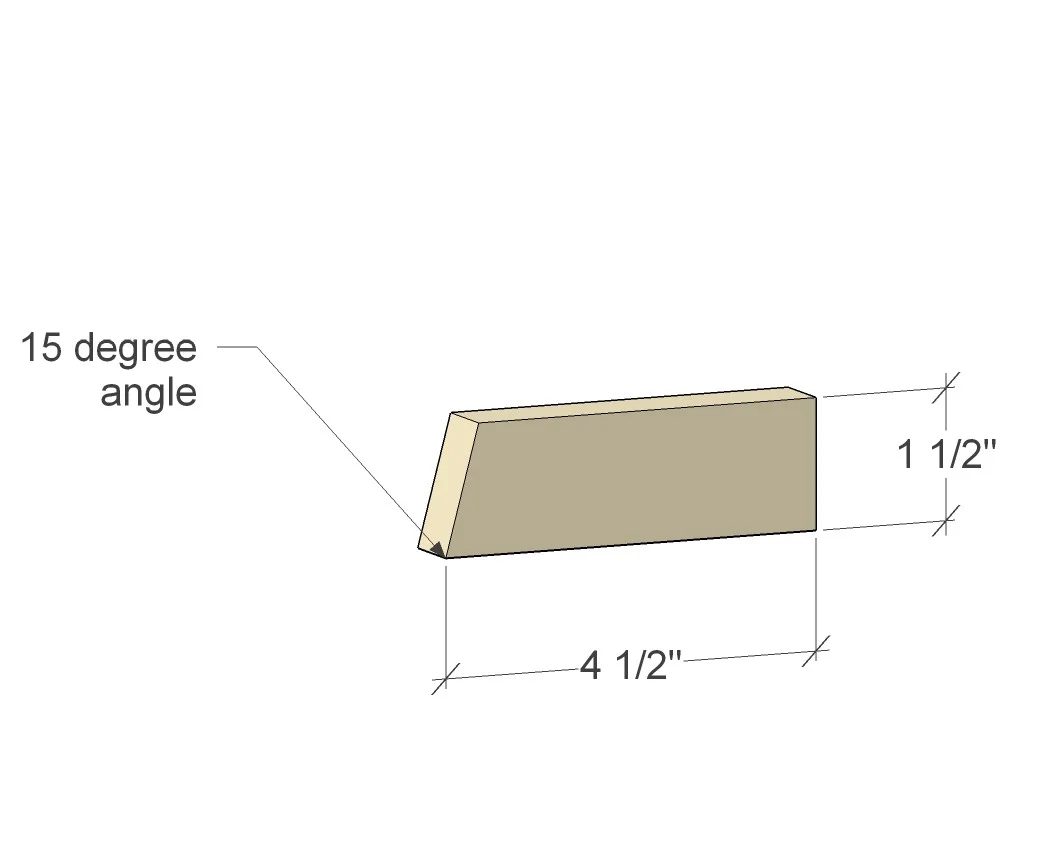
Using the cut end from the last cuts measure 4 1/2″ from the long end of the angle. Then make a straight cut. Then adjust the saw to 15 degrees again, and cut the send piece 4 1/2″. You need two of this piece.
Cut 3 pieces at 7″ with the saw set at zero.
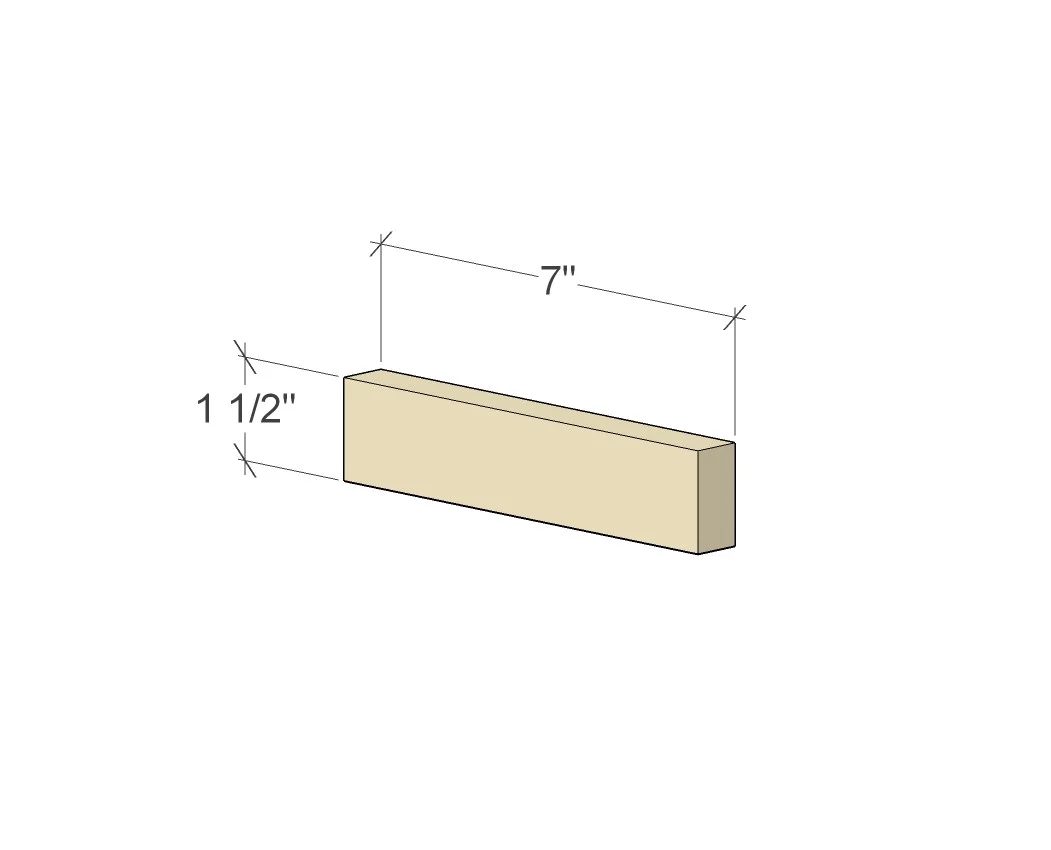
Assembly: Towel Ladder
Step 1:
Glue the 17 5/16″ piece to the 4 1/2″ piece as show for both side of the ladder.

If you don’t have clamps that work for angles pieces, you can clamp them like this. Just tighten the clamp enough to hold them in place. If you adjust them too tightly the pieces will start to slip.
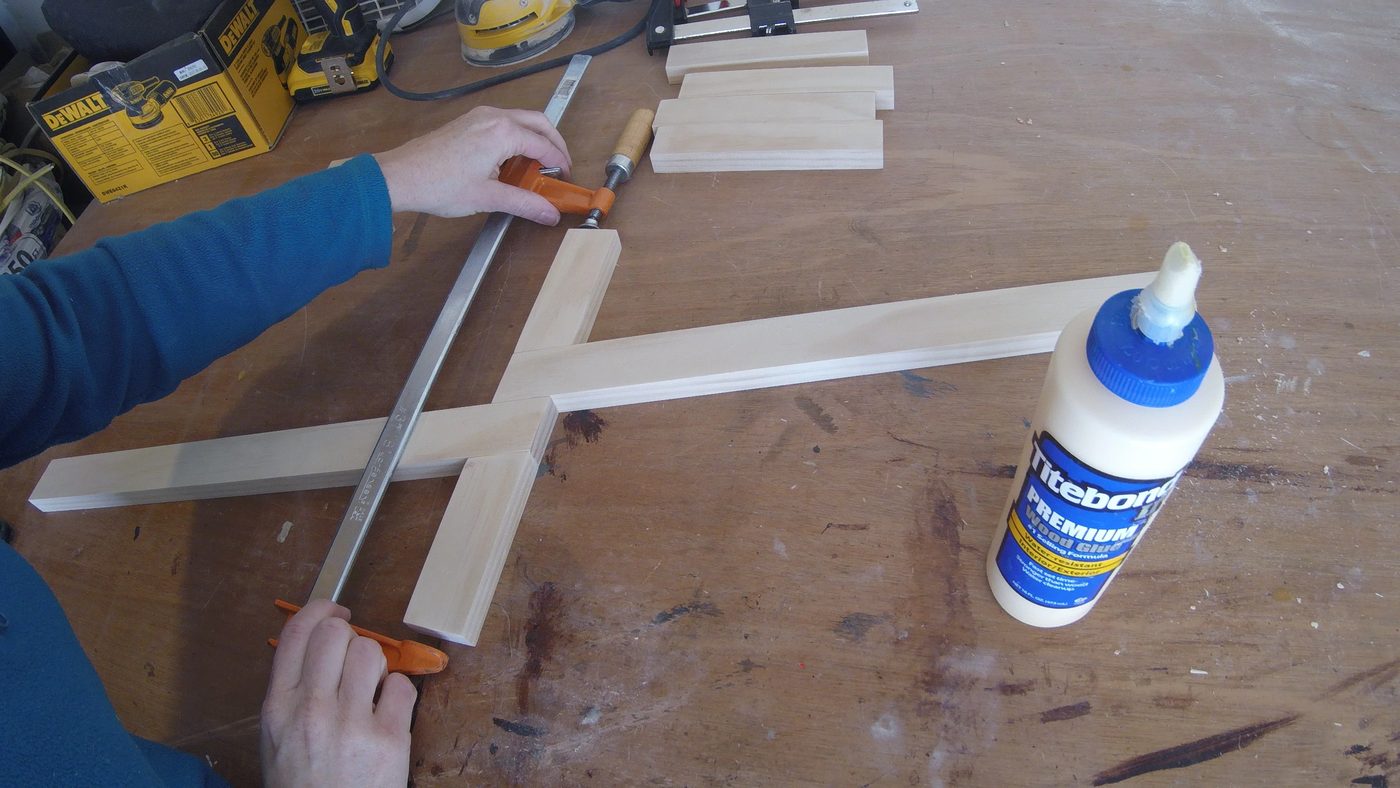
Step 2:
Mark each side of the ladder for the rungs. One at 11 5/8″ and one at 4 1/4″.
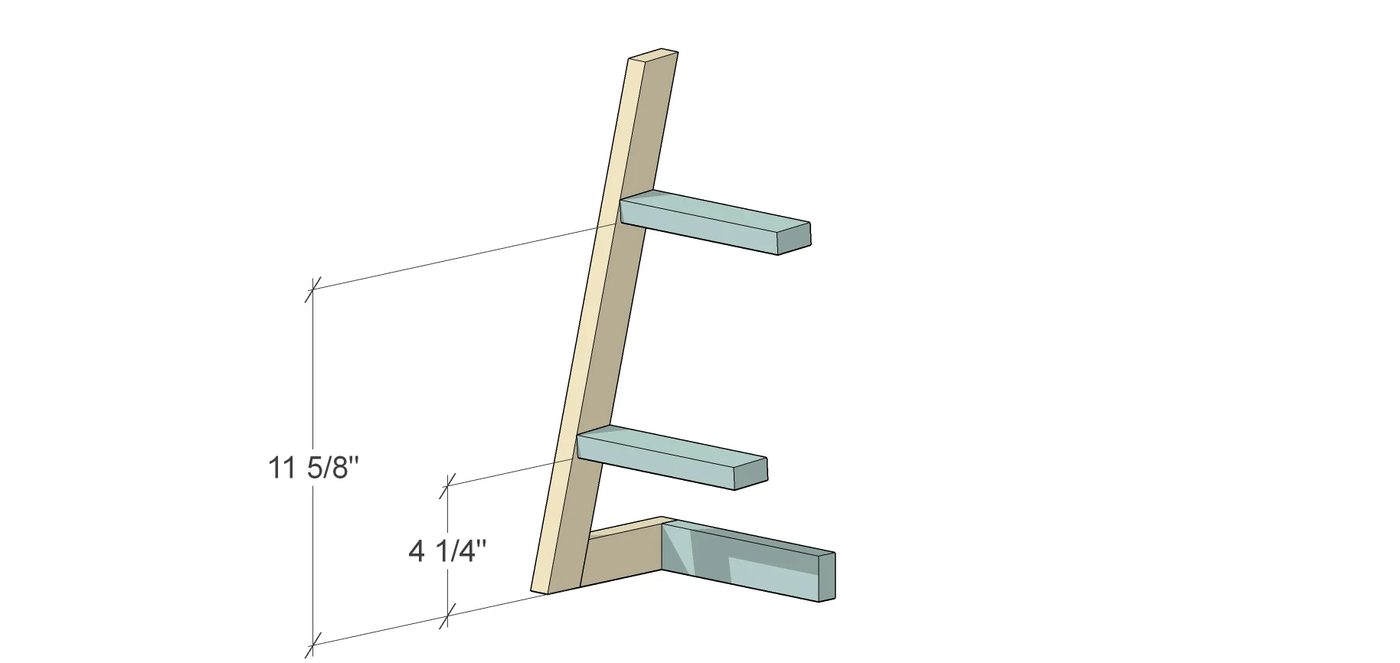
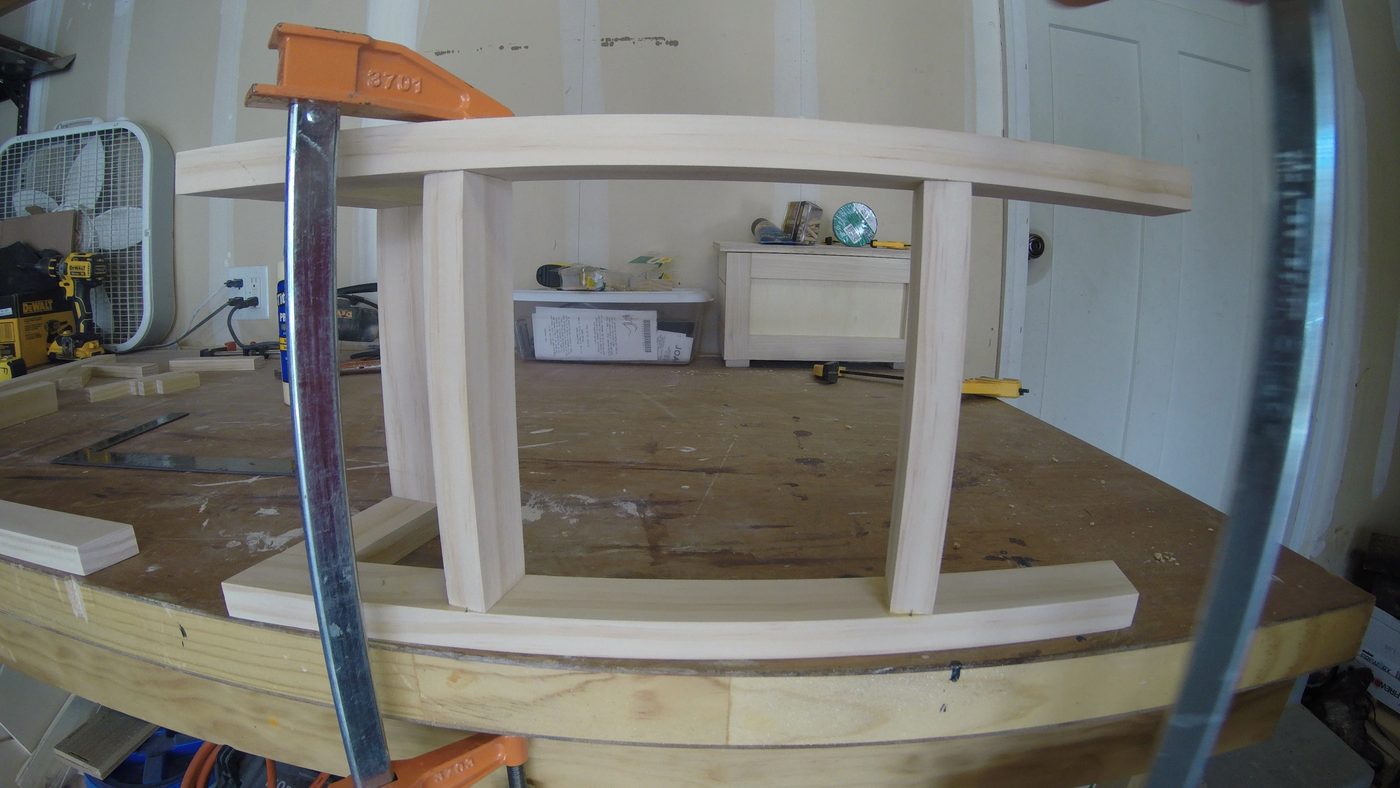
I laid the ladder on it’s side to clamp the pieces together.
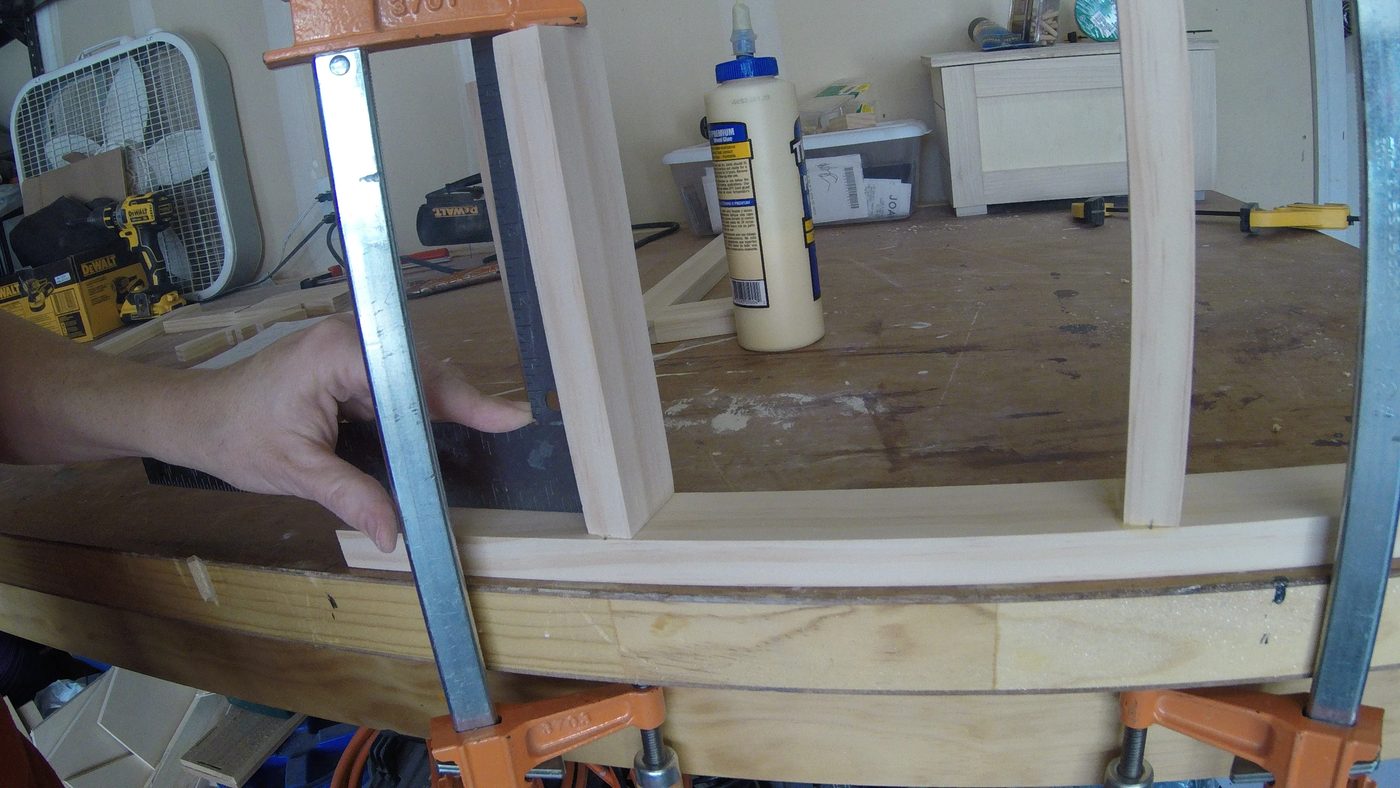
Step 3:
Once the glue has set, line up the other side of the ladder with the rungs.
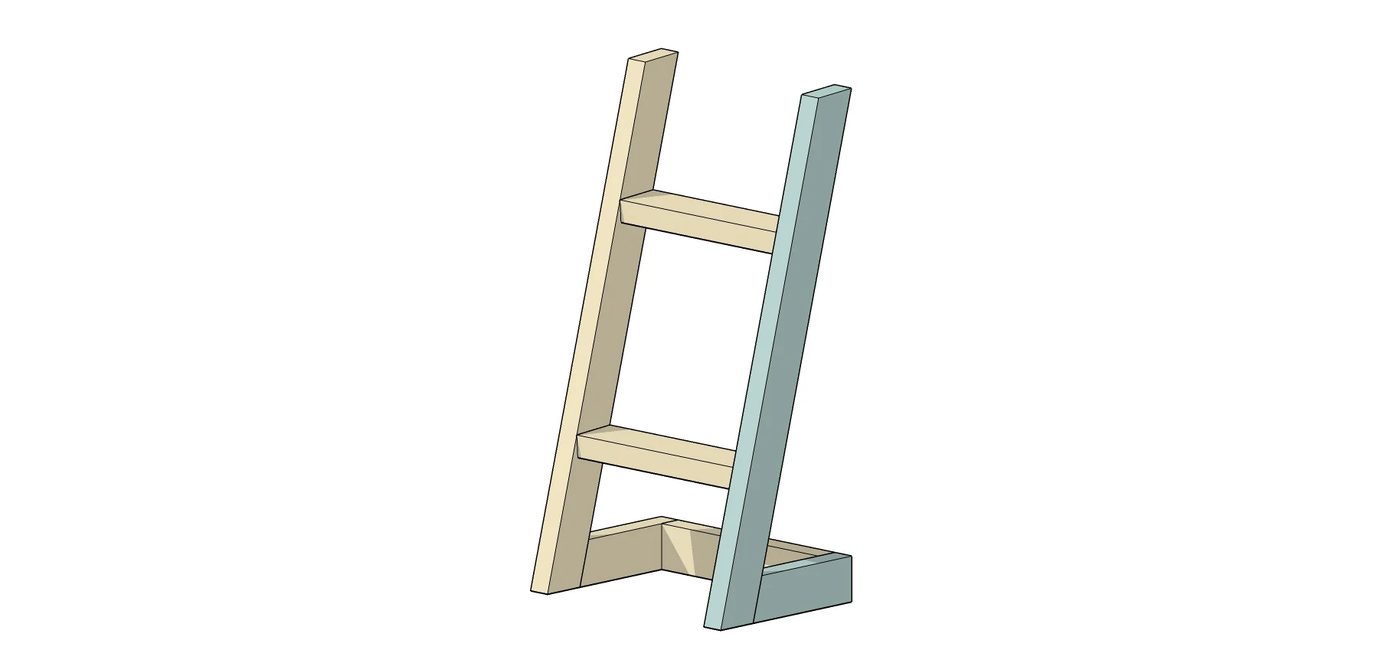
Glue and clamp into place.
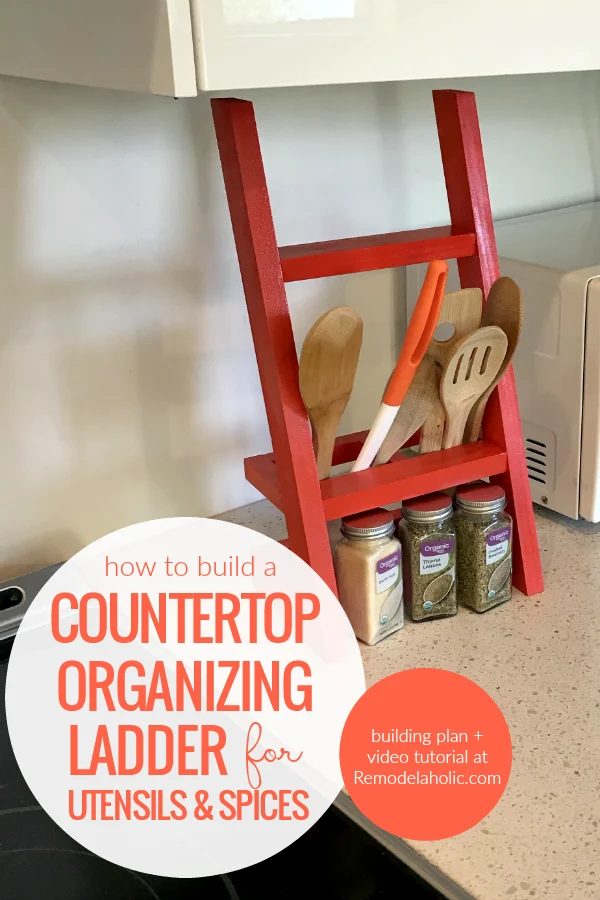
How to Build a Countertop Ladder to Organize Utensils and Spices
Cuts: Utensil Ladder
Use same as for Towel Ladder
Cut 2 Sides @ 17 5/16″
Cut 2 bottoms for the sides @ 4 1/2″
Cut 3 @ 7″
New cuts
Cut 2 additional @ 7″
Cut 1 @ 2 3/8″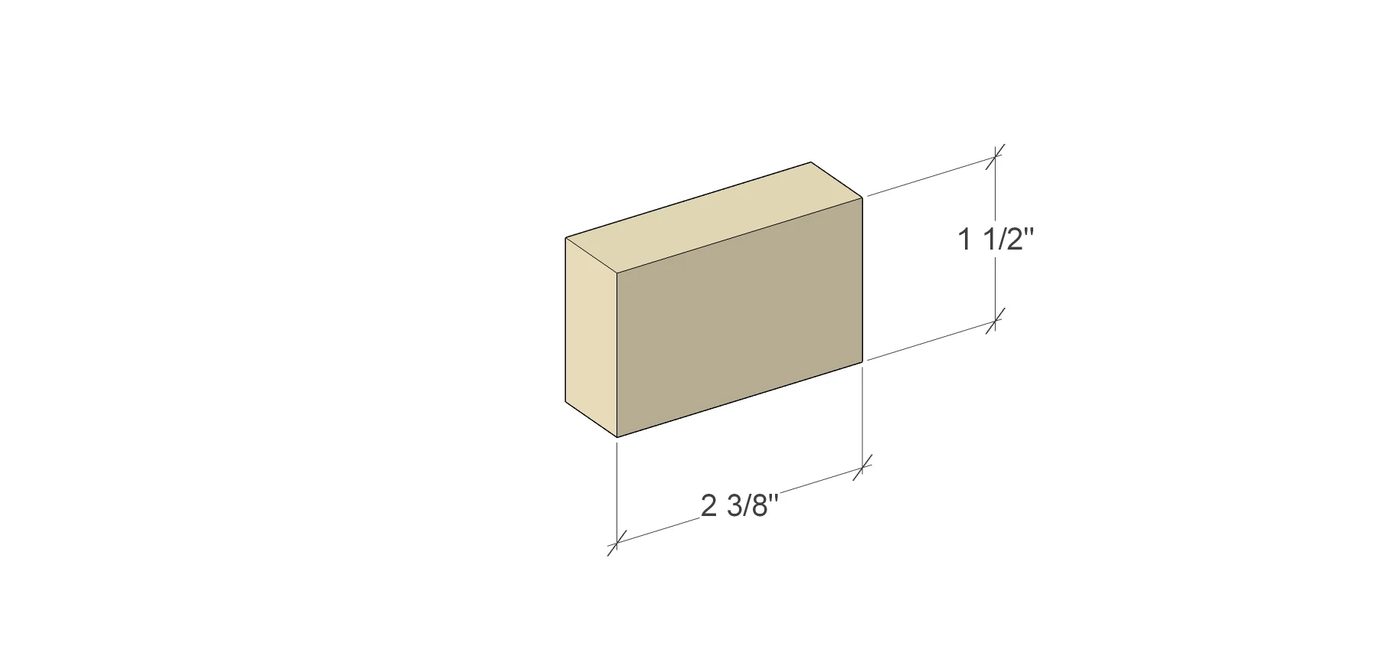
Set table saw to rip down to 3/4″
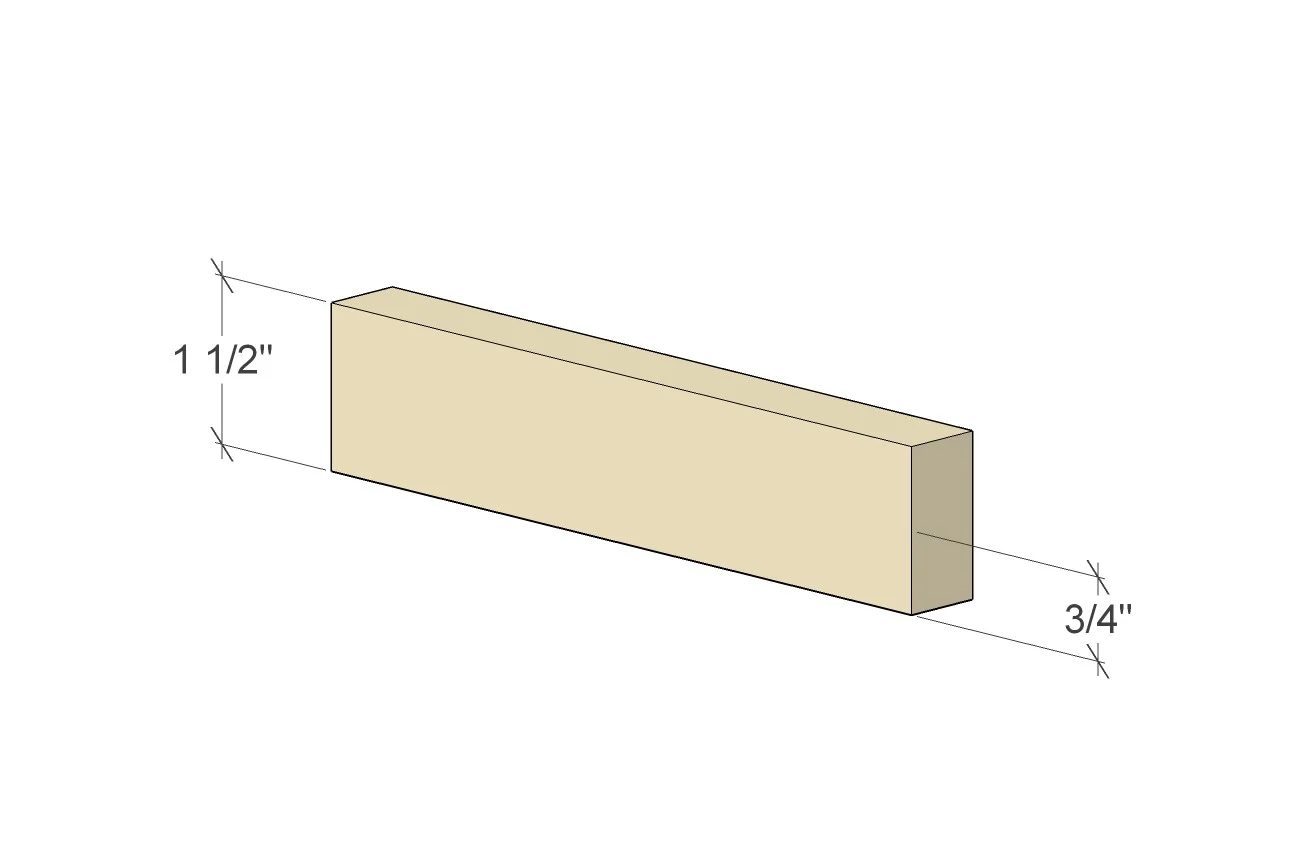
Rip down one of the 7″ pieces
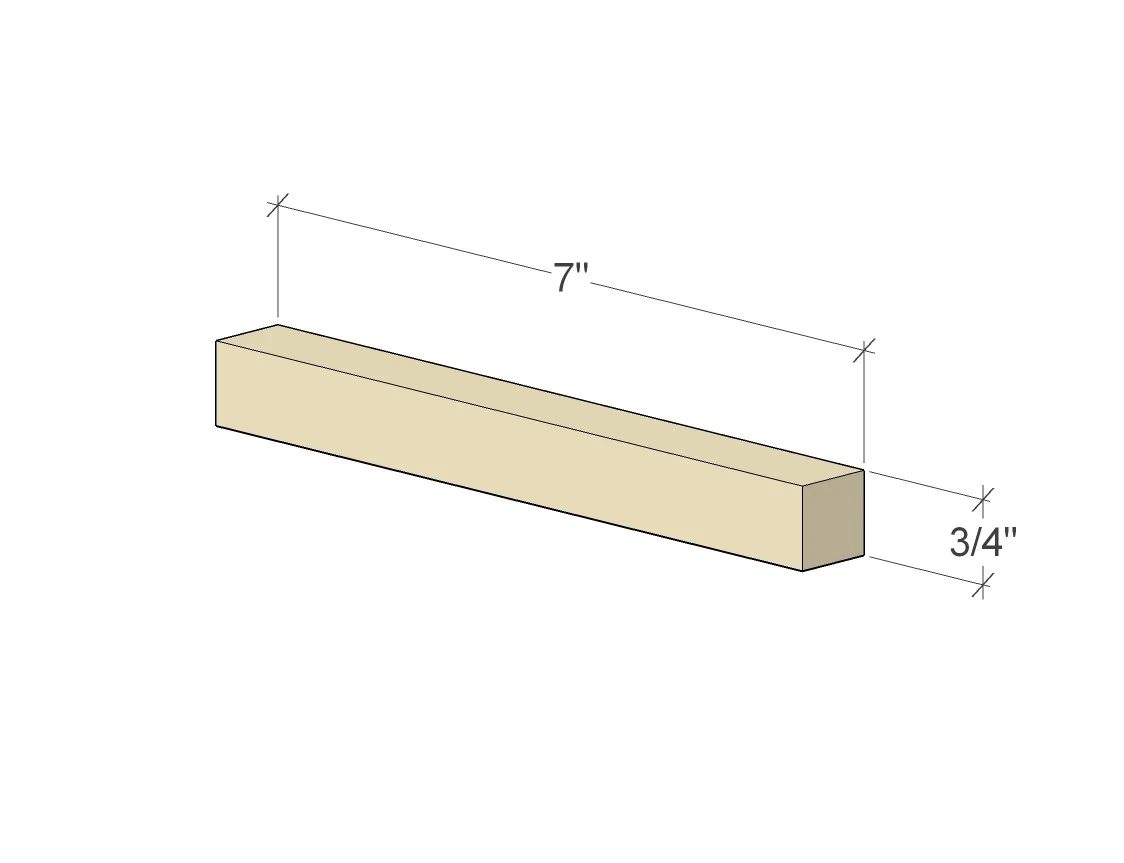
Then rip down the leftover piece of 1×2 to 3/4″ and then cut as follows:
1 at 2 3/8″
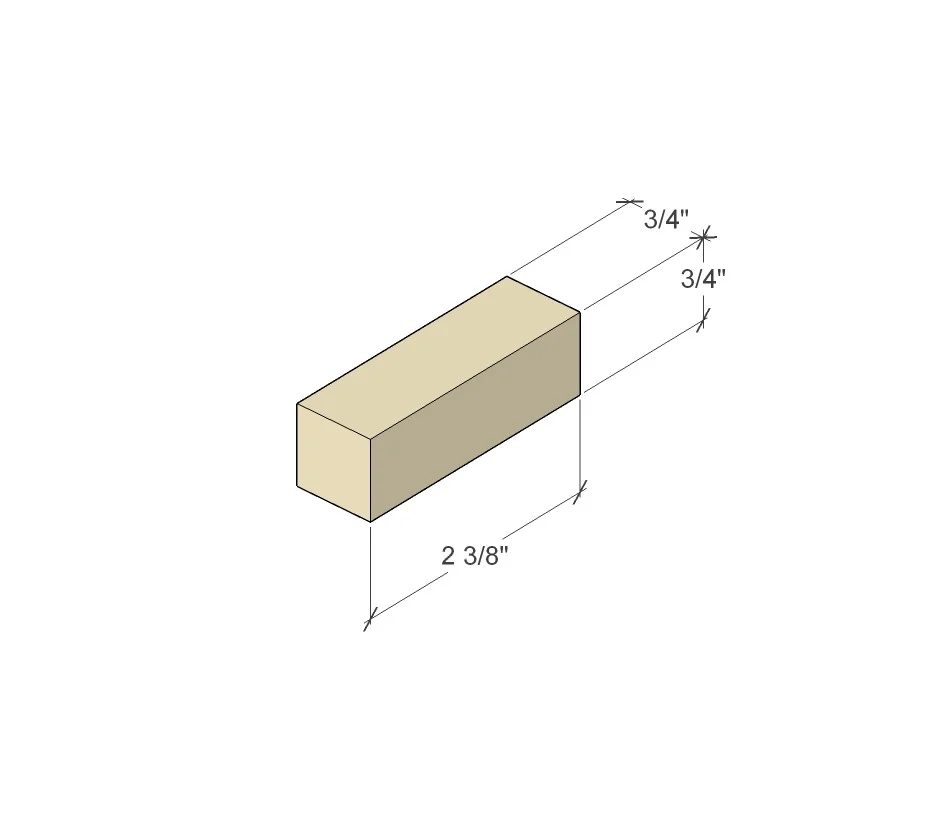
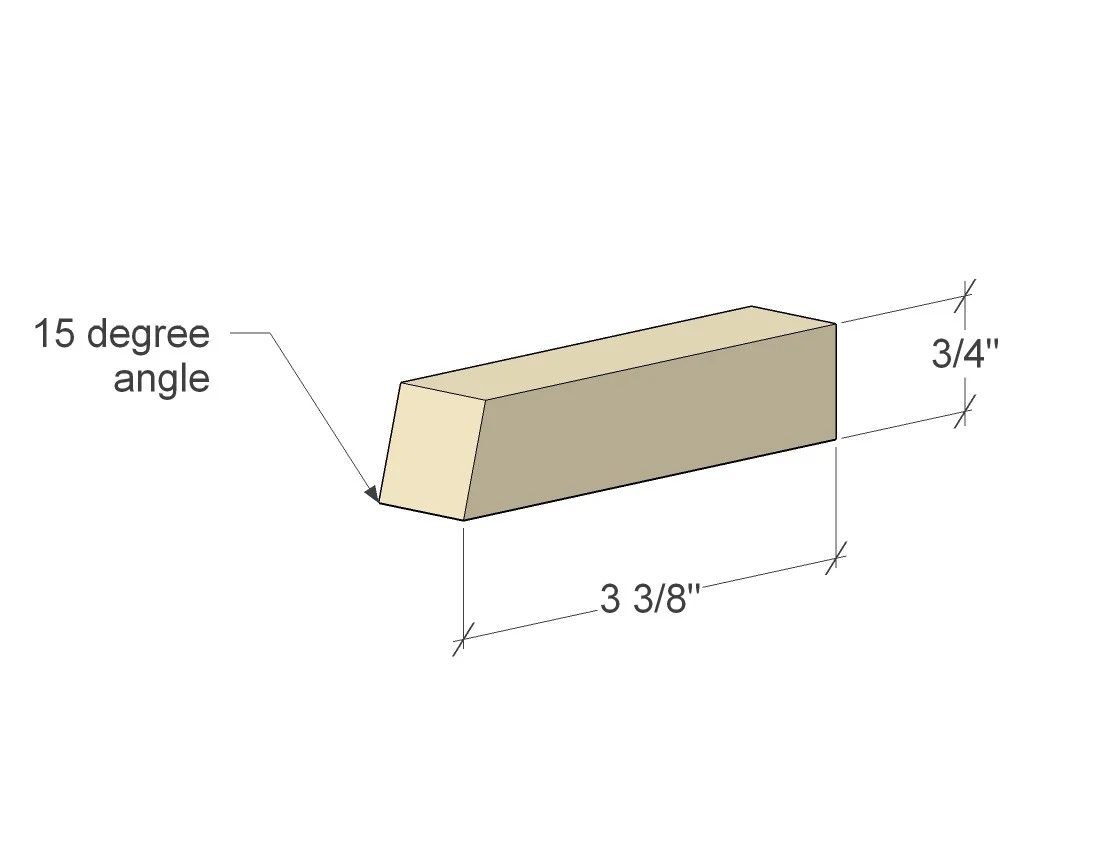
Cut 2 at 3 3/8″ one end is a straight cut, the other at 15 degrees.
Assembly: Utensil Ladder
Complete Steps 1 & 2 as described for the Towel ladder.
Step 3
Assemble the bottom pieces for the utensil holders. Glue the remaining 7″ piece with the 2 3/8″ piece centered.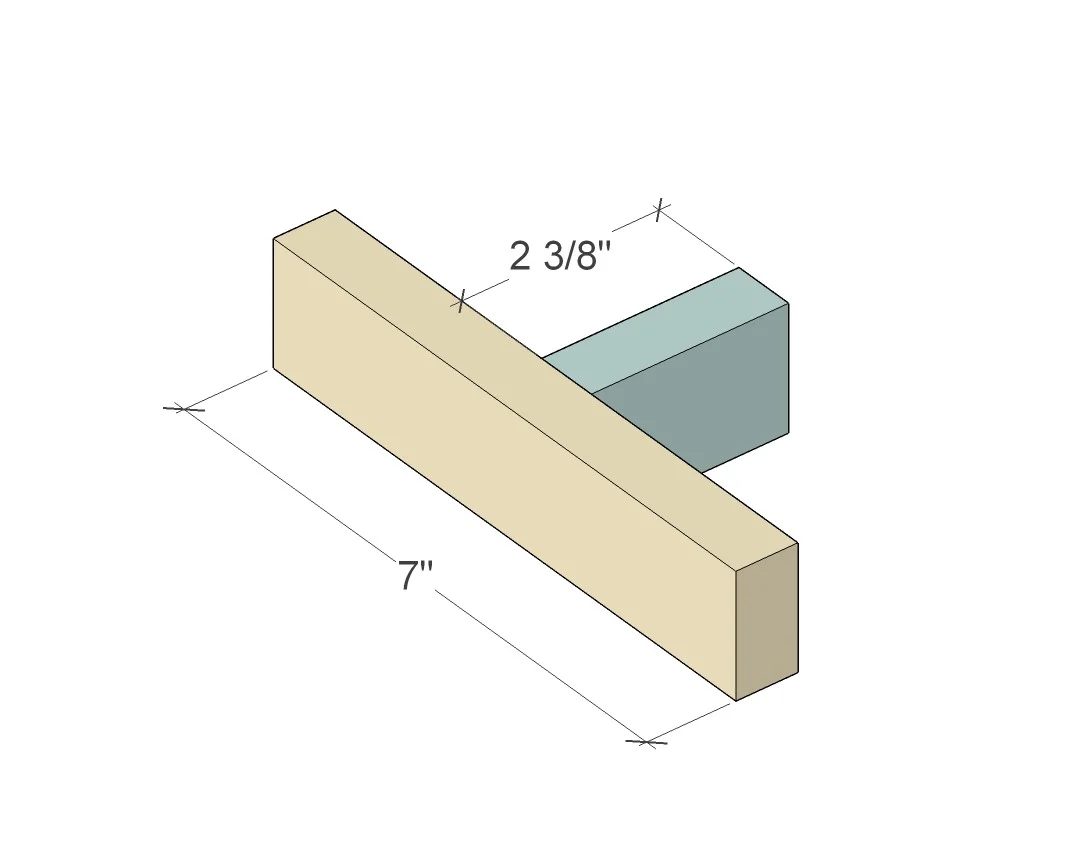
Step 4
Glue into place with the assembled side and rungs.
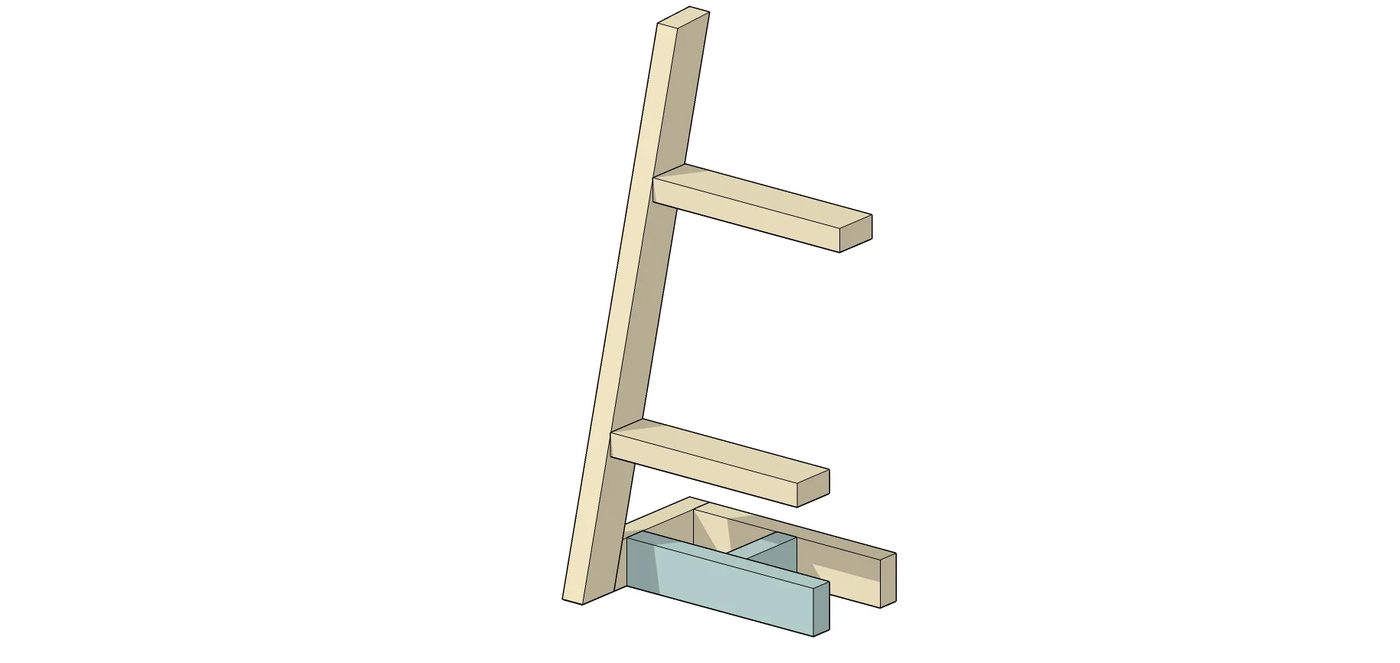
I like to clamp to my table to keep the pieces stable.
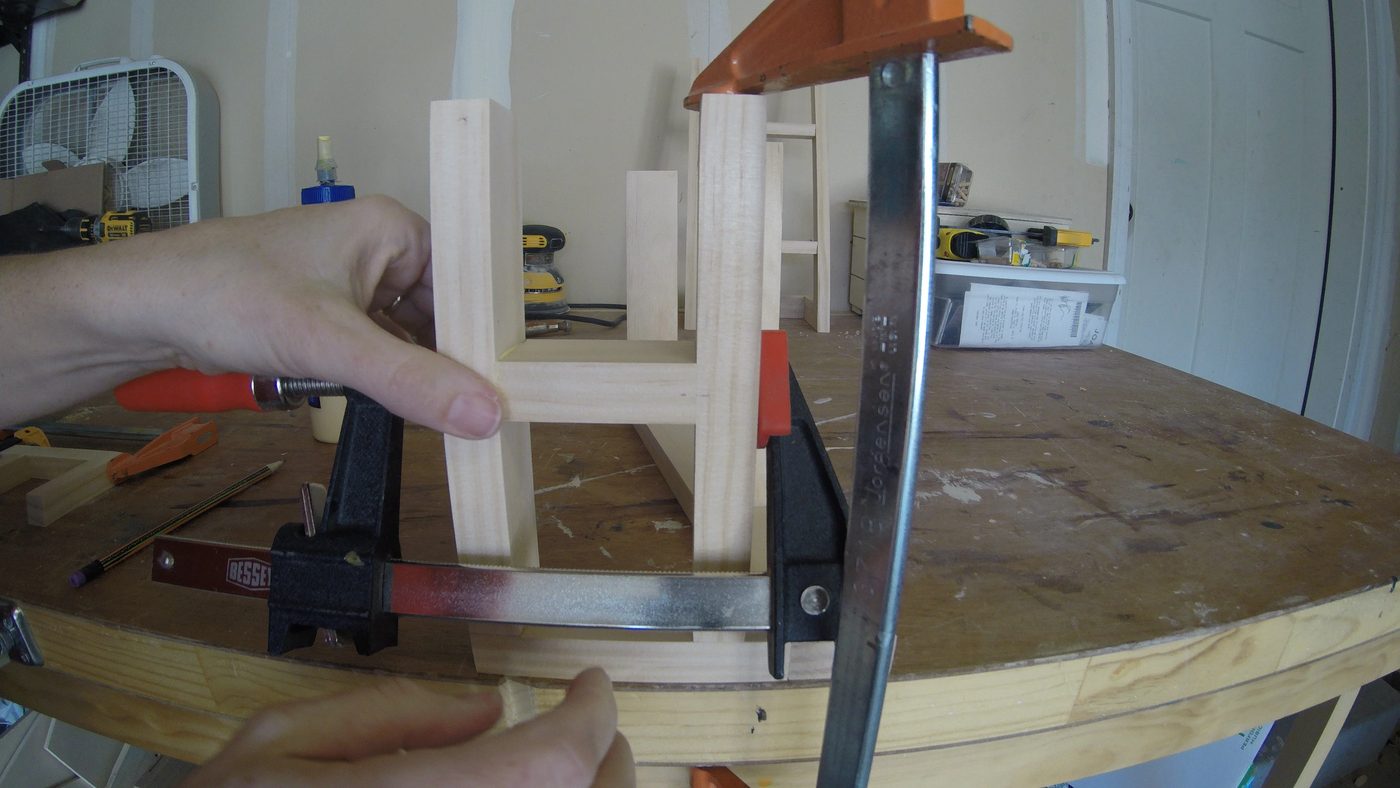
Step 5
Glue the remaining side to the assembled pieces. Clamp until glue sets.
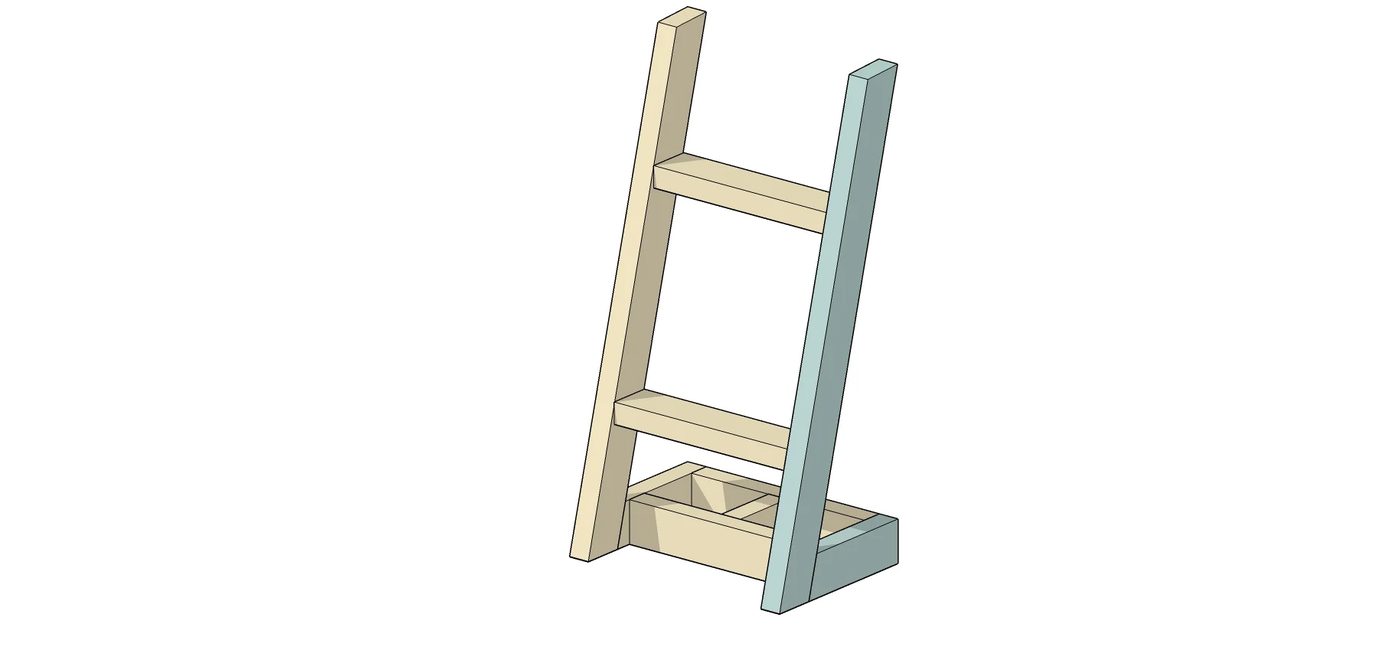
Step 6
Glue 3/4″ pieces together as shown. With the angled pieces on the outside, and the straight cut centered.
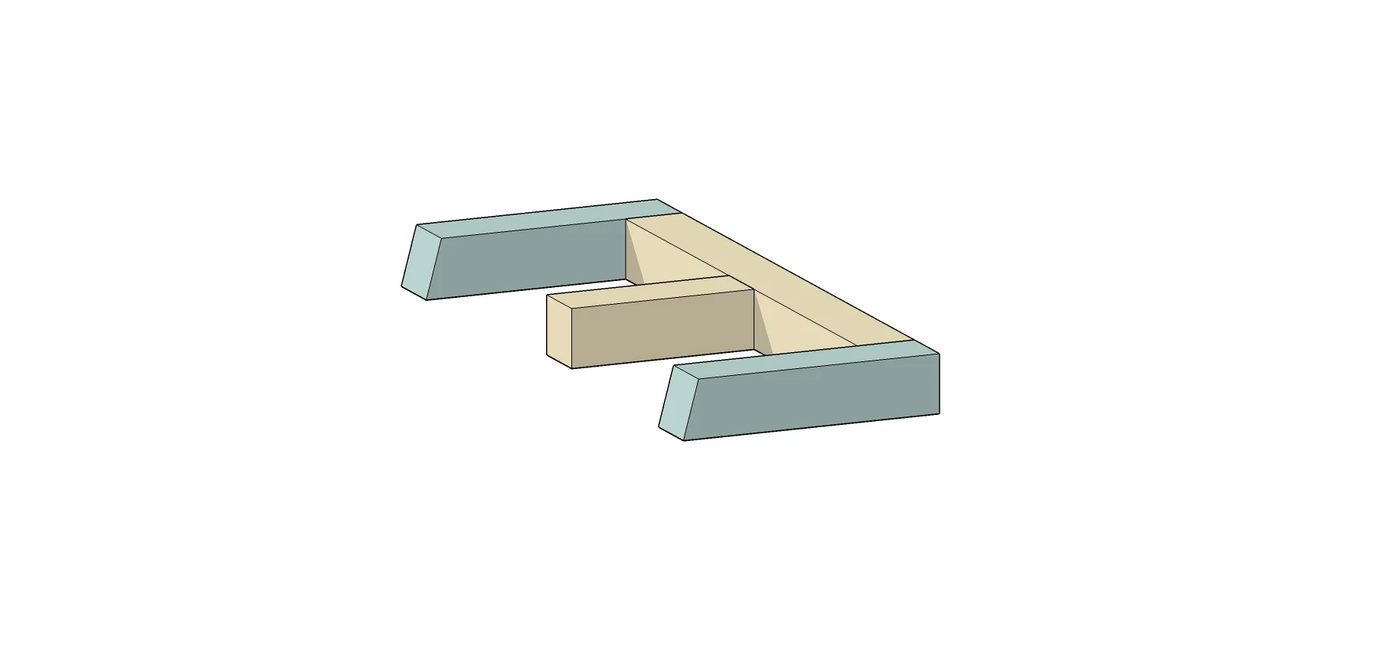
Step 7
Glue to assembled pieces.
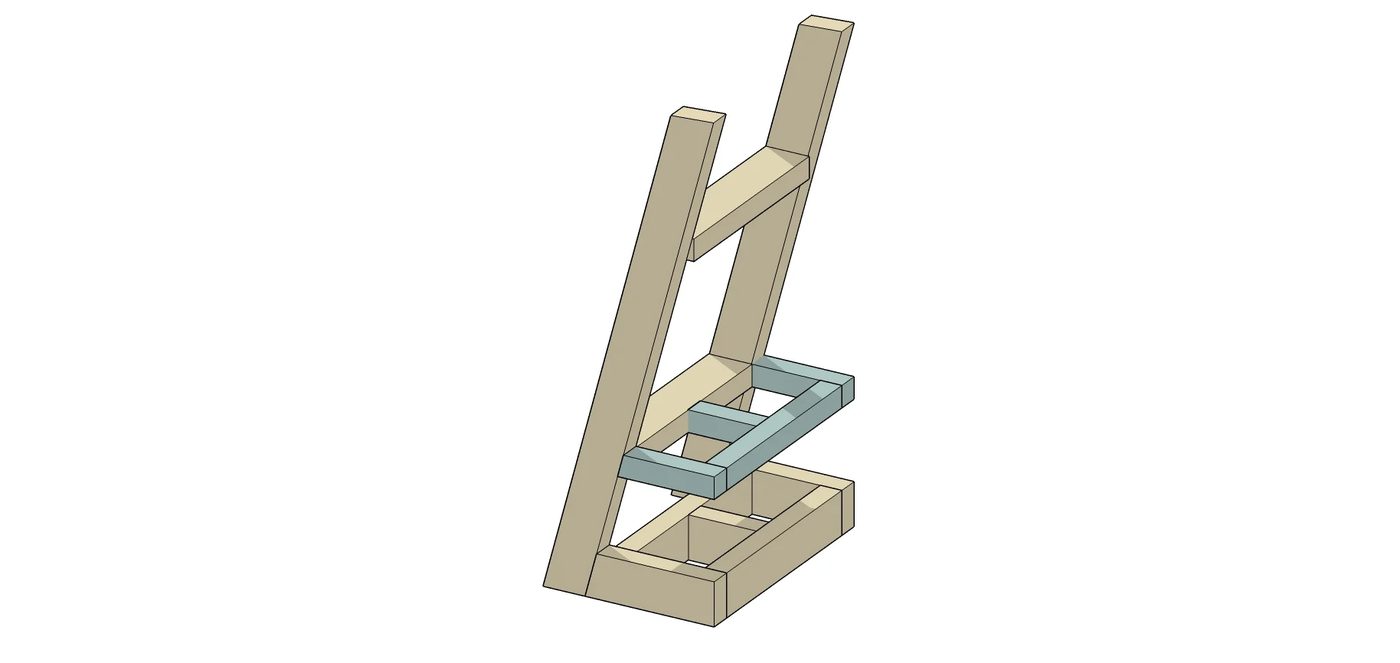
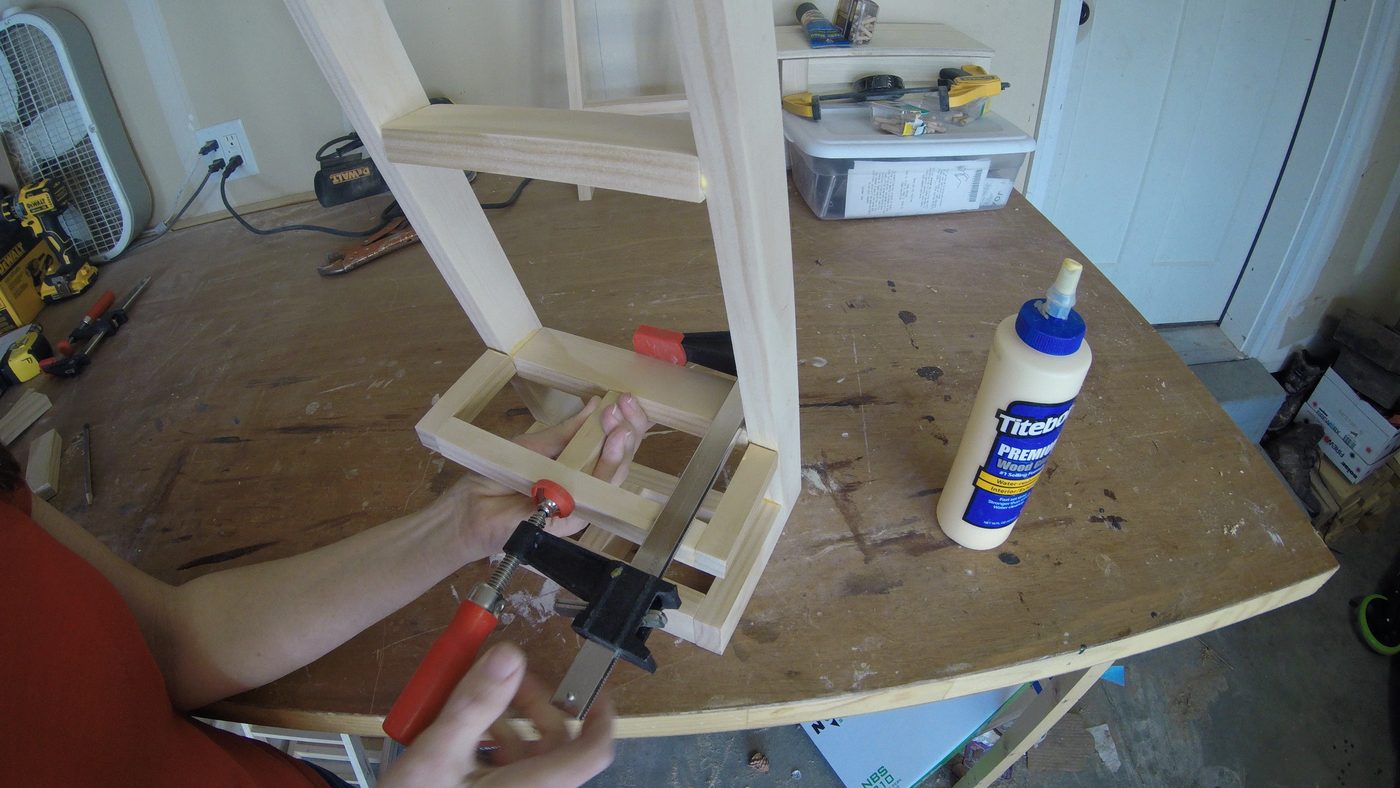
Clamp into place. This was a tricky step. Adjust the clamp until you feel like it is secure.
Finish
I wanted to go with a two tone finish. So I painted one side of each ladder pink.
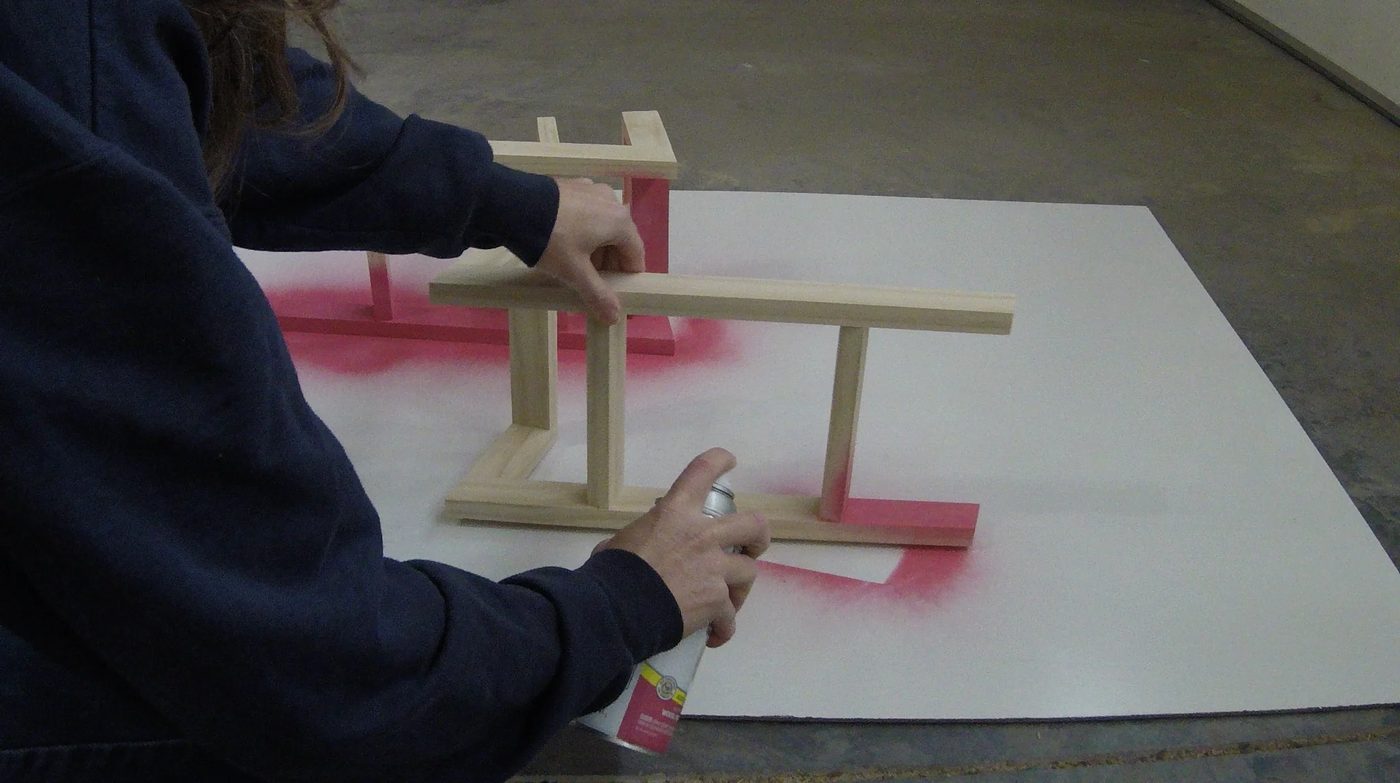
Then I taped off the pink areas.
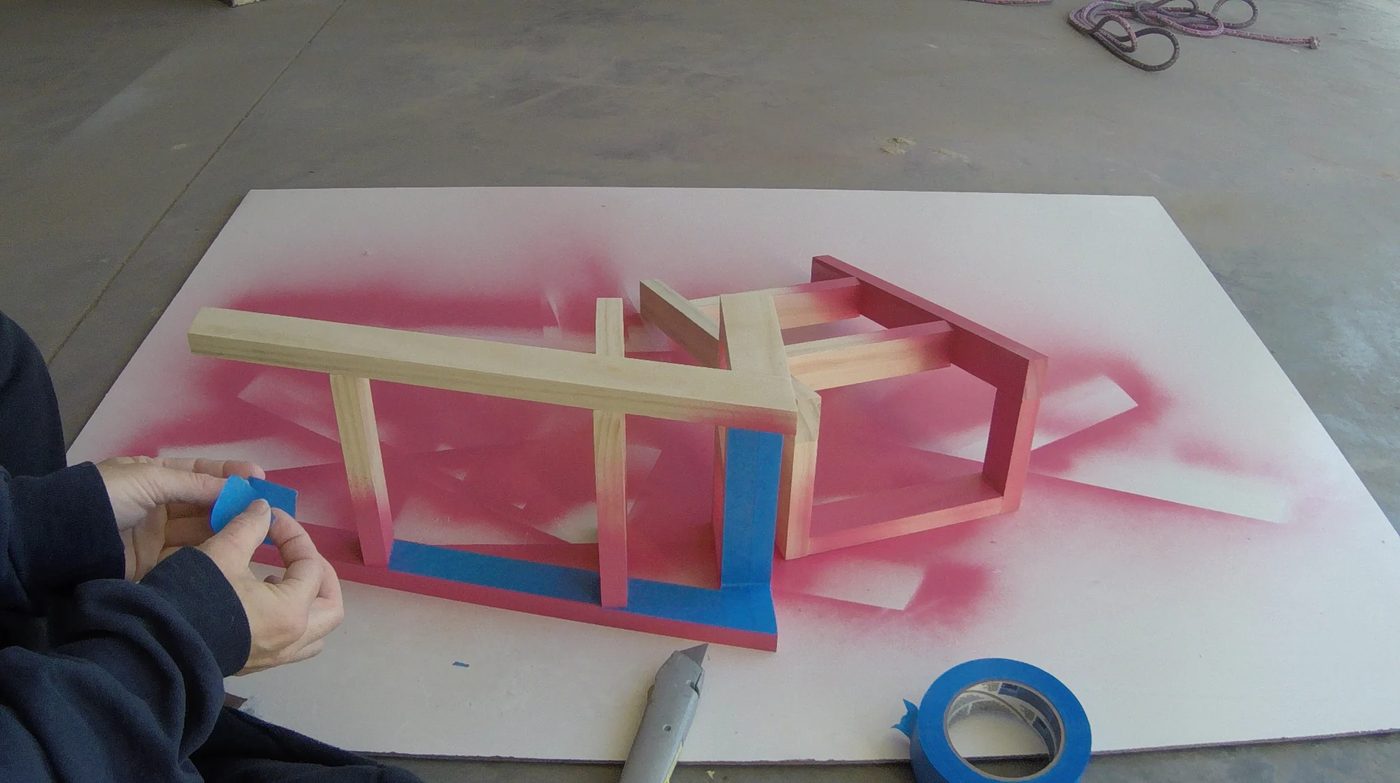
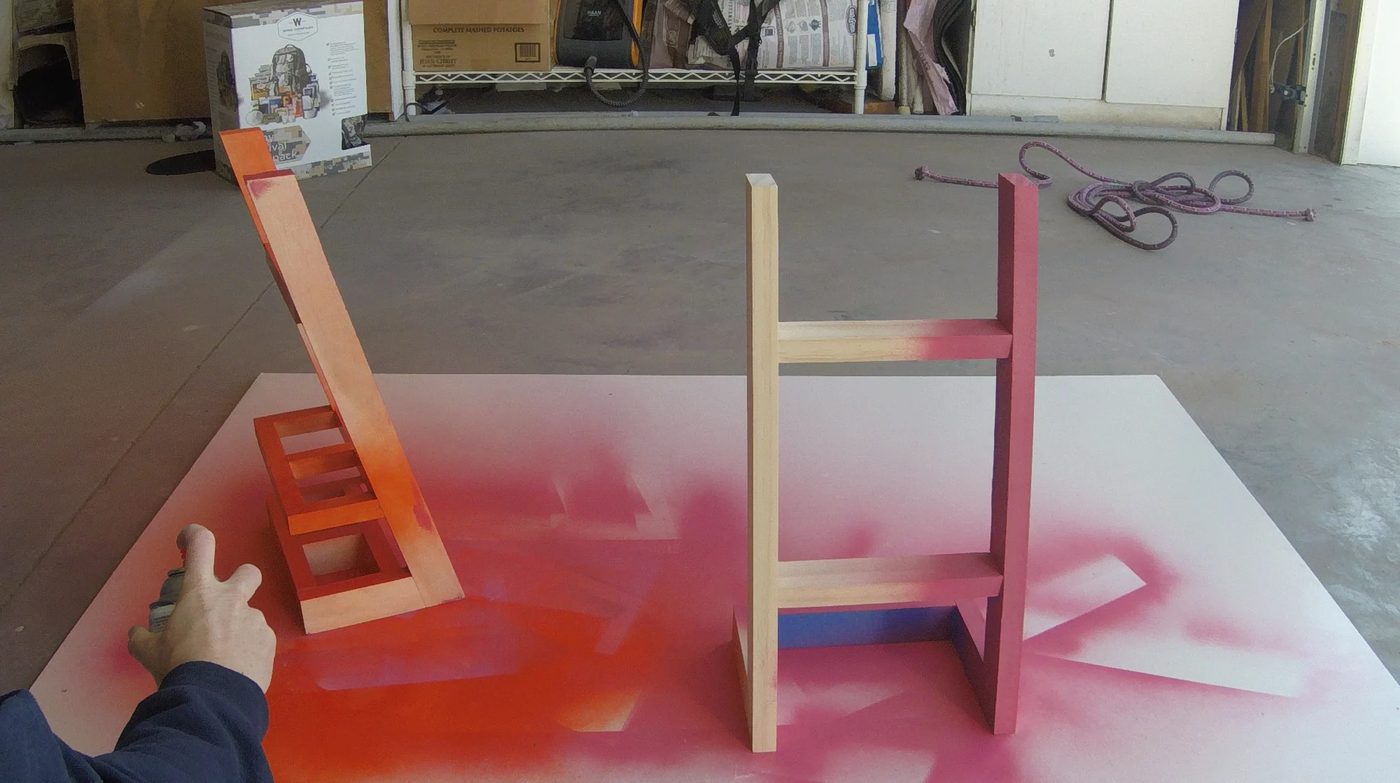
Finally I sprayed the remaining sides orange. This had to be done in stages in order to paint all of the nooks and crannies on each ladder!
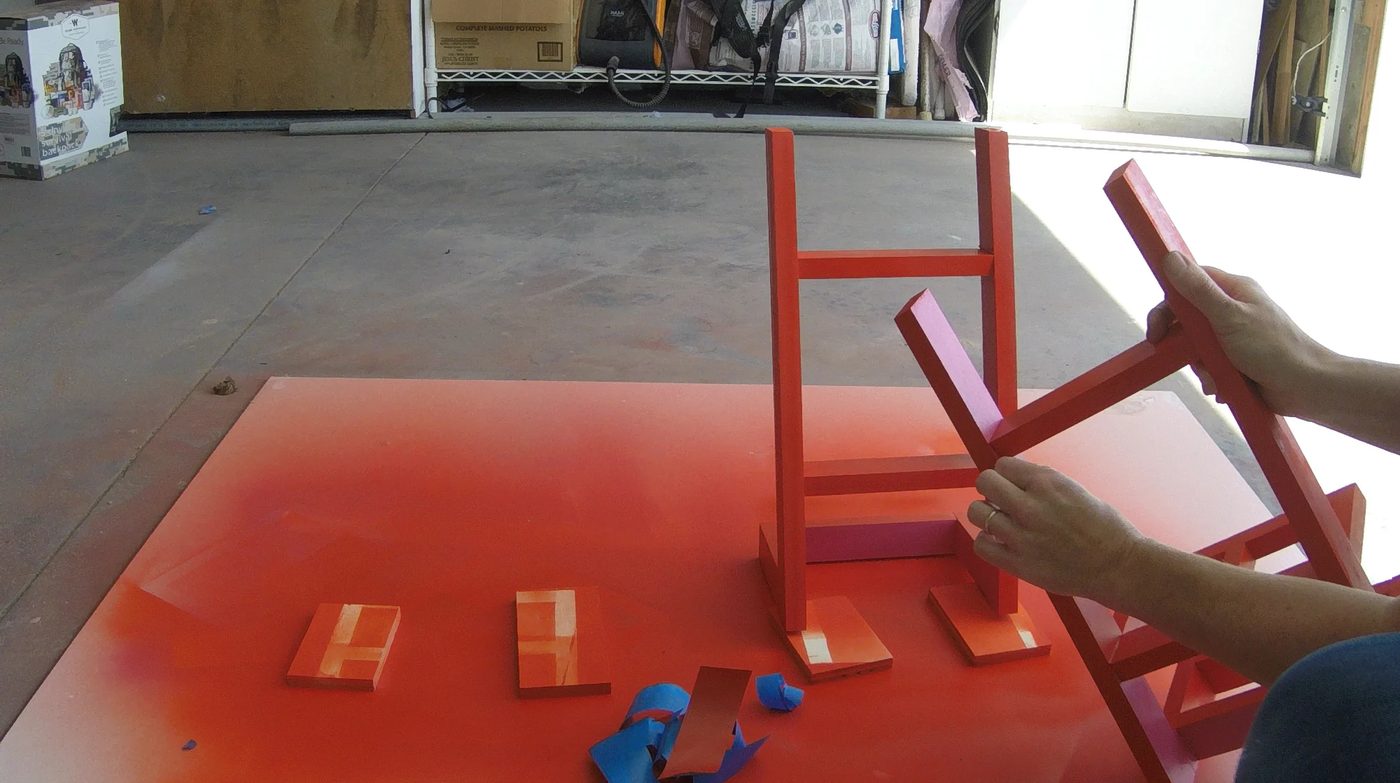
I just love the moment when you peel off the tape!
It’s so fun to see the results!
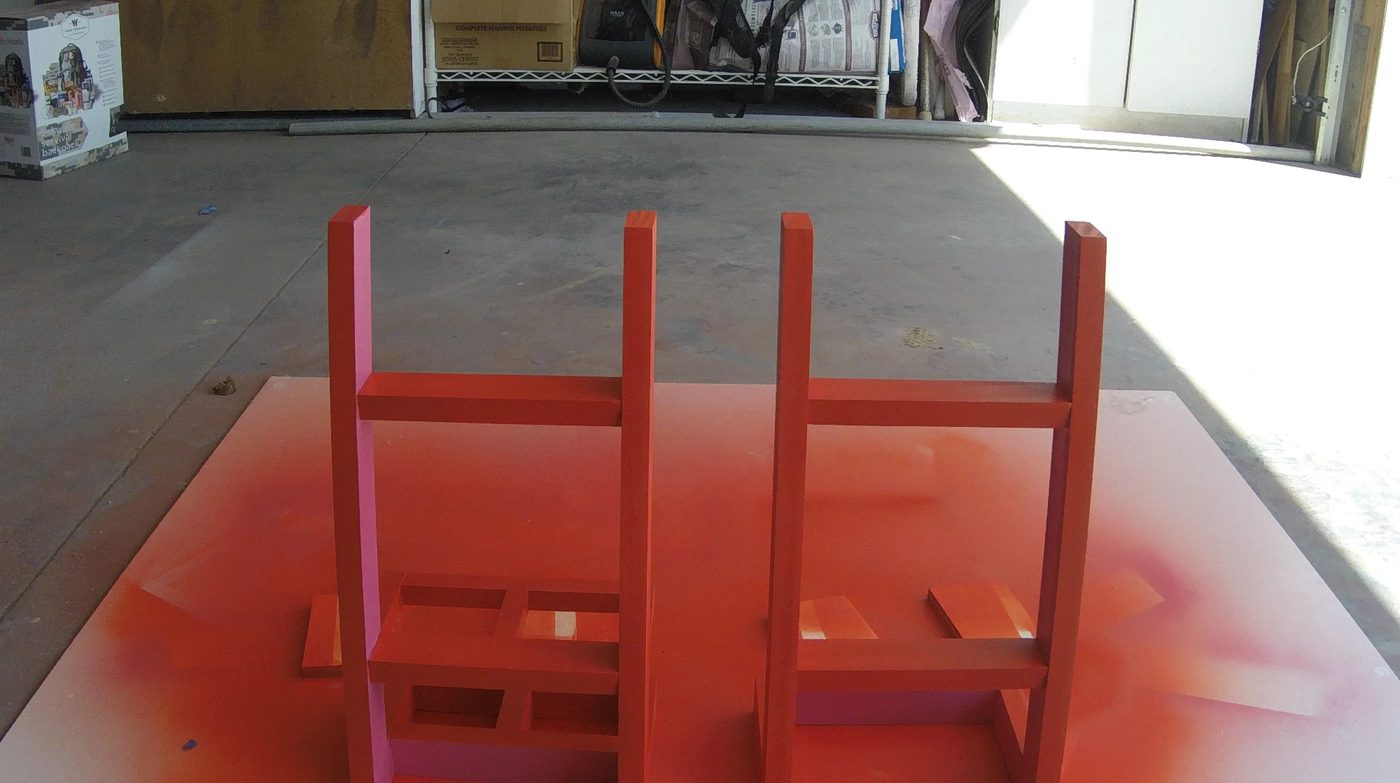
I hope you enjoyed this project, and that you are able to utilize your counter space with these cute ladders!