Reinventing Your Kitchen: Creative DIY Cabinet Hardware from Repurposed Fuses
For many homeowners, the kitchen represents the heart of the home – a place for culinary creations, family gatherings, and everyday living. When considering a refresh, major renovations often come with prohibitive price tags. However, transforming your kitchen doesn’t always require a complete overhaul. Sometimes, the most impactful changes come from the smallest, most unexpected details. This is the story of how a neutral kitchen was given a vibrant, unique personality through a remarkably simple, budget-friendly, and profoundly creative approach: repurposing old electrical fuses into stunning cabinet hardware.
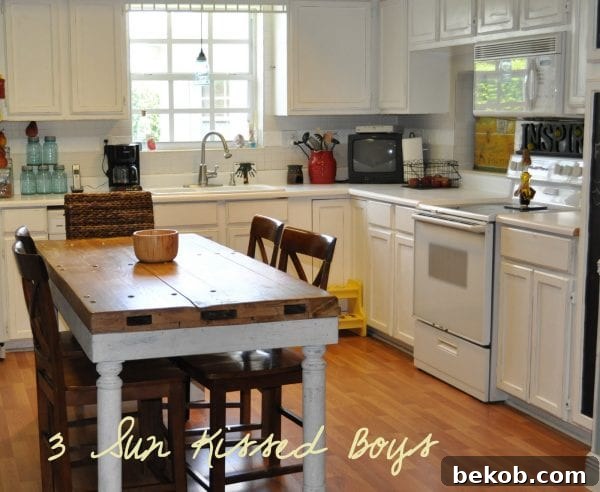
My journey to personalize my kitchen began nearly four years ago when I first moved into my current home. The kitchen, while perfectly functional, was a true blank slate. It featured a very neutral color palette and a remarkably simple design, devoid of any distinctive features or personal touches. While this presented a canvas of endless possibilities, it also meant a lack of character that I was eager to infuse.
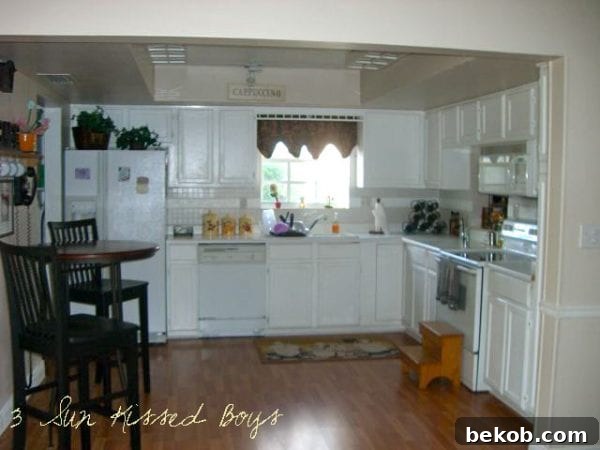
One of the most immediate and striking aspects of its simplicity was the complete absence of cabinet knobs. While some might see this as minimalist, I saw it as an unfinished aesthetic, a missed opportunity for adding personality. For months, I embarked on an extensive quest, tirelessly searching for the perfect cabinet knobs – those special pieces that would not only be functional but also truly resonate with my personal style and elevate the kitchen’s overall look.
My search led me to some truly exquisite options. I fell head over heels for a set of beautiful mercury glass knobs from Anthropologie. Their vintage charm and elegant shimmer were exactly what I envisioned for my kitchen. However, the dream quickly met the reality of a budget. Living in a single-income household meant that the price tag of $8 per knob was simply unsustainable, especially when I needed a total of 22 pieces. That would amount to nearly $180, a significant investment for hardware alone.
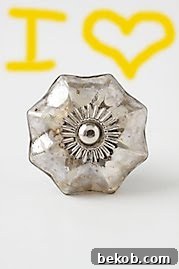
Despite my adoration for those Anthropologie knobs, I couldn’t justify the expense. Trust me, I checked their website almost daily, hoping for a miraculous sale, but alas, they remained at full price. This constant struggle between desire and affordability pushed me to think differently, to look beyond conventional retail and seek out a more affordable, yet equally creative, alternative that would allow me to express my style without breaking the bank. The challenge became a catalyst for innovation.
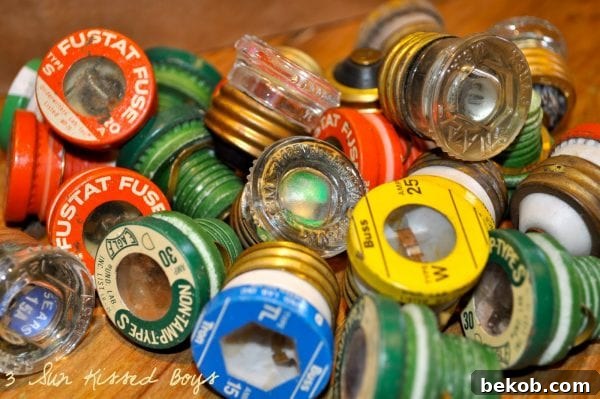
The solution, as often happens with the best DIY projects, arrived from an unexpected source and place: the Habitat for Humanity ReStore. These incredible stores are treasure troves for anyone looking to upcycle, find unique building materials, or simply save money on home improvement projects. During a visit last weekend, my eyes landed on a bin filled with old electrical fuses. And there it was – my answer, staring back at me, colorful and full of potential, priced at an astonishing $0.25 each! This was not just a cost-saving measure; it was an opportunity to inject genuine personality and a unique story into my kitchen.
The Unexpected Charm of Repurposed Fuses
Why do old fuses make such compelling cabinet hardware? Beyond the incredible affordability, their appeal lies in their inherent character. Each fuse, with its varying colors – often a vibrant mix of reds, blues, and greens – and distinct shapes, brings a touch of industrial charm and vintage flair. They instantly introduce a “pop of color” to an otherwise monotonous kitchen, transforming it from bland to bold. This isn’t just about saving money; it’s about making a statement, embracing sustainability through upcycling, and creating something truly one-of-a-kind.
Using repurposed fuses offers numerous advantages. Firstly, it’s an unparalleled budget-friendly solution, especially when compared to designer knobs. Secondly, it champions the “reduce, reuse, recycle” philosophy, diverting items from landfills and giving them a second, creative life. Thirdly, and perhaps most importantly, it guarantees uniqueness. No two kitchens will have the exact same set of fuse knobs, ensuring your space reflects your individual style and becomes a conversation starter for guests.
The DIY Process: From Idea to Installation
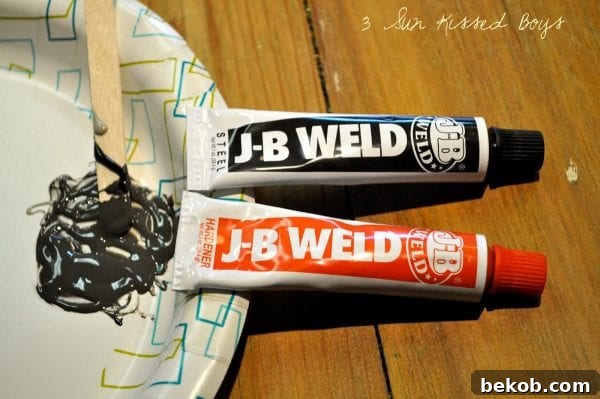
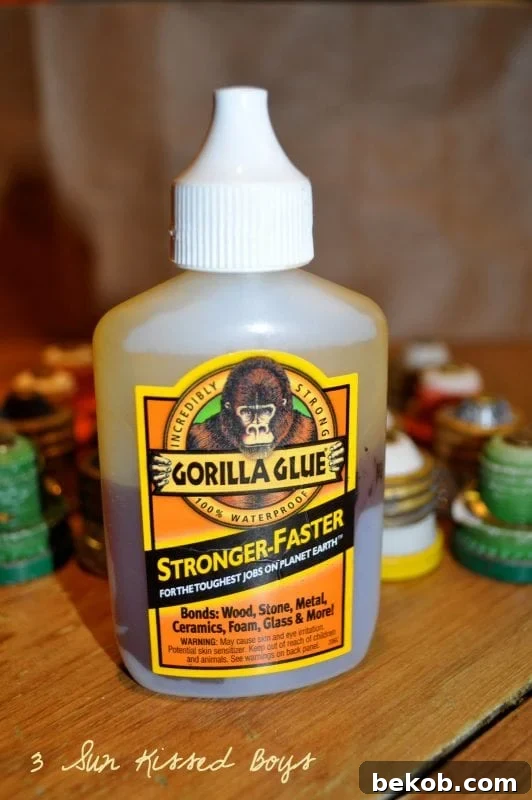
Once the fuses were acquired, the practical challenge of attaching them began. My initial thought was to use Gorilla Glue, a strong adhesive often lauded in DIY circles. However, as many experienced DIYers know, not every idea works perfectly the first time. The Gorilla Glue, unfortunately, didn’t hold up to the repeated stress of opening and closing cabinet doors; the fuses came off rather quickly. This setback, however, only fueled my determination to find a more robust and permanent solution.
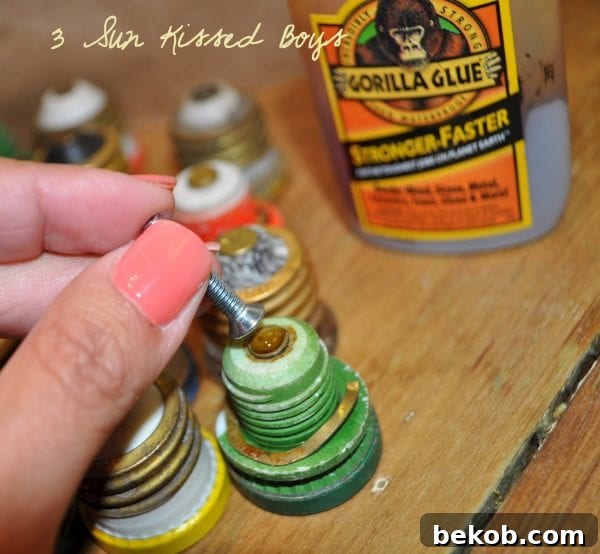
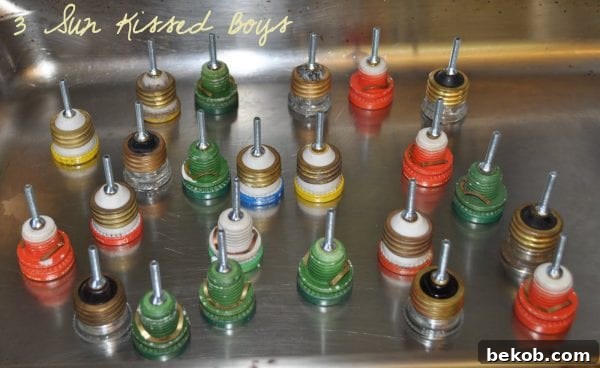
The successful method, as hinted by the images and the simple “this worked just dandy!!!” declaration, likely involved a mechanical fastening system, which is generally more durable for frequently used hardware. For those inspired to try this ingenious hack, here’s a general approach to installing fuse cabinet knobs effectively:
- Gather Your Materials: You’ll need your chosen fuses, small machine screws or bolts (ensure they are slightly longer than the combined thickness of the fuse and your cabinet door), washers, and nuts. A power drill with an appropriate drill bit (matching the screw diameter) will also be essential.
- Preparation and Planning: Clean each fuse thoroughly to remove any dirt or grime. Carefully mark the exact spot on each cabinet door and drawer front where the new knob will be placed. Precision here is key for a cohesive look.
- Drilling the Holes: Using a drill bit slightly smaller than your screw, carefully drill pilot holes through the marked spots on your cabinet doors. For fuses, you might need to create a small indentation or carefully drill into the end cap to allow the screw to pass through without damaging the fuse’s integrity. Ensure you drill straight to prevent splitting the wood or creating crooked hardware.
- Attaching the Fuses: Insert the screw through the fuse from the front. Then, from the inside of the cabinet door, feed the screw through the drilled hole. Place a washer over the screw on the inside for added stability and to protect the wood, and then securely fasten it with a nut. Tighten firmly but gently to avoid overtightening and stripping the screw or damaging the fuse.
This mechanical fastening method provides the necessary strength and longevity for everyday kitchen use, ensuring your unique fuse knobs stay put for years to come. It’s a testament to the fact that sometimes, the simplest engineering solutions are the most effective.
Before the Transformation
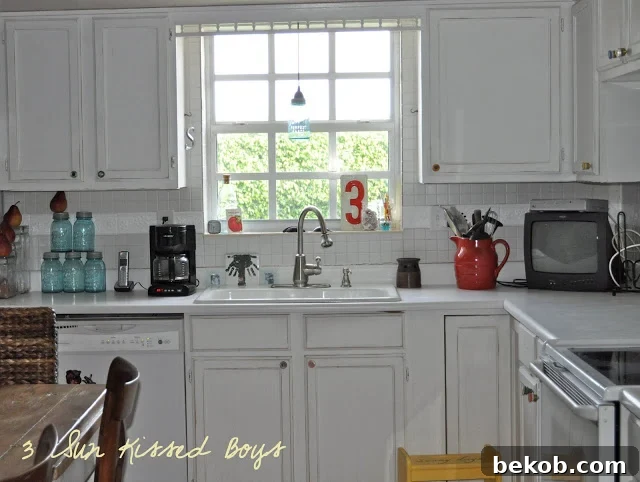
After the Creative Upgrade
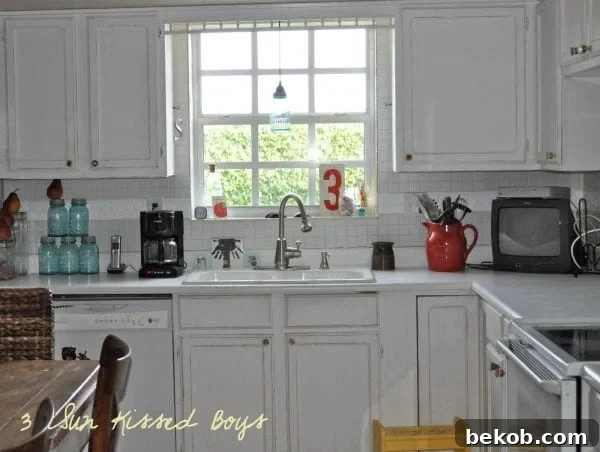
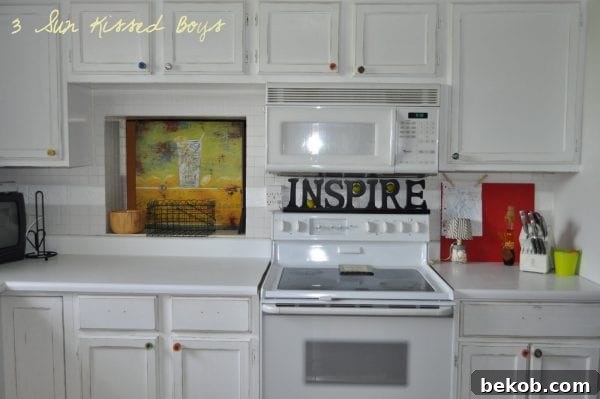
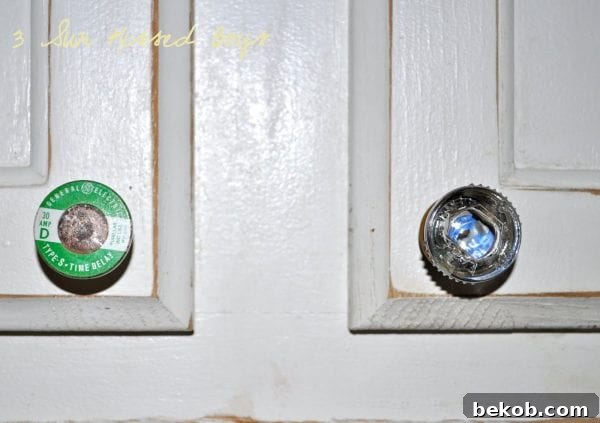
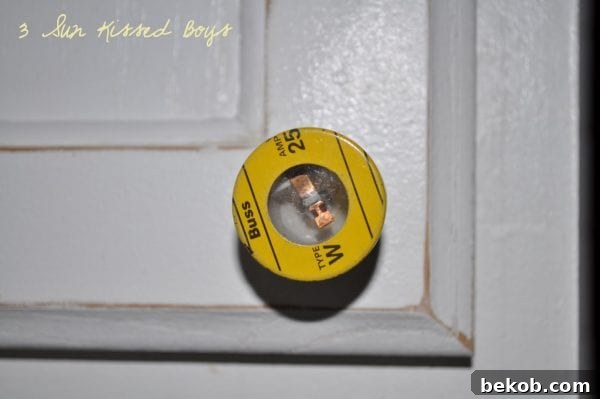
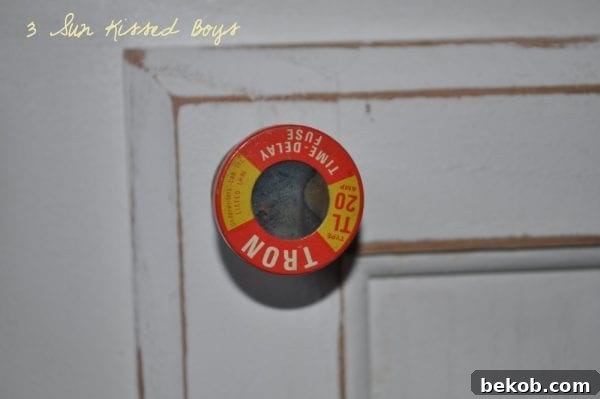
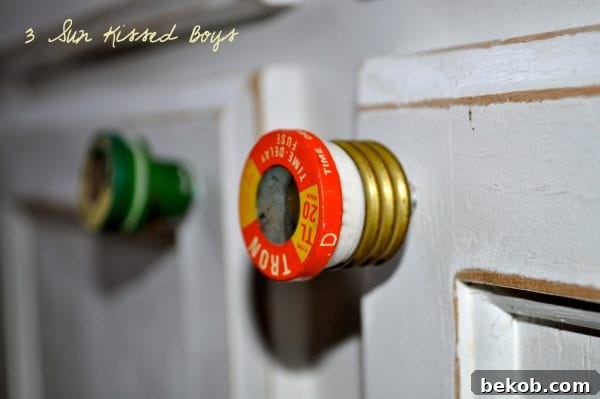
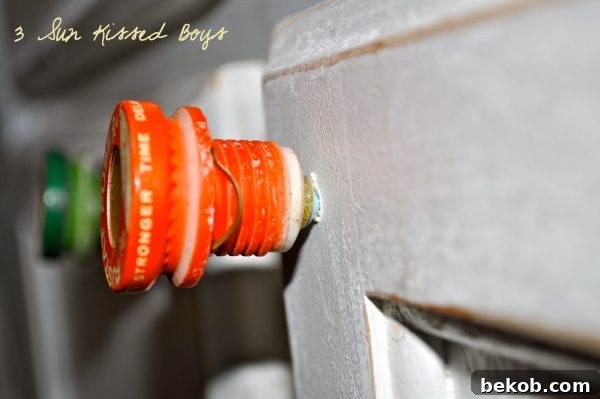
The transformation was immediate and stunning. The once-plain, one-color kitchen was instantly infused with personality, charm, and an undeniable artistic touch. The vibrant hues of the fuses provided that much-needed “color pop,” turning sterile cabinet doors into focal points. It wasn’t just about functionality; it was about adding a story, a sense of history, and a touch of the unexpected to an everyday space. This simple DIY project proved that you don’t need a lavish budget to create a kitchen that truly feels like home and reflects your unique style.
Beyond Fuses: Embracing the Spirit of Upcycling
This project stands as a shining example of how embracing creativity and resourcefulness can lead to truly remarkable results. It encourages us to look at ordinary, discarded items with fresh eyes, recognizing their potential for new life and purpose. Whether it’s old spools, vintage buttons, or other quirky finds, the world is full of potential hardware waiting to be discovered and repurposed. The key is to think outside the box, be open to experimentation, and not be afraid to try something unconventional.
The satisfaction of crafting something beautiful and functional with your own hands, especially when it comes at a fraction of the cost of store-bought alternatives, is immensely rewarding. This fuse-knob project not only solved a practical problem but also injected joy and character into a vital part of the home. It reminds us that personal style doesn’t have a price tag; it’s born from imagination and a willingness to explore the extraordinary in the ordinary.
Update (07-02-10):
Gorilla Glue didn’t hold up. Actually, they came off pretty quickly. However, the subsequent mechanical fastening method worked just dandy!!!