
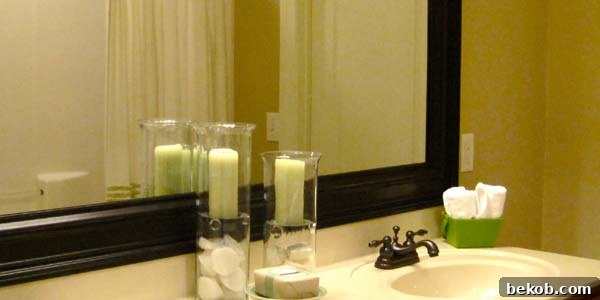
Transform Your Bathroom with a DIY Custom Mirror Frame
Did you catch our recent call for inspiring DIY projects? We were thrilled when Katie from Impatiently Praying for Patience answered, sending over this fantastic tutorial on how to frame a plain bathroom mirror. If you’ve ever wanted to elevate your builder-grade mirror into a stunning focal point, this guide is for you! Katie’s meticulous approach ensures a perfect finish, and we’re excited to share her step-by-step process with you.
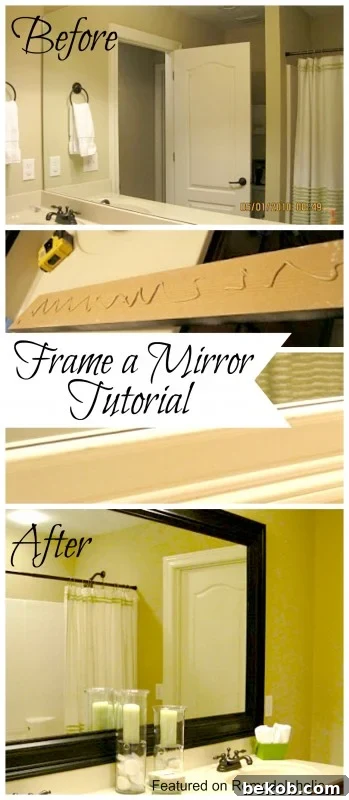
This comprehensive tutorial will guide you through creating a custom, high-end frame around that oversized, often overlooked mirror in your bathroom. Get ready for a detailed breakdown, packed with tips and visuals to ensure your success.
Why Frame Your Bathroom Mirror?
Many homes come with standard, frameless mirrors glued directly to the wall – functional, but lacking in style and character. Framing your bathroom mirror is a simple yet impactful DIY project that can dramatically transform the look and feel of your bathroom without the expense of a full remodel. A custom frame instantly elevates the space, adding architectural interest, depth, and a touch of luxury. It’s an excellent way to personalize your bathroom, hide any imperfections on the mirror’s edges, and seamlessly integrate it with your chosen decor style.
If you’re looking for a cost-effective upgrade that yields impressive results, framing your mirror is an ideal project. No prior professional woodworking experience is required; as Katie demonstrates, with a little guidance and enthusiasm, anyone can achieve a polished, custom look.
Gathering Your Materials: The Foundation of Your Project
Before diving into cuts and glue, meticulous preparation is key. This section will walk you through everything you need, from measuring accurately to selecting the perfect trim and essential tools.
Measuring Your Mirror Precisely
The first crucial step is to accurately measure your mirror. Use a reliable tape measure to determine the exact length and width of the mirror’s reflective surface. Double-check your measurements to minimize errors later on. Remember the adage: “measure twice, cut once.” It’s always better to be slightly generous with your material estimates, as mistakes can happen, especially when working with new tools or techniques.
Choosing the Perfect Trim
This is where your creativity shines! Head to your local home improvement store like Home Depot or Lowe’s, and explore their extensive selection of trim and molding. You’ll find a vast array of profiles, from simple to ornate, thick to slender. Consider the overall style of your bathroom and the statement you want your frame to make. For a modern look, sleek, clean lines might be preferred. For a more traditional or rustic aesthetic, detailed or textured trim could be perfect.
Katie and her mom opted for a layered look, combining two different trims to create a substantial frame that wouldn’t be “swallowed” by the large mirror. They chose a thicker trim typically used for chair rails and a smaller detail trim for wainscoting. This combination adds depth and a custom, high-end feel. Don’t be afraid to mix and match different profiles. Hold various pieces together to visualize how they will look when assembled. The possibilities for unique combinations are virtually endless.
Trim pieces often come in long lengths, typically 12 to 16 feet. While stores can sometimes cut them down for easier transport, it’s wise to get slightly more length than your measurements suggest, allowing for any cutting errors. If your vehicle isn’t equipped for long lumber, don’t hesitate to ask for assistance from store employees for secure loading.
Essential Tools and Supplies
To successfully complete this project, you’ll need the following:
- Tape Measure: For precise length and width measurements.
- Pencil: For marking cut lines on your trim.
- Miter Box and Saw (or Power Miter Saw): Essential for making accurate 45-degree angle cuts. If you’re new to woodworking, a manual miter box is a great starting point, though a power miter saw offers more speed and precision.
- Safety Glasses: Always protect your eyes when cutting wood.
- Mirror-Safe Adhesive (e.g., Liquid Nails for Mirrors): Crucial for securely attaching the trim to your mirror without damaging the reflective backing. Ensure it explicitly states “mirror-safe.”
- Caulk Gun: To apply caulk smoothly and evenly.
- Paintable Caulk: Used to fill gaps, hide imperfections, and create a seamless finish.
- Caulk Tool/Finger: For smoothing out caulk beads.
- Sandpaper (fine-grit): For smoothing any rough edges after cutting or light sanding before painting.
- Primer (optional but recommended): Especially if your trim is raw wood or you’re painting a light color over a dark surface.
- Paint: Choose a color that complements your bathroom decor. Spray paint offers a smooth finish, while brush-on paint allows for more control and specific finishes.
- Paint Brushes/Rollers (if using brush-on paint): For applying paint evenly.
- Clean Cloths/Paper Towels: For cleaning up excess glue or caulk.
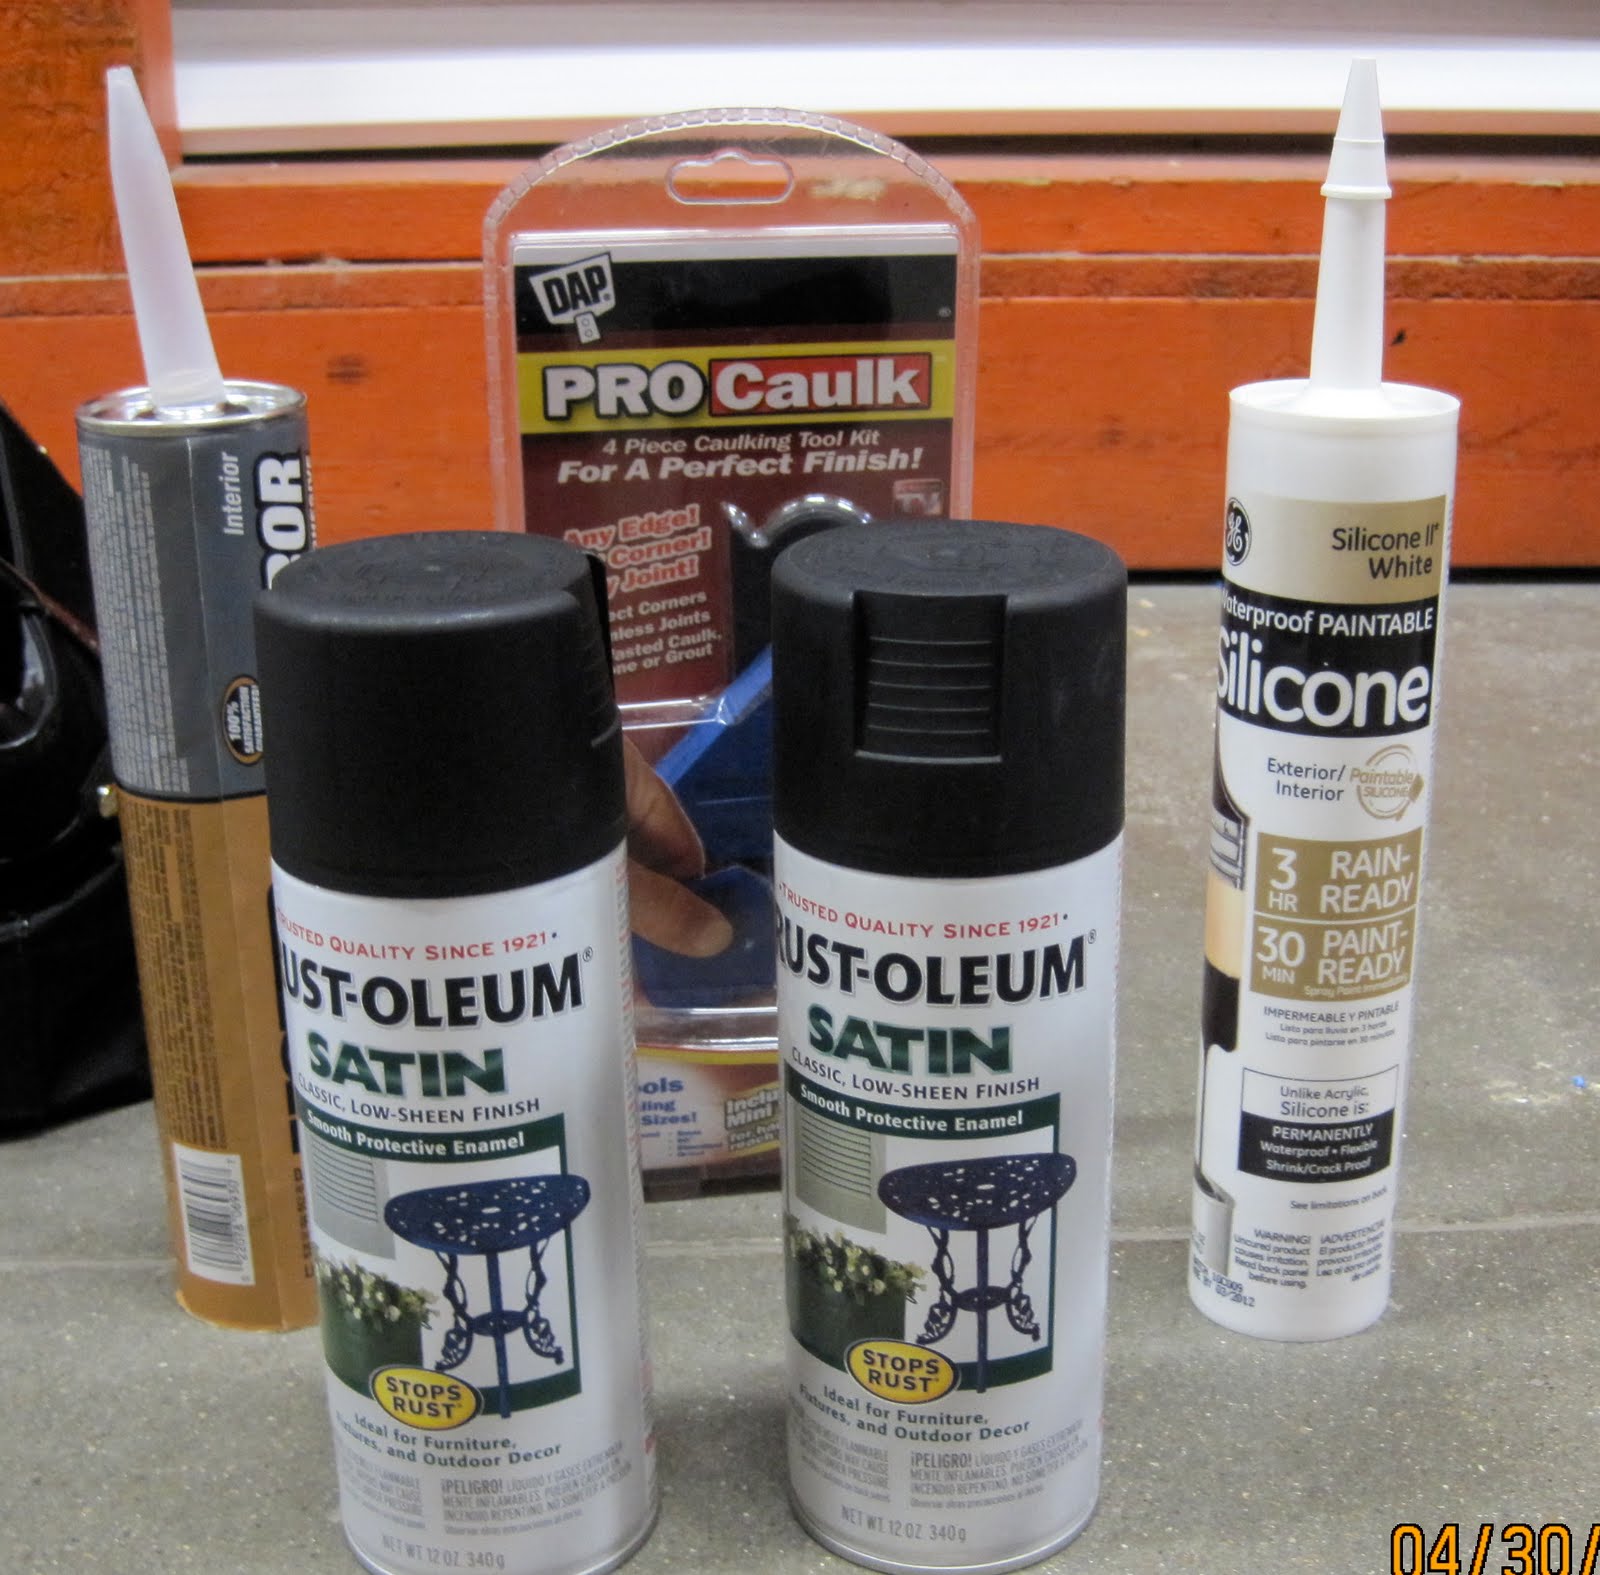
A note on spray paint: While personal preference varies, some find specific brands or types (like those advertised for “2-coat” coverage) work better than others. Experiment or ask for recommendations at the store if unsure.
The Project Workflow: Step-by-Step Guide
Step 1: Precise Measurements and Smart Cuts
Once you’re home, re-measure your mirror one last time. This double-check prevents costly mistakes. Now, take your chosen outer trim piece. Measure the desired length for one side of your frame. Mark this measurement on the *outer edge* of the trim piece. This mark represents the longest point of your miter cut.
Using your miter box and saw, make a 45-degree angle cut, with your mark serving as the outermost point. The cut should angle inward. For the opposite end of the same piece, you’ll make another 45-degree cut, but in the opposing direction, so that when the two pieces meet, they form a perfect 90-degree corner. Repeat this process for all four sides of your outer frame. Patience here is paramount. Take your time, ensure your saw is flush, and make smooth, controlled cuts.

After cutting all four pieces, gently hold them up to your mirror to test the fit. Don’t worry if the corners aren’t perfectly flush; this is where caulk becomes your best friend and makes even amateur woodworkers look like seasoned professionals. The goal at this stage is to ensure the overall dimensions are correct.
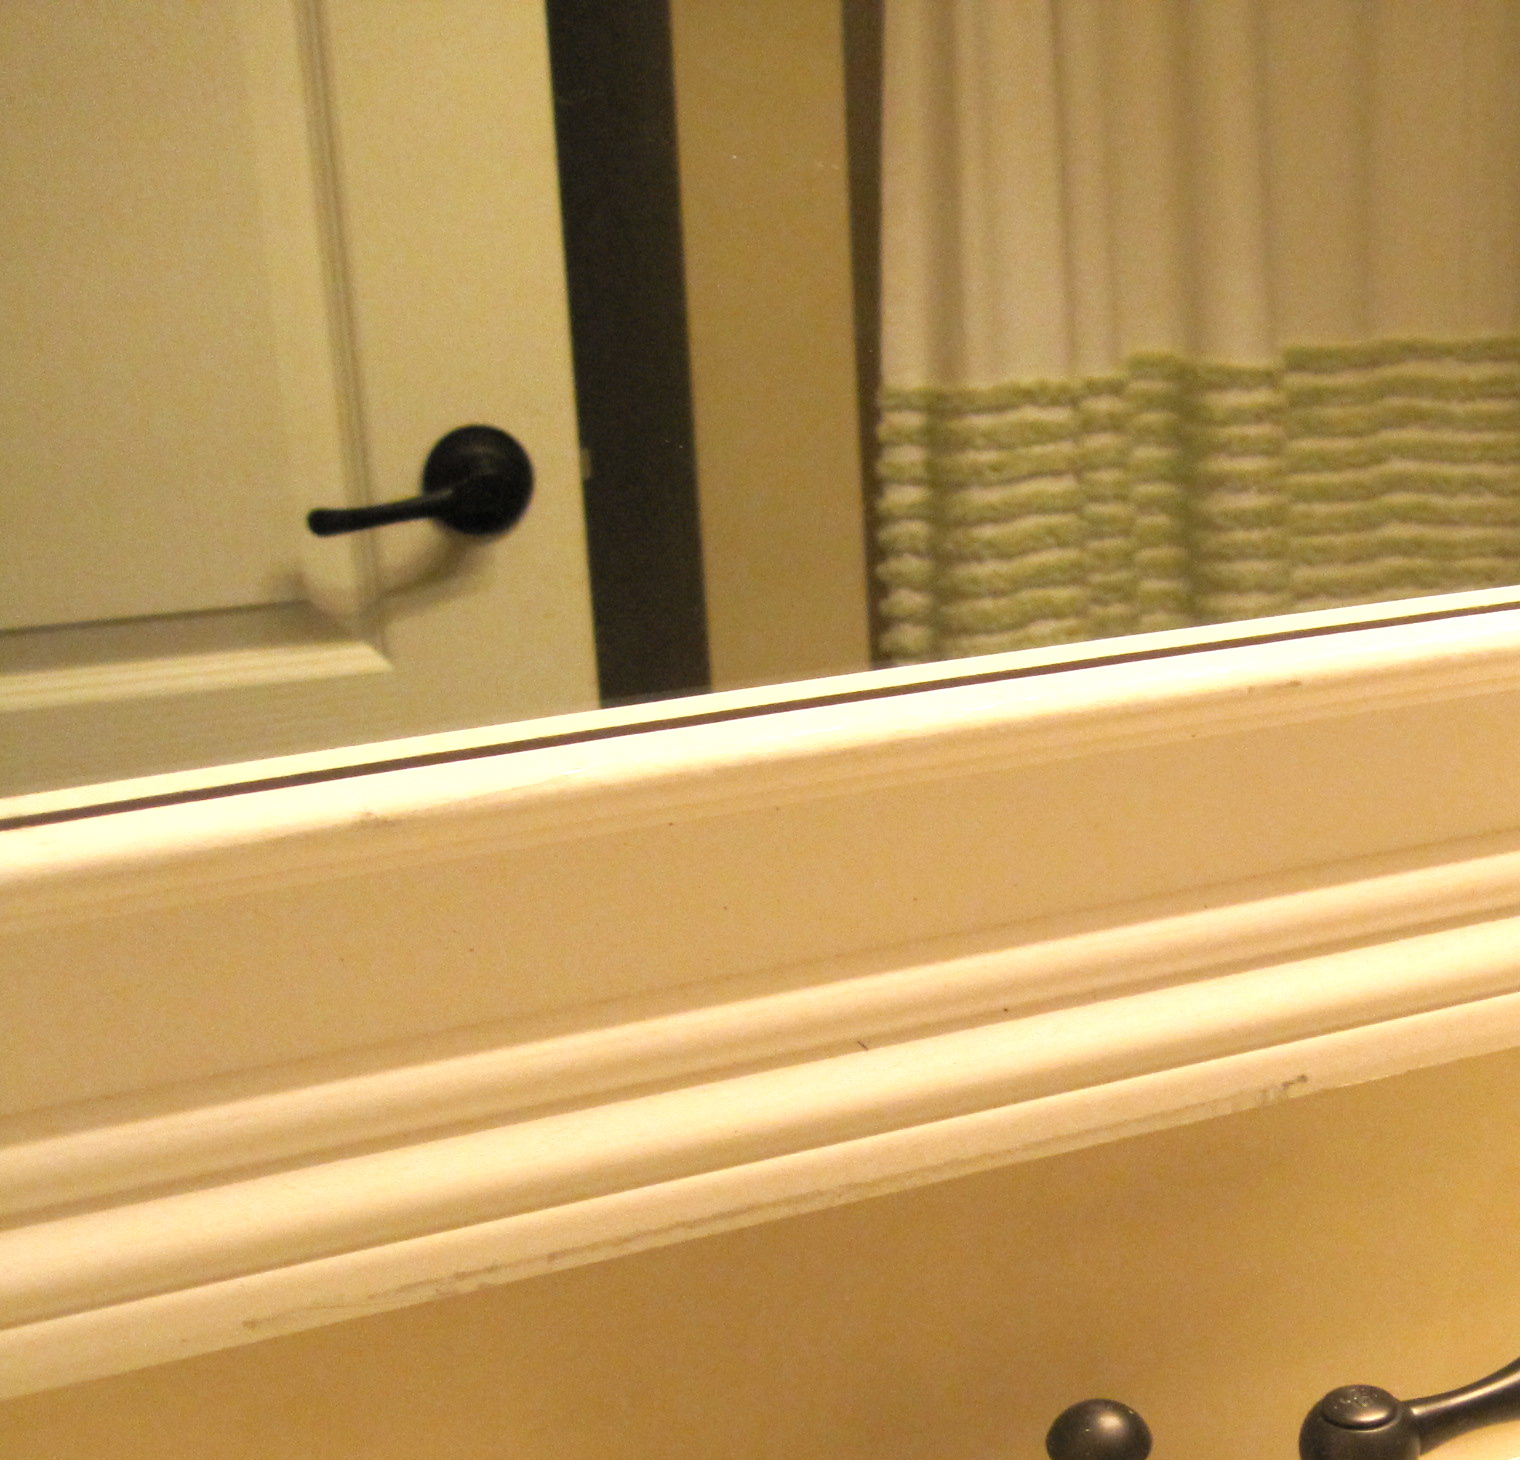
Before proceeding, Katie recommends spray painting the cut wood pieces in a well-ventilated area, like a garage. This is a matter of personal preference; some prefer to paint after assembly. Painting now ensures even coverage, especially on the inner edges that might become harder to reach once glued. If you choose to paint now, apply multiple light coats for a smooth, professional finish, allowing adequate drying time between coats.
Step 2: Assembling Your Frame
Now it’s time to attach the frame to the mirror. Carefully apply a bead of mirror-safe adhesive (like Liquid Nails for Mirrors) to the back of your first trim piece. Crucially, keep the adhesive away from the very edges of the trim. If the glue is too close to the edge, it might squeeze out when pressed against the mirror, creating a visible reflection of the adhesive – a common mistake to avoid. Place the trim piece firmly onto the mirror, aligning it perfectly with the edge. Repeat for the remaining outer frame pieces, ensuring all corners meet as snugly as possible.
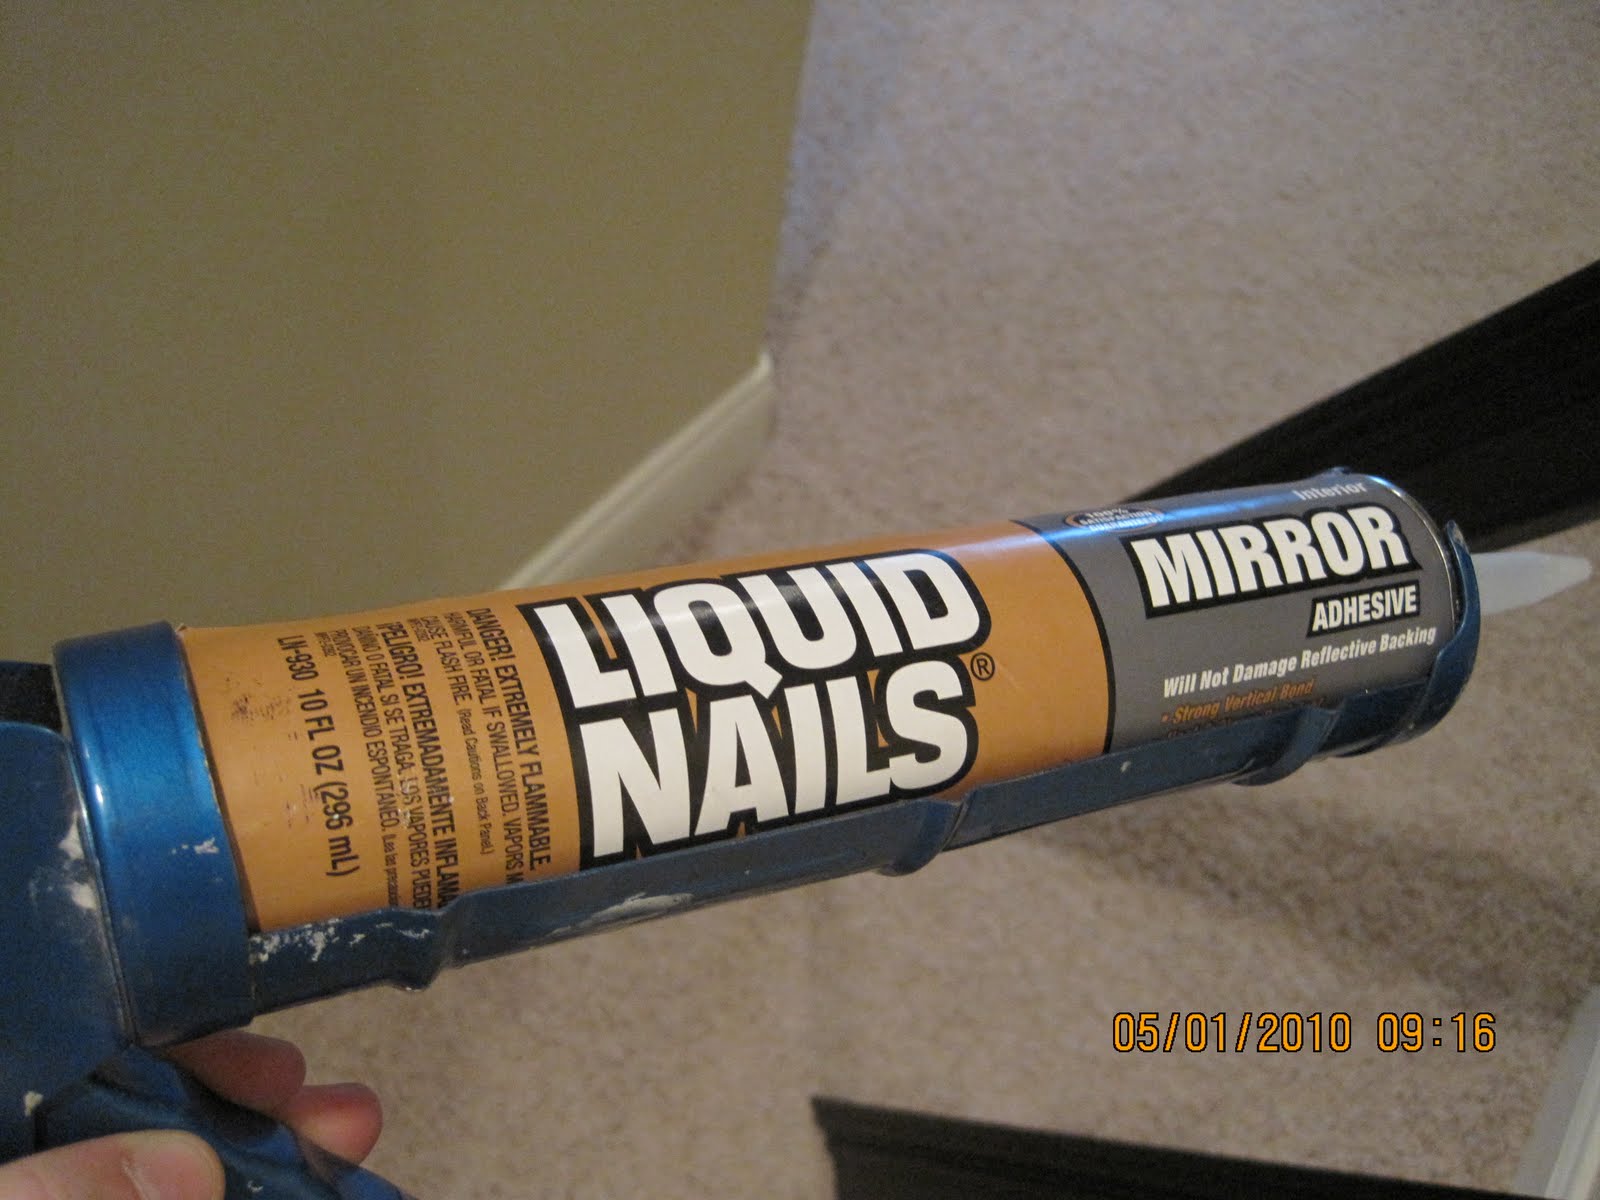
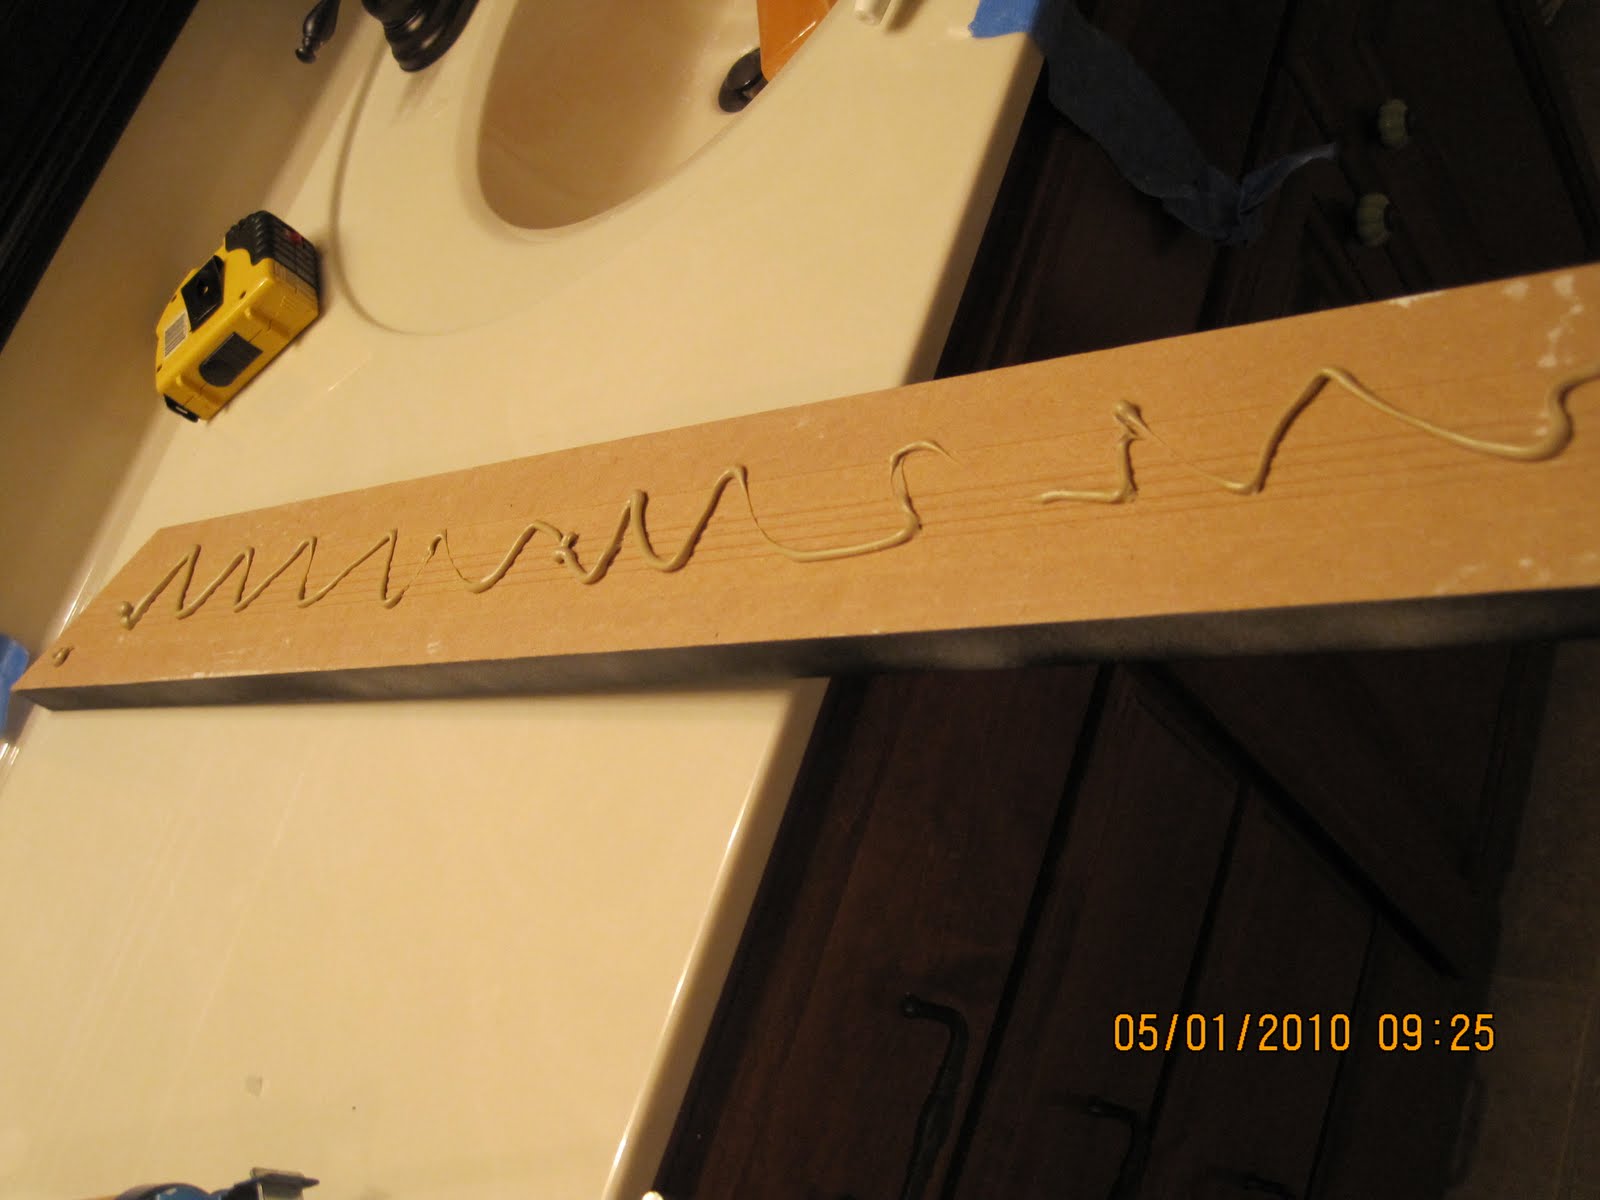
Allow the adhesive to cure according to the manufacturer’s instructions. This usually takes several hours. You might use painter’s tape to hold the pieces in place while drying, especially for larger or heavier trim.
Step 3: Adding Inner Detail (Optional)
If you opted for a layered look, like Katie, it’s time to add your inner trim piece. Measure, mark, and cut these pieces just as you did the outer frame, ensuring precise 45-degree mitered corners. Before gluing, remember to paint the back edge of this inner trim, as its reflection might be visible in the mirror once installed. This small detail ensures a professional, finished look.
Apply mirror-safe adhesive to the back of the inner trim, again keeping it away from the edges. Carefully position and press each piece into place, ensuring it’s flush against the outer trim and straight along the mirror. Let the adhesive set completely.
Step 4: The Magic of Caulking
This is where any imperfections vanish! Load your caulk gun with paintable caulk. Apply a thin, continuous bead along all seams – where the trim meets the mirror, where the outer trim meets the inner trim (if applicable), and especially in the mitered corners where the wood pieces meet. Don’t be shy; caulk is incredibly forgiving.
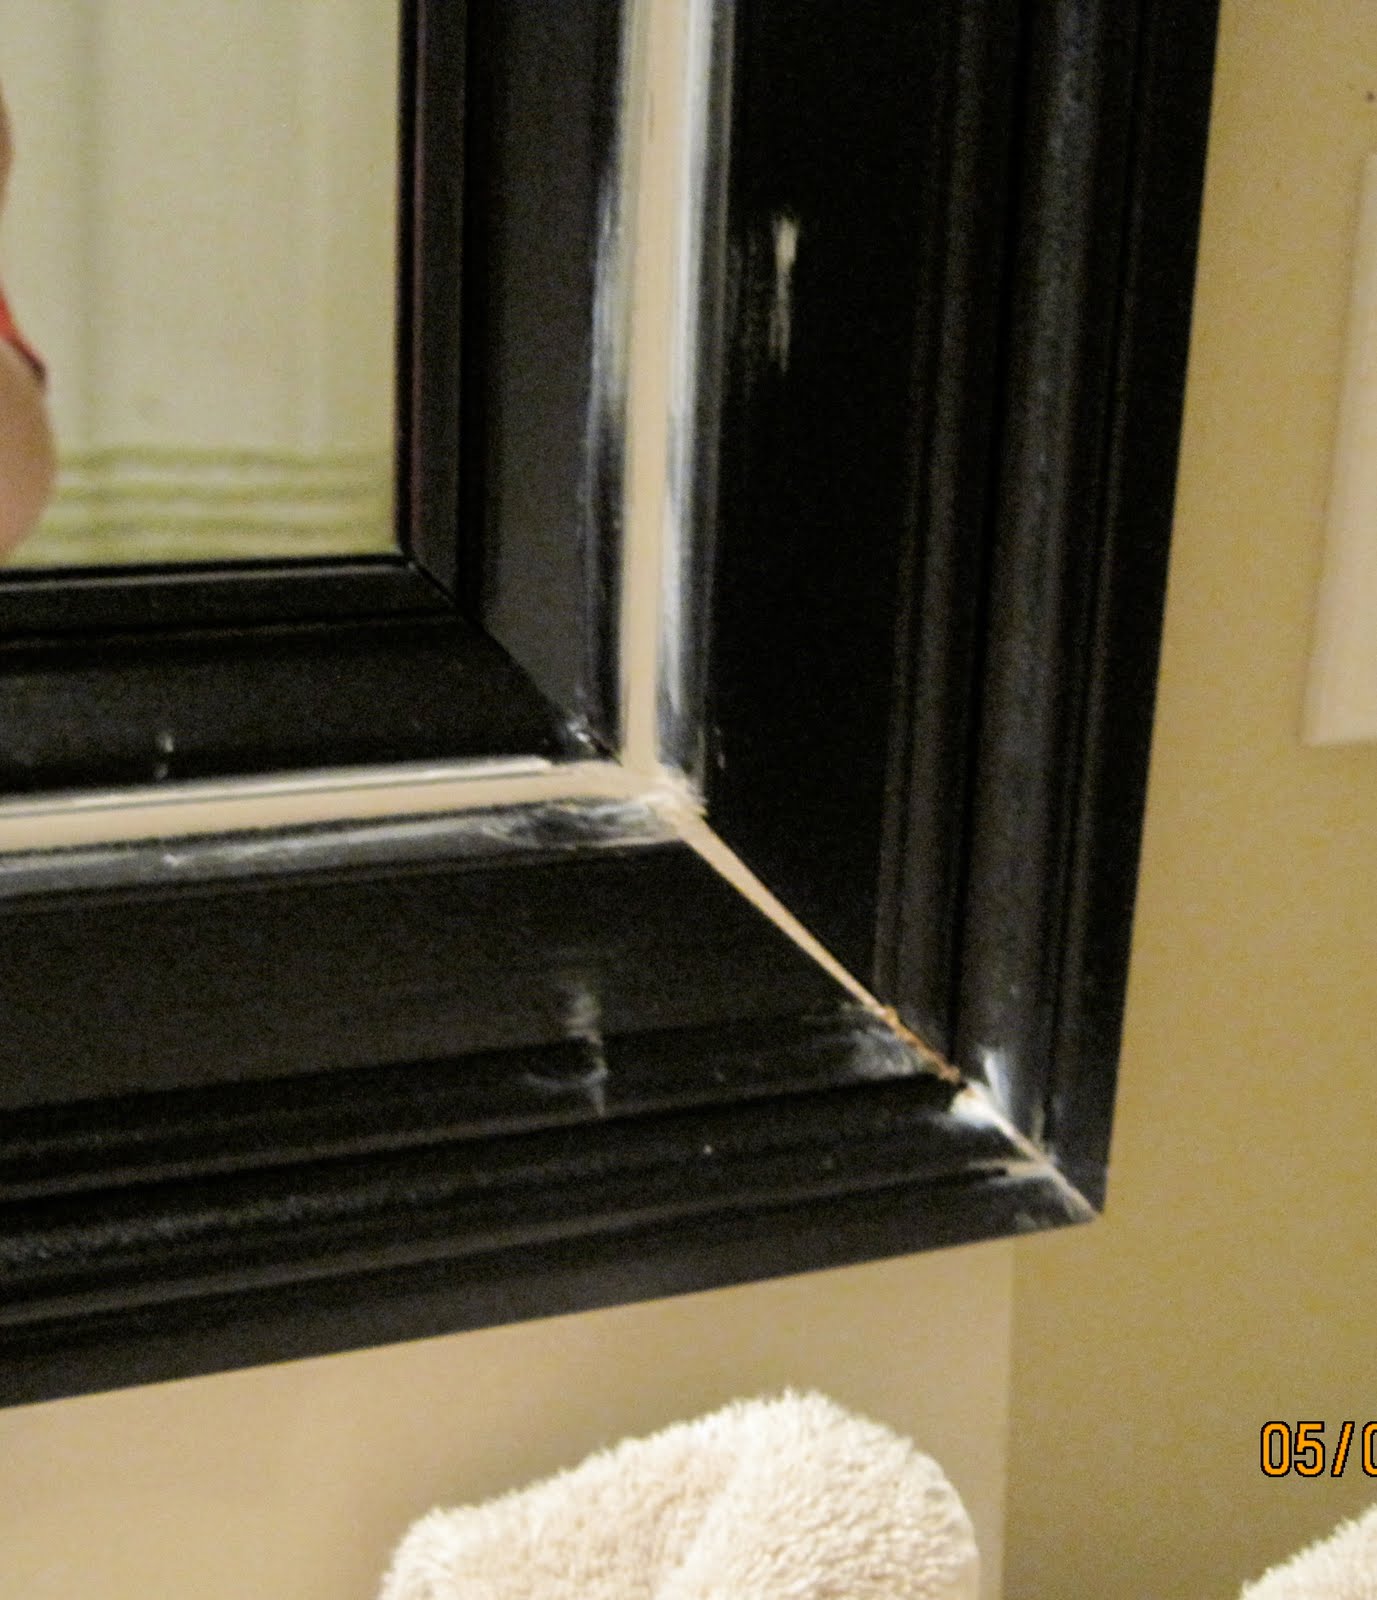

Immediately after applying, use a caulk tool or even a wet finger to smooth the caulk, pushing it gently into the gaps and wiping away any excess. This creates a seamless, professional finish that makes the frame look like a single, perfectly crafted piece. Allow the caulk to dry completely according to package directions before moving to the next step.
Step 5: Painting Your Masterpiece
Once the caulk is fully cured, it’s time for the final coat of paint. If you previously spray-painted your trim, you might just need touch-ups on the caulked areas. If you chose to paint after assembly and caulking, now is the time to apply your chosen paint color. Ensure an even application, paying close attention to corners and edges. Apply multiple thin coats rather than one thick coat to prevent drips and ensure a smooth, durable finish. Allow each coat to dry thoroughly before applying the next.
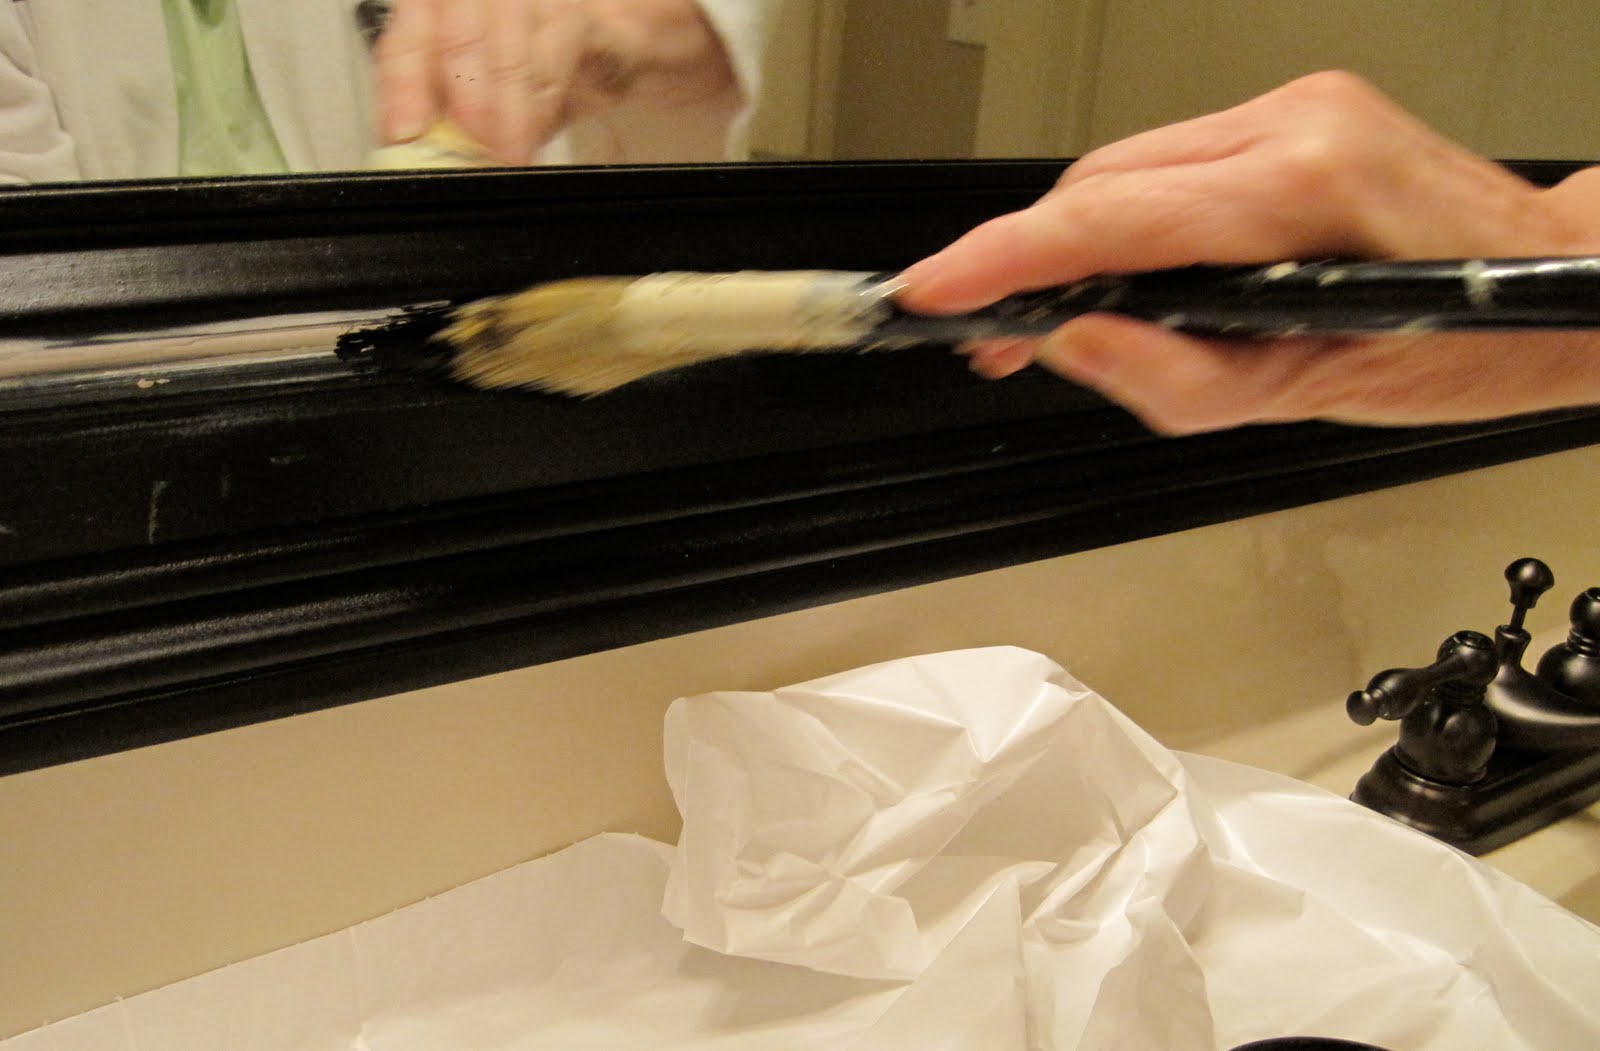
Step back and admire your handiwork! The transformation from a plain, builder-grade mirror to a custom-framed masterpiece is truly remarkable.

Before & After: The Stunning Transformation
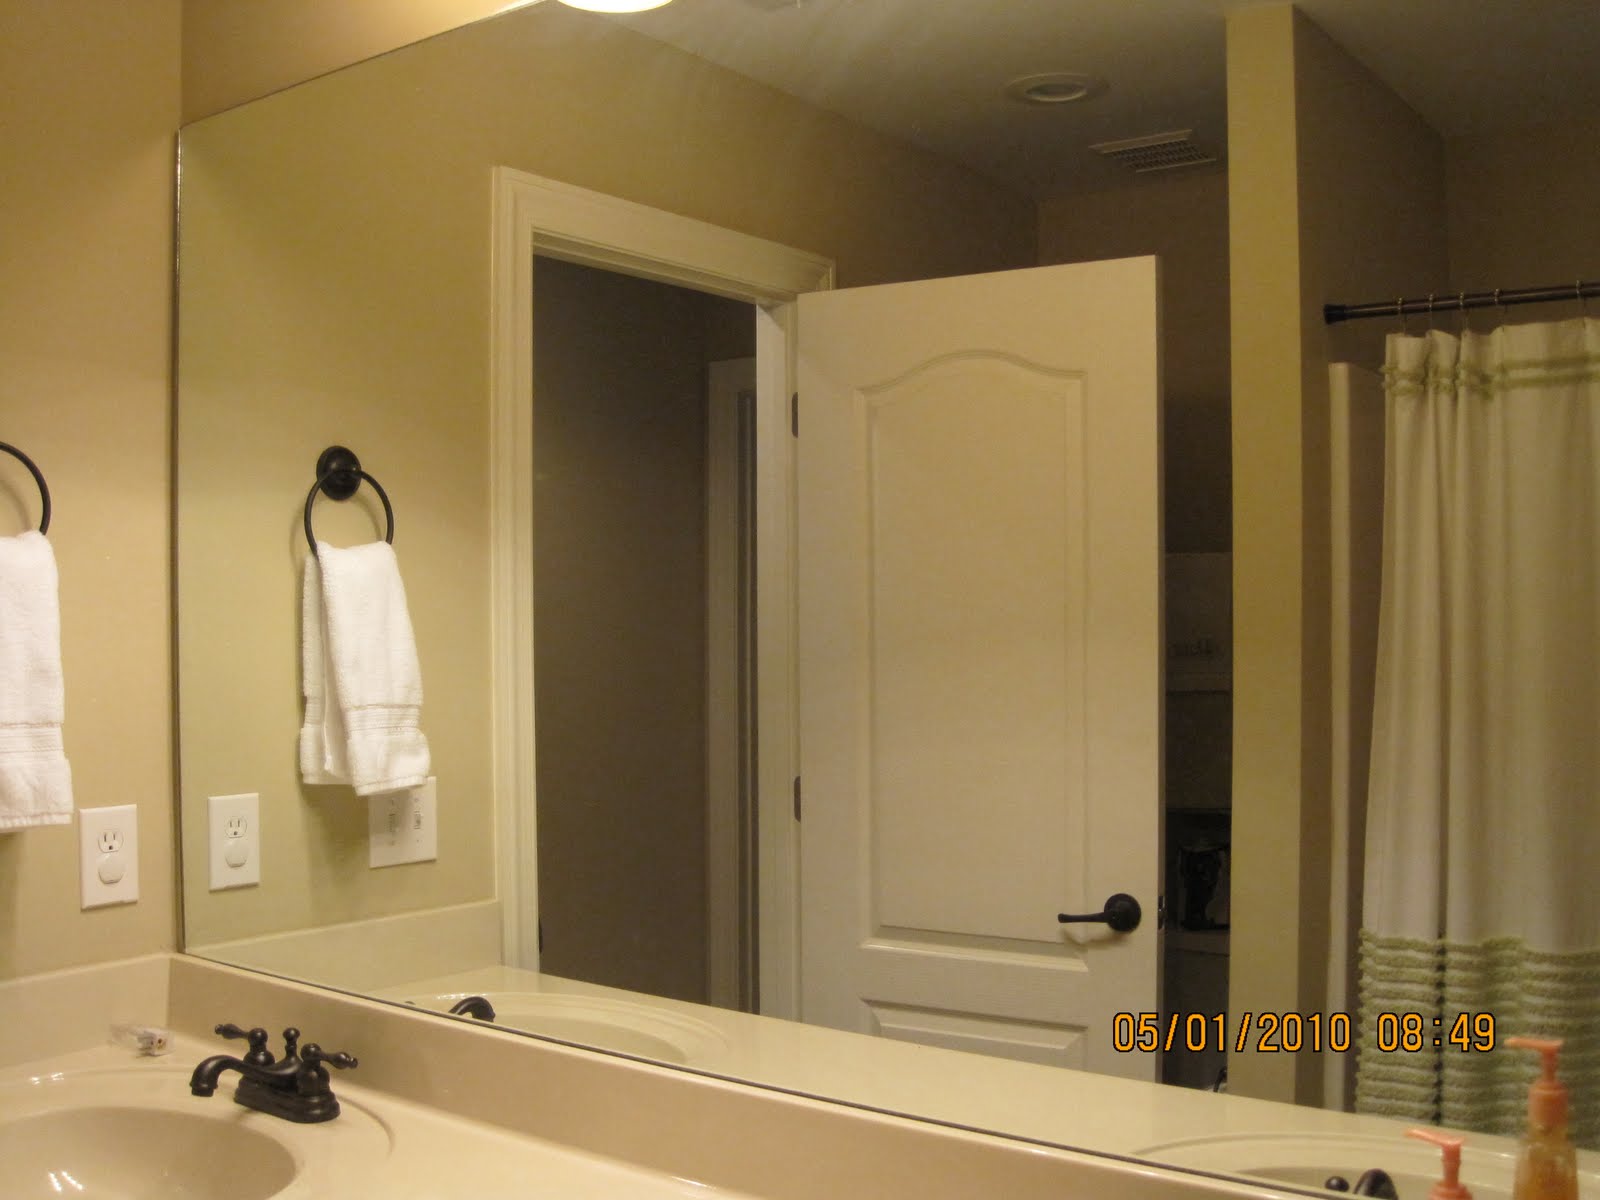
To truly appreciate the impact of this DIY project, let’s take another look at the before and after:
Here is the mirror before the custom frame was added.
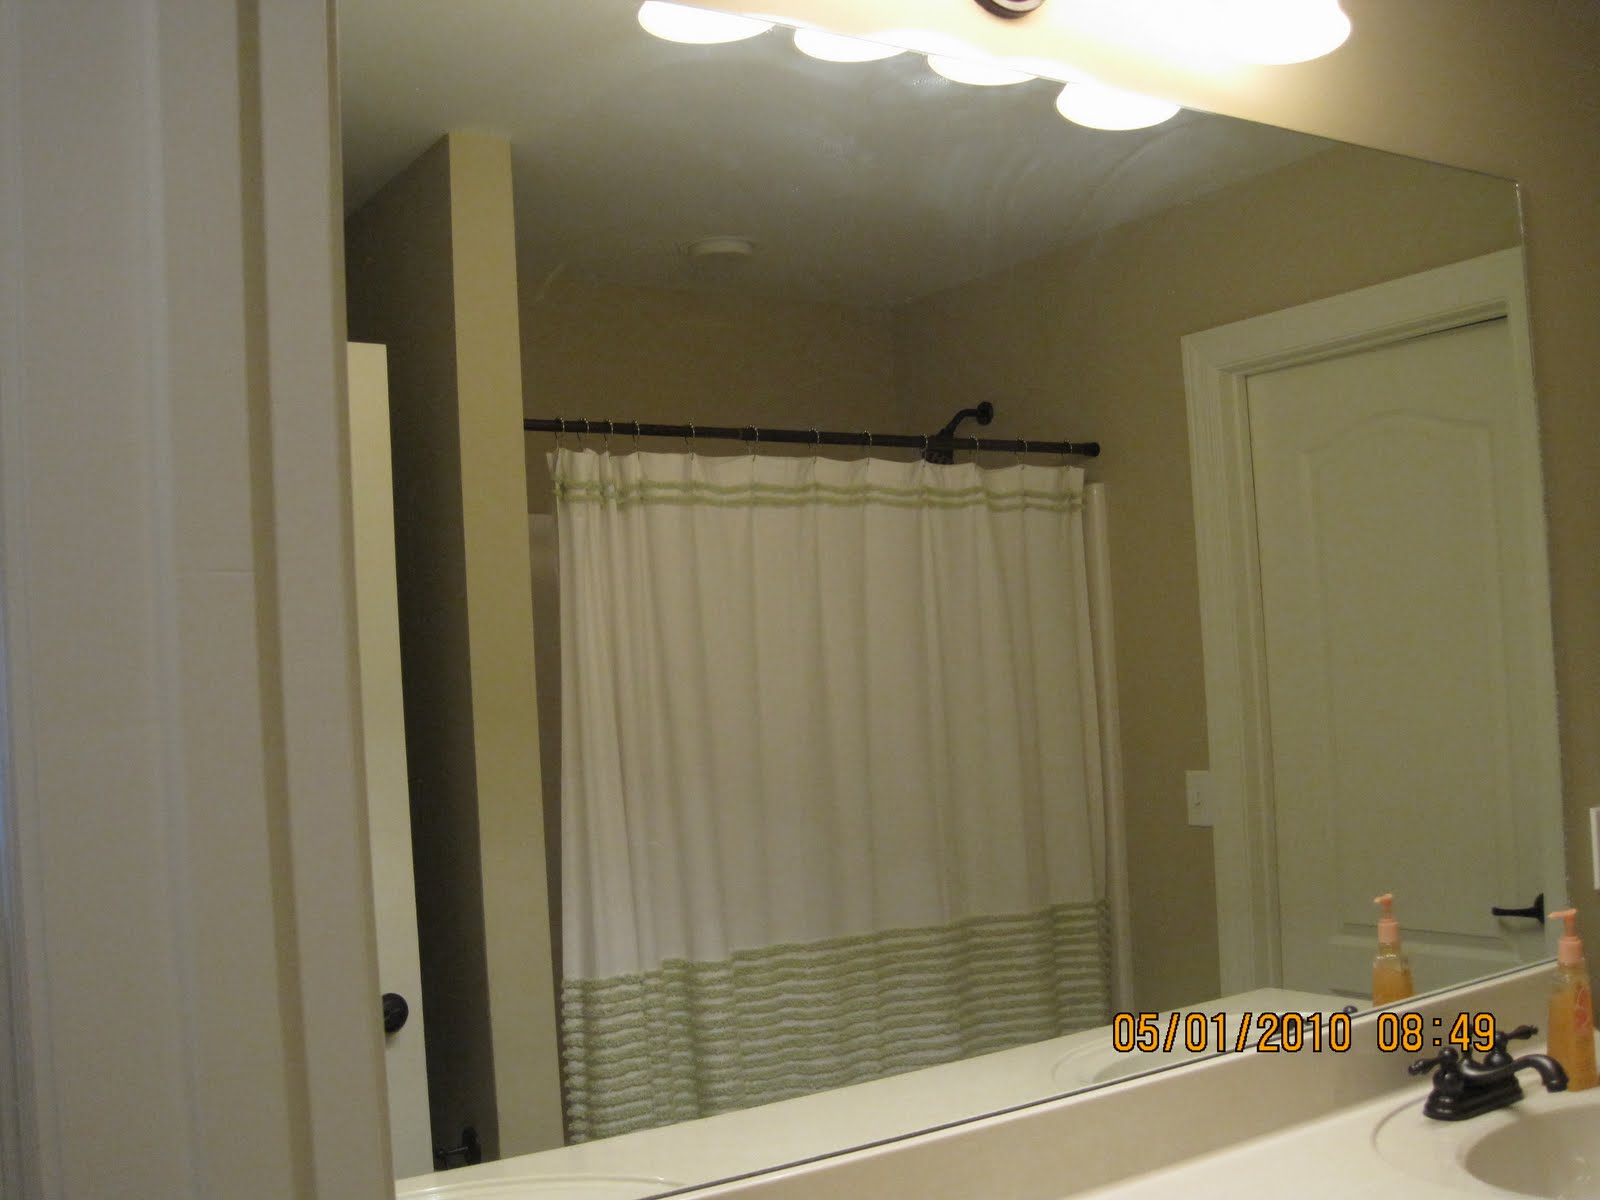
And the incredible after!


Tips for a Flawless Finish
- Take Your Time: Rushing can lead to mistakes. Enjoy the process!
- Safety First: Always wear safety glasses when cutting wood.
- Practice Cuts: If using a miter saw for the first time, practice on scrap wood to get a feel for the 45-degree angle.
- Embrace Caulk: It truly is a DIYer’s secret weapon for hiding minor imperfections in cuts and seams.
- Adequate Drying Time: Allow glue, caulk, and paint to dry thoroughly between steps for the best results.
- Consider Pre-Painting: While Katie painted after assembly, for some trim types, it might be easier to paint the trim pieces after cutting but *before* gluing them to the mirror, especially if you’re layering multiple pieces or have intricate profiles. This can help ensure even coverage without masking the mirror.
- Get a Helper: For very large or heavy mirrors, having an extra set of hands during the gluing and positioning phase can make the process much smoother.
This project, while detailed, is genuinely easy to execute, even for beginners. The numerous steps ensure a thorough understanding, addressing common questions and providing clarity for every stage. Katie and her mom have truly created a fantastic tutorial, proving that a custom, high-end look is achievable with a little DIY spirit!
Ready to Upgrade Your Bathroom?
We are so grateful to Katie for sharing this perfect project! Her clear instructions and inspiring results demonstrate how accessible and rewarding DIY home improvements can be. We hope this tutorial empowers you to tackle your own bathroom mirror frame and enjoy the beautiful transformation. Share your projects with us – we love to see your creativity in action!