
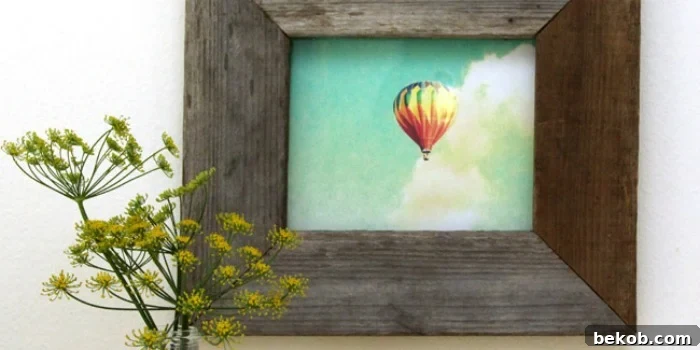
DIY Barnwood Frame: Transform Your Old Picture Frames into Rustic Masterpieces
Are you looking to add a touch of rustic charm to your home decor? Do you have an old, plain picture frame that could use a makeover? Look no further! This tutorial will guide you through the simple and fun process of transforming an ordinary picture frame into a beautiful barnwood frame. Embrace the warmth and character of reclaimed wood and give your photos a unique and stylish display.
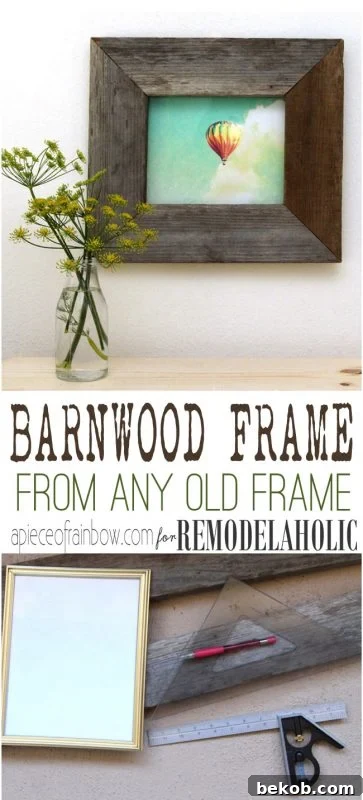
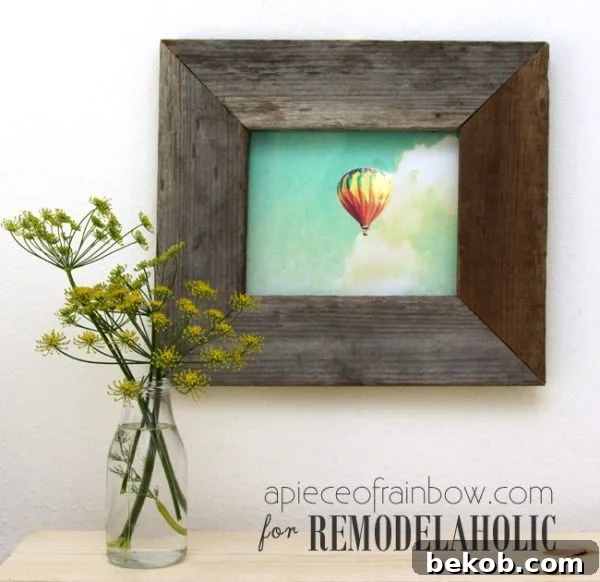
Turn a regular photo frame into a reclaimed barn wood photo frame — so easy!
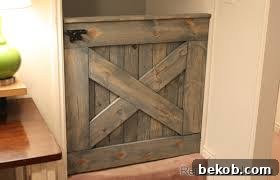
The allure of barn wood and reclaimed wood is undeniable. Its weathered texture and unique imperfections add a sense of history and authenticity to any space. There are countless ways to incorporate this material into your home, from accent walls to furniture. Remember that amazing barn door project? This DIY barnwood frame is another fantastic way to bring that rustic aesthetic into your living space.
Step-by-Step Guide: Creating Your Reclaimed Barn Wood Frame
This project is perfect for beginner DIYers and seasoned crafters alike. With a few simple tools and materials, you can create a stunning barnwood frame that will enhance any photo or artwork.
Materials and Tools You’ll Need:
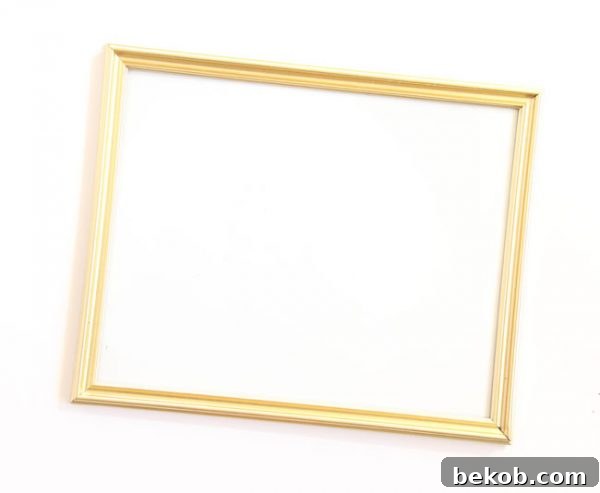
- Picture Frame: Choose a simple frame with minimal embellishments. An 8×10 frame is a good starting point. Frames with flat surfaces will work best for easier attachment of the barn wood.
- Barn Wood or Reclaimed Wood: Source authentic barn wood for a truly rustic look. If you can’t find barn wood, reclaimed fence wood or other weathered wood can be a great alternative.
- Measuring Tools: A ruler or measuring tape is essential for accurate measurements.
- Angle Marking Tools: A speed square or protractor will help you mark precise 45-degree angles for the corners of the frame.
- Saw: A miter saw is ideal for making accurate angled cuts. However, a circular saw can also be used with a guide.
- Adhesive: Hot glue and a glue gun are perfect for attaching the barn wood to the picture frame. Wood glue can also be used for added strength.
- Fasteners (Optional): Small screws or staples can provide extra support for the corners of the frame.
- Hanging Hardware: Small screws and hanging wire will allow you to display your finished frame.
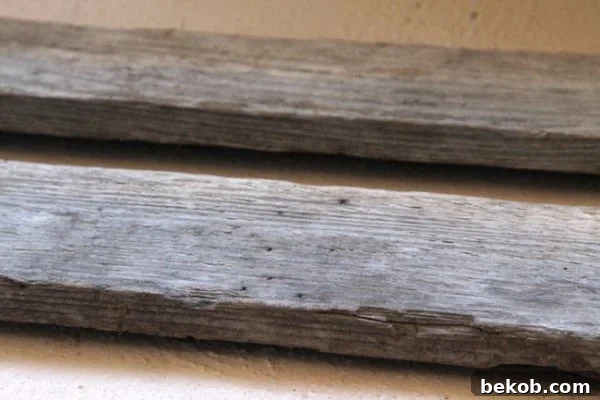
Detailed Instructions: Crafting Your Barnwood Frame
Follow these step-by-step instructions to create your own stunning barnwood frame:
Step 1: Measure the Wood
Begin by measuring the opening of your picture frame. A standard 8×10 frame typically has an opening of around 7.5″ x 9.5″. When measuring your barn wood, ensure that the finished opening of your wood frame is no larger than 7″ x 9″. Creating a slightly smaller opening will provide extra room to accommodate the natural irregularities of the reclaimed wood.
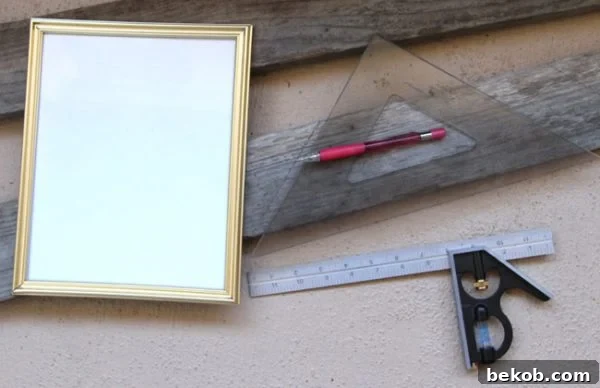
Step 2: Cut the Wood
Using your measurements, cut four pieces of barn wood at 45-degree angles. A miter saw will provide the most accurate cuts. If using a circular saw, create a guide to ensure straight and precise angles. Cut three of the four pieces first, and then use those pieces to mark the fourth. Remember, the goal is a rustic look, so slight imperfections are acceptable and can even add to the frame’s charm.
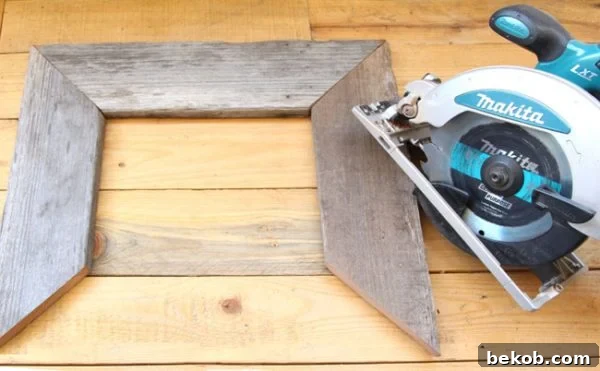
Step 3: Assemble the Wood Frame
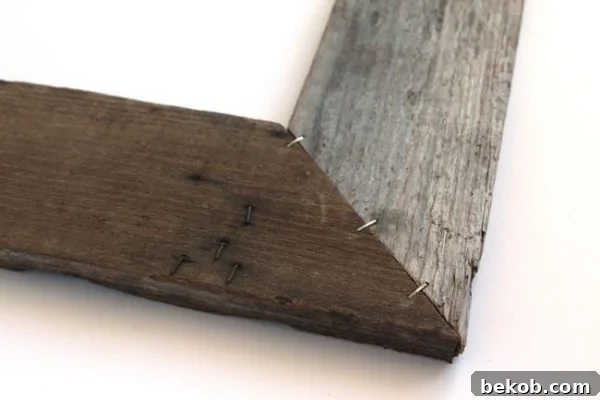
With your four pieces cut, it’s time to assemble the wood frame. Ensure the last piece fits snugly against the others. Apply wood glue to the angled edges and join the pieces together. A key technique is to glue one piece at a time, allowing the glue to dry before moving on to the next. This ensures a strong and stable bond. For added support, consider using staples or small screws to reinforce the corners.
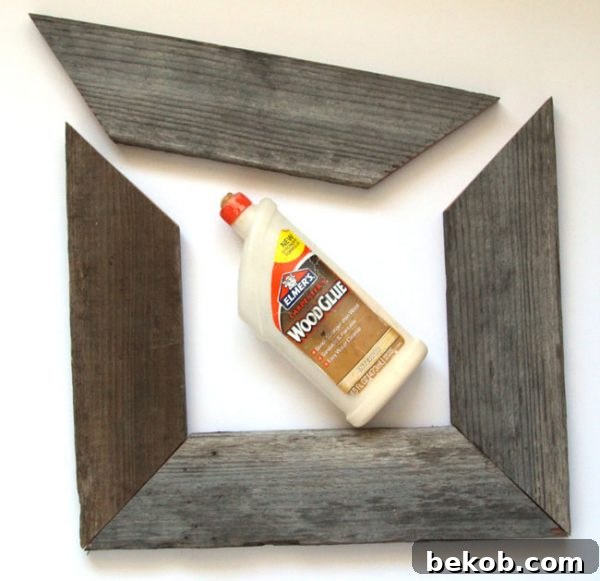
Step 4: Attach the Picture Frame
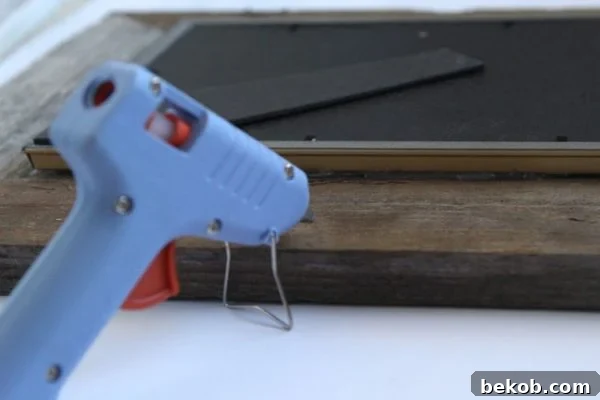
Now that your wood frame is complete, it’s time to attach the original picture frame. This is where the hot glue comes in handy. Center the old picture frame on the back of the wood frame. Carefully flip the frames over, holding them securely in place. Trace the outline of the picture frame with a pencil to create a guide for the glue. Apply a generous amount of hot glue to the back of the picture frame and firmly press it onto the wood frame.
Step 5: Add Hanging Hardware
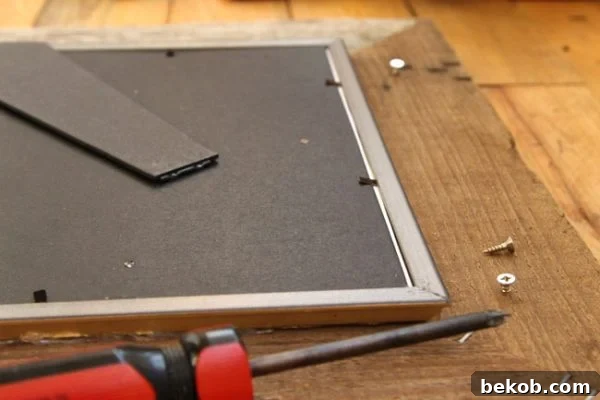
The final step is to add hanging hardware to the back of the frame. Attach two small screws to the back of the wood frame, near the top corners. These screws will serve as anchor points for the hanging wire or string. Attach the wire or string securely, ensuring it’s strong enough to support the weight of the frame and the picture or artwork it will hold.
Congratulations! You’ve successfully transformed an ordinary picture frame into a beautiful barnwood masterpiece. Display your favorite photos, artwork, or cherished memories in this unique and rustic frame.
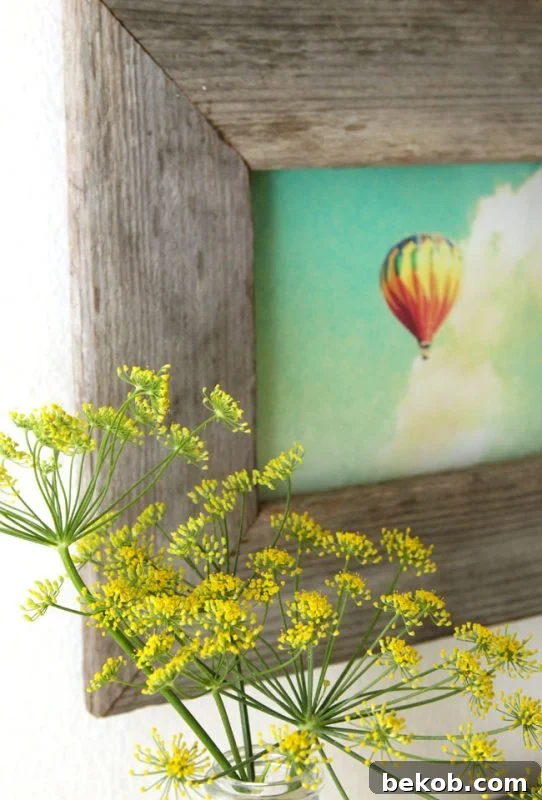
Can you believe the transformation? This DIY barnwood frame makes a lovely personalized gift. Mother’s Day and Father’s Day are right around the corner, making it the perfect heartfelt present.
More Reclaimed Wood Projects for Your Home
If you love the look of reclaimed wood, here are a few more DIY project ideas to inspire you:
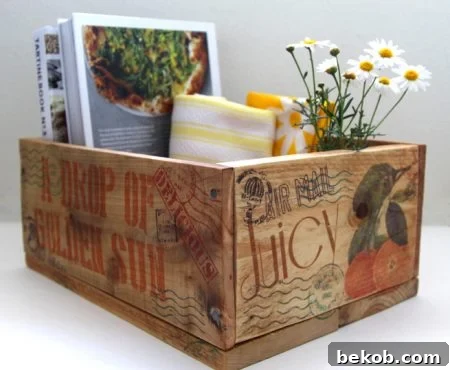
- DIY Pallet Wood Storage Crates: Create stylish and functional storage solutions using reclaimed pallet wood. Perfect for organizing books, toys, or craft supplies.
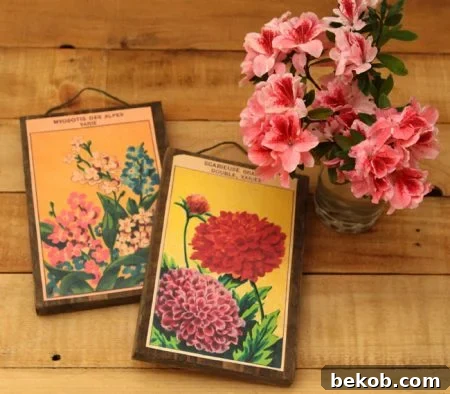
- Scrap Wood Wall Hanging Art: Turn leftover wood scraps into beautiful wall art. Add vintage seed printables for a touch of farmhouse charm.
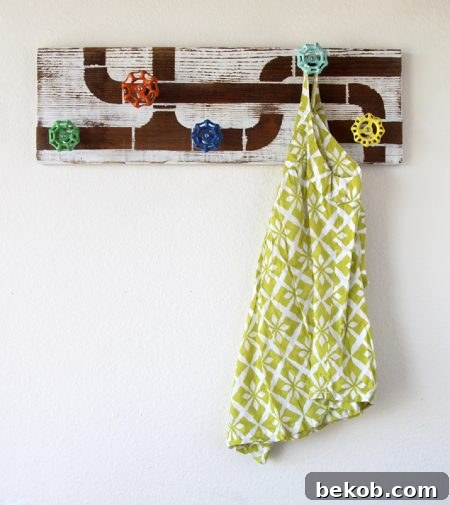
- Reclaimed Wood and Faucet Coat Rack: Create a unique and functional coat rack using reclaimed wood and old faucet handles. Perfect for an entryway or mudroom.
These projects add character and sustainable style to your home decor. Unleash your creativity with the beauty of reclaimed wood!
——————————
Explore More DIY Frame Tutorials:
Looking for other creative ways to display your photos and artwork? Check out these DIY frame tutorials for even more inspiration:
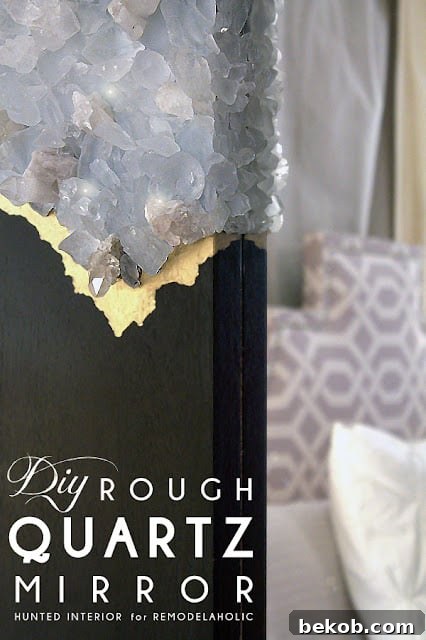
- Rough Quartz Frame
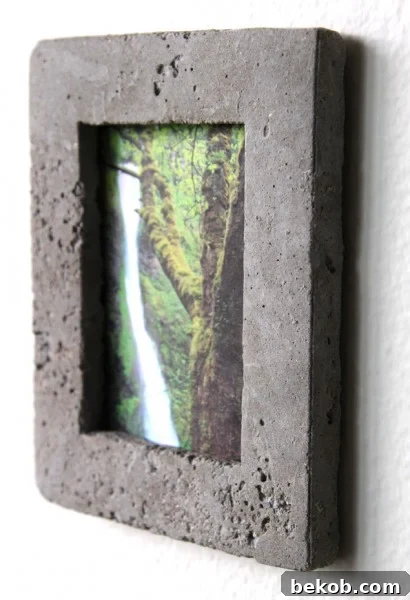
- Concrete Frame
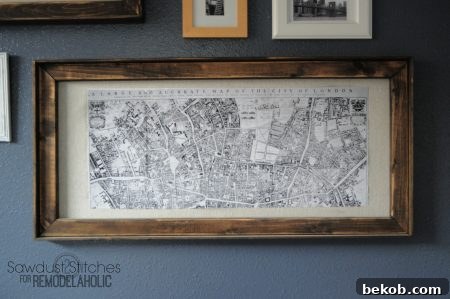
- Inexpensive Rustic Wood Frames
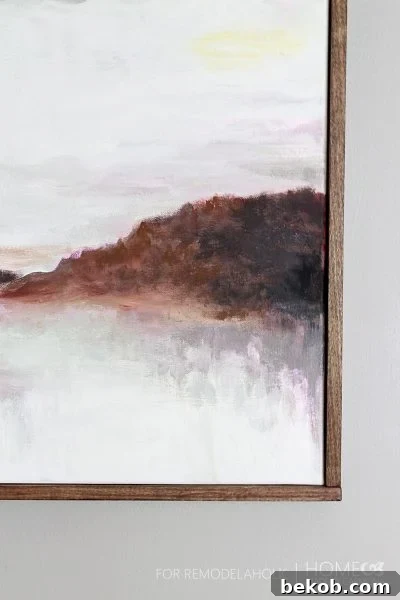
- Floating Wood Frame for Gallery Canvas
- Build a Large Thick Wall Frame
Experiment with different materials and techniques to create unique and personalized frames that perfectly complement your style.
Thank you for joining in on this rustic adventure! I hope you have a charming and crafty day.