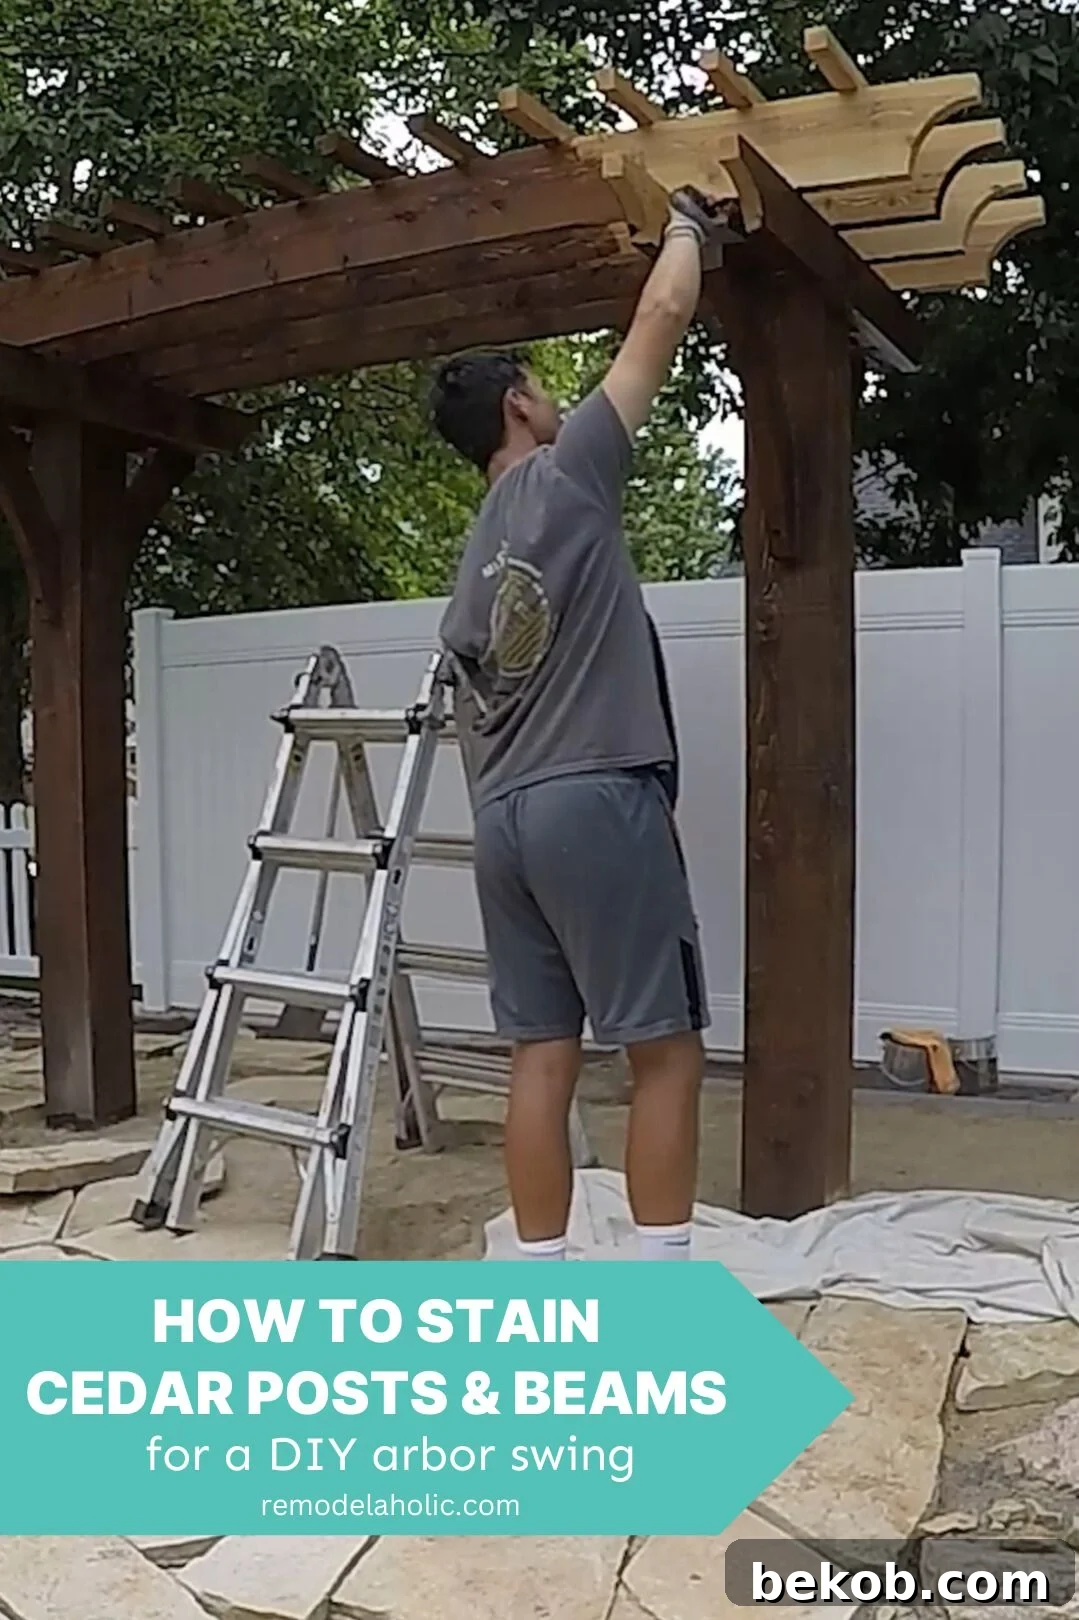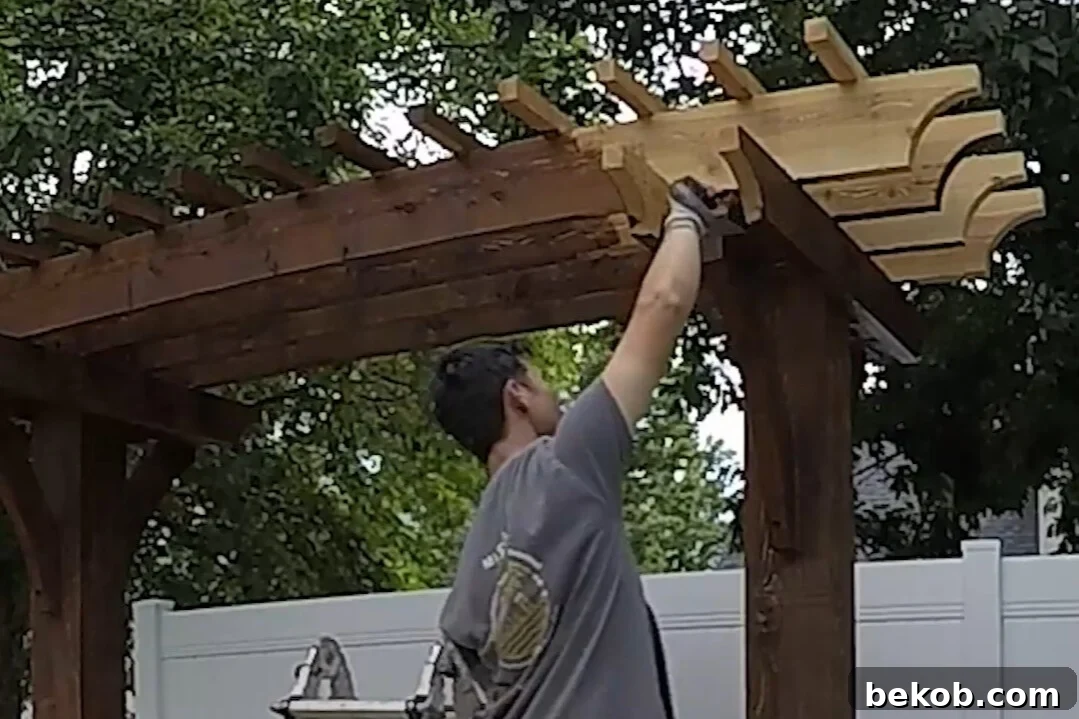
Step into the world of outdoor DIY projects with us as we embark on building a beautiful DIY arbor swing for a stunning backyard oasis. This comprehensive guide, part of our step-by-step series, focuses on Step 12: mastering the art of staining cedar posts for optimal outdoor protection and aesthetic appeal.
Join our thriving community for real-time updates and inspiration! Follow our journey on YouTube, Instagram, TikTok, or Facebook to catch every detail of this exciting project. Don’t miss out on future posts – subscribe here to get our new blog post emails delivered straight to your inbox.
This post contains affiliate links. Learn more and read our full disclosure policy here.
Mastering Cedar Protection: A Guide to Staining Your DIY Arbor Swing Posts and Beams
Creating an outdoor living space that is both beautiful and resilient requires careful material selection and proper finishing. For our DIY arbor swing, we chose cedar for its inherent beauty and natural resistance to the elements. Cedar, along with redwood, stands out as an excellent choice for outdoor projects due to its natural oils that repel insects and moisture, minimizing the risk of rot and decay. While these woods boast natural durability, applying an exterior stain and/or sealer is a crucial step to further enhance their beauty, extend their lifespan, and protect them from harsh environmental factors like UV radiation, rain, and humidity.
Why Stain Cedar? Beyond Just Beauty
While cedar’s natural grain and color are undeniably attractive, leaving it untreated outdoors can lead to several issues over time. Exposure to sunlight can cause the wood to fade and turn a dull gray, losing its vibrant character. Moisture can lead to mildew growth, black spots, and eventually, rot. Staining acts as a shield, locking in the wood’s natural beauty while providing a protective barrier. A good quality outdoor stain offers:
- UV Protection: Prevents the wood from graying and degrading under the sun’s harsh ultraviolet rays.
- Moisture Resistance: Repels water, reducing swelling, shrinking, and cracking, which are common causes of wood deterioration.
- Mold and Mildew Prevention: Many stains contain additives that inhibit fungal growth, keeping your arbor looking clean and healthy.
- Enhanced Aesthetics: Allows you to customize the look of your arbor, from subtly enhancing the natural grain with a transparent finish to completely changing its color with an opaque stain.
Choosing the Right Stain for Your Outdoor Project
When it comes to outdoor wood stains, understanding the differences between the main types is essential for selecting the best product for your specific needs and desired outcome. There are primarily two categories of stains you’ll encounter:
1. Traditional Film-Forming Stains (Acrylic or Oil-Based)
Traditional stains create a protective film on the surface of the wood. This barrier acts like a paint, sitting on top of the wood to shield it from the elements. They are available in a wide range of opacities, from transparent to solid, allowing for significant control over the final appearance. Generally, these stains offer robust protection and can significantly alter or enhance the wood’s color.
- Pros:
- Durability: Often boast a longer lifespan, typically lasting up to 3 years or more before reapplication is needed.
- Color Variety & Opacity: Offer the widest range of colors and opacities, from clear sealers to solid stains that completely cover the wood grain, similar to paint.
- Strong Barrier: Excellent at forming a protective shield against moisture and UV damage.
- Cons:
- Maintenance: Can chip, crack, or peel over time, especially in high-traffic areas or areas with extreme weather fluctuations.
- Reapplication: Requires extensive preparation for reapplication, often involving stripping and sanding the entire surface to remove old, peeling stain. This can be a labor-intensive process.
- Less Natural Feel: Because they sit on the surface, they can sometimes feel less natural to the touch compared to penetrating oils.
- This type of exterior stain typically lasts up to 3 years, but may chip and show wear sooner in high traffic areas. To re-stain, the entire surface must be stripped and sanded before re-staining.
2. Penetrating Oil Stains
Unlike traditional stains, penetrating oil stains are designed to soak deeply into the wood fibers, conditioning and protecting them from within. They don’t form a surface film, which gives them a more natural look and feel. These stains are particularly popular for woods like cedar and redwood because they enhance the natural beauty of the grain without obscuring it.
- Pros:
- Natural Look: Enhances the wood’s natural grain and texture, offering a more organic finish that won’t peel or crack.
- Easier Maintenance: Reapplication is generally simpler; new coats can often be applied directly over previous ones without extensive stripping or sanding, making touch-ups easy.
- Deep Protection: Protects the wood fibers from within, offering excellent water repellency and UV resistance.
- Less Prone to Peeling: Since they don’t form a film, they are not subject to peeling or flaking.
- Cons:
- Shorter Lifespan: Typically requires reapplication more frequently than film-forming stains, often annually or every two years, depending on exposure.
- Limited Opacity: Most penetrating oils are semi-transparent or transparent, offering less color change and not capable of completely masking wood imperfections.
- This type of wood stain and sealer typically doesn’t last as long as traditional wood sealer, but can be reapplied over the previous coats and can be touched up in high traffic areas.
Both types of stains are suitable for various outdoor wooden structures, including decks, fences, pergolas, and, of course, arbor swings. They come in diverse finishes, from transparent, which highlights the natural wood grain, to semi-transparent and opaque options that offer more color and coverage while still allowing some of the wood’s character to show through or completely masking it for a uniform look. Critically, high-quality exterior wood stains, regardless of type, incorporate water-repellent features and UV protection to ensure long-lasting defense against weathering, mold, and mildew, safeguarding your investment for years to come.
Staining a large outdoor project like this arbor swing can seem daunting and time-consuming, but the process itself is straightforward and highly rewarding. The general rule of thumb for unfinished wood is to apply two coats of stain to ensure adequate protection and color depth. However, it’s always crucial to refer to the specific product instructions. For this project, we used a client-provided stain and sealer in one: PPG Proluxe transparent matte stain in Dark Oak 009. This particular product specified only one coat, which simplified the process considerably. We applied it efficiently using a wide, natural bristle brush, which helps achieve an even finish on large surfaces.
Essential Tools and Materials for Staining Cedar:
- Exterior Wood Stain (e.g., PPG Proluxe or similar high-quality product)
- Wide, natural bristle brush (e.g., 3-4 inch width)
- Drop cloths or plastic sheeting to protect surrounding areas
- Wood cleaner/brightener (optional, for heavily weathered wood)
- Fine-grit sandpaper (120-180 grit) or sanding block
- Gloves and safety glasses
- Stir stick for mixing stain
- Lint-free rags for wiping excess stain (if needed)
- Wood filler (for major imperfections)
Top Tips for Flawless Cedar Staining:
- Thorough Cleaning and Preparation: Before applying any stain, the wood must be clean, dry, and free of dirt, mildew, and loose wood fibers. Start by cleaning the cedar posts and beams thoroughly. For new wood, a simple wipe-down to remove dust is usually sufficient. For older or dirtier wood, consider a specialized wood cleaner and brightener. Once clean, lightly sand any rough sections with fine-grit sandpaper (120-180 grit) to create a smooth surface that allows for even stain absorption. Fill any major imperfections or holes with an exterior-grade wood filler that is compatible with your chosen stain. Remember, stain will magnify existing imperfections, so proper preparation is paramount for a professional-looking finish.
- Work in Optimal Conditions: The environment plays a significant role in how stain performs. Whenever possible, stain in the shade or during the cooler hours of the day (early morning or late afternoon). Direct sunlight and high temperatures can cause the stain to dry too quickly on the surface, preventing it from penetrating properly and leading to an uneven finish, lap marks, or premature peeling. Cooler, more consistent temperatures allow the stain ample time to soak into the wood fibers, ensuring deeper penetration and a more durable, even color. Our arbor was ideally positioned to be shaded throughout the day, which greatly facilitated a smooth and consistent stain application.
- Choose the Right Applicator: While there are various tools for applying stain, a wide, natural bristle brush is often ideal for posts and beams. The natural bristles hold more stain, allowing for longer, more consistent strokes and helping to ensure even color distribution without streaking. For larger, flat surfaces, a stain pad or roller might also be considered, but for the intricate details and angles of an arbor, a brush offers superior control. Always work in manageable sections, applying the stain generously but not excessively, and spread it evenly along the grain of the wood.
- Allow Adequate Dry and Cure Time: Patience is a virtue when staining. Always follow the manufacturer’s recommendations for dry time between coats and for the full cure time before the wood is exposed to heavy use or the elements. “Dry to touch” does not mean “fully cured.” Applying a second coat too soon can lead to a sticky finish, uneven color, or adhesion issues. Similarly, exposing the stained wood to rain or heavy moisture before it has fully cured can compromise its protective qualities and appearance. Proper drying and curing ensures the stain bonds correctly with the wood, maximizing its durability and longevity.
- Regular Maintenance for Lasting Beauty: Staining is not a one-time task; it’s an investment in the longevity and beauty of your outdoor wood. Maintain the stained cedar by keeping it clean and as dry as possible. Regular cleaning with a soft brush and mild soap (or a specific deck/wood cleaner) will remove dirt, pollen, and light mildew before they can cause damage. Inspect your arbor annually for any signs of wear, fading, or peeling. Depending on the stain type and exposure, plan for reapplication every 1-3 years. With typical use and a once-yearly cleaning for dirt and mildew, properly stained cedar can last for a decade or more, maintaining its charm and structural integrity.
Stay tuned and subscribe to see how we finish up and install the flagstone pavers – right up until the finished project reveal!
- YouTube
- TikTok
Step By Step: DIY Arbor Swing Project Guide
We’re documenting every stage of this exciting DIY arbor swing build, from the initial preparations to the final stunning reveal. Follow along with our detailed guides to create your own backyard sanctuary. Here are all the steps in our series:
DIY Arbor Swing: How to Seal Wood Posts
DIY Arbor Swing: How to Place and Level Posts
DIY Arbor Swing: How to Dry Pour Concrete Footings The Easy Way
DIY Arbor Swing: How to Cut Pergola Rafter Tail Designs (with Printable Patterns)
DIY Arbor Swing: How to Cut DIY Wood Braces for Pergola Support
DIY Arbor Swing: How to Make 2×2 Lumber from a 2×6
DIY Arbor Swing: How to Install Wood Beam Supports
DIY Arbor Swing: How to Install Arbor Swing Beams
DIY Arbor Swing: How to Install Rafters / Purlins
DIY Arbor Swing: Lattice Purlins & Beam Supports (Part 2)
DIY Arbor Swing: How to Install Curved Wood Knee Braces
DIY Arbor Swing: How to Stain Cedar for Outdoor Use
DIY Arbor Swing: How to Install a Flagstone Patio
DIY Arbor Swing: How to Install Porch Swing Brackets
DIY Arbor Swing: How to Hang a Porch Swing
Pin this guide to save and share your outdoor project inspiration!