Materials and the sequence of the job sit together on this page.
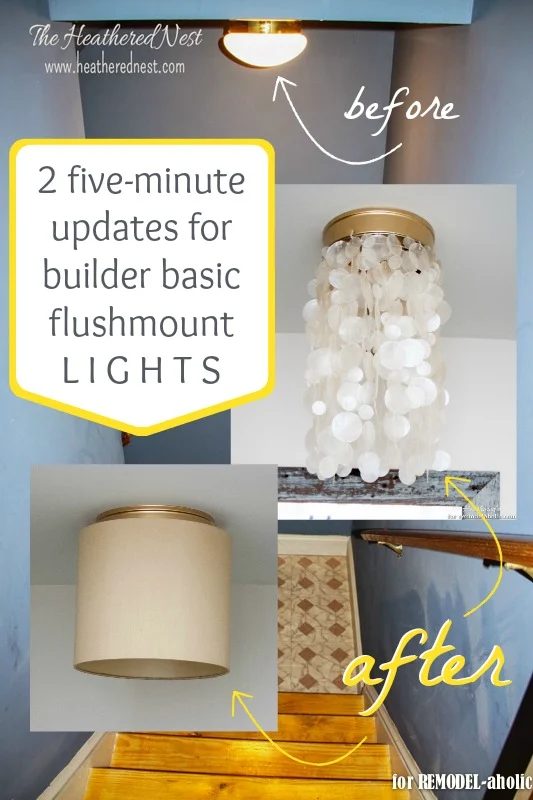
Alright guys, let’s get down to business. Apologies if this photo offends anyone. But we have to show the before…
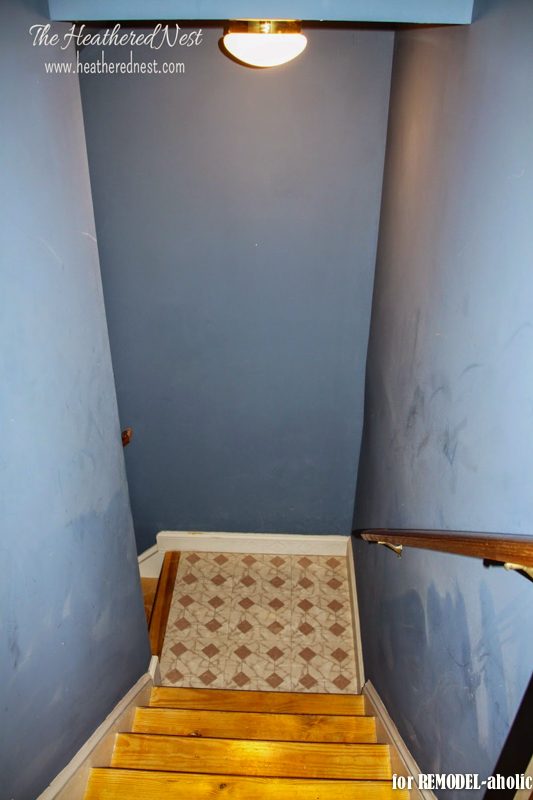 I know, I know. It’s a little hard to look at. Not only is this stairwell exceedingly ugly (and dirty), but… the light. Whoa.

OH MY WORD…not only is there another of those LIGHTS hanging from the ceiling in here, but this whole room is a TOTAL bust! (Did anyone else find that funny, because I’ve read it five times and my inner 10-year-old is still laughing). If you wanna look at the AFTER of that room above, open this.
Are you ready to make your home a STREAK-FREE ZONE?
How to Update Basic Flushmount Light Fixtures (aka boob lights)
Here’s what you’ll need:
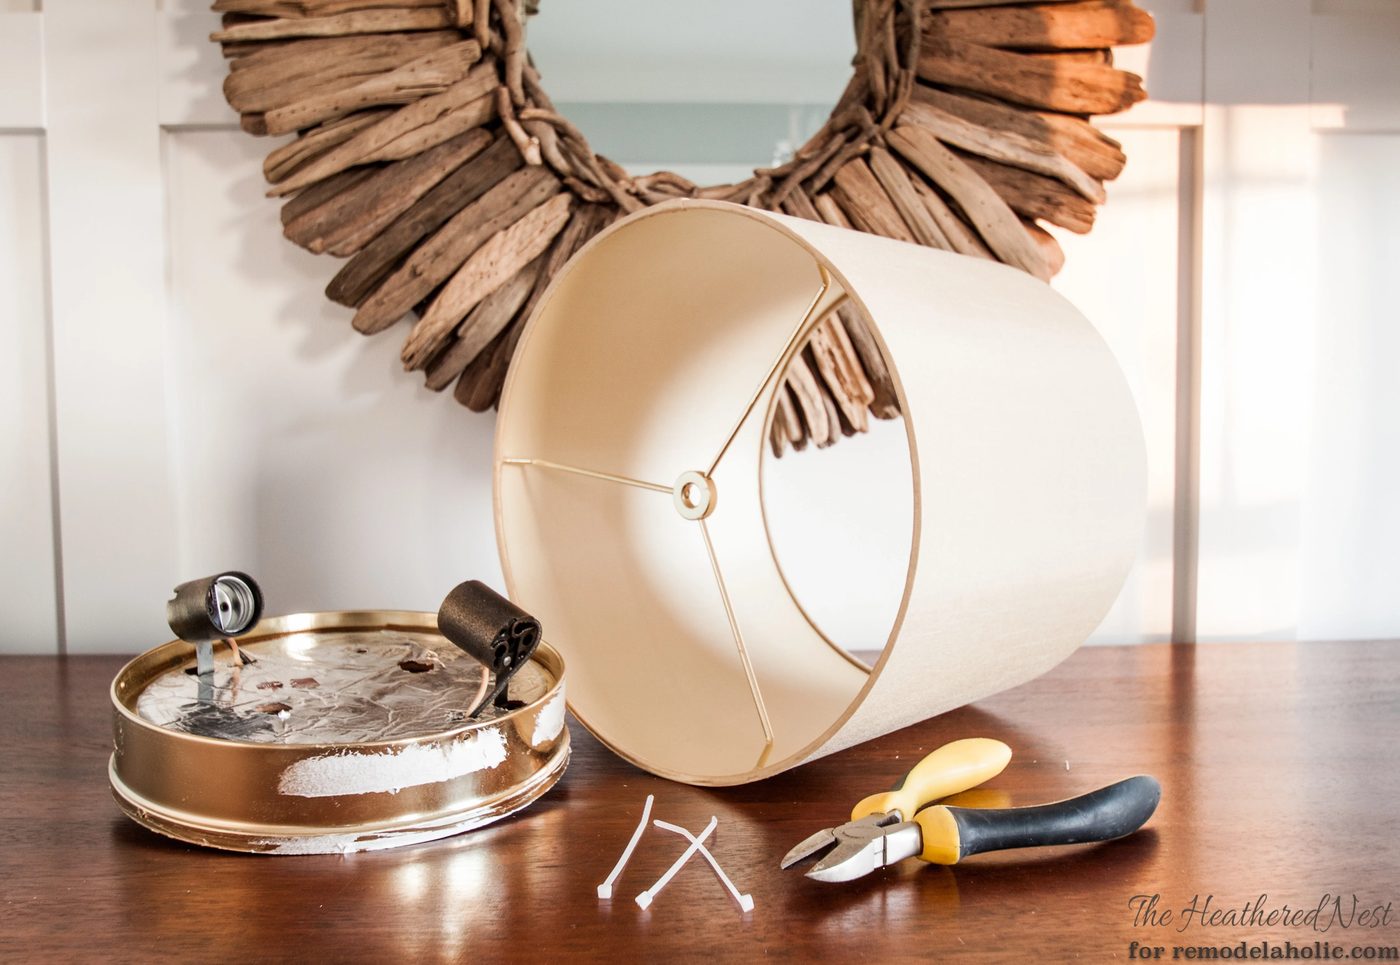
- Boob light fixture
- Capiz shell shade -OR- drum shade with “spider” (shown above), “uno” or “chimney” fitter will work best (google these terms if I’m not speaking your language right now)
- Three zip (cable) ties
- Scissors (or if you wanna get fancy, linesman pliers as shown above)
Preparation:
Remove the glass shade from your fixture. Typically, this will be done by unscrewing the shade from three little screws on the side of the fixture, or, alternatively, one screw at the bottom of the shade. If your boob light unscrews at the bottom, you *may* have to drill three little holes (use a very small bit) into the side of your fixture in order to use this technique (only if your fixture does not have these holes).If you LIKE the finish of your fixture, you’re ready to rock and roll. If you DON’T like the finish, then you’ll need to uninstall the fixture (this requires some knowledge about electricity…please don’t Handmade unless you’re sure you can be safe) in order to spray paint it. As you can see, our boob fixture needed some help. We spray painted ours with Rust-oleum’s metallic spray paint in Gold.
Once you are happy with the finish/your paint has dried, re-install the fixture.Now, choose your own adventure…remember those books? Are you going to use a drum shade or a capiz shell shade?? Decisions, decisions. Let’s start with the drum shade option.
How-To Hang Drum Shade:
*Please note: the diagram below shows the fixture UNINSTALLED. It doesn’t matter if your fixture is installed yet or not. The installation will work EITHER way, just fine. For clearer pictures, I’m just showing it this way.
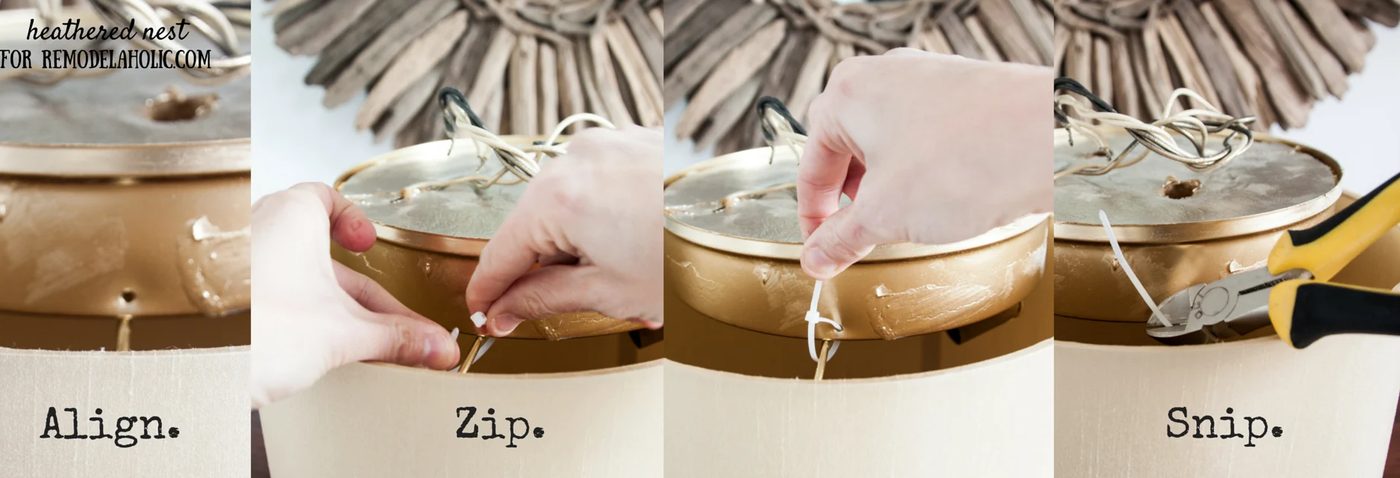
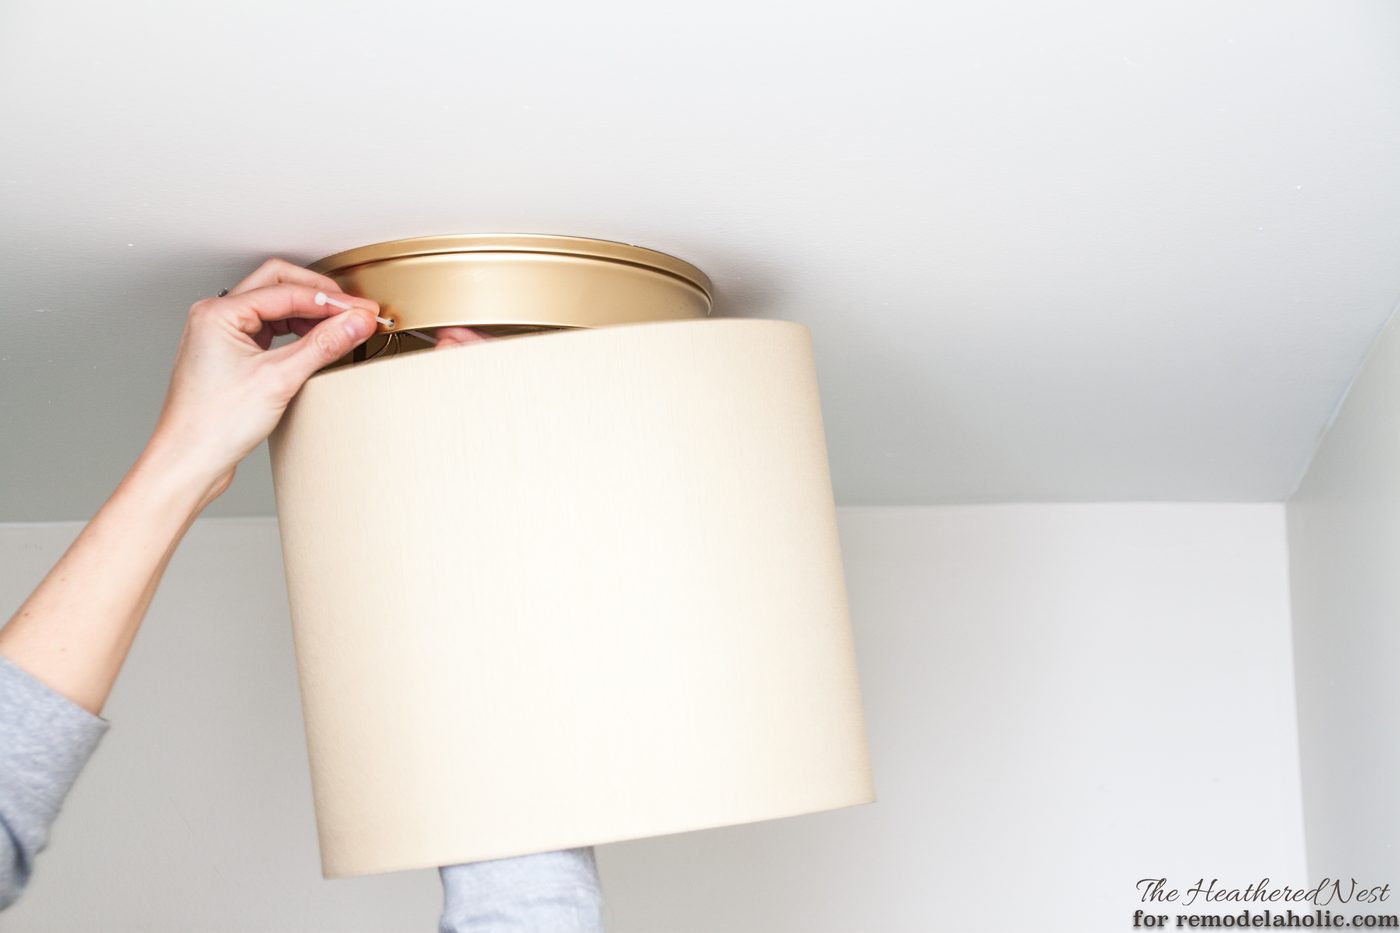
1. Align (roughly) the arms of your drum shade with those holes (where you removed your glass, or where you’ve drilled) on the fixture. If it doesn’t line up exactly, no problem…you can adjust the zip ties to allow the shade to hang correctly.
2. Zip tie through a hole, and around an arm of your shade. Secure loosely. Repeat for each hole in your fixture.
3. Once your zip ties are in place, make sure the shade hangs level. You can alter how it hangs by tightening your zip ties.
4. Now that your shade hangs level, snip off the excess tie material. DONE!
Below is an image of installation of the shade with the fixture already mounted.
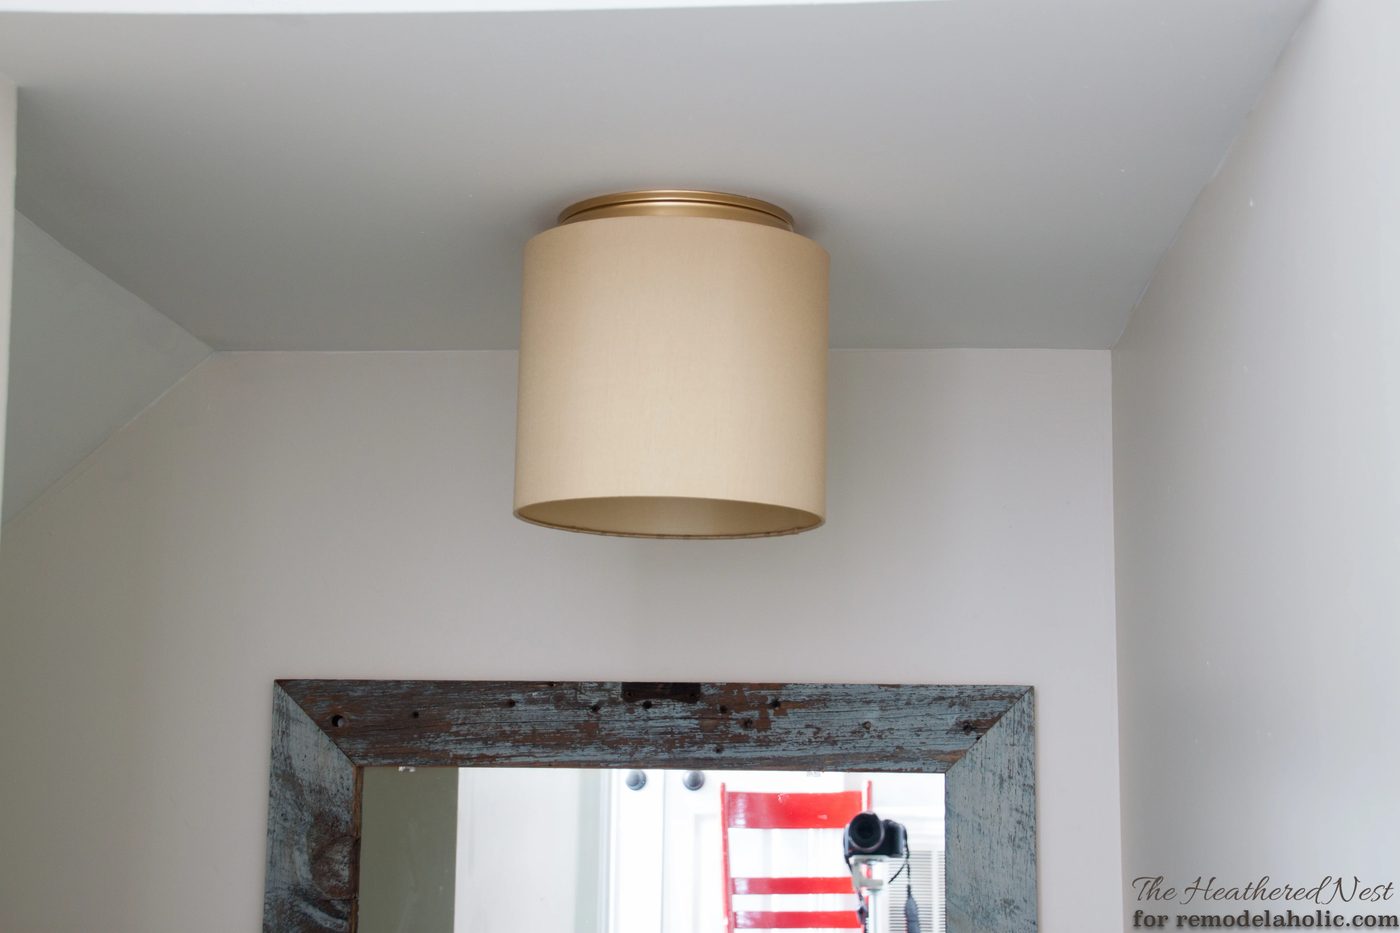
Ta-Da! No more ta-ta!
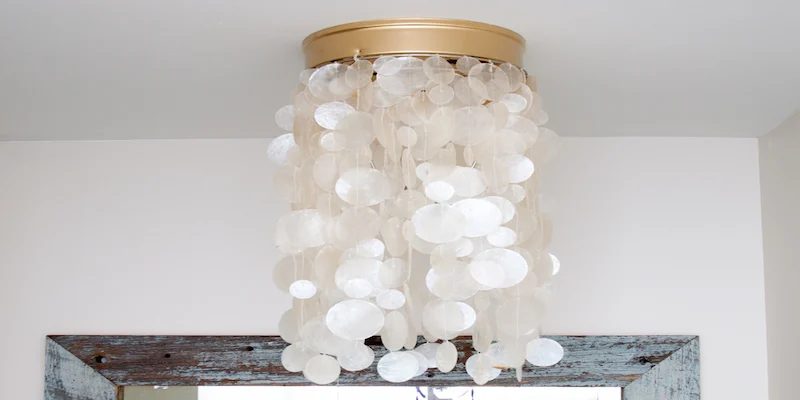
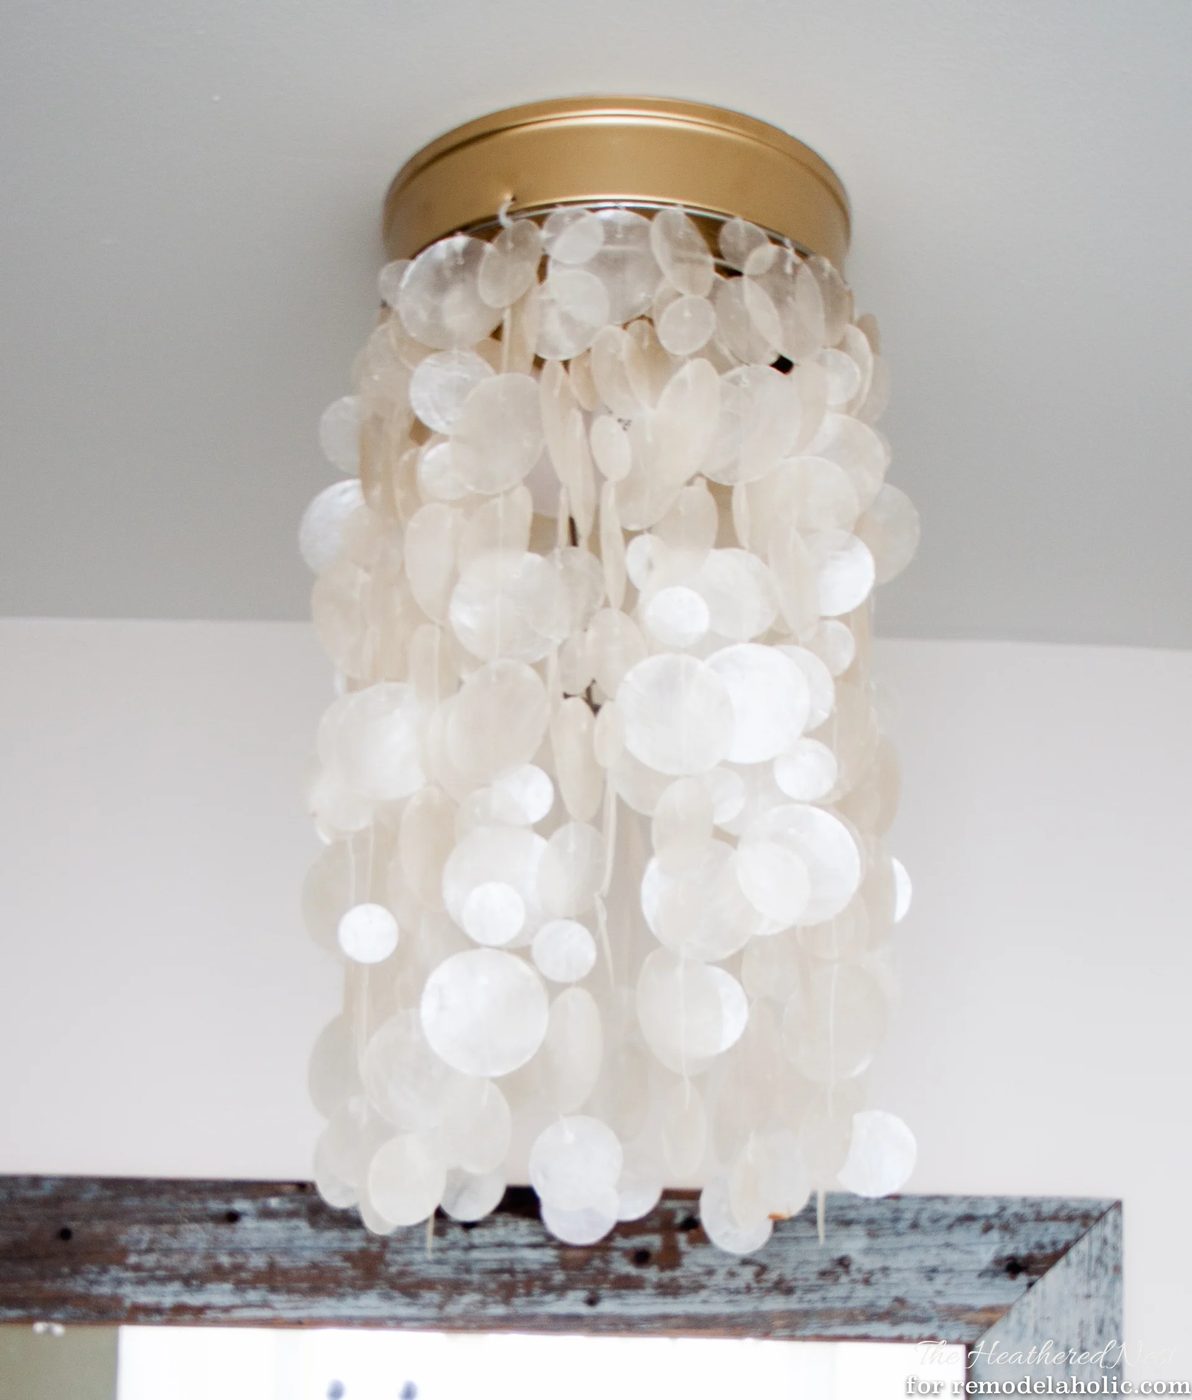
If you get tired of your drum shade, you’ve got another option! How about a striking capiz shade? I’ve always loved capiz chandeliers. And have used a bunch over the years. Thing is, they can be VERY pricey! Like $300+ pricey. Luckily, our version is going to be MUCH more affordable!
But first, you’ll need a shade. You can MAKE a capiz-inspired shade. Here are three online tutorials if you decide to go that route:
- Bekob
- Design Sponge
- Classy Clutter
Me? I’m terribly lazy. And luckily I had my capiz already. It was bought for my first child’s nursery, and had been tucked away in the garage for years. But you can find these for a fairly decent price here and there…especially if you search for a capiz windchime, instead of a light fixture! look at these options:
For your convenience, this post contains affiliate links, which allow us to continue providing you lots of decorating and Handmade options at no cost to you. Learn more here.
- World Market
- Amazon Wind Chime
How-To Hang Capiz Shade:
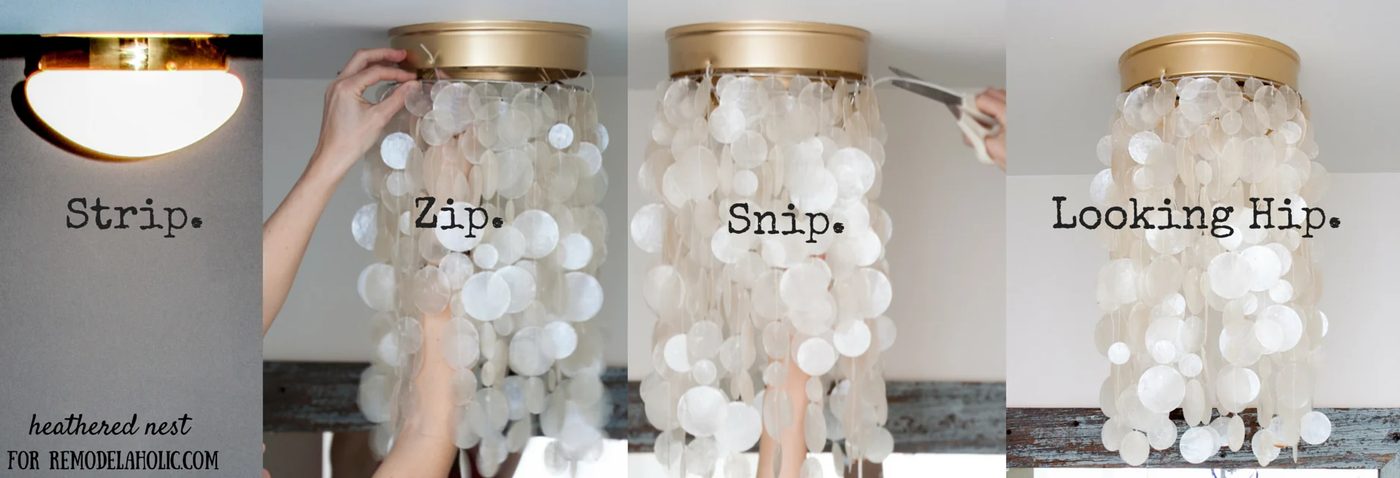
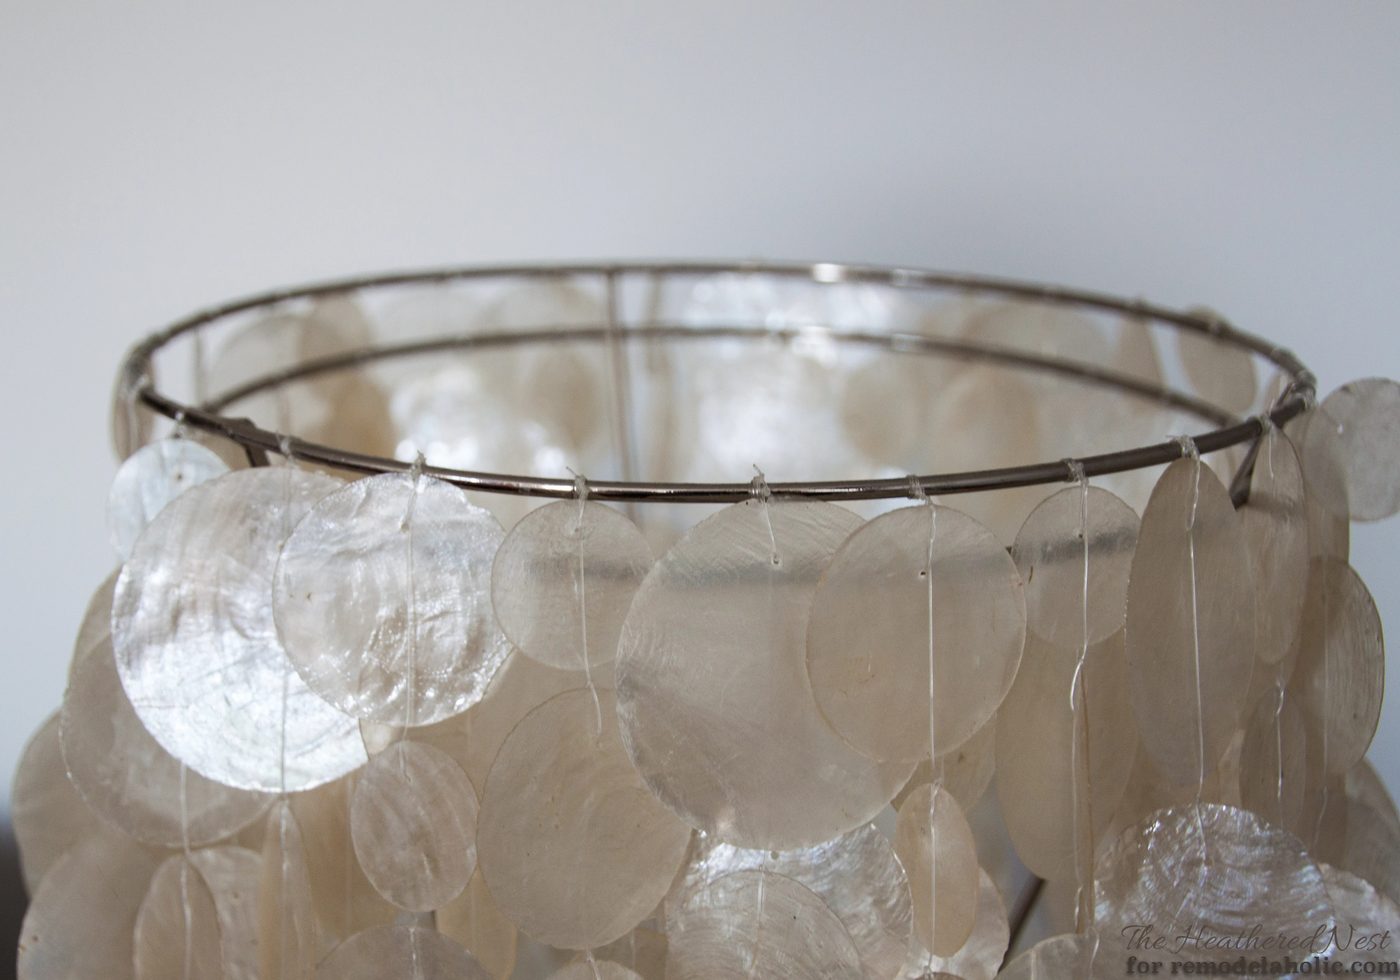
It’s really the same technique as above, but slightly easier because the capiz shade will have a round (usually) metal rim at the top, and you can affix your zip ties anywhere you need. Here’s a close-up of the top of my capiz.
That’s it folks, it’s done! And I think this baby is just vivid! I would totally sink some money into this if I saw it somewhere…but luckily, we don’t have to!!
The only problem with this project is that after you dismantle those boob lights, you have a perfectly good glass shade leftover! So, I’ve racked (get it? Again with the jokes) my brain, and come up with two possible solutions for you.
1. Start a new side job?
 OK, that’s a NO. Hmmm…I GOT IT!
2. Fancy Trick-or-treat candy bowl!

Happy upcycling everyone! Cheers!
———————————–
More lights that need updated?
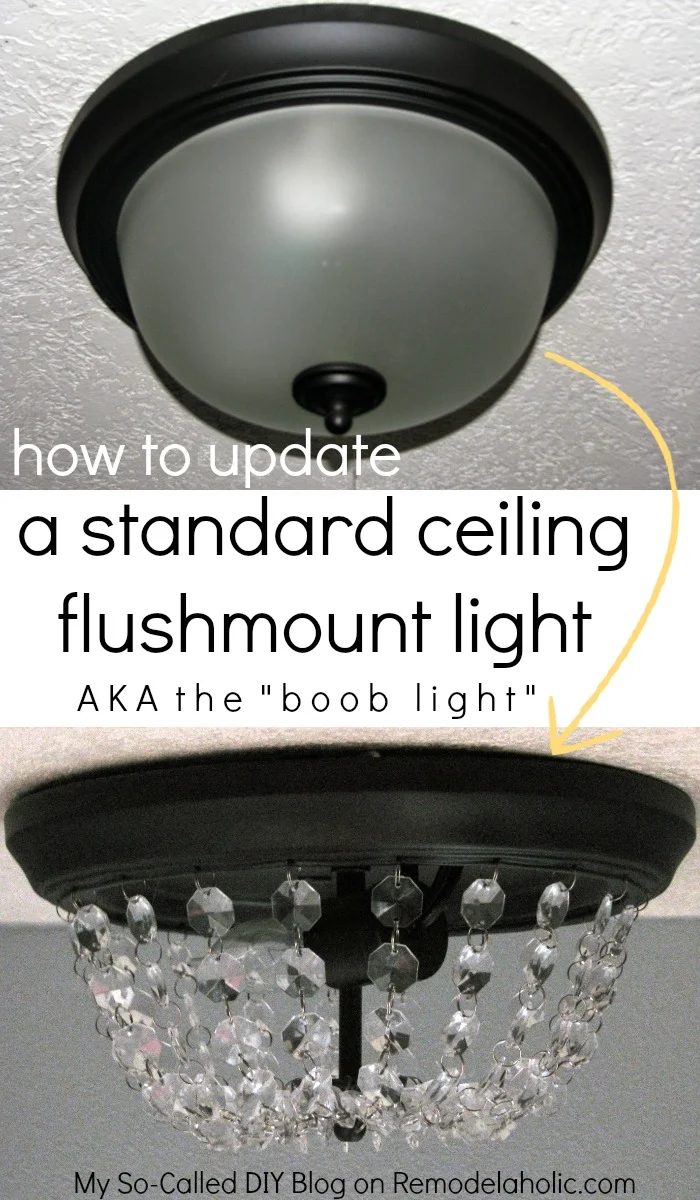
Try this crystal flushmount update:
or with Heather’s straightforward install tips, you could also hang a pendant shade, like one of these: