Materials and the sequence of the job sit together on this page.
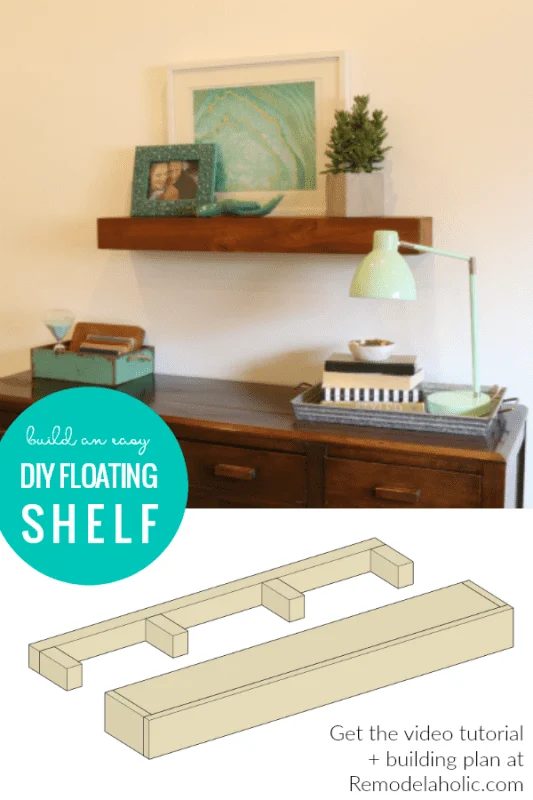
When it comes to classic decor, a basic floating shelf is at the top of my list. Whether your style is more rustic, modern, or classic, adding a floating shelf (or two) is doable and striking. We have 5 tips for building straightforward and affordable floating shelves with just 3 boards!
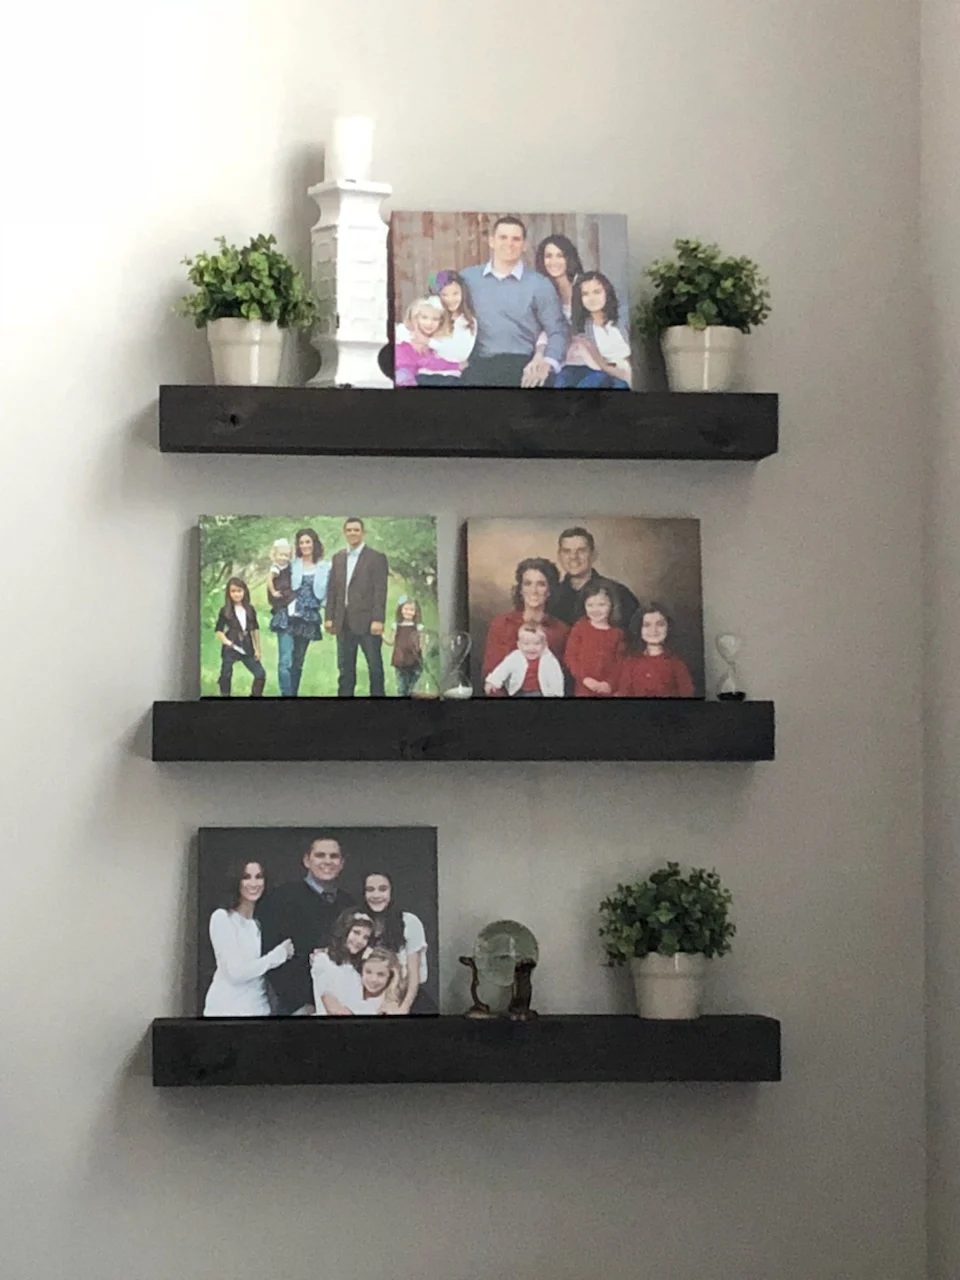
Love building? Be sure to see this $10 Antique Handmade Crate or our 20 Things to Build from 2x2s Post! My neighbor asked me to make him floating shelves to give to his wife for her birthday. They were direct and looked so great, so I thought I’d share them with you! To show you how, we also installed one here in our office/studio.
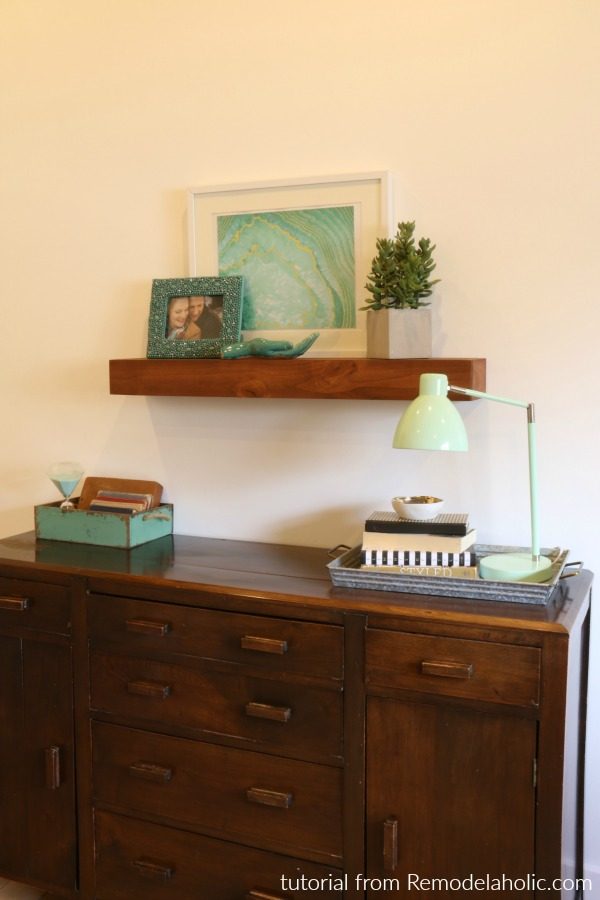
This is definitely a one day project start to finish! Watch the video walkthrough and click the link below for the free printable floating shelf building plans.
5 Helpful Tips for Building Affordable Floating Shelves
open this to Get a Printable Version of This Building PlanThis post contains affiliate links. See our complete disclosure here.
Materials
Makes one 3′ floating shelf.
- 1 – 2 x 4 x 92 5/8 framing stud
- 1 – 1″ x 6″ x 72″ Knotty alder board (actual measurements 3/4″ x 5 1/2″ x 72″)
- 1 – 1″ x 4″ x 54″ Knotty alder board (3/4″ x 3 1/2″ x 54″)
- Glue
- Wood filler
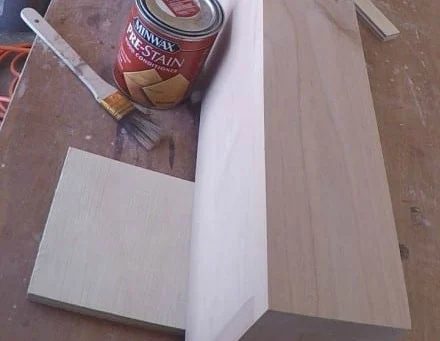
- Pre-stain wood conditioner
- Gel wood stain
- 2 1/2″ Wood Screws
- 3 1/2″ Wood screws
- 1 1/4″ Wood screws
Tools
- Table saw
- Sander
- Finish nail gun with 1 1/2″ nails
- Air compressor
- Clamps
- Drill
Tip #1: Use a Table Saw for Precise Cuts when Building a Floating Shelf
Cut List
Because there is less tear out and the cuts are more precise, I used my table saw for all of my cuts . You could ask your home improvement store to rip the 2×4 down, and use a miter saw if you don’t want to use a table saw.
Rip down 2×4 stud to 2″
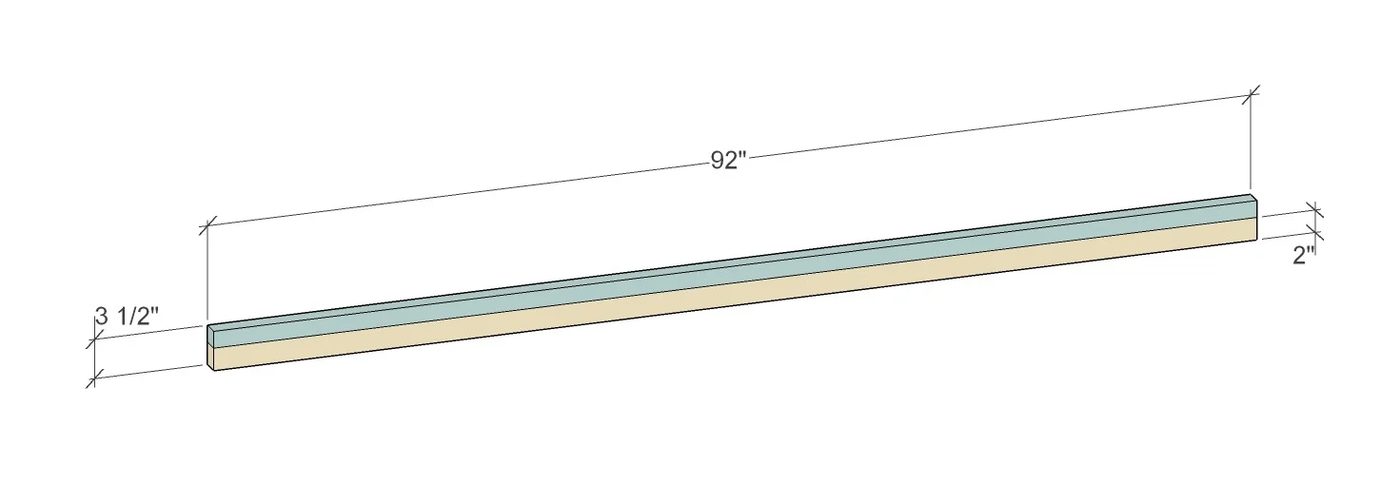
Then, cut
(1) @ 34 1/4″ and (4) @ 3 7/8″
We also used a 1×6 and a 1×4 (Alder).
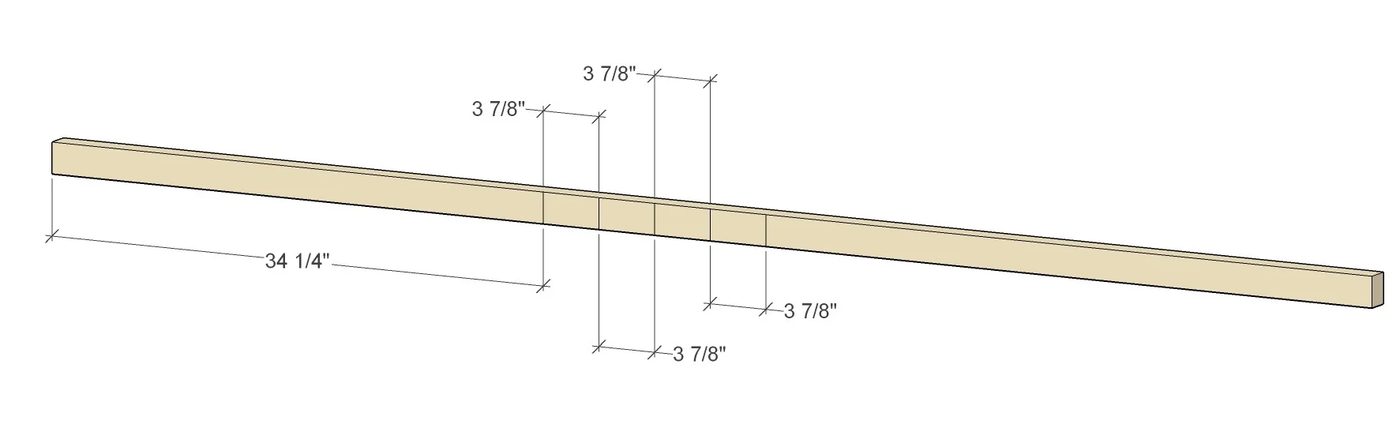
1″ x 6″ x 72″ (2) @ 34 1/2″
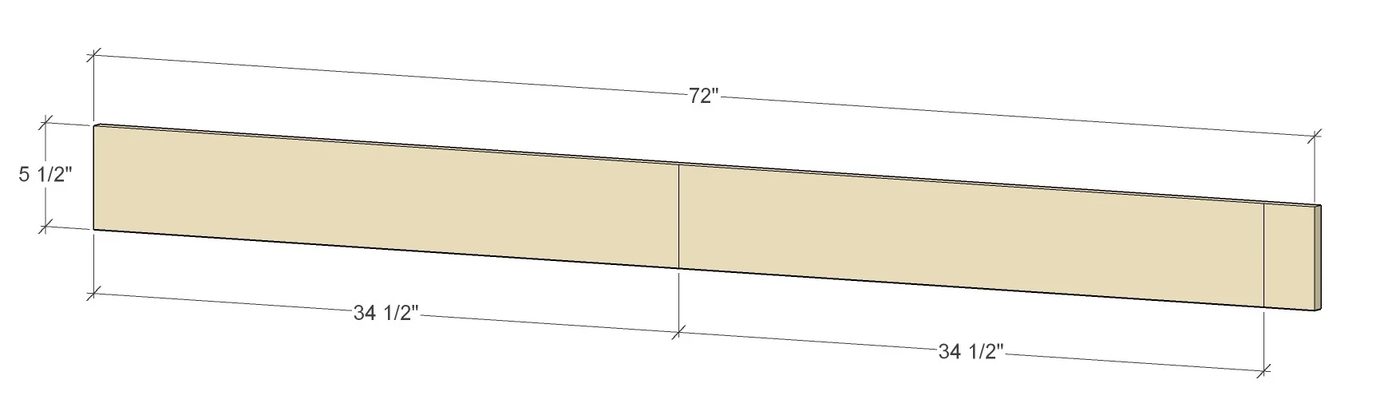
1″ x 4″ x 54″ (1) @ 36″ and (2) @ 5 1/2″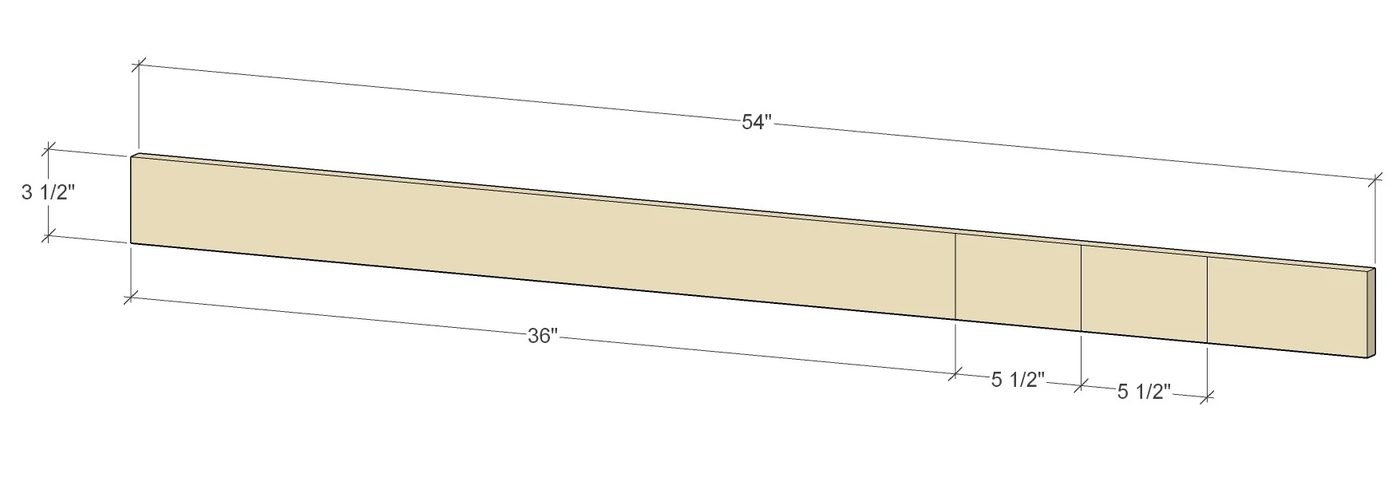
Tip #2: Create and Assemble Support Bracket for Floating Shelf
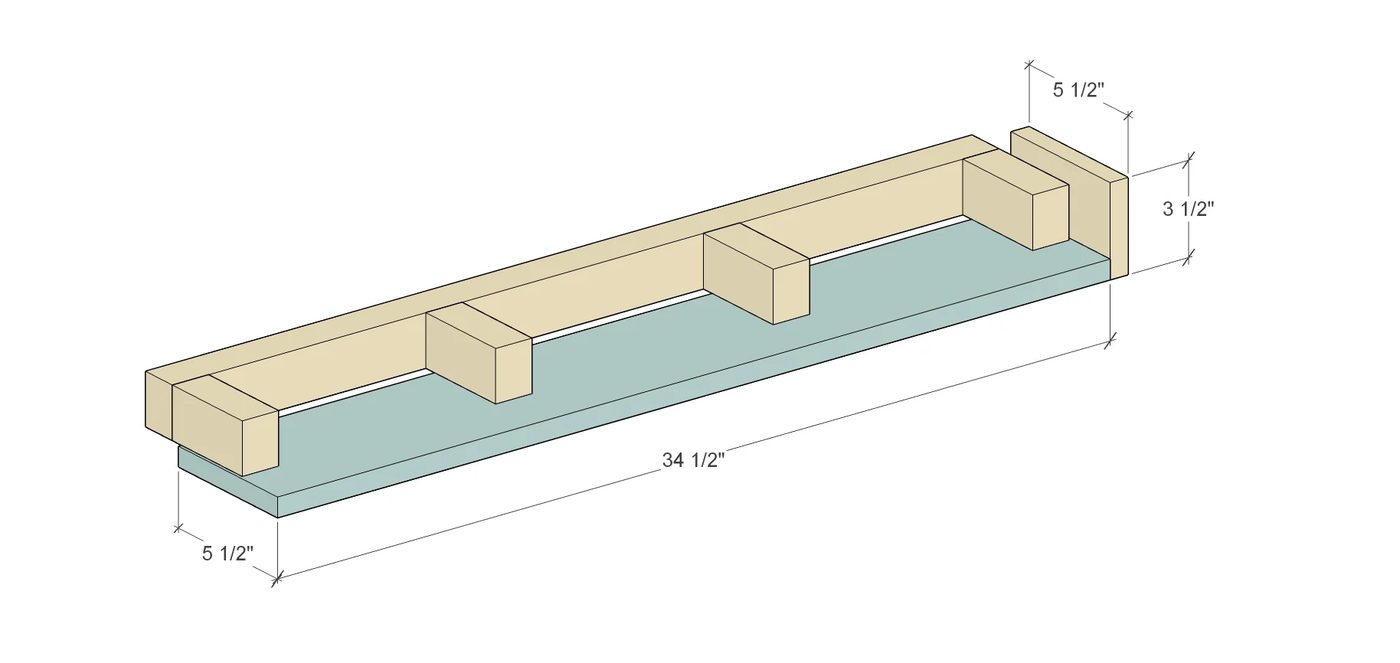
Attach the 3 7/8″ pieces to the 34 1/4″ piece cut from the ripped down 2×4. Make sure that two of the pieces are flush with the outside. You will want to measure the space where the shelf will hang to make decide where to place the other two supports. Some open space is required to secure the shelf support to the wall.
Use 2 1/2″ wood screws to attach pieces together.
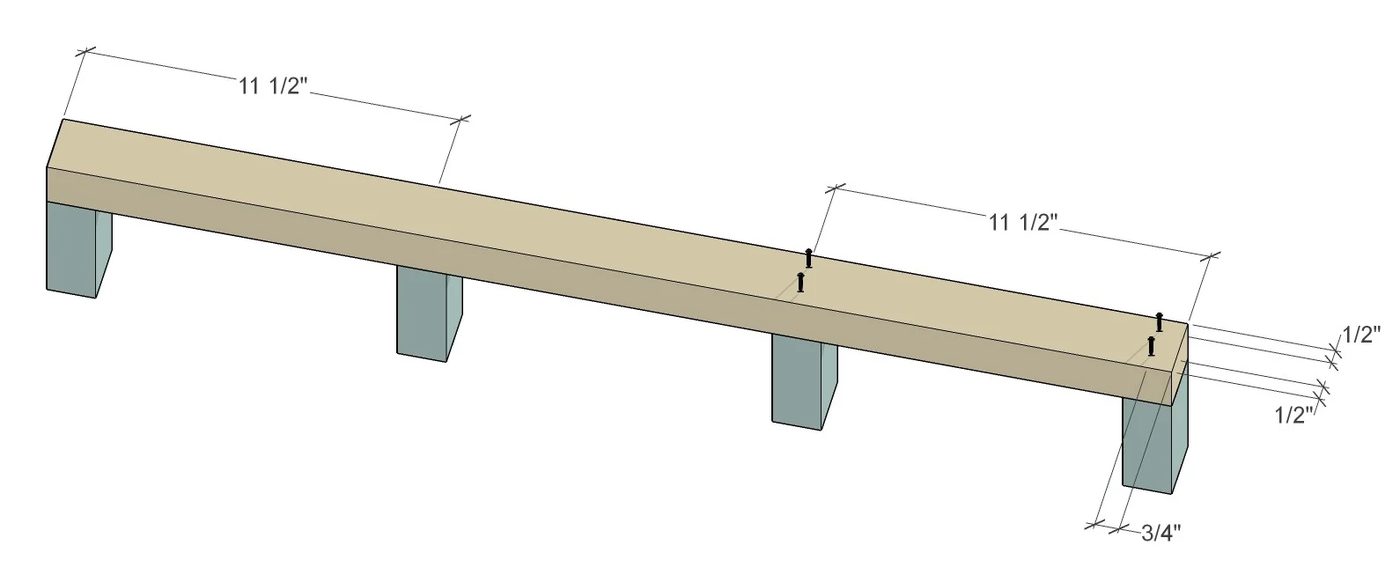
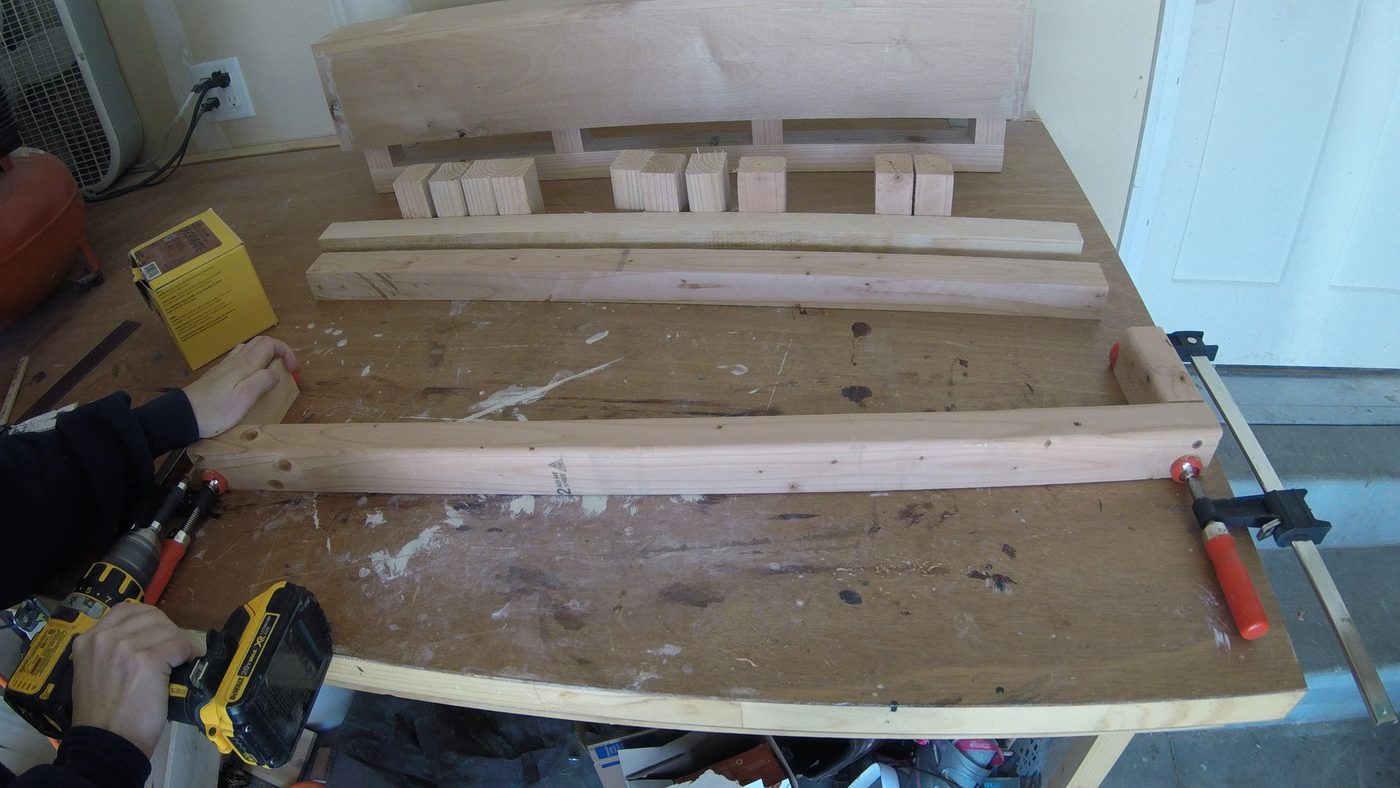
So, that the wood wouldn’t split, I clamped the pieces in place, and pre-drilled for the screws.
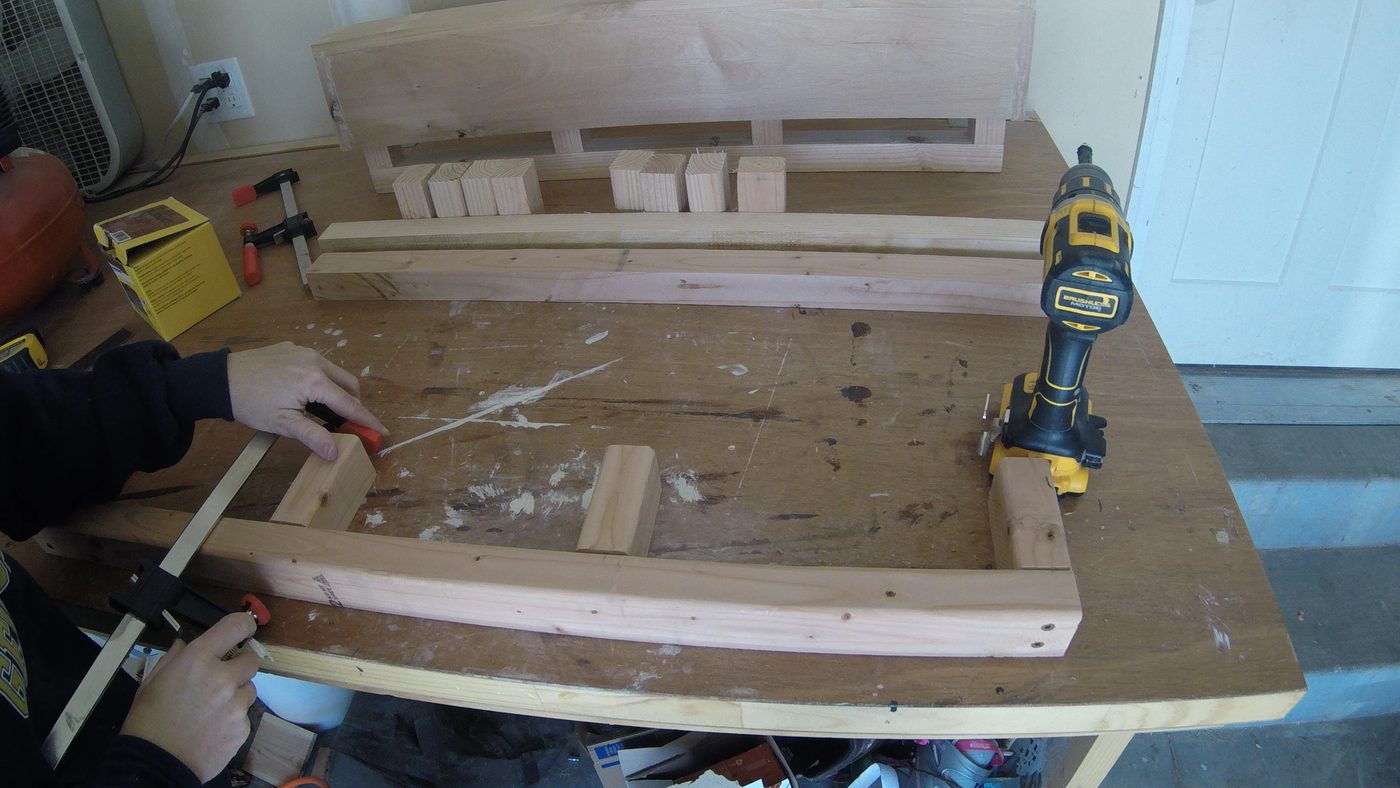
Next, I clamped, pre-drilled, and attached the middle supports.
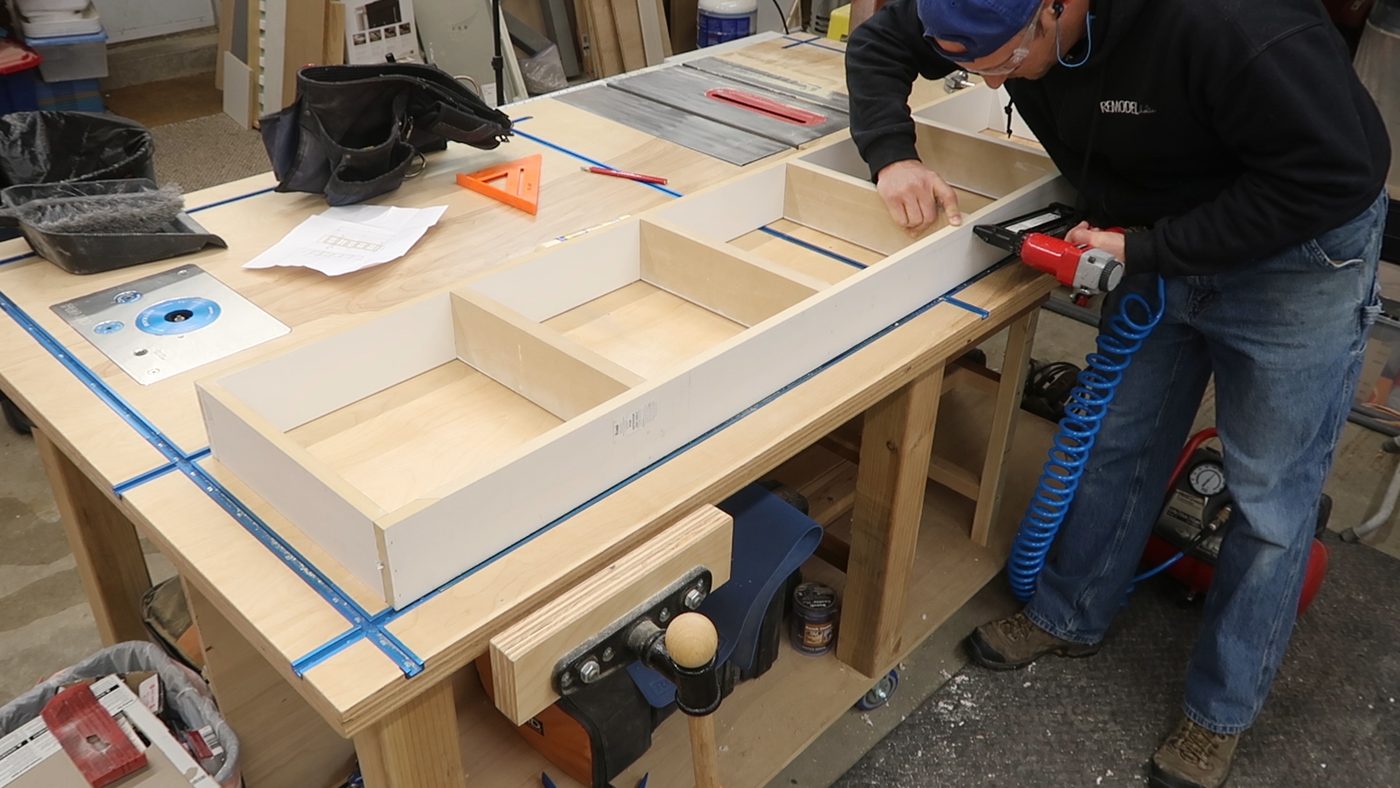
Tip #3: Assemble Floating Shelf Shell Using Glue and Nails
As you assemble your shelf shell, use the support to ensure it will fit inside the pocket. I laid one of the 5 1/2″ alder pieces beneath the support, placing one of the 3 1/2″ x 5 1/2″ pieces along the side.
Clamp the face to that piece. Then set the other side piece in place, and clamp in place while you nail the pieces together.
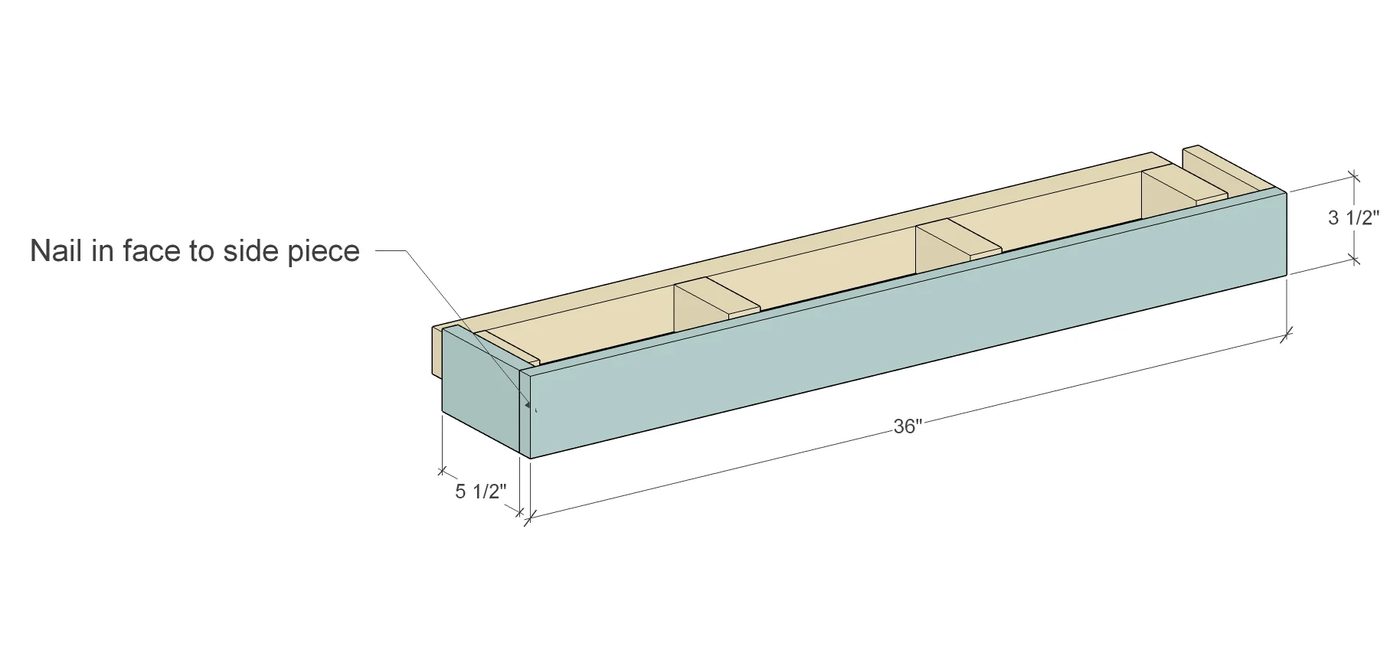
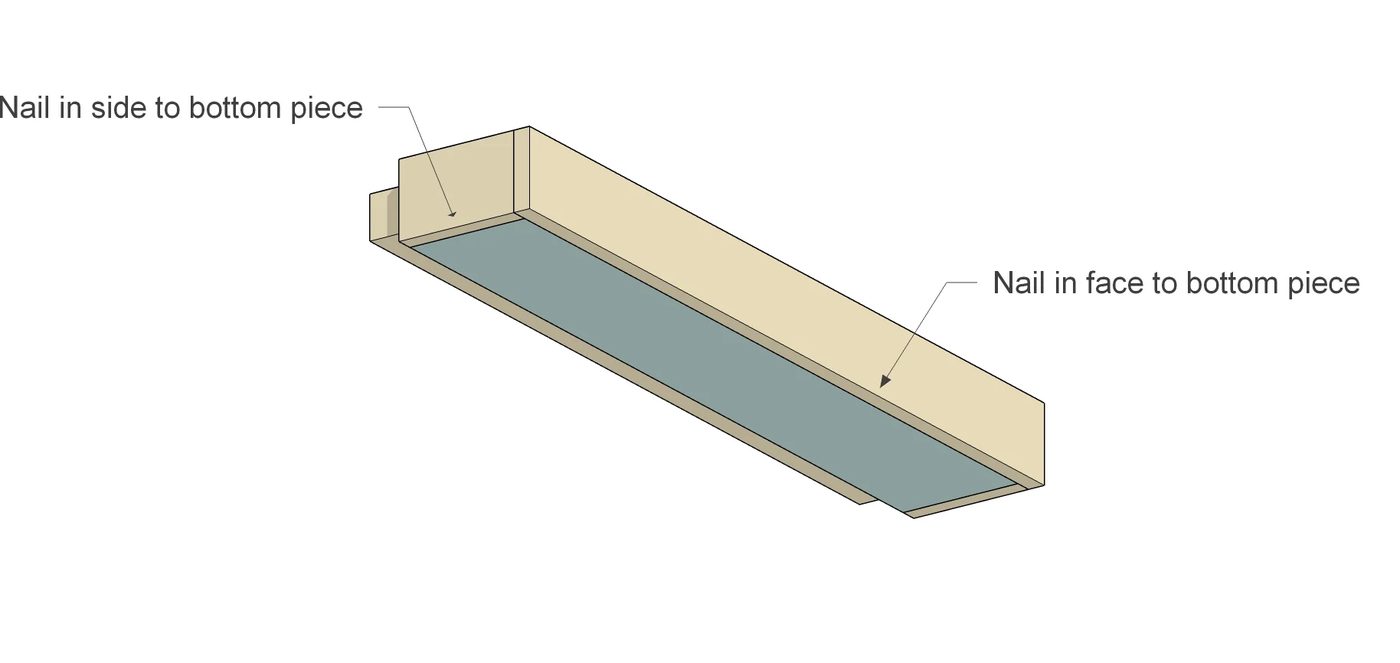
You will secure the pieces together with 1 1/2″ finish nails from the face into the side pieces.
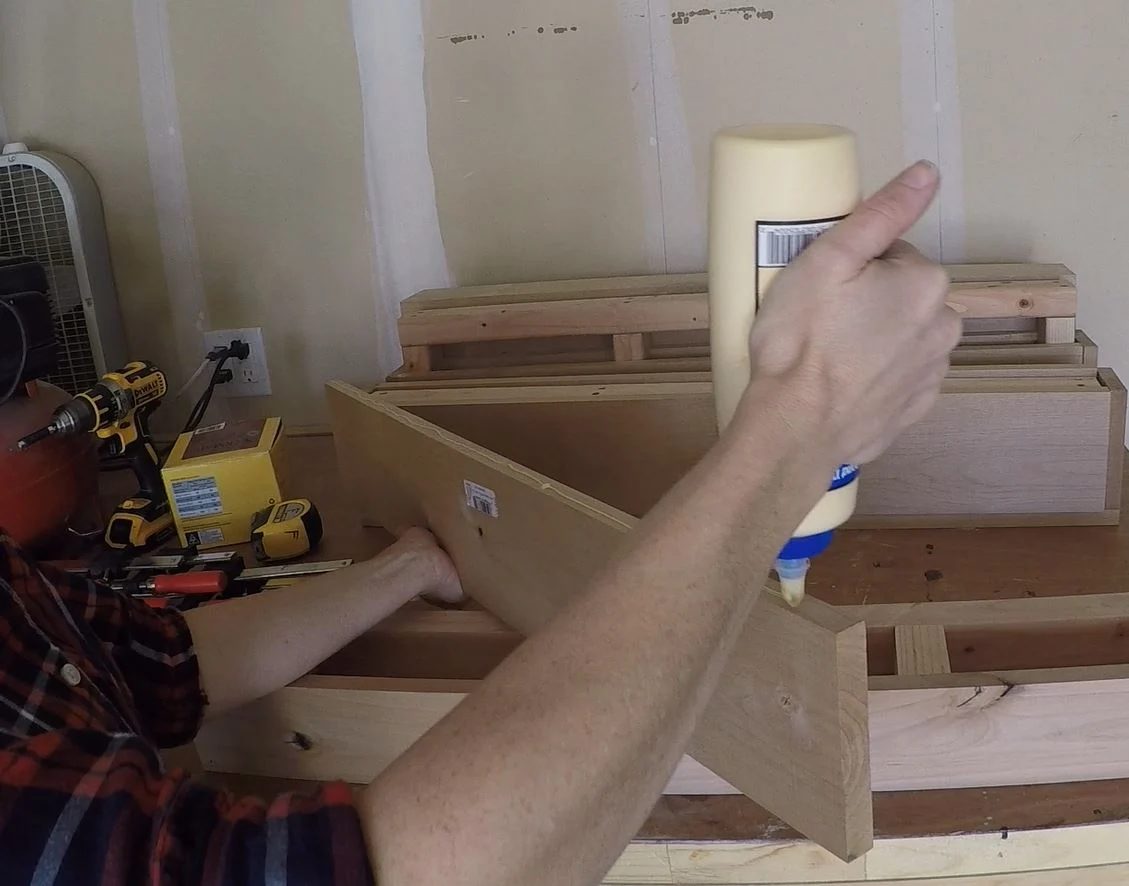
Place the other 5 1/2″ piece on top of the support after running a bead of glue along one 34 1/2″ side, and both 5 1/2″ sides.
By nailing through the face and sides into the top piece, secure the top in place.
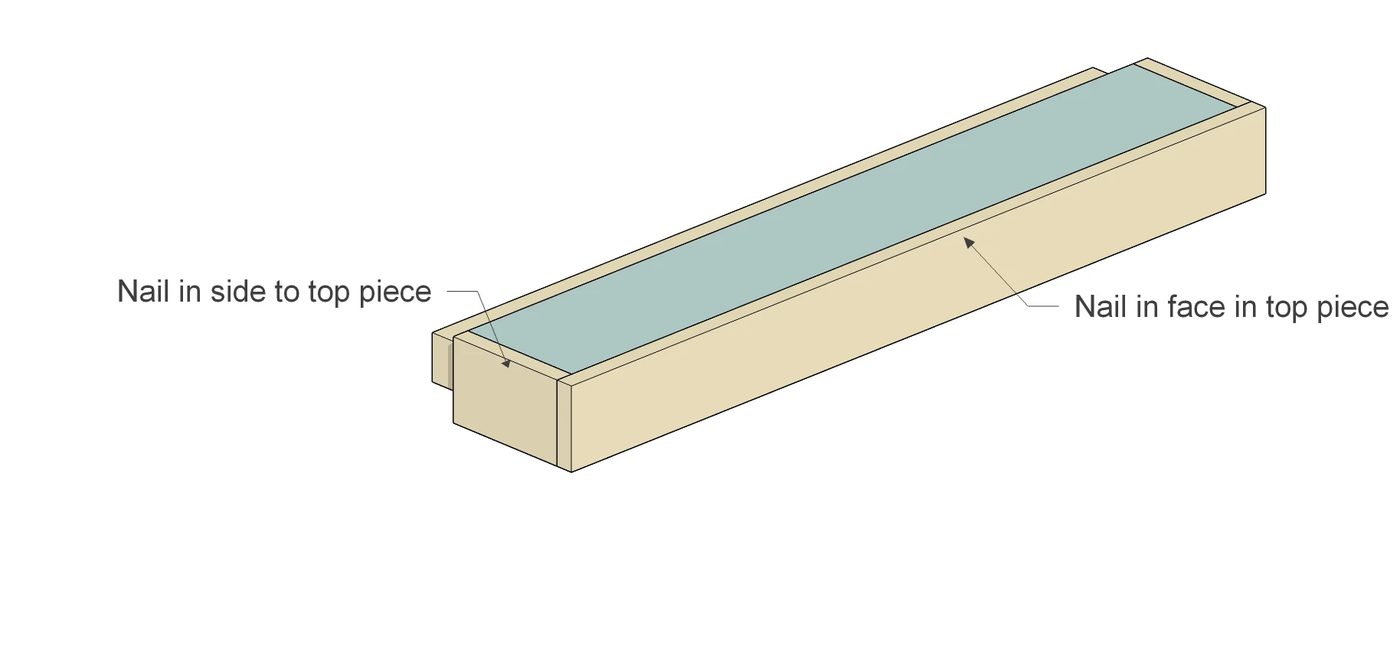
Make sure you hold the nail gun very straight so the nails don’t come out of the top. I also used clamps to help hold the top piece flush with the face as I nailed it.
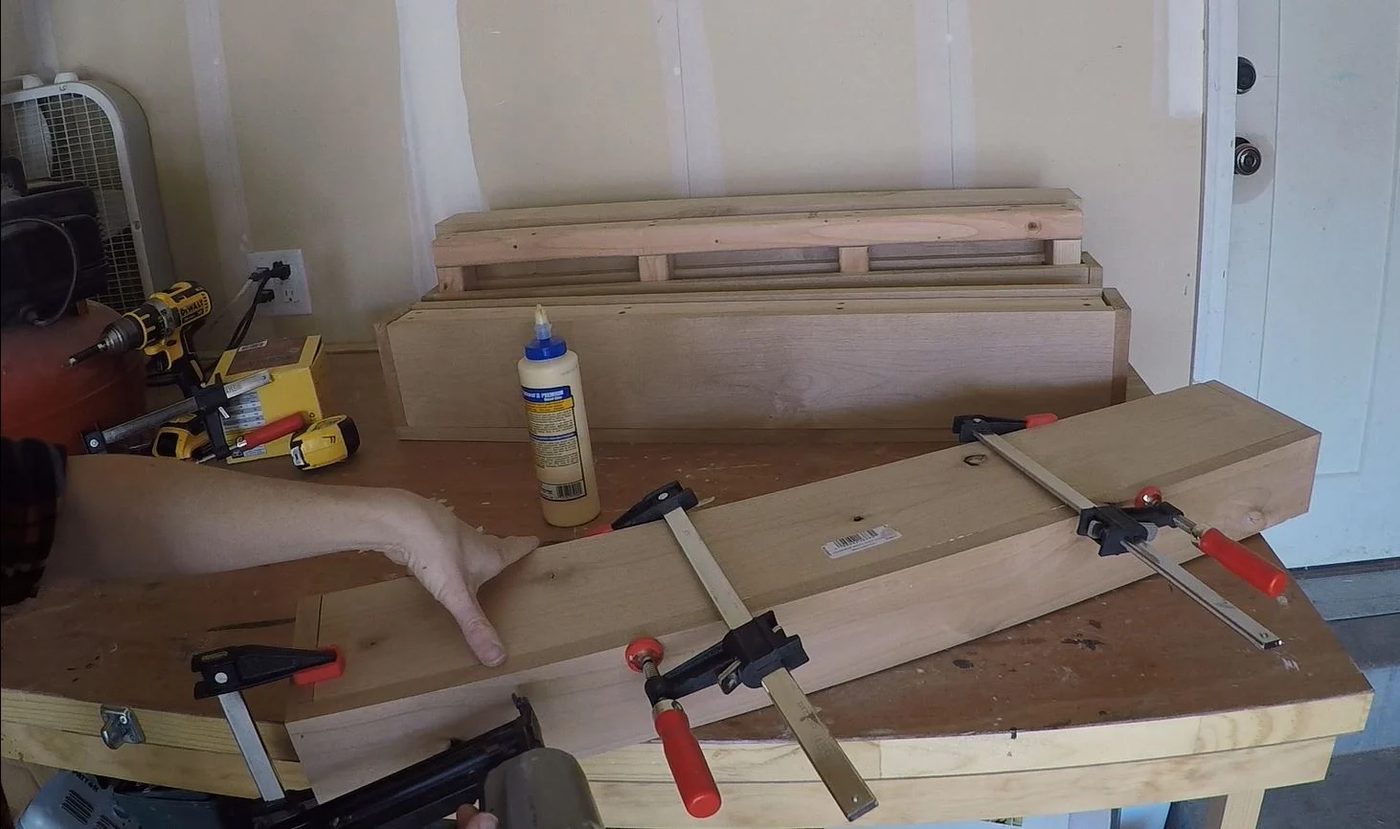
Turn shelf over, and run a bead of glue along the other 5 1/2″ piece.
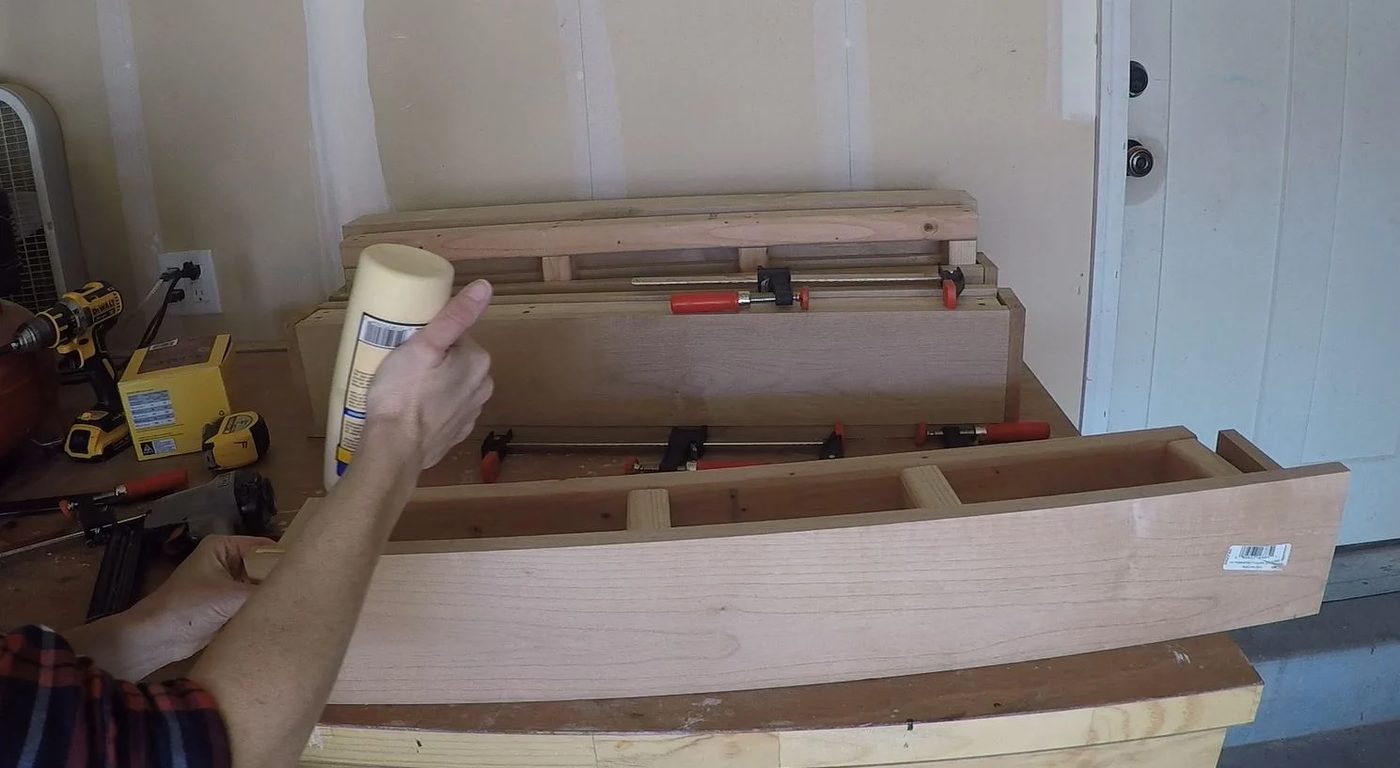
Using clamps, secure with finish nails through the face and sides into the bottom piece.
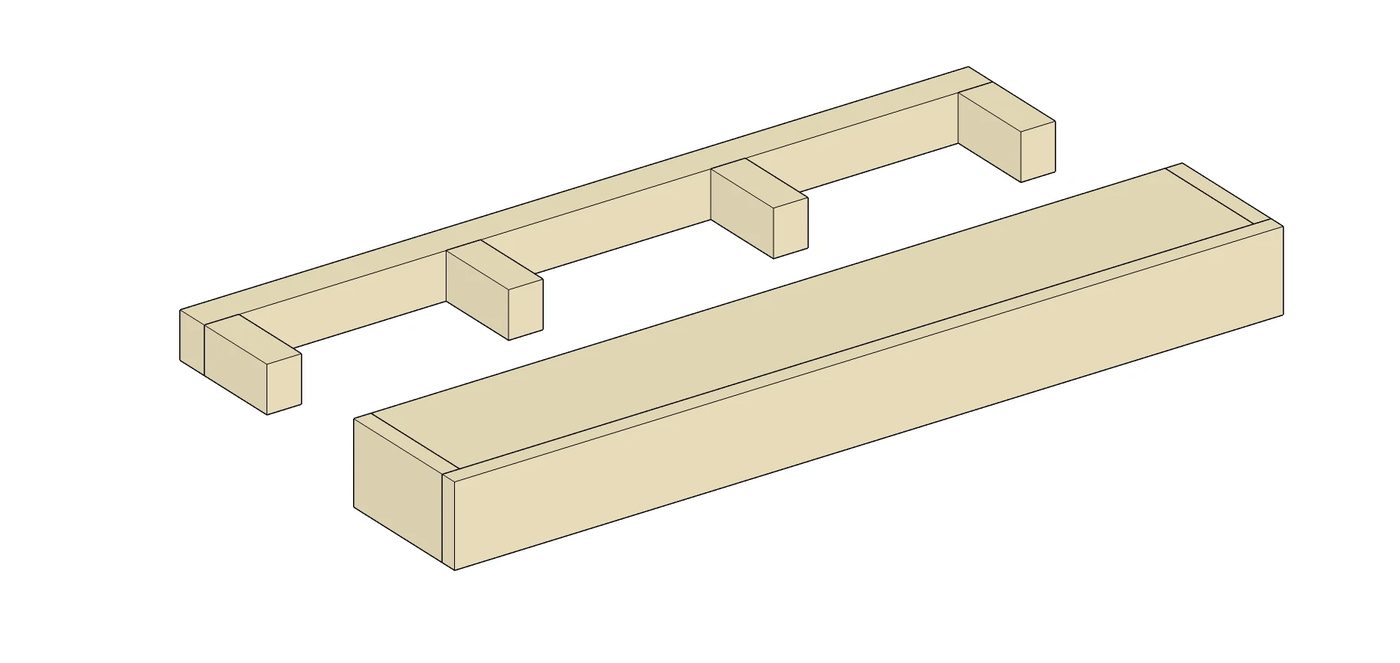
Allow the glue to dry, and then remove the support from inside the shelf shell. The two pieces should fit snugly together.
Finishing
Fill all nail holes, and any gaps or cracks with wood filler. Sand.
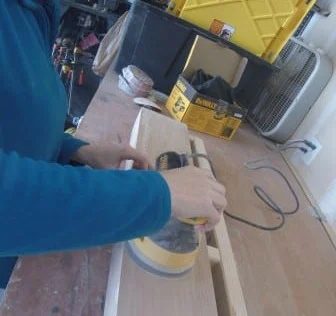
Tip #4: Use Wood Conditioner Prior to Staining for a striking Finish
Using pre-stain wood conditioner will help the wood grain to accept the stain evenly. Therefore, don’t skip this step! Trust me. You will regret it if your stained finish is uneven!
I love gel stain! If you are nervous about getting a nice finish, this is the well fitted product! It goes on thick, and it’s impossible to miss a spot!
See what I mean?
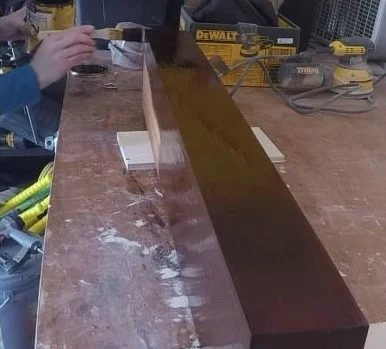
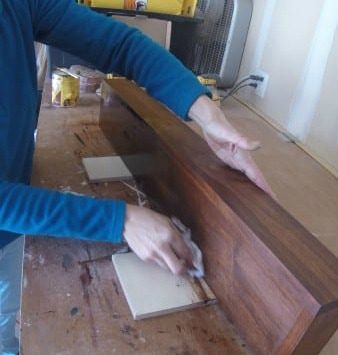
Allow the stain to set as per manufacturer’s instructions, and then wipe off excess. This is the down side of gel stain. It gets pretty messy!
Tip #5: Attach Floating Shelf Bracket to Wall
While the stain dries, install the shelf support.
Install!
Measure and mark where you want the center of your shelf. I was lucky and the center point landed on a stud! If yours doesn’t, find your stud locations, and measure their distance from the center of your shelf bracket.
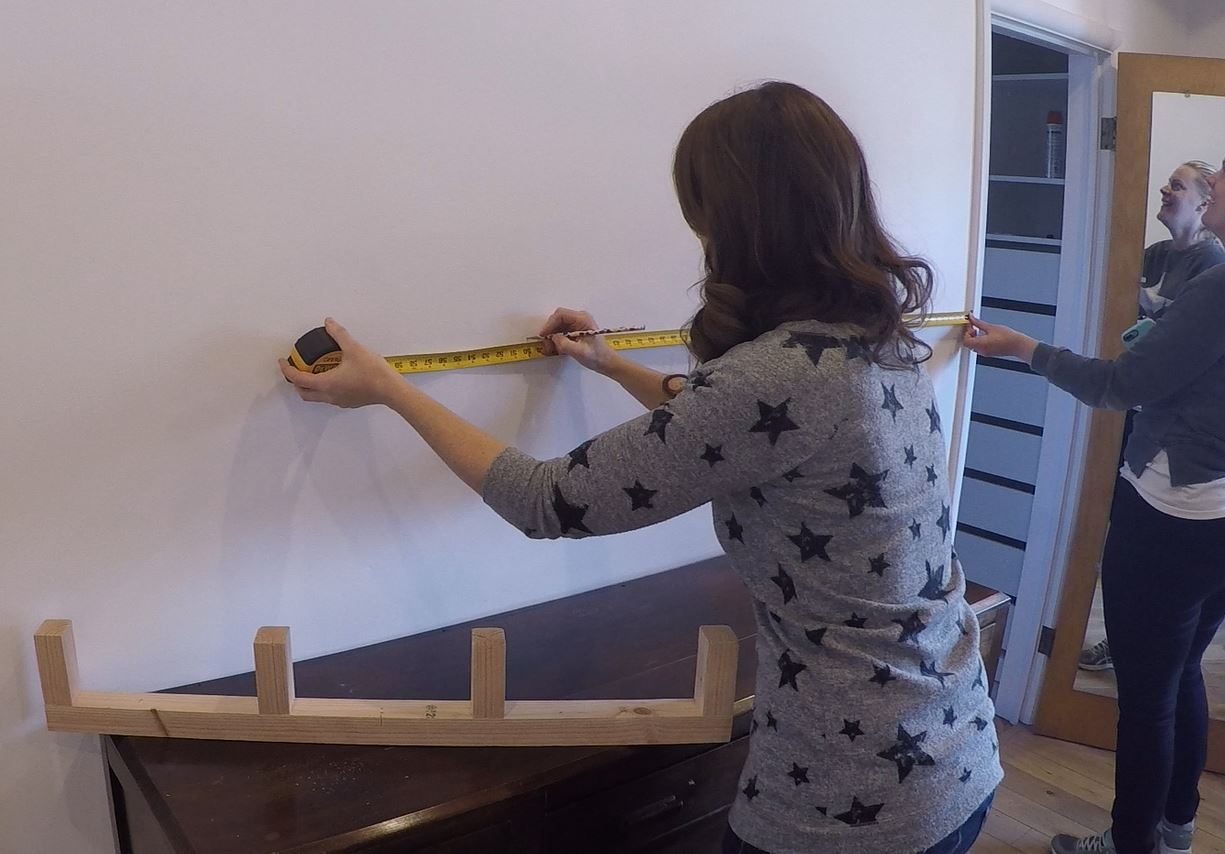
Transfer the measurements to your support, and predrill holes for mounting screws. If your center doesn’t land on a stud, be sure to mark where it is on your bracket.
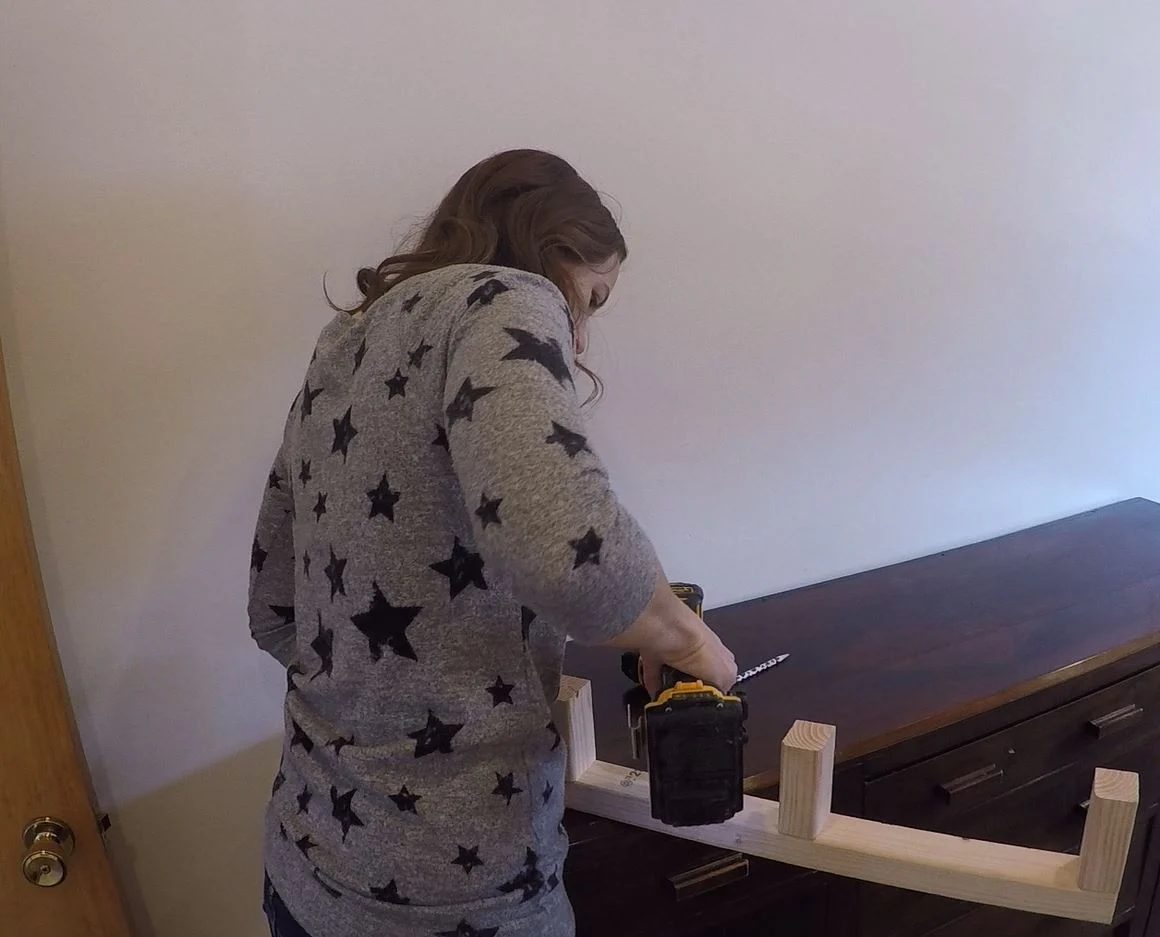
Match your center point on your shelf to the center mark on the wall. It’s easier to mount the support if you start the screw before you place the support on the wall.
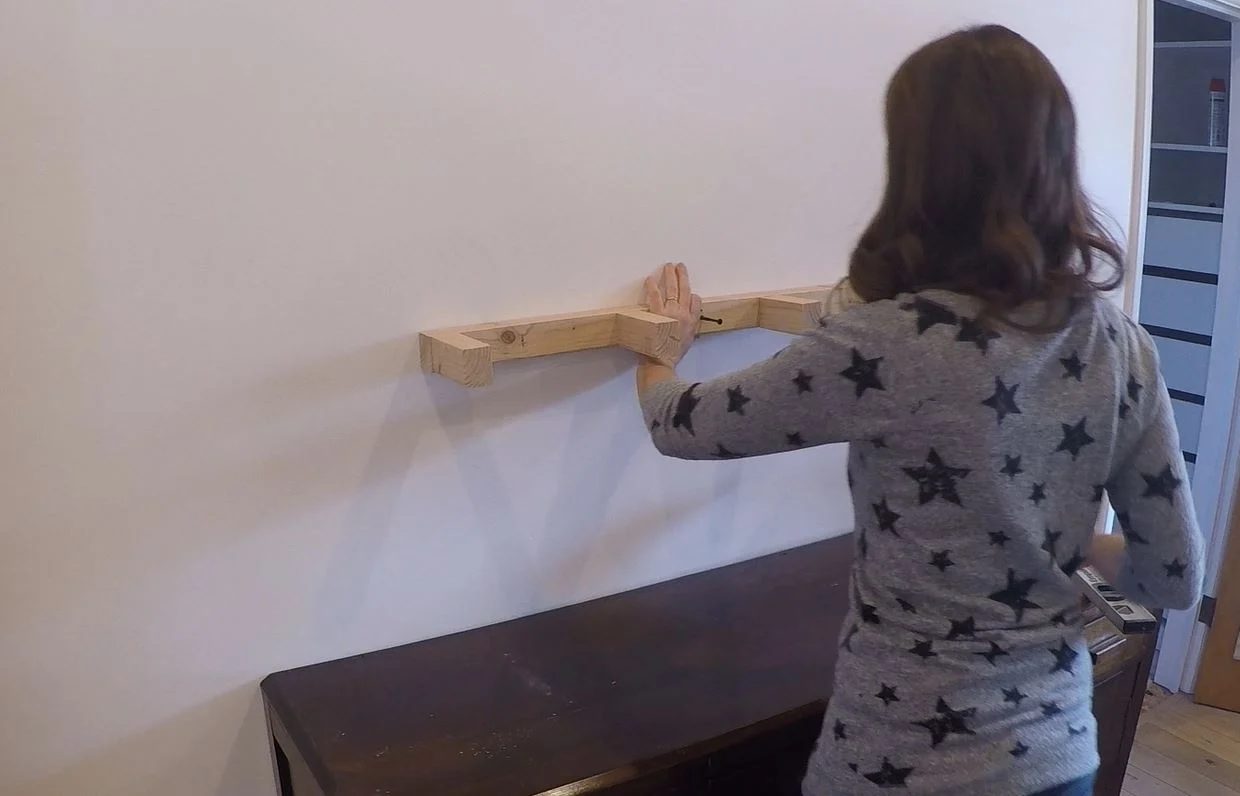
With the one screw holding the support on the wall, check for level.
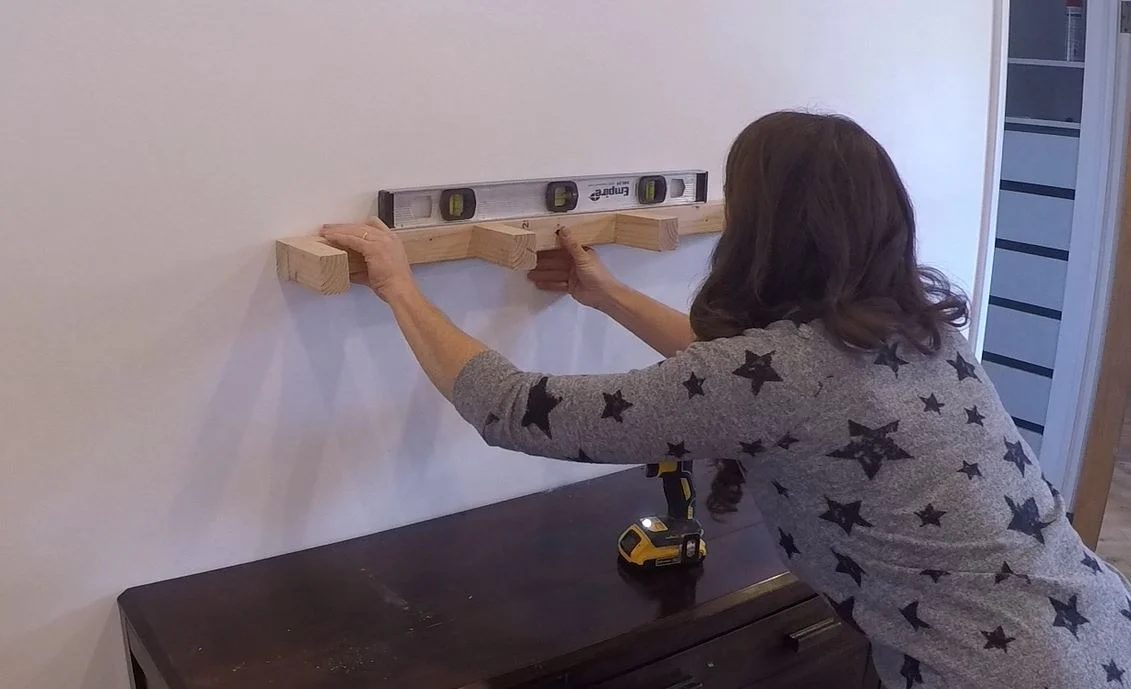
Set the shelf with a screw in a second location.
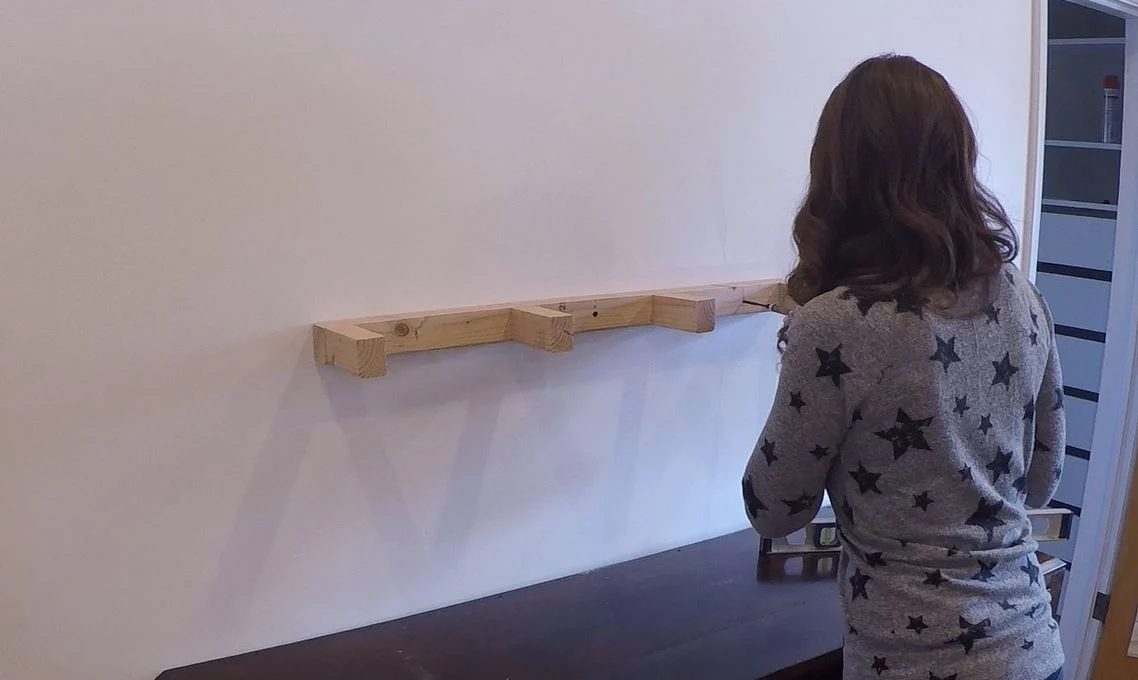
Then, secure with the remaining screws. I used two screws in the center point to reduce twisting.
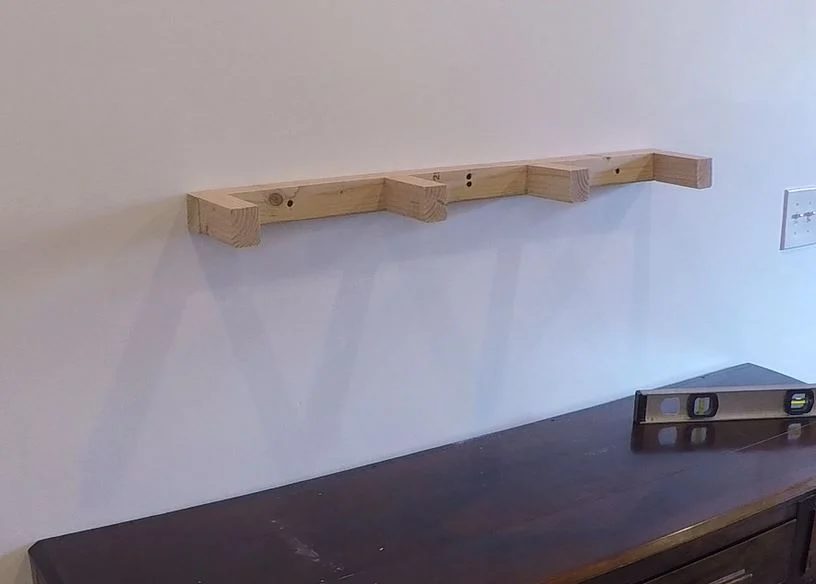
Now slide on the shelf shell.
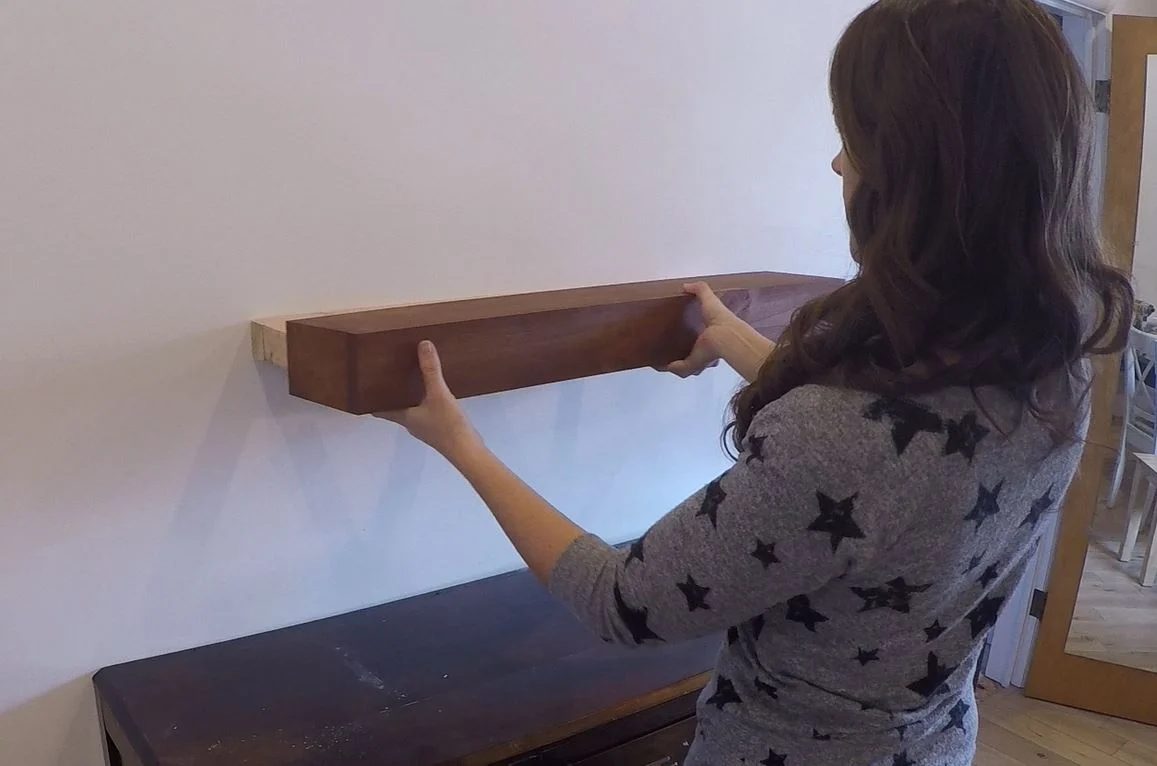
The fit should be tight enough that you don’t need to secure it further, but if you’re a worrier like me, place one 1 1/4″ screw in the bottom of the shelf into the support.
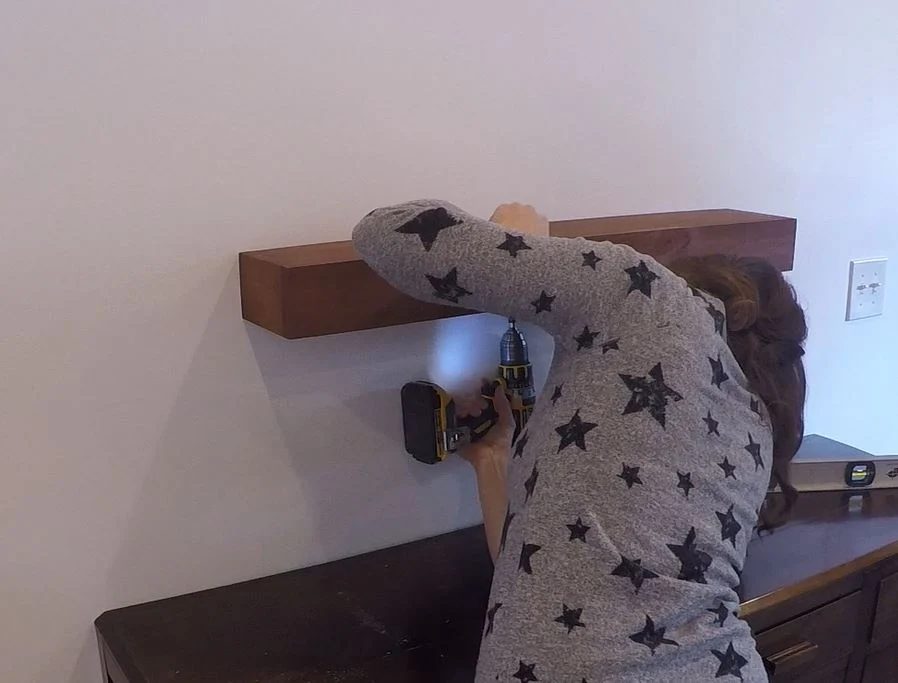
Now load up that empty shelf!
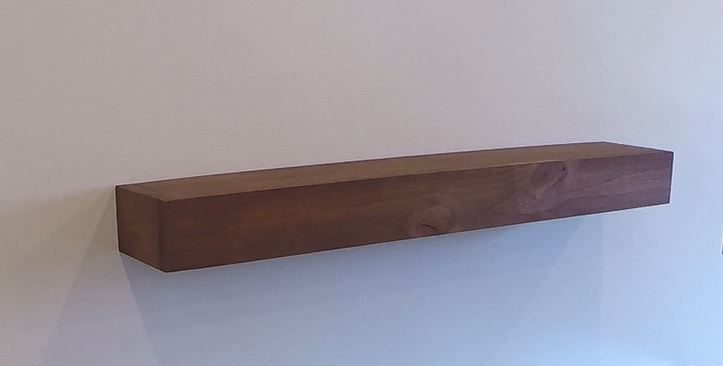
In conclusion, this is the well fitted project for a newbie or someone more experienced. With just a few supplies, you will have a striking floating shelf in very little time. And also look at this 20+ 2×4 Shelving options post and our Useful Tips for Customizing Ikea Floating Shelves post!
Don’t forget to Pin this project!
More Handmade shelves: