This builds walkthrough stays in the order the work happens.
Hello! It is Mindi from MyLove2Create, and I am happy to be back! A few months ago I shared my reclaimed wood stool and antique cutting boards, today I am sharing a clearly straightforward build. It is cute, useful, and just brings a smile to my face, meet my Antique Wood Crate!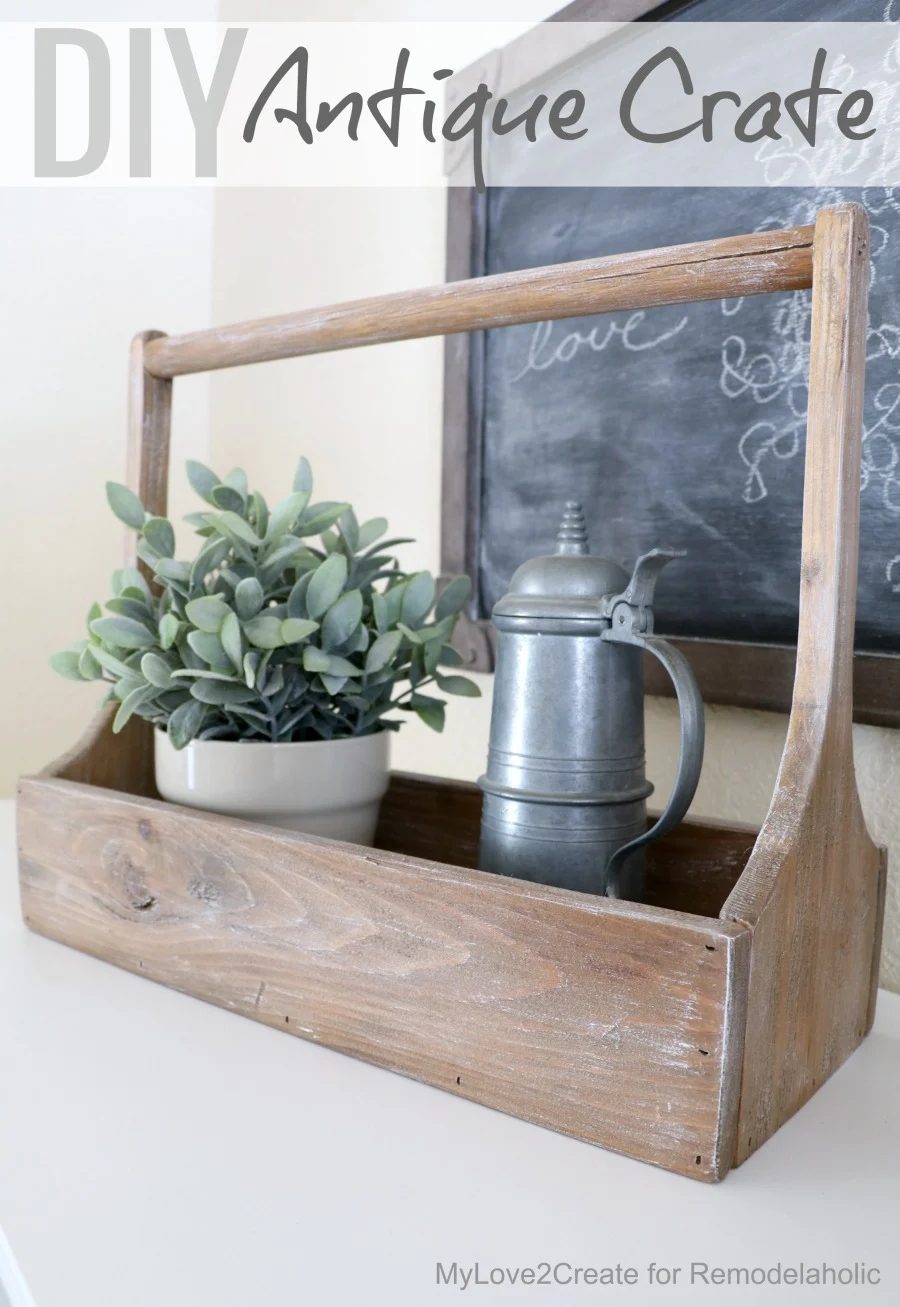
See, soooo fun!!
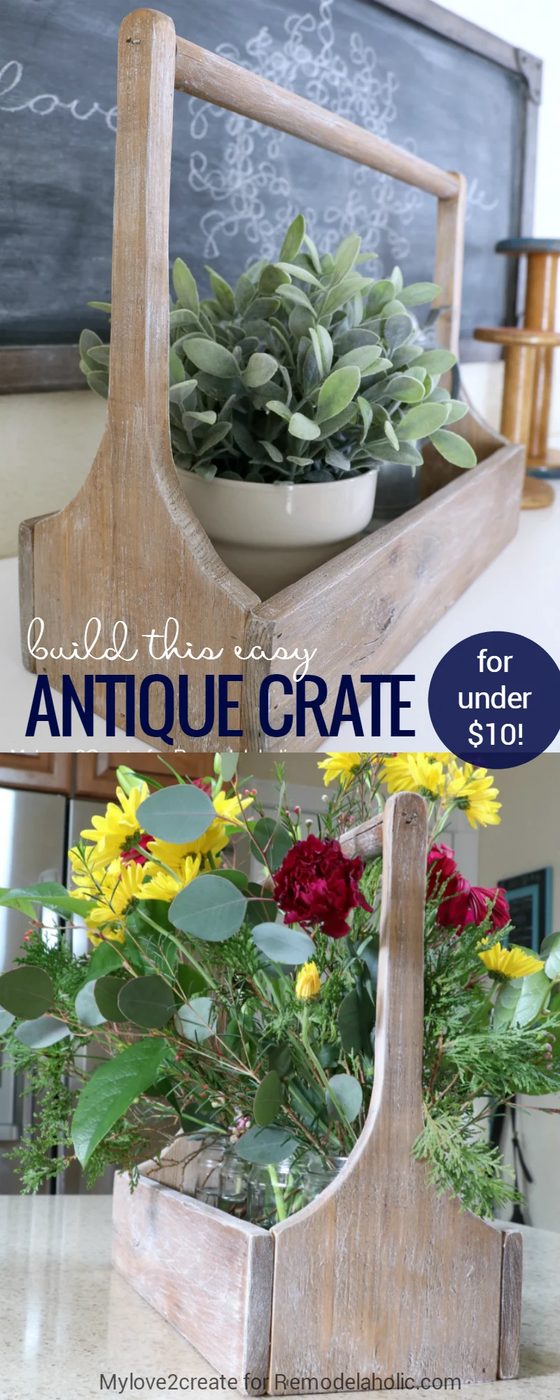
How to Build an Antique Wood Crate
open this to see the building plan at Mylove2create
open this to watch the full video walkthrough and subscribe to our channel for new Handmade videos every week
Supplies:
- 1- 5/8” x 5 1/2” x 6′ cedar fence picket
- 1- 5/8″ x 3 1/2” x 6′ cedar fence picket
- 1- 1” round wood dowel
- 1 1/2” finish nails
- Nail gun
- jigsaw
- miter saw or circular saw
- wood glue
- stain/paint for desired finish
Note: The two fence pickets and one 48″ dowel will build one crate with a lot leftover, so if you pick up a second 5 1/2″ cedar fence picket, you can build two of these wood crates for around $12 (with some scrap leftover) depending on lumber prices in your area. One to keep, one to give away!
Cut List:
- 2- 5/8” x 5 1/2” x 13” Tall Sides (see below for jigsaw cuts)
- 1- 5/8” x 5 1/2” x 15” Bottom
- 2- 5/8” x 3 1/2” x 16” Long Sides
- 1- 1” dowel cut to 15” Handle
Step 1: Gather and cut wood
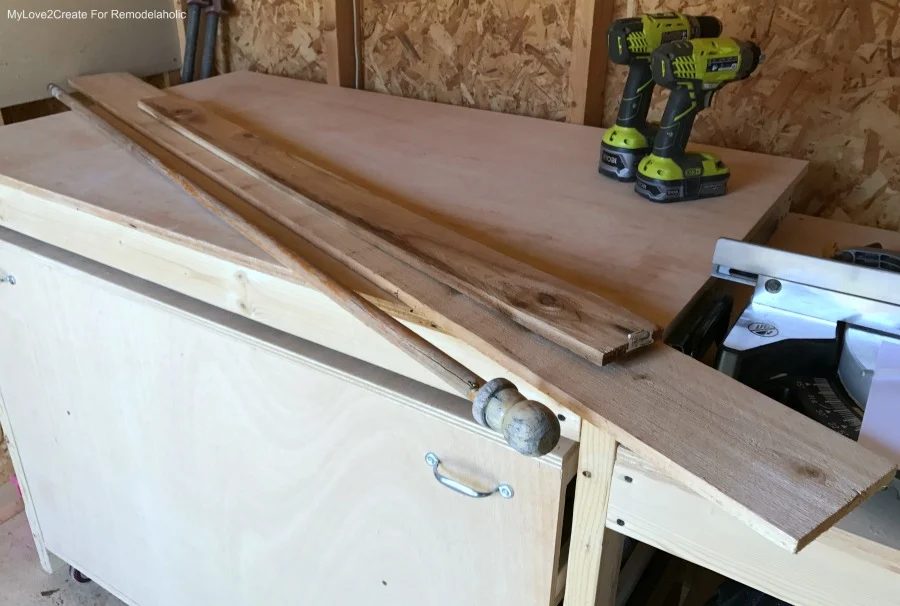
Here are my boards, ready for cutting, I used this old curtain rod I had gotten somewhere for free for the handle. I love to repurpose! You could used old fence boards too instead of buying them new.
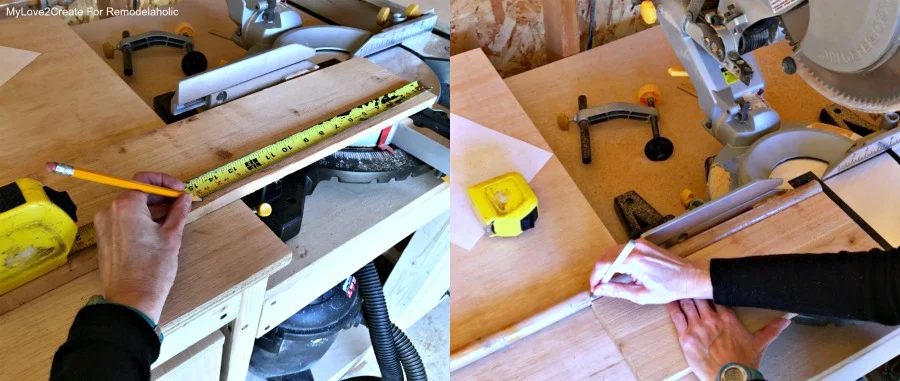
When you cut your bottom piece use it as a guide of how long to cut the handle or dowel. They need to be the same length.
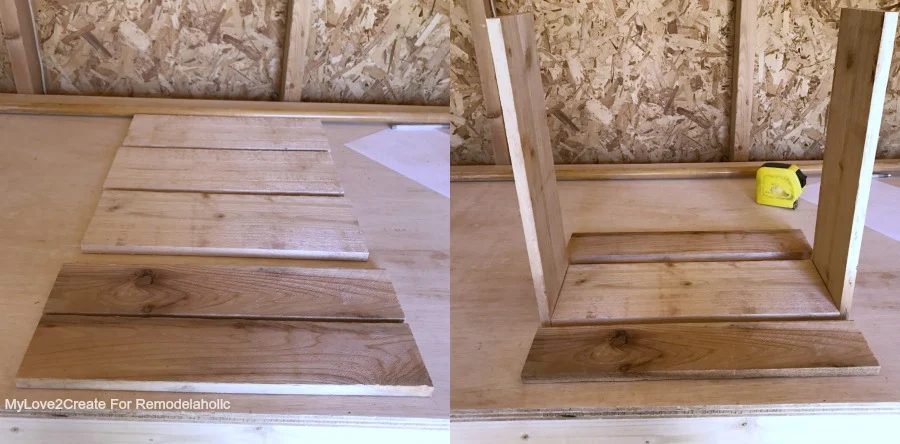
Once all your boards are cut you are ready to give this crate it’s unique look, by using a jigsaw to cut the tall side shape.
Step 2: Mark your tall side pieces for cutting.
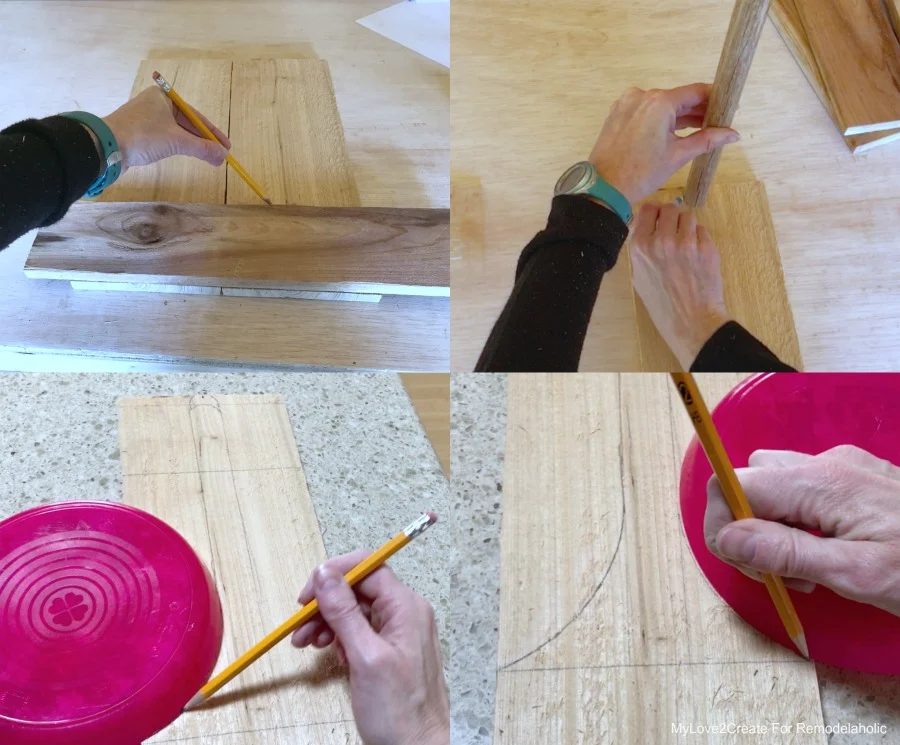
Use one of the 3 1/2” wide long side boards to mark the bottom part of a tall side piece (top left) which makes the mark at 3 1/2” up from the bottom. Then mark center on the top of your board and draw the shape of your dowel (top right), draw 2 straight lines down from the dowel marks to your first line. This should be 1” wide or the width or your dowel. Using a plate or bowl as a guide, trace a semi circle from the bottom line to connect to the straight lines you drew (bottom photos). You only need to draw this pattern onto one of the tall side boards.
Step 3: Cut tall sides with a jigsaw.
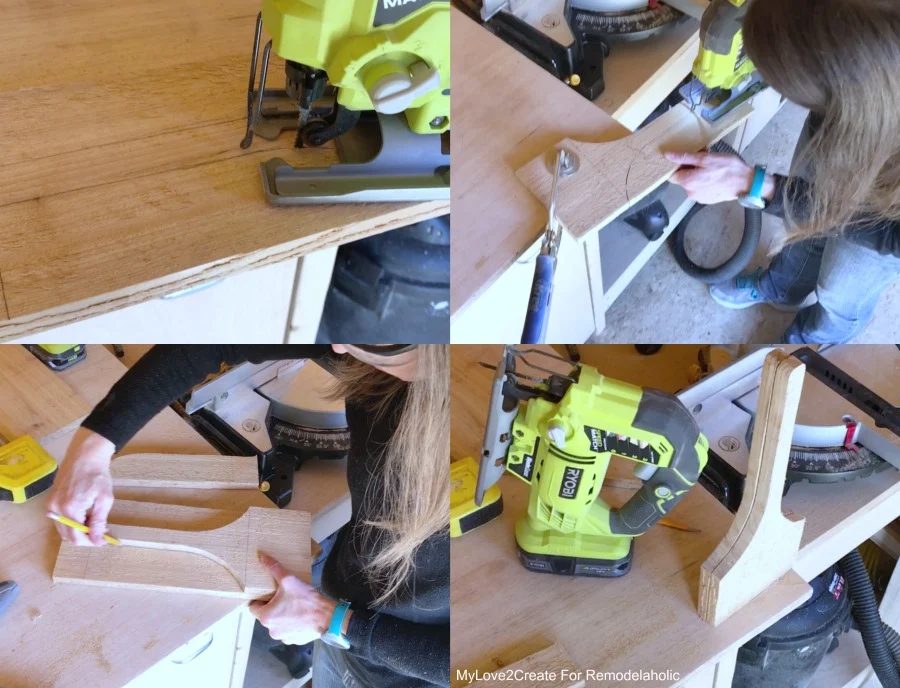
Using a jigsaw cut out the tall side board you marked. Once it is cut trace it’s shape onto your other tall side board, then cut it out with your jigsaw.
Step 4: Sand your pieces.
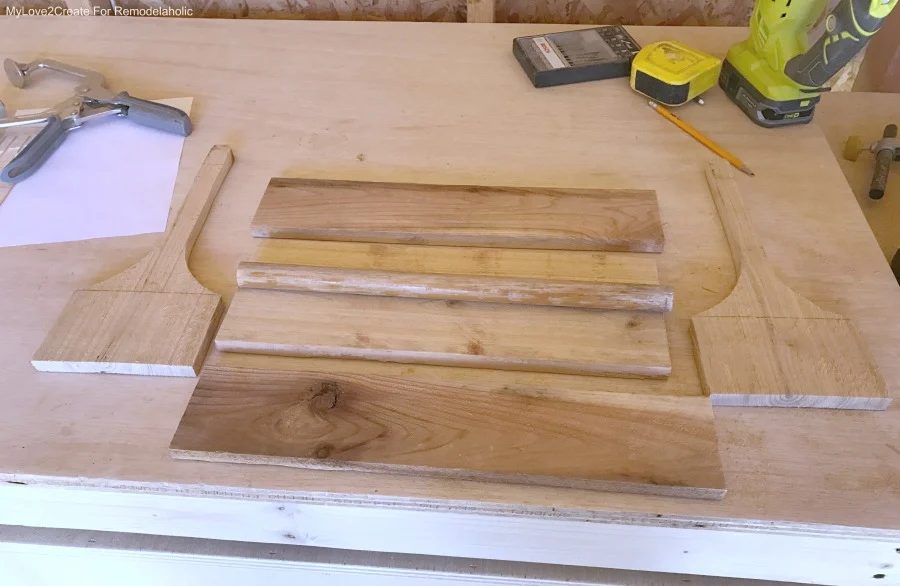
After getting all the pieces cut sand them smooth and remove any sharp edges.
Step 5: Attach tall sides to bottom piece and add handle.
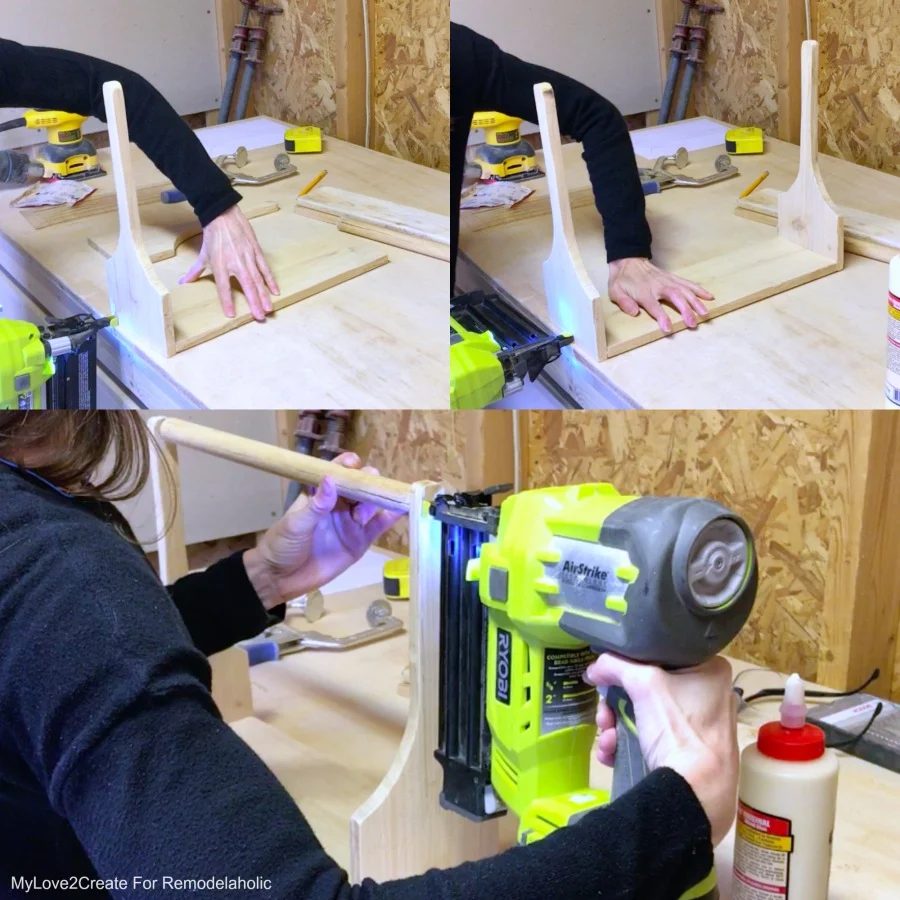
Using wood glue and 1 1/2” finish nails attach the two tall sides to the bottom piece with your nail gun. Then nail the handle in place at the top of your sides.
Step 6: Add long sides.
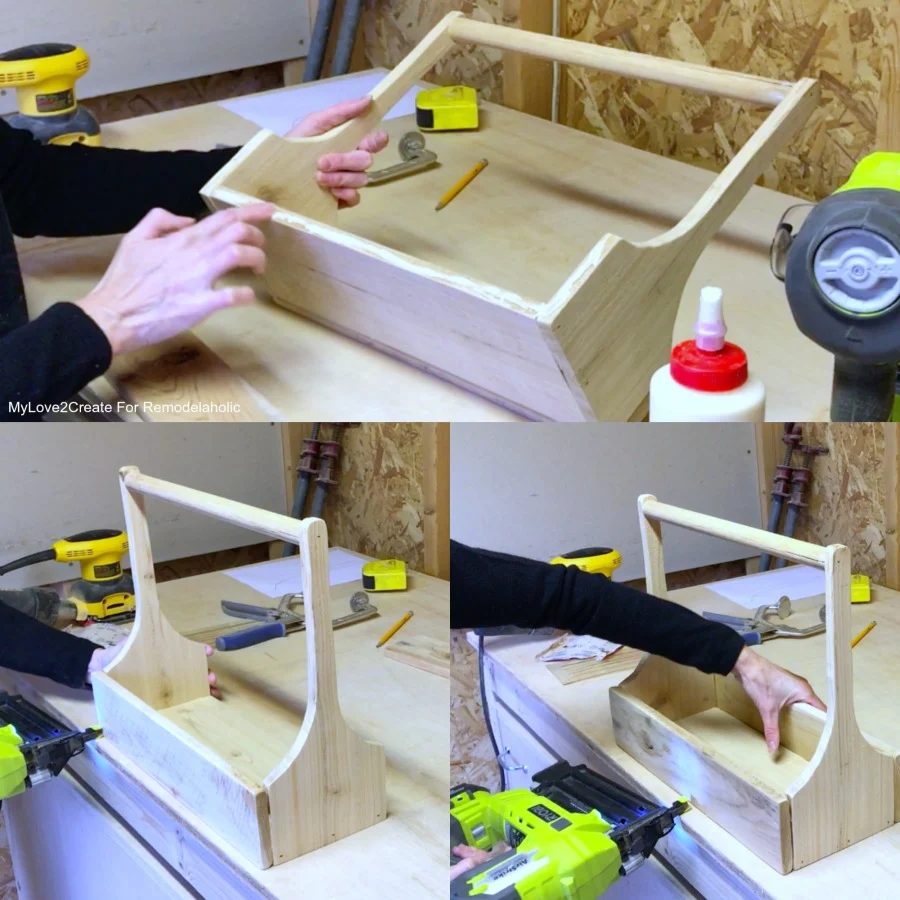 Finish off your build by adding the long sides of the crate with wood glue and 1 1/2” finish nails. Be sure to nail through the long sides into the bottom and tall sides of the crate.
Step 7: Finish as desired.
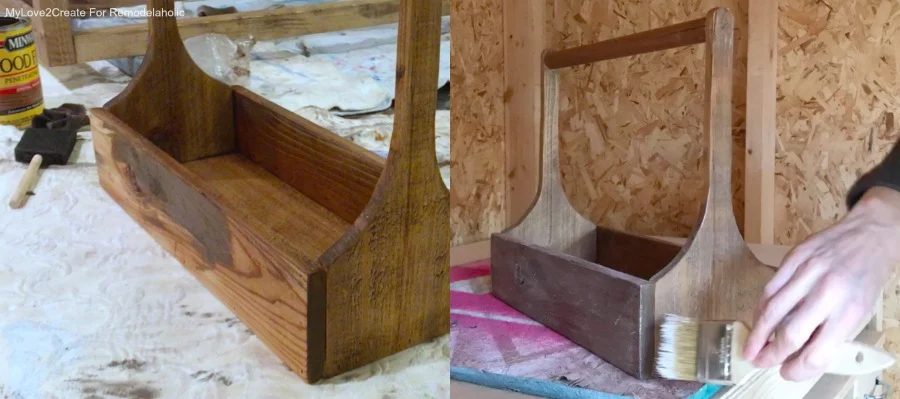 I decided to stain my antique crate with Minwax special walnut stain. I did use a Minwax pre-wood conditioner before staining. To give it a little more antique look, added some white paint by dry brushing it on. I show how I do the dry brush technique on my Decorative Triangle Tray. I love it because it is straightforward to do plus it adds age to the wood and some texture.
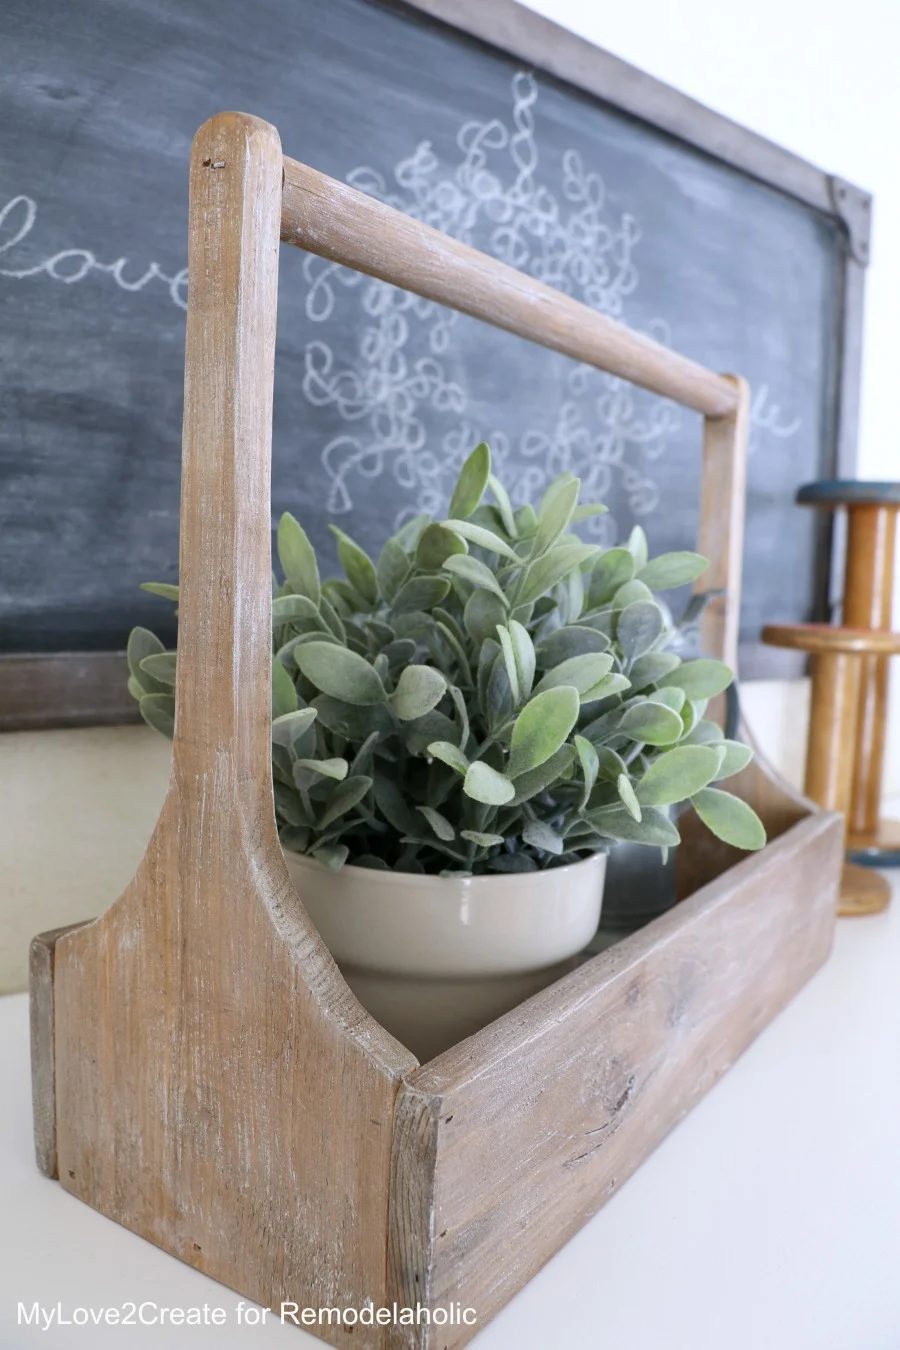 Isn’t it so pretty!?
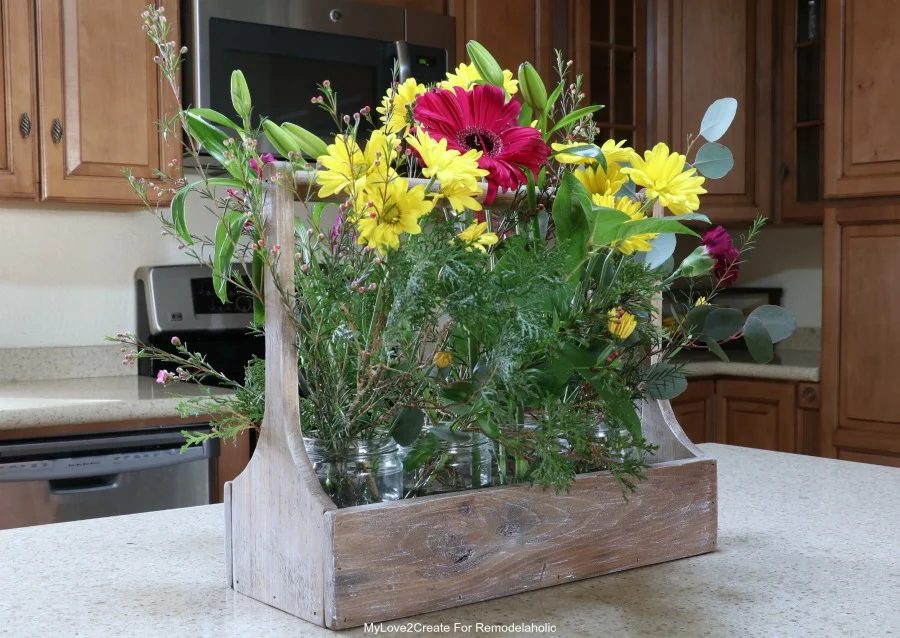 I have an obsession with crates, I don’t think I can ever build enough!! They are so fun because you can make so many different kinds, plus use them for so many different things, like fresh flowers!
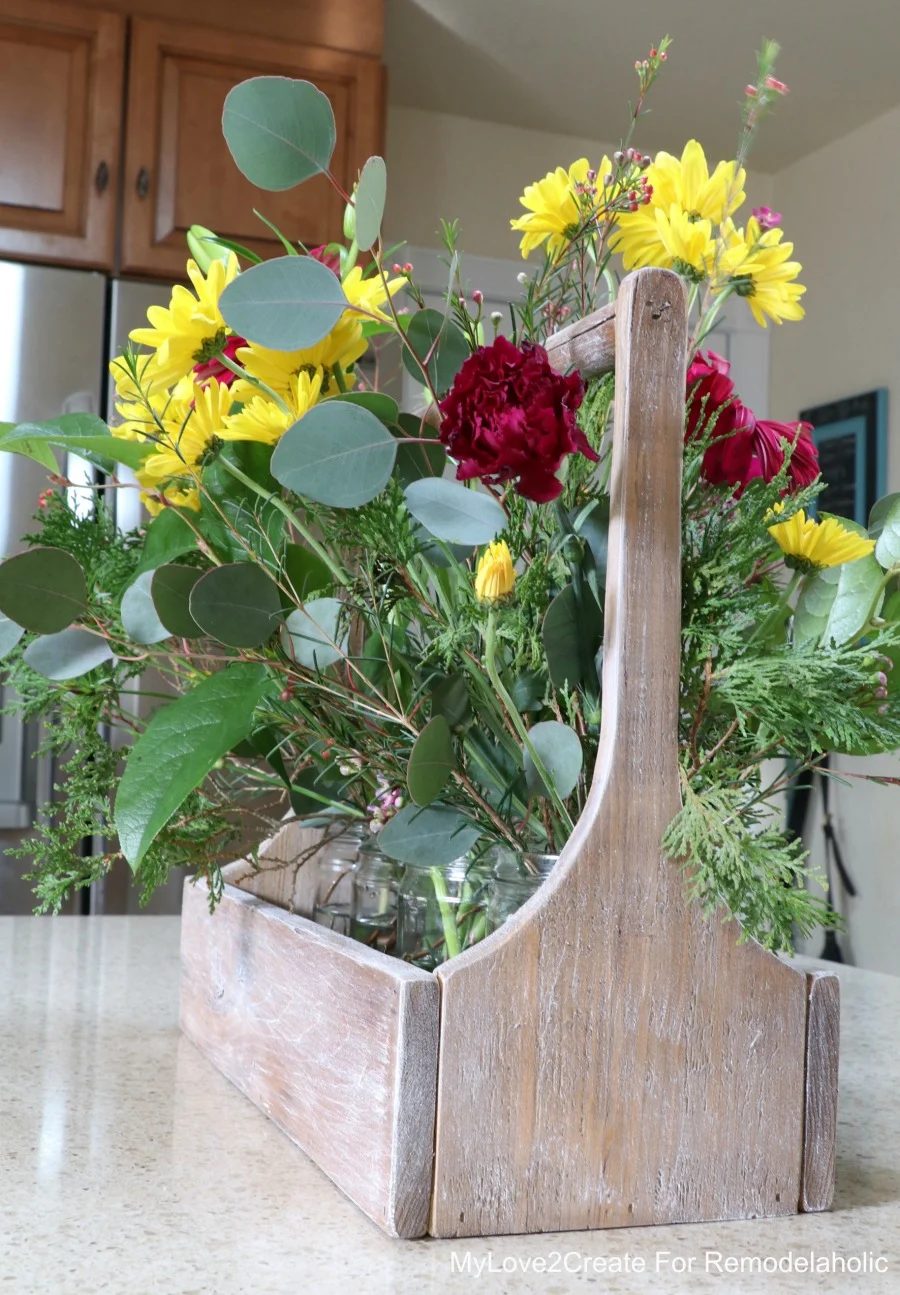 Crates and flowers are always a classic combo.
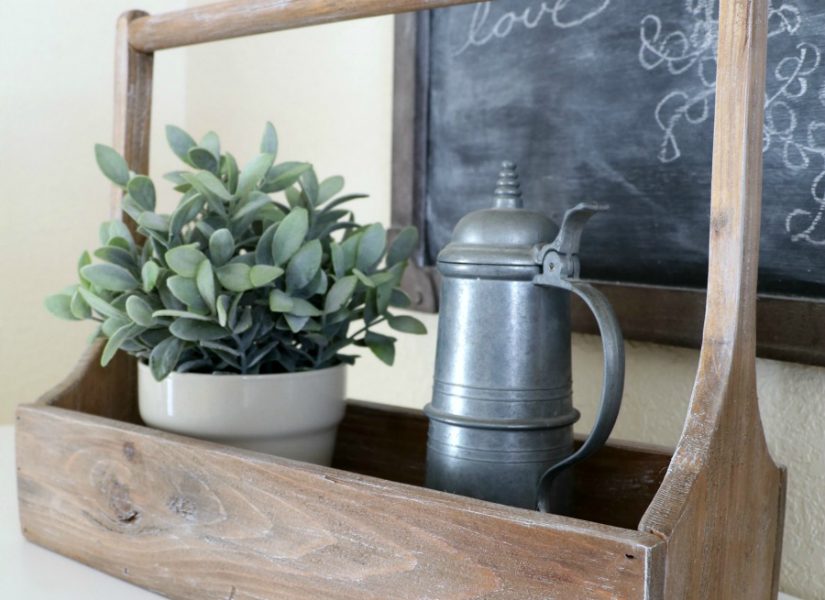
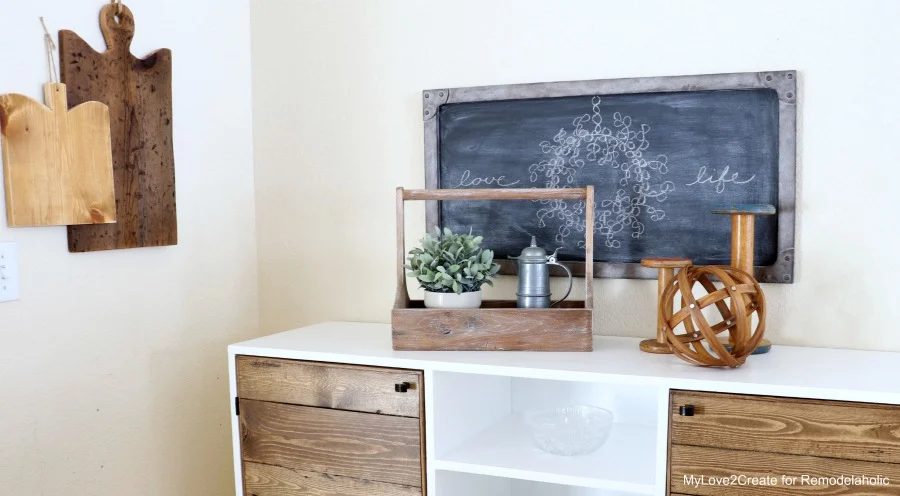 They also are fun to add into your decor, I love how it looks in front of my Restoration Hardware inspired Rivet Chalkboard! (And do you spy those antique cutting boards, too?)
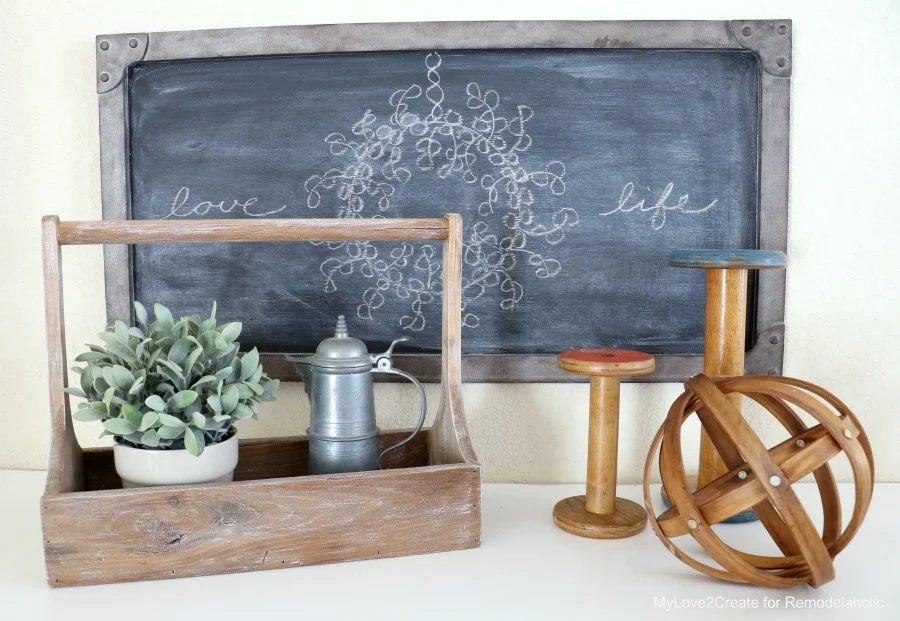 This antique wood crate would make a well fitted gift for a friend or loved one filled with goodies or flowers…
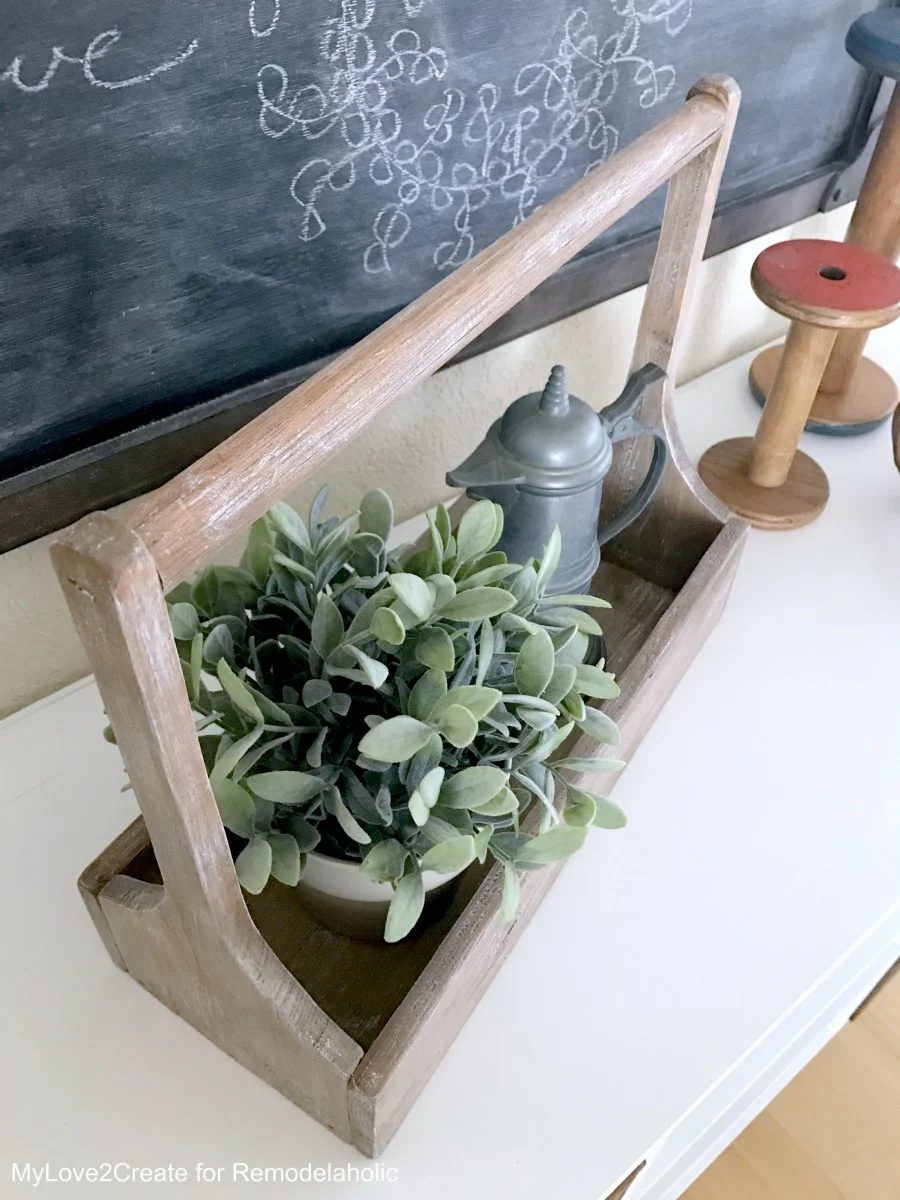 Or add some mason jars and use it to hold your silverware and napkins for your next party!
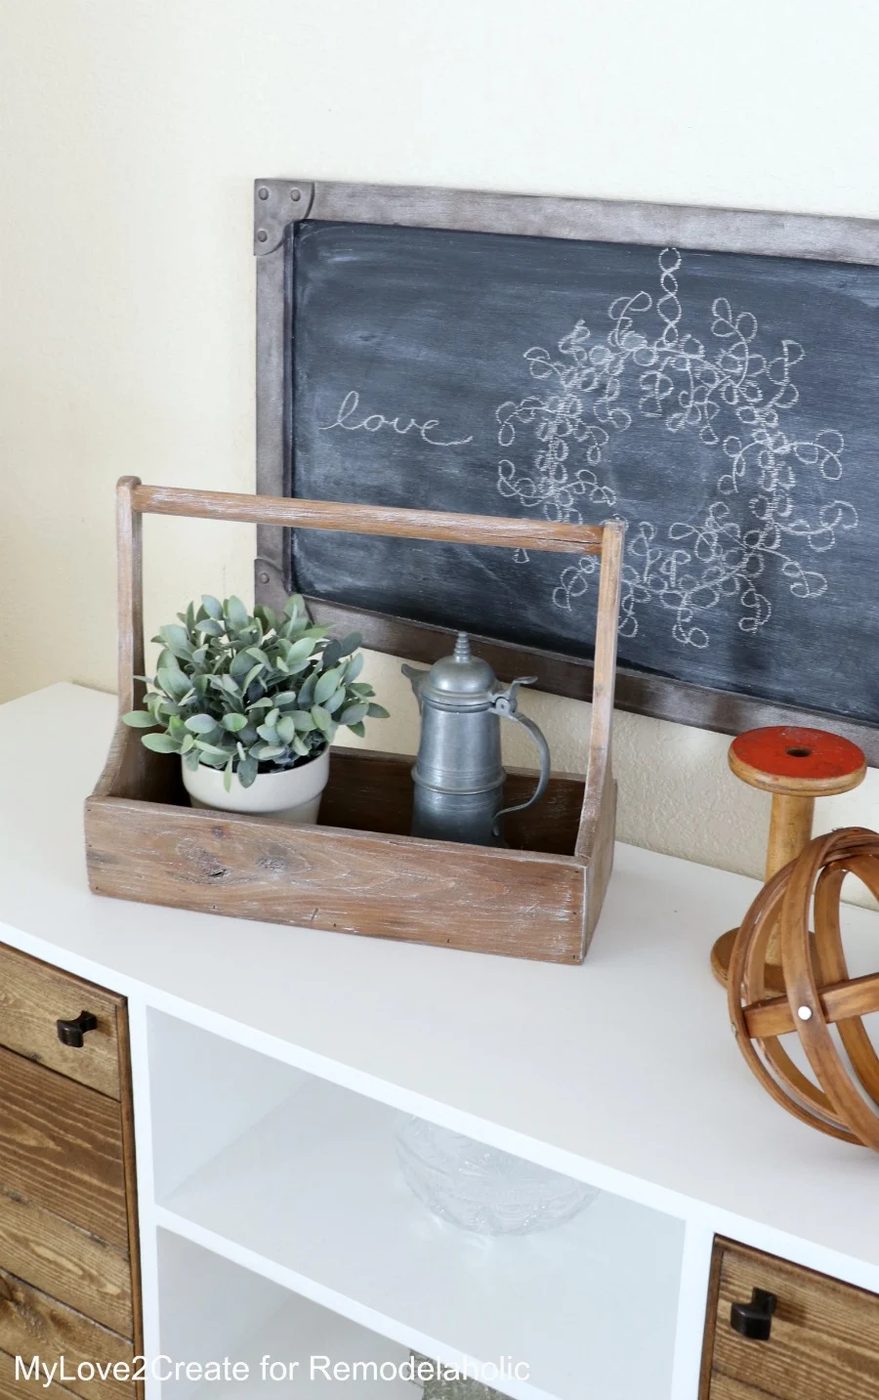 The possibilities are endless! I think it would be adorable in a kids room painted a bright fun color and filled with books or small toys, or even craft supplies! For now, it is sitting pretty on my Modern Rustic Buffet and I am loving having it!
I hope you enjoyed this walkthrough and I would love for you to visit me at my blog for more great Handmade project tutorials and building plans!
Hugs,
Mindi
The possibilities are endless! I think it would be adorable in a kids room painted a bright fun color and filled with books or small toys, or even craft supplies! For now, it is sitting pretty on my Modern Rustic Buffet and I am loving having it!
I hope you enjoyed this walkthrough and I would love for you to visit me at my blog for more great Handmade project tutorials and building plans!
Hugs,
Mindi
More straightforward builds for home decor and gifts:
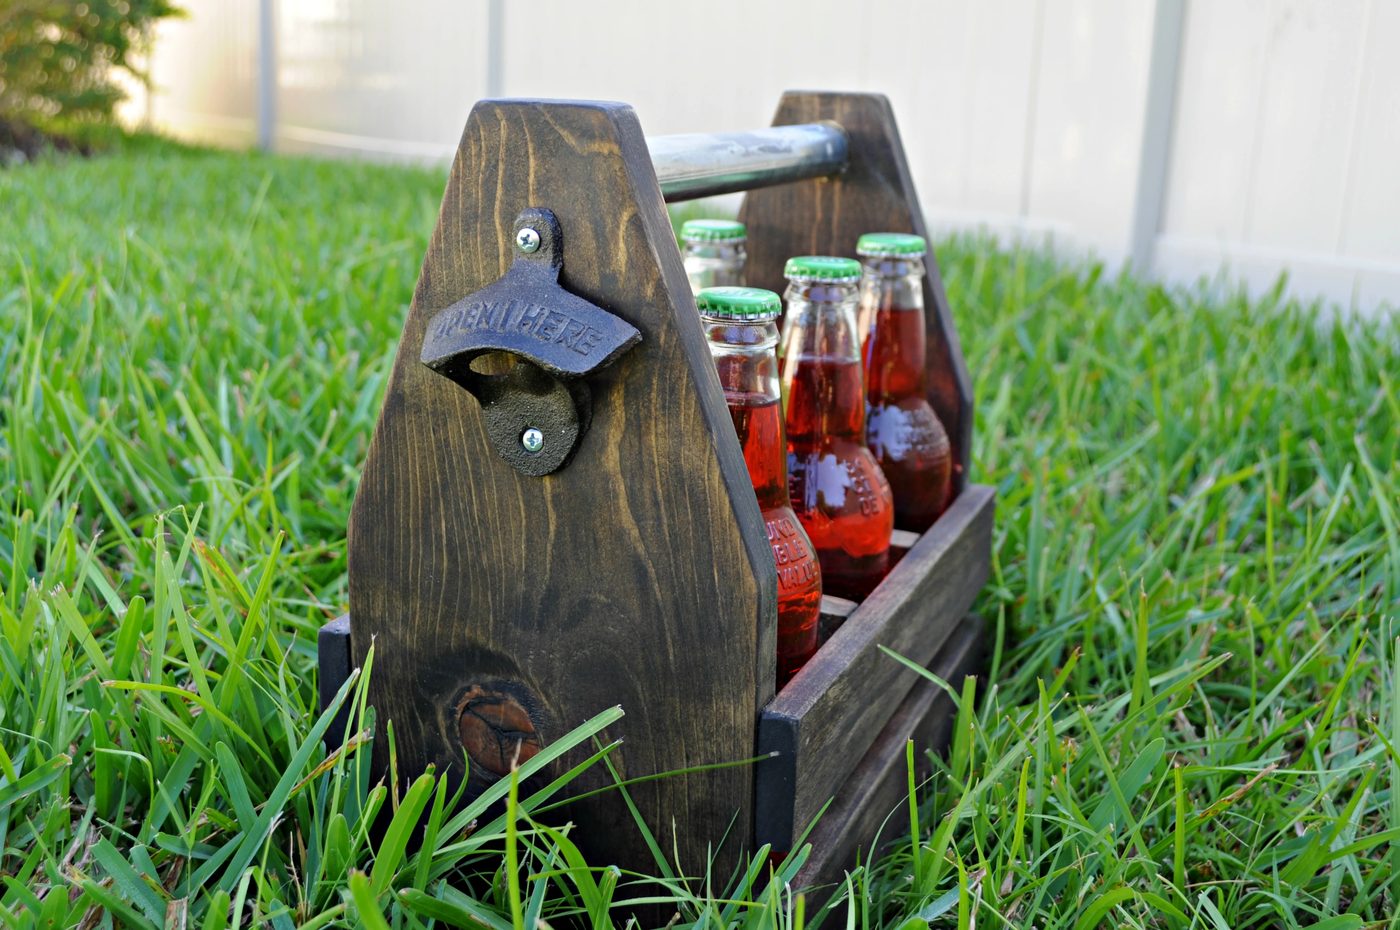
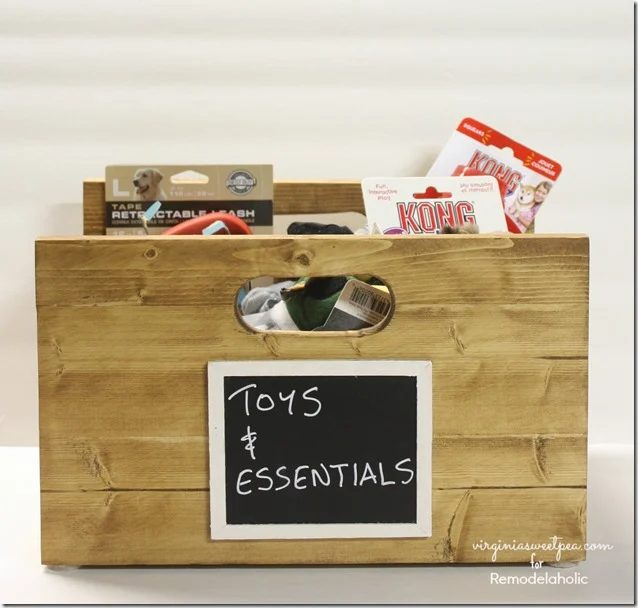
straightforward storage crate with cutout handles
straightforward and inexpensive IKEA bucket caddy