The steps below follow the order of the work for this furniture project.
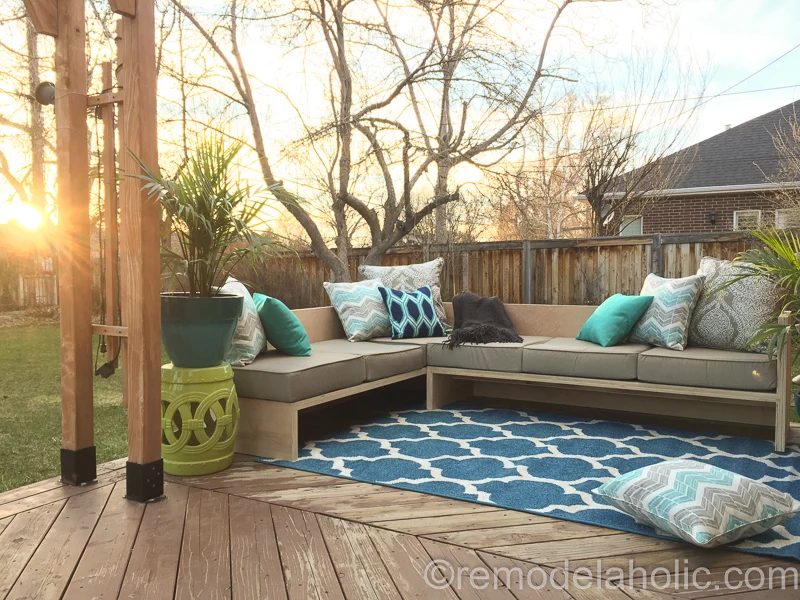
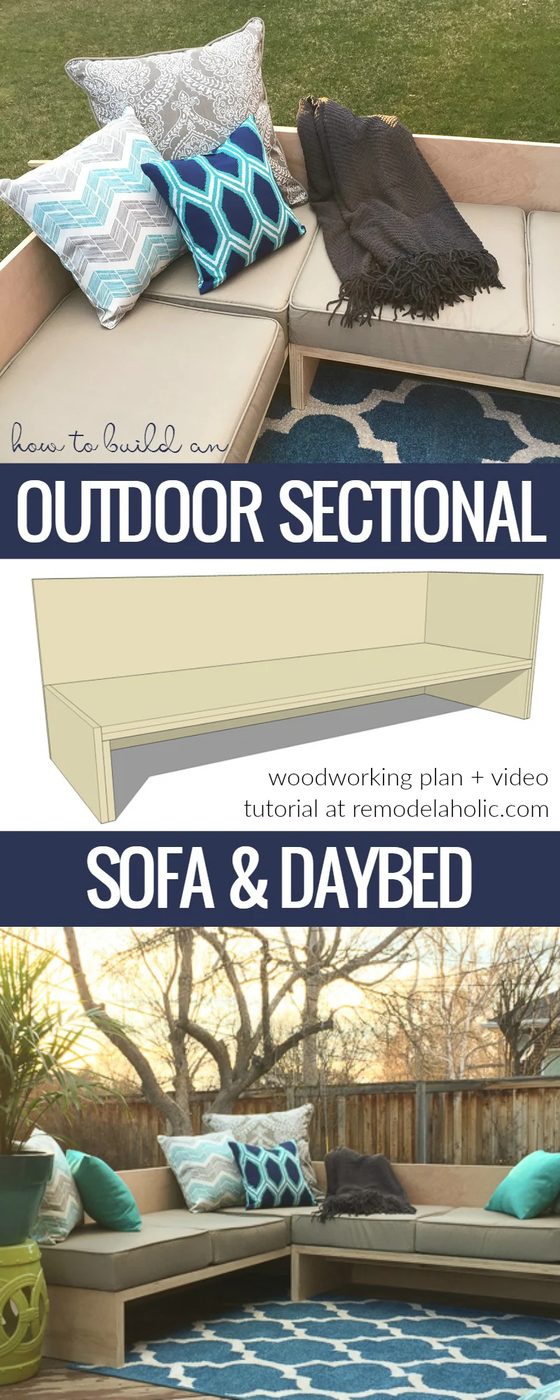
This Handmade outdoor sectional sofa is built from plywood and features storage for the cushions. See our source for affordable patio seat cushions and build your own patio seating/daybed with this outdoor furniture plan.
We built this patio sectional sofa for our deck — it pairs nicely with this outdoor coffee table with drink trough! Plus see how we refinished the deck (after this photo!), built that garden wedding arbor, and added a new modern deck pergola.
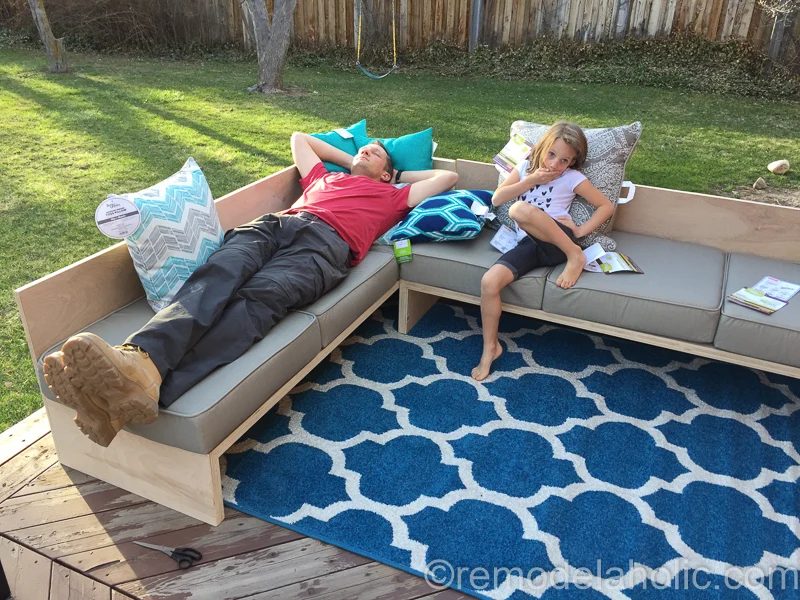
As part of our #PlywoodPretty Challenge that we are hosting during our all plywood project Plywood Pretty week, we designed this modern plywood outdoor sofa for our deck. It’s sturdy and comfortable, the well fitted outdoor couch for our patio! It’s nice and deep (24 inches!) so it can also work as a type of patio daybed if you like.
This post contains affiliate links. Learn more and read our full disclosure policy here.
Handmade Outdoor Sectional Sofa with Cushion Storage
As we were designing this outdoor sectional sofa, we knew we wanted these features:
- an L-shaped sectional sofa to fit our deck
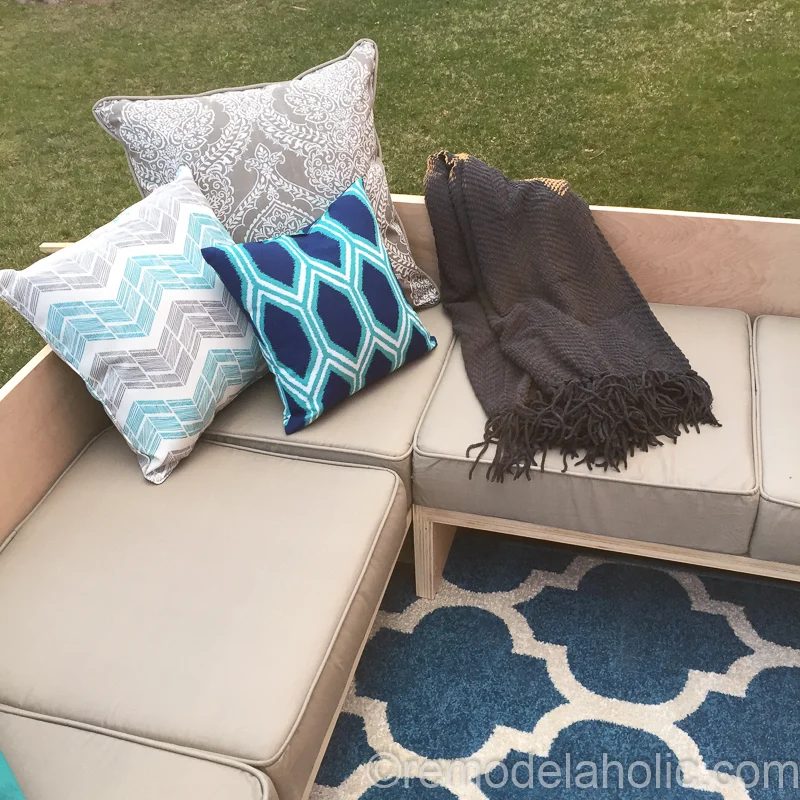
- designed to fit these affordable 24″ outdoor cushions
- cushion storage to keep them dry and last longer.
Each section of the sofa will be made out of two sheets of 3/4″ inch birch plywood.
The pieces of the sofa are joined using pocket holes. To prevent wasps or other bugs from living in those small holes, we designed the sofa to be finished on all ends so the pocket holes are covered. We also added an extra block behind the seat support to prevent wasp nests.
Be sure to look at all the #PlywoodPretty Challenge projects on our playlist and links below, and subscribe by email or RSS and follow along over on YouTube and Facebook and Instagram with #PlywoodPretty so you won’t miss any of these new tutorials!
How to Build an Outdoor Sectional Sofa from Plywood
Materials For One Sectional
Build 2 sections as shown in the video to form an L-shaped outdoor sectional, or 3 sections for a U-shaped outdoor sectional.
- (2) 4 ‘x 8’ x 3/4″ Sheets of Birch Plywood
- (1) 4 ‘x 8’ x 1/4″ Sheet of Birch Plywood (optional bottom cover)
- (1) 2 x 4 x 8’ Redwood
- (55+) 1 ¼” Kreg Jig Pocket Screws
- (12+) ¾” wood screws (for optional bottom cover)
- (12+) 1 ¼” wood screws (for optional bottom cover)
- (1+) Elmer’s Carpenter’s Wood Glue Max
- (1) Elmers Pro Bond Wood Filler
- plus (3) 24″ deep patio cushions
Tools Used
- Table Saw
- Miter Saw
- Circular Saw
- Kreg Jig pocket hole jig
- Drill
- Spring Clamps (lots of them)
- Tape Measure
- Pencil
- 80/120/220 Sandpaper and Sanding Block
- (2+) Saw Horses
- Putty Knife
Get the outdoor sectional woodworking plans here
The 13-page printable woodworking plan includes materials list, cut list, and assembly diagrams and photos.
See more outdoor furniture plans to build this summer
Handmade Modern Plywood Outdoor Sofa Sectional FAQs
What size is the outdoor sectional?
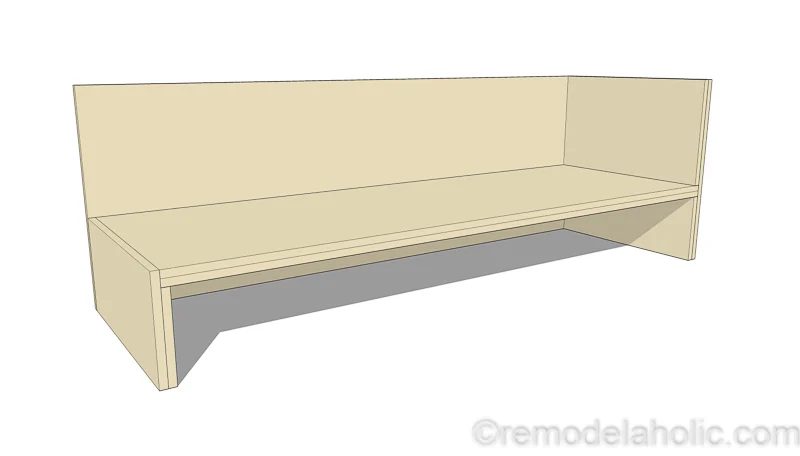
The L-shaped sectional is formed from 2 sections, each measuring 72 3/8″ L x 24 1/4″ D x 24″ H.
One sectional has a back along all 3 edges; the other has a back only along 2 edges to allow for the corner seat.
How is the sectional assembled?
As you can see in the video walkthrough, we used pocket hole joinery to attach the pieces of plywood together to form each of the sectional arms. All the pocket holes are covered by the finishing panels, so no worries of bugs and wasps nesting there!
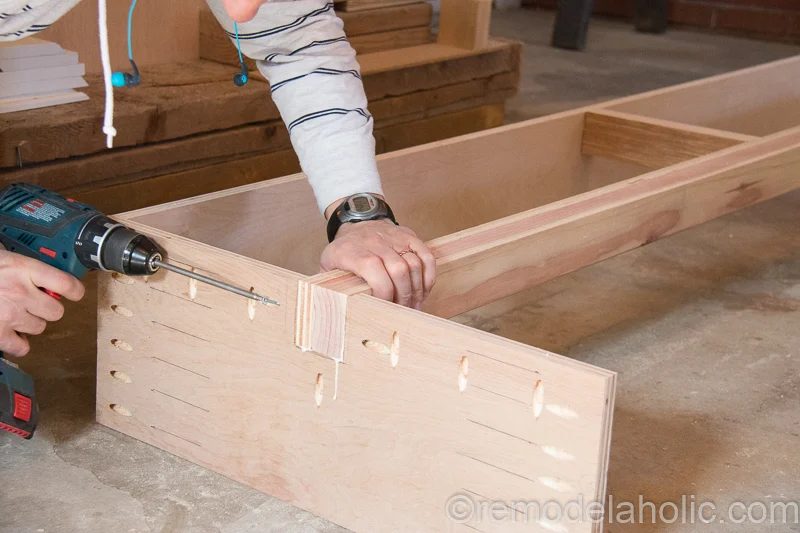
We used a redwood 2×4 as a bench support to ensure that the sectional is sturdy, so the whole family can enjoy this outdoor couch seating together!
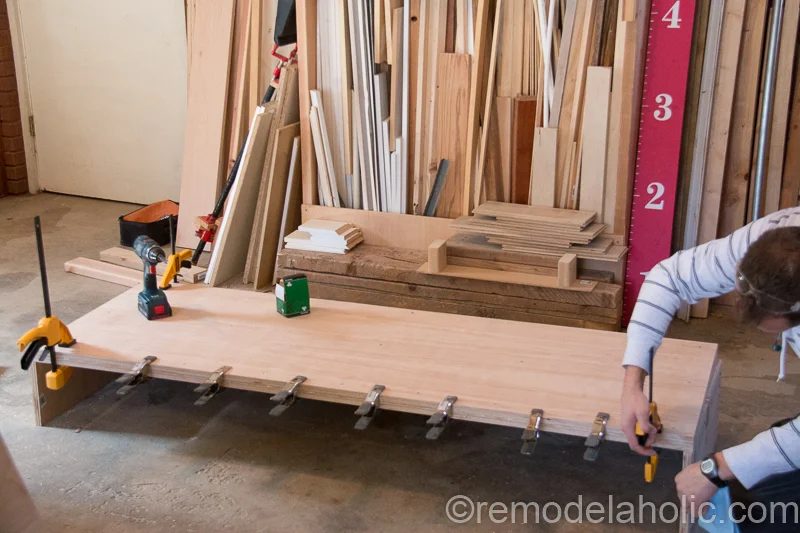
The seat is 2 panels of plywood, glued and screwed together to form a very strong sofa base to sit on. Clamps are your friend for this part of the process so it wouldn’t hurt to buy them in bulk if you don’t already have a great collection of clamps.
After assembling, the plywood sofa is finished with side pieces to hide the pocket holes. 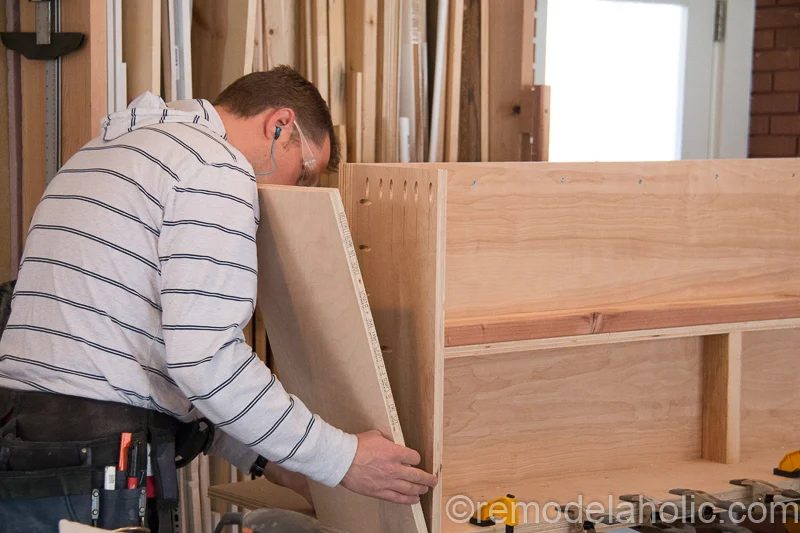
How do you waterproof plywood for outdoor use?
For finishing, first fill in any holes with Elmer’s Pro Bond Wood Filler, let that dry then sand everything smooth. Don’t forget to remove the tags before sanding and finishing!
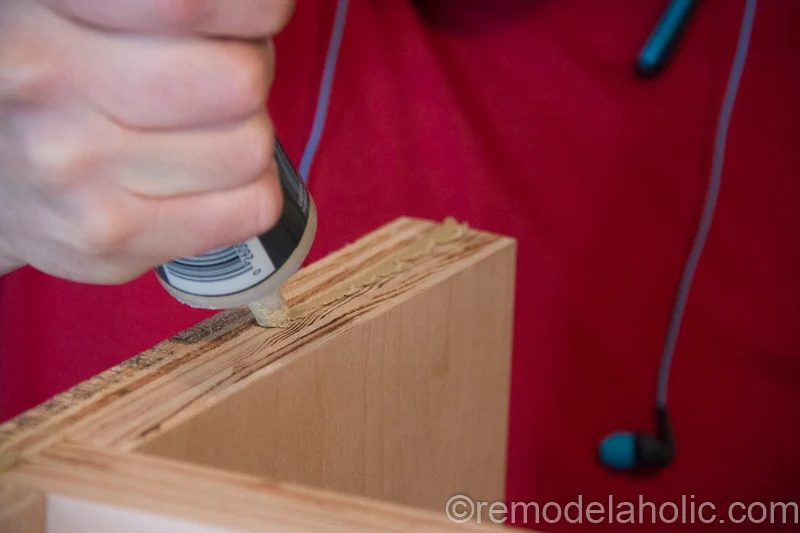
Filling all of the plywood gaps and voids to smooth will help prevent water or dirt from building up in those places.
We love the look of raw plywood — like the banded edges we featured prominently in this stacked plywood bench — so we decided to leave the wood natural and seal it for waterproof.
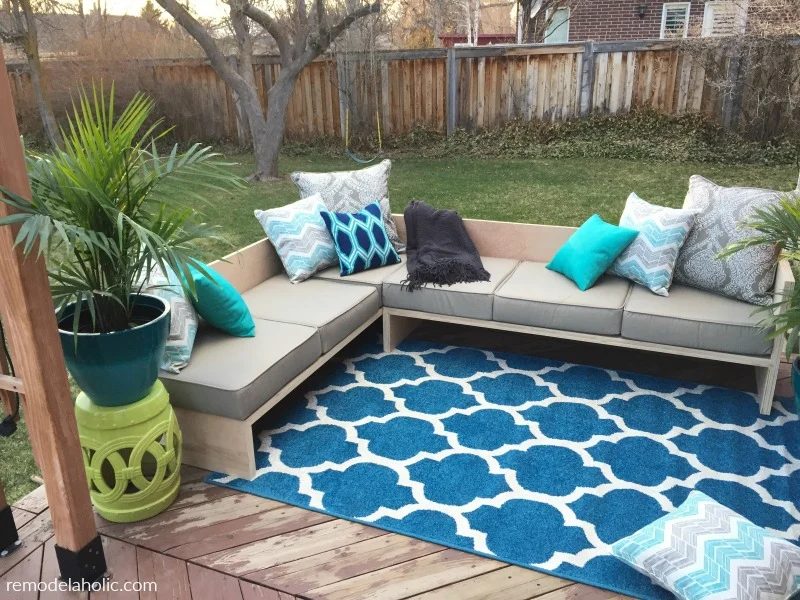
We added several coats of an outdoor captain’s spar varnish to make it water-tight. You could also use a clear epoxy resin or a penetrating oil, such as tung oil. Whatever you choose, pay close attention to the plywood edges to ensure that they are sealed well to prevent leaks and warping.
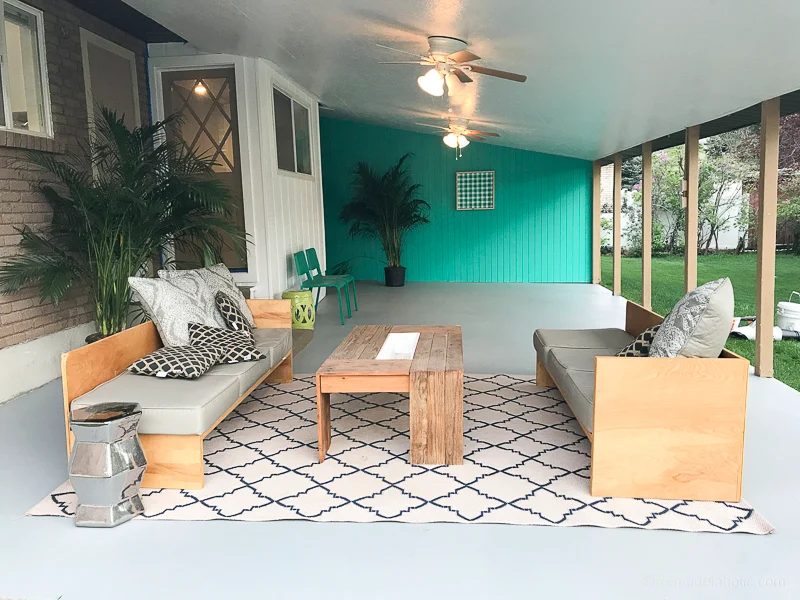
Since this outdoor sofa doesn’t have drainage holes, even after sealing properly, you’ll want to be sure to dry it off after a rain storm (or if it gets watered by the sprinklers). It would be best for an outdoor area that is still covered — and we have since moved it to our large covered patio at our other house (with the drink cooler coffee table) since we installed our modern pergola on this deck.
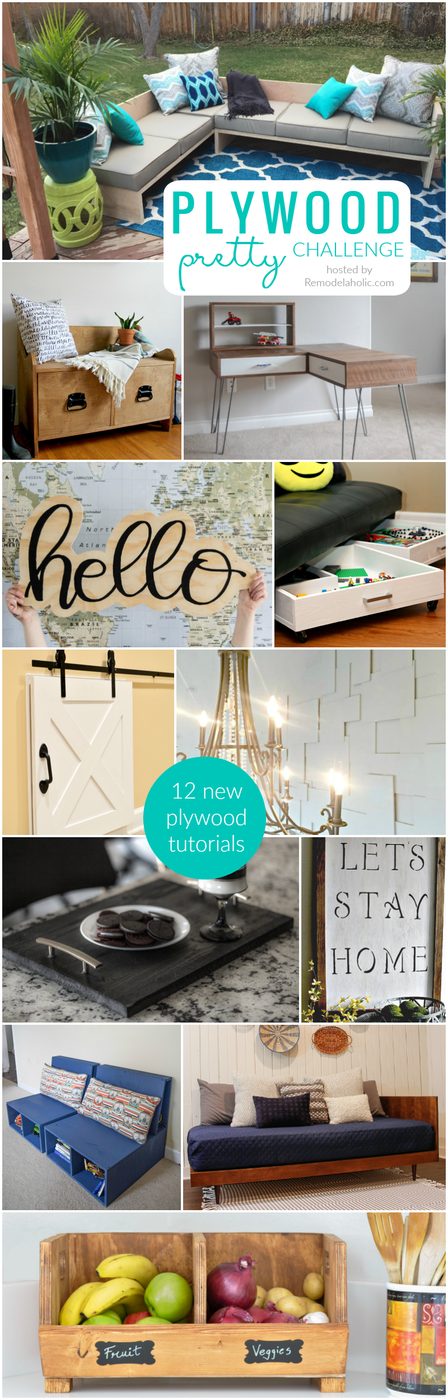
See more plywood projects in the #PlywoodPretty challenge posts here:
outdoor sectional sofa Bekob (you are here!)
mini barn door for a crawl space The Cofran Home
handlettered “hello” sign Lemon Thistle
straightforward TV tray Practical and Pretty
rolling storage drawers Happy Go Lucky
mid-century modular lego table The Created Home
entryway bench Woodshop Diaries
farmhouse sign Our Crafty Mom
mid-century daybed Paper Daisy Design
produce bins Anika’s Handmade Life
plywood accent wall Diva of Handmade
kids chairs with storage Our House Now a Home
Published 04.01.2017 // Updated 03.13.2020