Materials and the sequence of the job sit together on this page.
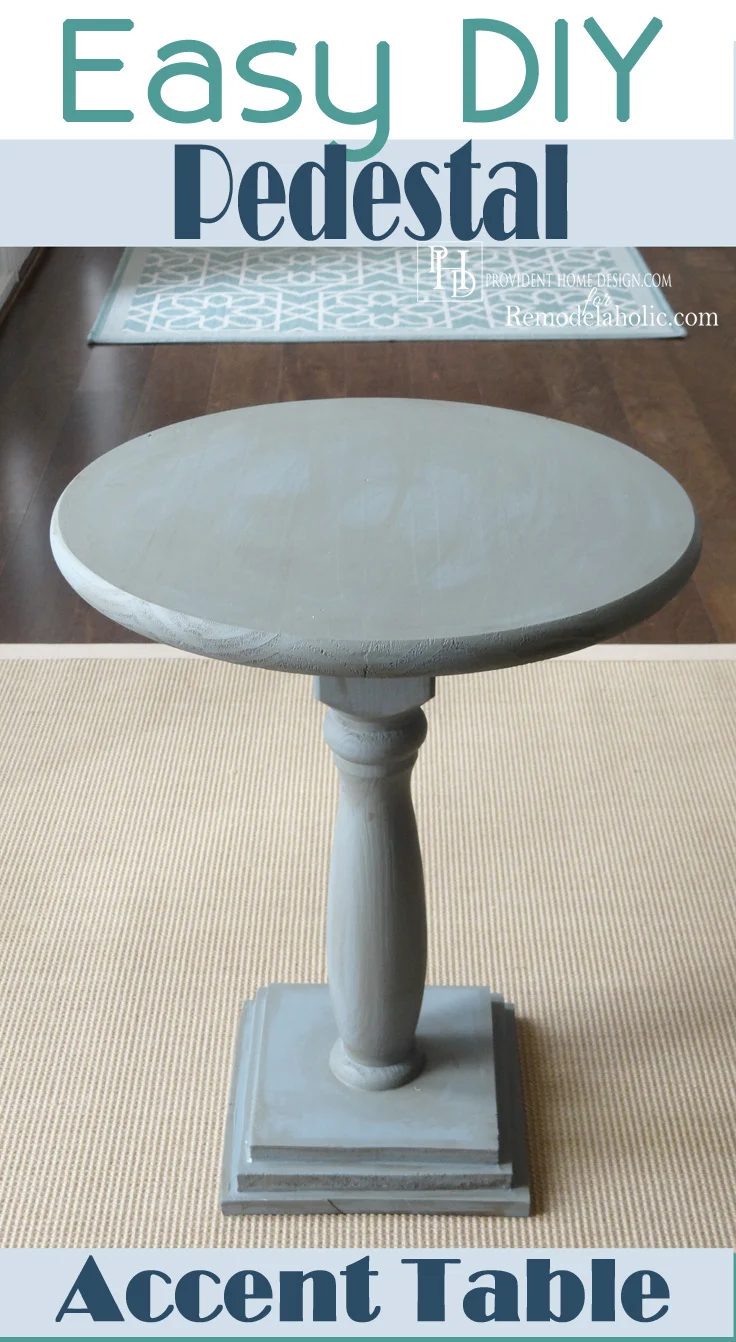
A few months ago on Bekob I taught how to create strong woodwork above the mantel in just 5 straightforward steps. Today’s Handmade I will be sharing is just as straightforward!
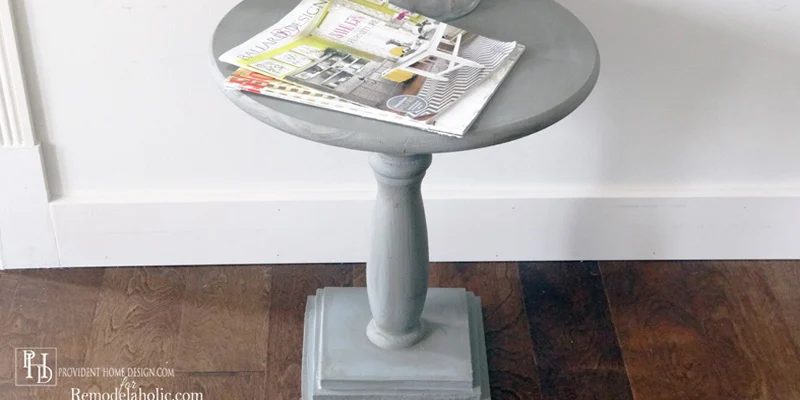
Pedestal accent tables have caught my eye for awhile now and are so versatile. They can be used as end tables by the bed or couch or as side tables anywhere you need them! I am thrilled to be here to teach you how you can build your own for about $25 a piece!
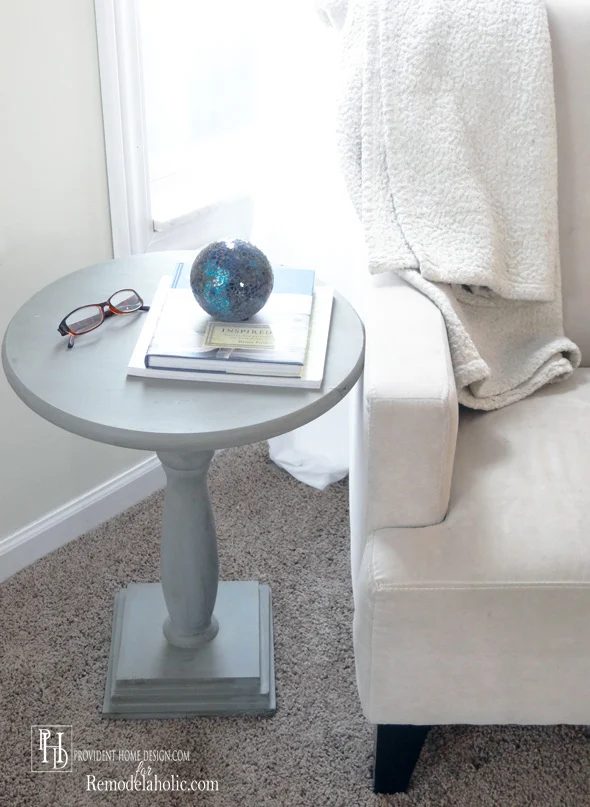
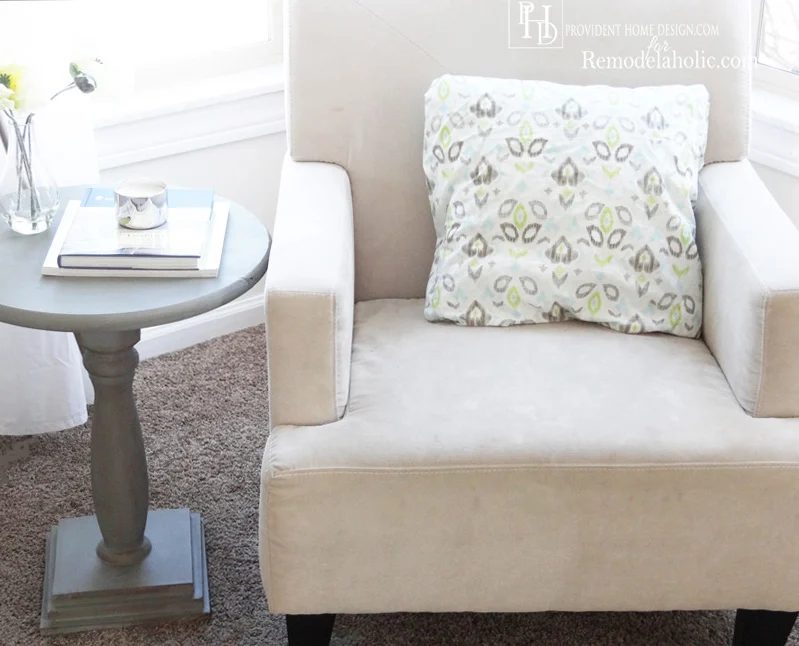
Supplies
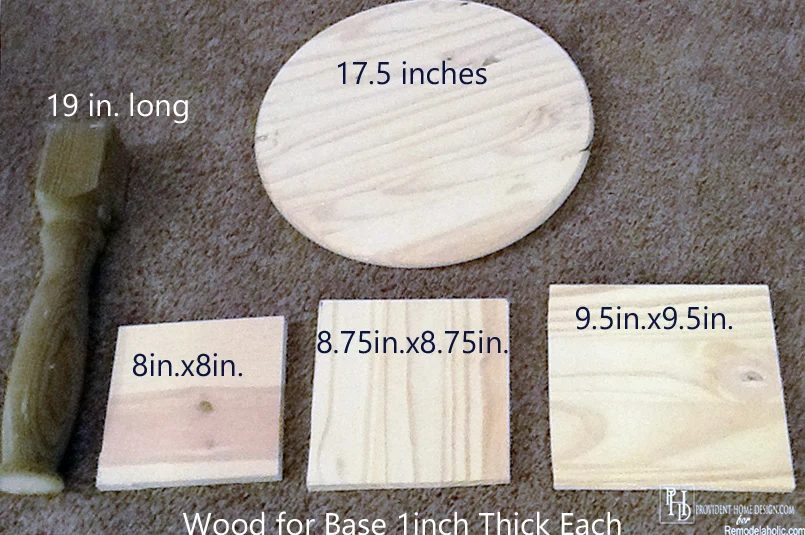
Let’s get started with the supplies! You will need the below wood items cut to size. You can either cut a wood round or buy one (like this).
I found the leg for the pedestal accent table at Lowes. They are in with the big ol’ columns in the lumber section.
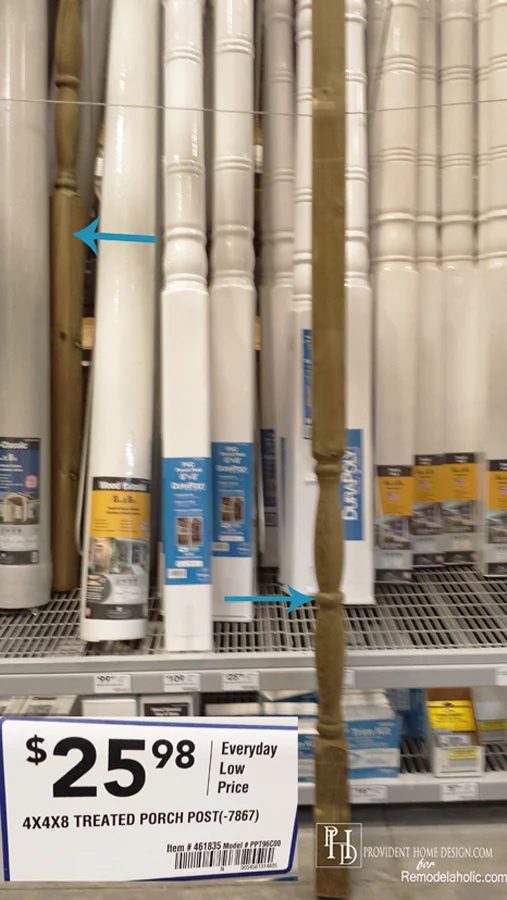
It is actually a porch post but to keep the price down it made sense to buy one large one and then cut it down to make two accent tables. I know you are probably so happy you got to see my disgusting garage floor today!:-) I definitely see a how to paint a garage floor Handmade in my future somewhere down the road!:-)
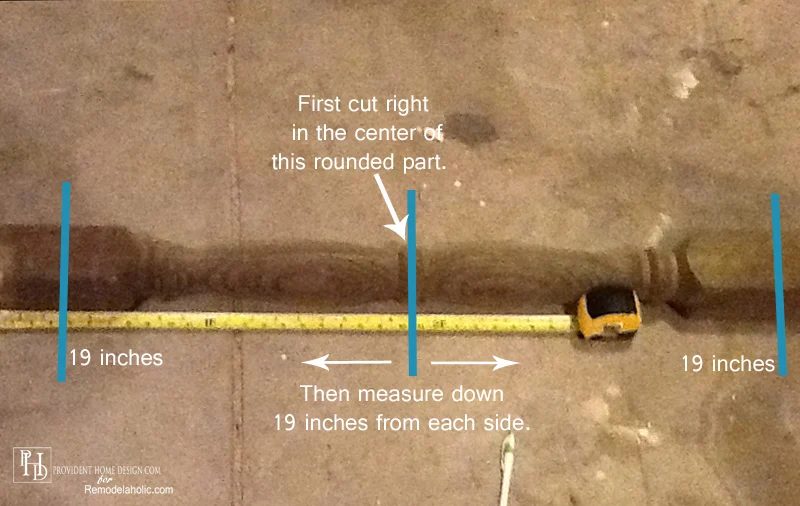
The turquoise lines above show you where to make your cuts. Make your first cut (I used a miter saw) right where the middle turquoise line is. After it has been cut measure 19 inches both way, mark it and cut it. Now you have two legs to create two pedestal tables!
Note: It is very important that the above cuts are precise so that the leg is completely balanced when stood up.
I found the rest of the supplies at Home Depot although I’m sure other hardware stores have similar supplies as well.
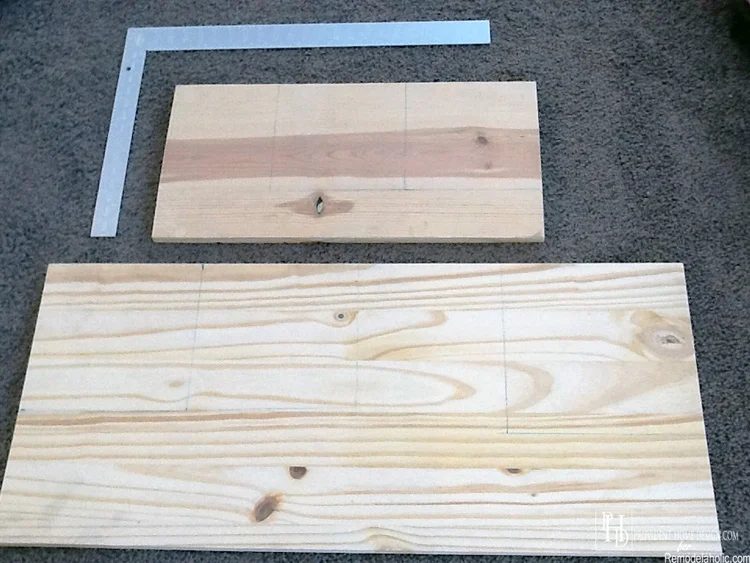
Measure and cut your wood to the sizes shown above. I used a jig saw for this part.
Building it
Now that the hard part is over lets have some fun!:-) We will start by making the base of the table.
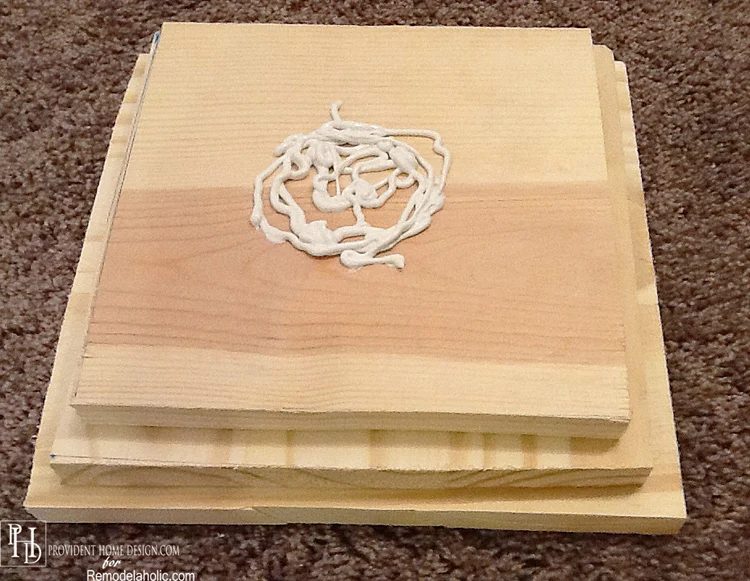
Take your largest square and add Liquids Nails adhesive (with a caulk gun) to the center of it as shown below.
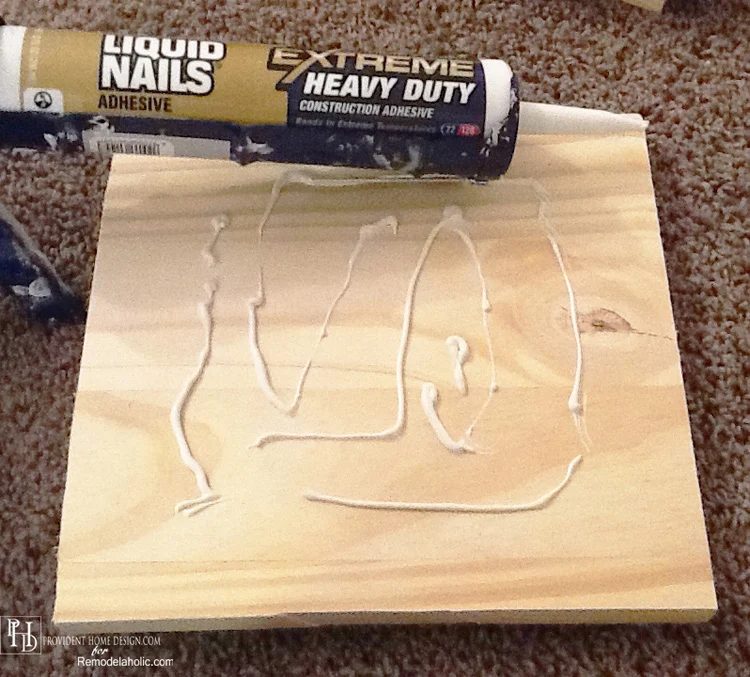
Now add the second largest square on top and make sure it’s centered. Apply Liquid Nails to the top of it just like you did with the first square. Next place the smallest square on top and make sure it is centered.
The photo below shows two completed bases.
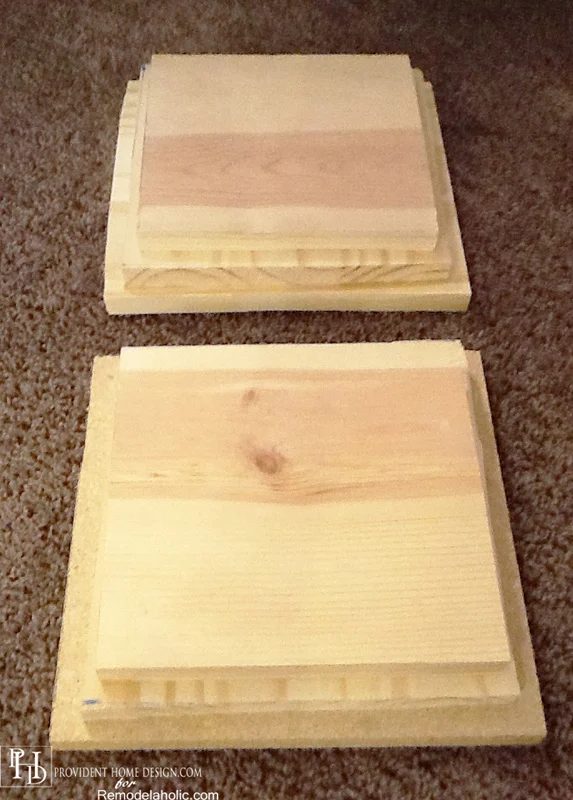
Let the base dry for at least 30 minutes before continuing. Then make a circle of Liquid Nails adhesive in the center of the top square (as shown below).
Place the leg (round part down) onto the base where the adhesive lies. With a damp paper towel wipe away any excess adhesive around the base of the leg and make sure the leg is centered.
Let it sit untouched for at least 30 minutes (you may want to monitor it from time to time to make sure it hasn’t shifted).
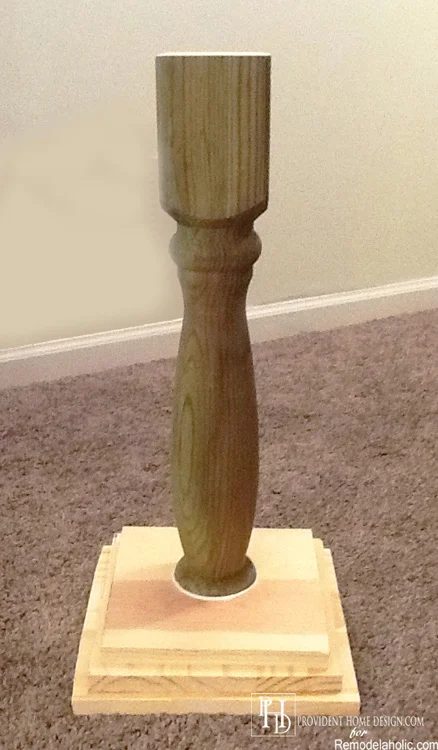
At this point you may be wondering if we are building ‘The Christmas Story” inspired leg lamp. Nope, no lampshade next!:-)
Next is the wood round top.:-) On the bottom of the wood round mark the center of it.
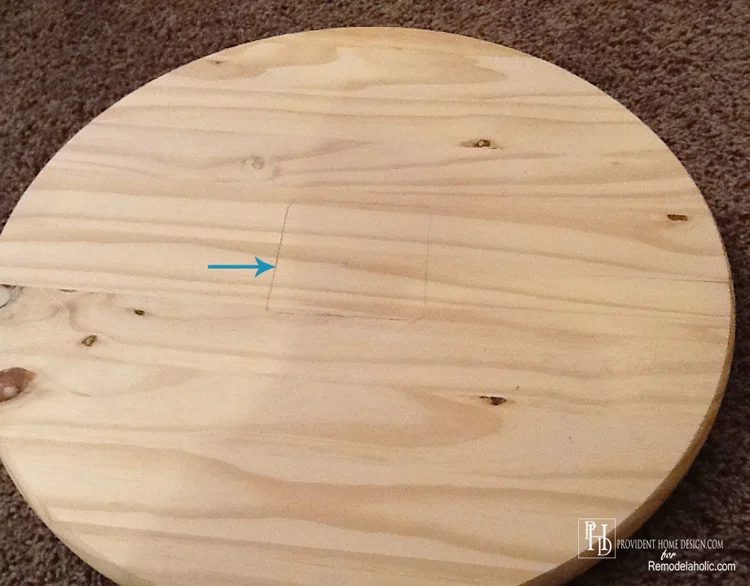
Apply Liquid Nails adhesive to the top of the leg (as shown below) and place the wood round on top making sure it is completely centered.
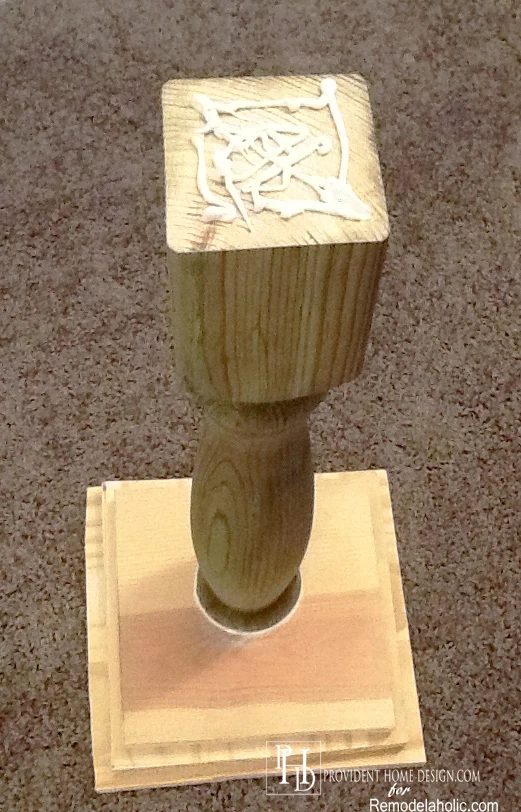
Okay, great job! Now leave it untouched overnight or for 12-24 hours.
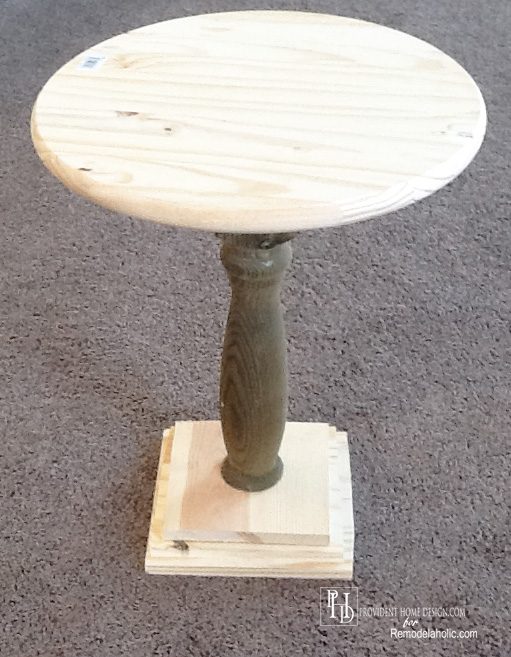
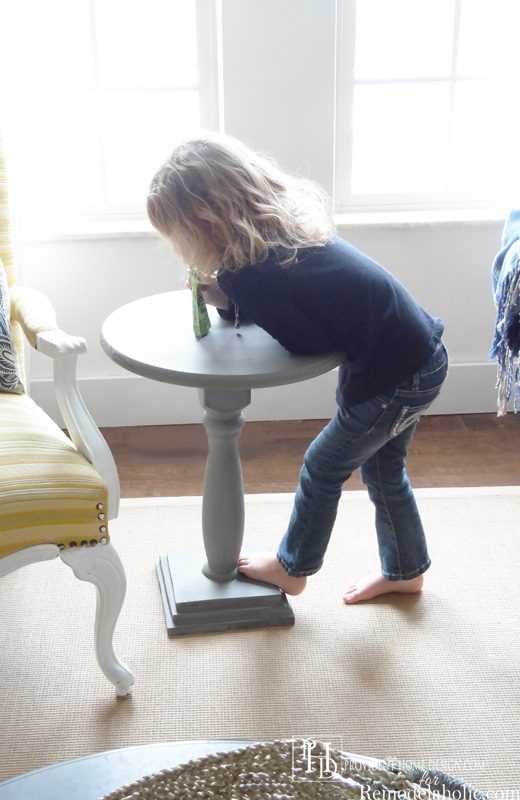
In case you are worried about it holding up with just Liquid Nails you could screw a clearly long screw from the bottom of the base into the leg but I don’t think it’s necessary. Without any coaxing on my part the accent table has already been kid tested (as shown below) and has not had any problems.:-)
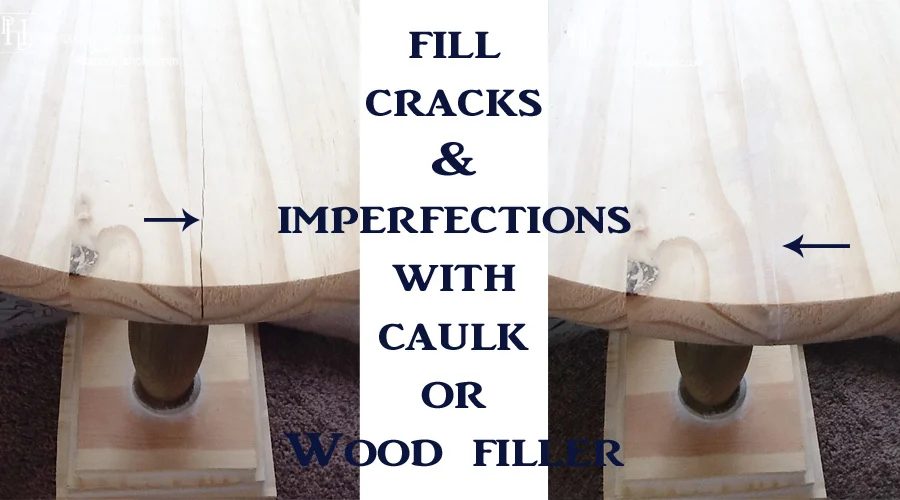
Once the adhesive has dried apply a thin layer of caulk between each level of the base, where the base and leg meet, and under the wood round where it meets the leg. Smooth caulk with your finger and wipe away excess caulk with a damp paper towel.
This step makes the separate pieces look more like they are all one piece and also provides extra adhesion. While you have the caulk out look for imperfections such as cracks that can be mended.
Before painting lightly sand any rough or uneven spots on the accent table.
Painting it
Now is perhaps the most fun part! You get to paint it and really make it your own!
I did 1 coat using my Handmade chalk paint recipe.
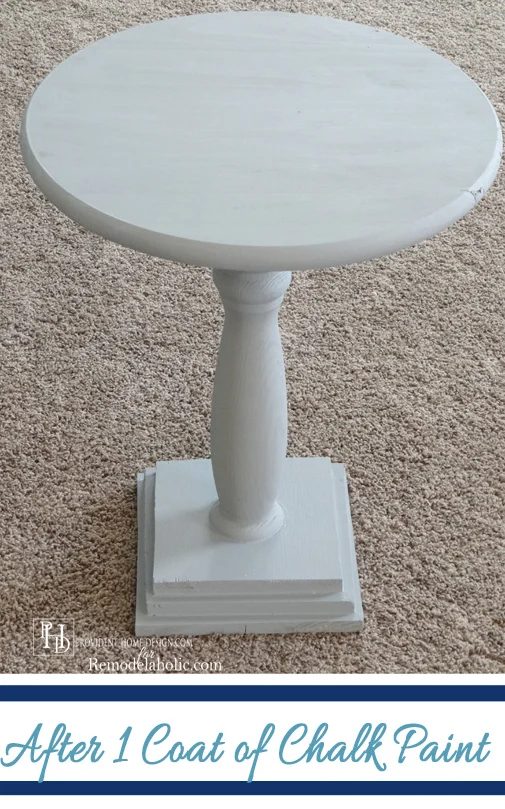
And then I lightly distressed it with glaze to give it more character and definition.
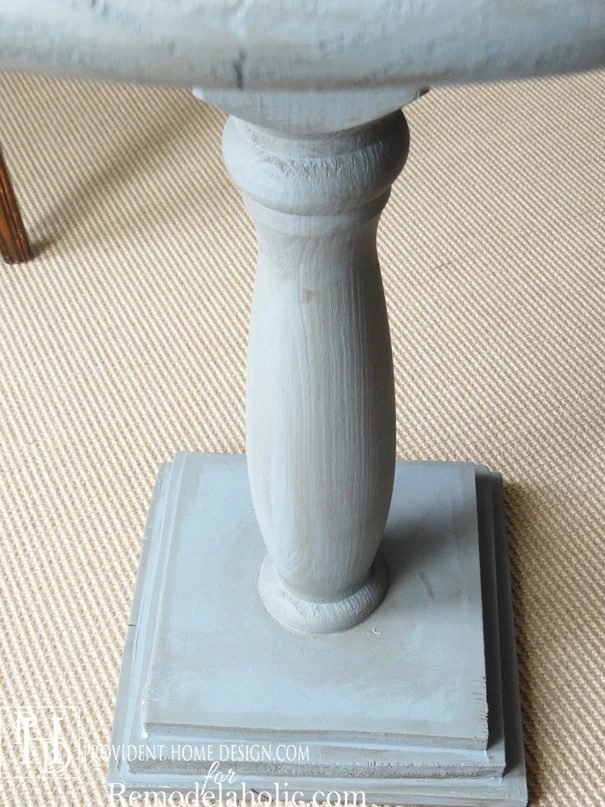
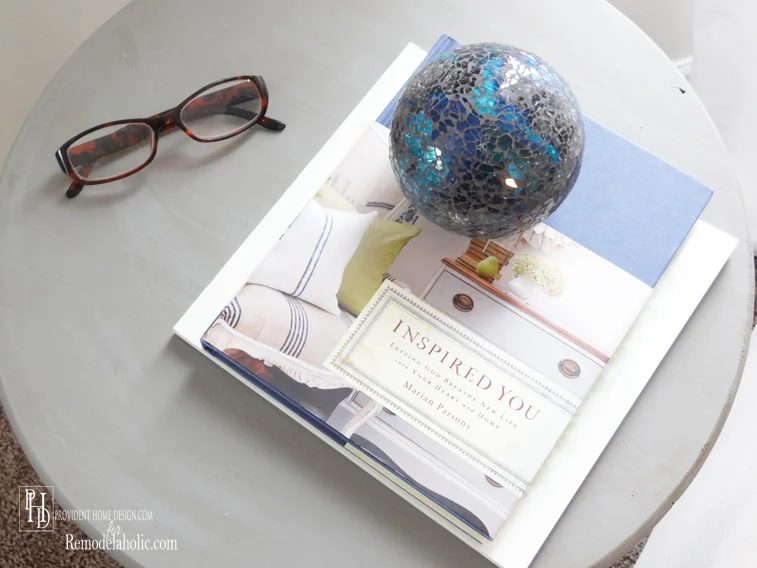
I think it would be clearly cute lacquered up in a fun pop of color or relaxed in a warm neutral color like the one I used for my hutch.
Or an espresso finish would be vivid, too! Soooo many possibilities!!:-)
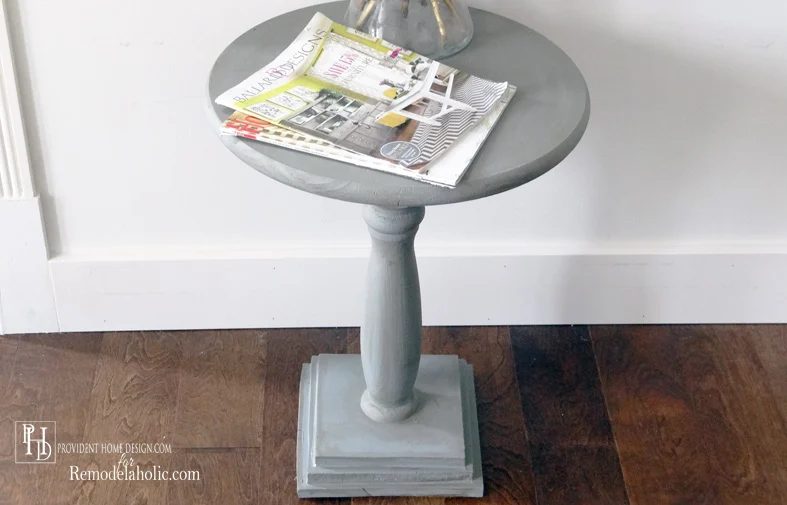
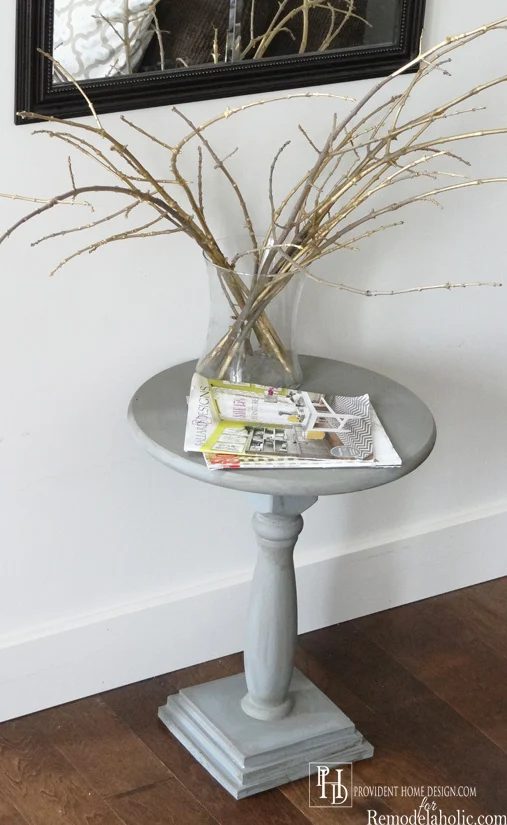
I hope you enjoyed this Handmade and your new accent tables if you end up making them! I hope you will stop by to say hi at Provident Home Design. Til next time!
——————————
More straightforward wood building projects:
triple bucket organizer or planter