Materials and the sequence of the job sit together on this page.
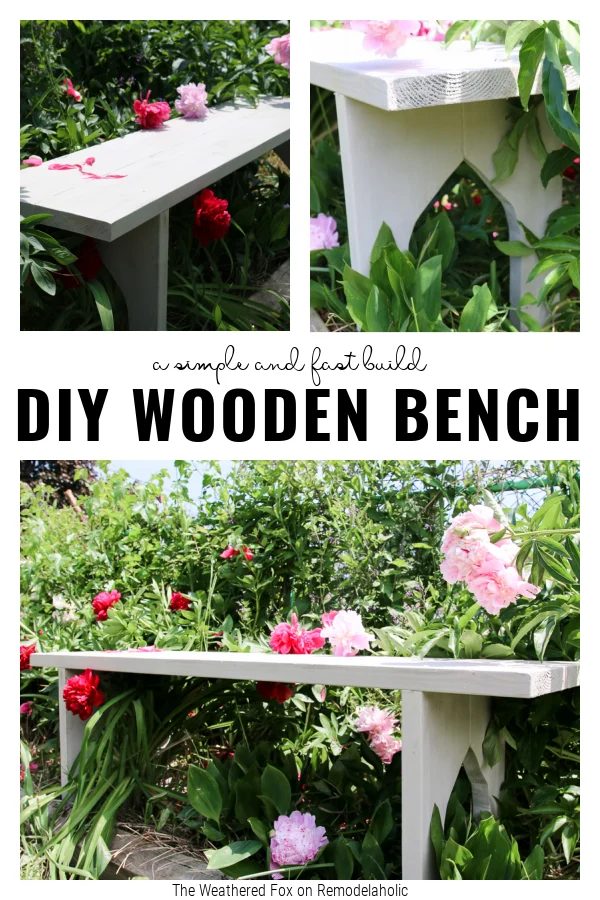
Come learn how to make a wooden bench. This direct build requires just two boards (2x8x8′) and takes less than an hour!
More to build using structural lumber: How to build space-saving benches for a small deck – How to build a hexagon planter – How to build a garden arbor/wedding arch
How to Make a Wooden Bench
from just Two Boards
By Crystal at The Weathered Fox
I love a good structural lumber walkthrough because the material is generally inexpensive and straightforward to find.
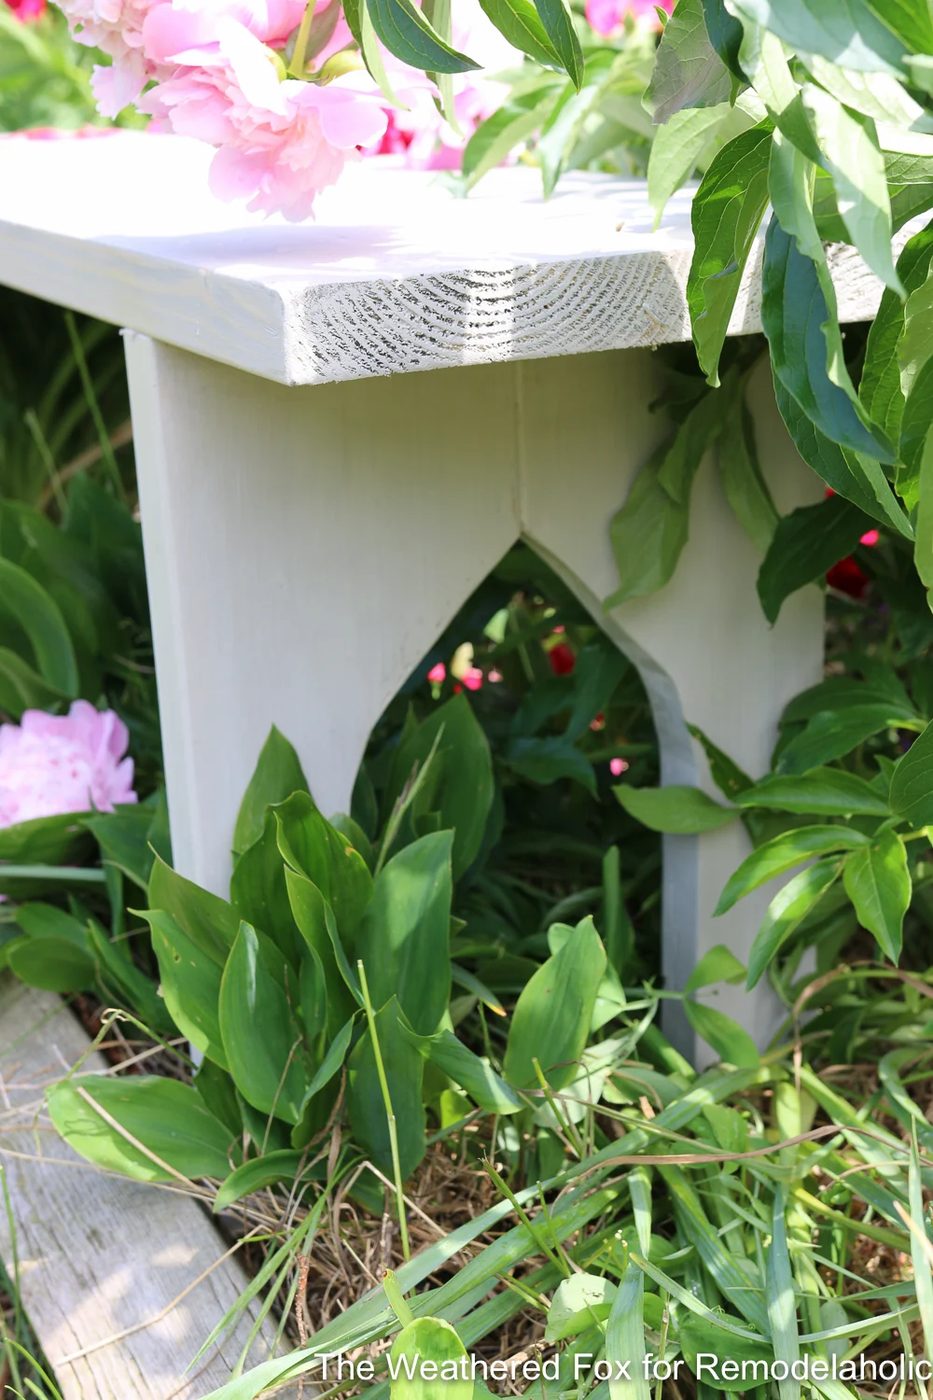
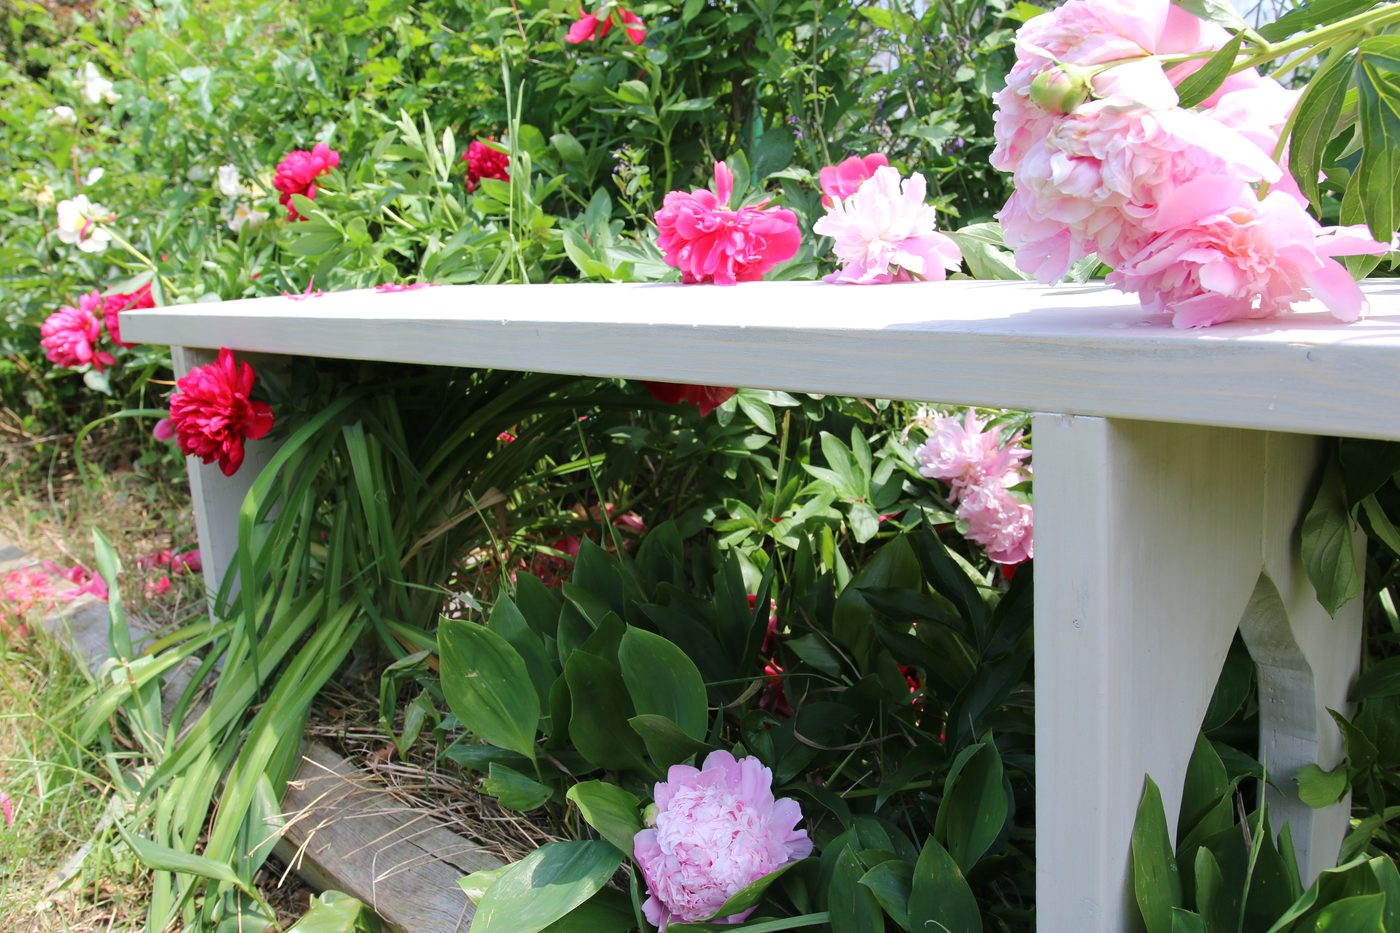
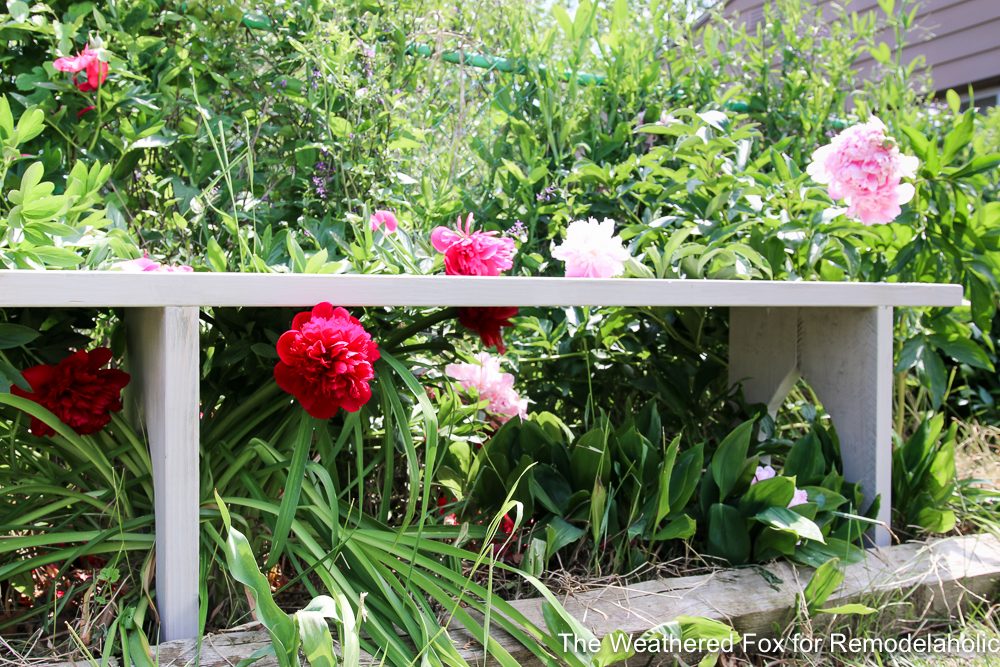
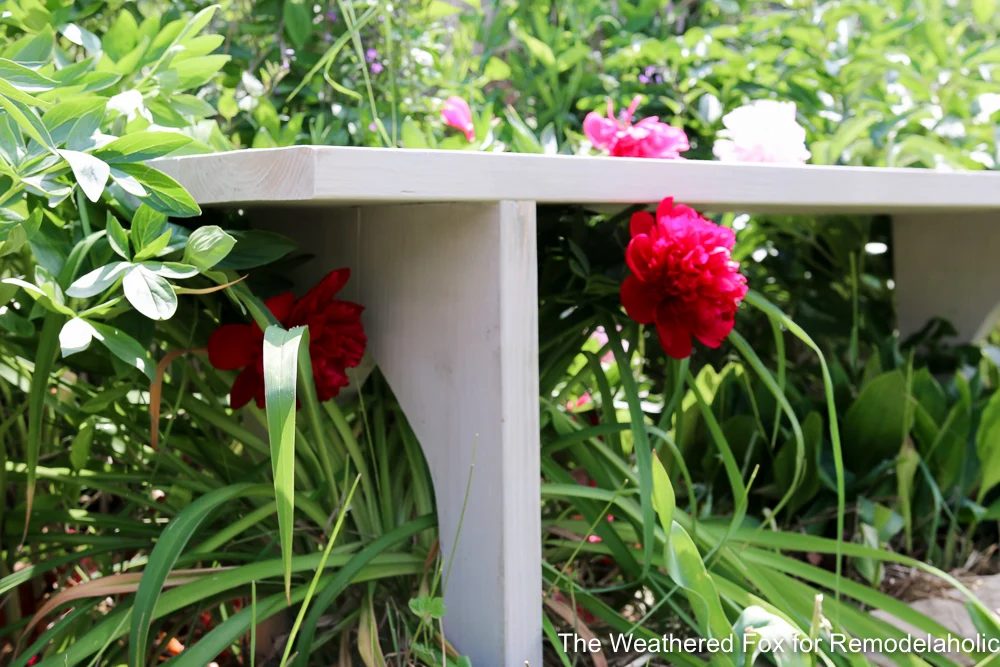
The gray, distressed paint, the rough wood, and the cathedral style/gothic arch legs on this bench make it the well fitted for a wedding or to add to any garden or porch!
See more Handmade options for an outdoor wedding.So, let me show you how to make a wooden bench for yourself!
This post contains affiliate links. Read our full disclosure here.
Materials needed
- 2 – 2x8x8′ boards
- saw (or have the boards cut at your local hardware store)
- drill
- Kreg Jig
- 2″ kreg screws – if you plan to put this bench outside, use the Blue Kote ones
- square bit tip to fit kreg screws
- jigsaw
- pencil
- cardboard or paper
- multiple clamps – small and large
- construction adhesive
- caulk gun
- choice of finish – paint, stain, etc
- Indoor/Outdoor sealer
Cut List
- 4 – 2x8x18″ – cut two from each board (Yes, that’s it!)
Step 1: Cut
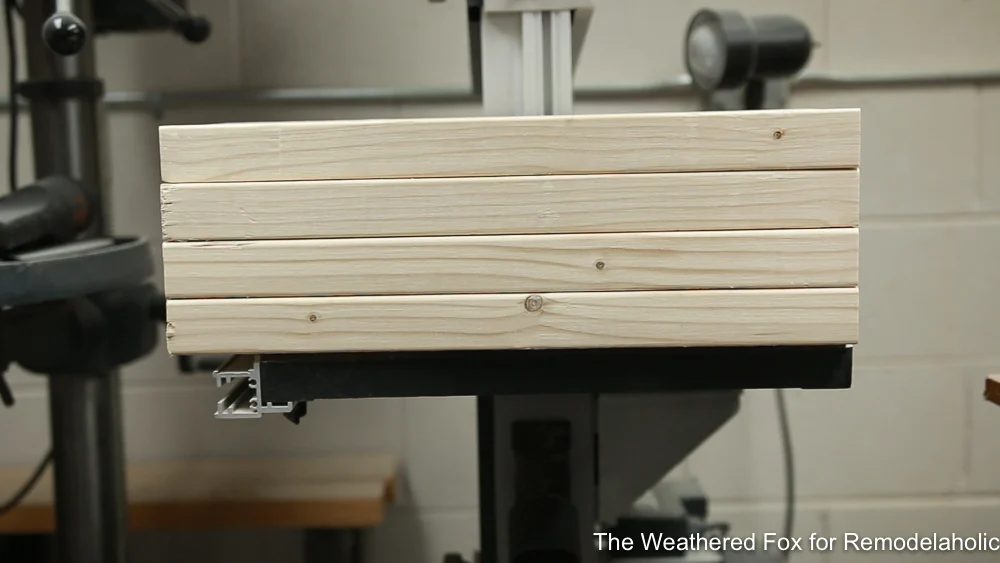
Cut two 18-inch pieces from each board (4 total 18-inch boards for the legs). The remaining boards will be the seat. These cuts are easily made with a miter saw or circular saw. Or, make it even easier and have the hardware store cut the boards for you.
Step 2: Create a Pattern for Leg Openings
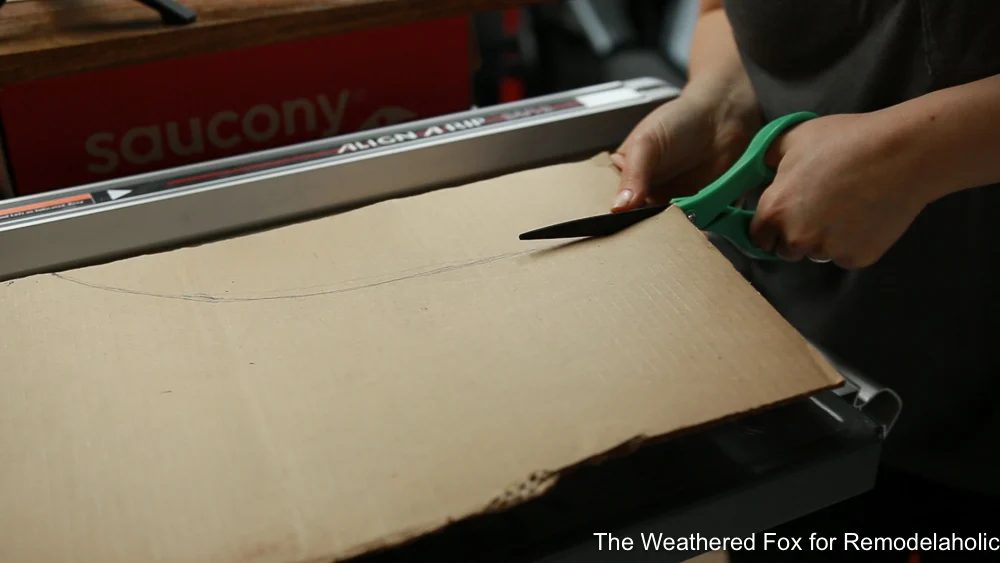
Create a pattern so both legs will match. Using a scrap of cardboard, draw one half of the opening you wish to have on the legs.
To match mine, draw a half arch that is about 13 inches at its peak and about 5 inches wide at the base.
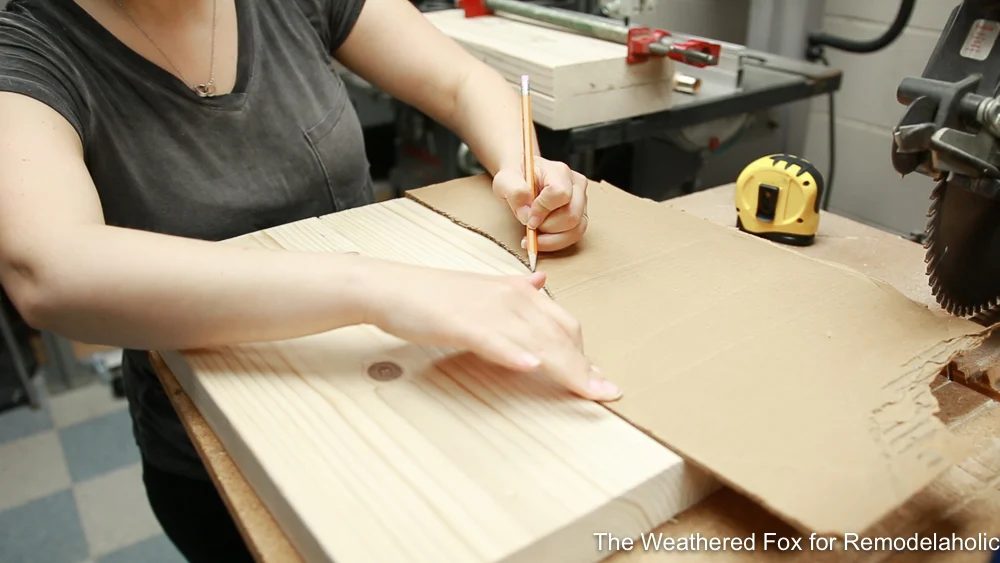
Trace the pattern onto each leg.
Step 3: Cut the Leg Openings
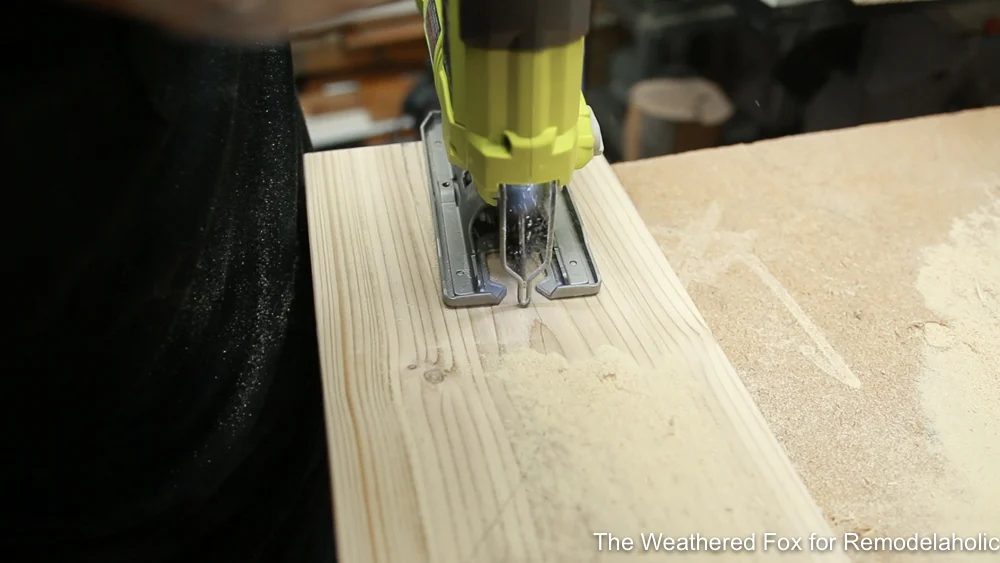
Using a jigsaw, carefully cut along your marked path.
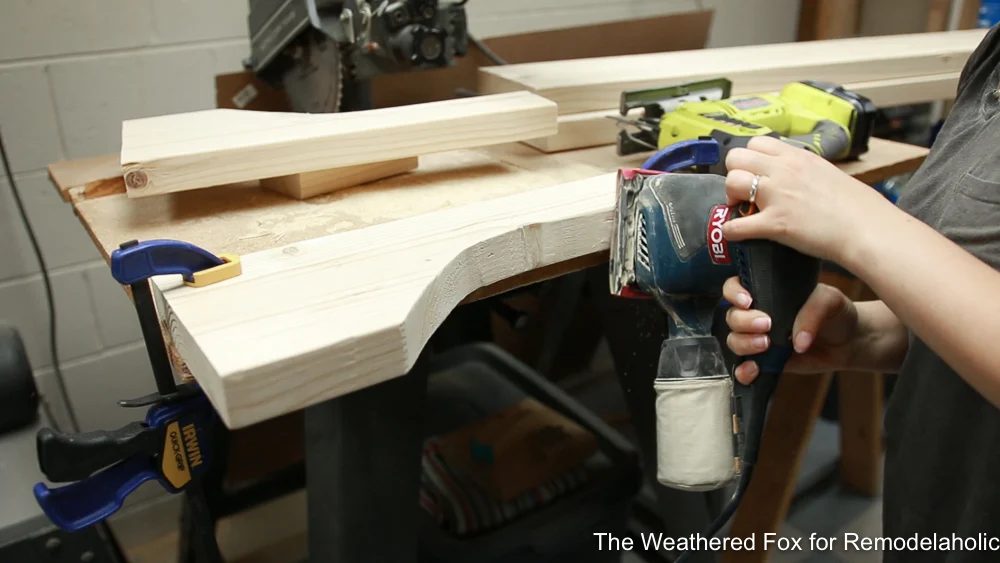
You can sand out any imperfections now or wait until after the bench is assembled.
Step 4: Assemble Each Leg
Lay the leg pieces out as they’ll be on the finished bench.
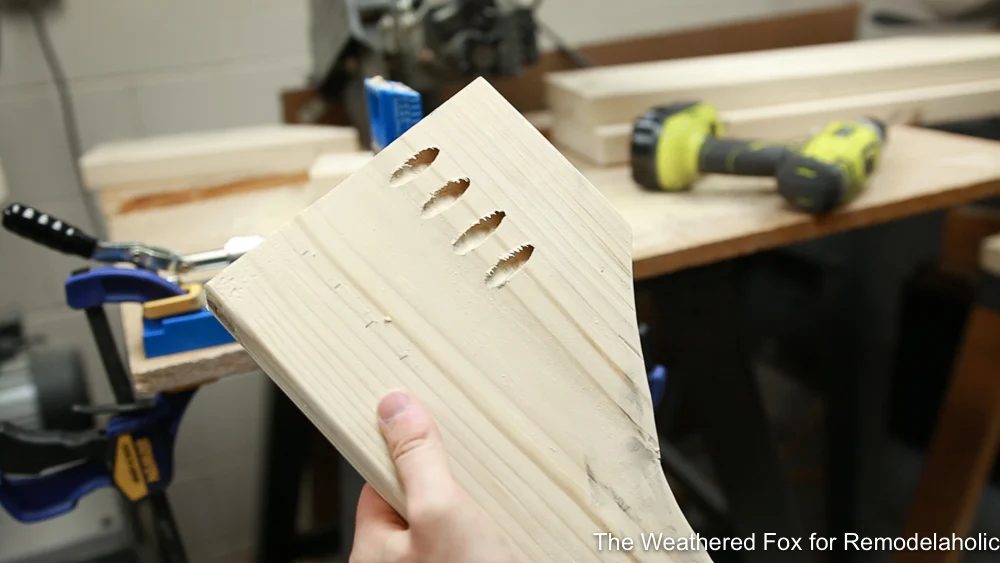
a. Add 4 pocket holes to one piece of each leg using a Kreg Jig or other pocket hole system, as shown below (and according to product instructions).
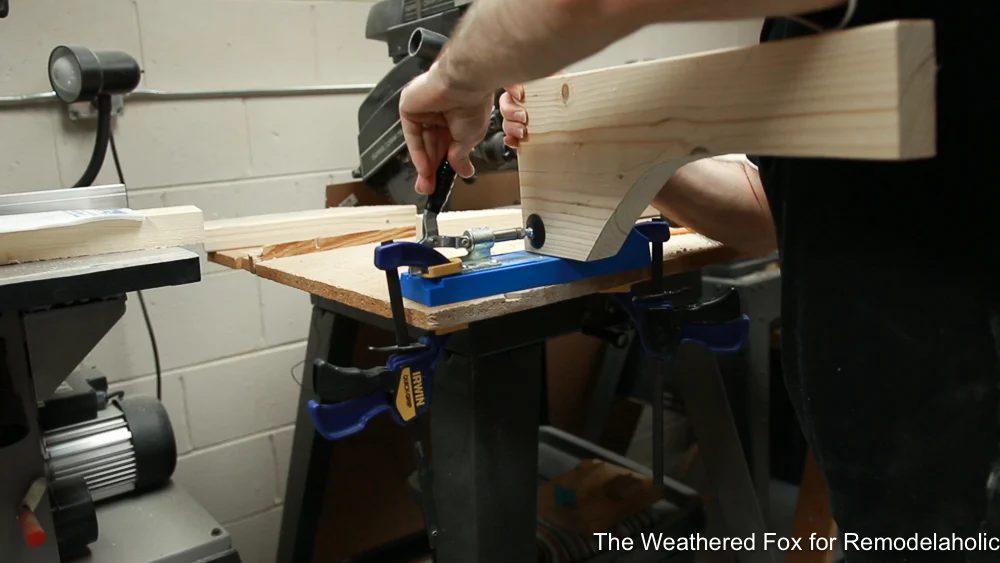
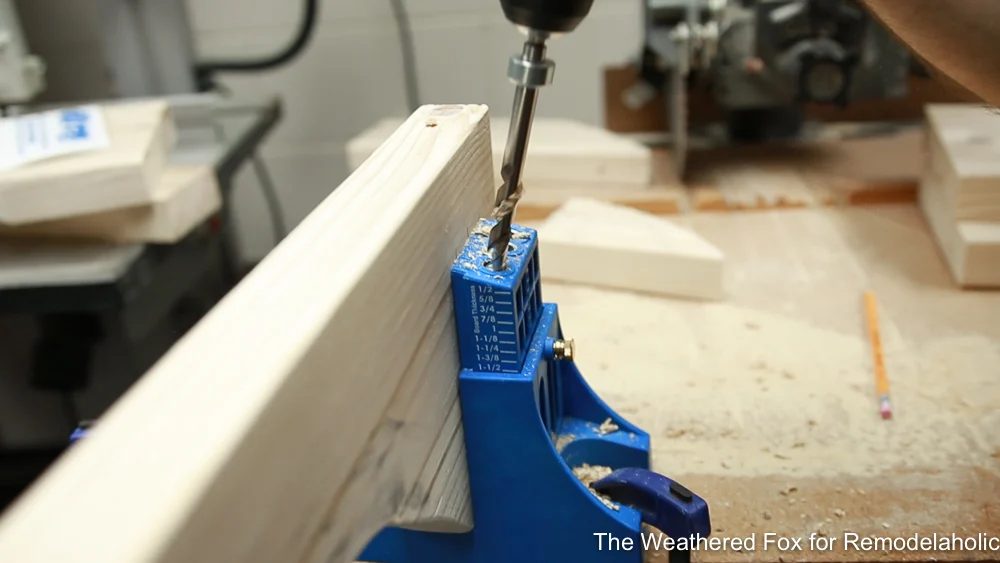
(It may have been overkill to add as many as we did, but we wanted it to be sturdy!)
b. Add a line of construction adhesive where the two leg pieces will be joined.
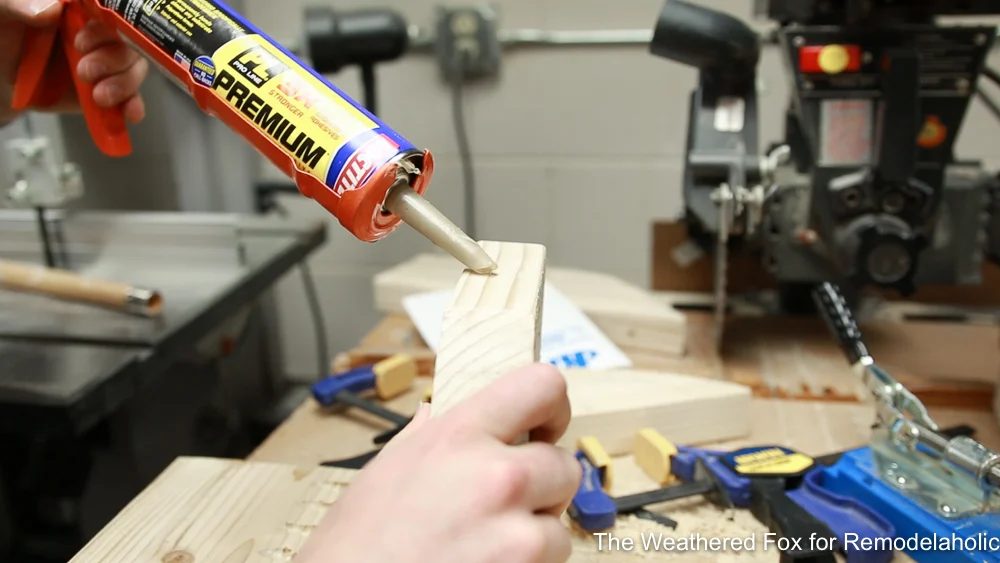
c. Clamp the two leg parts together.
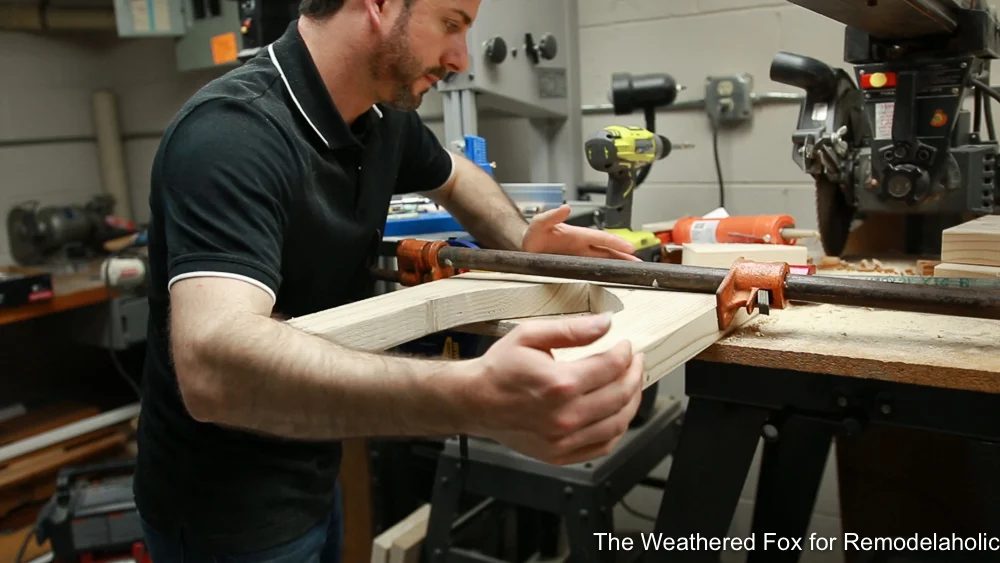
d. Wipe any excess adhesive from the joints. 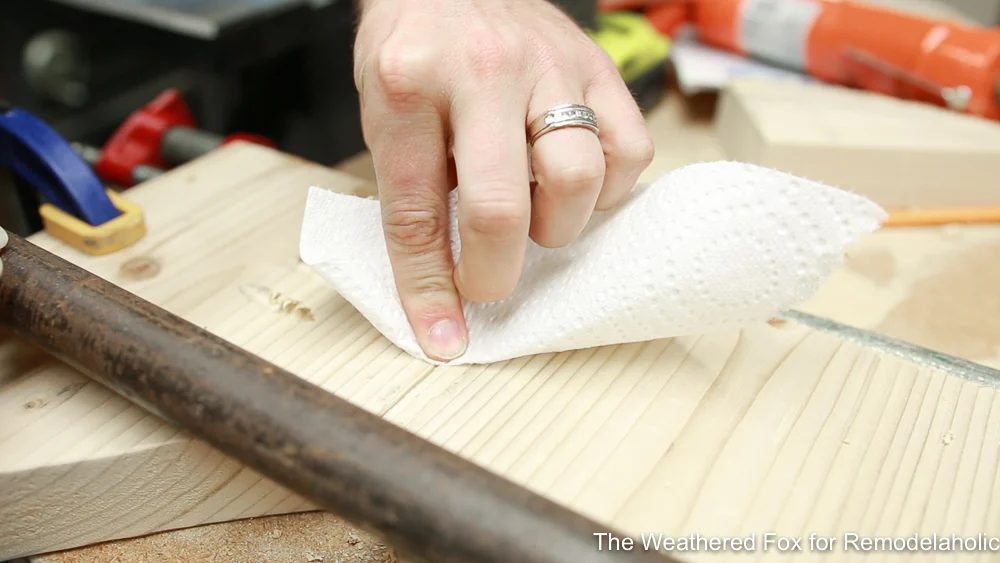
e. Drive the Kreg screws through the pocket holes.
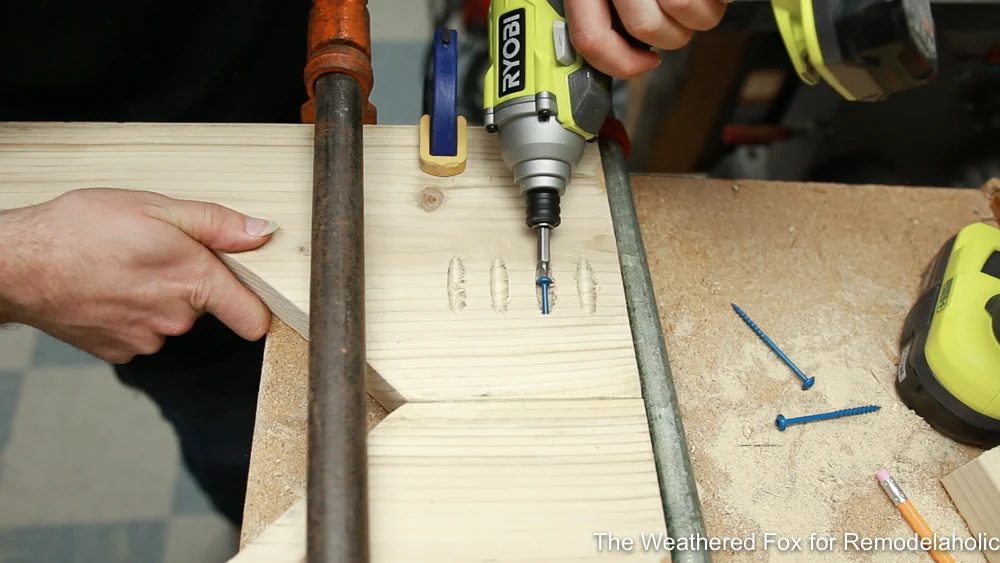
Repeat the steps to create the other leg. (The same steps will be repeated to create the seat and attach the legs to the seat: drill pocket holes, apply adhesive, clamp, insert screws)
Step 5: Create the Seat
Inspect the long boards and choose which surfaces will be best for the top of the seat.
Turn the boards over and drill pocket holes 6 inches apart along the length of one the boards.
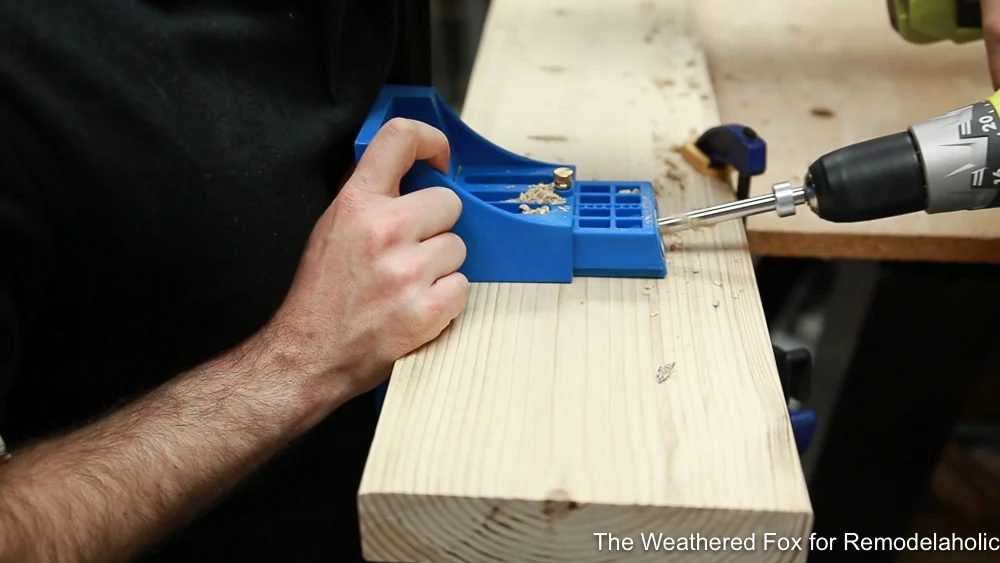
Apply adhesive, clamp the boards together, then put in the screws. 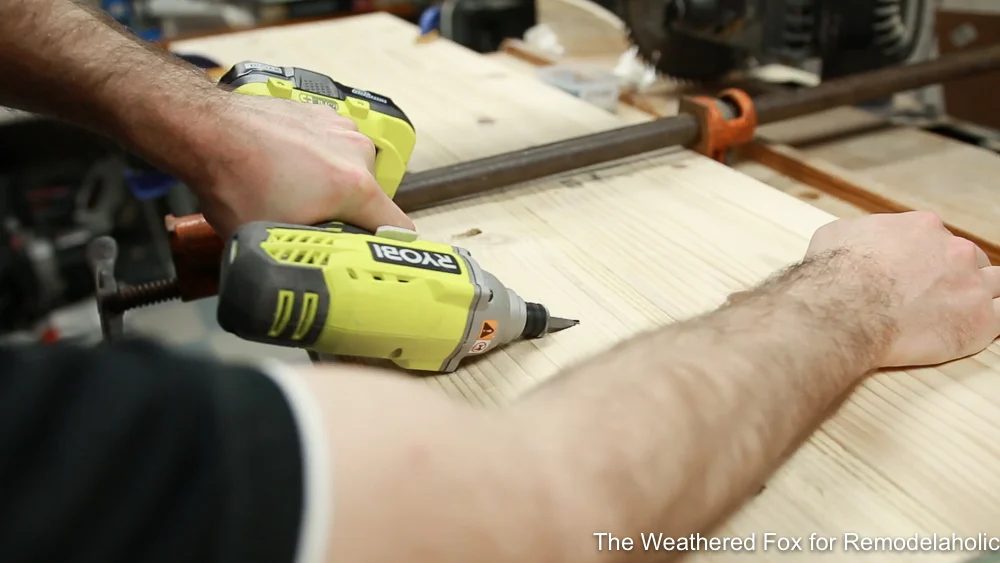
Step 6: Attach the Legs to the Seat
Measure and mark 7 inches from the end on the underside of the seat on both the left and right sides.
Then, with the pocket holes facing to the inside, attach your legs using the same process: create pocket holes, add adhesive, clamp into place…
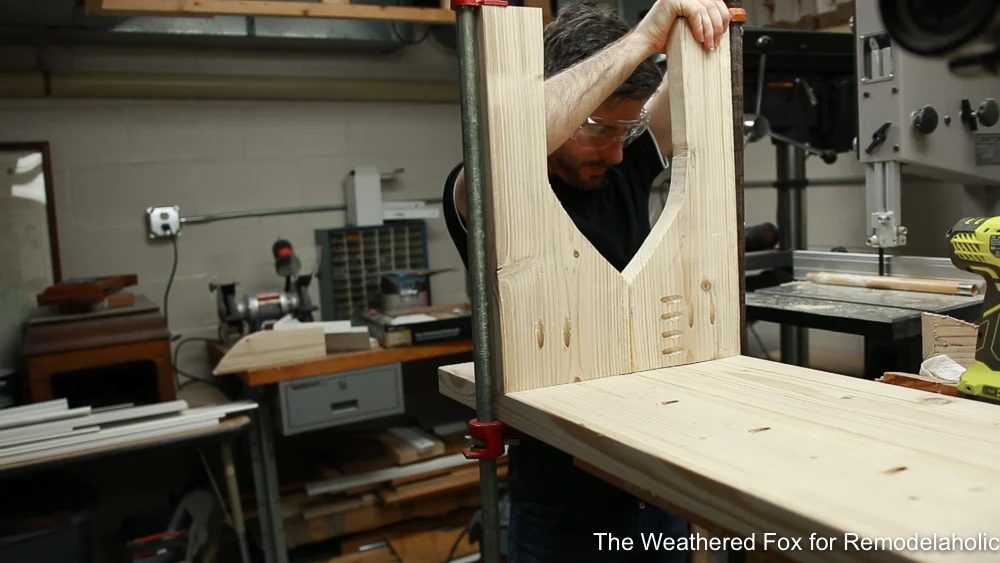
…and join with screws. 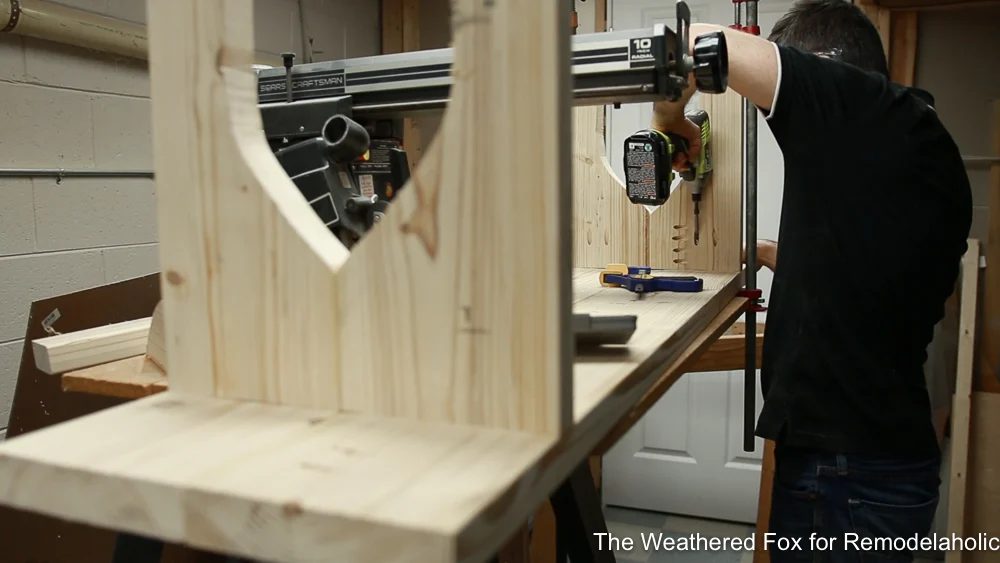
Step 7: Sand and Wait
Sand the entire bench to your liking. Wait for the adhesive to dry before moving on to the finish. 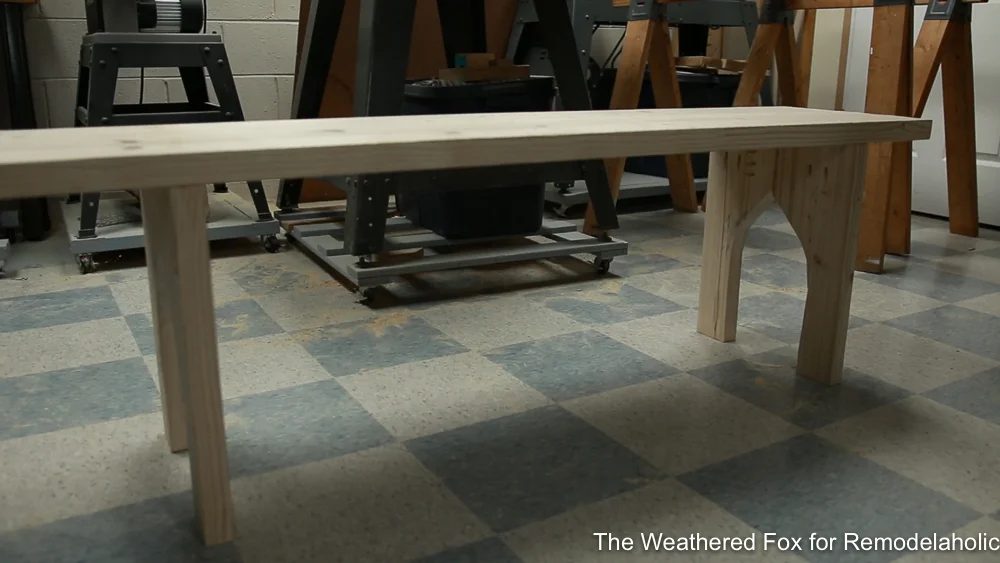
Step 8: Choose your finish!
For our bench, I went with a chalk style paint in a light gray.
I painted one coat, varying the thickness of the coat to create a distressed finish. In some areas I painted on an opaque coat, in other areas I used a drybrush technique to very lightly apply the paint just to the high areas of the wood.
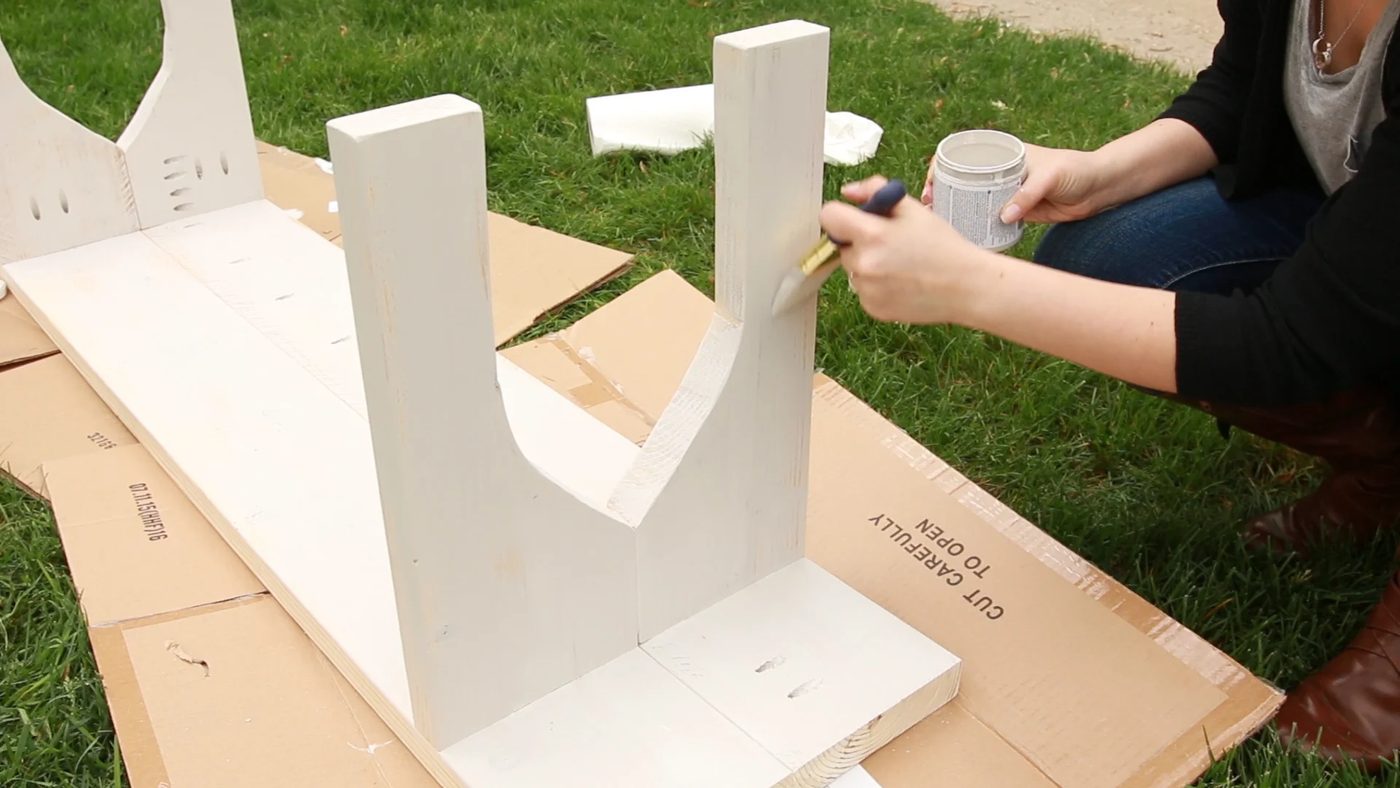
Once the paint was dry, I rubbed in a bit of a weathered wood stain all over the surface. This pulled out the grain of the wood, but also gave a bit of age to the color of the paint.
For this technique, you don’t want to have too much stain on your paper towel, a little goes a long way! And rub it in sort of like you would a wax. You don’t want any extra stain left over on the surface.
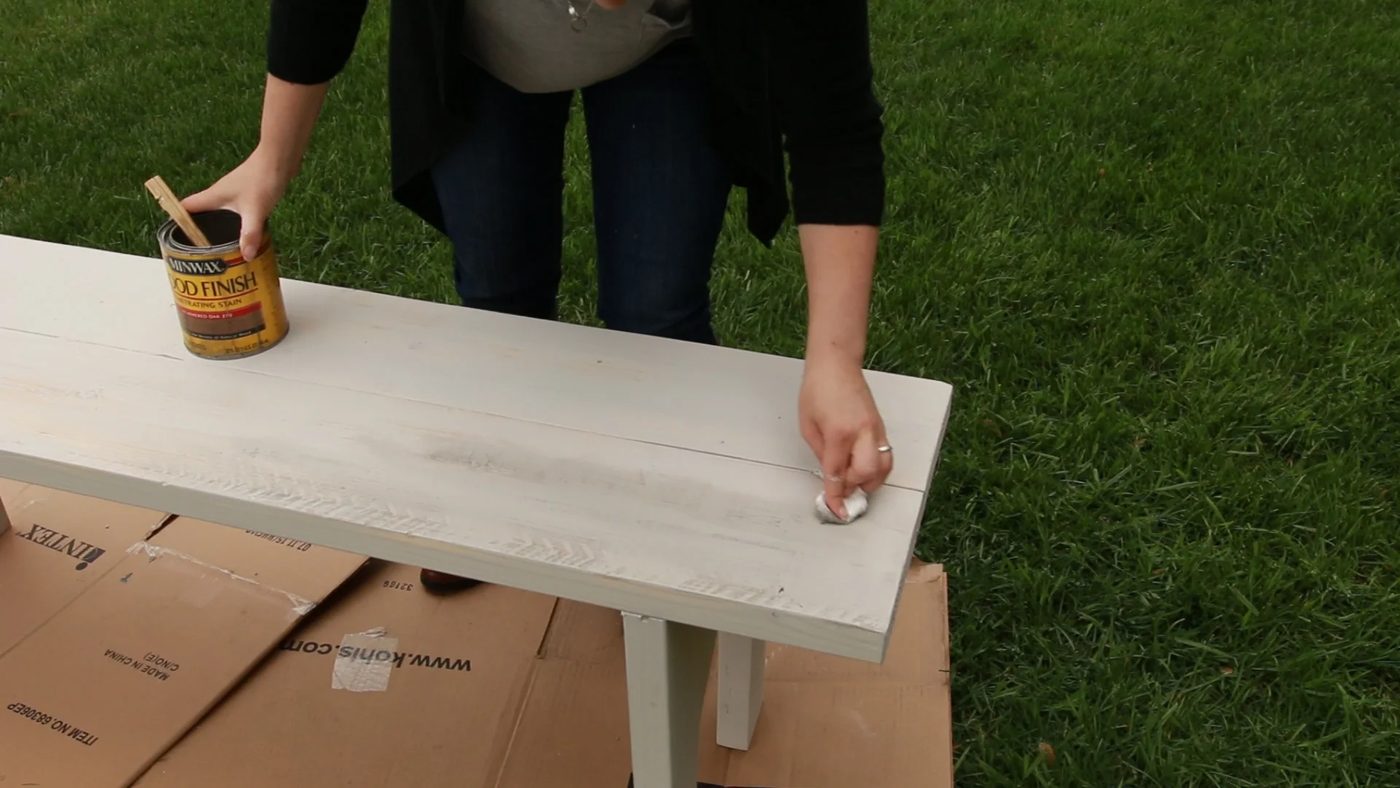
Step 9: Apply Sealer
Once your stain has dried, apply an outdoor sealer to the bench if you’re using it outdoors. If you intend to use it inside, a water-based poly will do just fine.
Two to three coats of the outdoor sealer will make sure your bench lasts for years. Allow the sealer to dry completely and you’re done!
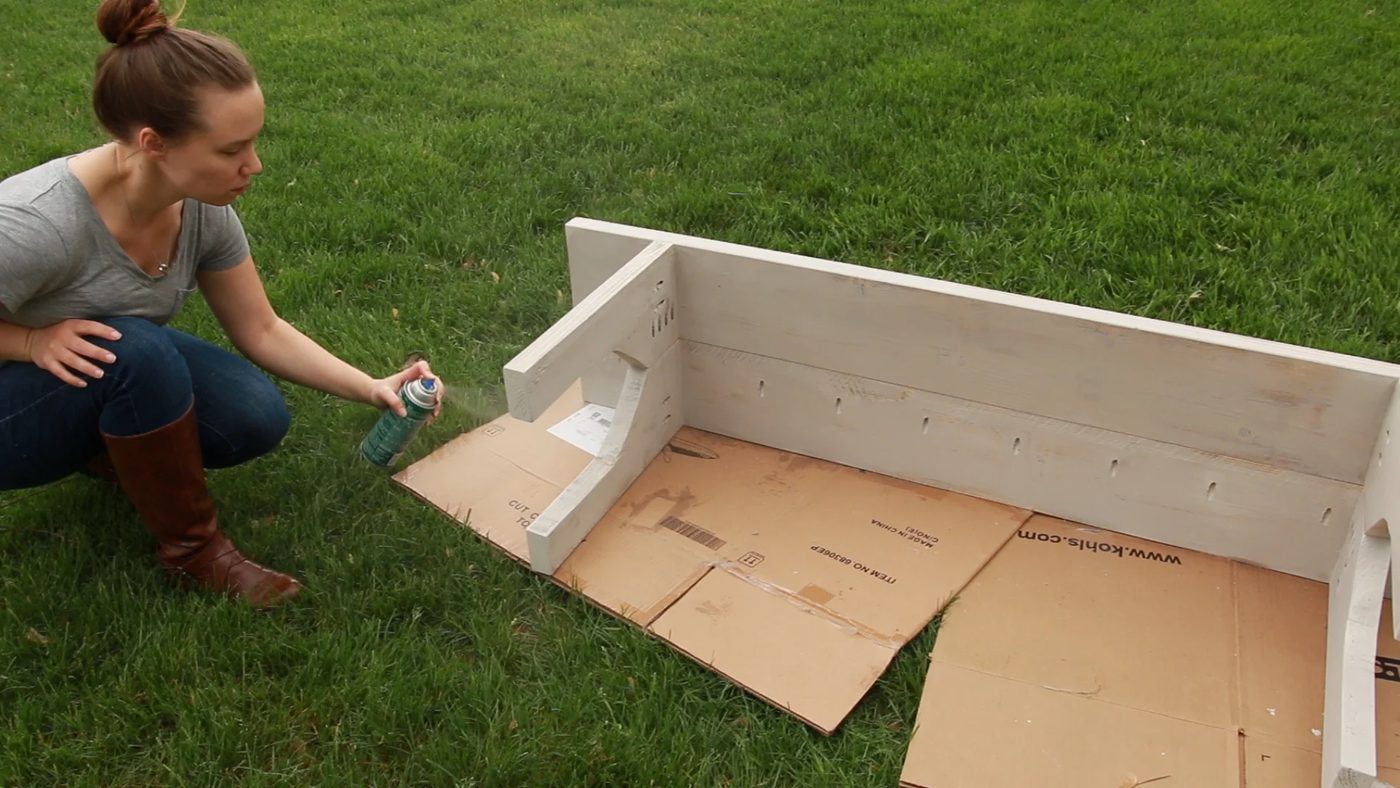
I love having my bench in my garden!
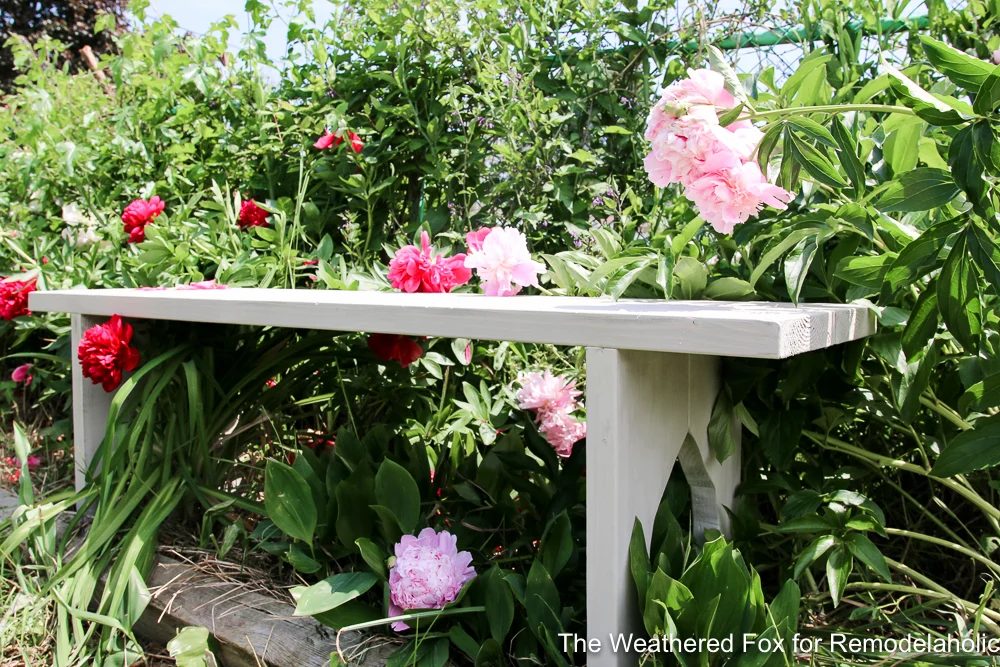
It makes for an inspiring place to sit, have a cup of coffee, and listen to the birds chirping. I think this straightforward wooden bench fits right in!
If you love this straightforward farmhouse bench, I’d love for you to head over to my blog, The Weathered Fox, for more, such as my farmhouse bathroom remodel and my thrifted candlestick makeover!
More from Crystal: how to build an straightforward rustic wall rack and how to turn a thrifted chandelier into a farmhouse-style chandelier with just some paint!
More Benches to Build:
- Handmade wood bench with a chevron top
- Handmade wood bench for just $25
- Modern outdoor bench from concrete and redwood
- Modern triangle leg bench
- Handmade Modern Plywood Bench
Please pin this!
 Originally published 07.05.2017 // Updated 04.21.2021