Read the sequence from the top before cutting, painting, or moving pieces.
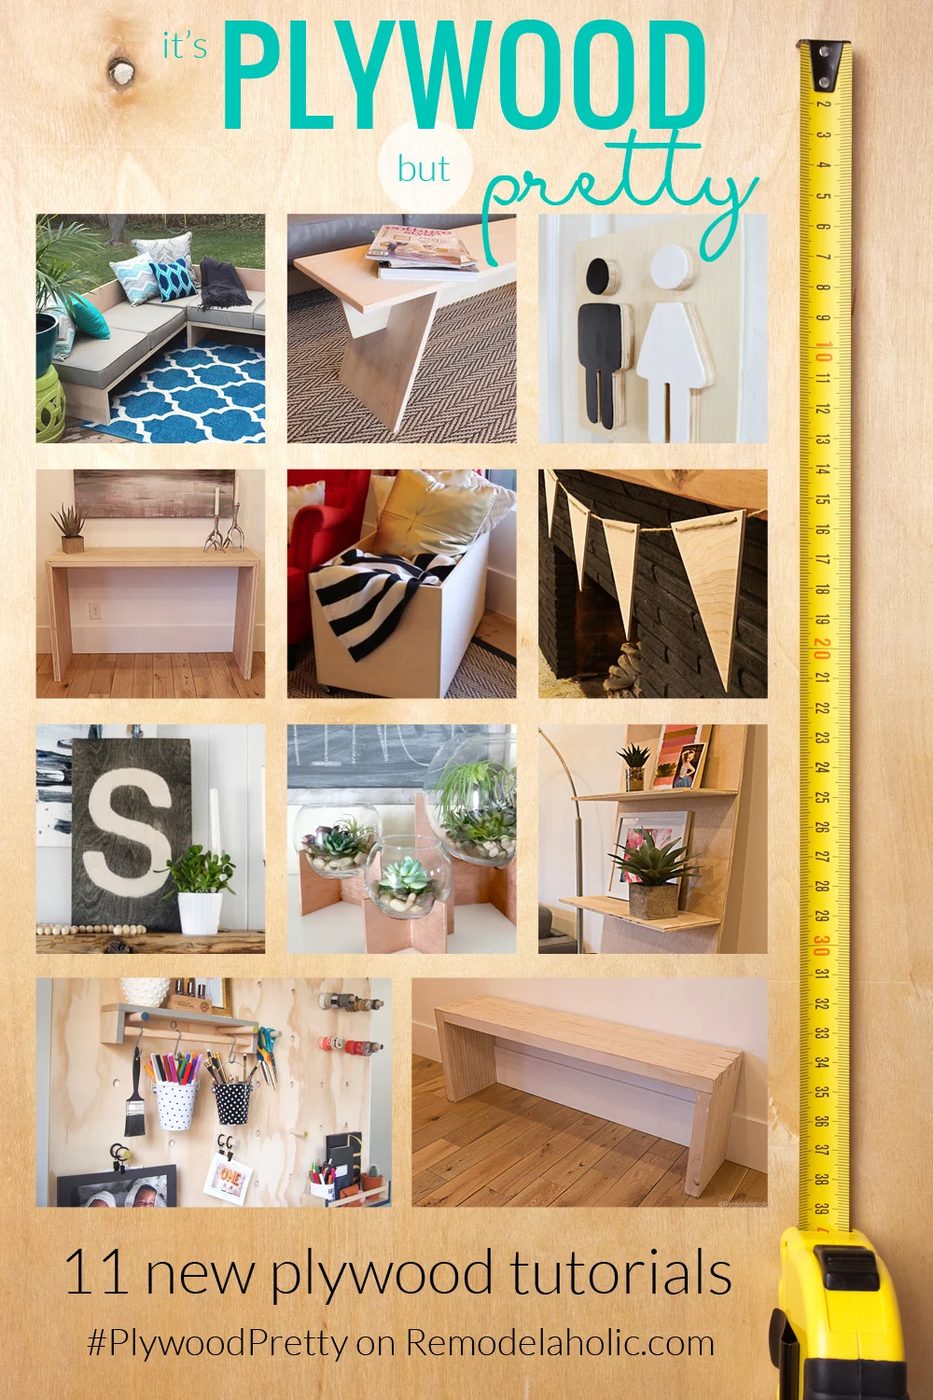
As we’ve been showing during our Plywood Pretty week, plywood is such a versatile medium: great for building things like daybeds and benches and shelves but also great for projects like shiplap and giant pegboards — and a small and straightforward one-day project like today’s plywood pennant banner! Be sure to subscribe by email or RSS and follow along over on Facebook and Instagram with #PlywoodPretty so you won’t miss any new tutorials!
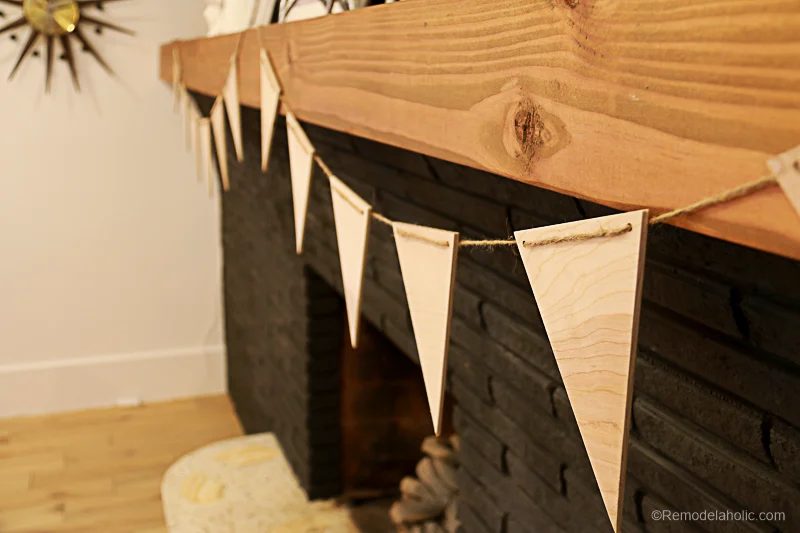
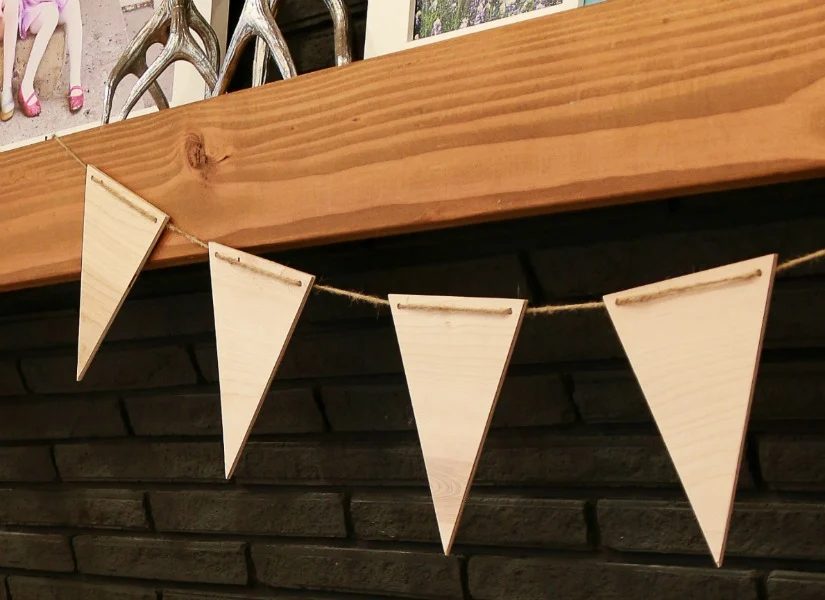
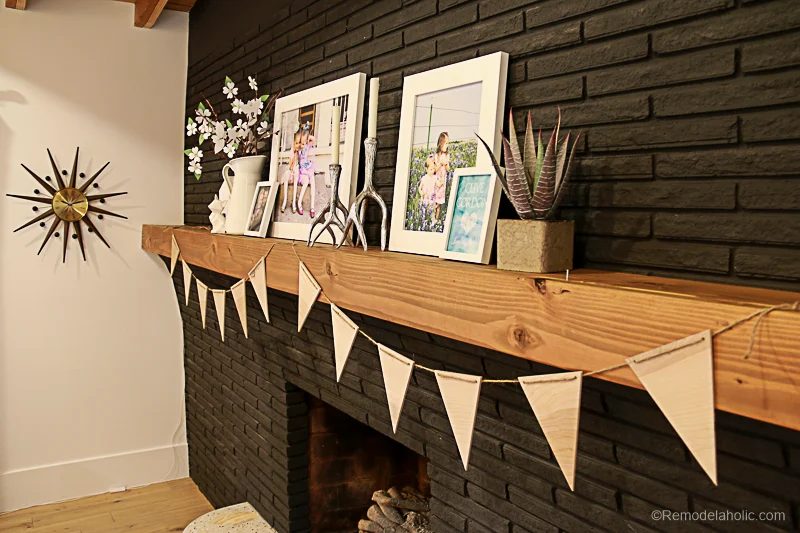
Made from a sheet of thin 2×4 foot plywood, this pennant banner a fun neutral accent to add some interest without taking over, but it would also be so straightforward to further customize with letters or designs using fabric, woodburning tools, paint (like this to still see the wood grain), or stain.
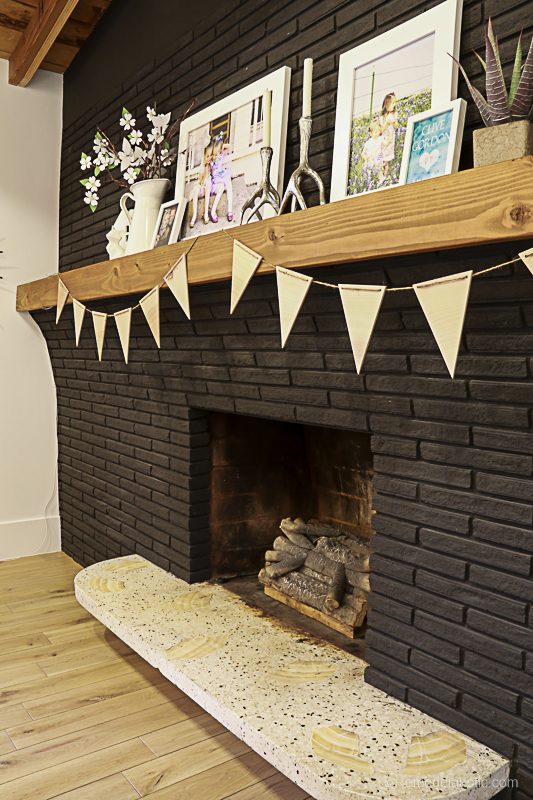
We made ours using a table saw and a miter saw, but you could also easily have the strips cut at the hardware store and then use a jigsaw or circular saw to make the triangular cuts (see our tips for cutting plywood here). Where will you use this cute banner?
How to Make a Plywood Pennant Banner
This post contains affiliate links for your convenience. Learn more and see our full disclosure policy here.
Materials
- 1 – 2′ x 4′ x 1/4″ sheet birch plywood
- Jute twine
Tools
- Miter saw
- Measuring tape
- 1/4″ drill bit
- Power drill
- Table saw
- Pencil
- Palm sander
Step 1
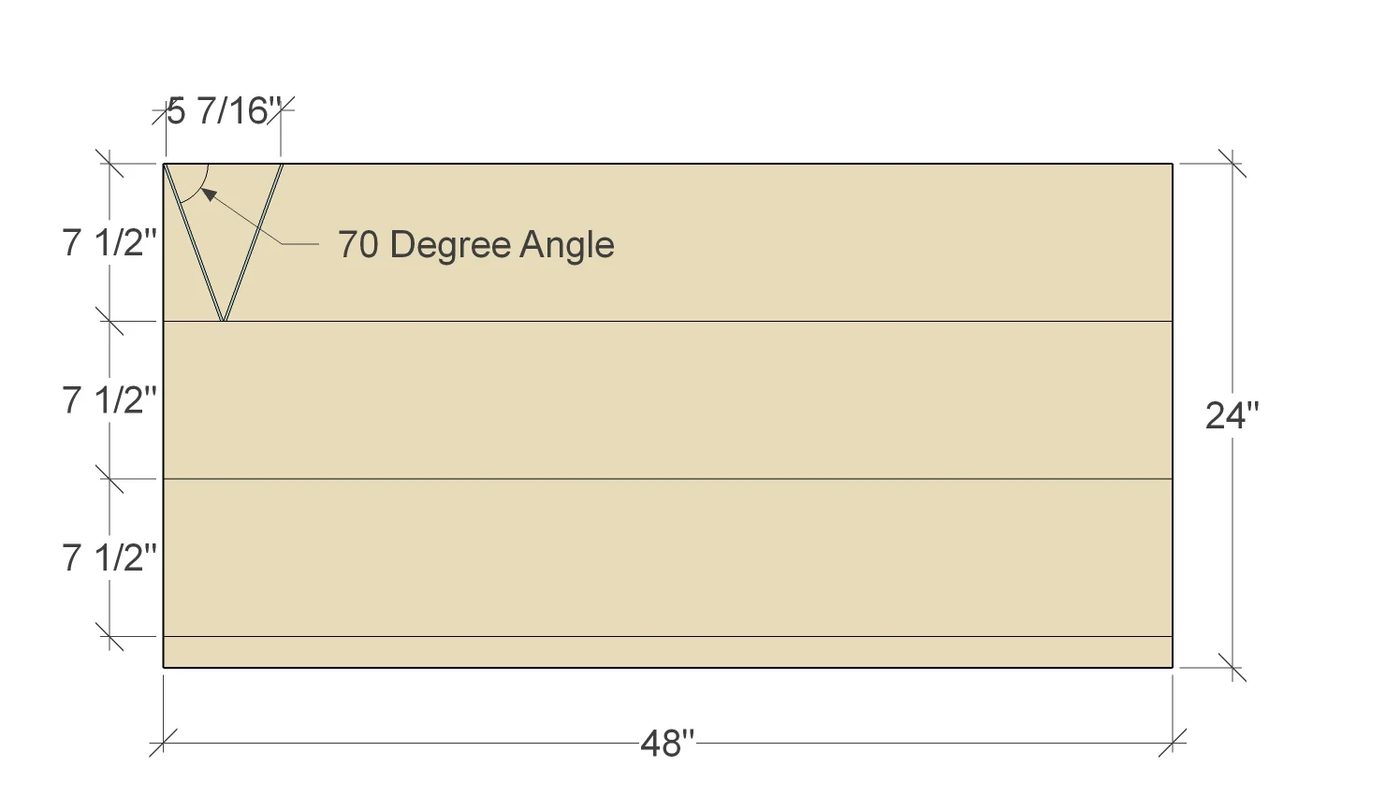
Set your fence on your table saw to 7 1/2″ from the edge of the blade. Rip down 3 pieces lengthwise from the 2′ x 4′ sheet of plywood.
 Step 2
Set the angle of the miter saw to 70 degrees, and clamp a fence in place at 5 7/16″ from the blade.
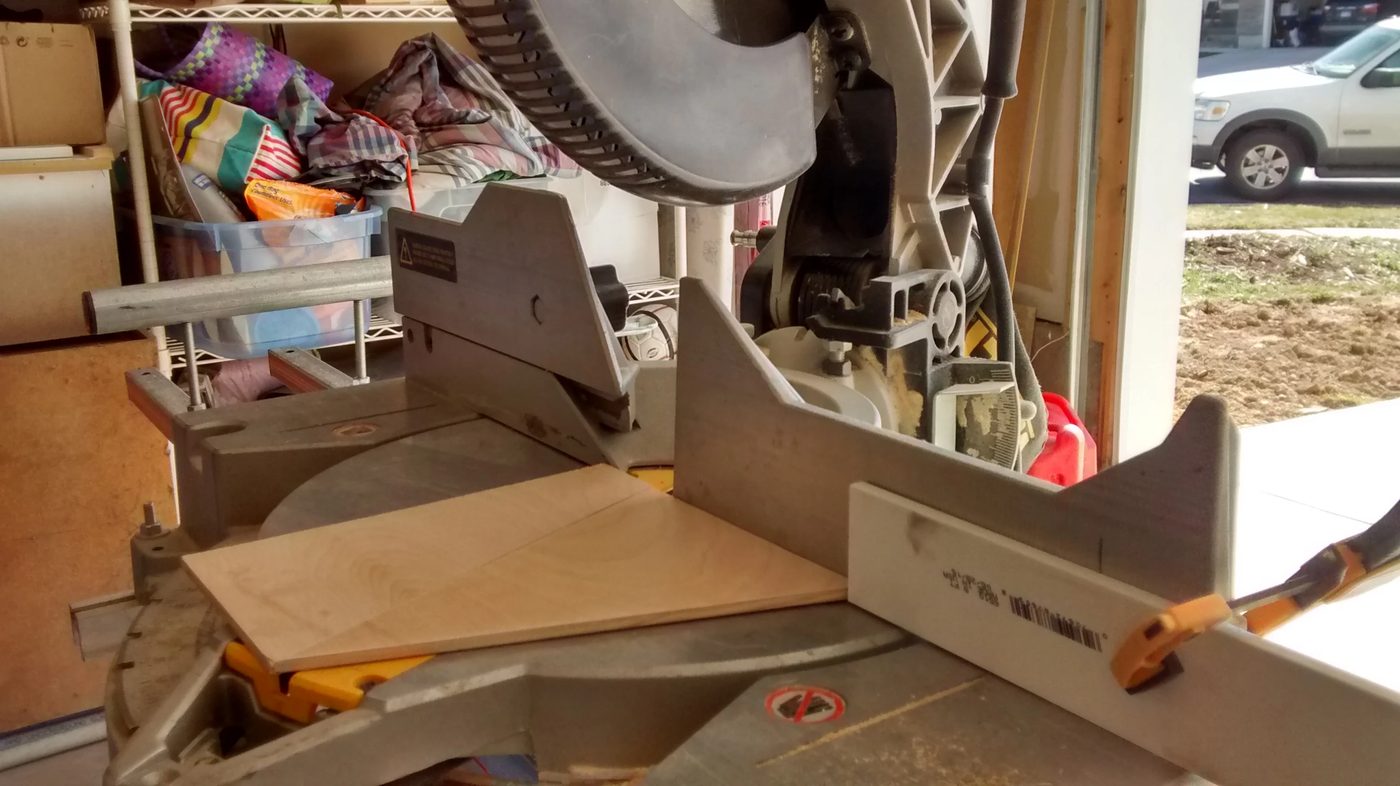
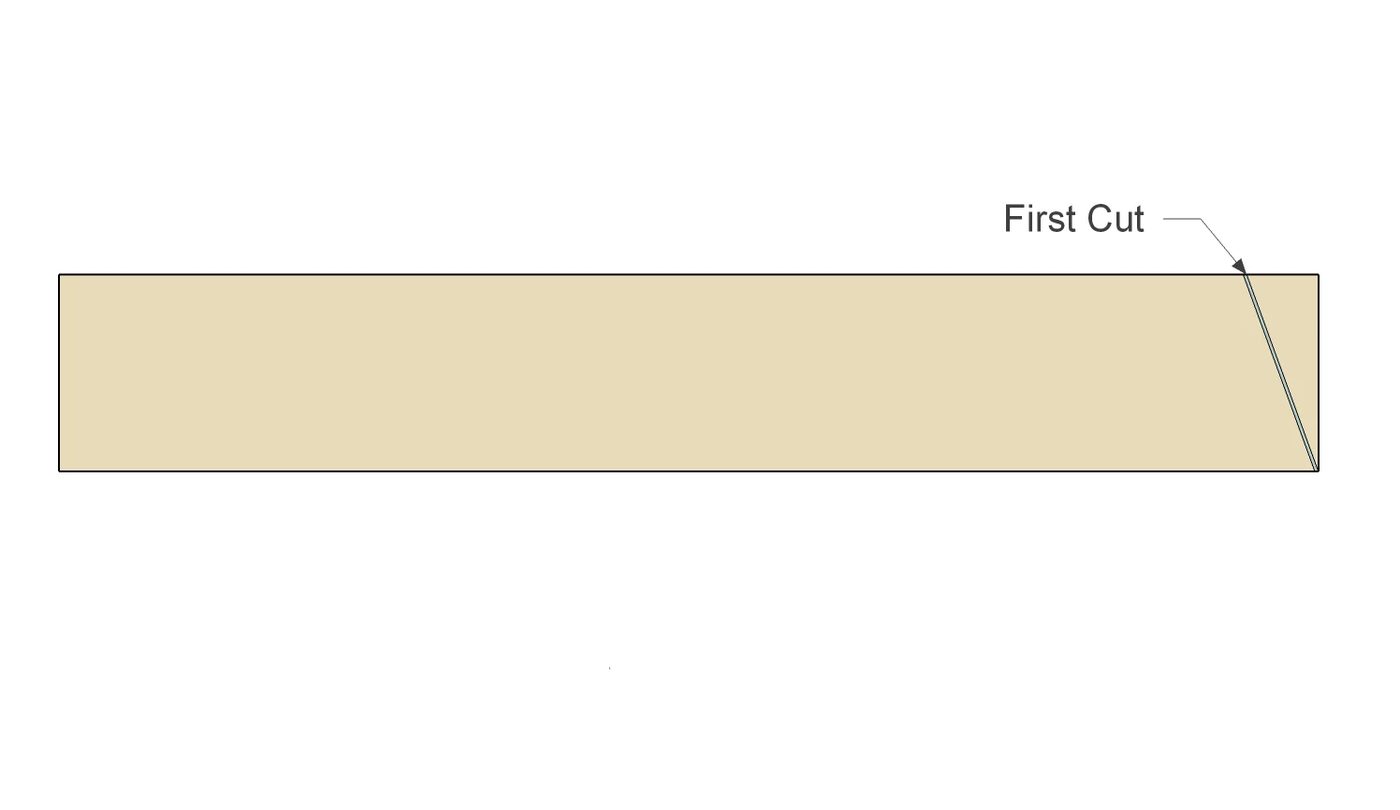
Make your first cut so that the blade cuts across the corner at the front of the blade.
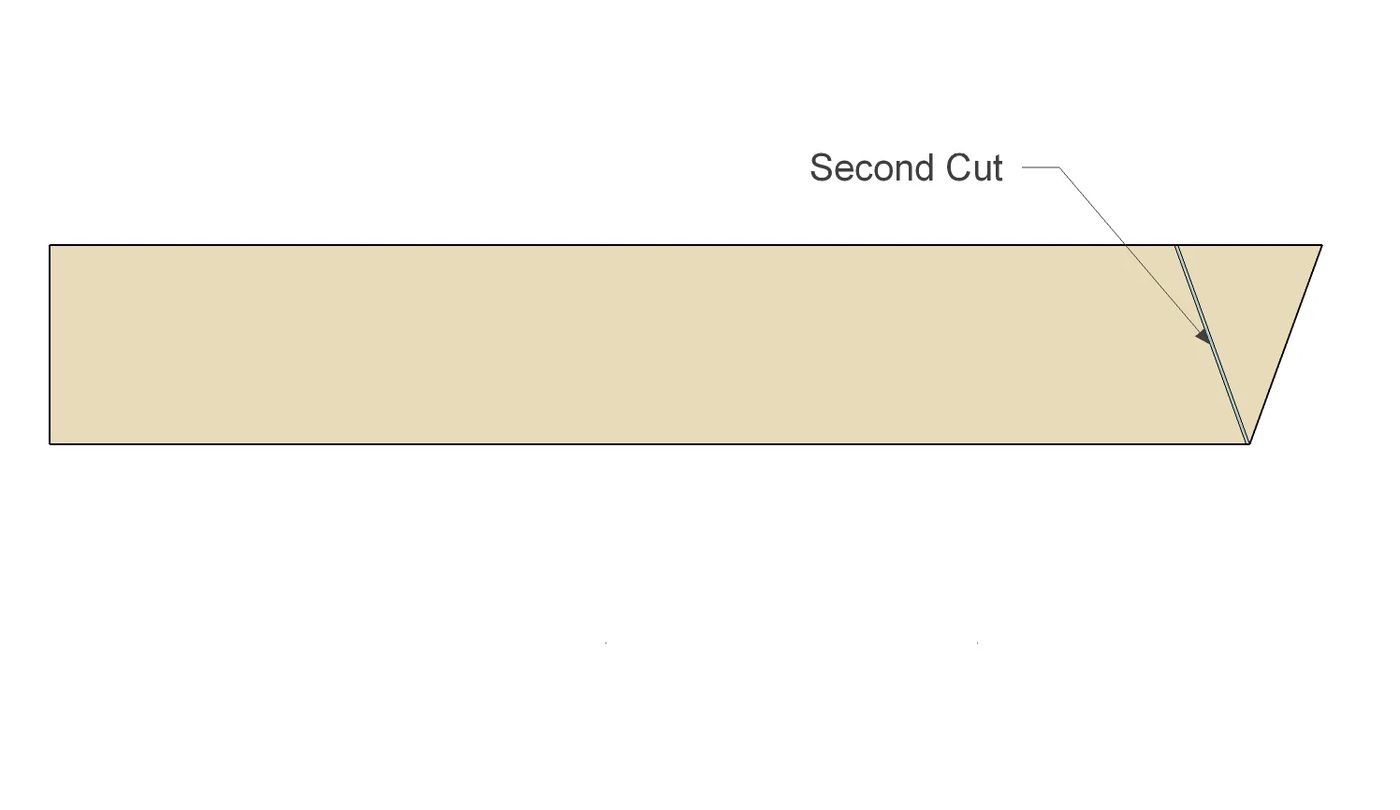
 Next flip the board over and slide until the corner sits against your fence, make second cut. Continue flipping the board over for each cut until you reach the end. Repeat this process for the other two boards. You will end up with 45 pennants.
Step 3
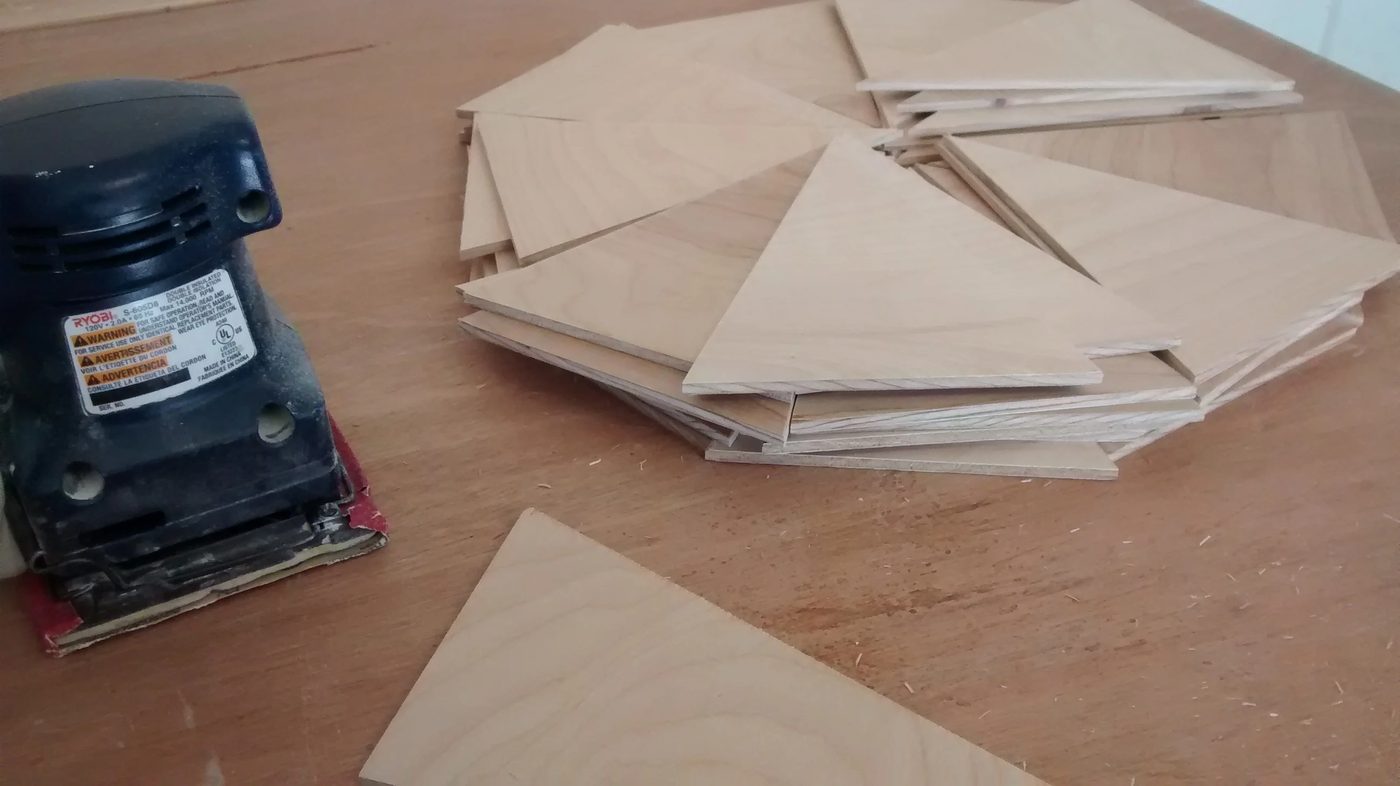
Next you will need your palm sander. Sand all edges until smooth.
Step 4
Create a jig from one of the scrap pieces for drilling holes in pennants. I measured 1/2″ from the corner, and 3/8″ from the top. Then drilled a hole. I stacked 5 pennants under this jig making sure the edges were flush. As you can see the plywood broke on my “jig” where the bit came through. To keep this from happening on your finished project add another scrap piece on the bottom of your stack and clamp to your work table so they don’t shift while you are drilling the holes. Move jig and bottom piece to other top corner of stack, clamp in place, and drill the other hole.
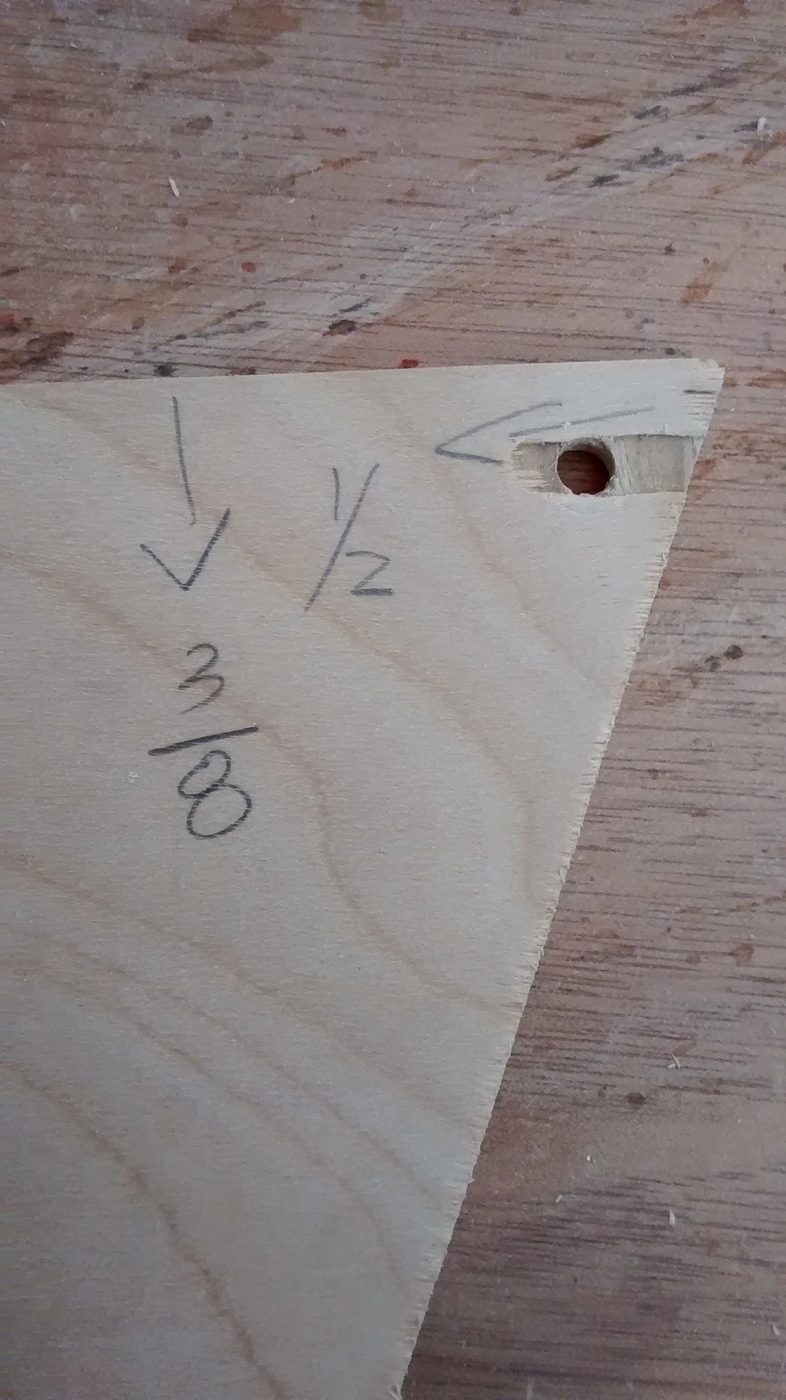 Continue in batches of 5 until you have done them all.
Step 5
String as many pennants as you would like on a piece of jute twine at 6″ intervals. My plywood had a light side, and a dark side. I left the wood unfinished, and just alternated which side was facing forward. You could paint, stain, or glitterize these to match your style!
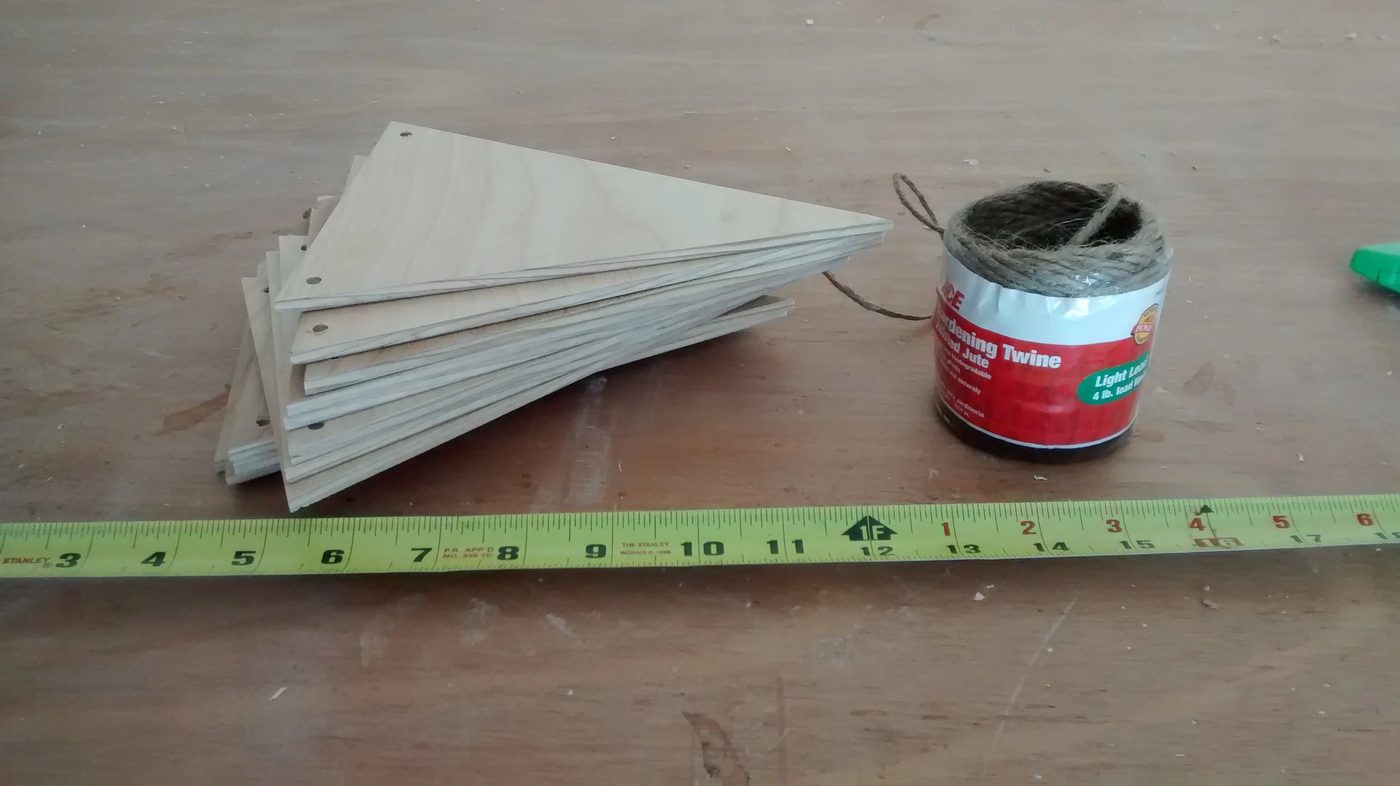
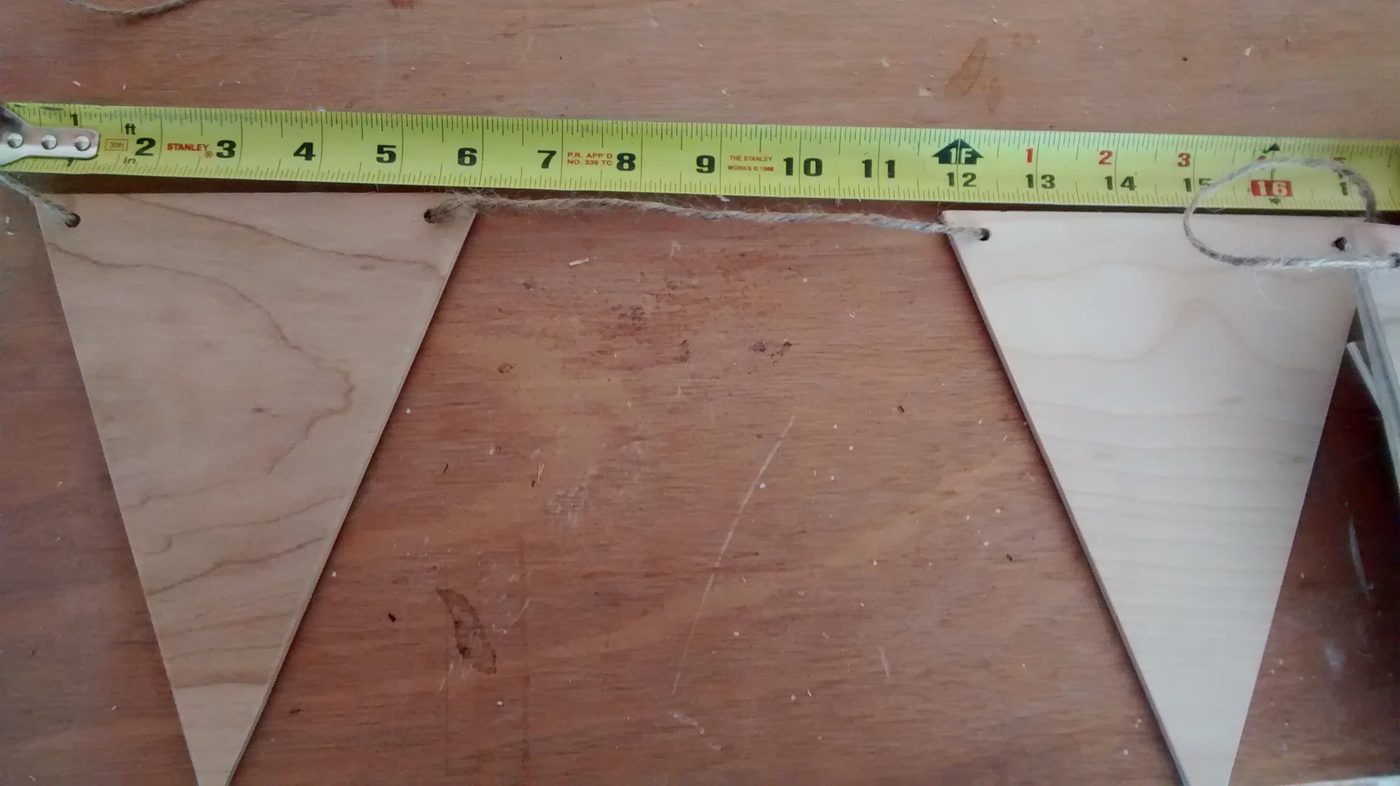
Then hang it on a mantel, wall, shelf, window… you get the option. Enjoy!
See all of our Plywood Pretty posts here, and be sure to subscribe by email or RSS and follow along over on Facebook and Instagram with #PlywoodPretty so you won’t miss any new tutorials!