This makeovers walkthrough stays in the order the work happens.
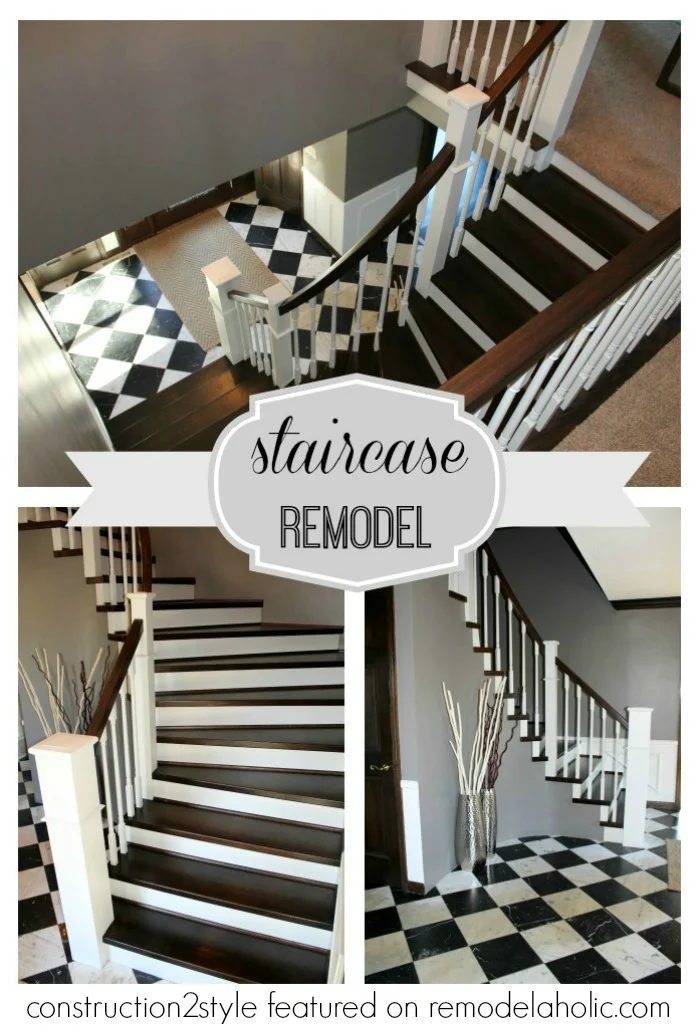
 When you’re redoing a staircase, there are so many levels and styles you can go with. We completely remodeled our staircase, including making a new newel post:
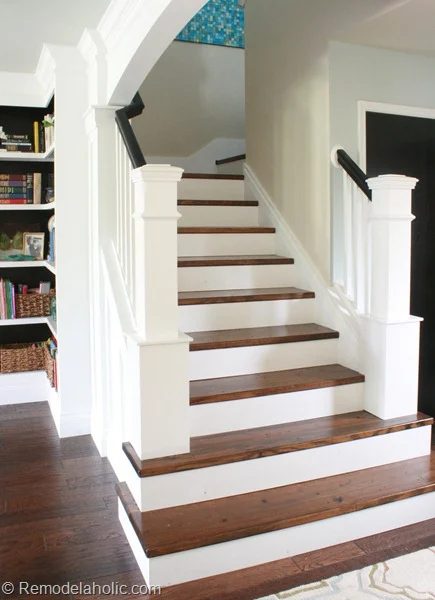
And we’ve shared some of our go-to stair remodels here, too:

But a stair update doesn’t have to be a total renovation. You can update just the banister by using gel stain:
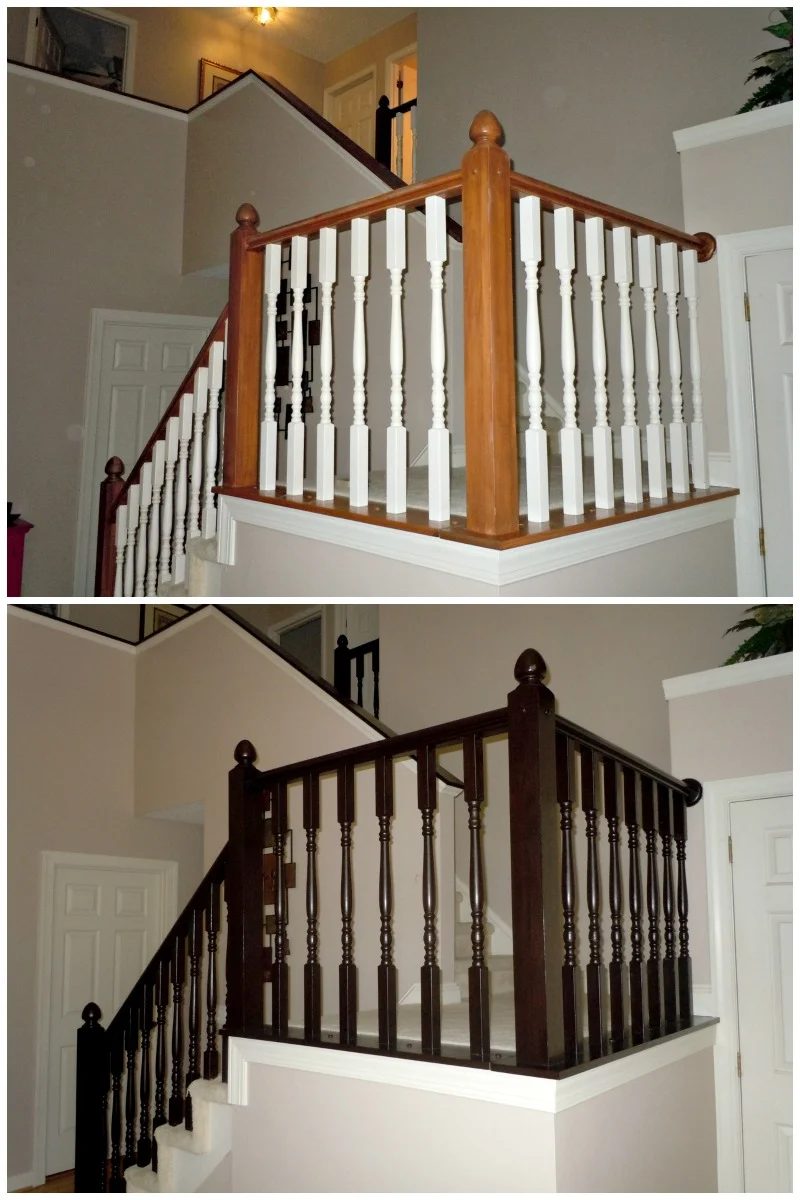
and/or paint:
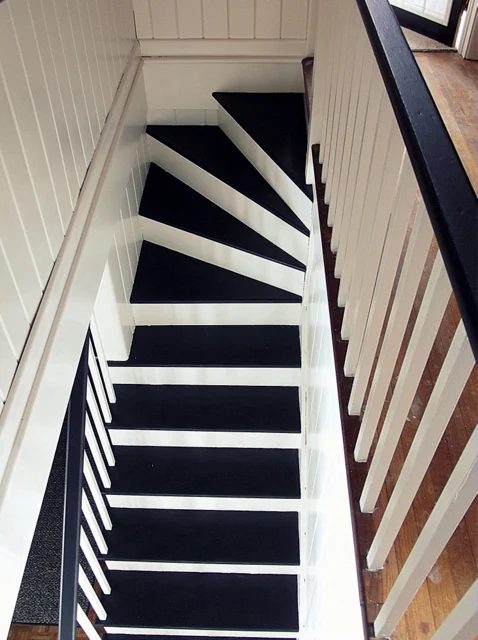
or by adding a carpeted runner:
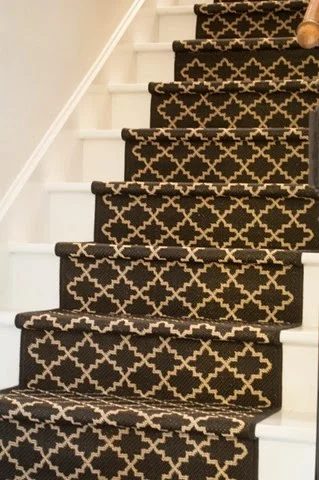
So now that your head is swimming with options and you’re itching to go start pulling carpet off your stairs… here are Morgan and Jaime to talk about how they redid their stairs, including the challenges of dealing with a curved staircase and banister.
Curved Staircase Renovation
by Morgan and Jamie of Construction2Style
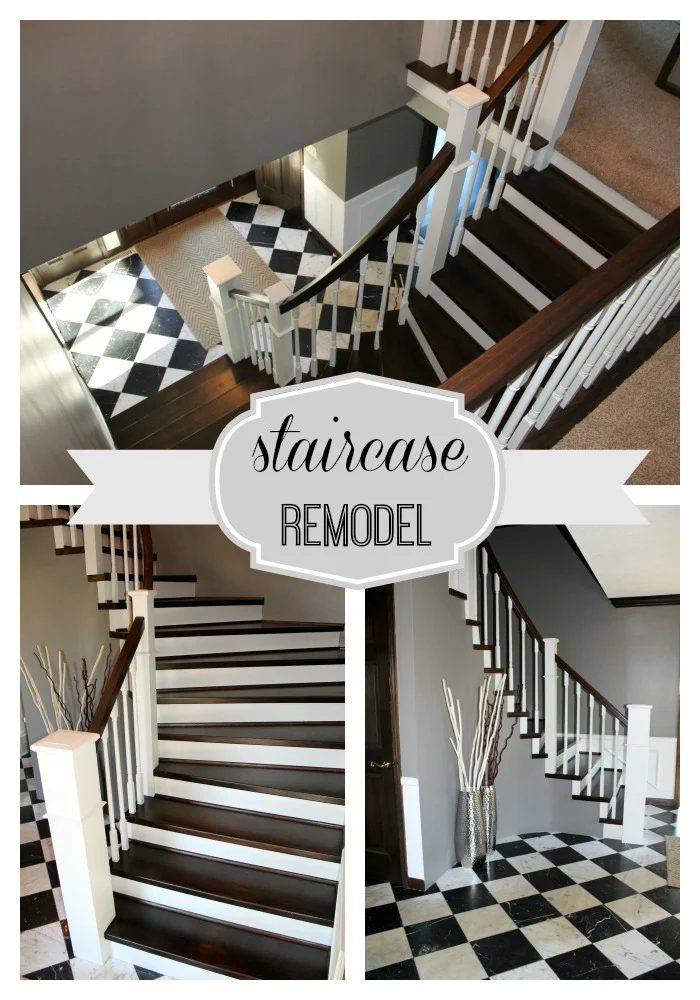
As always, a big THANK YOU to Cassity and Justin for featuring us again! We are so excited to be sharing our full staircase renovation with all of you!
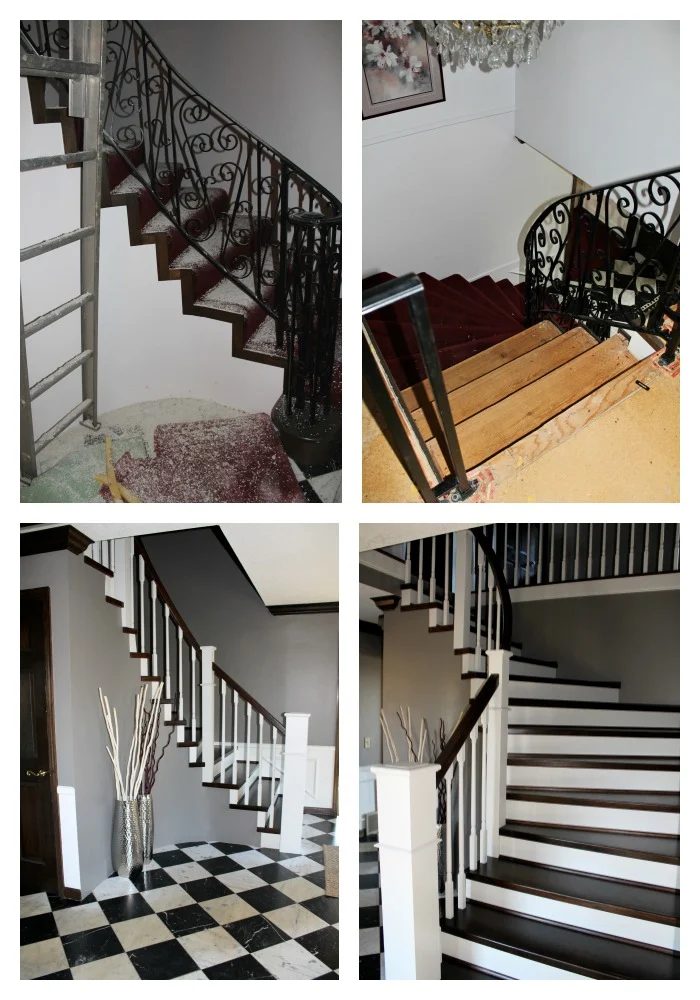
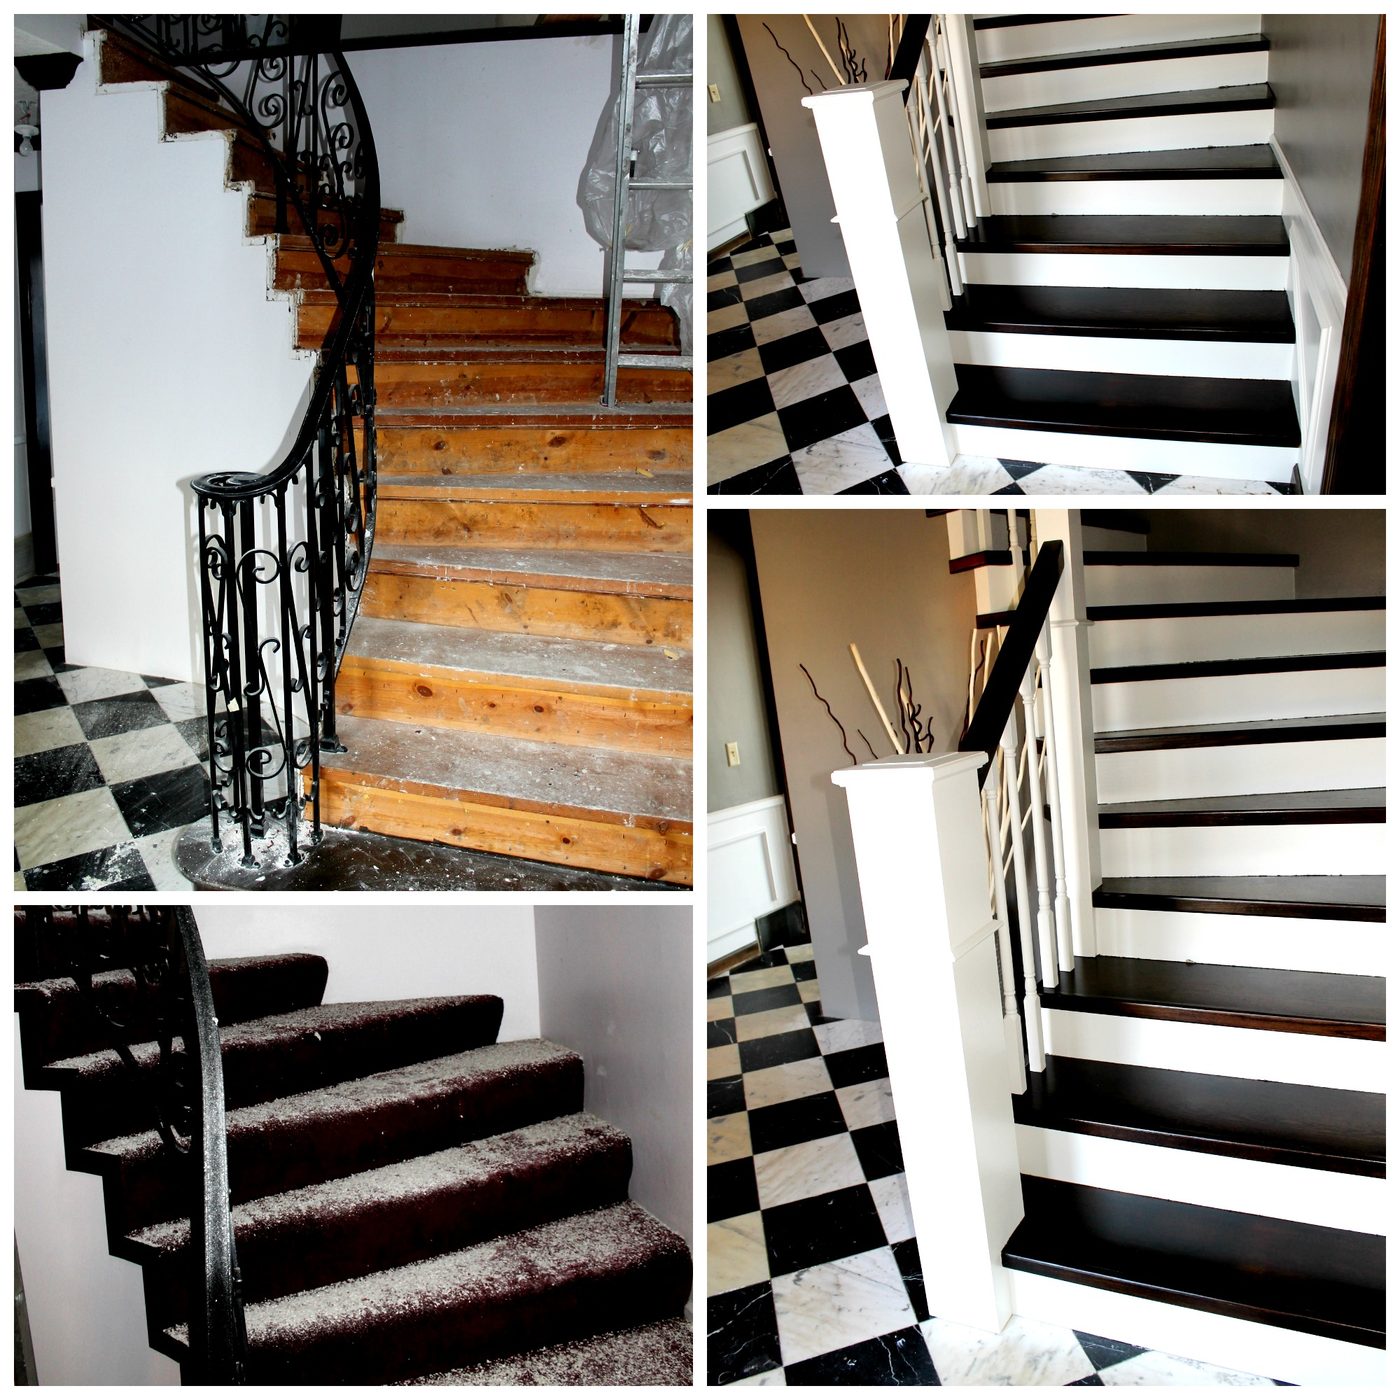
We knew this outdated stairwell had a ton of potential when we first toured the home. When you walk into our house, the first thing that you see is the staircase. So we knew we really had to make it stand out! As you can see the former staircase had dark maroon carpet with a black wrought iron handrail.
First thing first was tearing up all of the old carpet. Let the demolition begin!
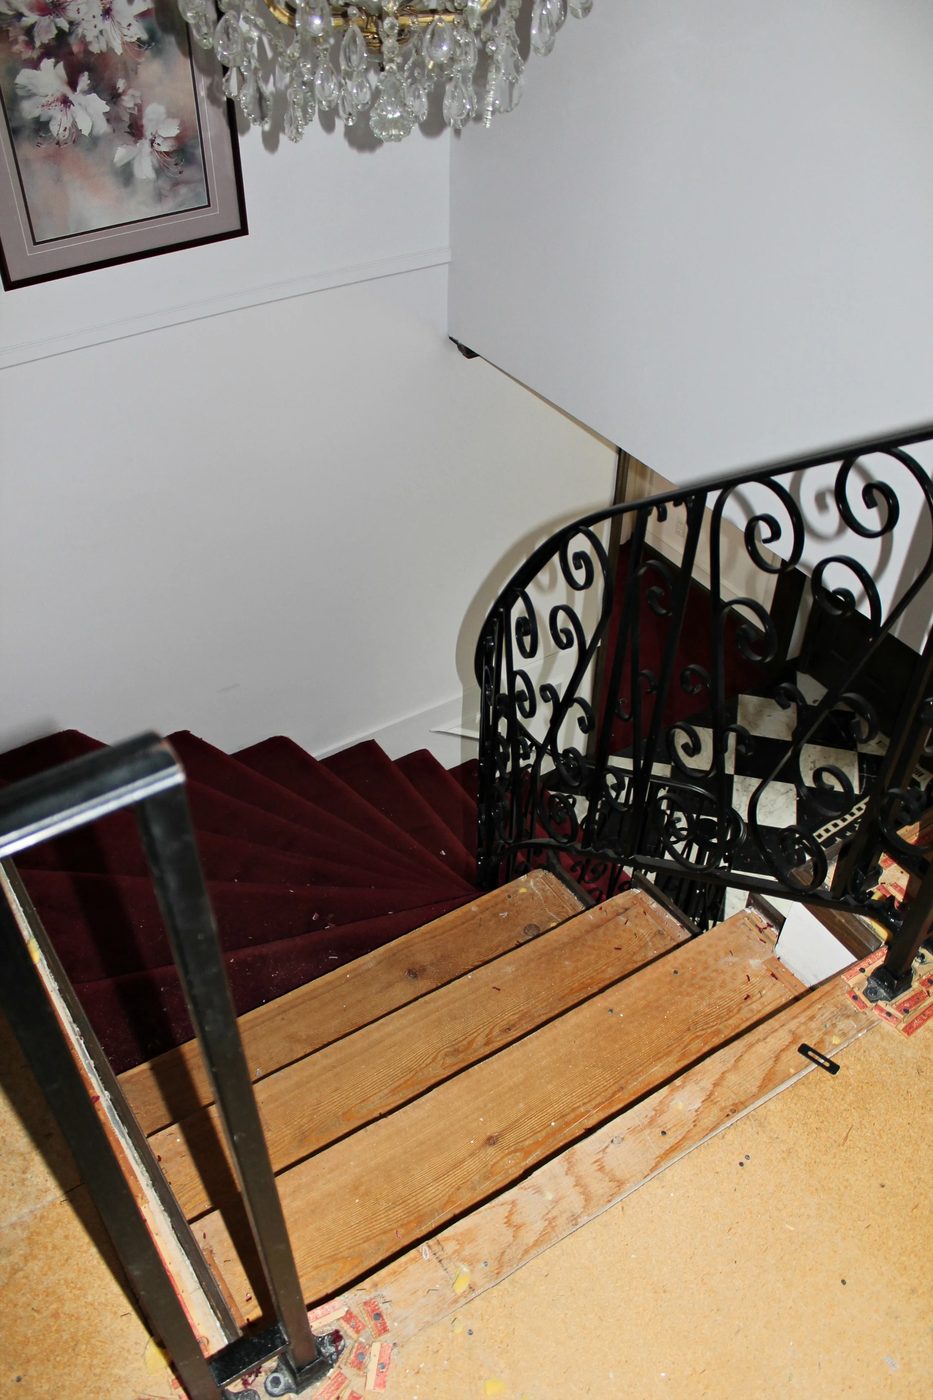
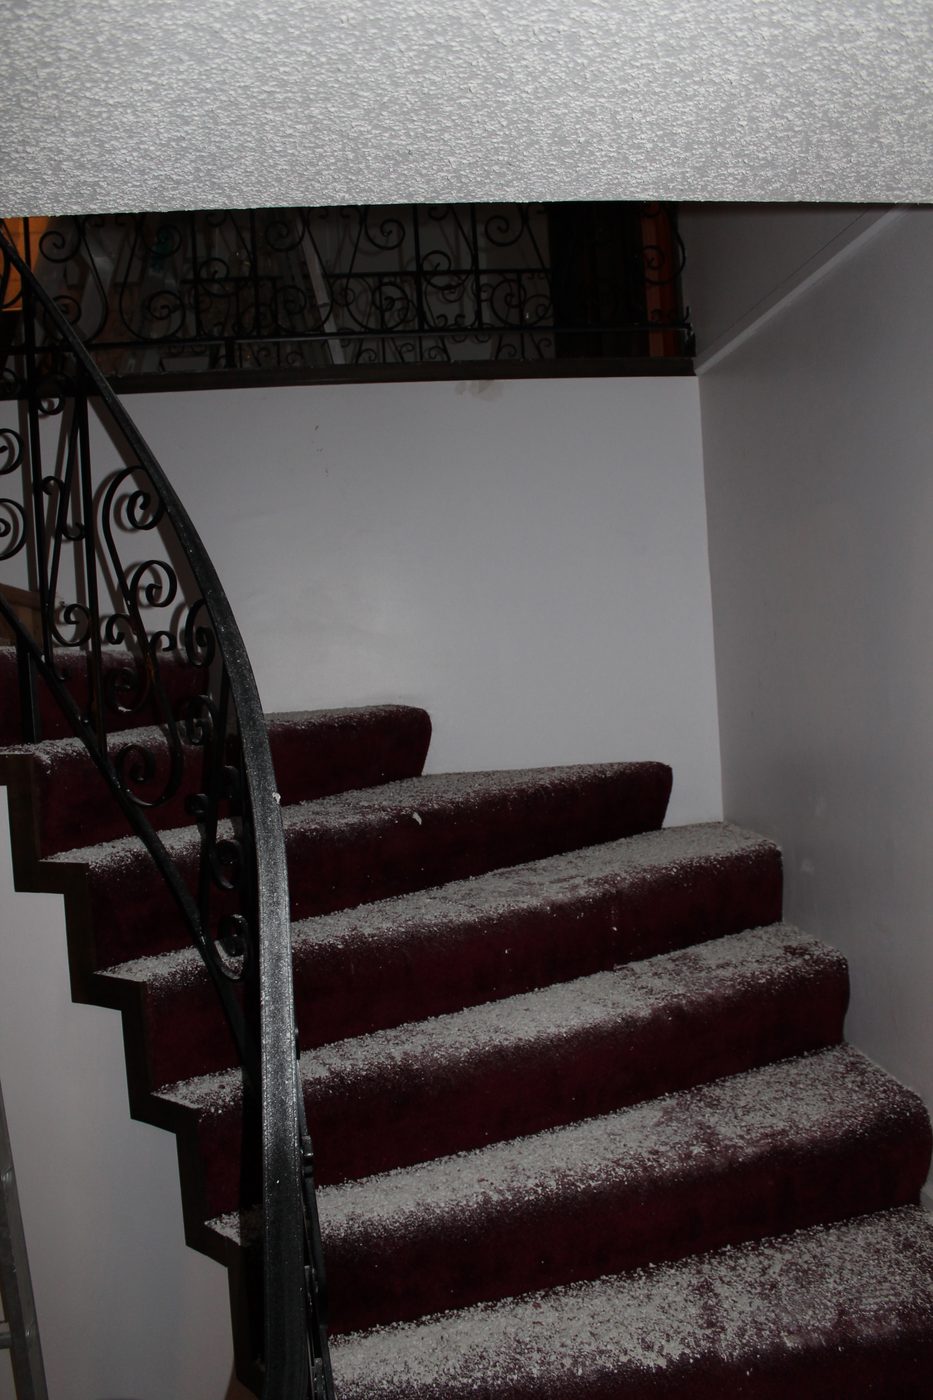
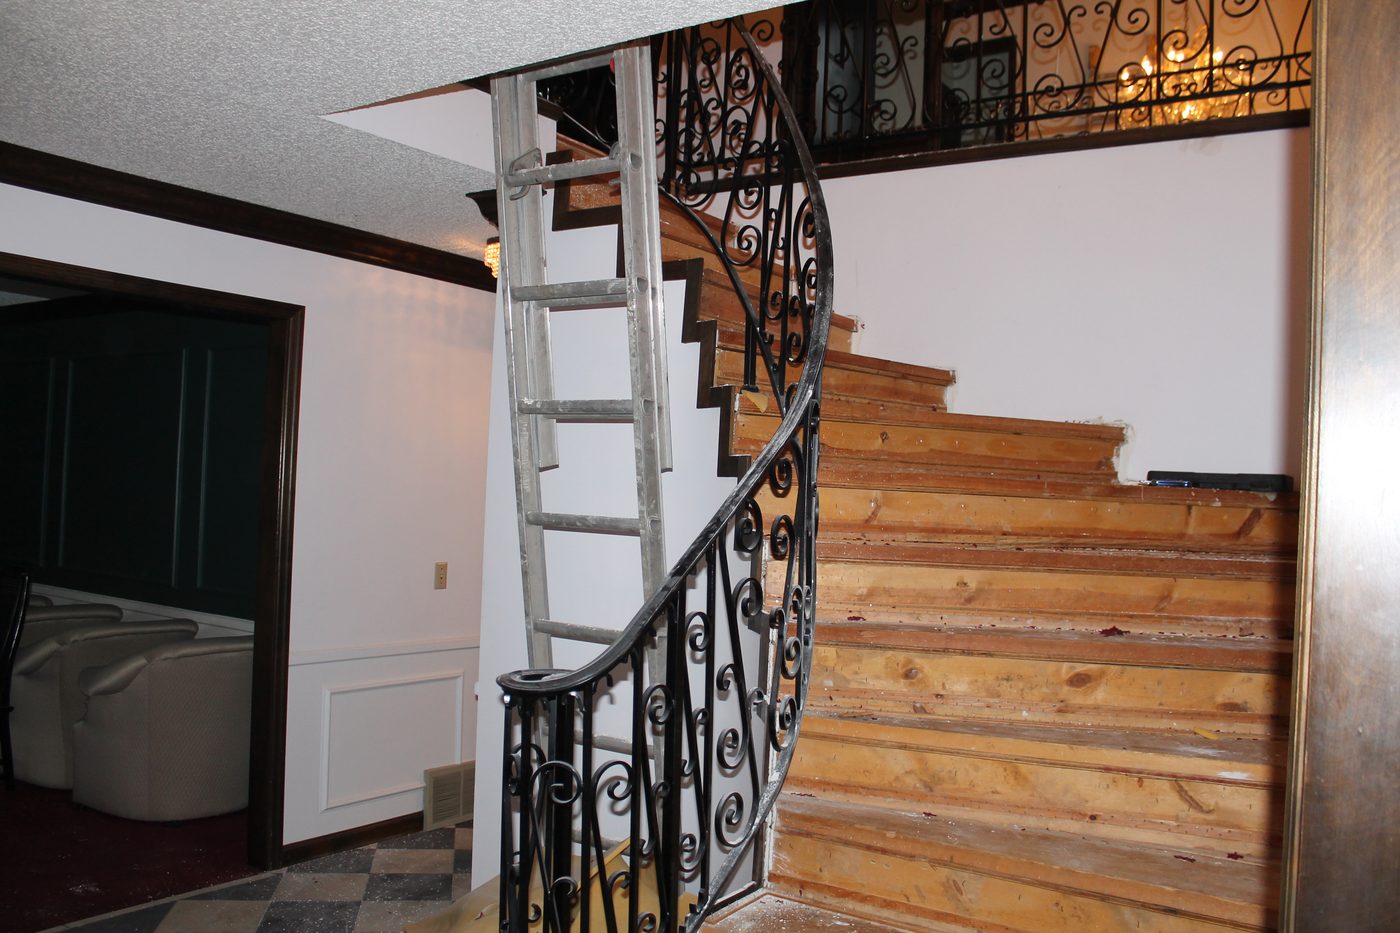 Originally, when we first purchased the home, we weren’t entirely sure what we wanted to do with the staircase. But as we mentioned being the staircase is the first thing you see when you walk into the house we wanted it to be a WOW feature! We were debating between having dark wood treads with white handrails, mixing the dark and light, and/or having carpet down the middle of a wooden staircase.
Once we got the carpet torn up, we removed the handrail. Jamie took an electric saw and cut apart the rail in pieces. We actually didn’t mind the look of the wrought iron handrail, but it wasn’t in good or safe working condition. Luckily, we were also able to salvage some good pieces of the handrail and use it at Jamie’s grandma’s.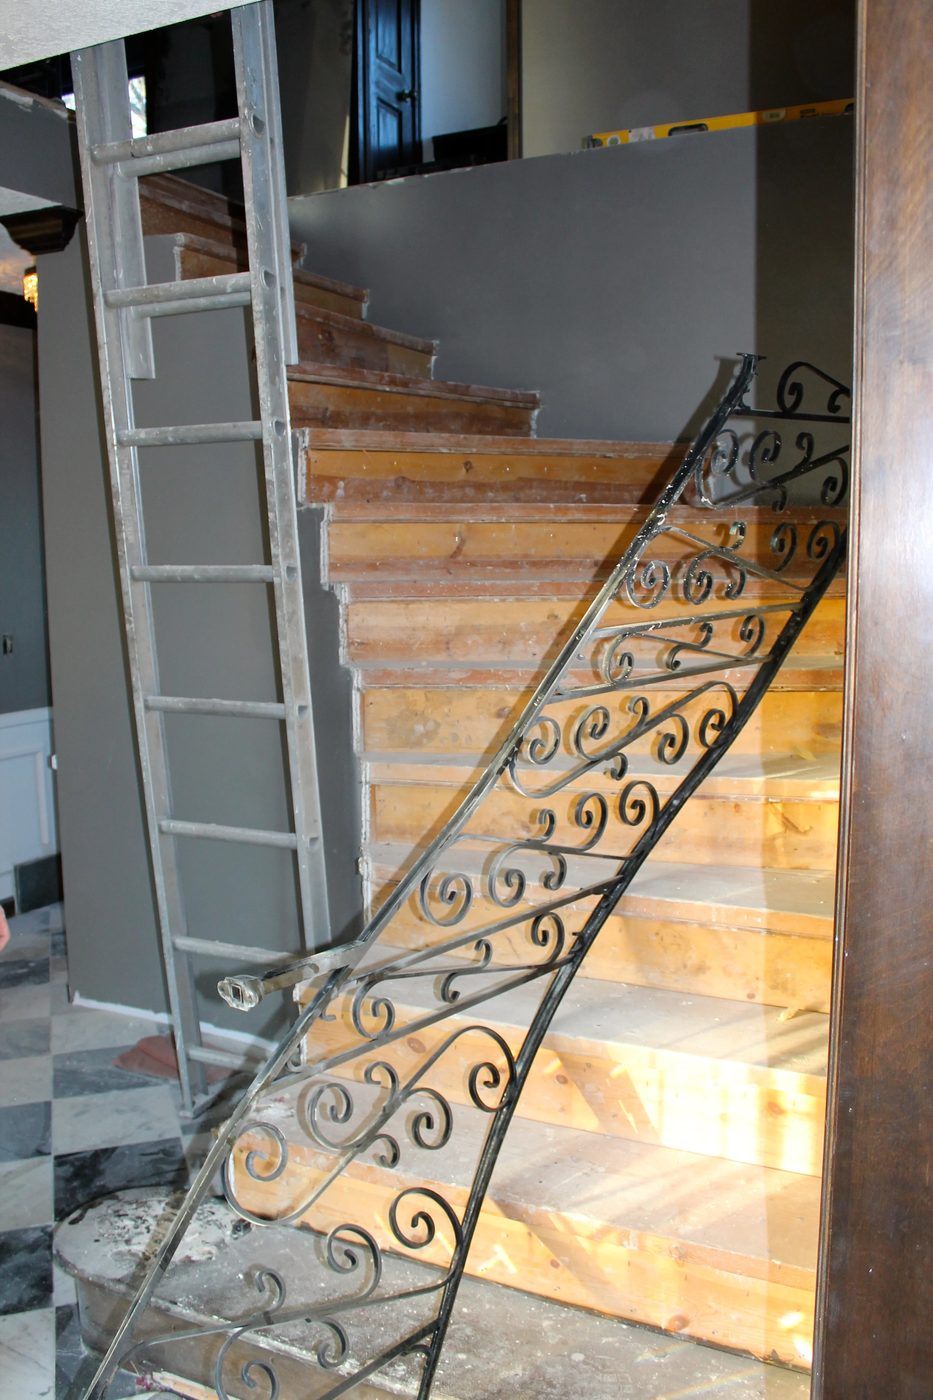
Once the carpet had been torn up and the handrail was removed we had to come up with a game plan of how we wanted this staircase to look.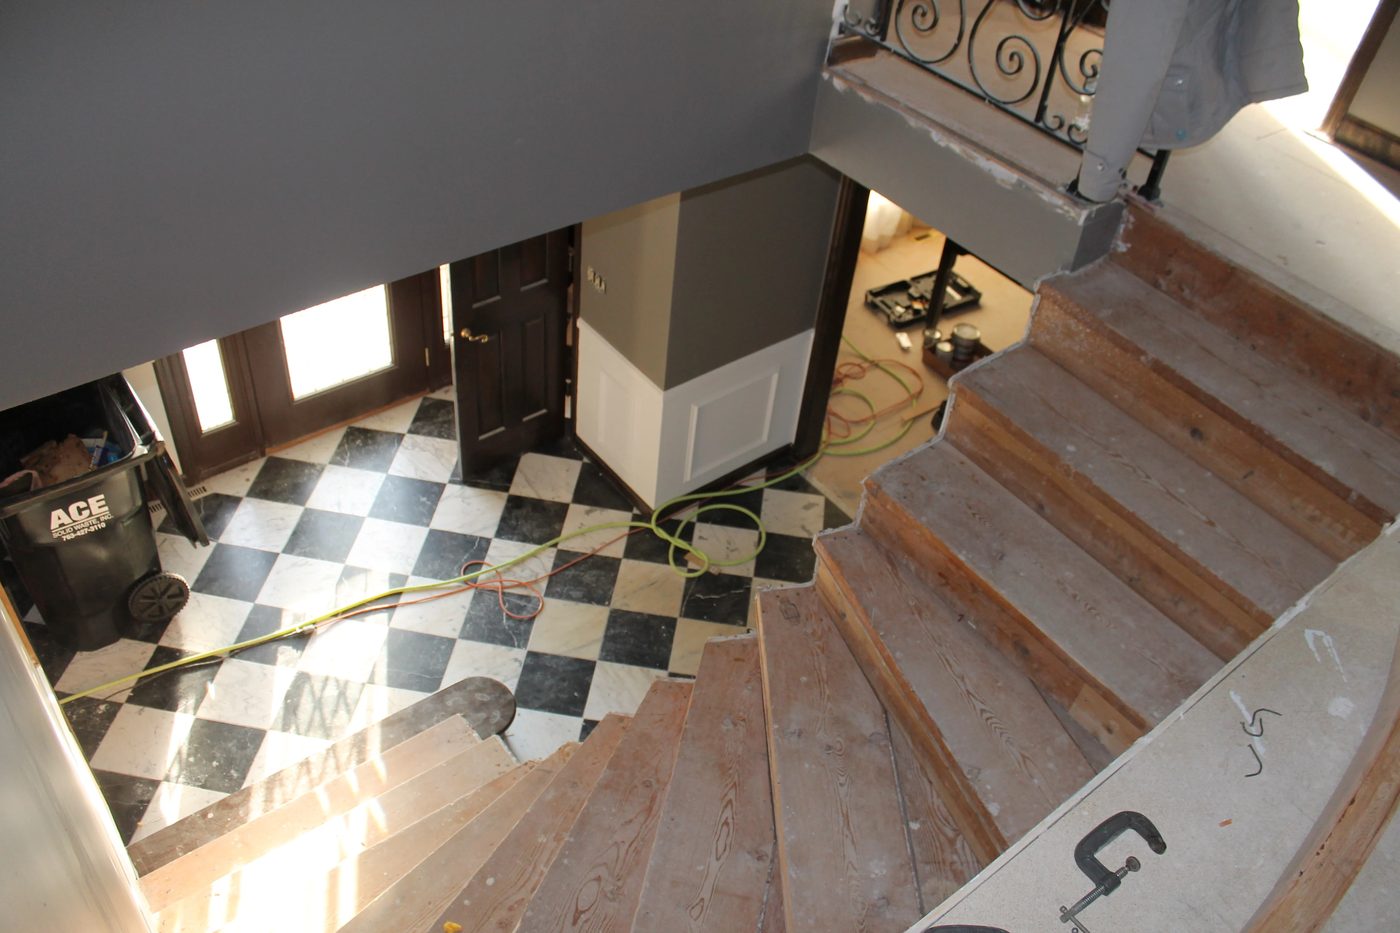 Jamie knew he was going to build his own handrail, he just wasn’t sure exactly on how he was going to do it. We ended up deciding to have a few posts placed within the stairwell with spindles all the way up. The tricky part was going to be how to make the middle curved piece of the handrail.
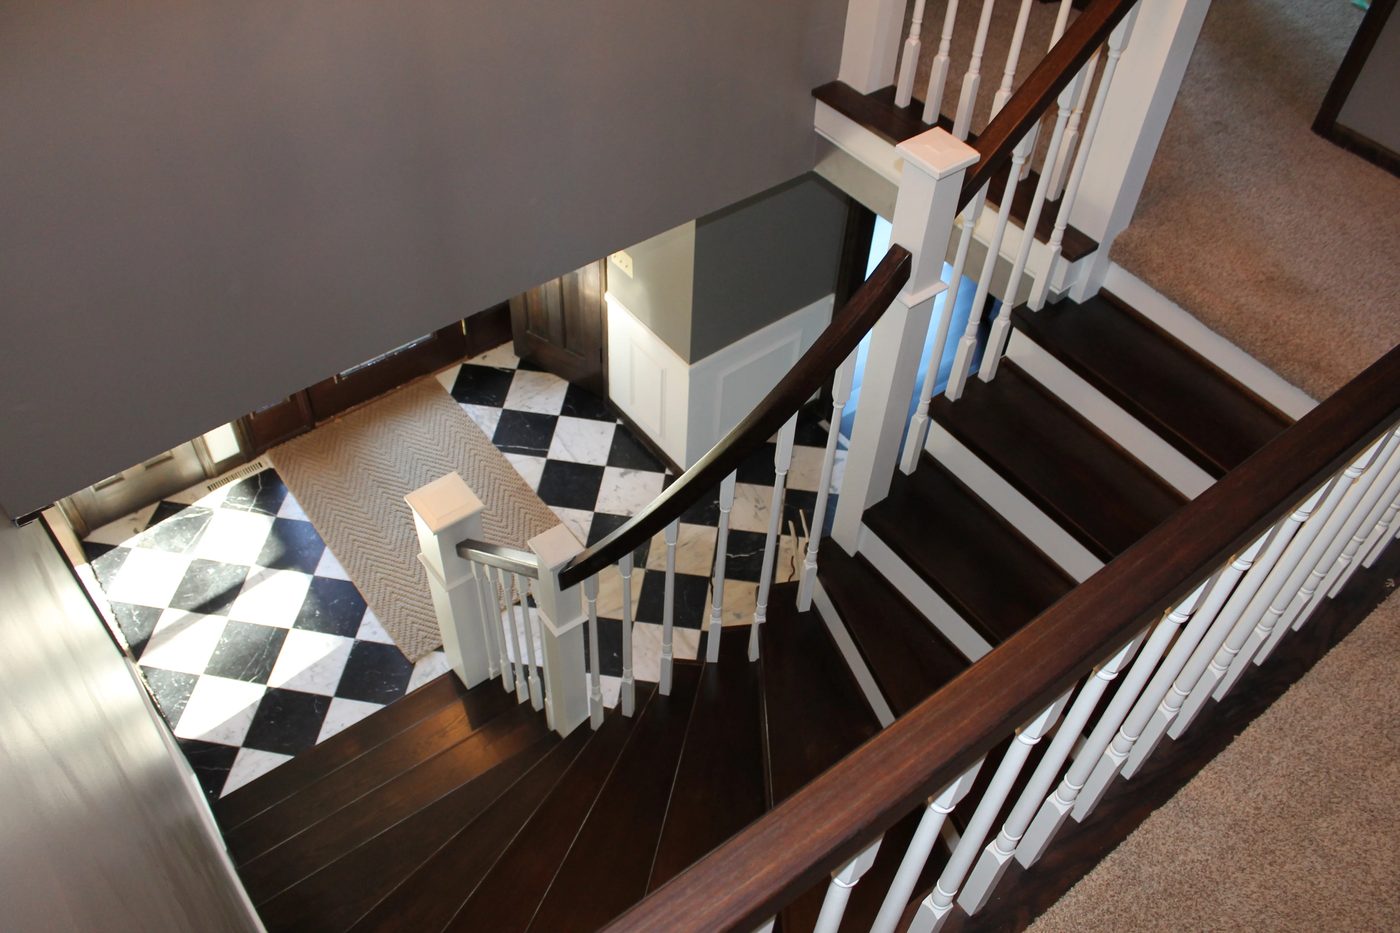
After a few different attempts at creating a curved handrail, Jamie ended up taking a few pieces of thin cut oak and gluing them together. He placed 2×4 wood blocks on the treads of the stairs for support and temporarily screwed them into the stairs. He then bent the wood so that the handrail was leveled and used c-clamps to hold it into place. He let the rail sit in place for 24 hours so the glue would dry and the wood could warp.
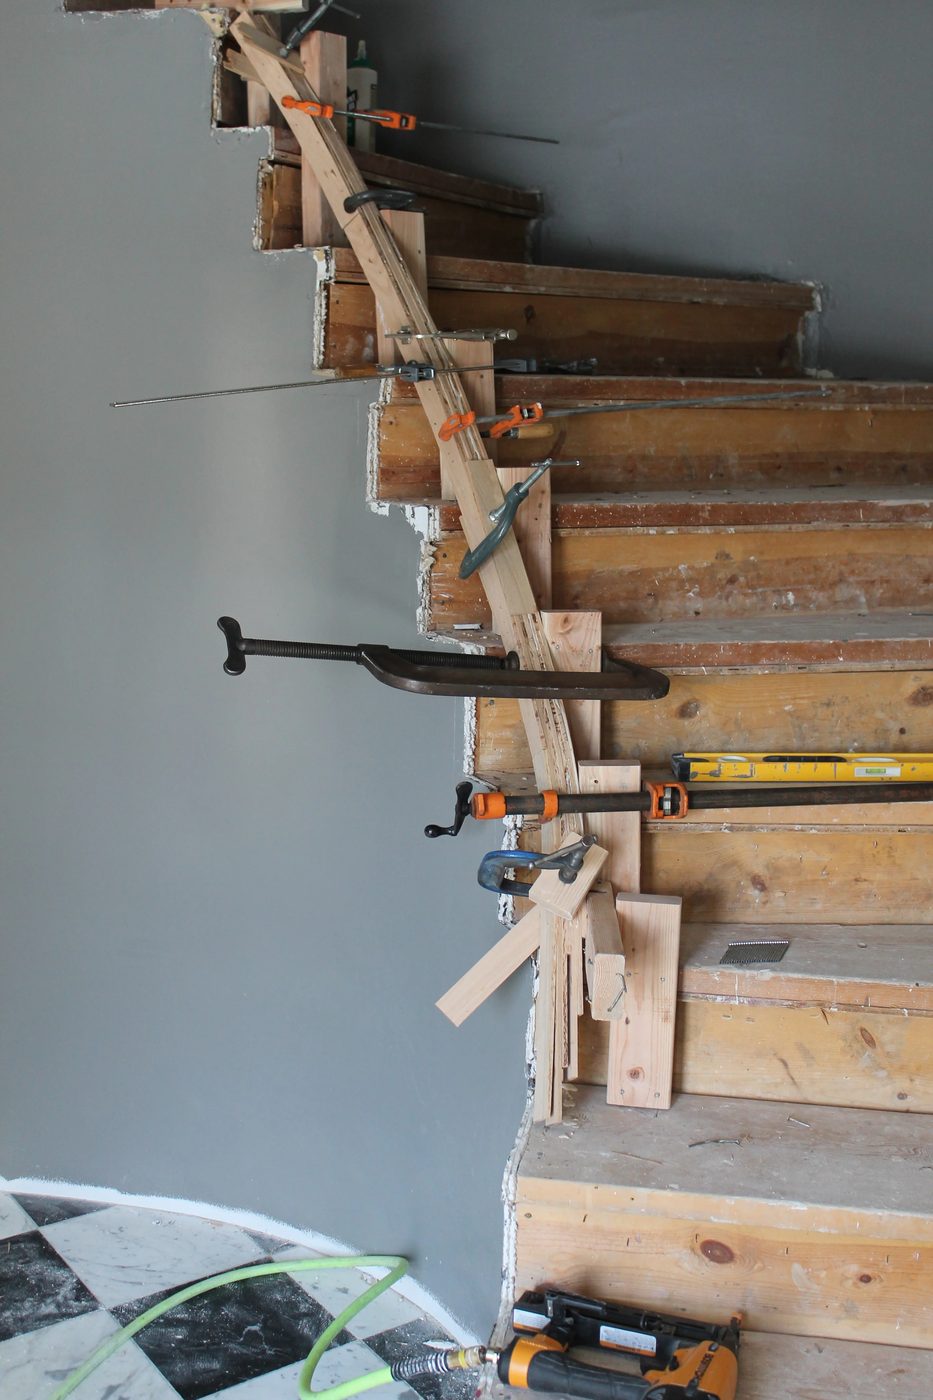 Once the handrail was warped into place he removed the handrail and the wood blocks that he had screwed into the staircase to support the rail. The new curved rail needed some sanding to shape in evenly. He was then ready to build the treads.
We used oak veneer plywood and cut and placed the pieces over top the stairs and nailed them into place.
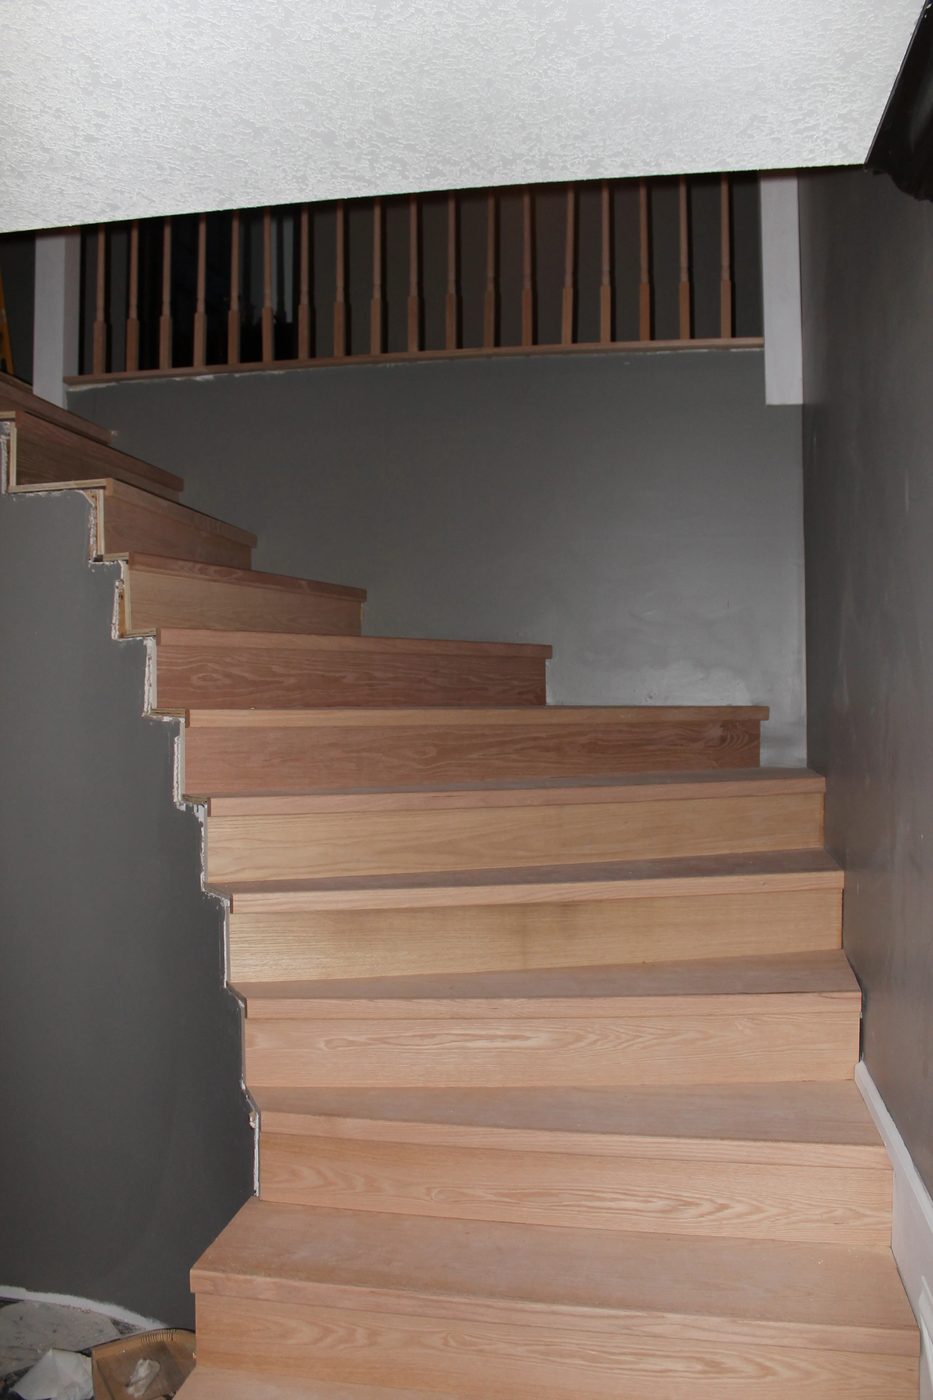
Once the new oak treads were in place we had to secure the posts.
Jamie placed wood backer blocks into the stairs. He then glued and nailed the backer blocks into the middle of the posts. The bottom post and stair nose had to be cut so the rail would line up to the end of the stairs.
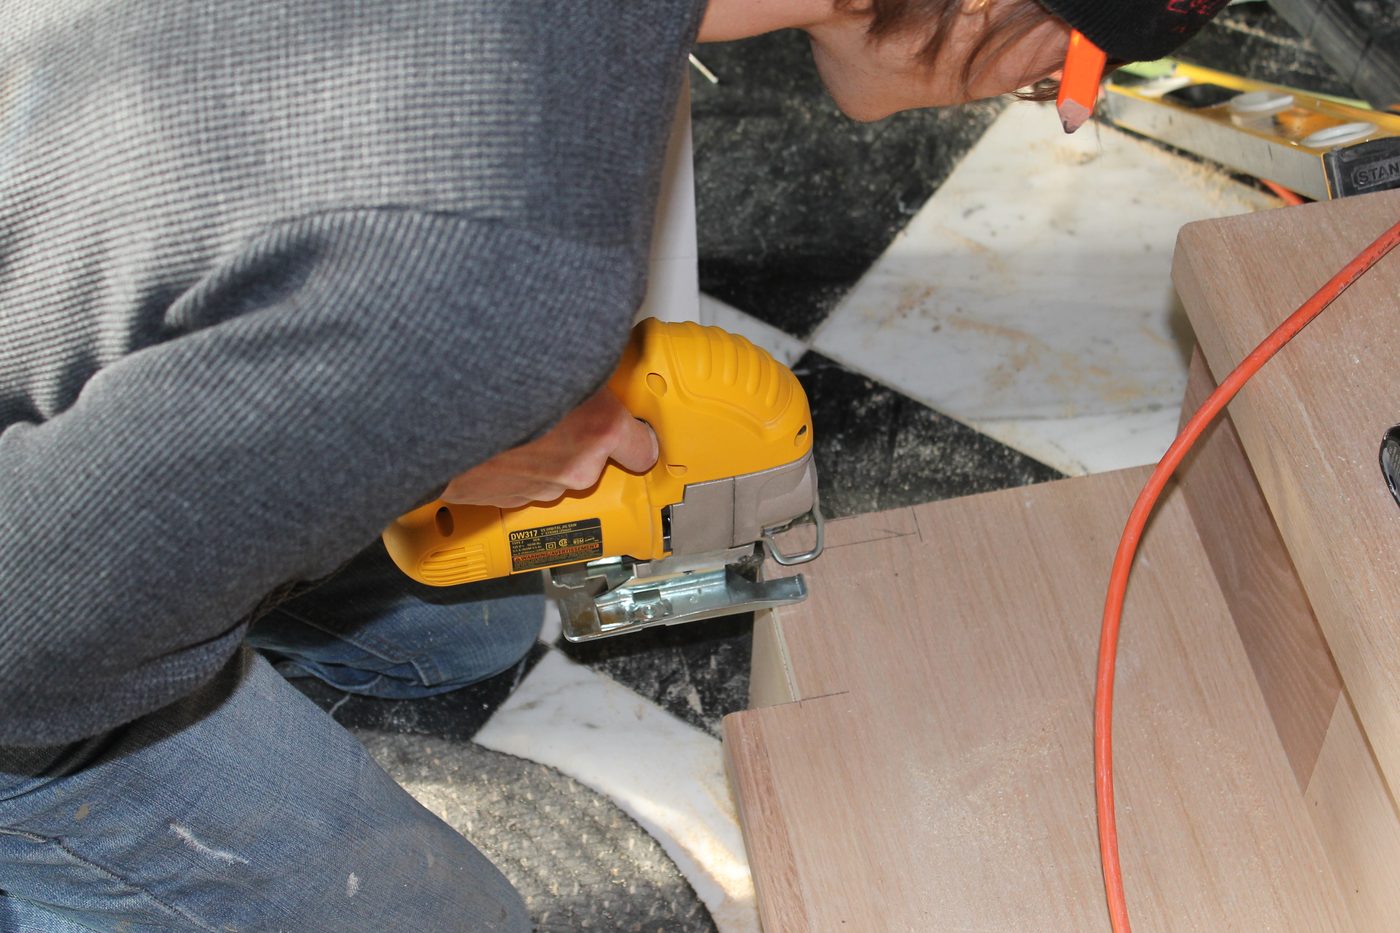
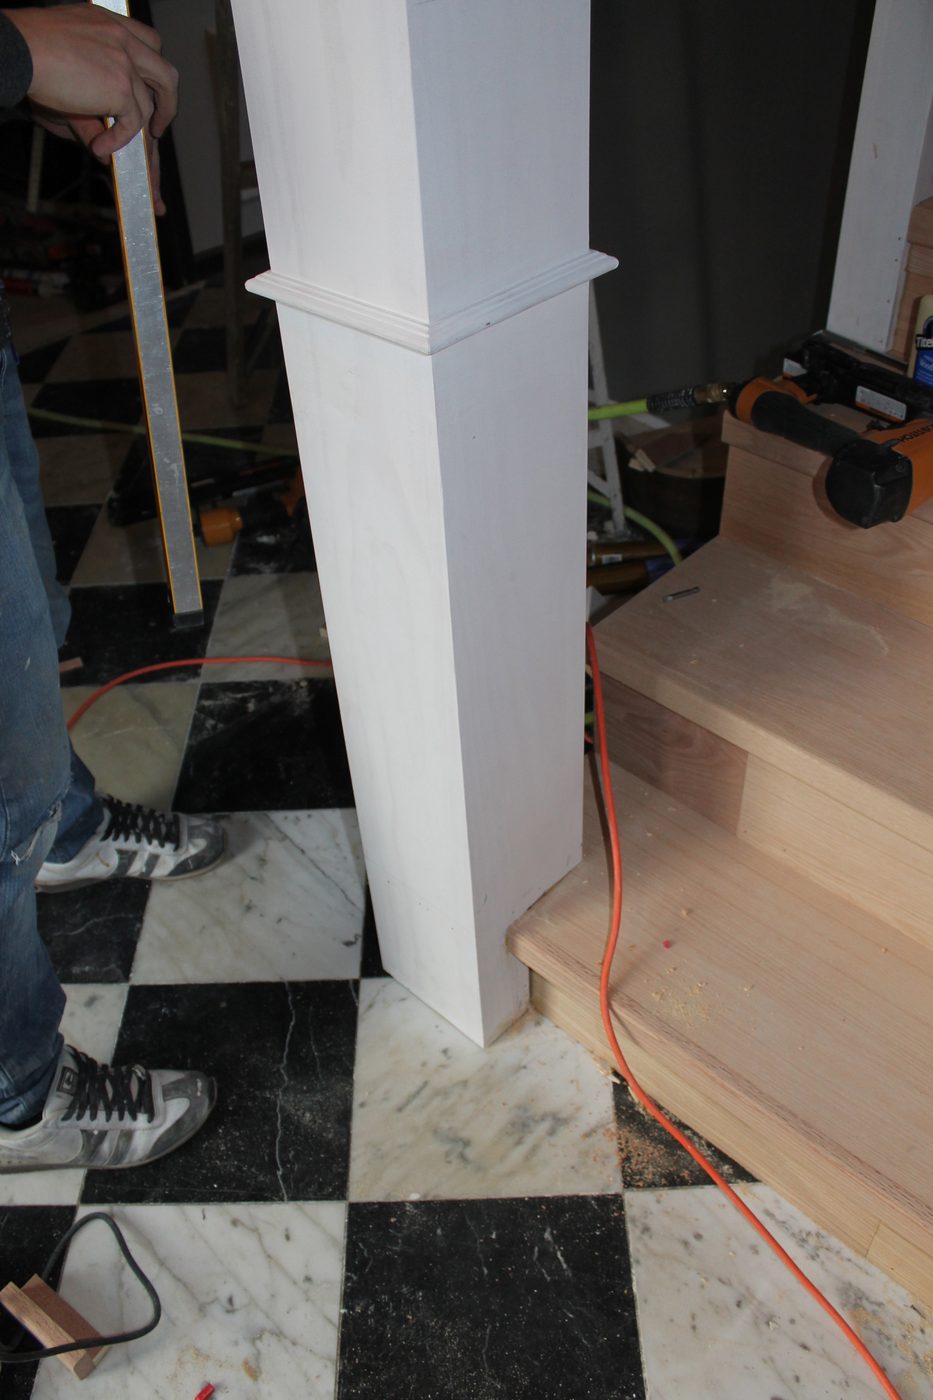
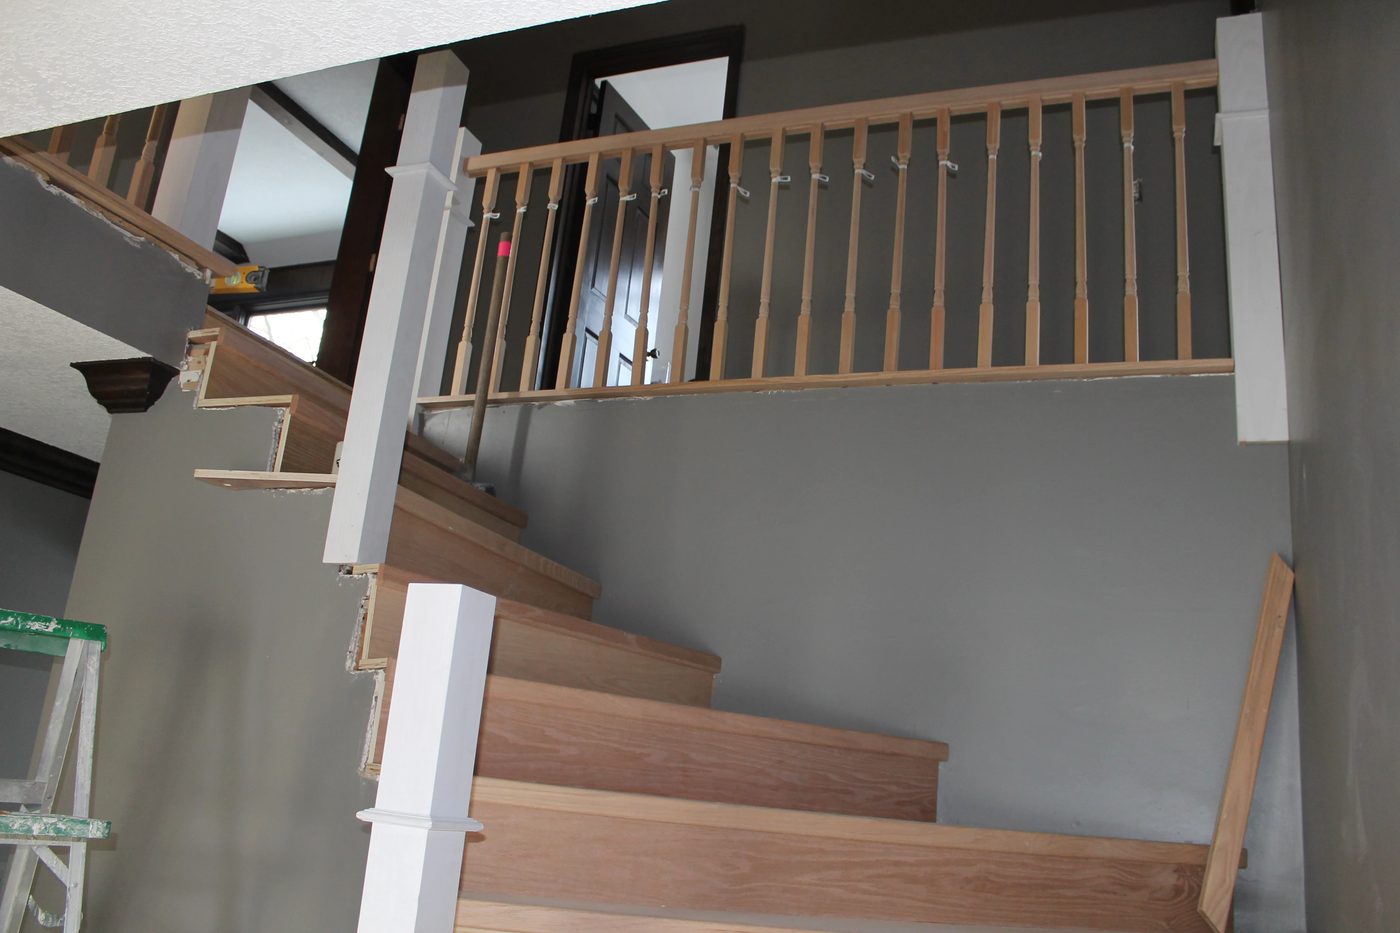 Once the posts were installed we glued and nailed in the handrails. Each end of rail also has a lag bolt hidden in the post to firmly secure the rail in place.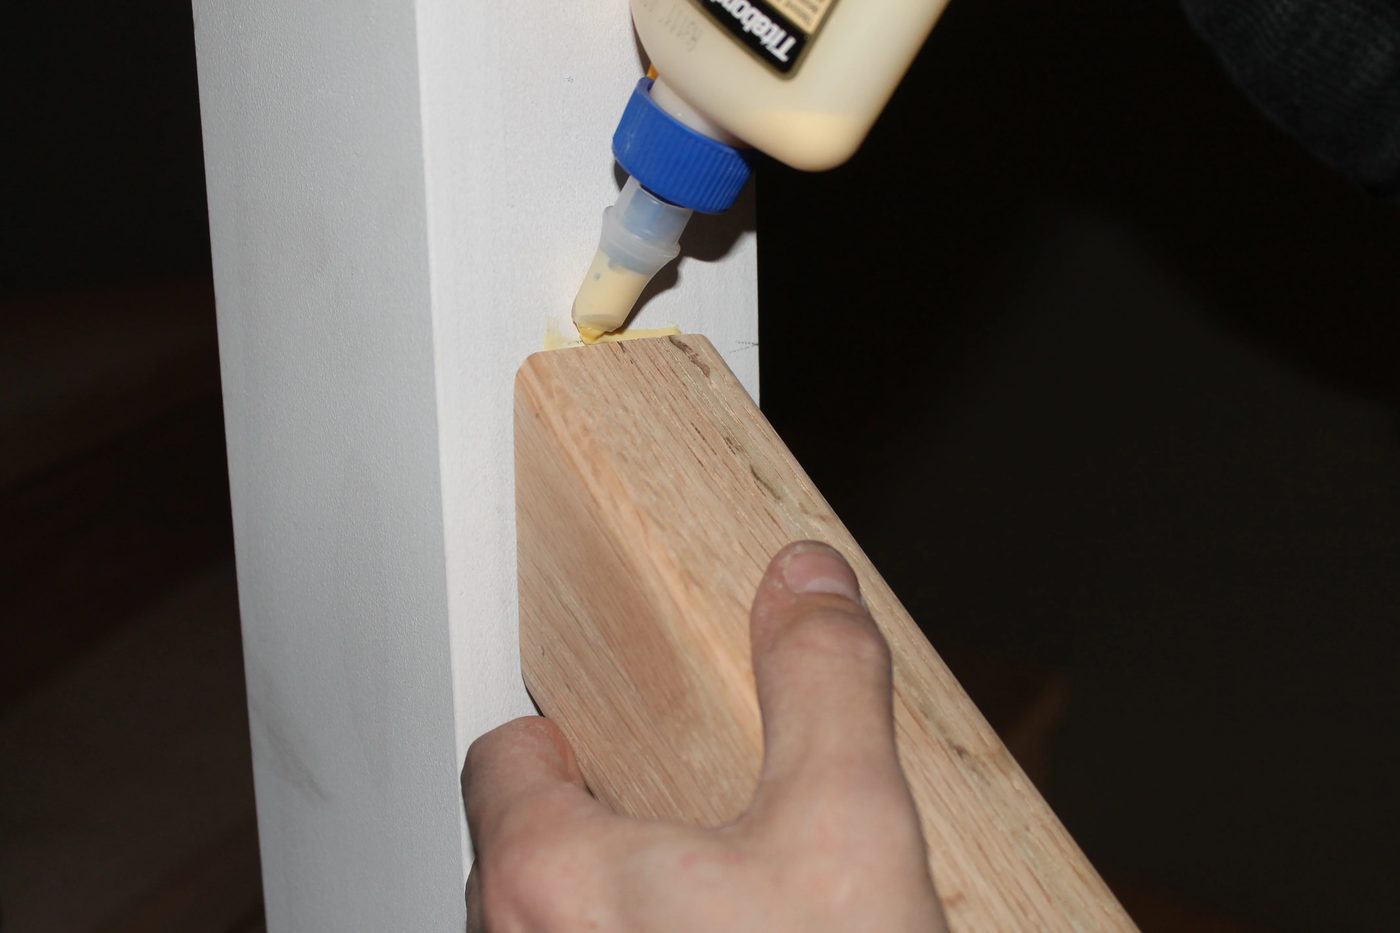
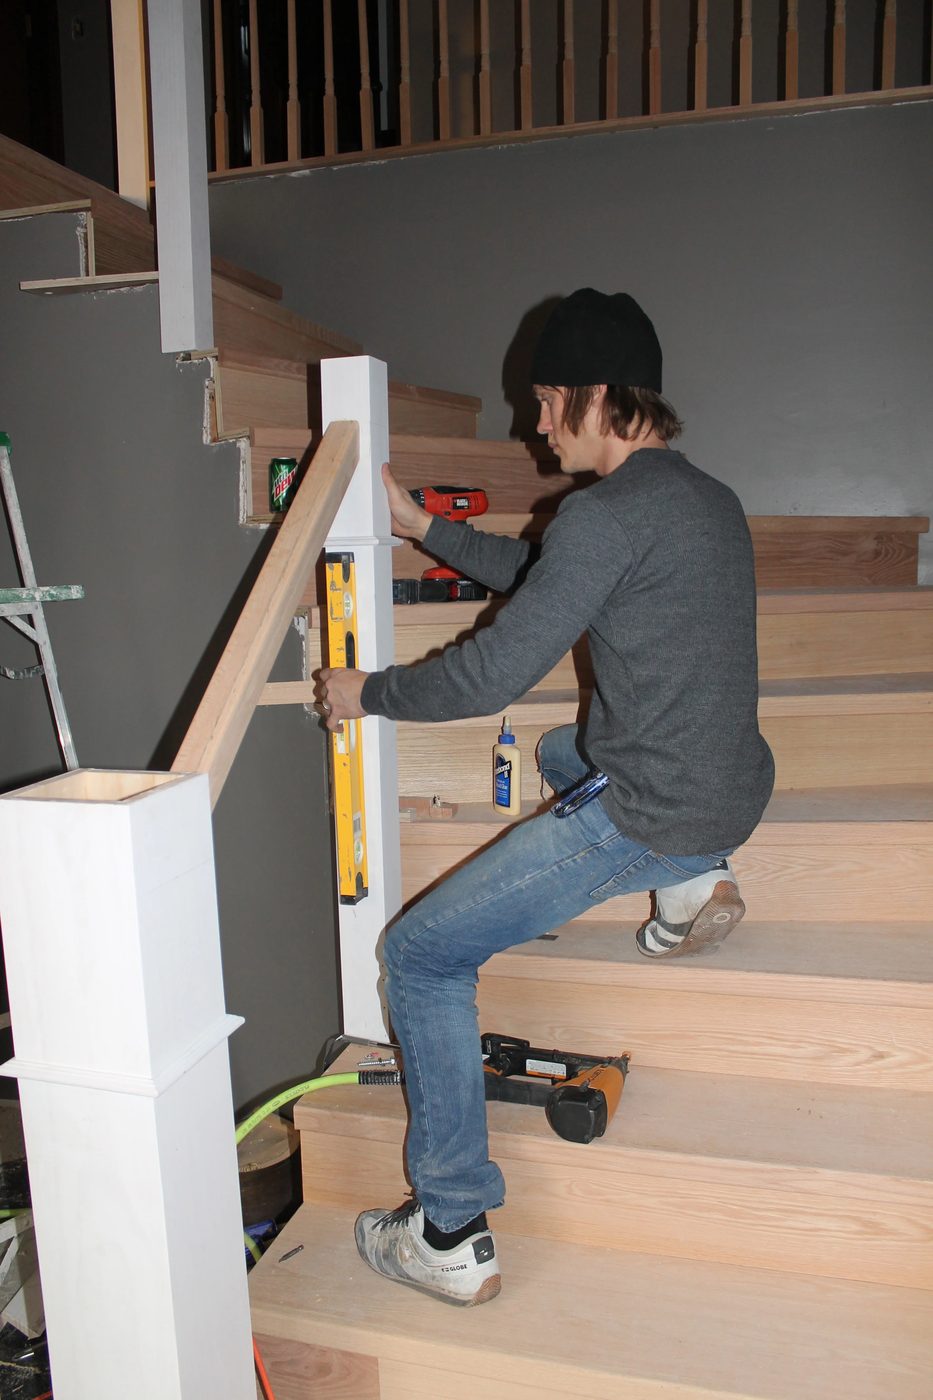
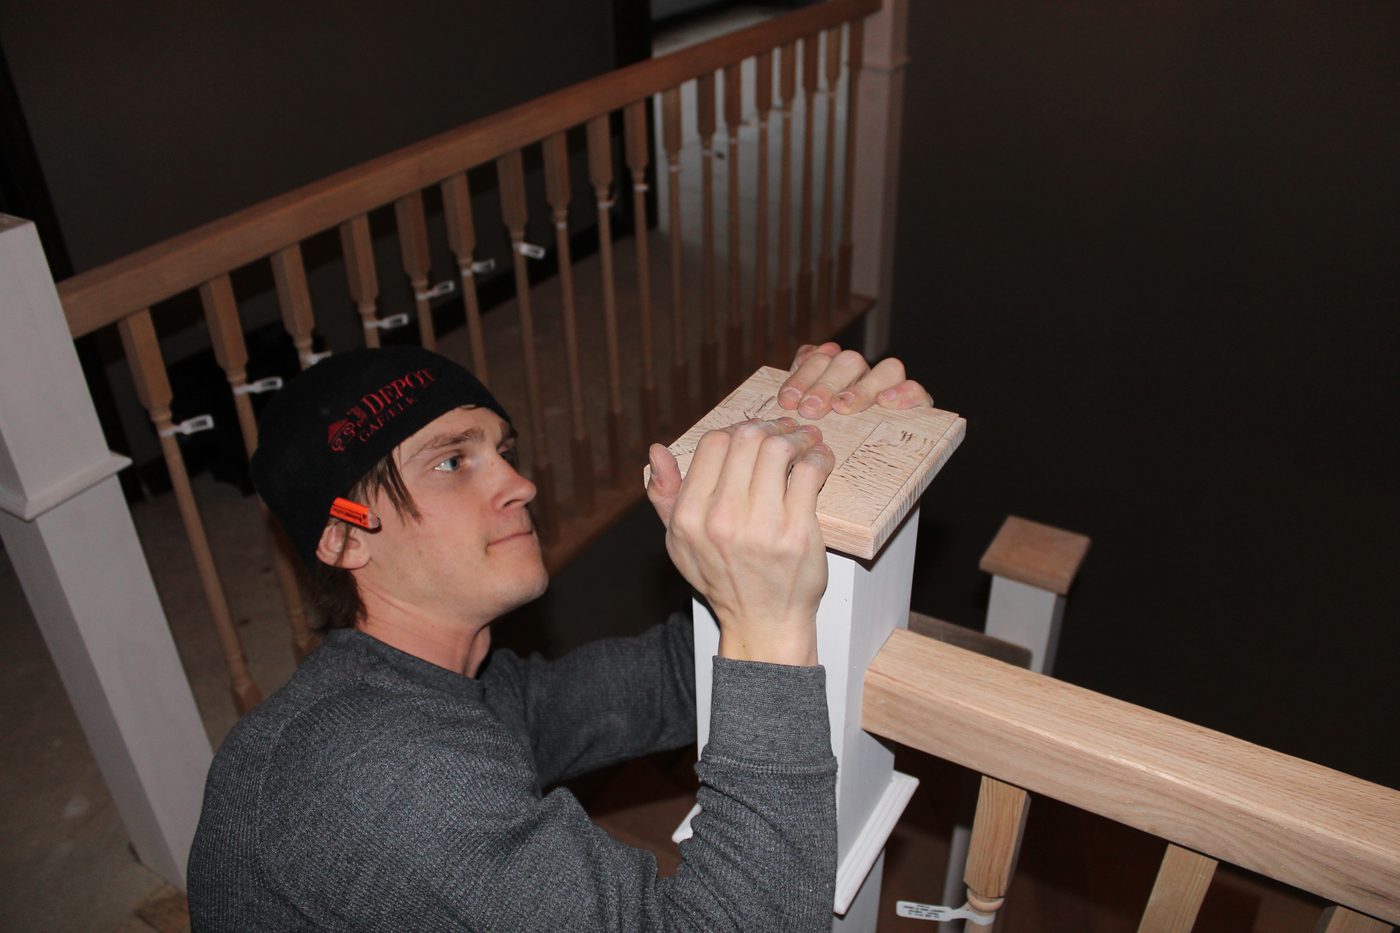
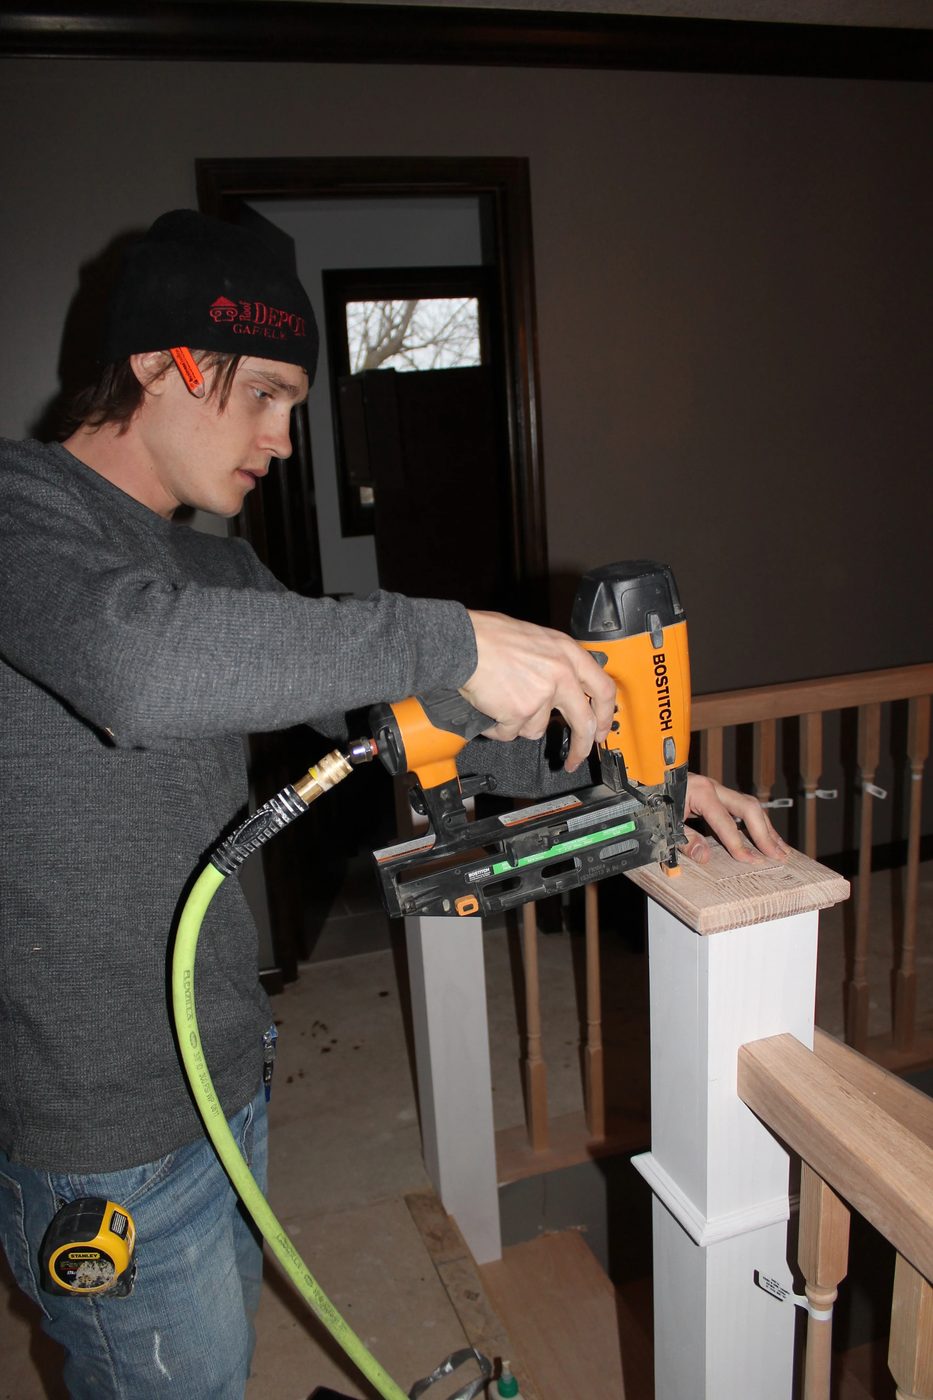
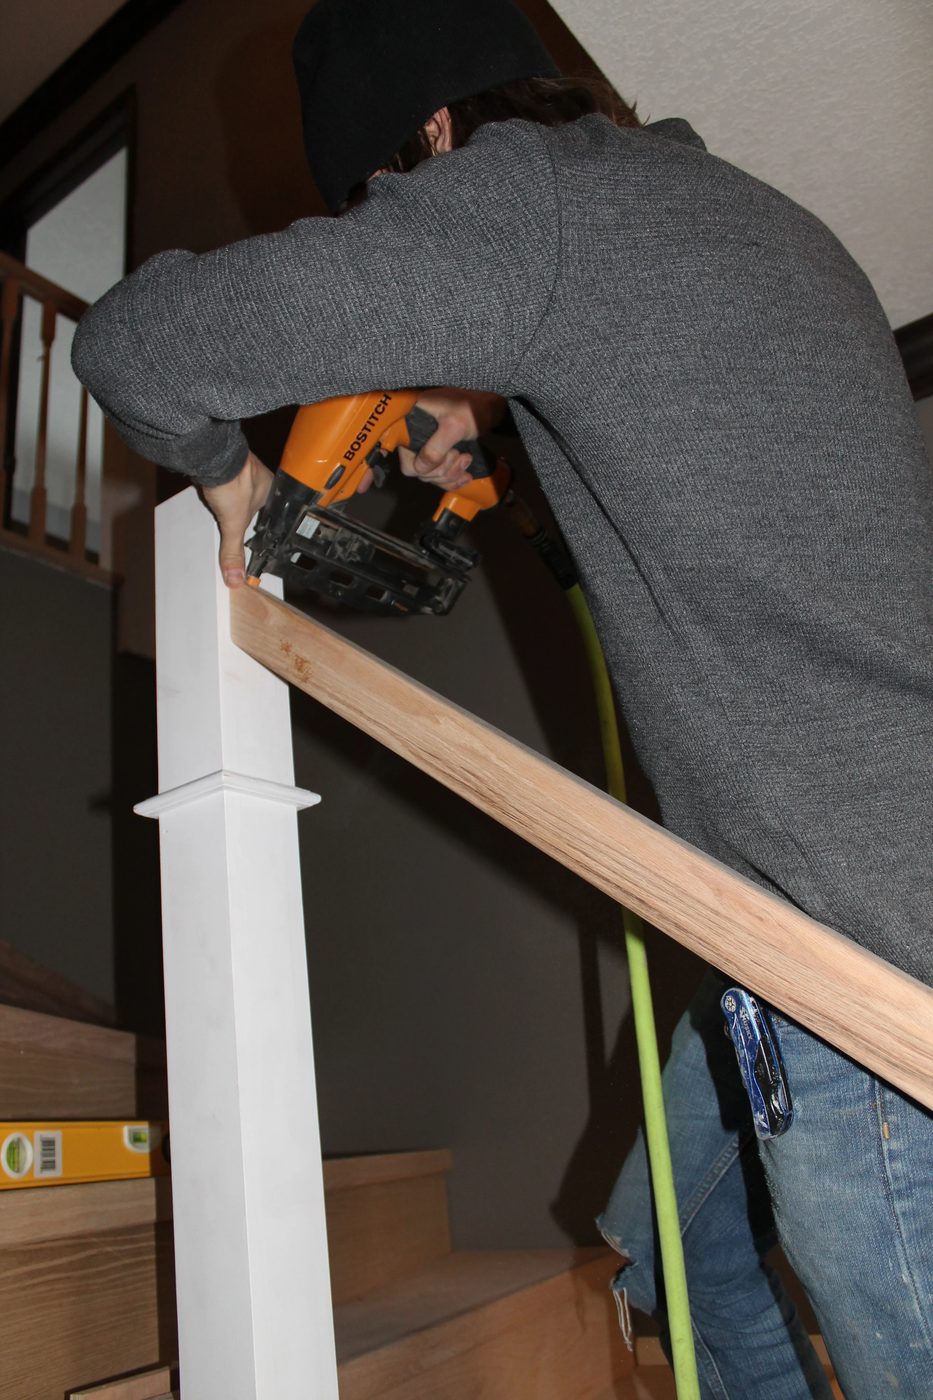 We then glued and nailed the caps onto the top of the posts.
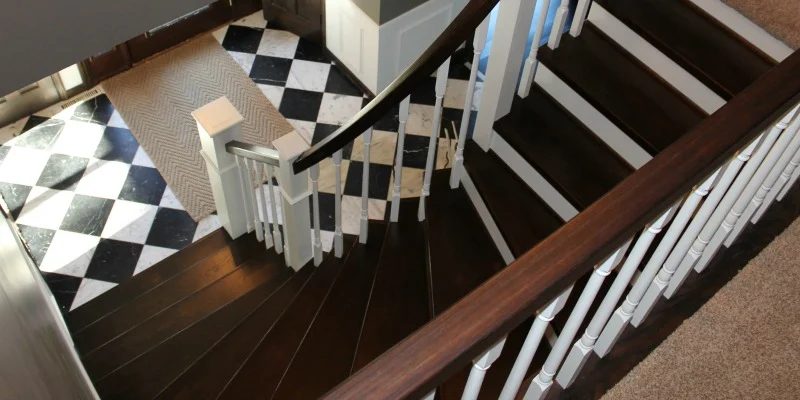
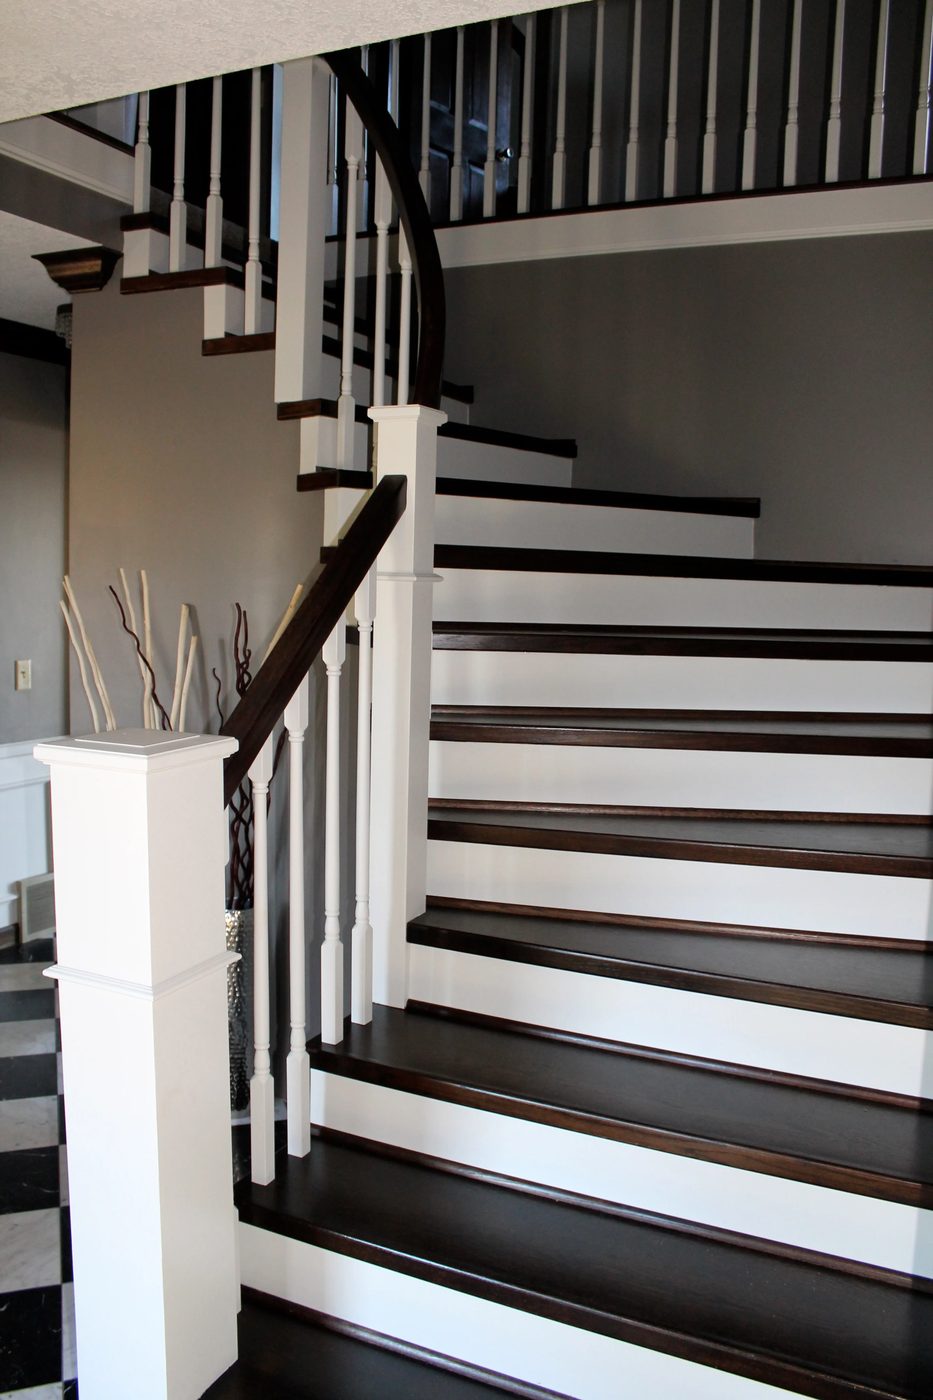
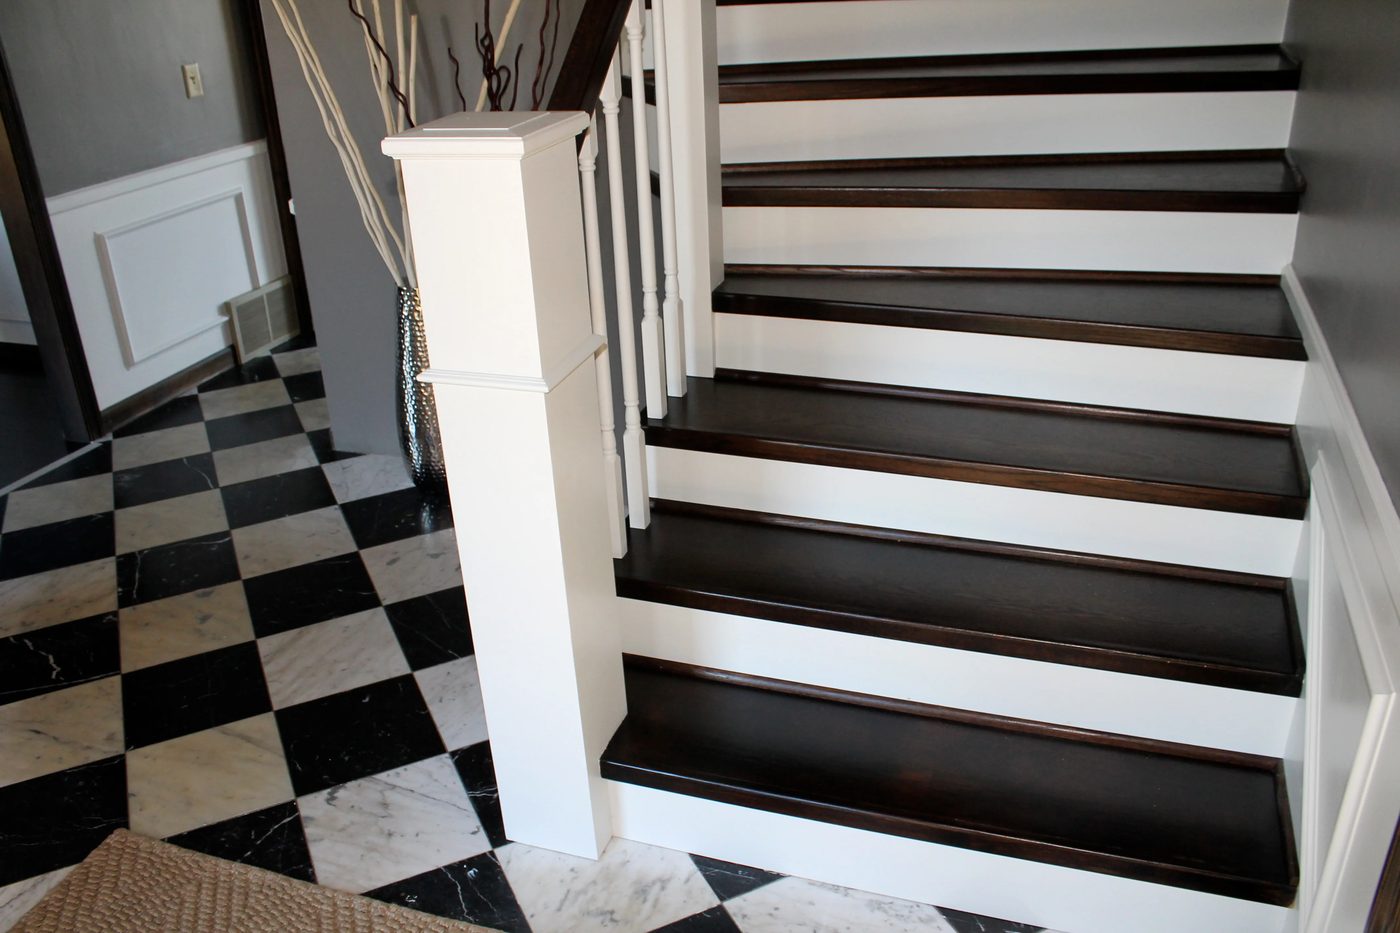
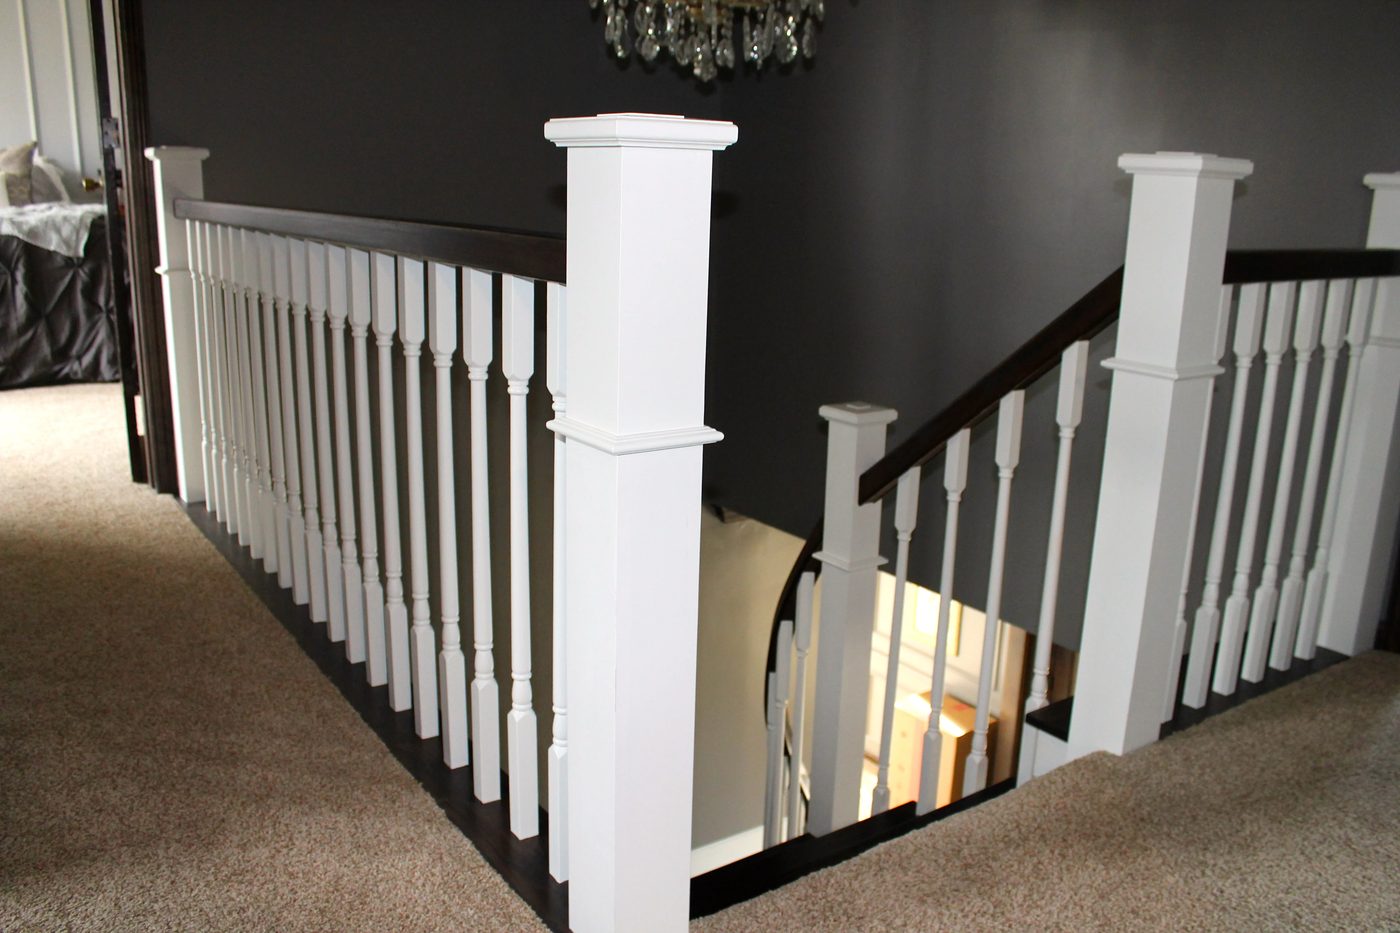
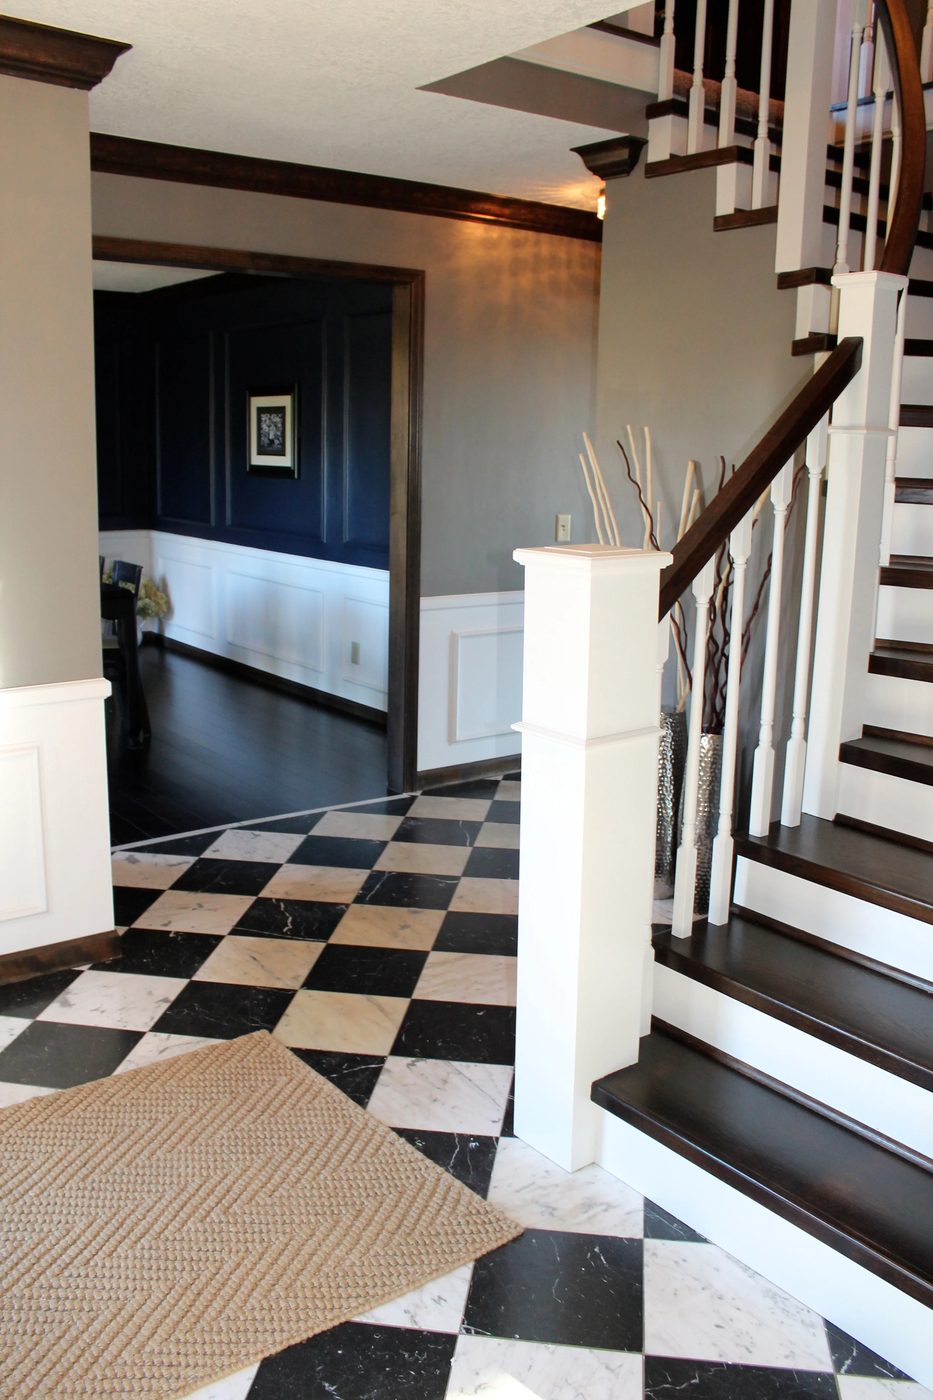
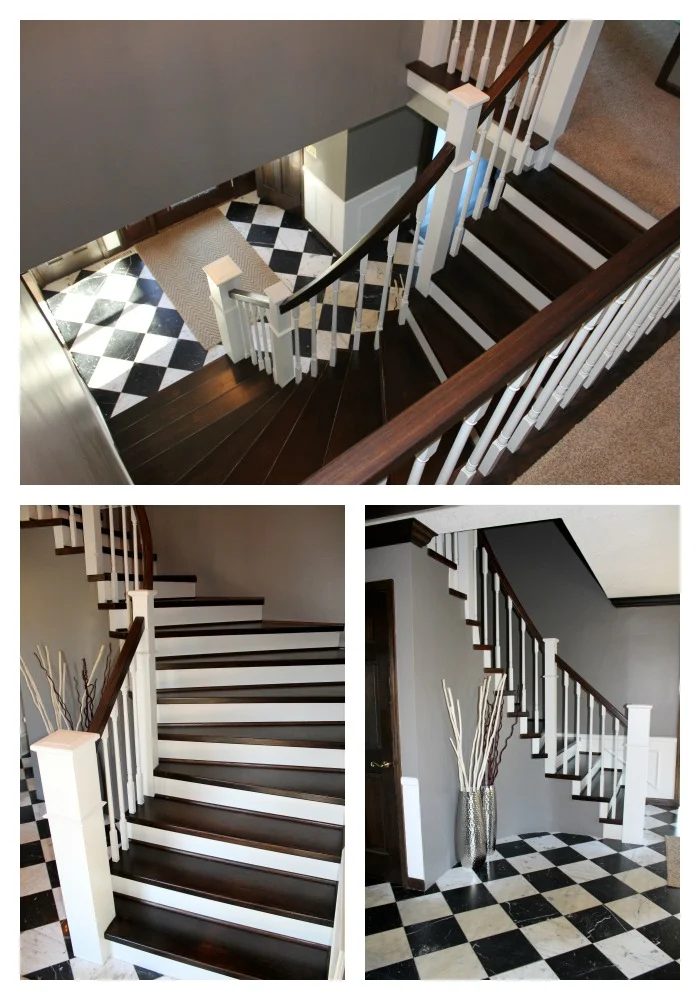
 Once everything was in place, it was time to paint. We ended up mixing the light and dark colors within the steps and railing. We used winwax wood stain for the top of the stairs and handrails. The stain we chose had a sealer in it so we did not finish the stairs with any poly. For the risers, spindles, and posts we used an oil base white paint.
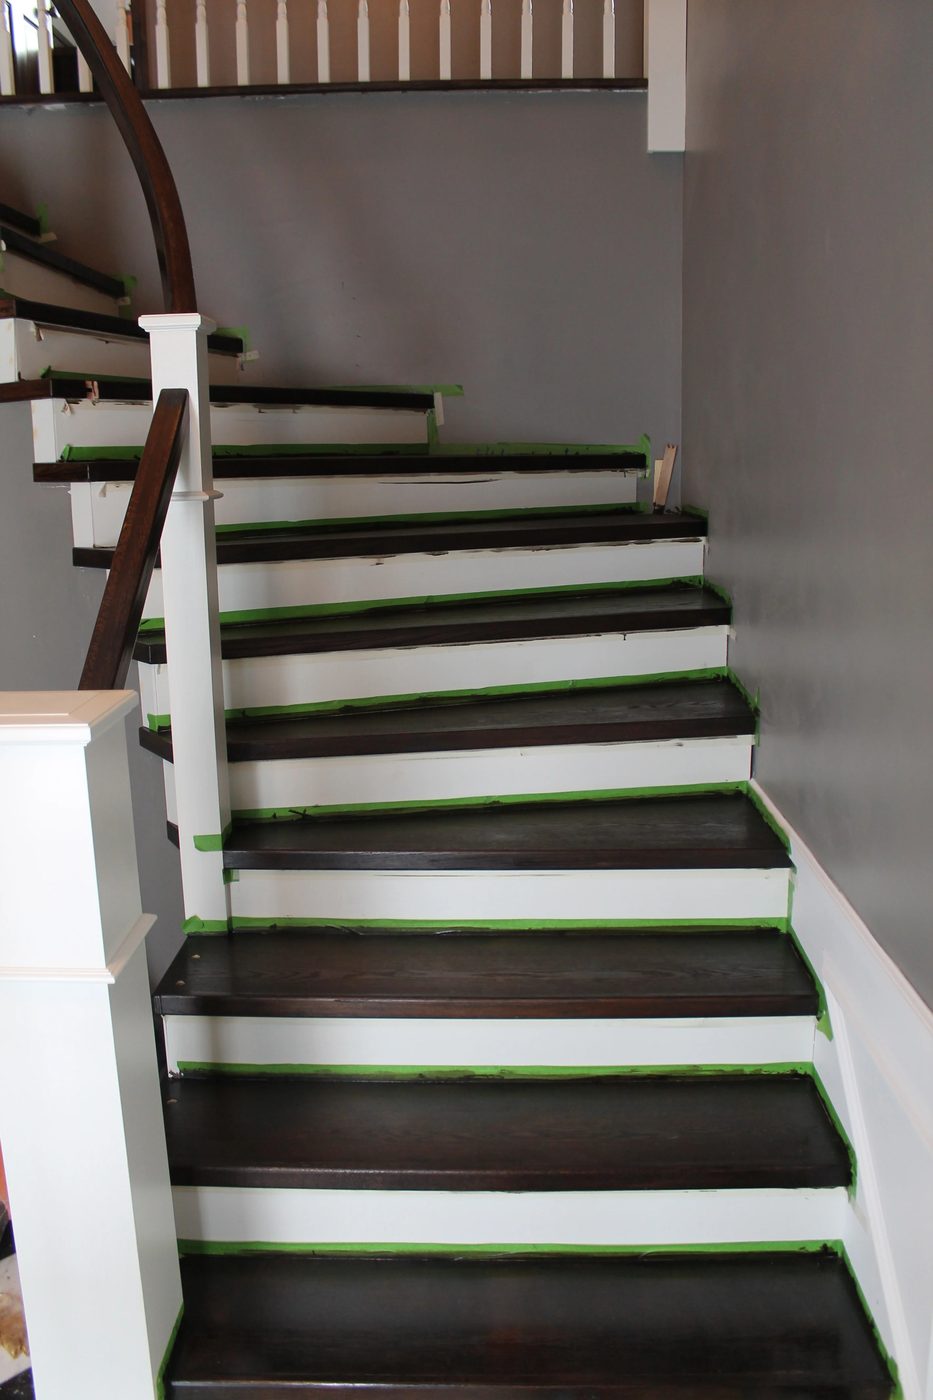 After we removed the frog tape we had very minimal stain that had bled onto the white paint. In those areas we just went back over and touched them up with the white paint.
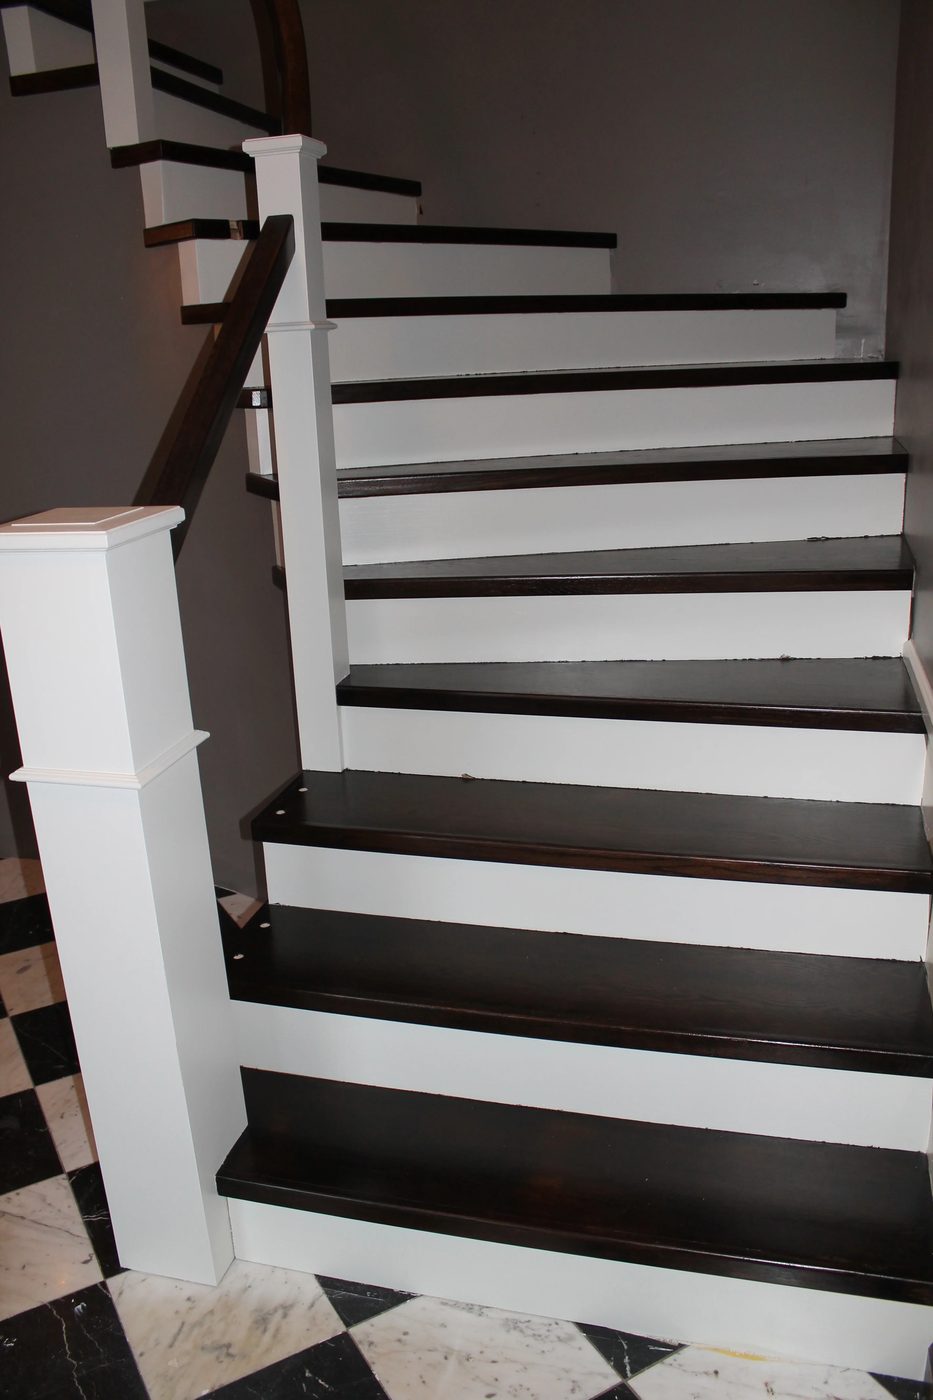 At first we painted the spindles already installed into the handrail. However, it was a bit tricky to paint so we ended up painting them before securing them into place.
Once the spindles had dried we got them glued and nailed into place. Per code, spindles have to be 4 inches maximum apart. We ended up buying the spindles at Home Depot.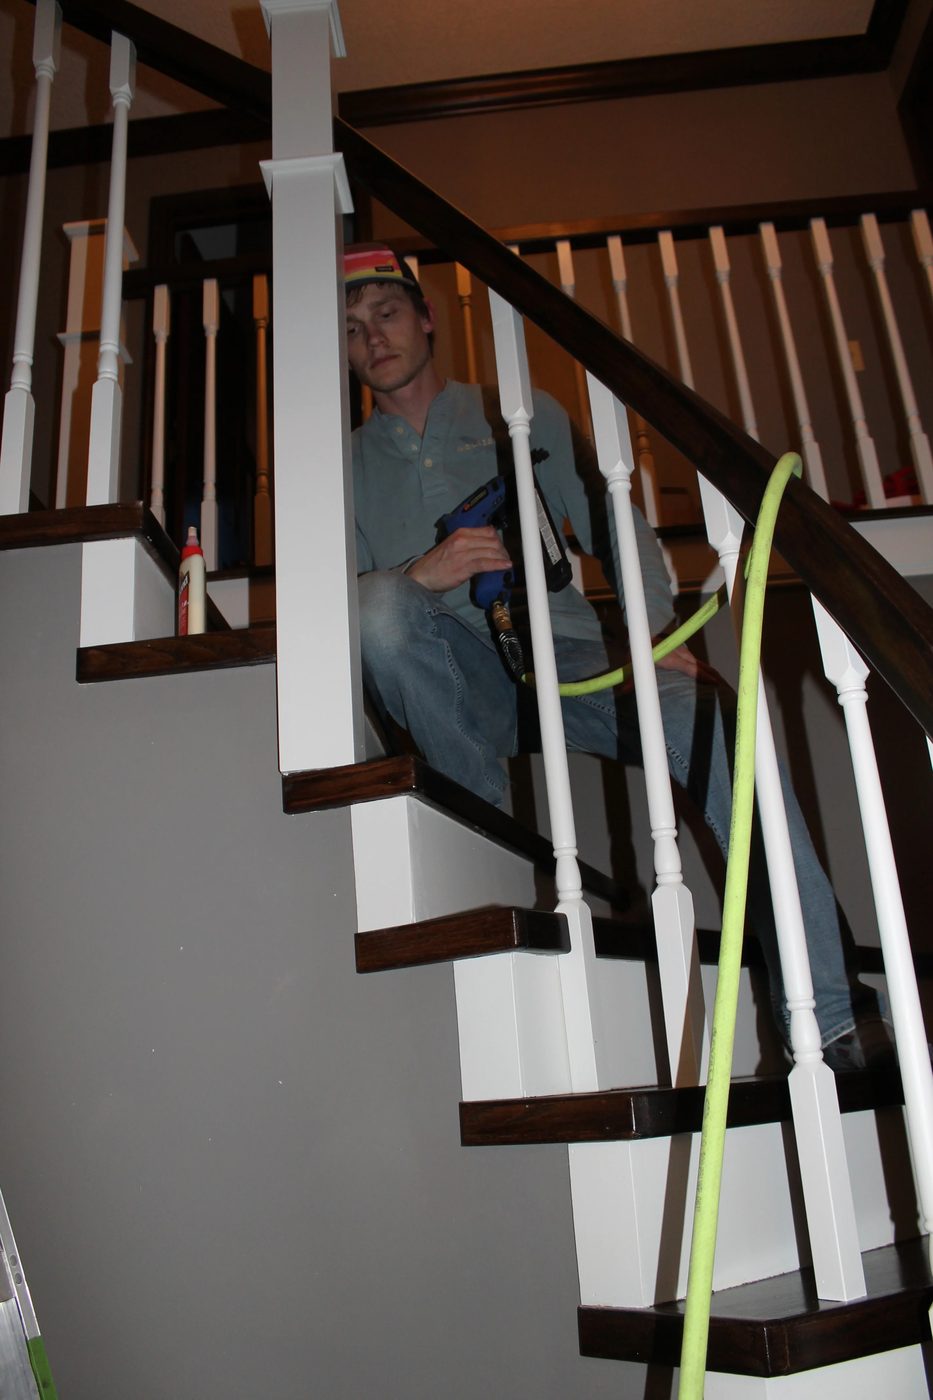
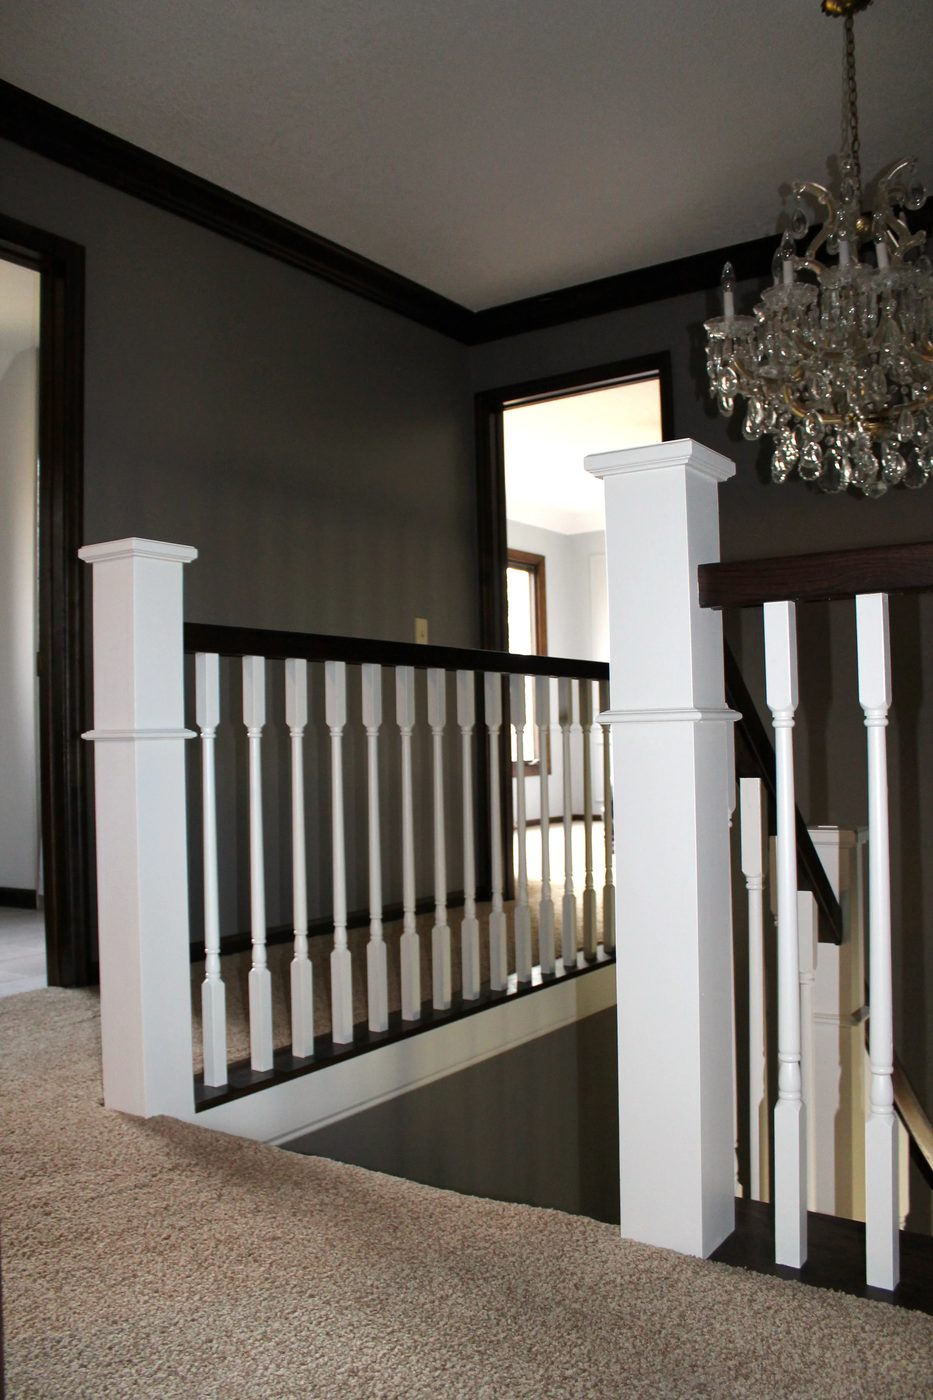
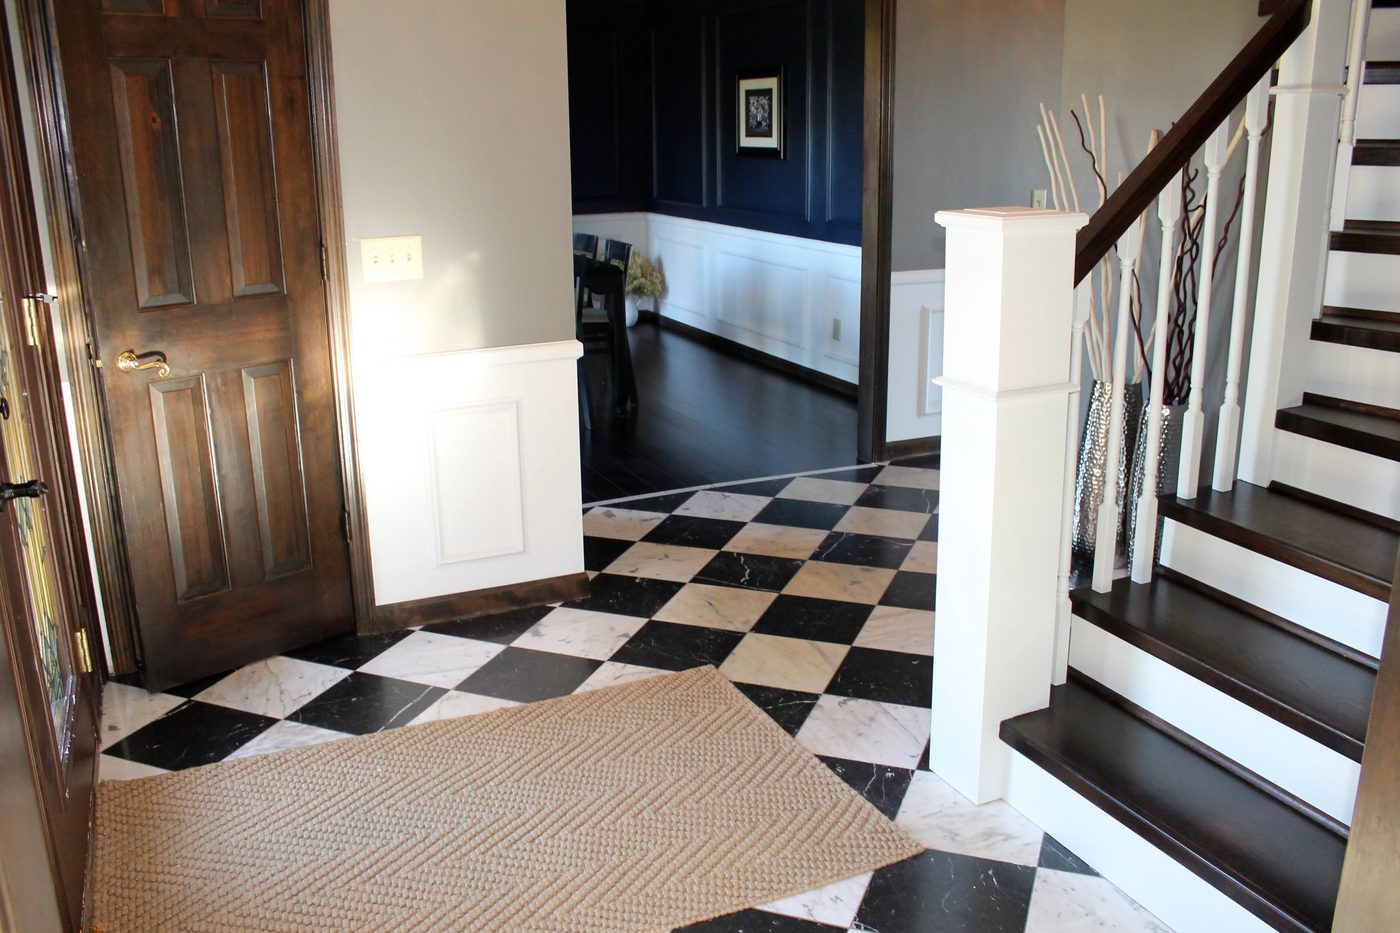
We are thrilled with the results of our staircase remodel! It was better than we had imagined!
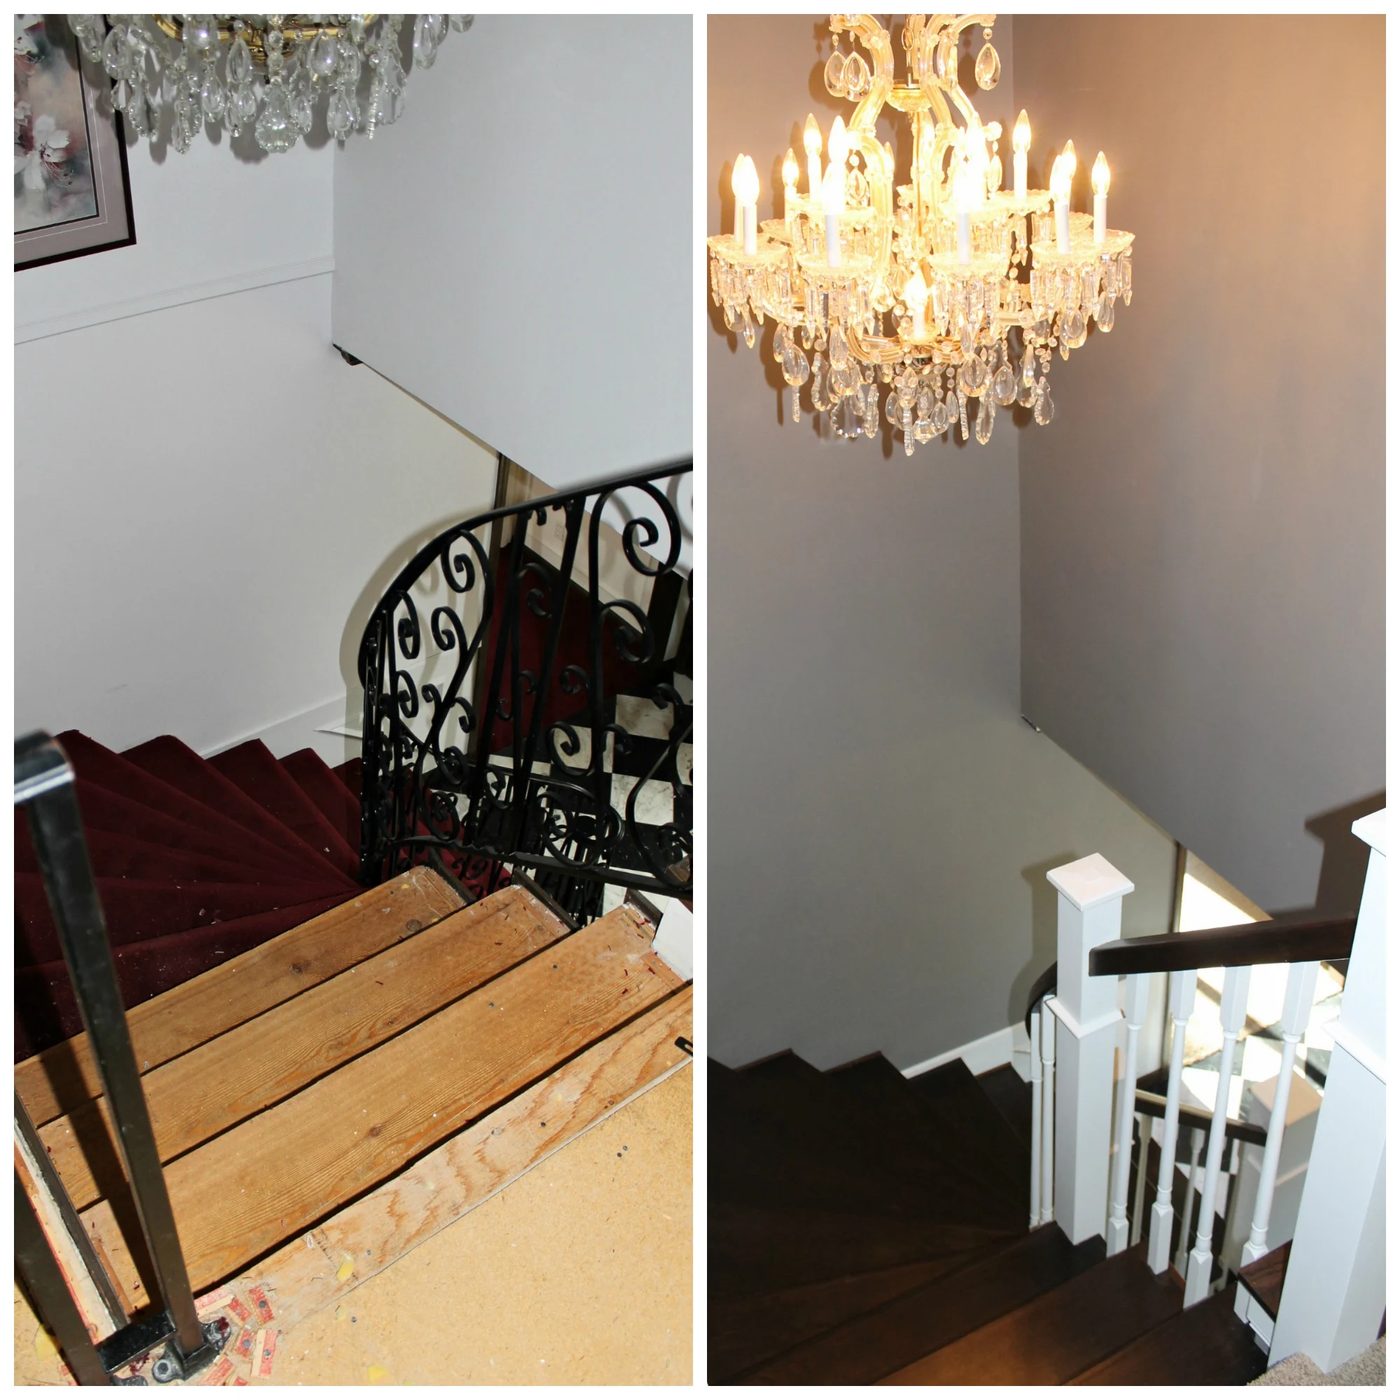
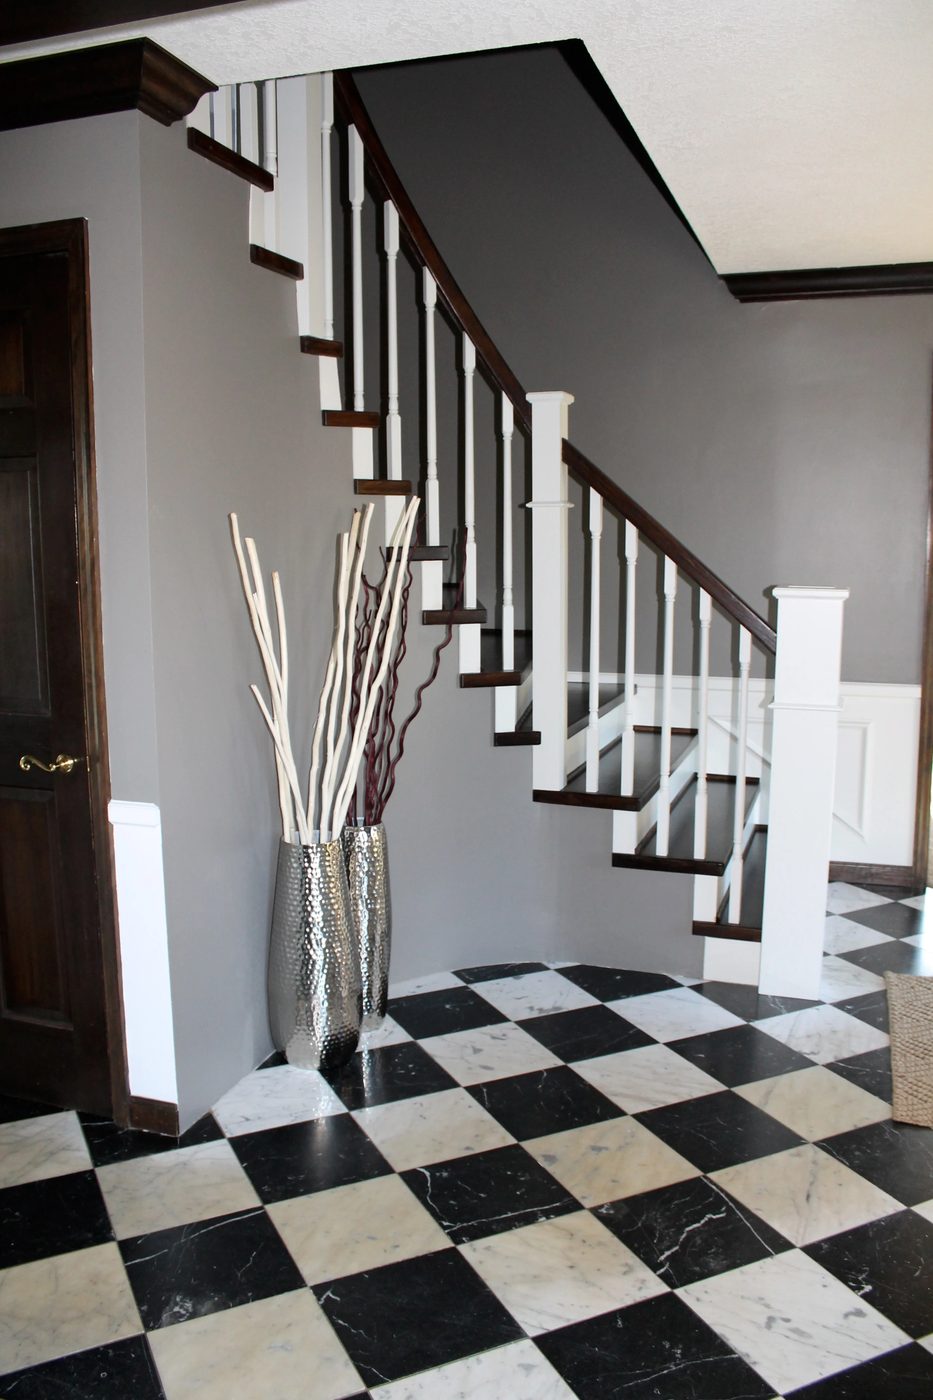
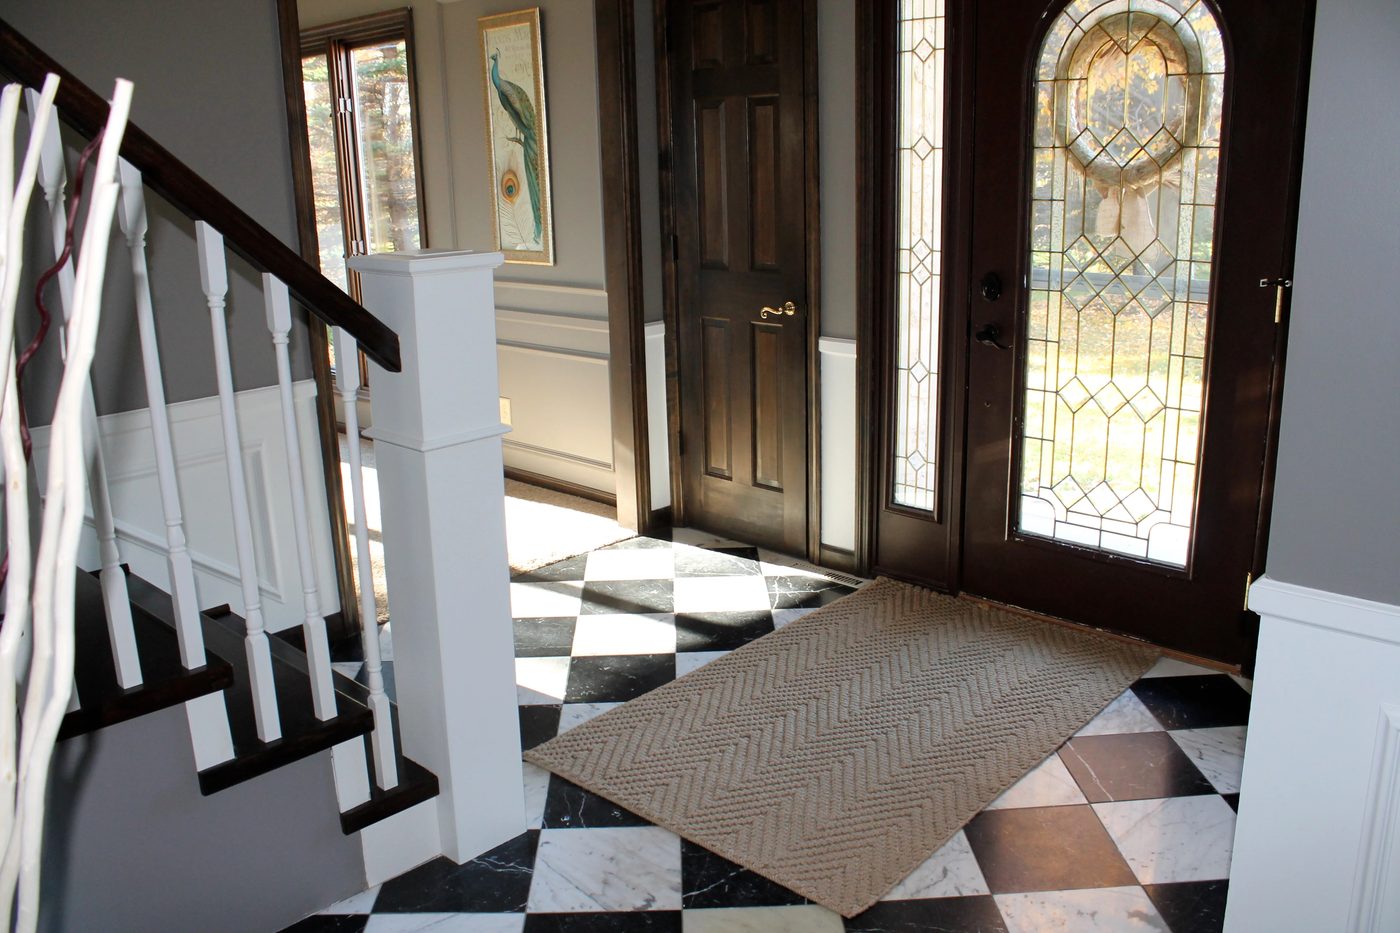
This striking vintage chandelier came with the home. It is basically what sold me on the house!
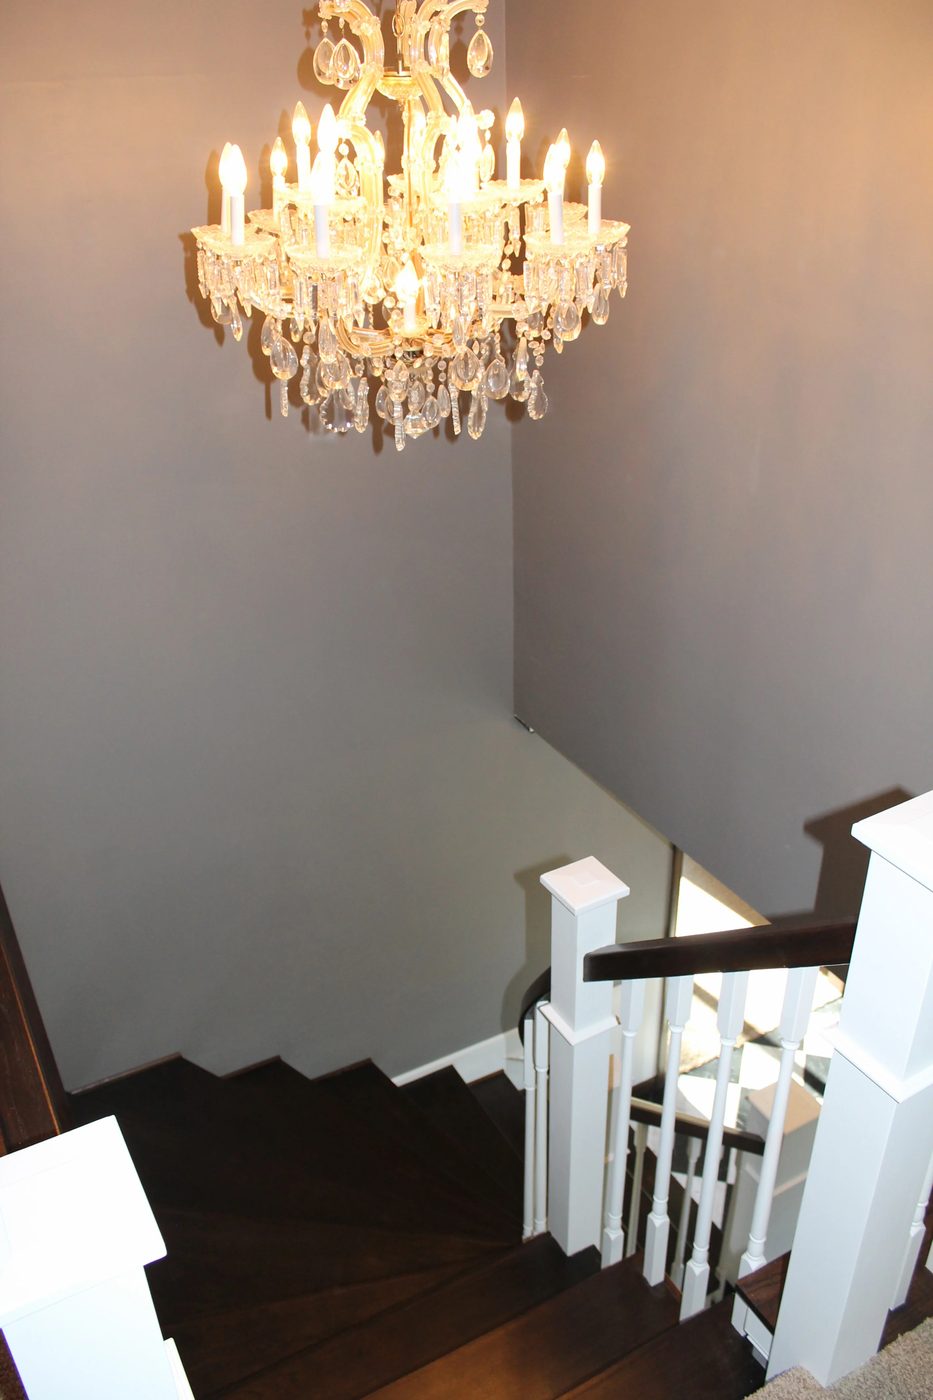
We hope we were able to inspire you on your next remodel just as Bekob has done so many times for us!
———————————————
Thanks for visiting us again, Jamie and Morgan! Love what you are doing with your home, and we can’t wait to see more!
Bekob, pay Morgan and Jamie a visit over at construction2style — be sure to look at their newest addition (congratulations!) and their vivid master bathroom renovation — love the herringbone wood tile (and can’t wait to show you more of ours once we can!)