The steps below follow the order of the work for this porch and patio project.
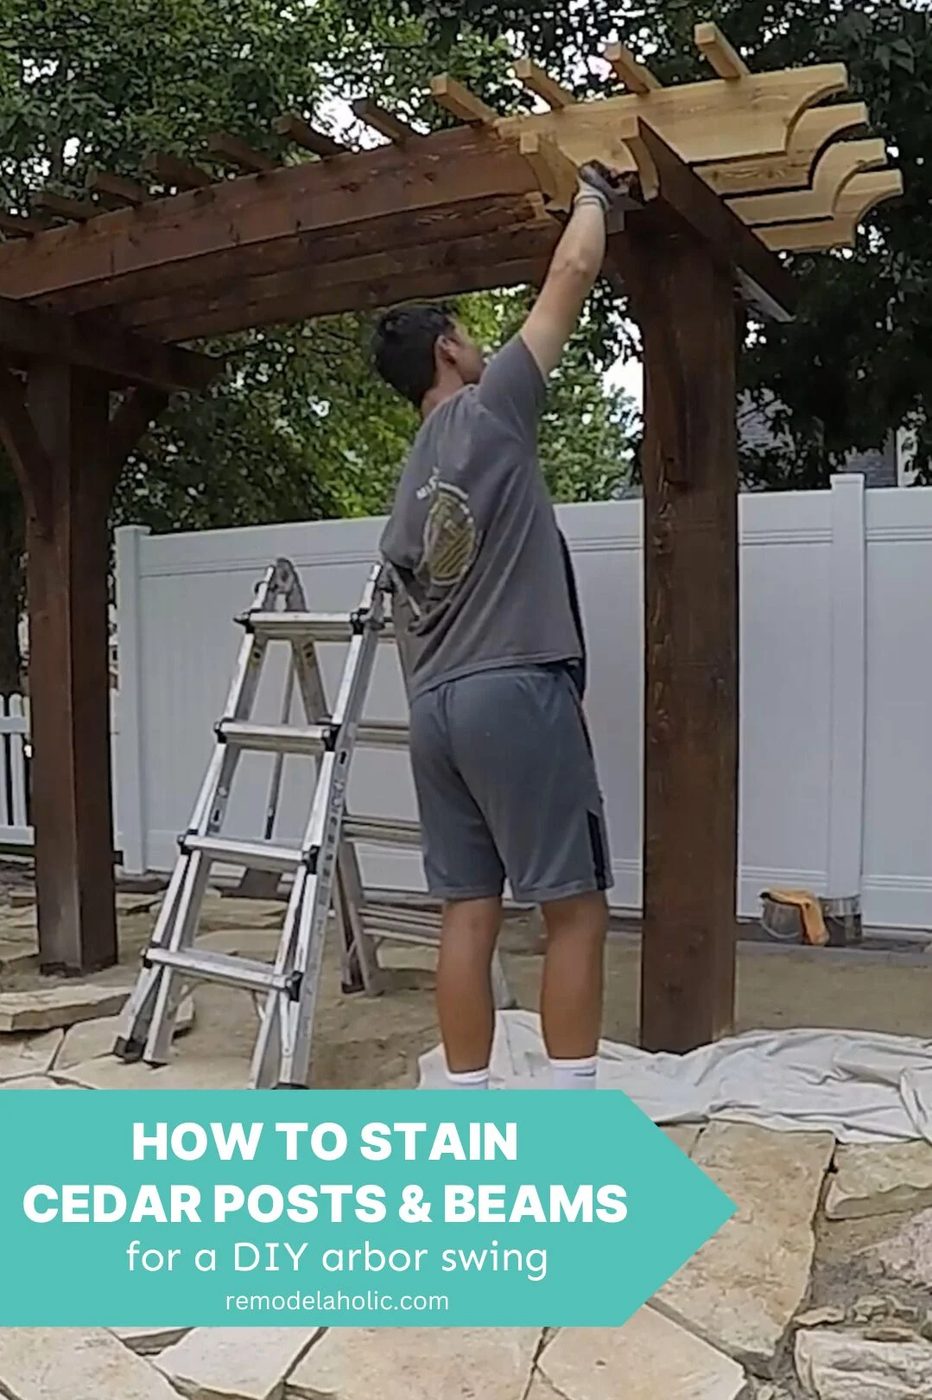
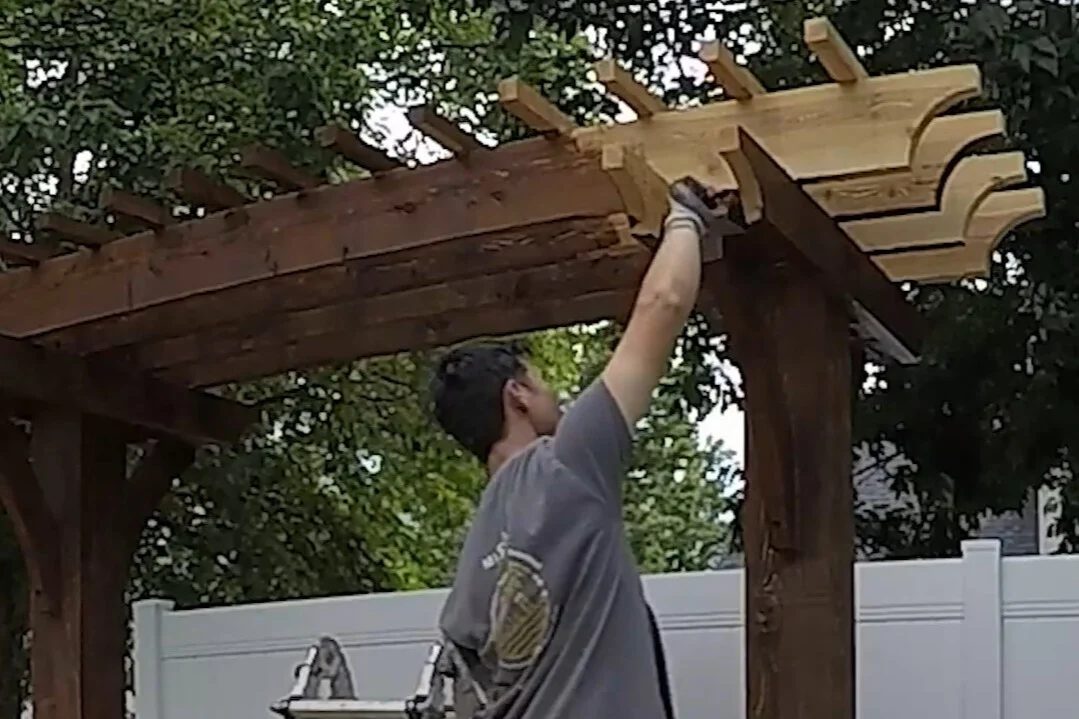
We’re sharing step by step as we build a Handmade arbor swing in a striking backyard! This is Step 12: how to stain cedar posts for outdoor use.
Follow along on YouTube, Instagram, TikTok, or Facebook to see each step, or subscribe here to get our new blog post emailsWatch the full Handmade Arbor Swing Step-By-Step video playlist here.
This post contains affiliate links. Learn more and read our full disclosure policy here.
How to Stain Cedar Arbor Posts and Beams
One of the reasons that we love using redwood and cedar in our outdoor projects is because, in addition to being striking, it’s naturally weather-resistant. For outdoor projects, I always recommend using redwood or cedar if you can, or pressure treated wood is an option, too. Then the added outdoor stain and/or sealer helps bring out the beauty of the wood and preserve it to last for many years while protecting it from the elements.
For outdoor stain (on any type of wood) there are a two main options:
- Traditional stain and wood sealer creates a barrier on the surface of the wood. This type of exterior stain typically lasts up to 3 years, but may chip and show wear sooner in high traffic areas. To re-stain, the entire surface must be stripped and sanded before re-staining.
- Penetrating oil stain for wood soaks into the wood to protect and seal the wood fibers. This type of wood stain and sealer typically doesn’t last as long as traditional wood sealer, but can be reapplied over the previous coats and can be touched up in high traffic areas.
Read more here about how we refinished our deck with a penetrating oil stain after the traditional stain did not last.
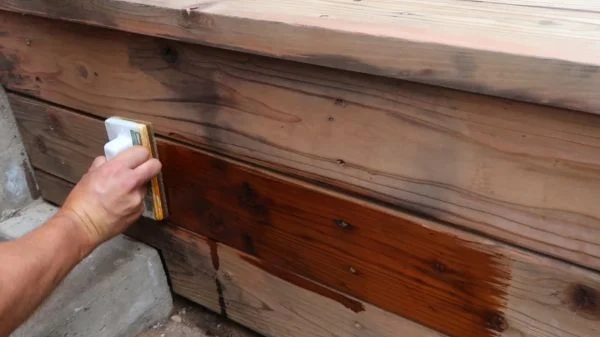
Both types of stains can be used on a deck, fence, pergola, or other outdoor structure, and both come in opaque finishes for a darker color and semi-transparent stains for a subtle color. The varying levels of pigments to allow you to see the wood grains if you’d like, or to make the grain more uniform if you prefer. Each type of finish also comes in a wide range of colors and both have water-repellent features and UV protection to ensure the exterior wood stain provides long-lasting protection against weathering, mold and mildew.
Staining a big project like this is always time-consuming and feels tedious, but it’s not difficult. When staining cedar posts and beams like this, you’ll generally want to apply 2 coats of stain to the unfinished wood. However, the stain we used was a client-provided stain and sealer in one that said just ONE coat. We used PPG Proluxe transparent matte stain in Dark Oak 009 and applied it with a wide, natural bristle brush like this.
Here are some more tips for staining cedar:
- Clean and lightly sand any rough sections and fill any major imperfections in the wood. Stain will only exaggerate the rough texture.
- Stain in the shade or during cooler hours of the day if you can. Not only is this more comfortable for you as you work as you stain the cedar, it helps give the stain time to penetrate and have a little bit longer dry time, which is good in this case. This arbor was well-positioned to be shaded throughout the day, which made it straightforward to apply the stain without direct sunlight.
- Use a wide brush to help ensure even color.
- Allow adequate dry/cure time before applying the second coat.
- Maintain the stained cedar by keeping it clean and as dry as possible. With typical use and a once-yearly cleaning for dirt and mildew, cedar can last for a decade or more.
Stay tuned and subscribe to see how we finish up and install the flagstone paver – right up until the finished project reveal!
- YouTube
- TikTok
Step By Step: Handmade Arbor Swing
We’ll share the step-by-step details as we go, right up until the final striking reveal! Here are all the steps:
Handmade Arbor Swing: How to Seal Wood Posts
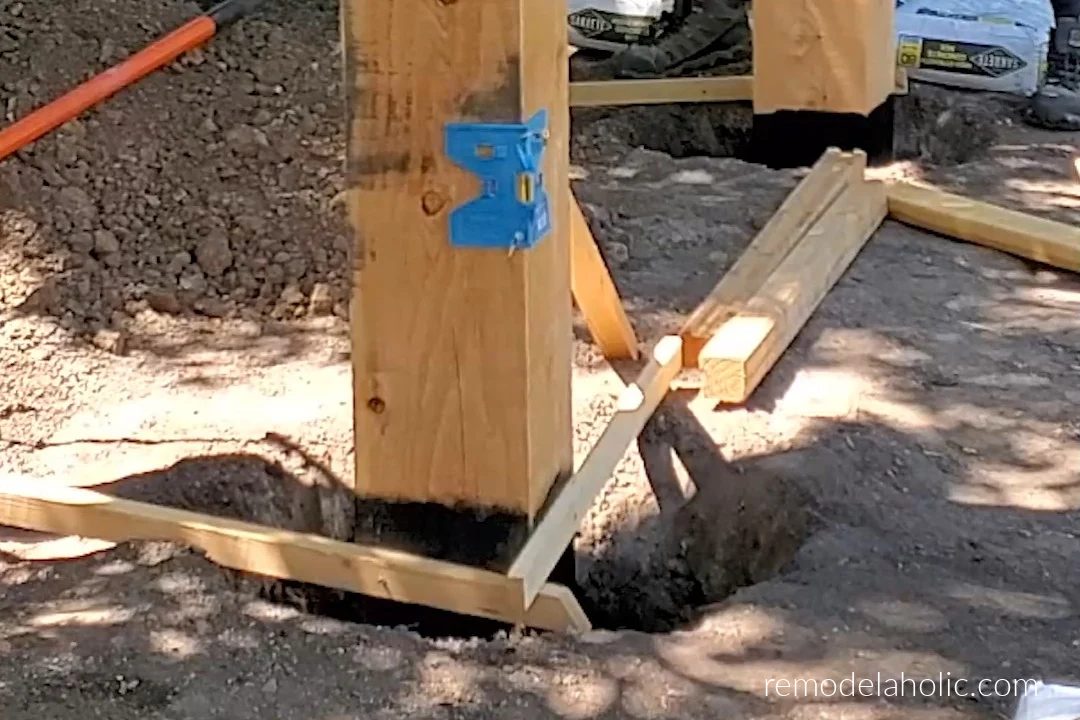
Handmade Arbor Swing: How to Place and Level Posts
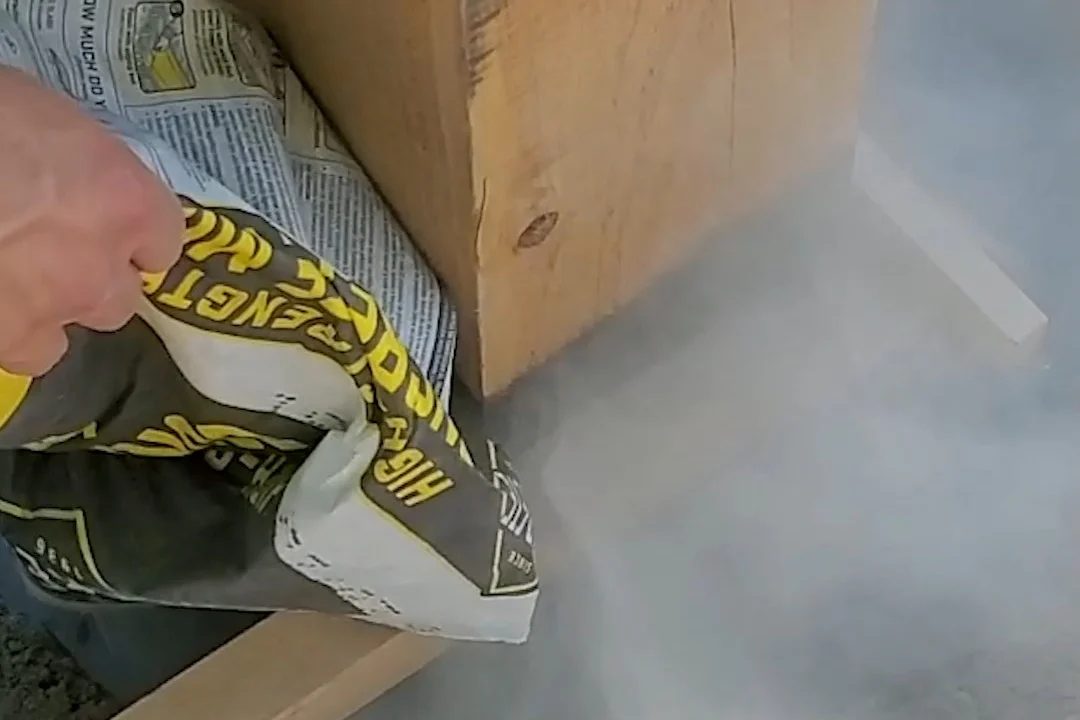
Handmade Arbor Swing: How to Dry Pour Concrete Footings The straightforward Way
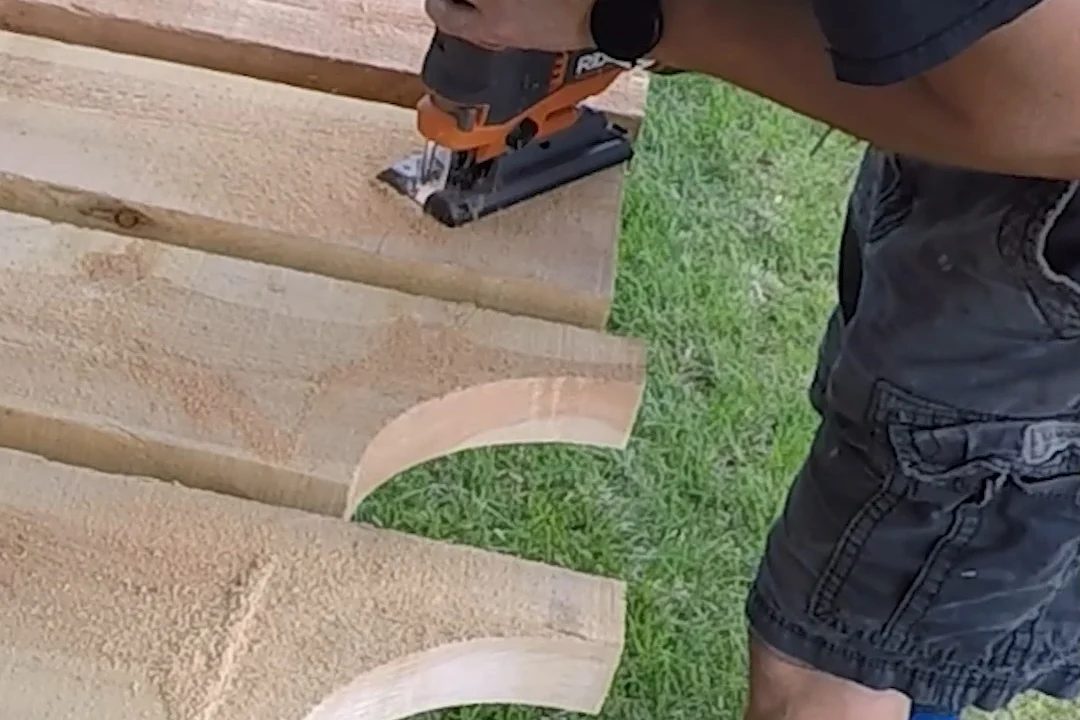
Handmade Arbor Swing: How to Cut Pergola Rafter Tail Designs (with Printable Patterns)
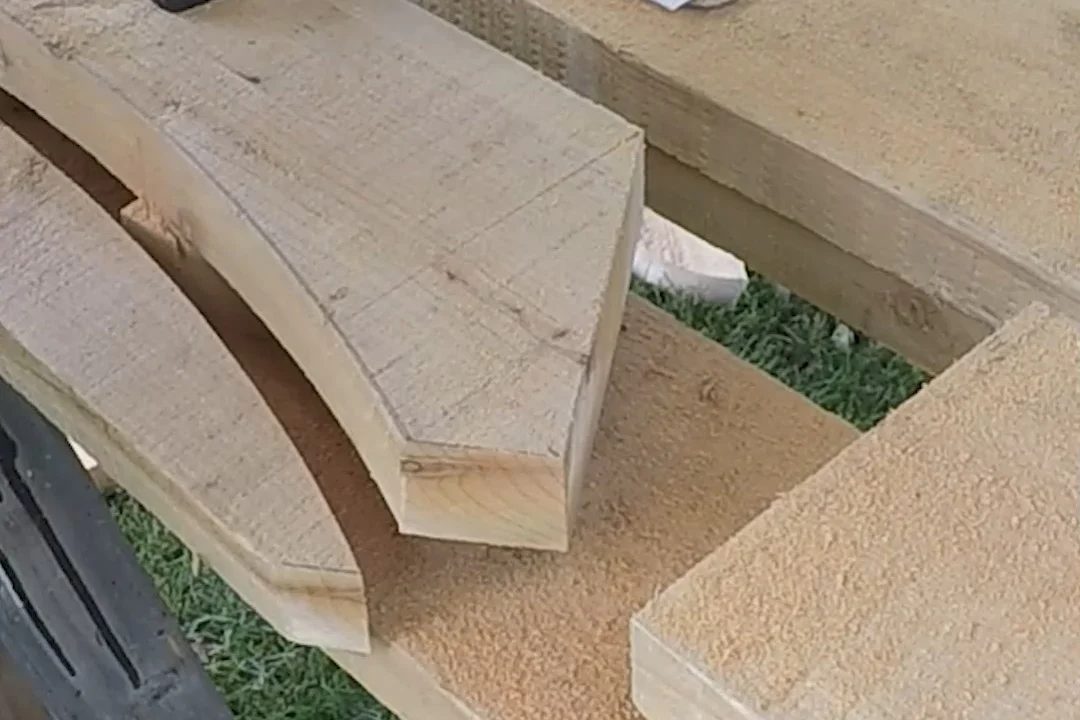
Handmade Arbor Swing: How to Cut Handmade Wood Braces for Pergola Support
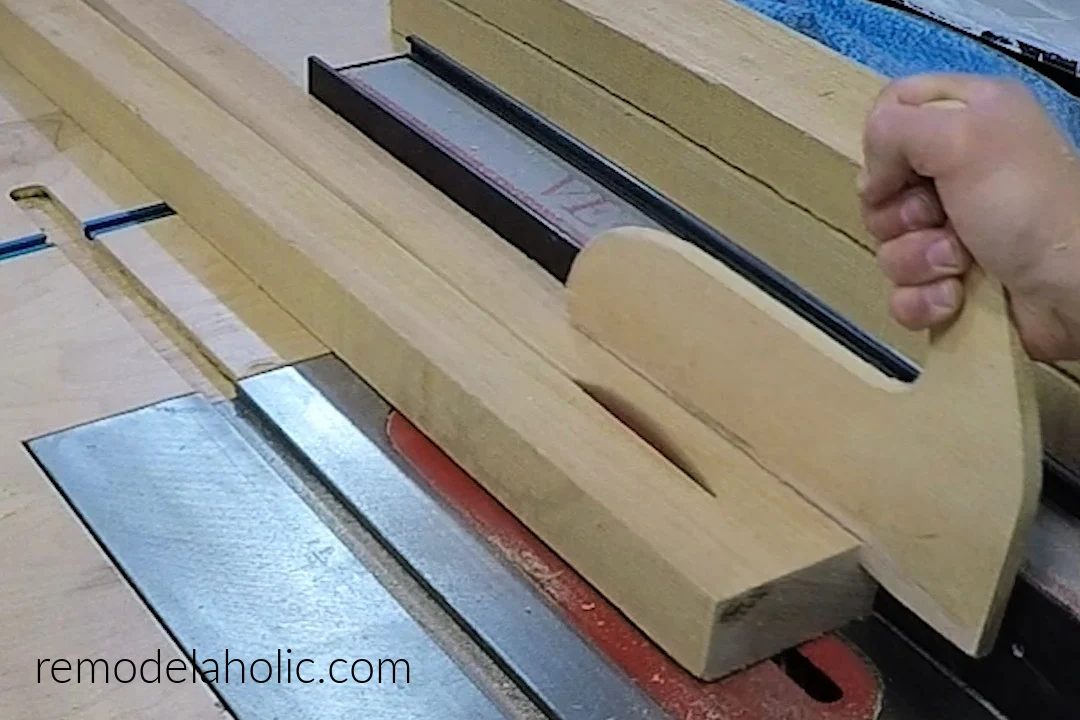
Handmade Arbor Swing: How to Make 2×2 Lumber from a 2×6
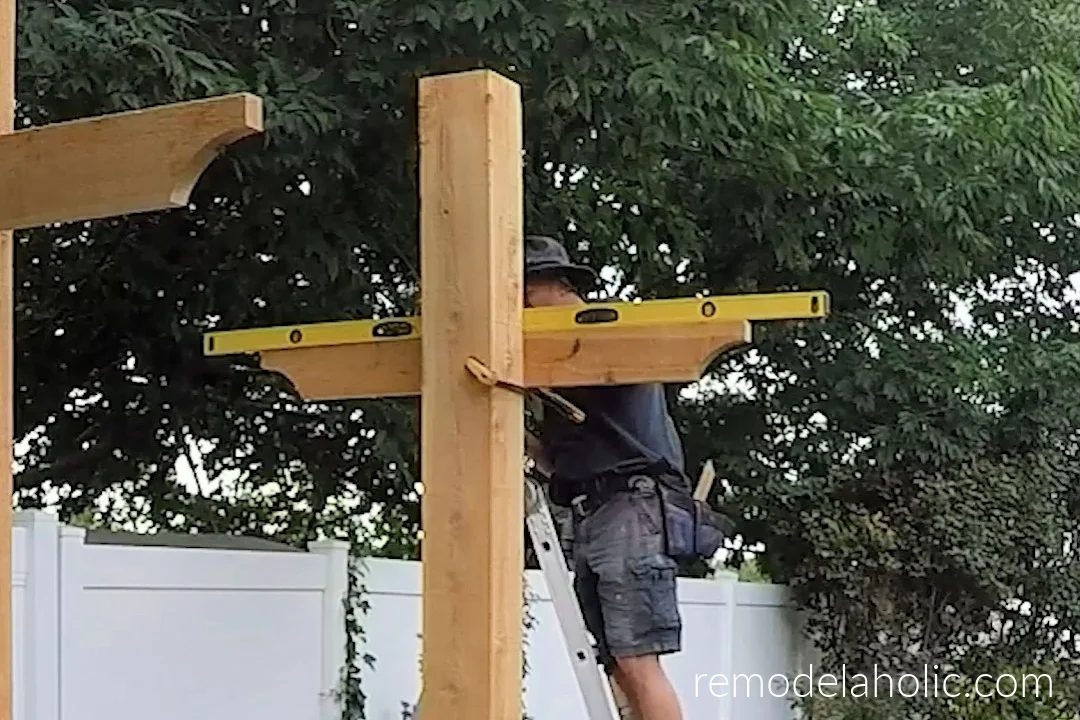
Handmade Arbor Swing: How to Install Wood Beam Supports
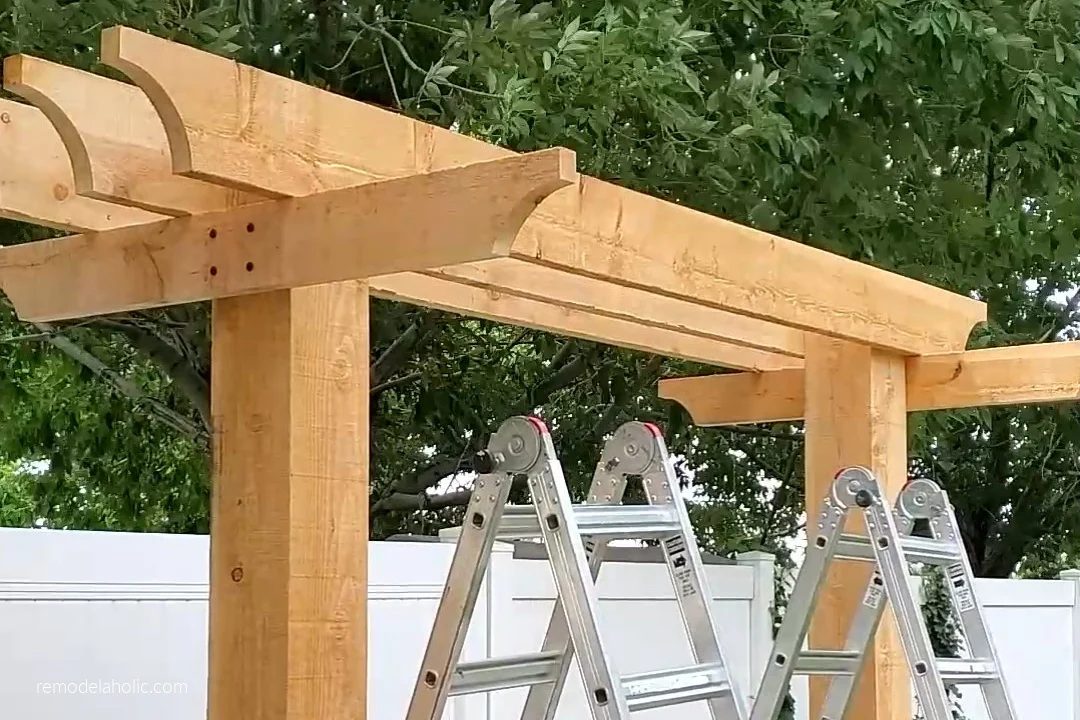
Handmade Arbor Swing: How to Install Arbor Swing Beams
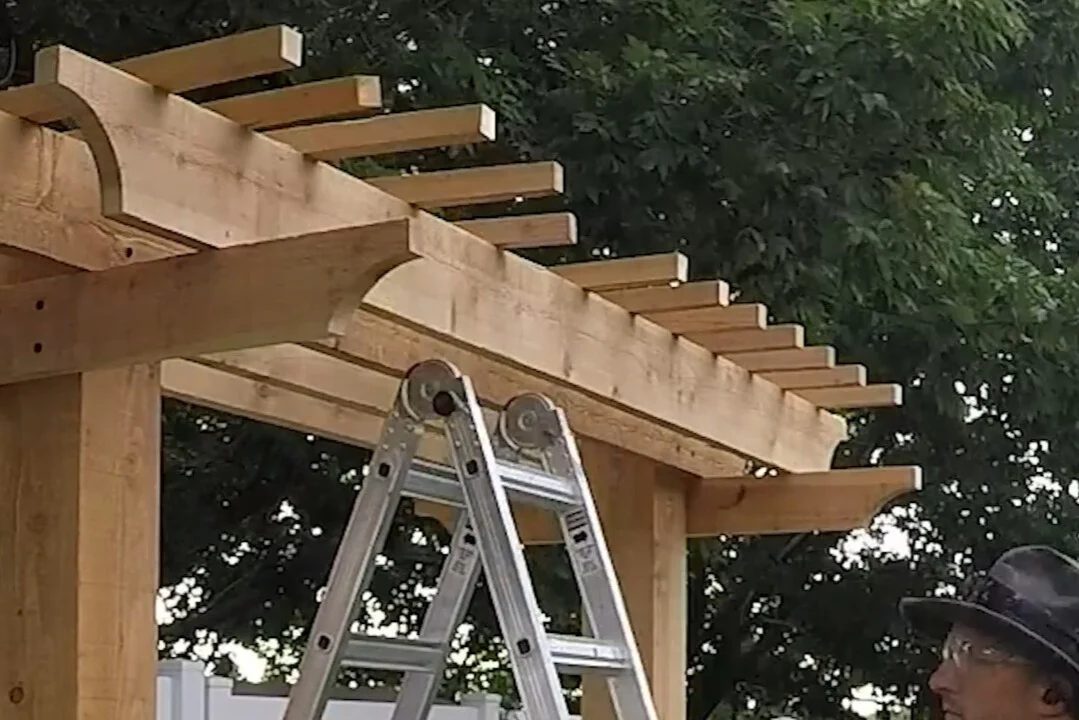
Handmade Arbor Swing: How to Install Rafters / Purlins
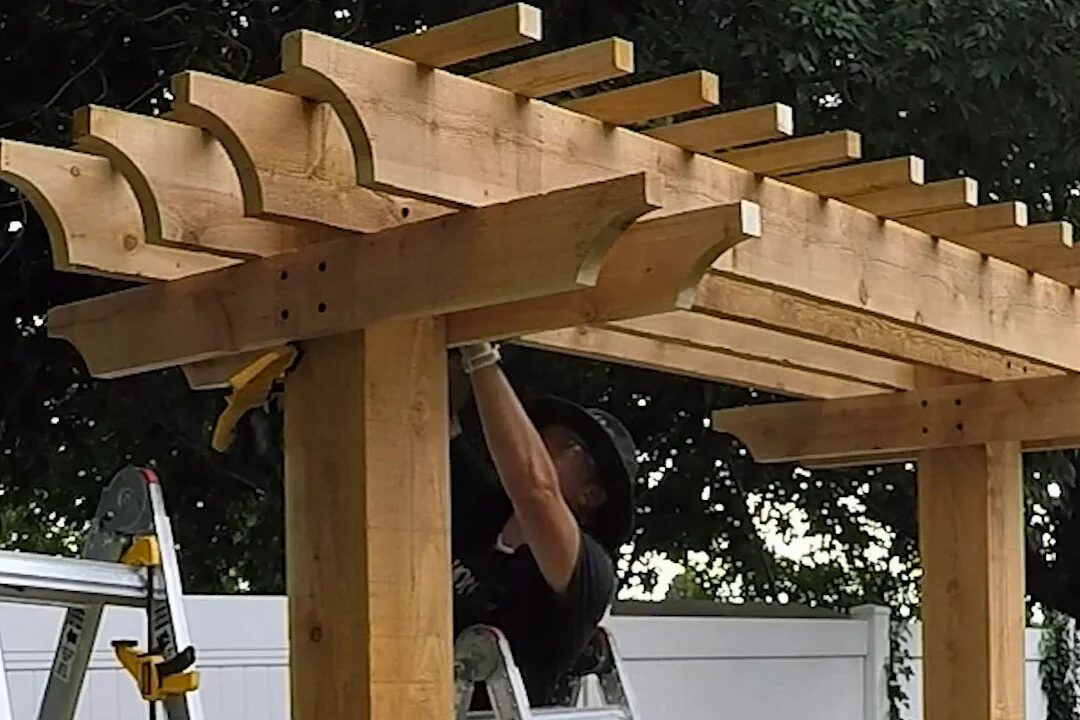
Handmade Arbor Swing: Lattice Purlins & Beam Supports (Part 2)
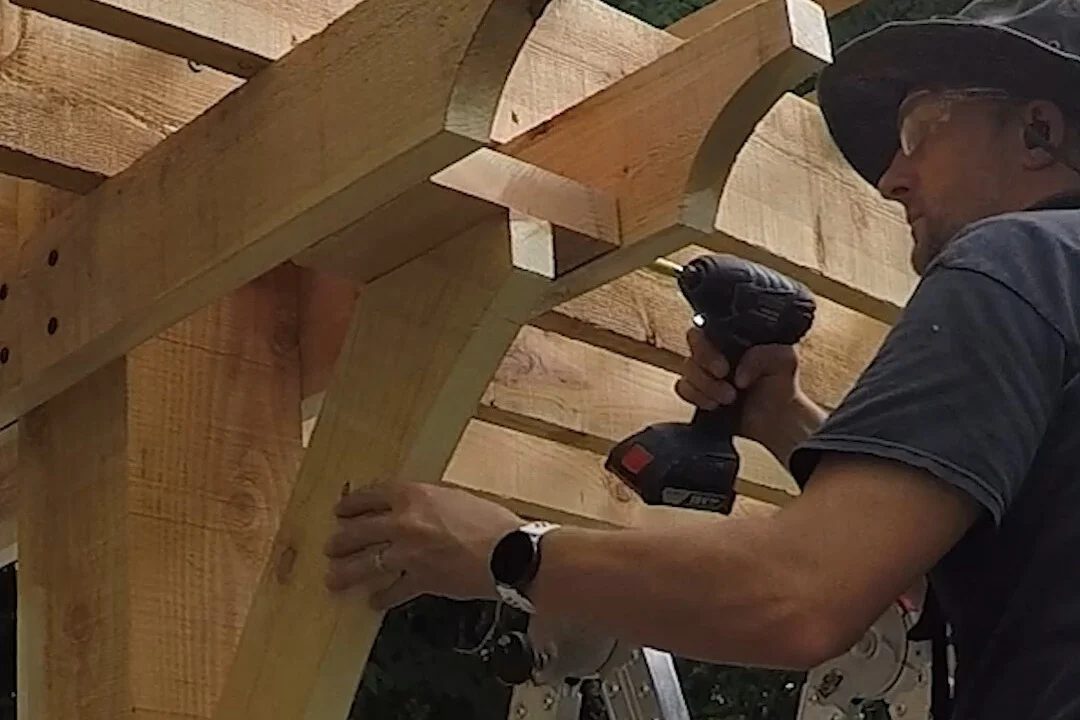
Handmade Arbor Swing: How to Install Curved Wood Knee Braces
Handmade Arbor Swing: How to Stain Cedar for Outdoor Use
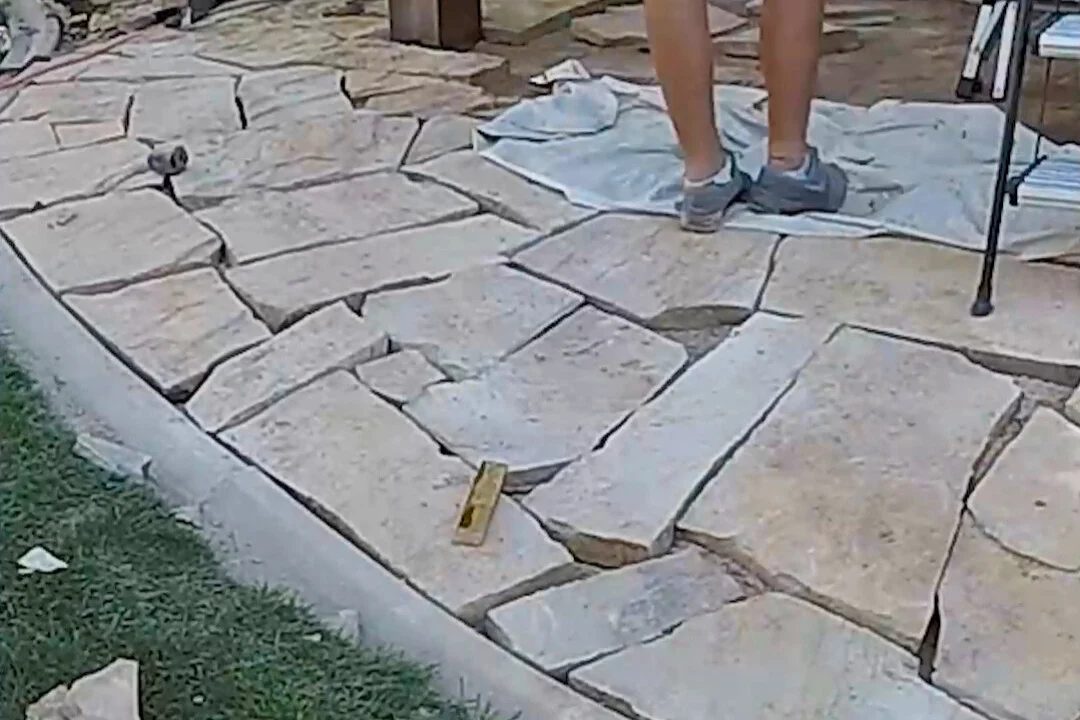
Handmade Arbor Swing: How to a Install Flagstone Patio
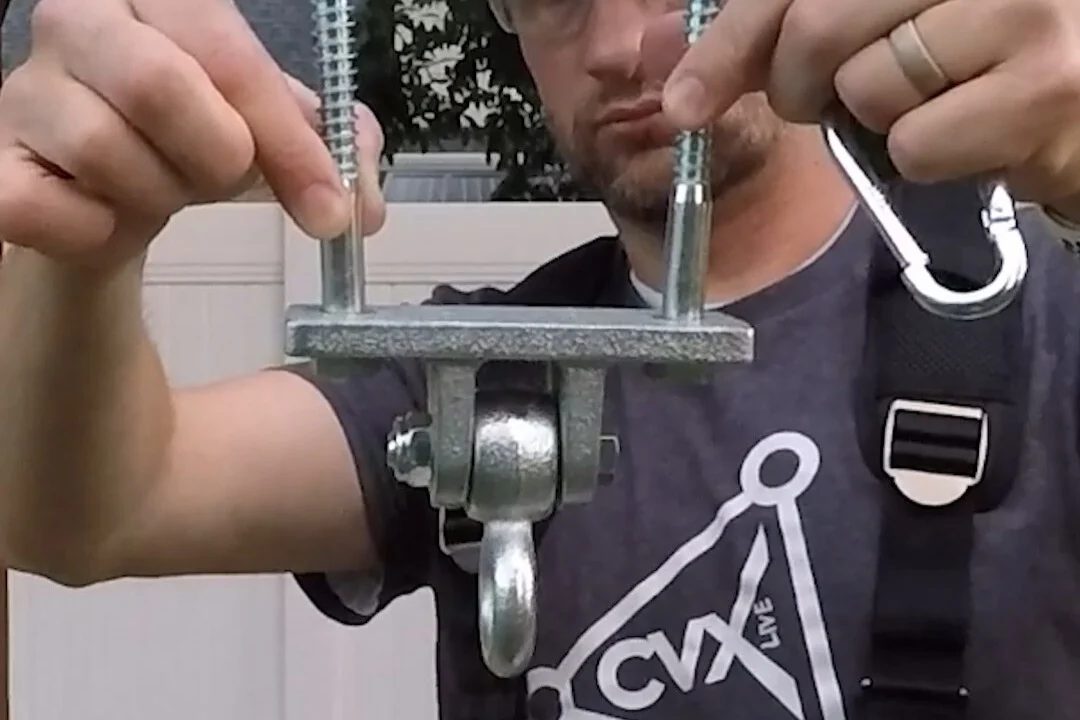
Handmade Arbor Swing: How to Install Porch Swing Brackets
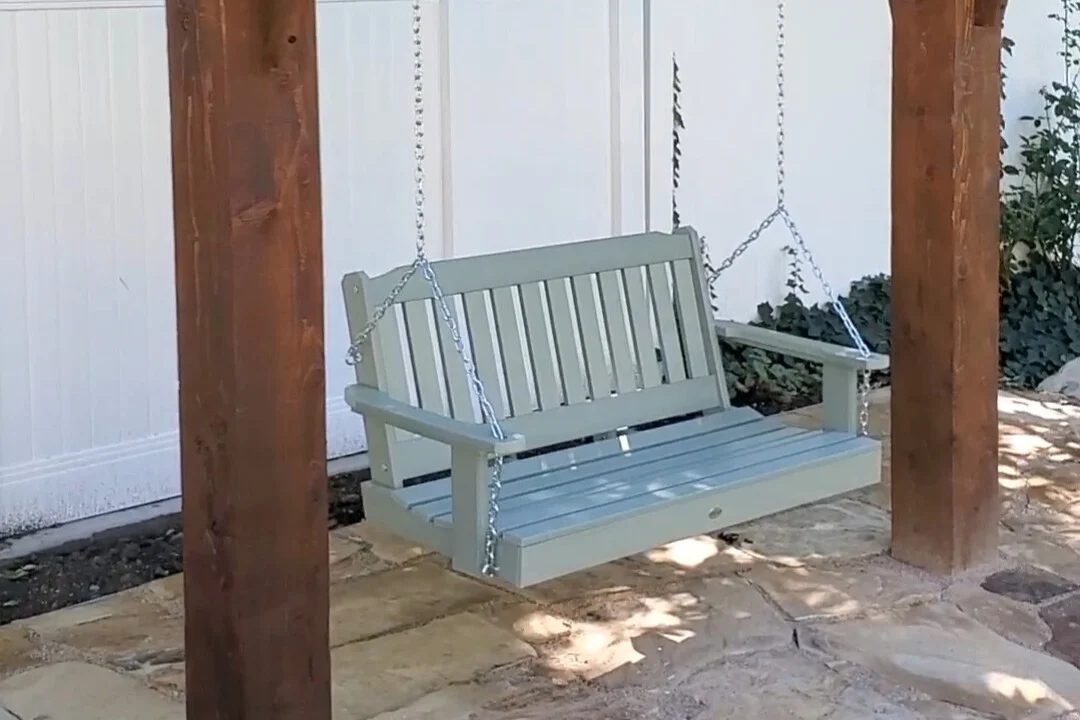
Handmade Arbor Swing: How to Hang a Porch Swing
Pin this to save and share!