This porch and patio walkthrough stays in the order the work happens.
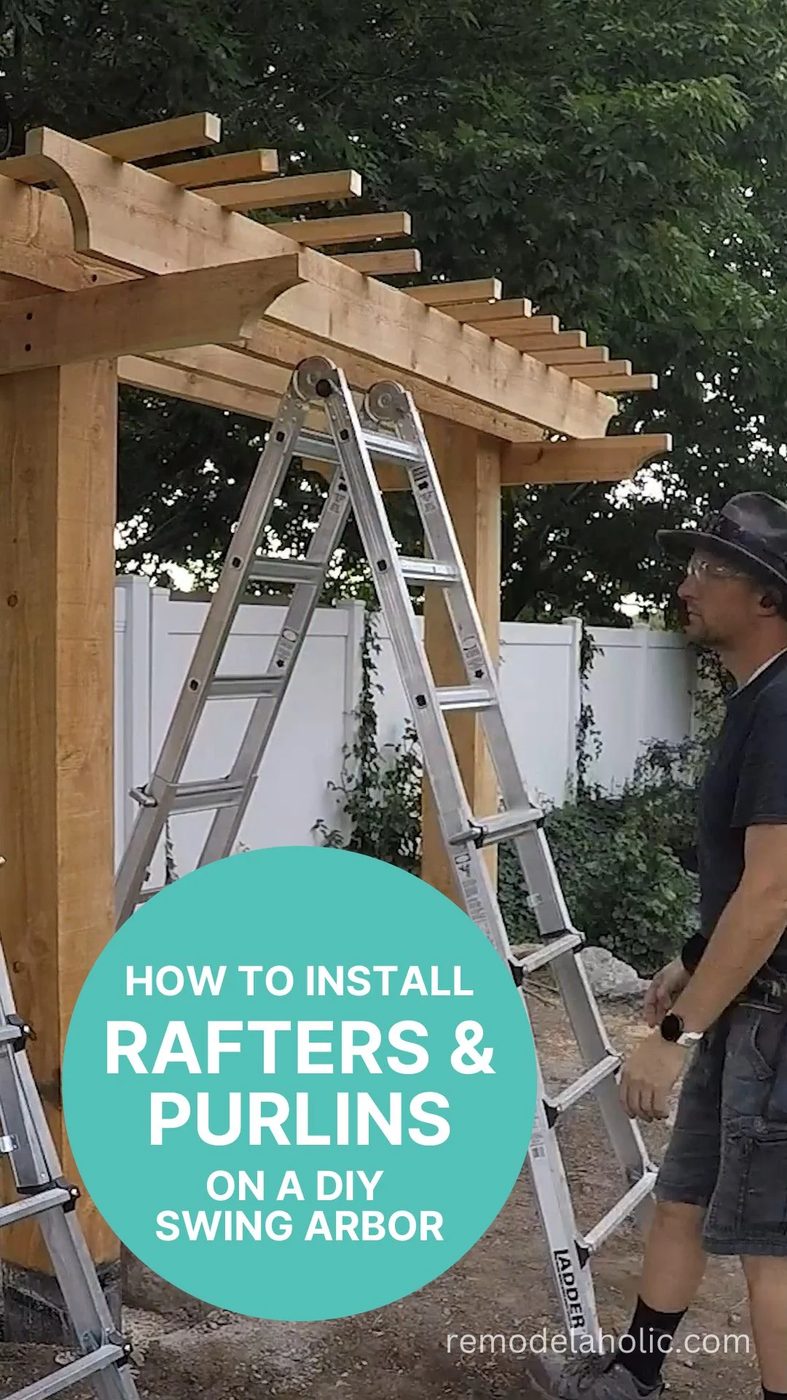
We’re sharing step by step as we build a Handmade arbor swing in a striking backyard! This is Step 9: how to install rafters or purlins on an arbor or pergola.
Follow along on YouTube, Instagram, TikTok, or Facebook to see each step, or subscribe here to get our new blog post emailsWatch the full Handmade Arbor Swing Step-By-Step video playlist here.
Rafters vs. Purlins
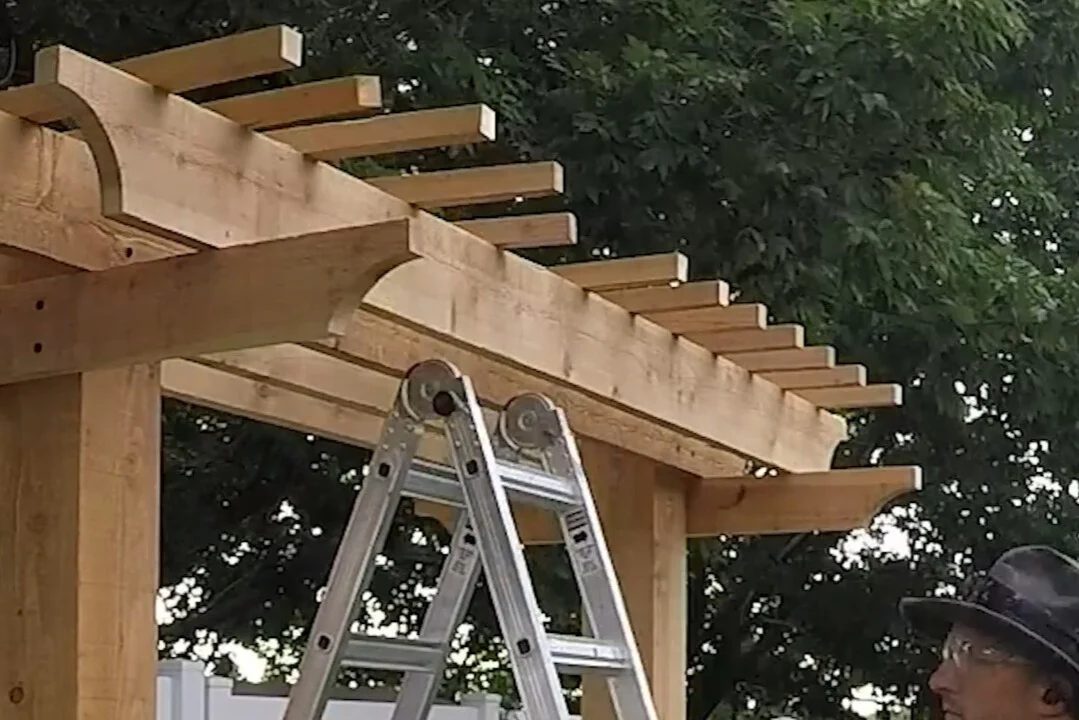
At this step of the Handmade arbor swing process, I’ll show you the rafter installation on the open structure — or are they purlins…?
I called these top lattice boards “rafters”, because the previous step was installing the wood beams that the arbor swing will hang from. Technically, I guess, those are rafters (since we cut those nice rafter tail designs!) and these would be purlins. Since this is a small arbor, it doesn’t have all of the same pieces as a pergola would require for stability, so the naming of the parts is a little different. No matter what you call the pieces, it’s coming together nicely!
In a traditional wood pergola, there are 4 main parts that come together to provide a strong structure:
- Posts: upright vertical, typically secured with footings
- Beams: horizontal, placed atop or between the posts
- Rafters / Joists: horizontal, placed on top of the beams and running perpendicular to the beams
- Purlins: horizontal, placed on top of the rafters and running perpendicular to the rafters (parallel to the beams)
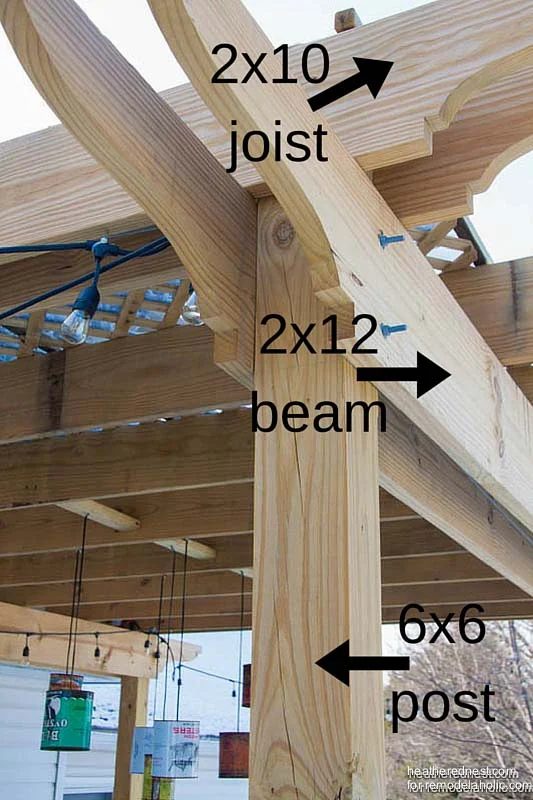
Most pergolas also have angled support brackets, and then there are other decorative parts or added support parts depending on the project.
This stacked roof structure is a great stable option for pergolas and arbors, and the flat framing with square angles makes it straightforward to calculate rafter length and other dimensions.
For pergola designs that aren’t square or rectangular, the needed parts and supports will be different, like for this round pergola around a firepit.
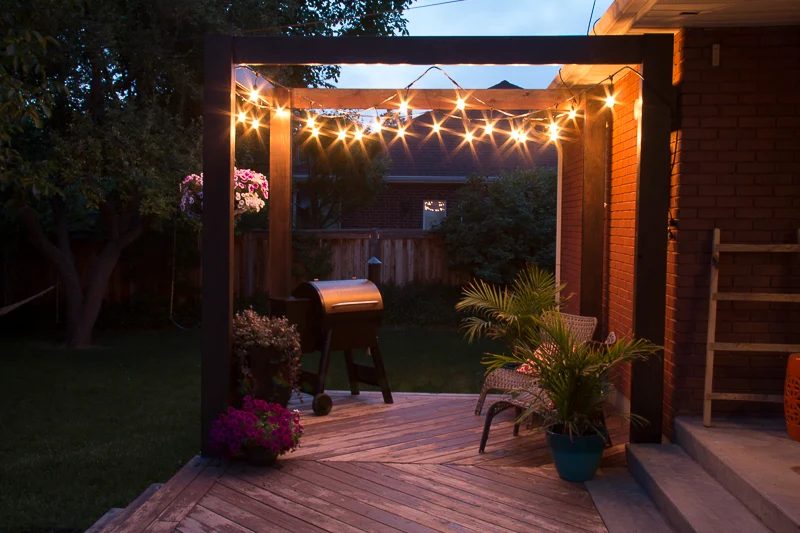
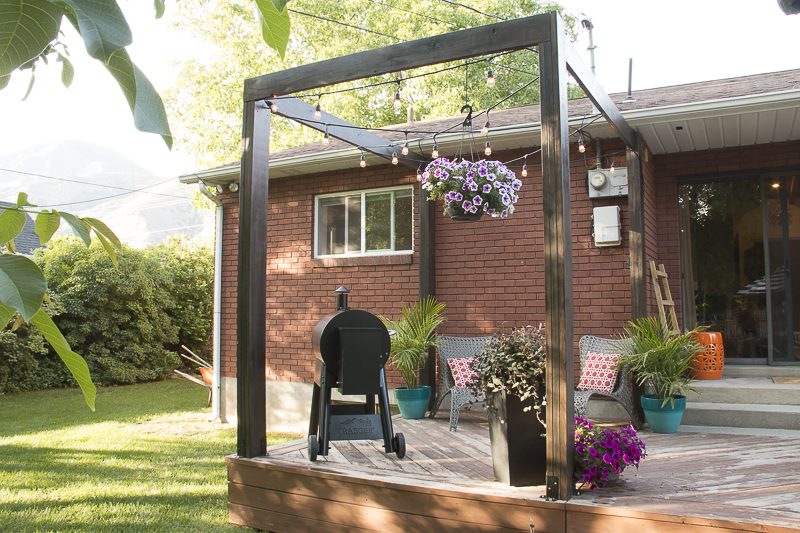
For my modern deck pergola, I skipped the rafters and purlins to get the open design we wanted, while also knowing that this would provide less shade and less stability for hanging things like chairs or swings — but it works perfectly for what we want.
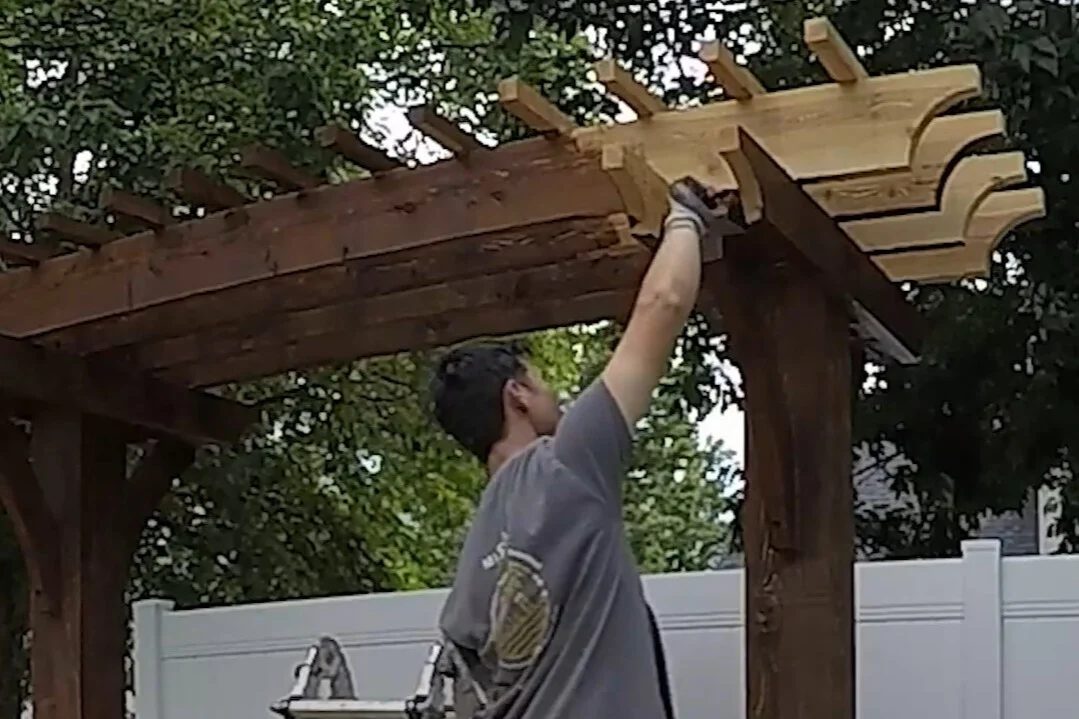
So, call these parts I’m installing today rafters or purlins, whatever you prefer. They’re the top lattice that adds shade and structural stability to this Handmade swing arbor.
A flat-top roof on a pergola or arbor is much simpler to build than roof framing for a shed with a trussed roof, ridge beam, etc where you have to calculate the roof pitch and roof rise and ensure the roof construction meets local building codes.
Handmade Swing Arbor Rafter Installation
These purlins (or rafters) are the 2×2 boards I ripped down from the 2×6 cedar boards in a previous step. Once they are cut to the correct length, the rafter installation process (or purlin installation process) is pretty direct, especially since this is a flat open roof rather than a peaked structure with trusses. You’ll just need a drill/driver, tape measure, and framing square.
- Measure and mark the rafter / purlin locations. These should be evenly spaced along the length of the beams / rafters, with the middle one centered.
- Place one rafter / purlin at each end, at the measured distance from the end of the crossboards. Check that they are centered along the depth of the arbor and square to the beams / rafters, running perpendicular.
- Attach the end rafter / purlin boards in place using 3″ exterior wood screws.
- Place and attach the center purlin / rafter. Check that it is centered and square.
- Place and attach the remaining purlin / rafter boards on one side, evenly spaced.
- Place and attach the final purlin / rafter boards on the other side, evenly spaced.
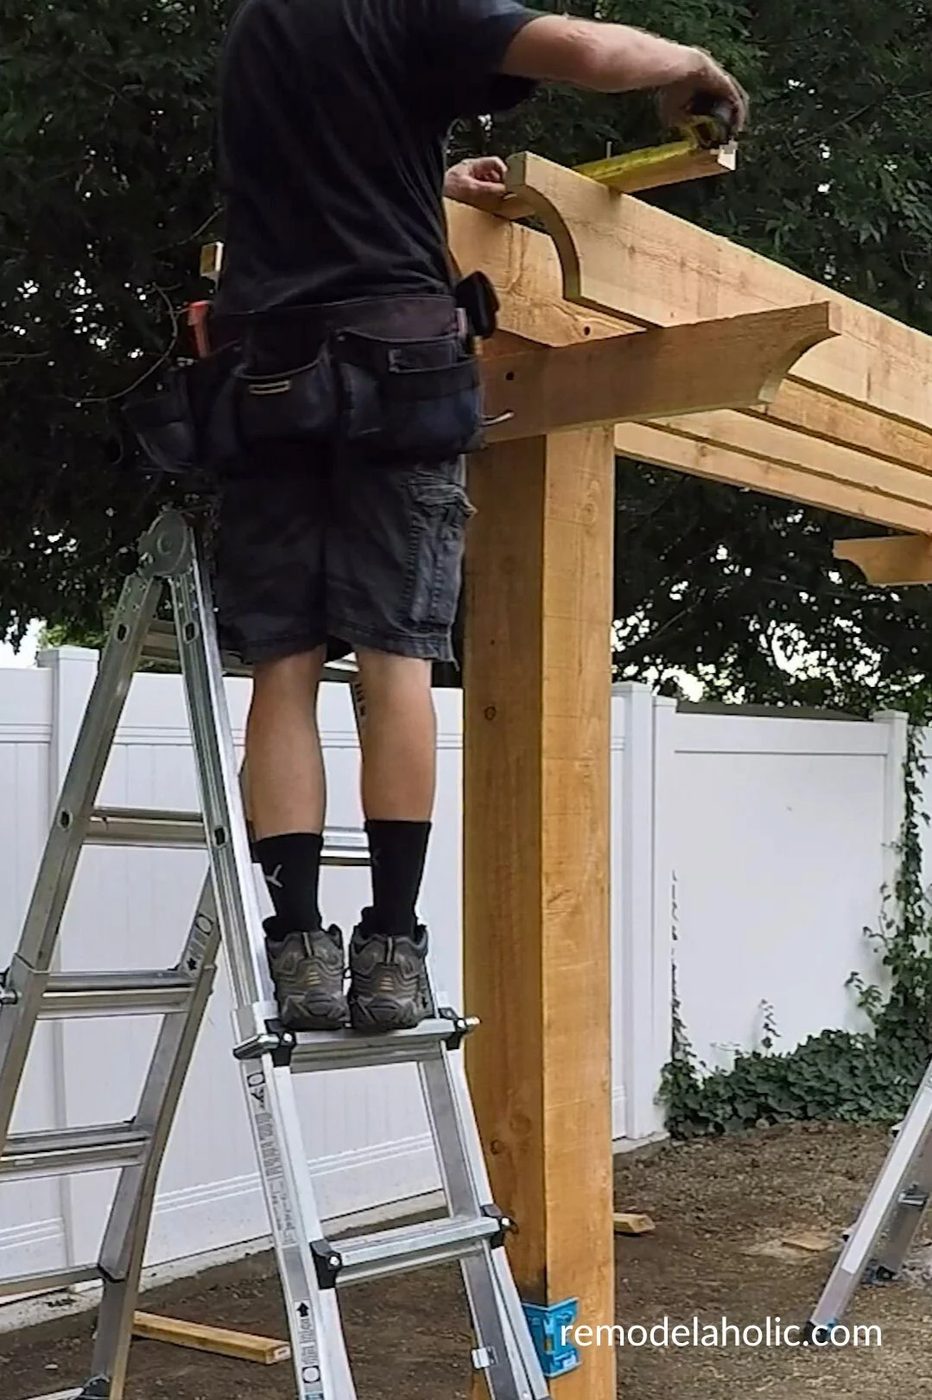
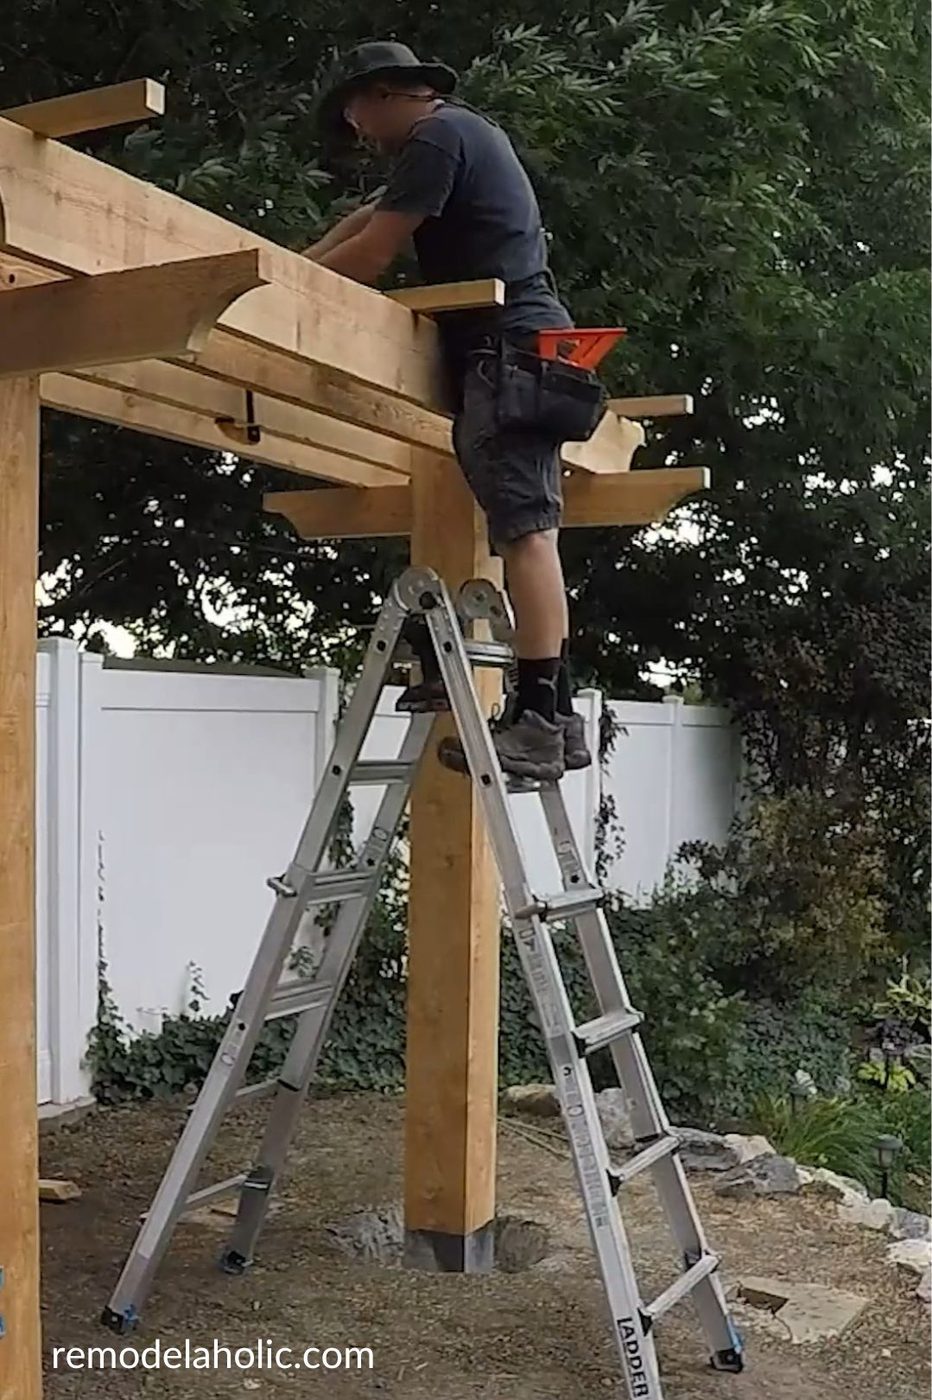
That’s it! This Handmade arbor swing is just about finished.
Stay tuned and subscribe to see how I stain the arbor, hang the swing, and install the flagstone paver patio – right up until the finished project reveal!
- YouTube
- TikTok
Step By Step: Handmade Arbor Swing
We’ll share the step-by-step details as we go, right up until the final striking reveal! Here are all the steps:
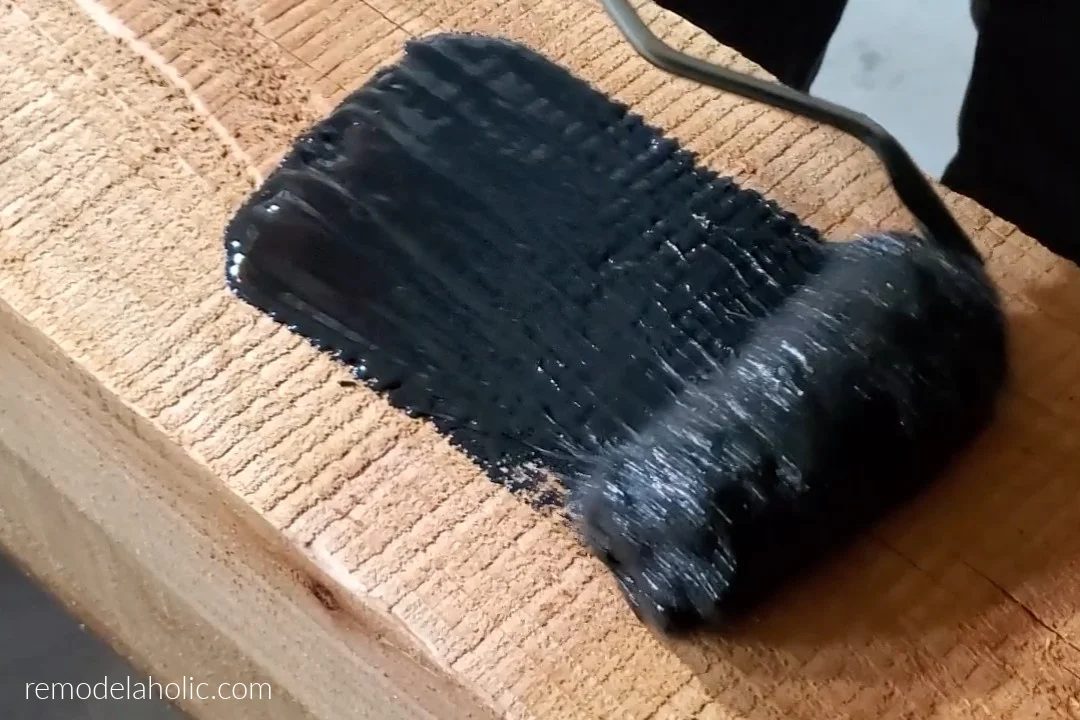
Handmade Arbor Swing: How to Seal Wood Posts
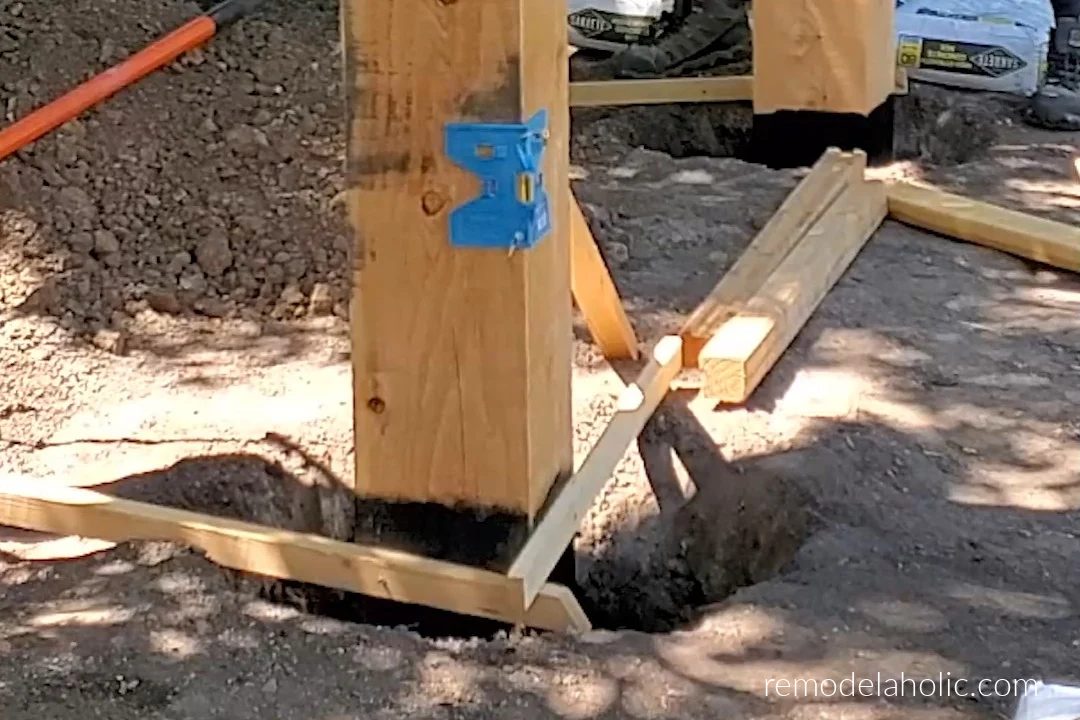
Handmade Arbor Swing: How to Place and Level Posts
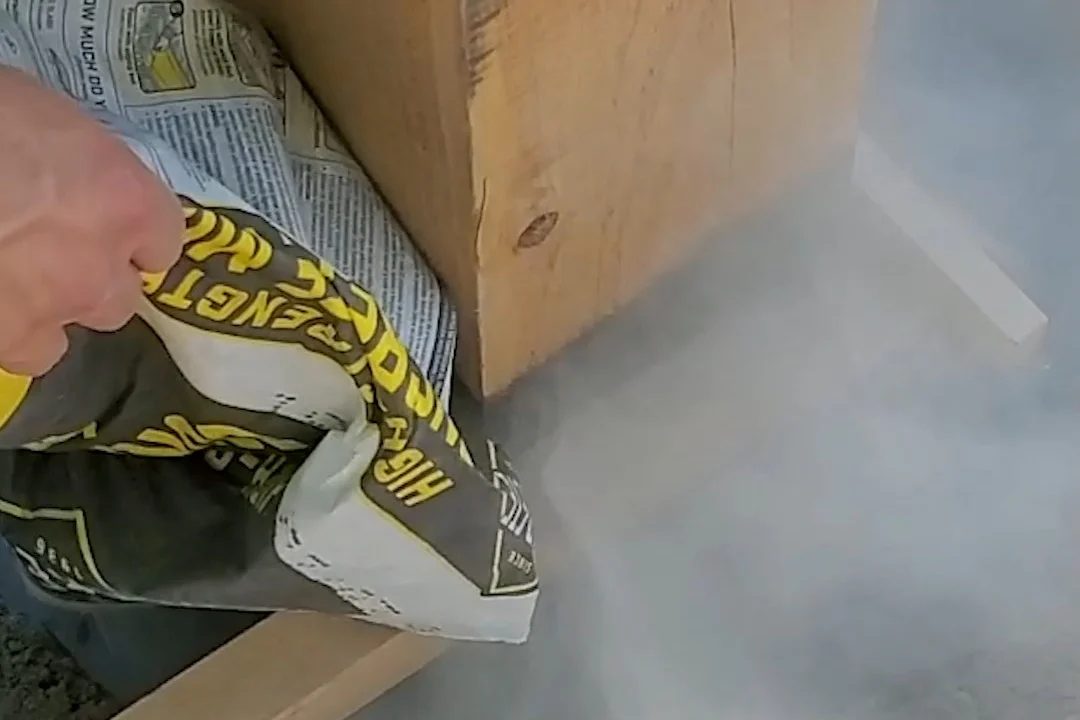
Handmade Arbor Swing: How to Dry Pour Concrete Footings The straightforward Way
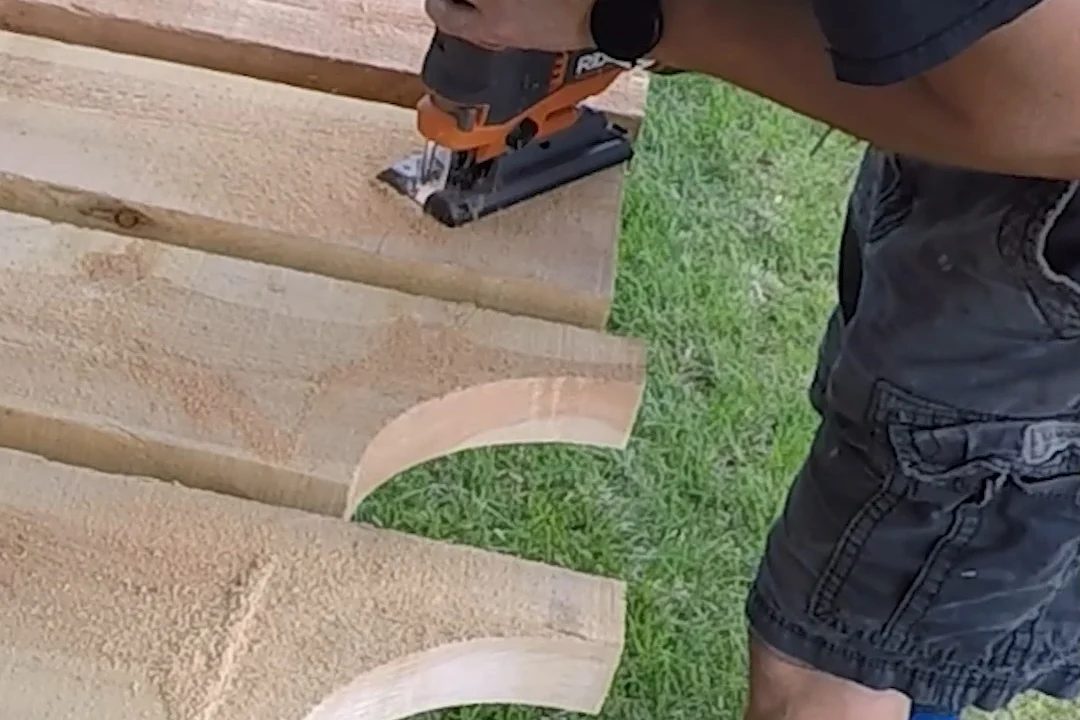
Handmade Arbor Swing: How to Cut Pergola Rafter Tail Designs (with Printable Patterns)
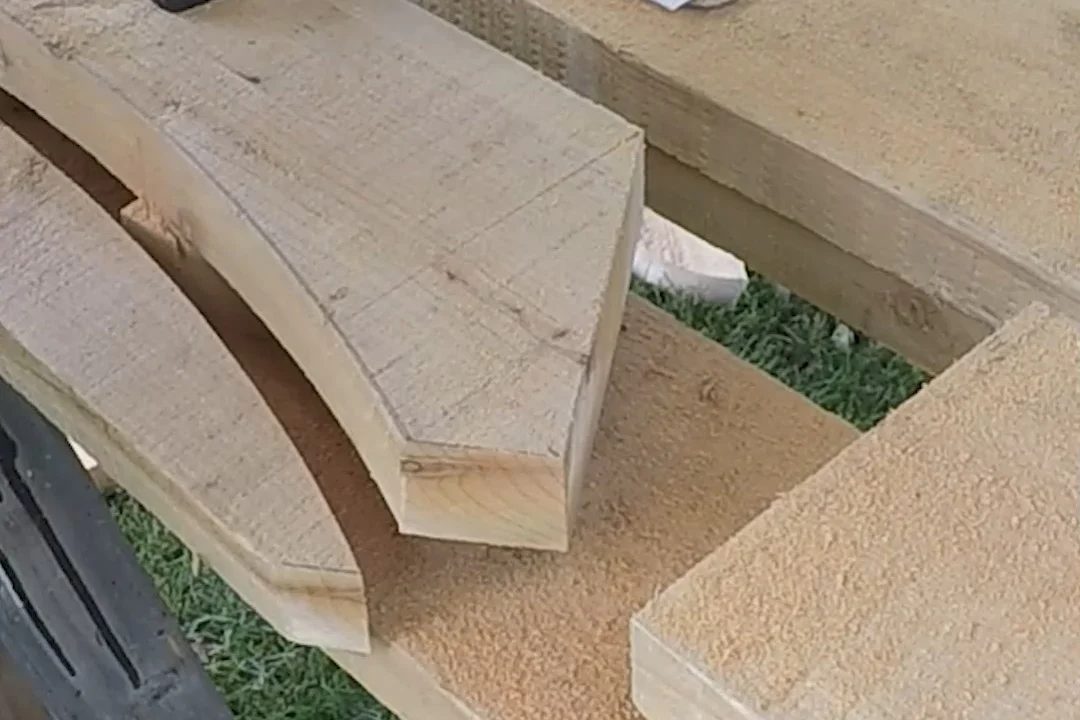
Handmade Arbor Swing: How to Cut Handmade Wood Braces for Pergola Support
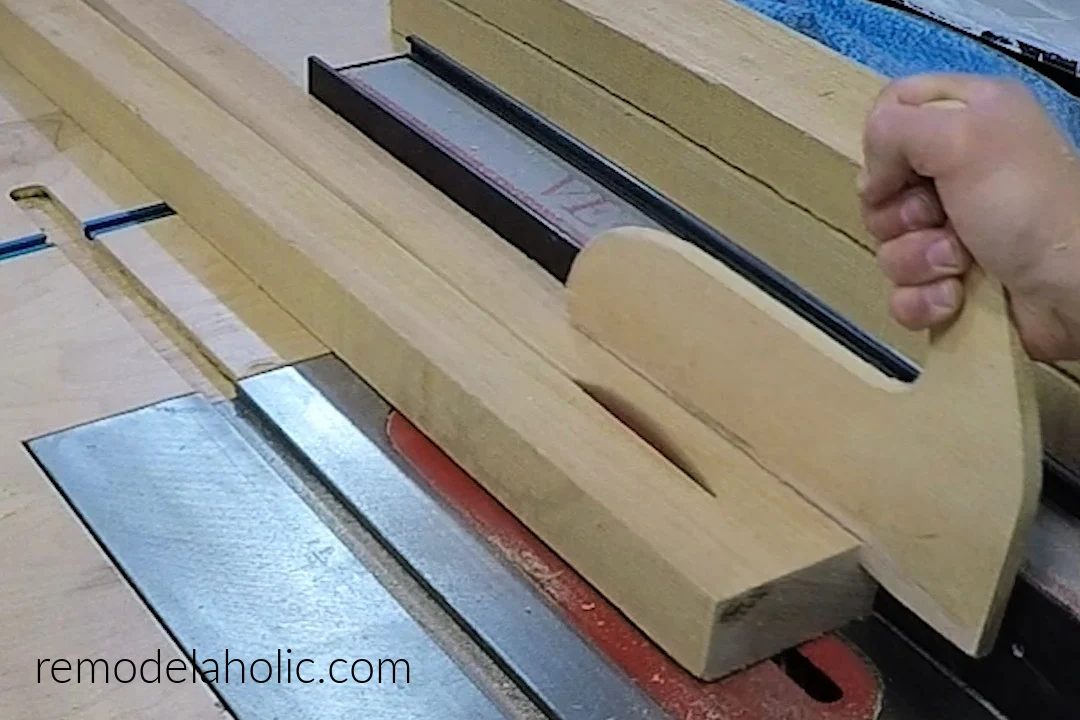
Handmade Arbor Swing: How to Make 2×2 Lumber from a 2×6
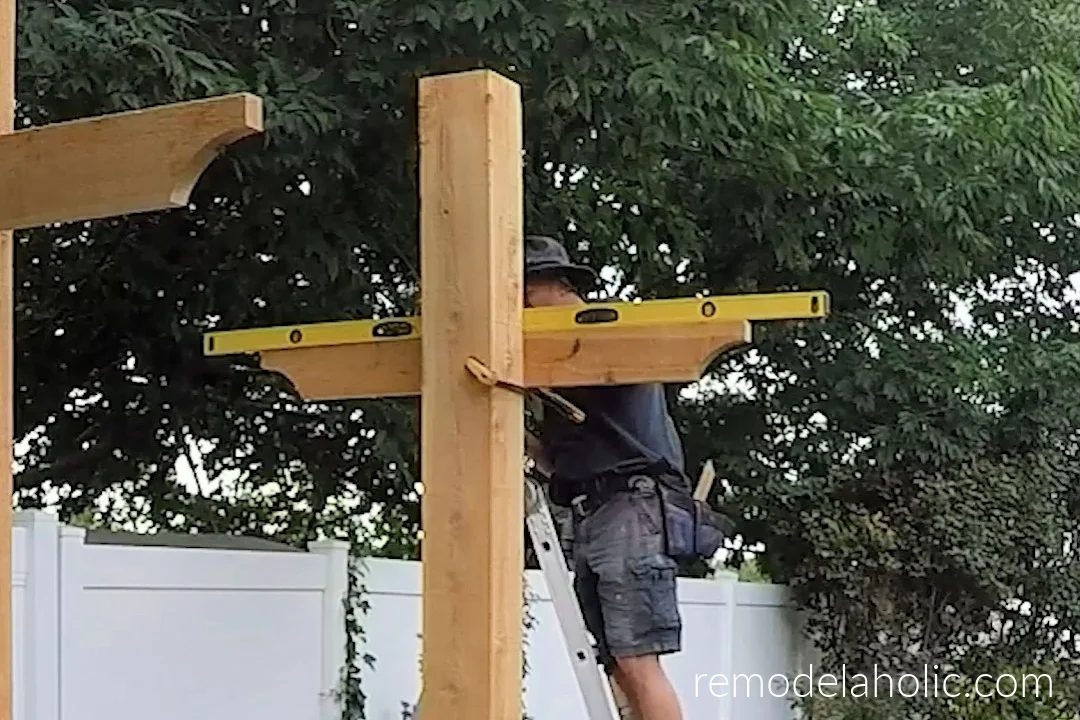
Handmade Arbor Swing: How to Install Wood Beam Supports
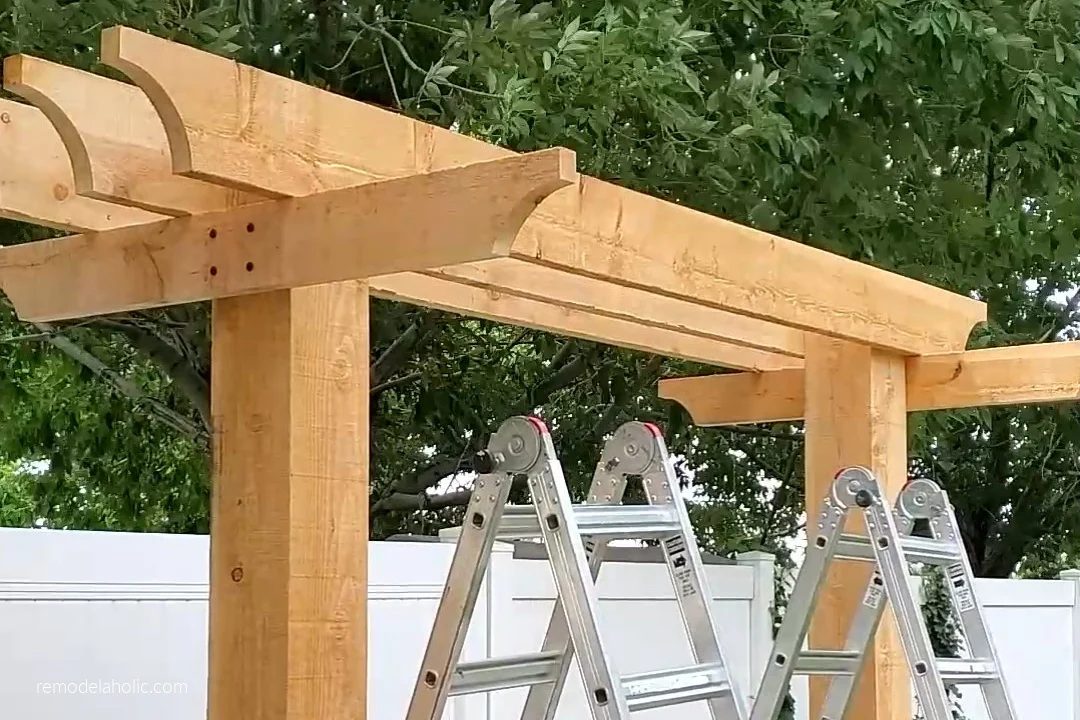
Handmade Arbor Swing: How to Install Arbor Swing Beams
Handmade Arbor Swing: How to Install Rafters / Purlins
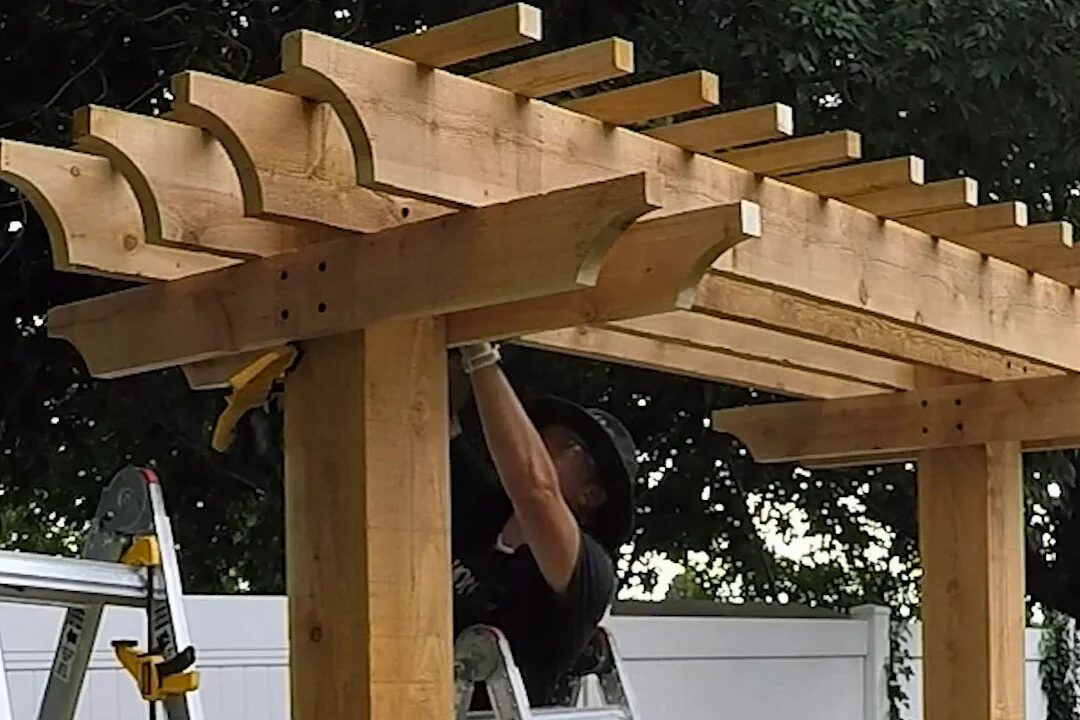
Handmade Arbor Swing: Lattice Purlins & Beam Supports (Part 2)
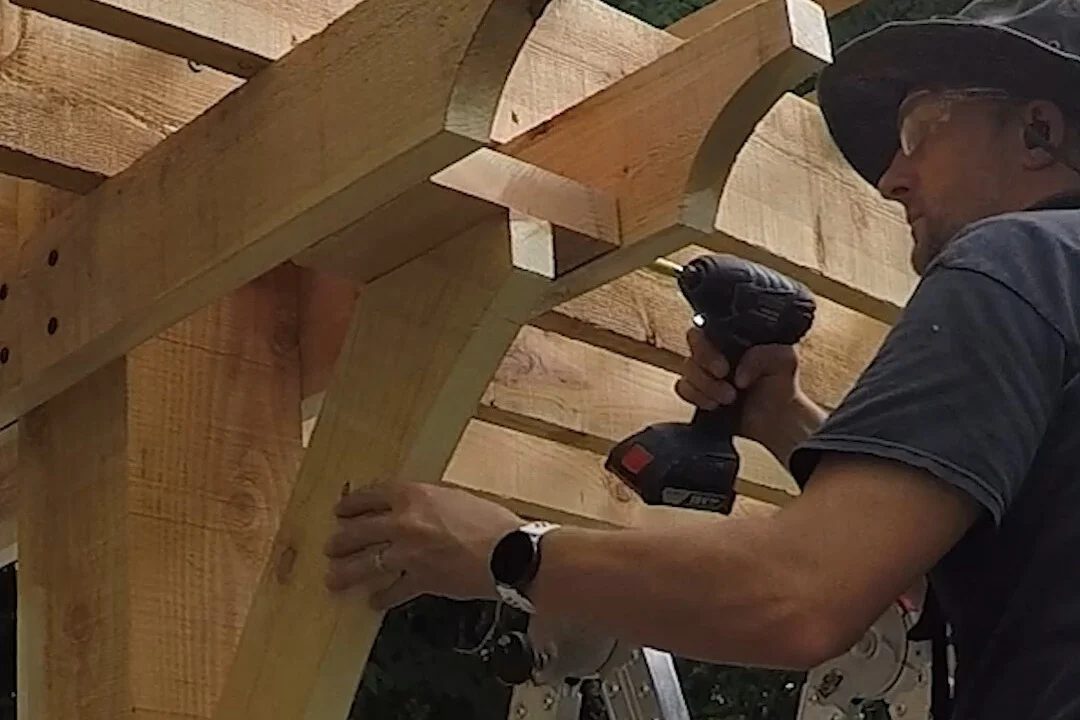
Handmade Arbor Swing: How to Install Curved Wood Knee Braces
Handmade Arbor Swing: How to Stain Cedar for Outdoor Use
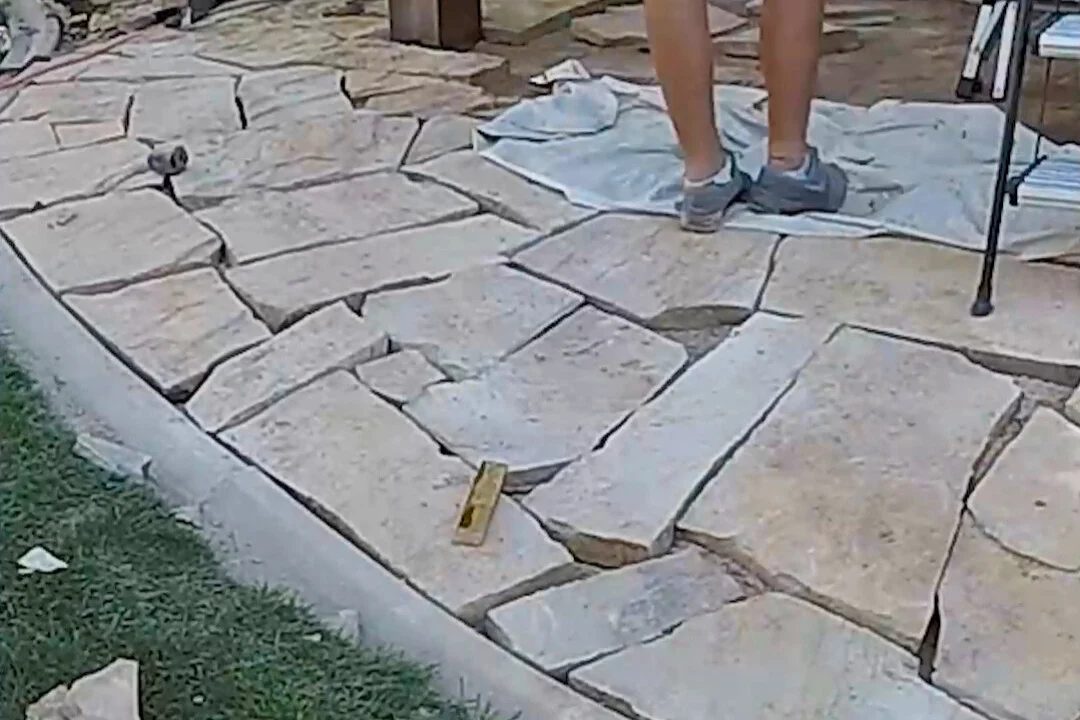
Handmade Arbor Swing: How to a Install Flagstone Patio
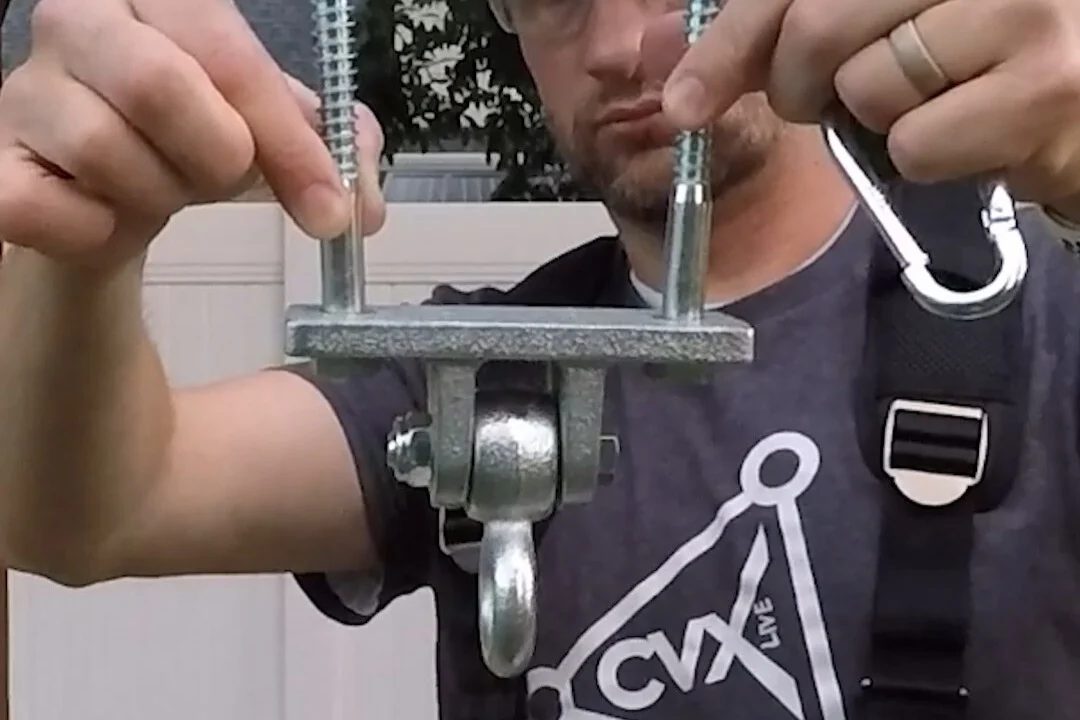
Handmade Arbor Swing: How to Install Porch Swing Brackets
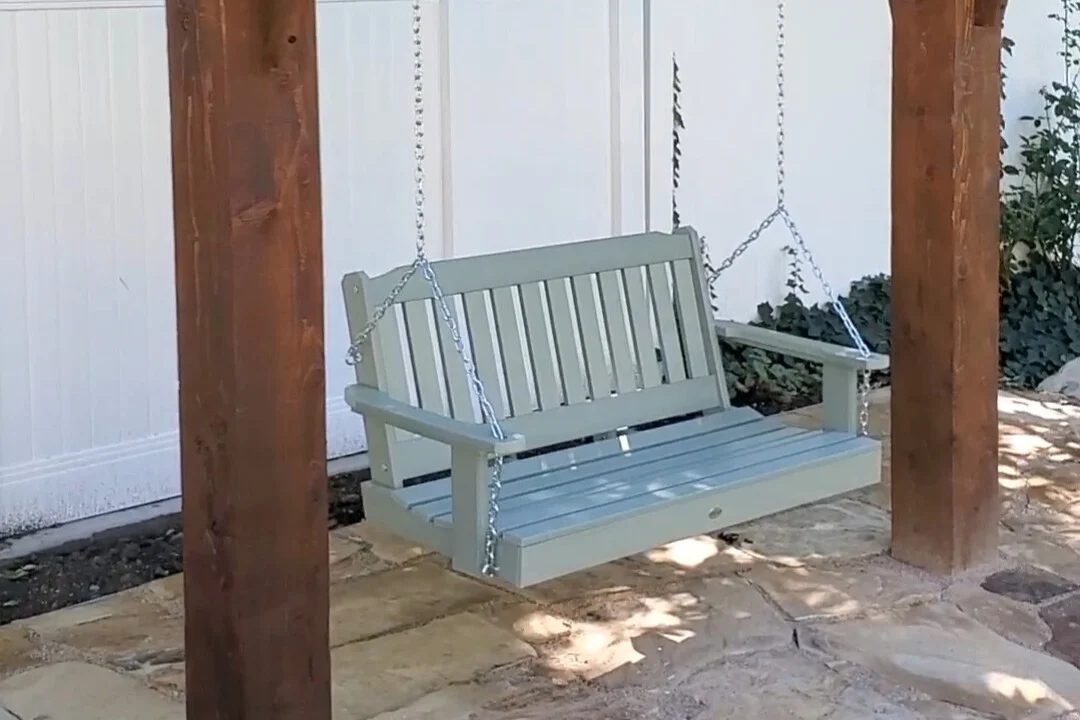
Handmade Arbor Swing: How to Hang a Porch Swing
Pin this to save and share!