Read the sequence from the top before cutting, painting, or moving pieces.
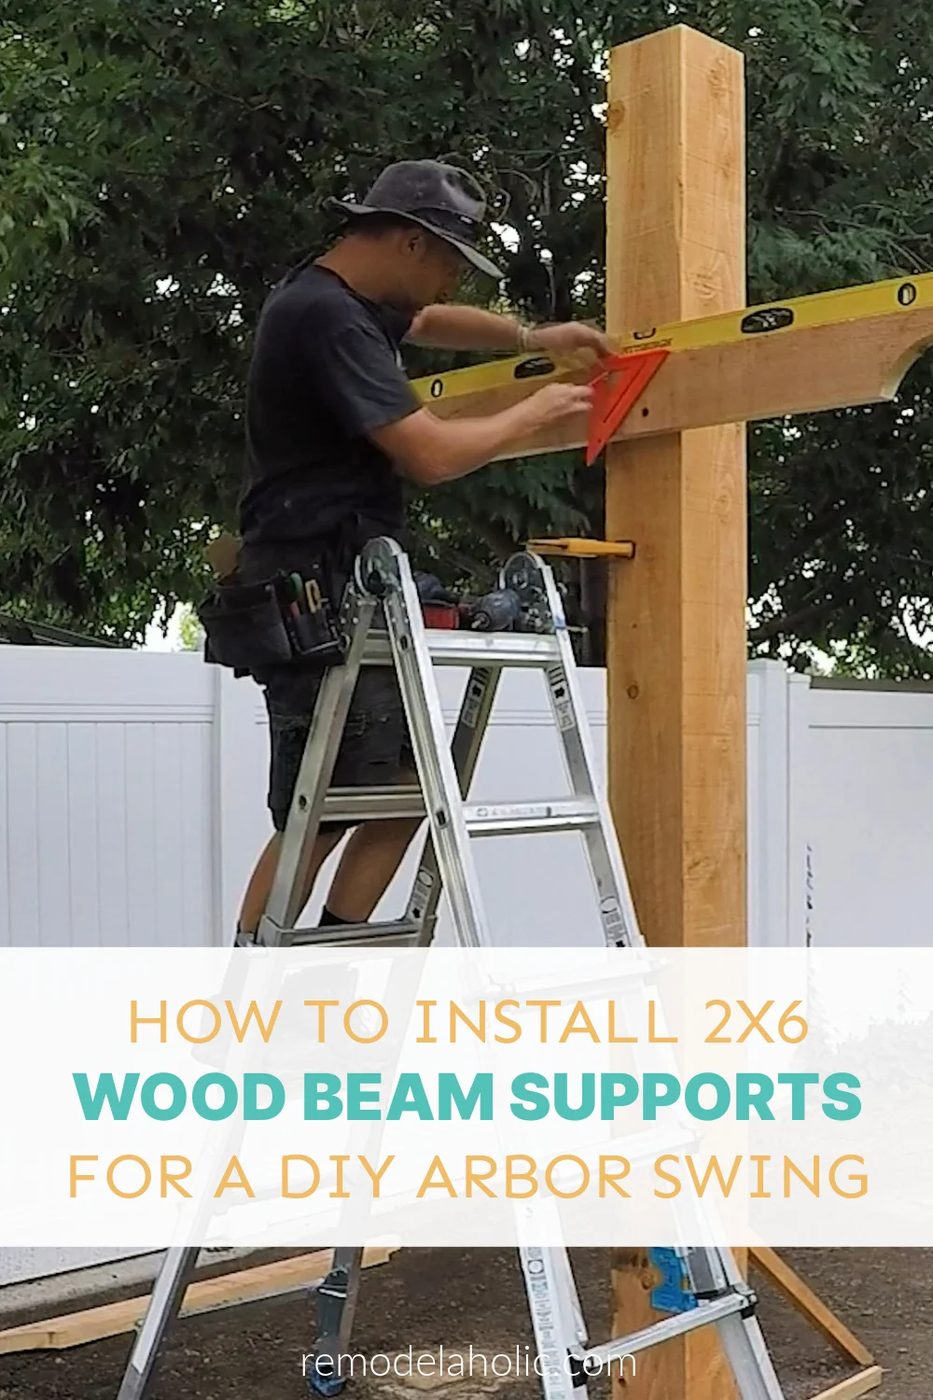
We’re sharing step by step as we build a Handmade arbor swing in a striking backyard! This is Step 7: how to install wood beam supports on an arbor or pergola.
Follow along on YouTube, Instagram, TikTok, or Facebook to see each step, or subscribe here to get our new blog post emailsWatch the full Handmade Arbor Swing Step-By-Step video playlist here.
2×6 Wood Beam Supports on the Handmade Swing Arbor
I designed this Handmade swing arbor to use affordable and readily-available lumber, so the design uses primarily 2x redwood boards (like this Handmade deck pergola walkthrough) rather than thick square cedar beams like the rough lumber pergola I built.
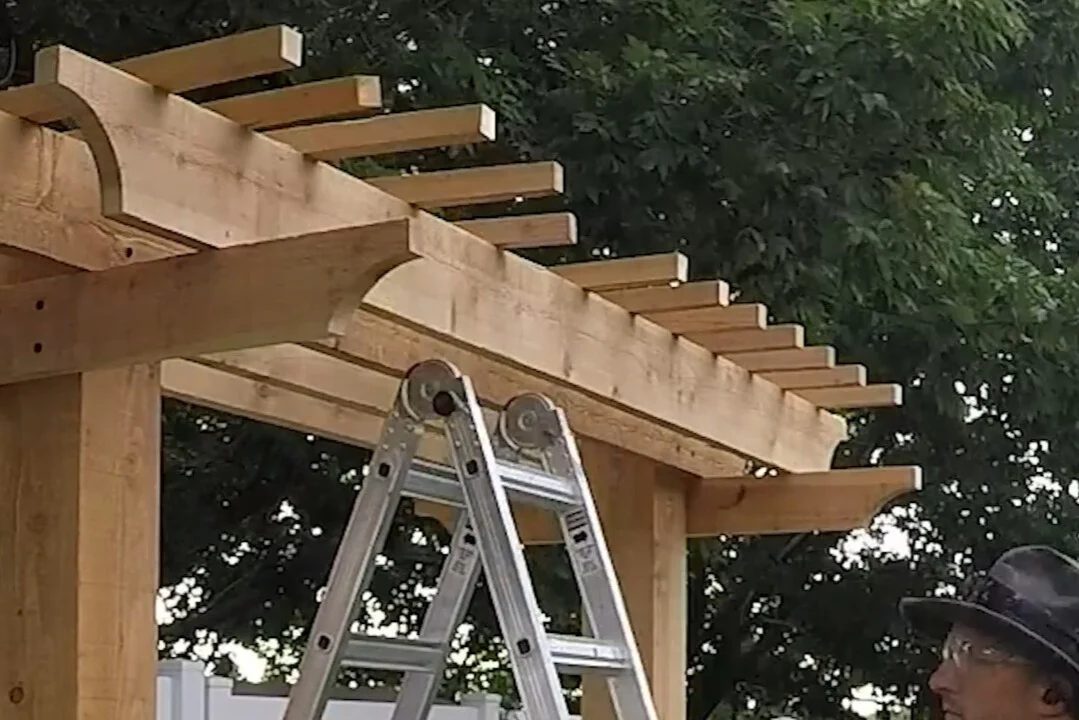
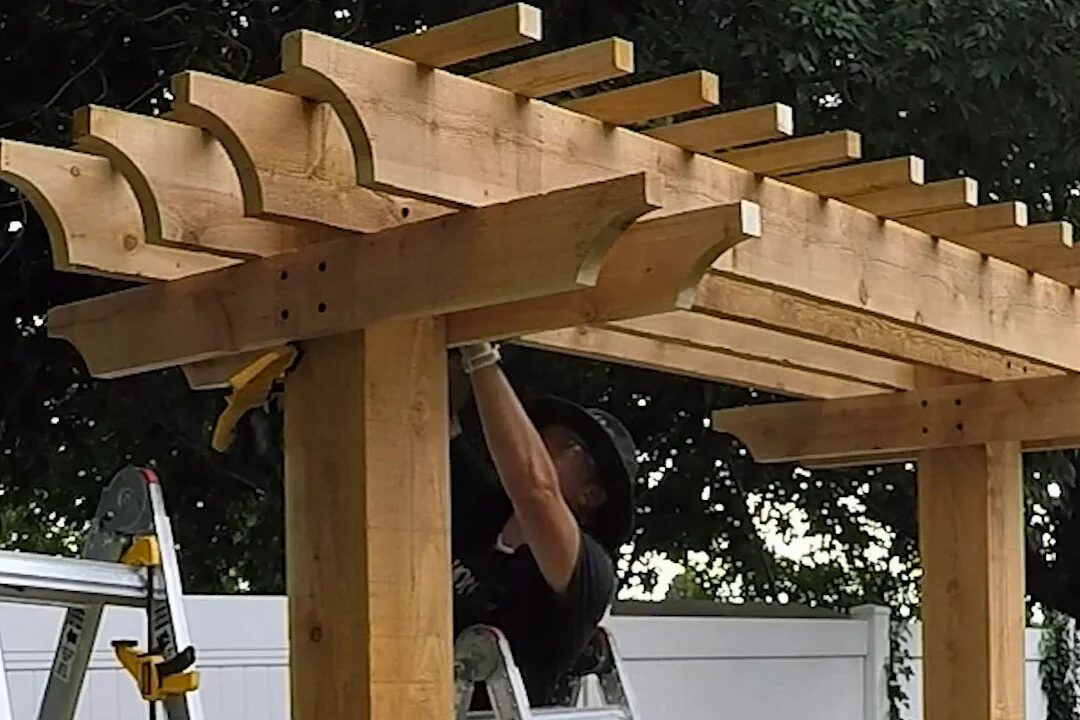
The swing arbor mimics a pergola design – it’s anchored with thick 8×8 square posts, then the beams are 2×8 boards rather than square wood beams. A pair of 2×6 wood beam supports at each end (around the post) holds up the 4 arbor beams.
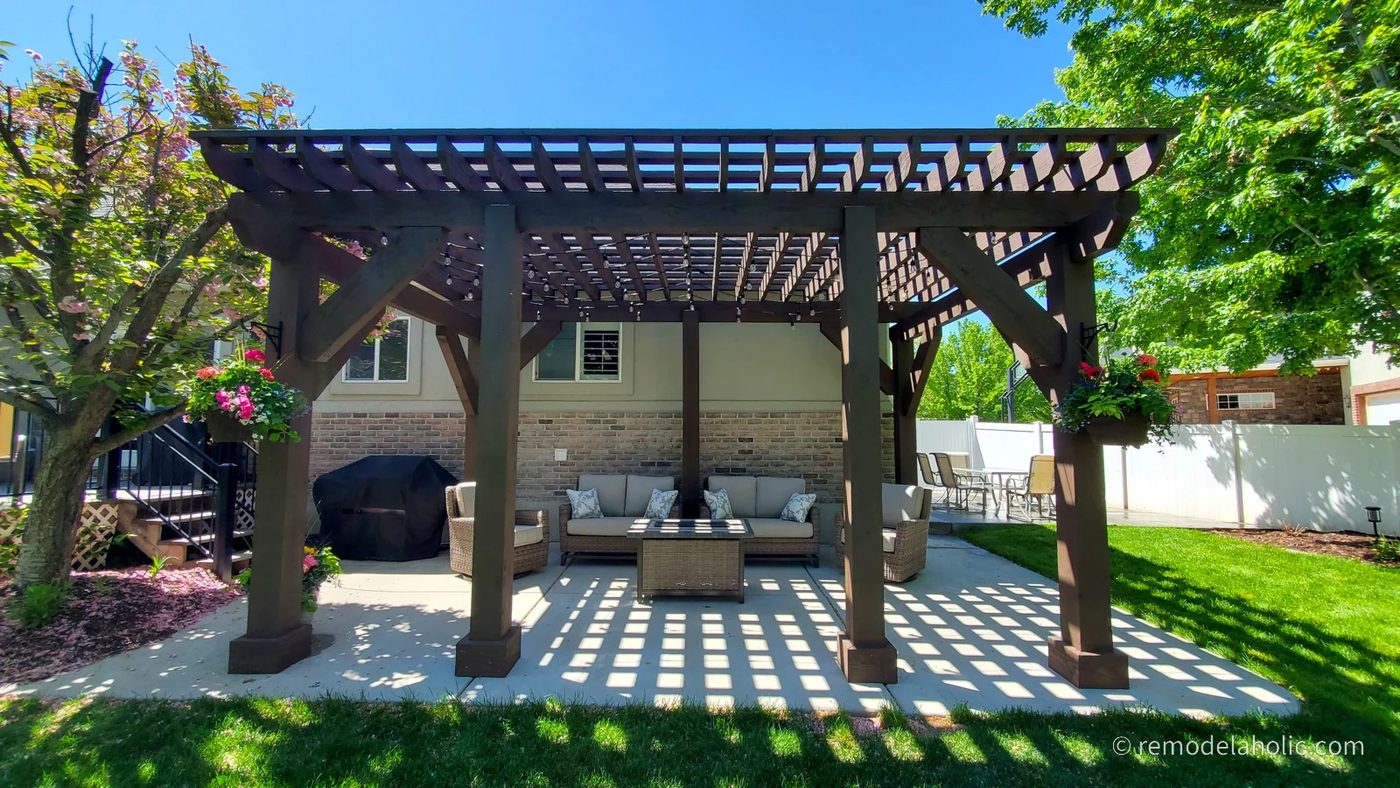
This is a great method to have a strong arbor or pergola structure without the extra expense and tools/skills needed to notch and trim thick timber beams like I did on the pergola. The size of the beam needed will vary depending on the beam span needed and wood species – for a single standalone porch swing arbor, the 2×6 wood support beams and 2×8 beams are sufficient to prevent sagging, but for the larger firepit pergola for swings, the thicker beams add extra strength (and also match the posts for a better design).
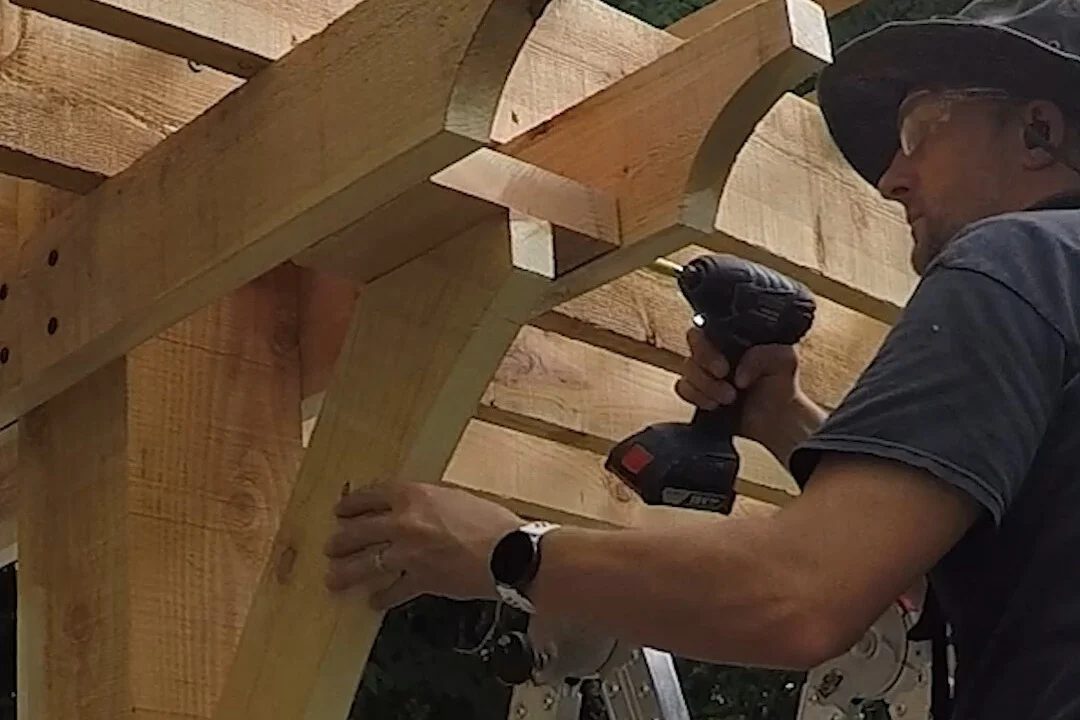
These wood beam supports also provide an attachment point for the wood brace corbels (not installed yet) – and they all look really nice together with the matching curved rafter tails!
Since this is an outdoor structure and not a home, we don’t have to worry too much about load-bearing support beams and other technicalities. Depending on the scale of your project, though, you may want to consult a structural engineer or contractor, or you may need a building permit or inspection.
This post contains affiliate links. Learn more and read our full disclosure policy here.
Wood Beam Support Install Supplies
In addition to the 2×6 beams (2 for each post), you’ll need
- Speed square (this orange one is high visibility, harder to misplace!)
- Drill and impact driver
- 4 lag bolts for each beam support (4-6″ long)
- String line level or laser level
- Ladder
How to Install Wood Beam Supports on an Arbor or Pergola Post
Installing wood beam supports is integral to the strength of the structure, and thankfully also a pretty straightforward step in the Handmade arbor swing process.
Once you’ve cut the wood beam supports to length (and cut a nice matching rafter end tail design!), follow these steps to install the wood beam supports.
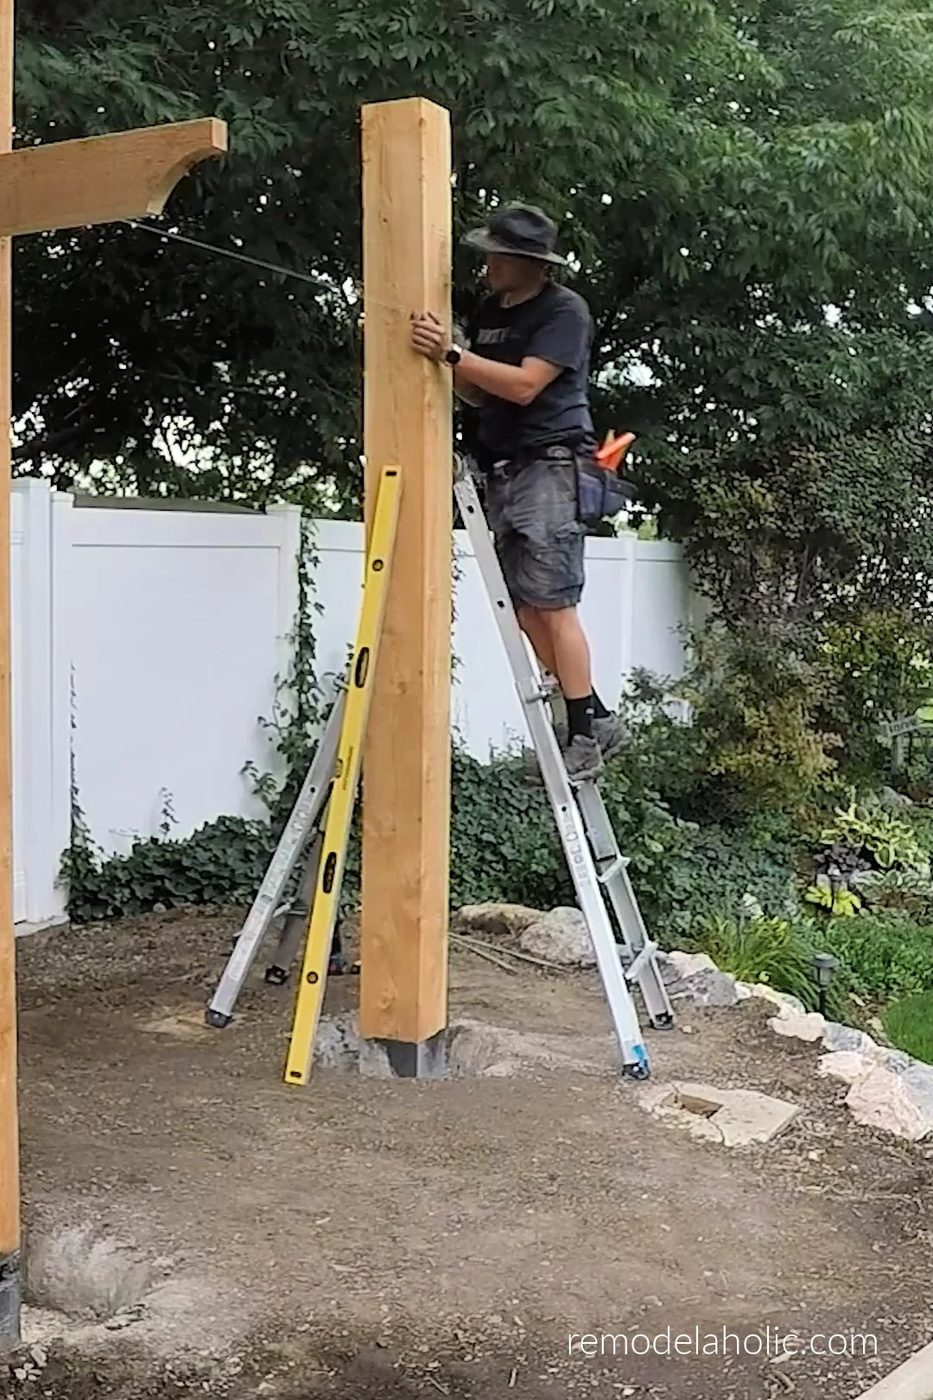
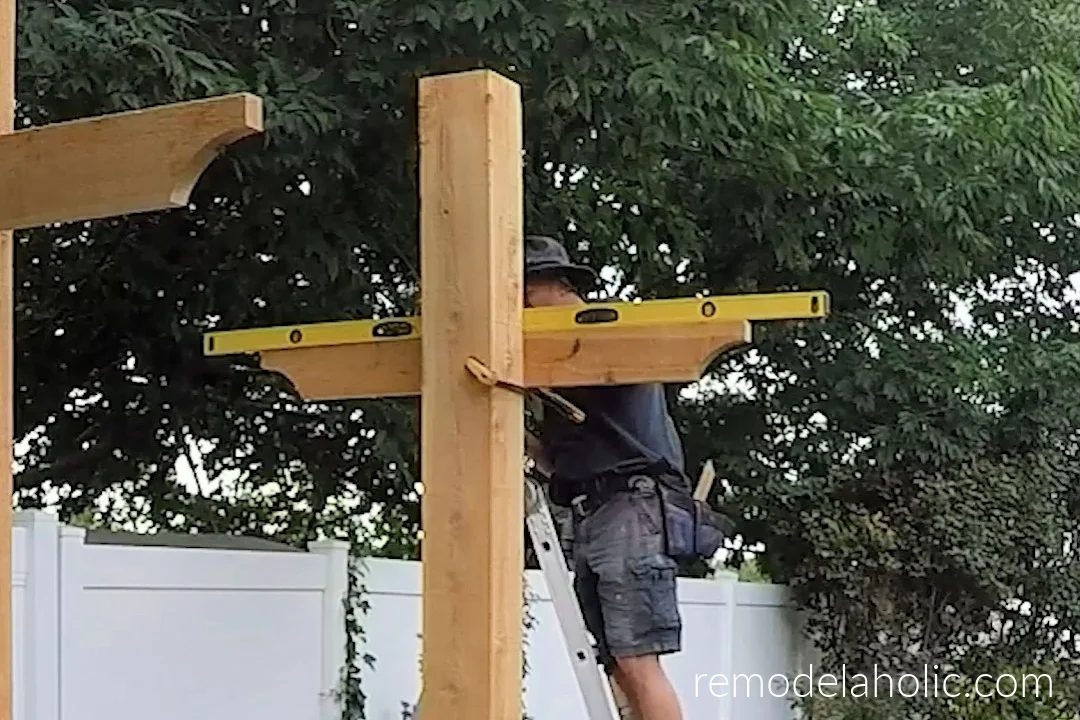
Note: The video shows the process to install one beam support on each post. I later added a second wood beam support to each post (4 total supports). You can add both supports at the same time if you prefer – I prefer adding the second supports later to make it easier to level the rafters.
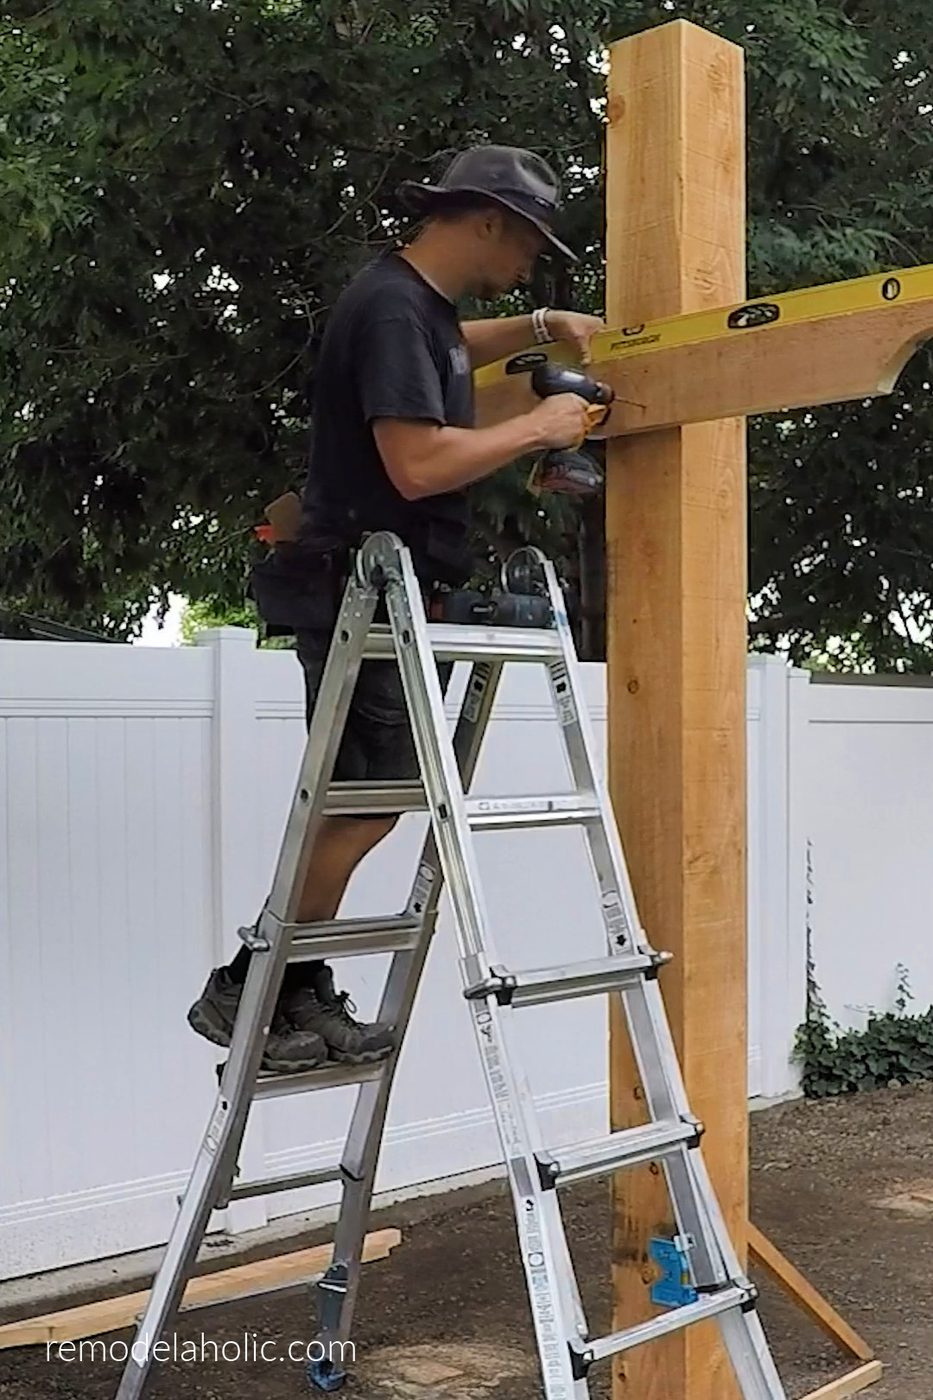
- Mark the center of the wood beam support, and mark a level line on the post at the height of the top or bottom of the beam support, plus mark the center of the post.
- Set the beam support in place and clamp it for temporary support. Adjust for level and center.
- Measure and mark where the 4 lag screws will be placed. Lining up bolts and screws is a sure way to have your project look more professional!
- Predrill the holes for the lag screws, then drive in the lag screws. I used 6-inch lag screws with wide flat heads for a nice finished look.
- On the second post, use a string line level to mark the height of top of the beam.
- Repeat the installation process for the second beam.
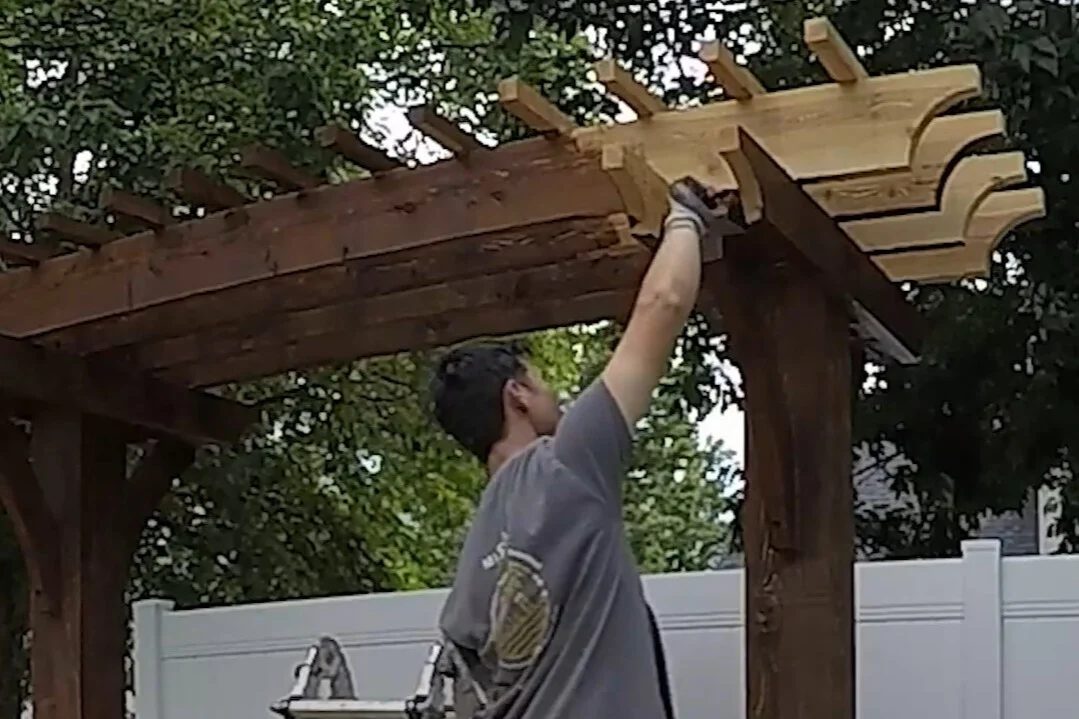
- The second supports on each post are added after the rafters (to make it simpler to level the rafters between the 2 points) following the same process. The lag screws need to be offset on the two opposite beam supports, so they don’t run into each other.
Stay tuned and subscribe to see how we set add the arbor rafters and purlins, stain the posts, and more – right up until the finished project reveal!
- YouTube
- TikTok
Step By Step: Handmade Arbor Swing
We’ll share the step-by-step details as we go, right up until the final striking reveal! Here are all the steps:
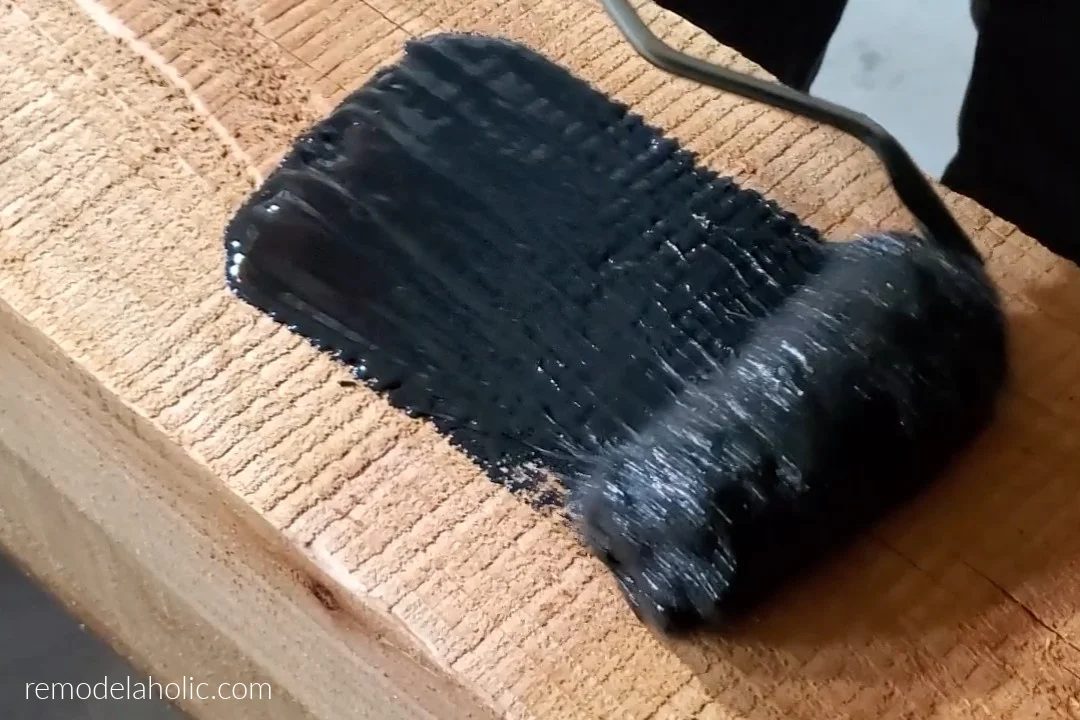
Handmade Arbor Swing: How to Seal Wood Posts
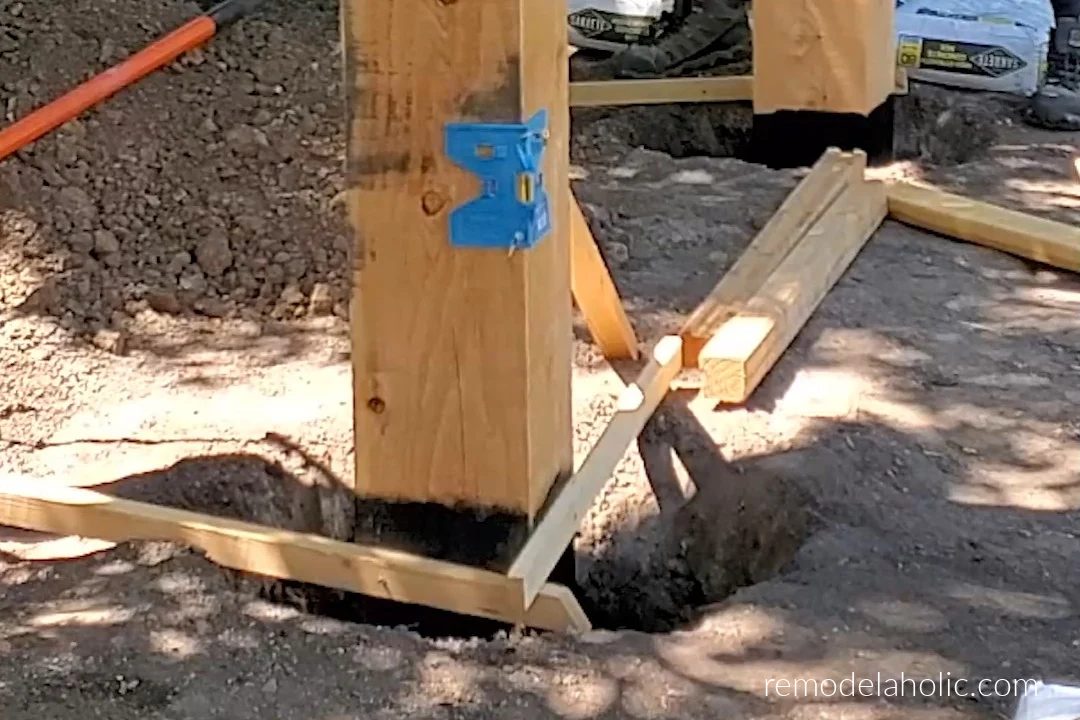
Handmade Arbor Swing: How to Place and Level Posts
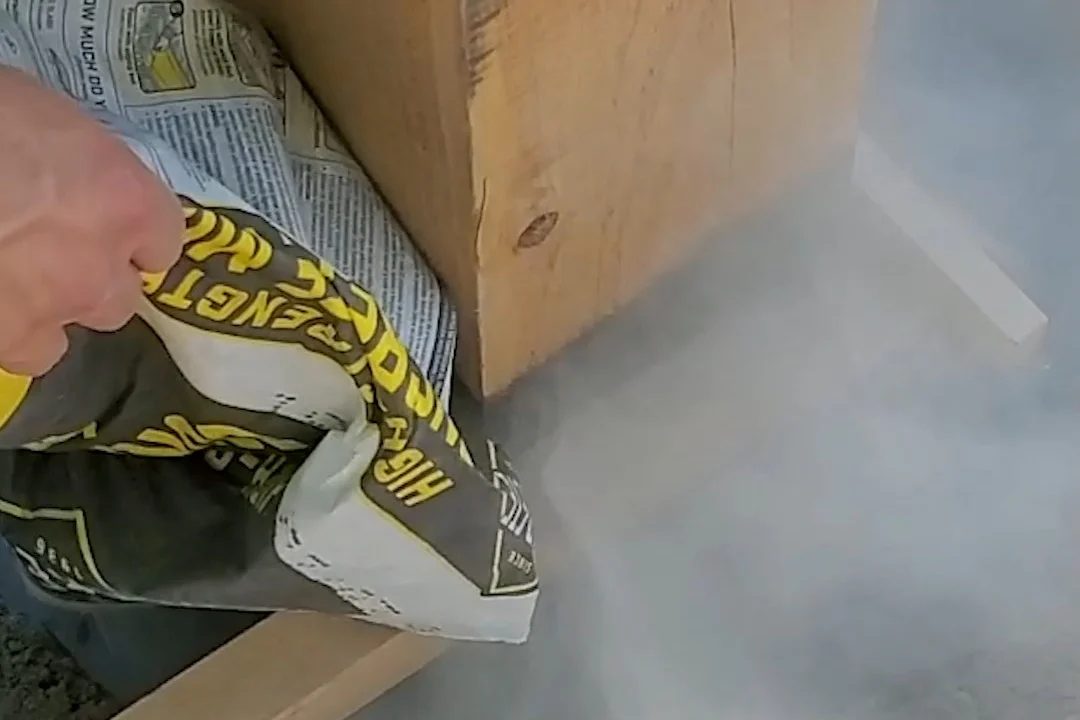
Handmade Arbor Swing: How to Dry Pour Concrete Footings The straightforward Way
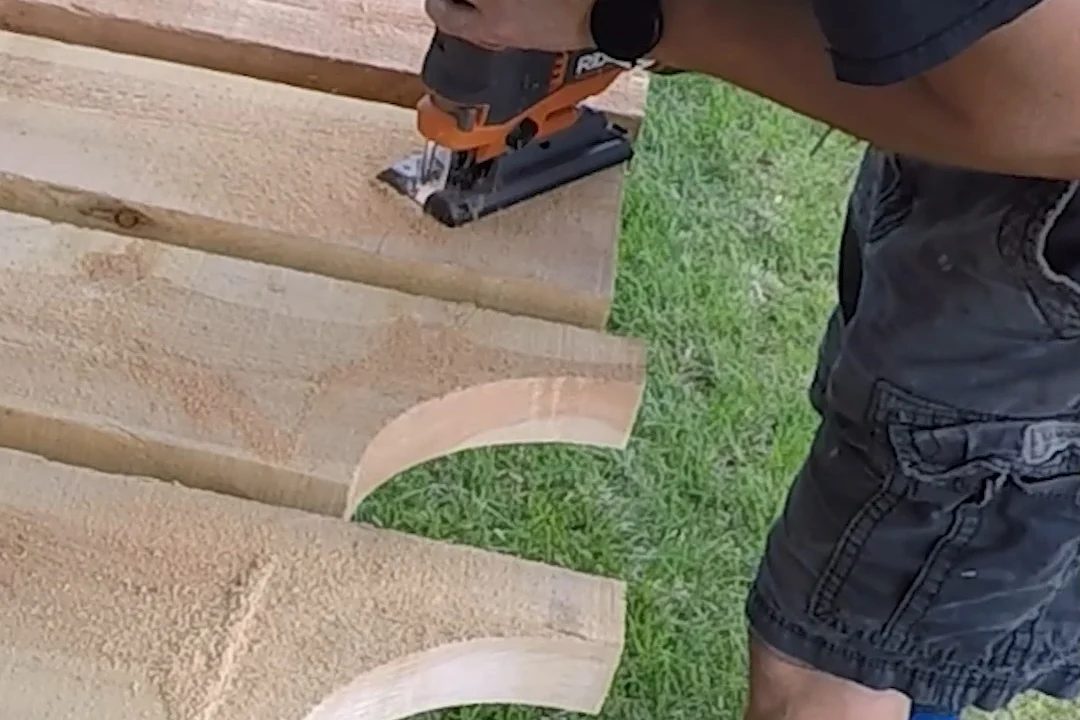
Handmade Arbor Swing: How to Cut Pergola Rafter Tail Designs (with Printable Patterns)
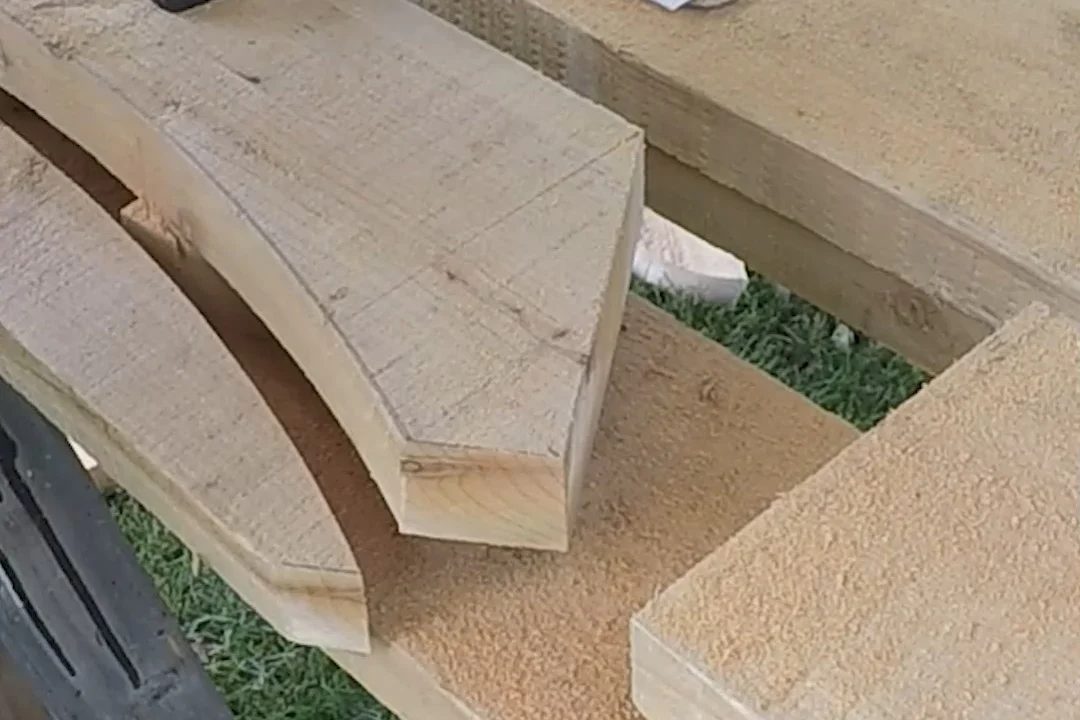
Handmade Arbor Swing: How to Cut Handmade Wood Braces for Pergola Support
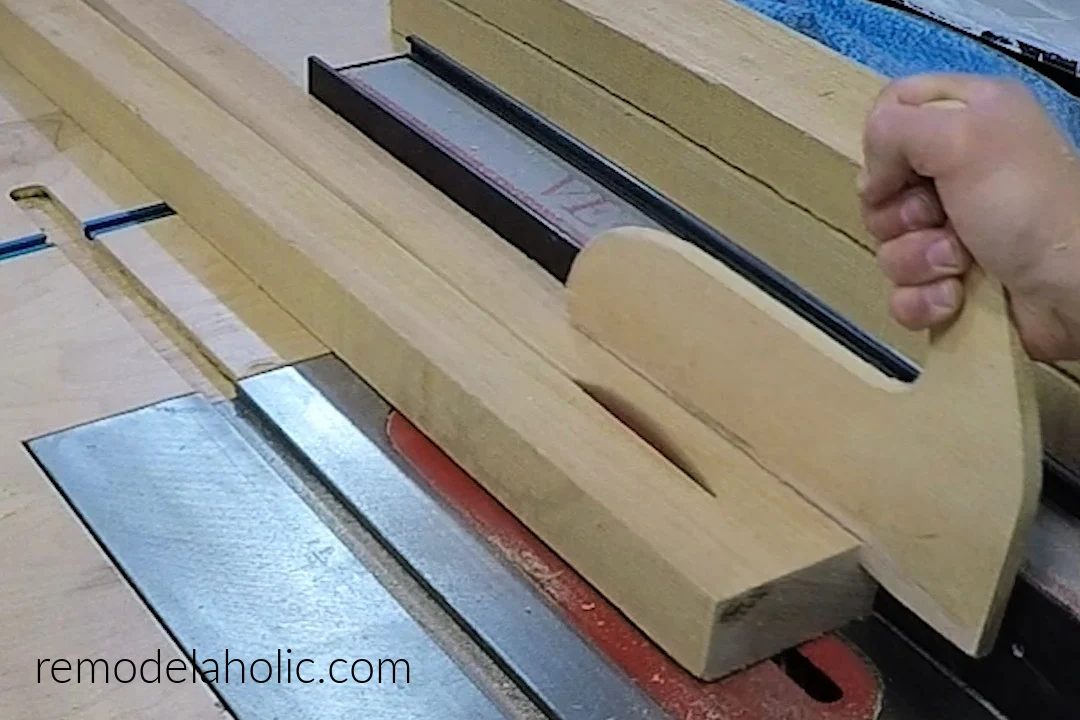
Handmade Arbor Swing: How to Make 2×2 Lumber from a 2×6
Handmade Arbor Swing: How to Install Wood Beam Supports
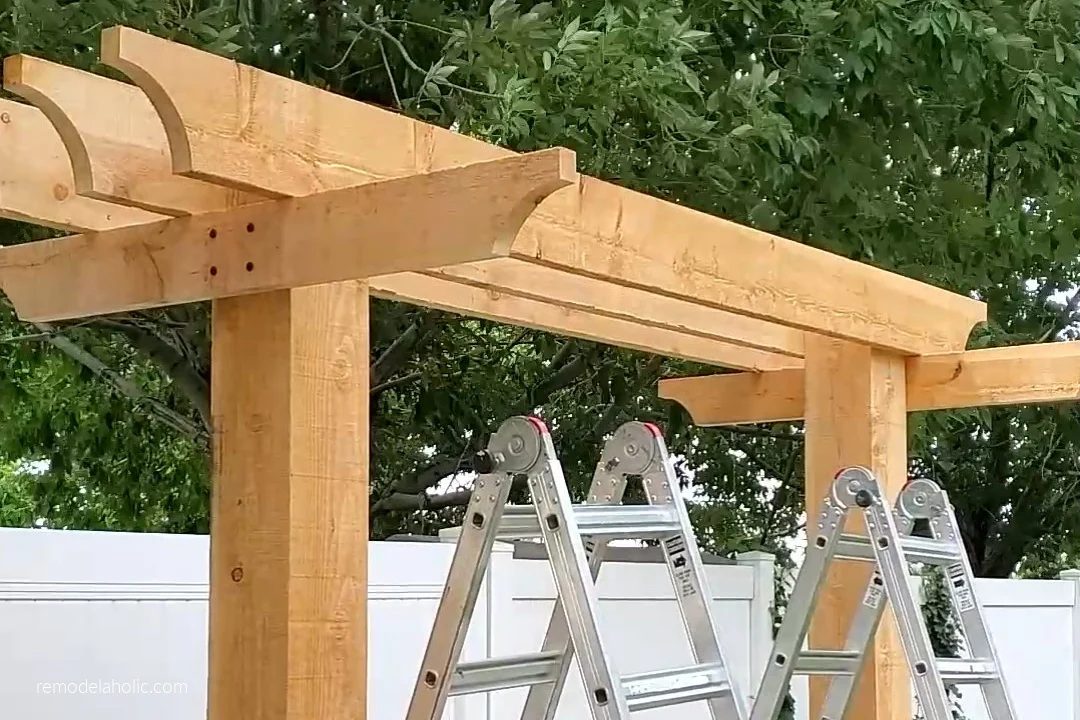
Handmade Arbor Swing: How to Install Arbor Swing Beams
Handmade Arbor Swing: How to Install Rafters / Purlins
Handmade Arbor Swing: Lattice Purlins & Beam Supports (Part 2)
Handmade Arbor Swing: How to Install Curved Wood Knee Braces
Handmade Arbor Swing: How to Stain Cedar for Outdoor Use
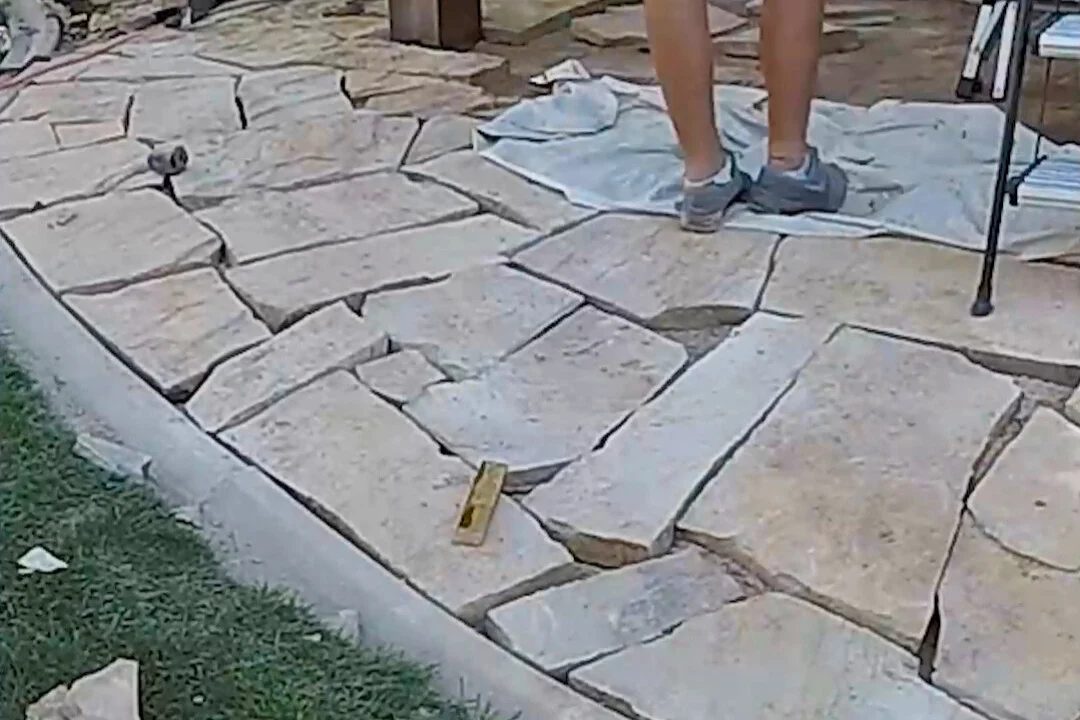
Handmade Arbor Swing: How to a Install Flagstone Patio
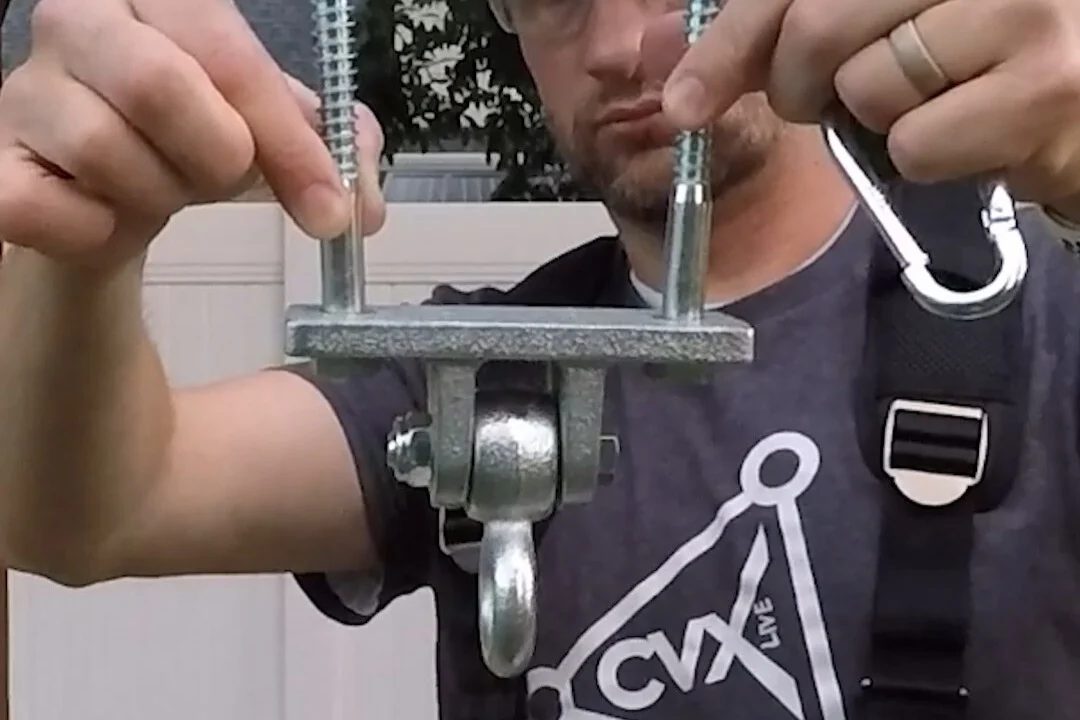
Handmade Arbor Swing: How to Install Porch Swing Brackets
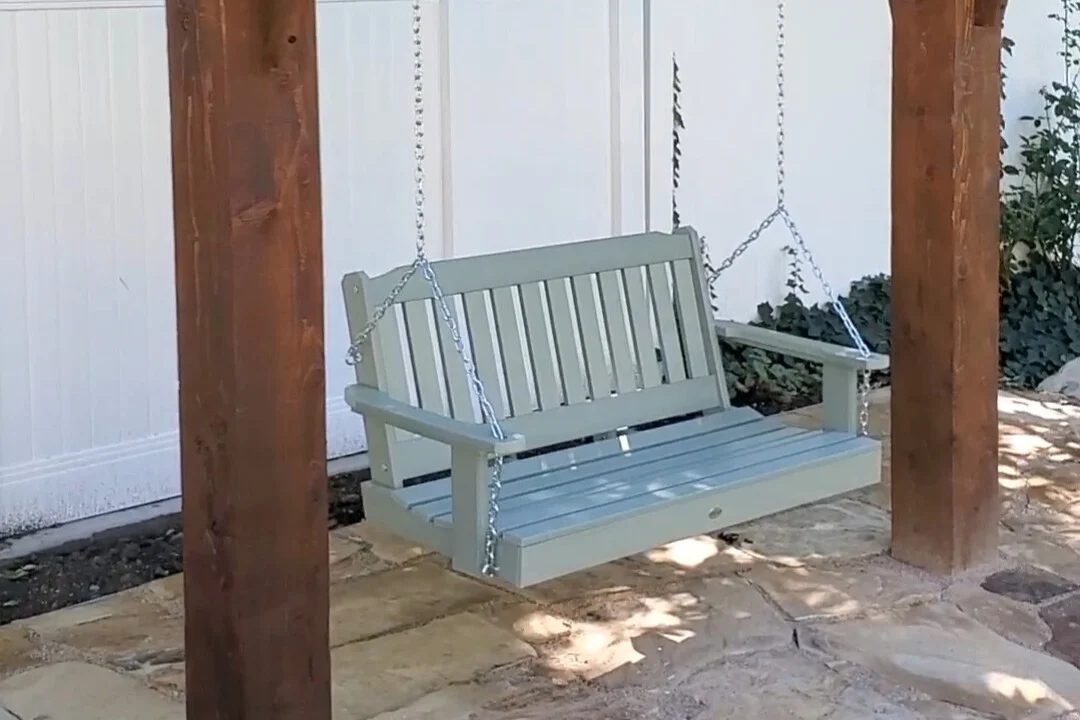
Handmade Arbor Swing: How to Hang a Porch Swing
Pin this to save and share!